Honda Civic: How to Replace and Calibrate TPS
The throttle position sensor, or TPS, is used to control the actual throttle position relative to the amount of feedback it receives from the "Go Pedal." If this sensor falls out of calibration or fails, you may experience issues controlling the throttle of the car.
This article applies to the Honda Civic/Del Sol (1992-2000).
Honda has not made it easy to replace only a bad throttle position sensor, instead choosing to fasten it down with semi-permanent screws in many older models. While many people will simply replace the entire throttle body, this is obviously not necessary. Signs of a bad TPS are code #7 on the check engine light, hesitation or stumbling and misfiring at low RPM, and poor fuel economy. With a little DIY magic and our handy guide, you can replace and calibrate your new TPS in no time at all. Keep reading and we'll show you how it's done.

Materials Needed
- 12mm socket and wrench
- Flathead screwdriver
- Dremel or hacksaw (optional, depending on model)
- Chisel and hammer (optional, depending on model)
- 4mm Allen wrench
- Multimeter
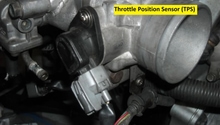
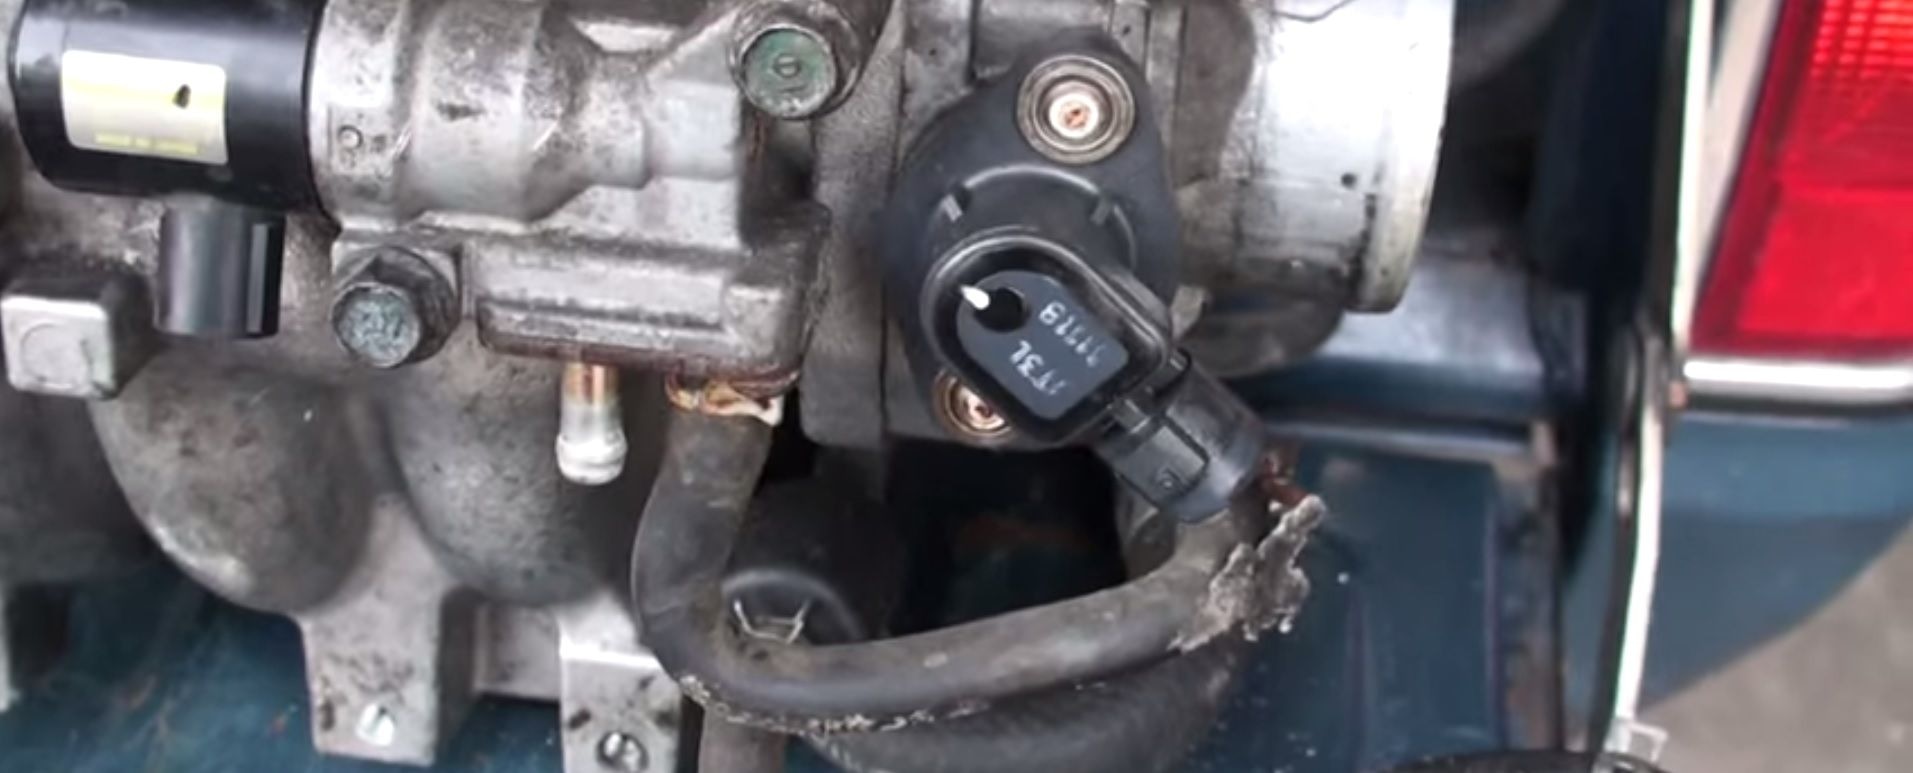
Step 1 – Remove the TPS
To remove the old TPS, first disconnect the throttle position sensor wiring harness. Remove the two 12mm bolts and nuts to access the TPS. There are either two Torx screws or two machine screws holding the TPS in place, depending on which model you have. If you have an older model, you can cut slots in the screw heads with a Dremel or hacksaw, then use a flathead screwdriver to remove them. Alternatively, you can simply break them off using a hammer and chisel.
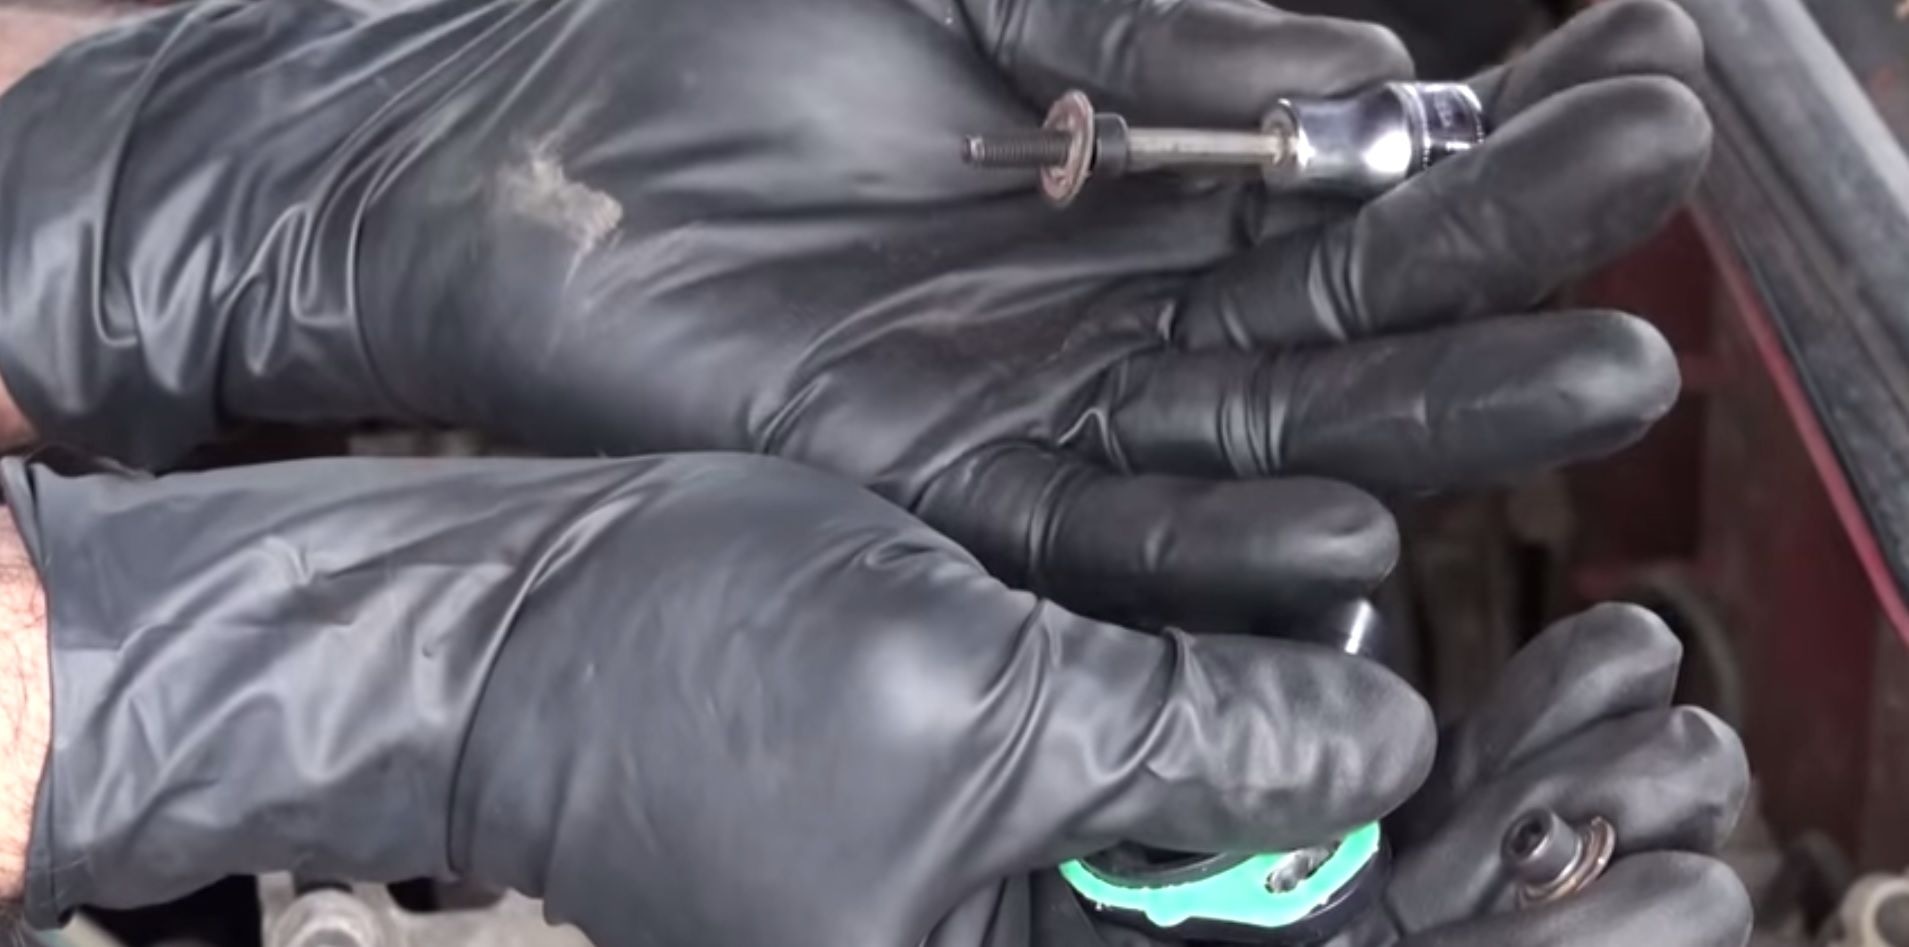
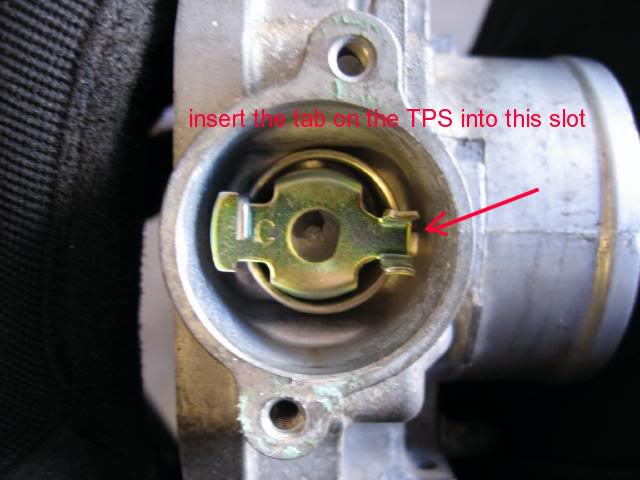
Step 2 – Install new TPS
Install a new gasket on the new TPS. Place the new TPS in the same groove as the old one, and then install two new fasteners using a 4mm Allen wrench. Be careful not to overtighten as the plastic will break easily. Plug in the throttle position sensor wiring.
Step 3 – Calibrate the new TPS
Connect the negative terminal lead on your multimeter to the battery ground. Connect the positive meter lead to the red signal wire and check the voltage. Turn the TPS until you get a reading of 0.5v DC, and then tighten the screws. Verify that you are getting 0.5v when the TPS is closed and 4.5v when it is open.
Featured Video: How to Calibrate TPS Sensor
Related Discussions
- Official Honda TPS Wiring and Calibration Thread - Honda-Tech.com
- Remove Honda TPS - Honda-Tech.com