Honda Civic: How to Install HID Headlights
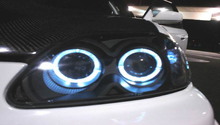
Take a drive down a busy road at night, and you're bound to see at least one car with HID headlights. These super bright lights can tremendously enhance safety and visibility on the road. With a bit of time and patience, you can install your own HID lights on your Civic.
This article applies to the Honda Civic/Del Sol (1992-2000).
HID lights fill in dark spots, and brighten up even the darkest country roads. They cost a bit more, but drivers seeking extra visibility tend to appreciate the extra light. Choosing a higher quality kit may cost a bit more upfront, but it will usually pay off with better performance and longevity over time. Installing HID headlights isn't very difficult, but you'll have to pay close attention when you're working with wires and small housing units. With a bit of time and patience, you can install your own HID lights on your Civic.

Materials Needed
- HID headlight bulbs
- Mounting hardware, including ballast
- Electrical tape (optional)
- Voltmeter (optional)
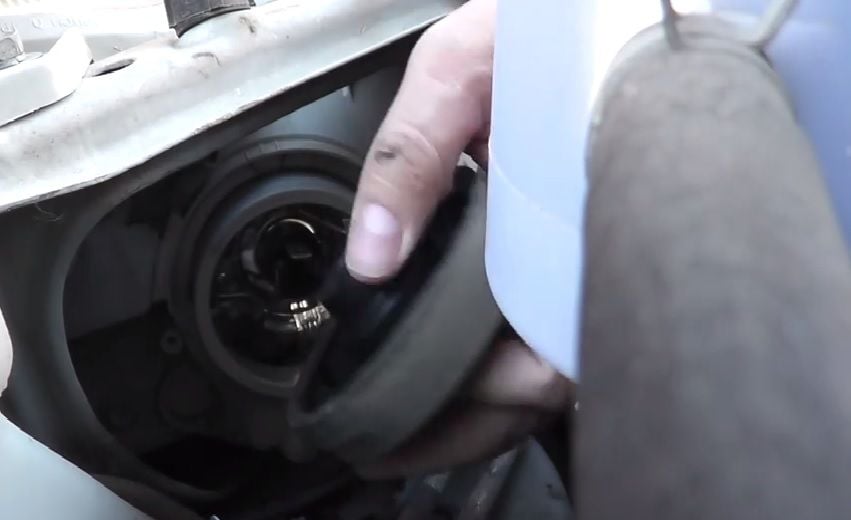
Step 1 – Remove the light cover
Loosen the light cover, and remove it by pulling it straight back. You may need to move some parts out of the way to fully access the light cover. Once it's out, set the light cover aside.
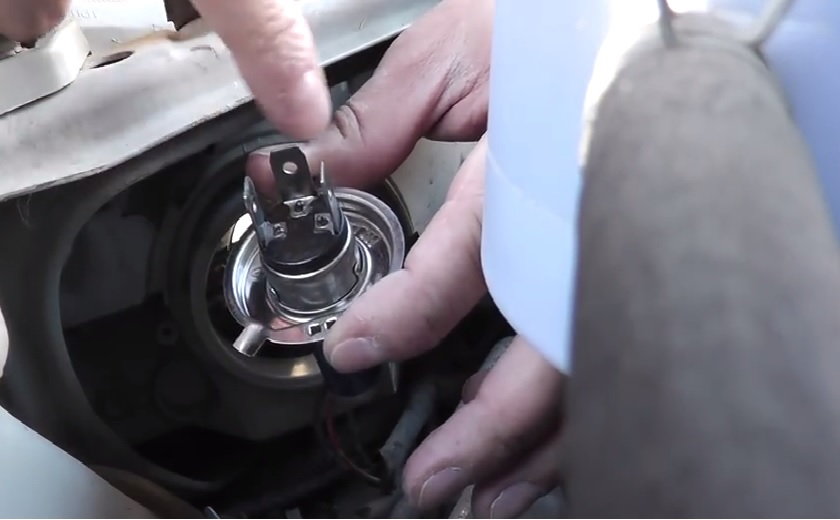
Step 2 – Remove the light bulb
To remove the light bulb, start by pressing the clip gently forward, and then up. Once it's un-clipped, carefully remove the bulb. You will probably need both hands to successfully take the bulb out.
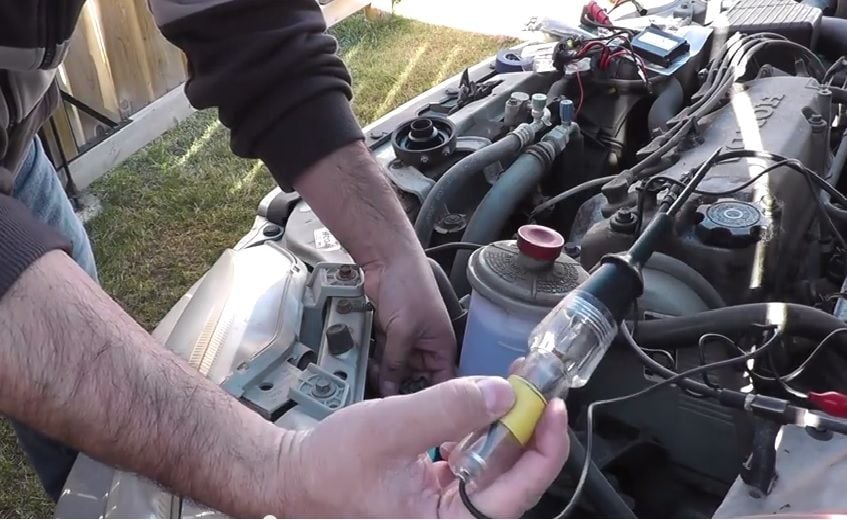
Step 3 – Determine the appropriate connectors for each plug
Before installing the lights, you'll need to figure out which connectors are best for each plug. It helps to have a voltmeter or a similar device for this step. You may want to turn the car on to make sure that you're matching the appropriate connectors for each plug before moving on to the next step.
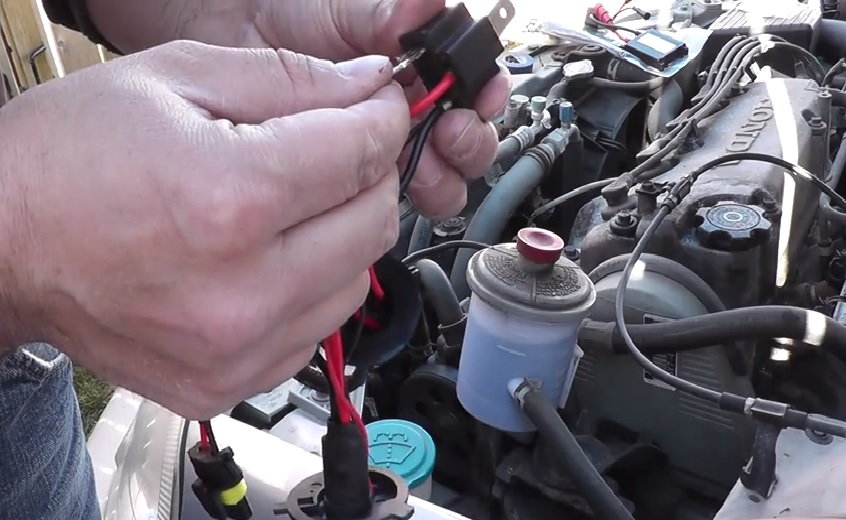
Step 4 – Match the connectors to the plug
Now that you've determined (and double checked) which connectors fit to each part of the plug, it's time to pair them. Firmly press each end in, so that it doesn't wiggle. If you have electrical tape, wrap a small amount around the area where the connectors and the plug meet to keep dirt or debris out.
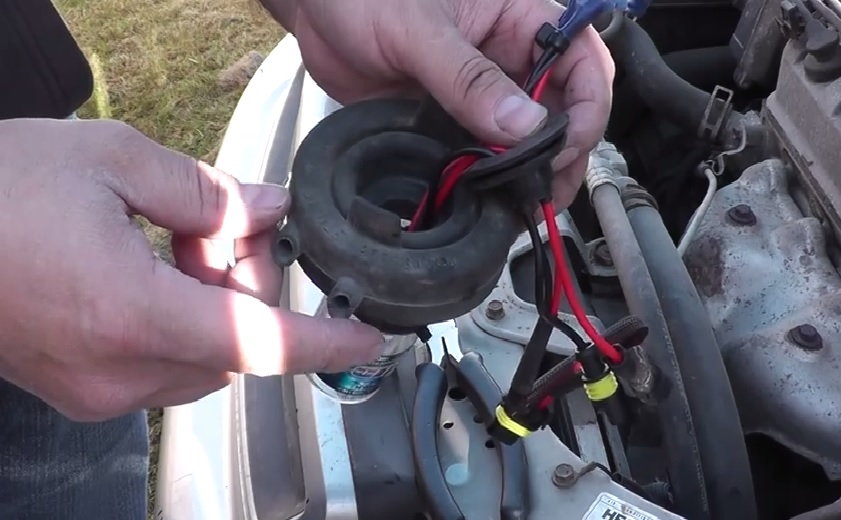
Step 5 – Feed wires through rubber grommet and install the light
Cut the rubber grommet, so that there's enough space to feed the wires through one at a time. Once the wires are securely through, install the light bulb into its designated housing space. Gently, but firmly press the rubber grommet in to secure the light in place.
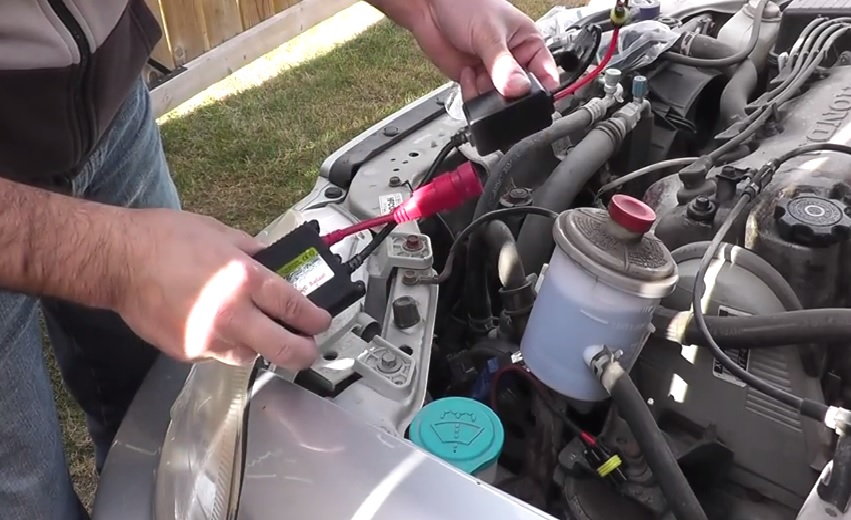
Step 6 – Plug in the ballast
Plug the ballast into the plug at the end of the light wires that you installed in the previous step. Push until the plugs click. Then, plug the two female connectors into the corresponding male connectors on the headlight wires.
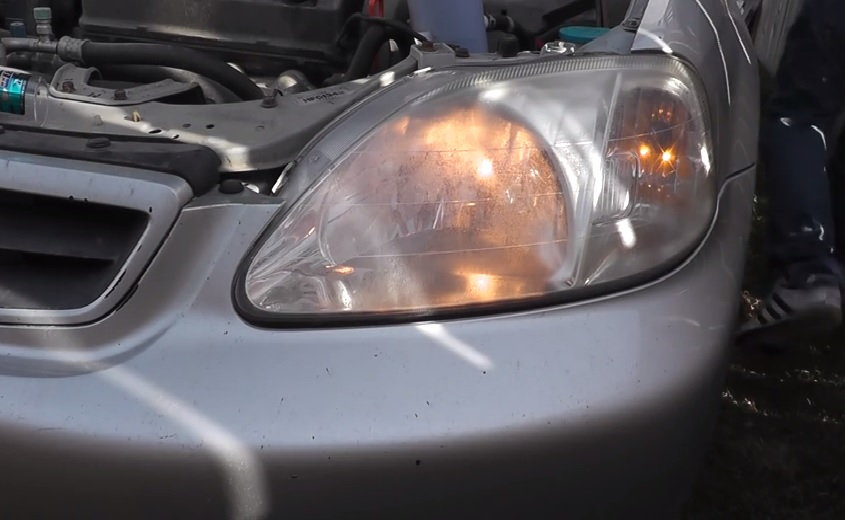
Step 7 – Test and align the headlights
Once everything is plugged in and ready to go, turn the car on to test the headlights. You can check the alignment by parking the car in front of a garage door or a similarly large, flat surface. Adjust or align the headlights if necessary.
(Related Article: How to Aim Your Headlights - Honda-Tech.com)
Featured Video: How to Install HID Lights on a Honda Civic
Related Discussions
- JDM EK HID install for 96 Honda Civic - Honda-Tech.com
- 99-00 Civic HID OEM fog light install? - Honda-Tech.com