Honda Civic: How to Adjust Valve Lash
Learning to do a valve lash adjustment for your Honda Accord saves you money. It also slows down premature engine valve wear saving you even more money. Continue reading to keep your wallet full.
This article applies to the Honda Civic/Del Sol (1992-2000).
Valve lash adjustment is a mechanical procedure to optimize the engine's performance and prevent its failure. When done well, the valves won't cause constant engine misfire. Valve lash adjustment ensures a gap between the valve screw and the rocker arms on the exhaust or intake side. That's important because if the gap is bigger, the engine becomes noisy and the valve train wears out faster. Also, this can cause damage to the camshaft lobes and valve tips. If a valve lash adjustment is done badly, the car is smoky and the engine fails to run. But when it does run, it runs rough—especially when the valves are tight. This article outlines the procedure, and the skill level required to do the Honda Civic valve lash adjustment. It will also reveal the cost of doing it yourself, the garage costs, and amount of time needed.

Material Needed
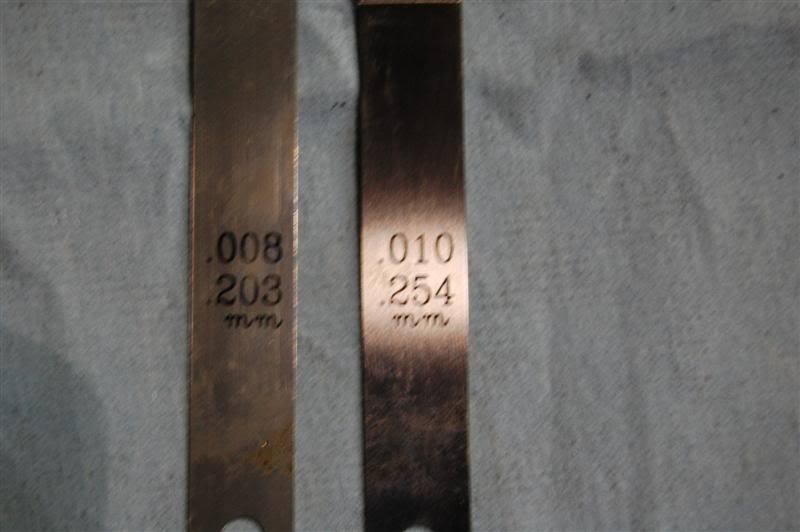
- 0.20 to 0.25mm feeler gauges
- Flat head screwdriver
- 10mm socket/wrench
- 90mm socket (crank pulley tool)
- Universal joint
- Ratchet extension
- New valve cover gasket
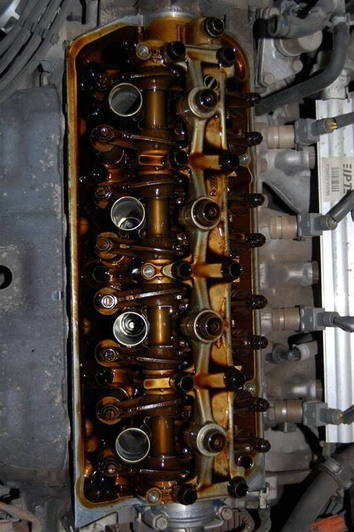
Step 1 – Remove the valve cover
Open the hood of your Honda Civic, and remove the plug wires on the valve cover. Pluck out a hose attached to it. Using a 10mm socket, remove the valve cover bolts around. There will be five of them. Then, jerk the valve cover a bit to remove it.
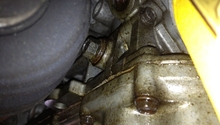
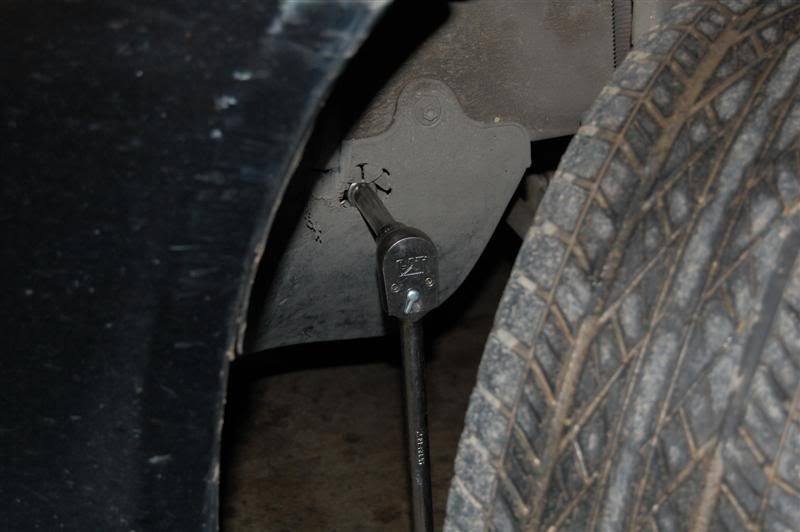
Step 2 – Turn the steering wheel to the left
With the wheels facing left, it gives you room to insert the ratchet extension, 90mm socket, and a universal joint. Alternatively, you can remove the wheel if you can't work in that amount of space. Plug the 90mm socket on crankshaft pulley bolt. Then, spin in a clockwise motion at 180 degrees, so that the valves are at top dead center of the compression stroke.
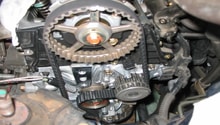
Step 3 – Align the white line with the triangle center
Spin the crankshaft bolt until you locate a white line on the crankshaft pulley. That white line needs to be aligned with a triangle center (just on top of the crankshaft belt), which propels the pulley. That motion sets the valves of the number one cylinder to the top dead center. That allows you to adjust the first set of valves for the exhaust side.
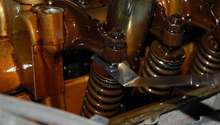
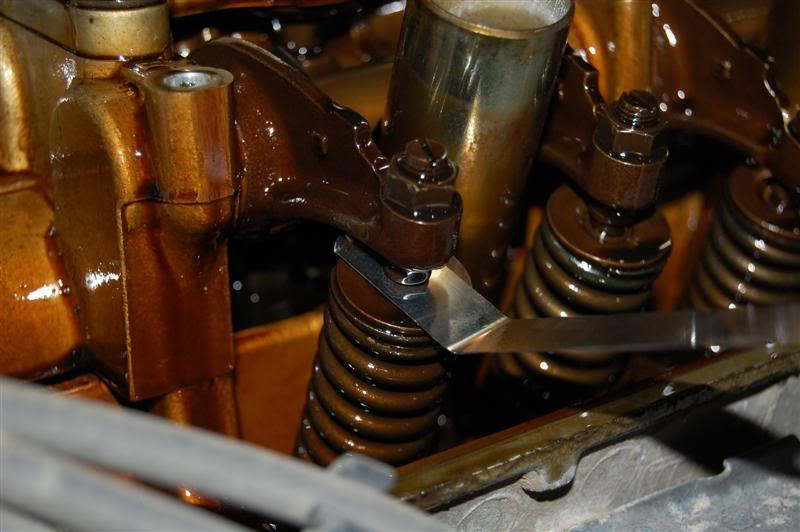
Step 4 – Adjust exhaust side valves
To adjust the Honda Civic valves, you will need a 0.25mm feeler gauge, a flat head screwdriver, and a 10mm socket. With the screwdriver, loosen the top screw valve. The key is to ensure the space left between the rocker arm and the valve is precisely 0.25mm. If you place the feeler gauge between the arm and the valve, the gauge won't move or it will gets stuck. Then, tighten the bolt anchoring the screw to avoid moving it.
Step 5 – Adjust intake valves
Repeat Step 4 for each of the 16 valves. For the intake side, ensure the spacing between the rocker arm and valve is 0.20mm. That is measured by using a 0.20mm feeler gauge.
Step 6 – Reassemble
With the valves all adjusted into spec, it is time to reassemble. Clean the void on the head (where the valve cover gasket goes) of any debris or oil buildup. Lightly lubricate the new valve cover gasket with oil, and install the gasket in place. Fasten down the valve cover (don't over-torque those bolts), and reassemble your plug wires.
Start the car up, and listen for ticking or any unusual noises. If everything checks out, then you are done.
Related Discussion
- Noisy Engine, Needs Valve Lash Set? - Honda-Tech.com
- How to Set Valve Lash - Honda-Tech.com
- How Much Would It Cost For Garage to Adjust Valve Lash? - Honda-Tech.com