Honda Accord: How to Replace Internal Seal of Distributor
Changing the seals inside the distributor is easy enough to do that you shouldn't have to buy a whole new distributor. Learn more about this DIY job here.
This article applies to the Honda Accord (1990-2002).
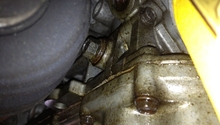
The distributor on your Accord, like any other car, makes sure that the spark plugs fire in the correct order. The dizzy, as it is commonly called, has a couple of seals and O-rings inside that will go bad over time. This can cause a small oil leak and will eventually start creating worse problems if you don't fix it straight away.
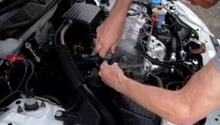
Although it is not a super easy job to do, replacing the seals and O-rings will save you a lot of money over replacing the entire distributor, especially if you take it to a pro and have them do it for you. You can be relatively certain that the professional garage or dealership will just want to change out the entire distributor because it is faster and easier for them to do, and really costly for you. If you have an extra hour or two, this is one job that you may want to tackle if money is an issue. If you are really leery about doing it yourself, find a mechanic who you trust and have them do the job. The most common DIY issue is not lining up the dizzy back onto the rotor in the correct spot and causing the timing to be so off that the car won't start. However, this is easily preventable and remedied, so it can certainly be done at home if you have the time.

Materials Needed
- Ratchet and socket set
- Phillips-head screwdriver (various sizes)
- Flat head screwdriver
- Dremel-tool (optional, if needed)
- Locktite
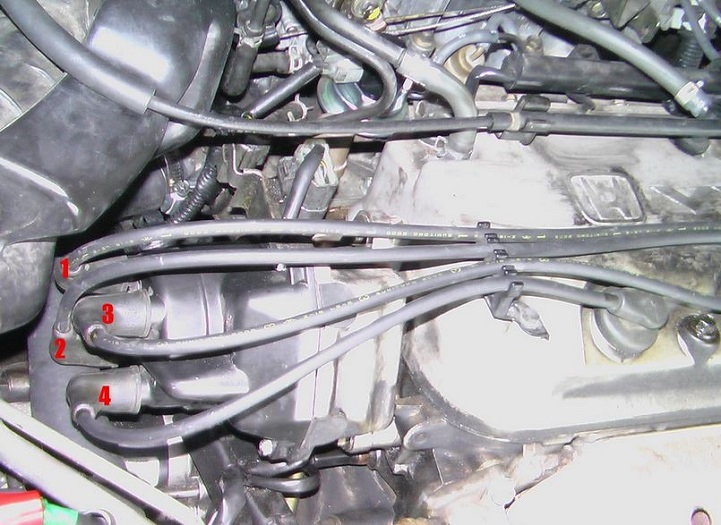
Step 1 – Remove plug wires
Make sure you note or mar which plug wire goes with which plug on the distributor cap. They must be replaced in the same order and location from which they were removed.
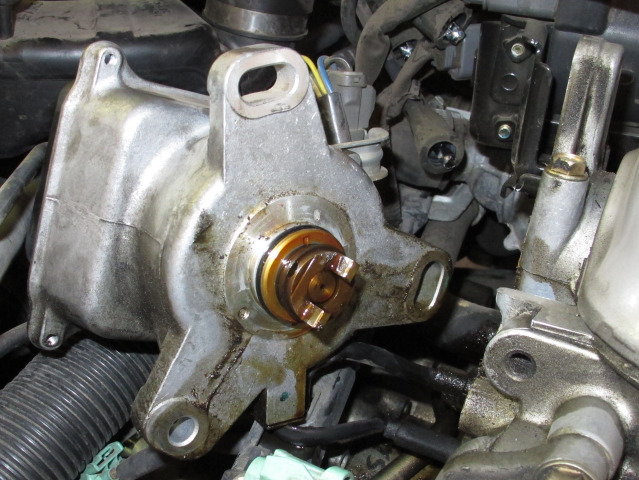
Step 2 – Mark the position of the dizzy
The dizzy can really only be placed back in location in one position easily. A common problem is that it gets put back on in the reverse direction, or 180 degrees wrong because it seemed like it was easy going back in. You should not have to hit it to get it back in place correctly. An easy way to avoid this issue is to use a marker or a nail to scratch the proper position on the dizzy and the engine so they line up correctly.
Pro Tip
After you're done with this job, if your car doesn't start or is misfiring badly, you probably put the dizzy back on 180 degrees the wrong way. Simple remove it, rotate it 180 degrees, and re-install it.
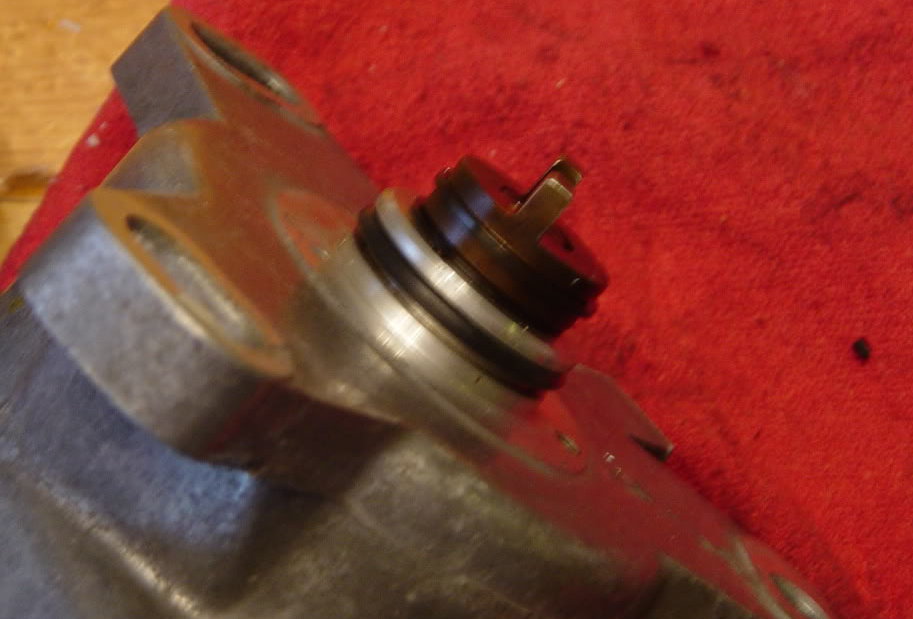
Step 3 – Remove and replace the O-ring (optional)
This is an optional step, but if you have the dizzy out and are going to replace the inner seal, you might as well replace the outer O-ring also. This is just pennies in cost for the peace of mind and preventing having to do this again soon. Simply pop off the old O-ring and put on the new one.
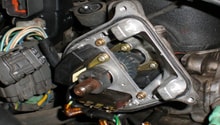
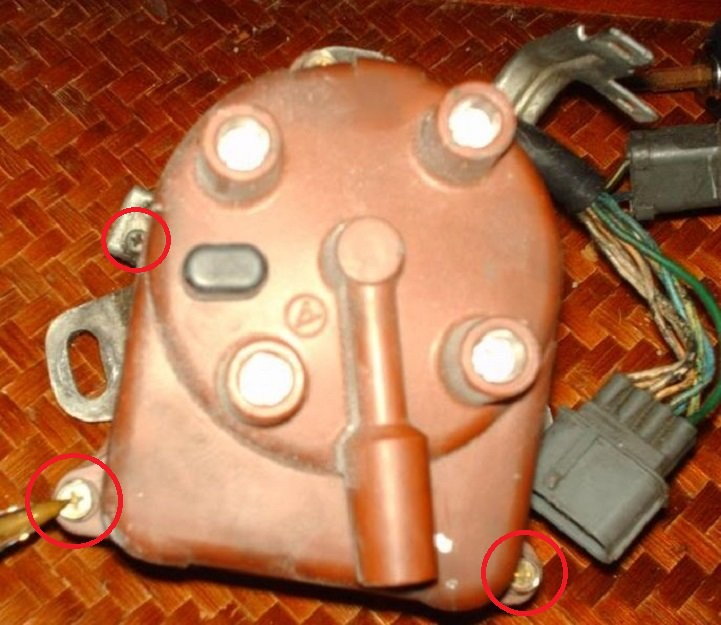
Step 4 – Remove the cap screws
Flip the distributor over and remove the three screws that hold the cap in place. Once the screws are removed, pull off the cap.
Step 5 – Replace the cap seal (optional)
This is another optional step, but once again, since you are already in here, spend the few bucks to replace this cap seal around the outer edge of the dizzy. The seal in question is the black rubber lining that circles the outer perimeter of the distributor. It looks like the same type of seal that one would find on an oil filter. This is a rubber O-ring-type seal that is eventually going to wear out anyway.
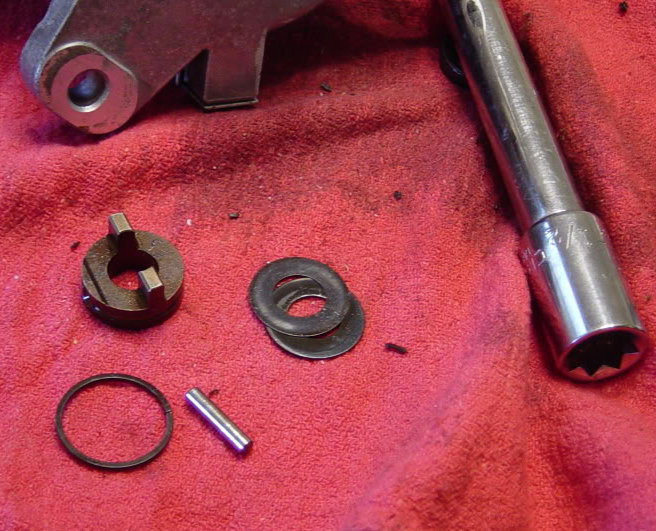
Step 6 – Remove retaining ring, pin, and rotor
Flip the dizzy over and use a small pen knife or flat head screwdriver to carefully remove the retaining ring, pin (should just fall out), and rotor. Make sure that you note the correct position of the rotor and replace it in the same way.
Step 7 – Remove the cover
Flip the distributor back over and pull off the cover that hides the guts of the internals.

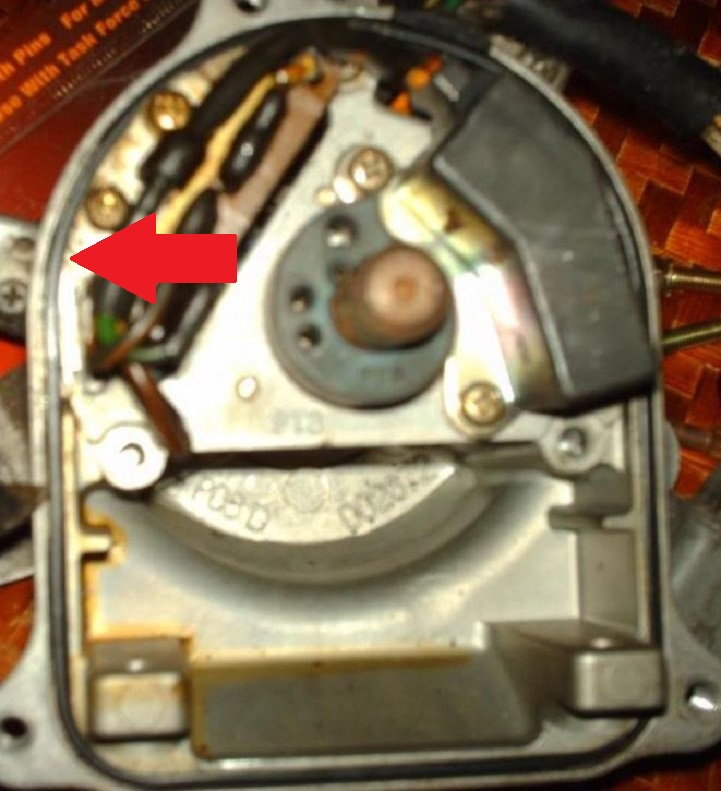
Step 8 – Remove internal shaft and electronics
After the cover is removed, you have access to the internal workings of the dizzy. Carefully remove the three outer screws. They will be tight and easily stripped. If you strip the heads, use a Dremel tool to make a deep and wide notch to use your flat head screwdriver. Once these screws are removed, you can then pop out the shaft and electronics and set them aside.

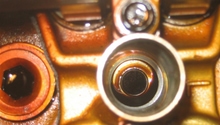
Step 9 – Replace the inner seal and re-assemble
The inner seal can now be replaced. It may take a little effort to remove it. Install the new inner seal. Replace with a good-quality seal so you won't have to come back here again for a while. Replace the shaft and electronics. Re-use those same screws if possible and use a Locktite-like product on them; then, replace the cover. When replacing the pin, rotor, and retaining ring, make certain that you are putting the rotor back on in the exact same position. Replace the cap, and when mounting back on the engine, make certain that you are mounting it back in the exact same position as you took it off. Replace the plug wires in their correct positions as well.

Related Discussions
- Replace Internal Seal of Distributor - Honda-Tech.com
- 91 Accord: No Start/Dizzy Problem - Honda-Tech.com
- Tune Up: When to Change Distributor Cap and Rotor - Honda-Tech.com