Honda Accord: How to Replace Ignition Coils
Faults in the ignition coils can be detected by your Honda Accord's behavior. This article explains how to replace faulty ignition coils and save money in the process.
This article applies to the Honda Accord (1990-2002).
Like with any car, ignition coils for your Honda Accord transform low-voltage (12 volts) electrical power to high-voltage (around 50,000 to 70,000 volts) and pass that onto the spark plugs. With the high-voltage, the spark plugs ignite the air and fuel mixture needed to start the car and provide motion. But when ignition coils are damaged, your car won't start and the check engine light comes on. The engine also is uncharacteristically loud, loses power, misfires, and rough idles, and lots of smoke is emitted from the exhaust. When the need arises to replace the ignition coils for the Honda Accord, this procedural guide shows you how to do it yourself. Read on for more information about the amount of time required, estimated costs, and the skills needed versus seeking professional help.

Materials Needed
- Wrench (8mm and 12mm)
- Socket 10mm
- Ratchet
- Extension 10mm
Step 1 – Remove the distributor cap
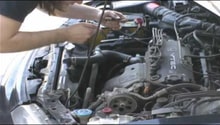
Turn off the engine and open the hood. Below the distributor cap, pull out the wire that connects the distributor and the ignition coils. With a socket, remove the 8mm bolts holding the cap onto the distributor, and place it on the side. The open cap allows access to the rotor which, after repairs are done, should be left facing up.
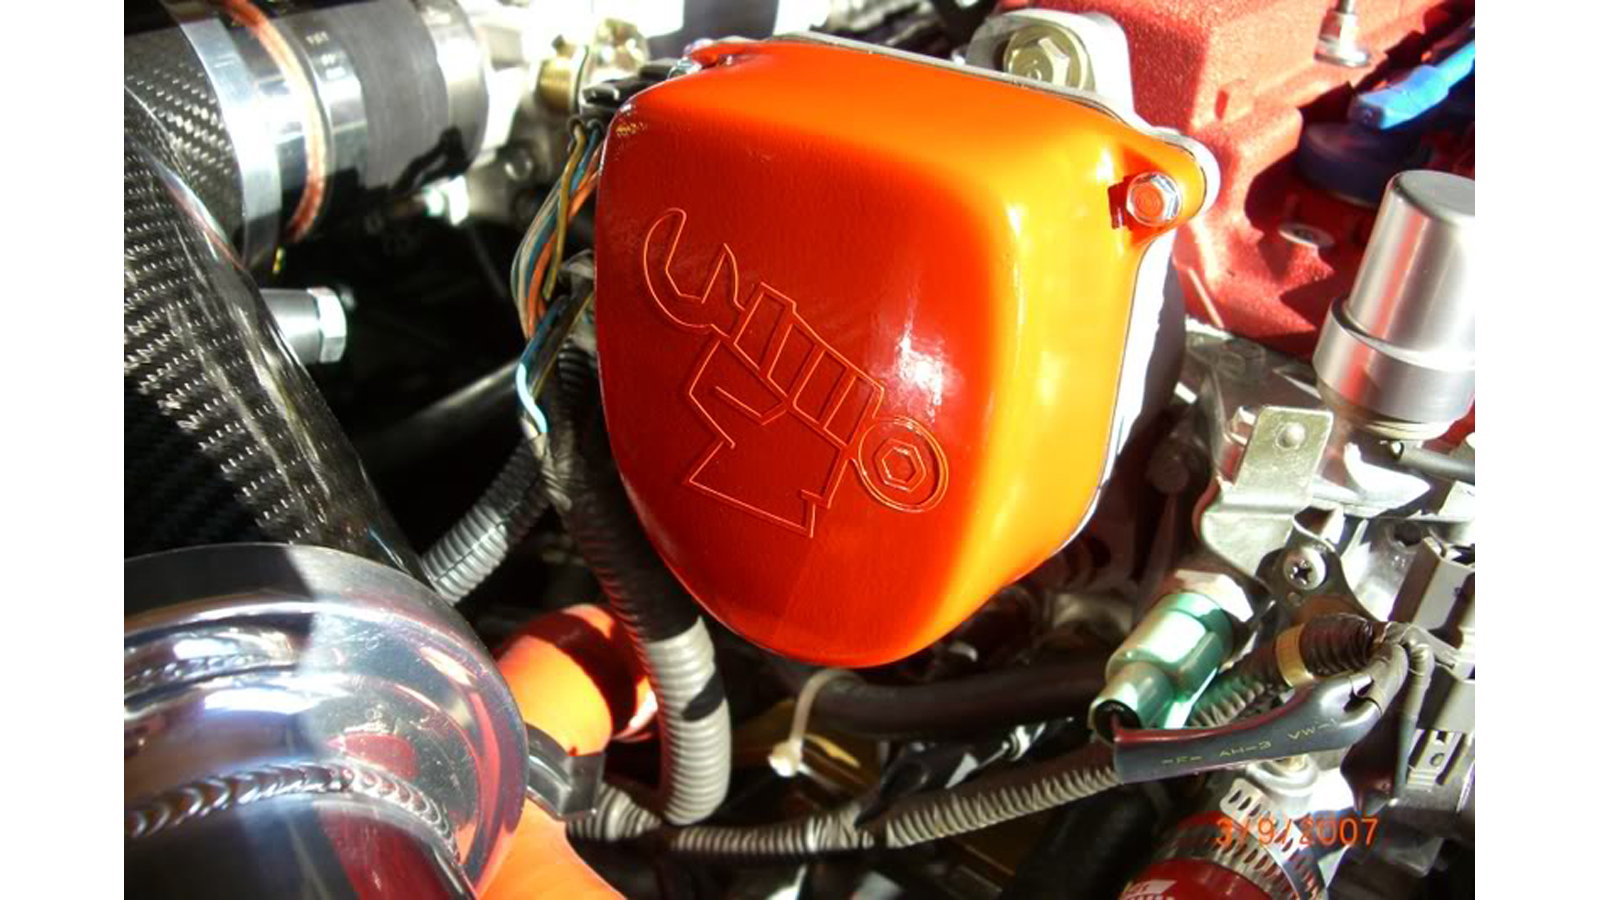
Figure 1. Custom-painted distributor cap. 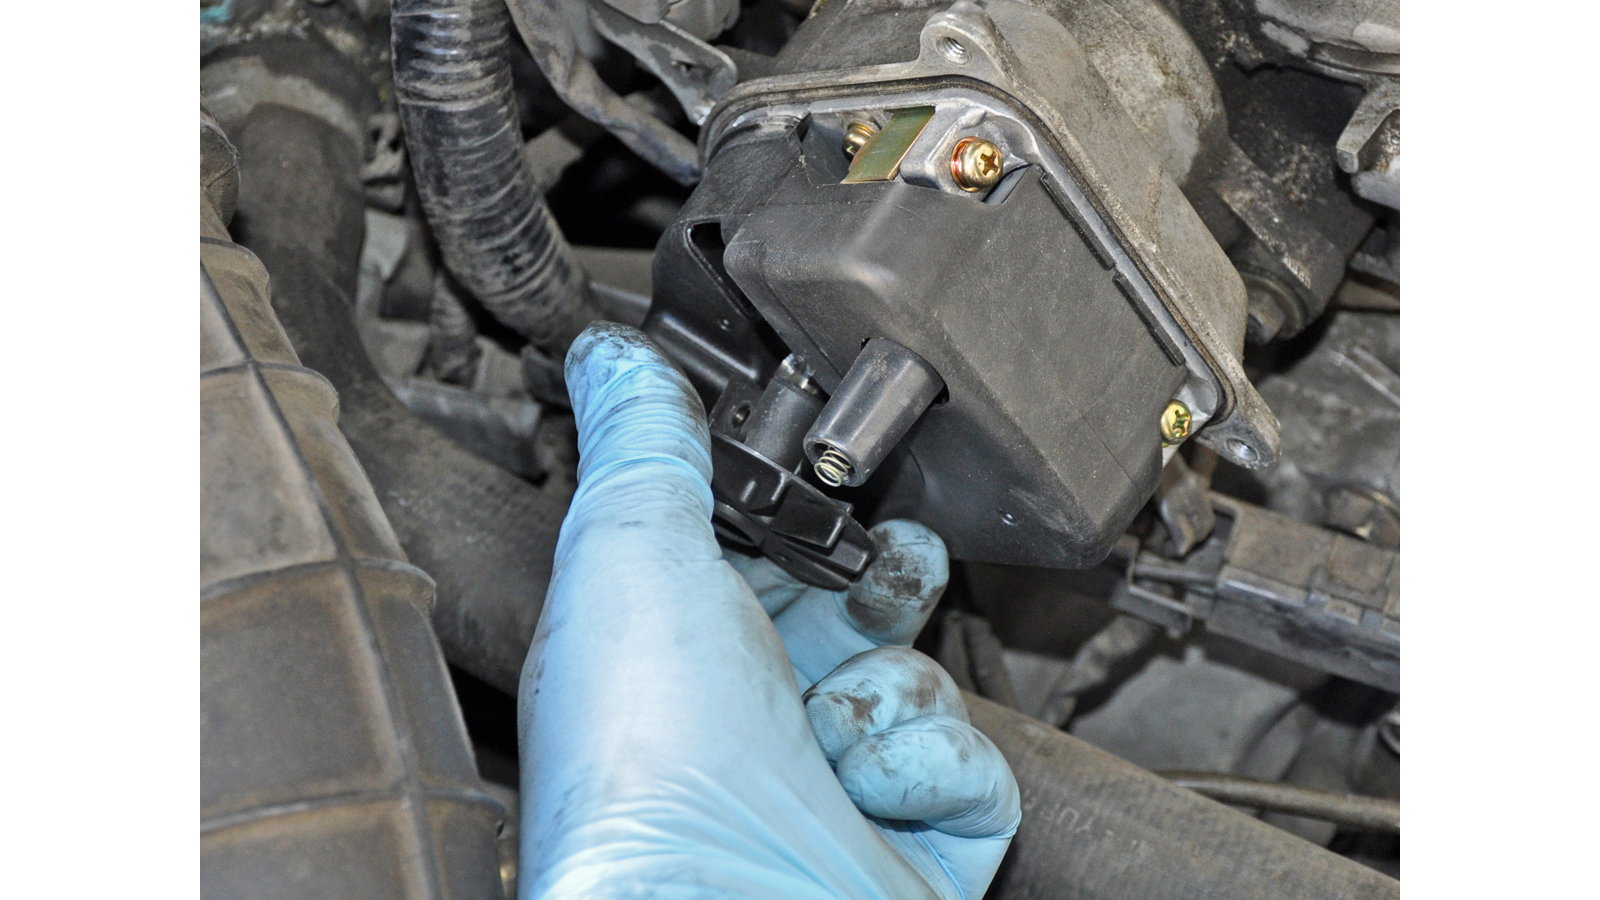
Figure 2. The distributor rotor being held, with the coil beside it.
Pro Tip
The rotor can be calibrated to face the right direction by turning on the engine before the distributor cap is screwed back on.
Step 2 – Remove the distributor
Using the sockets, remove the distributor and pull out the connector attached to it. With that out of the way, access to the ignition coil casing is possible. By hand, plug out the connectors surrounding the ignition coils.
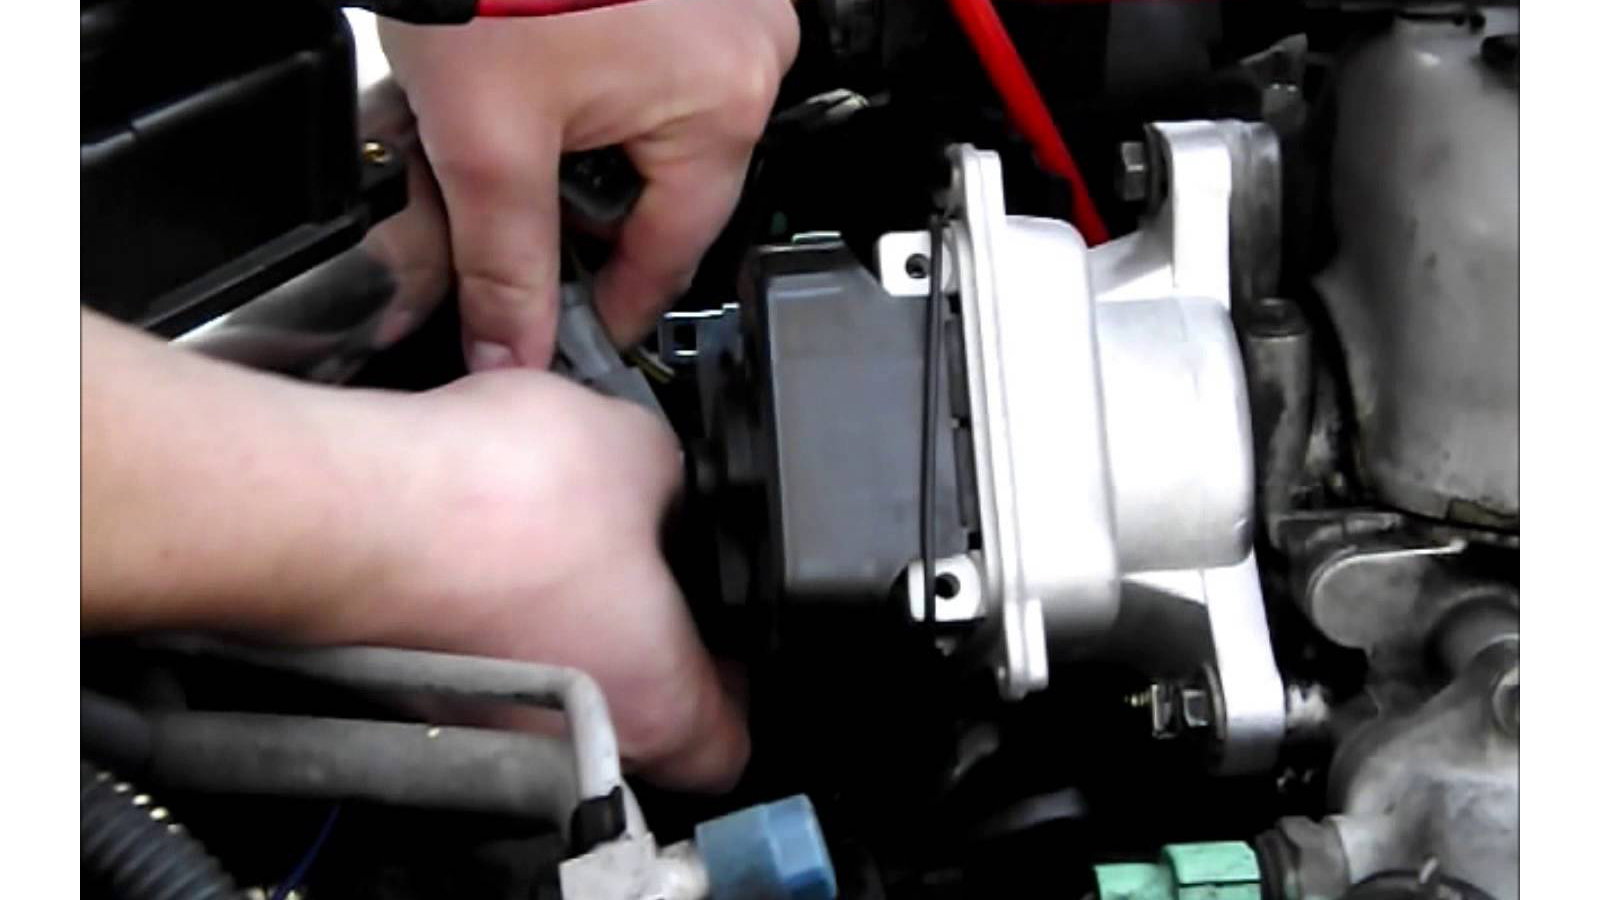
Step 3 – Remove the ignition coil
Using the 10mm socket with extension, remove the two to three bolts holding the ignition coil casing. That will free up ignition coils which you pull out gently to ensure you don't loose some washers within the casing.
Step 4 – Install new ignition coil
Follow the reverse of how you removed the old ignition coils to install the new ones.
- Install new coil
- Bolt together distributor assembly
- Ensure that the rotor inside the distributor is oriented facing up
- Re-install the distributor cap
Then, plug everything back in order, beginning with the last one removed which in this case was the ignition coils. Test the ignition coils by taking your Honda for a drive to detect if the aforementioned mechanical problems associated with faulty ignition coils are recurring.
Related Discussions and Site
- Accord Distributor Info - Honda-Tech.com
- How to Test Your Ignition Coil - Honda-Tech.com
- Ignition Coil Replacement - Yourmechanic.com
- Tips on Coil Replacement - Honda-Tech.com