When you click on links to various merchants on this site and make a purchase, this can result in this site earning a commission. Affiliate programs and affiliations include, but are not limited to, the eBay Partner Network.
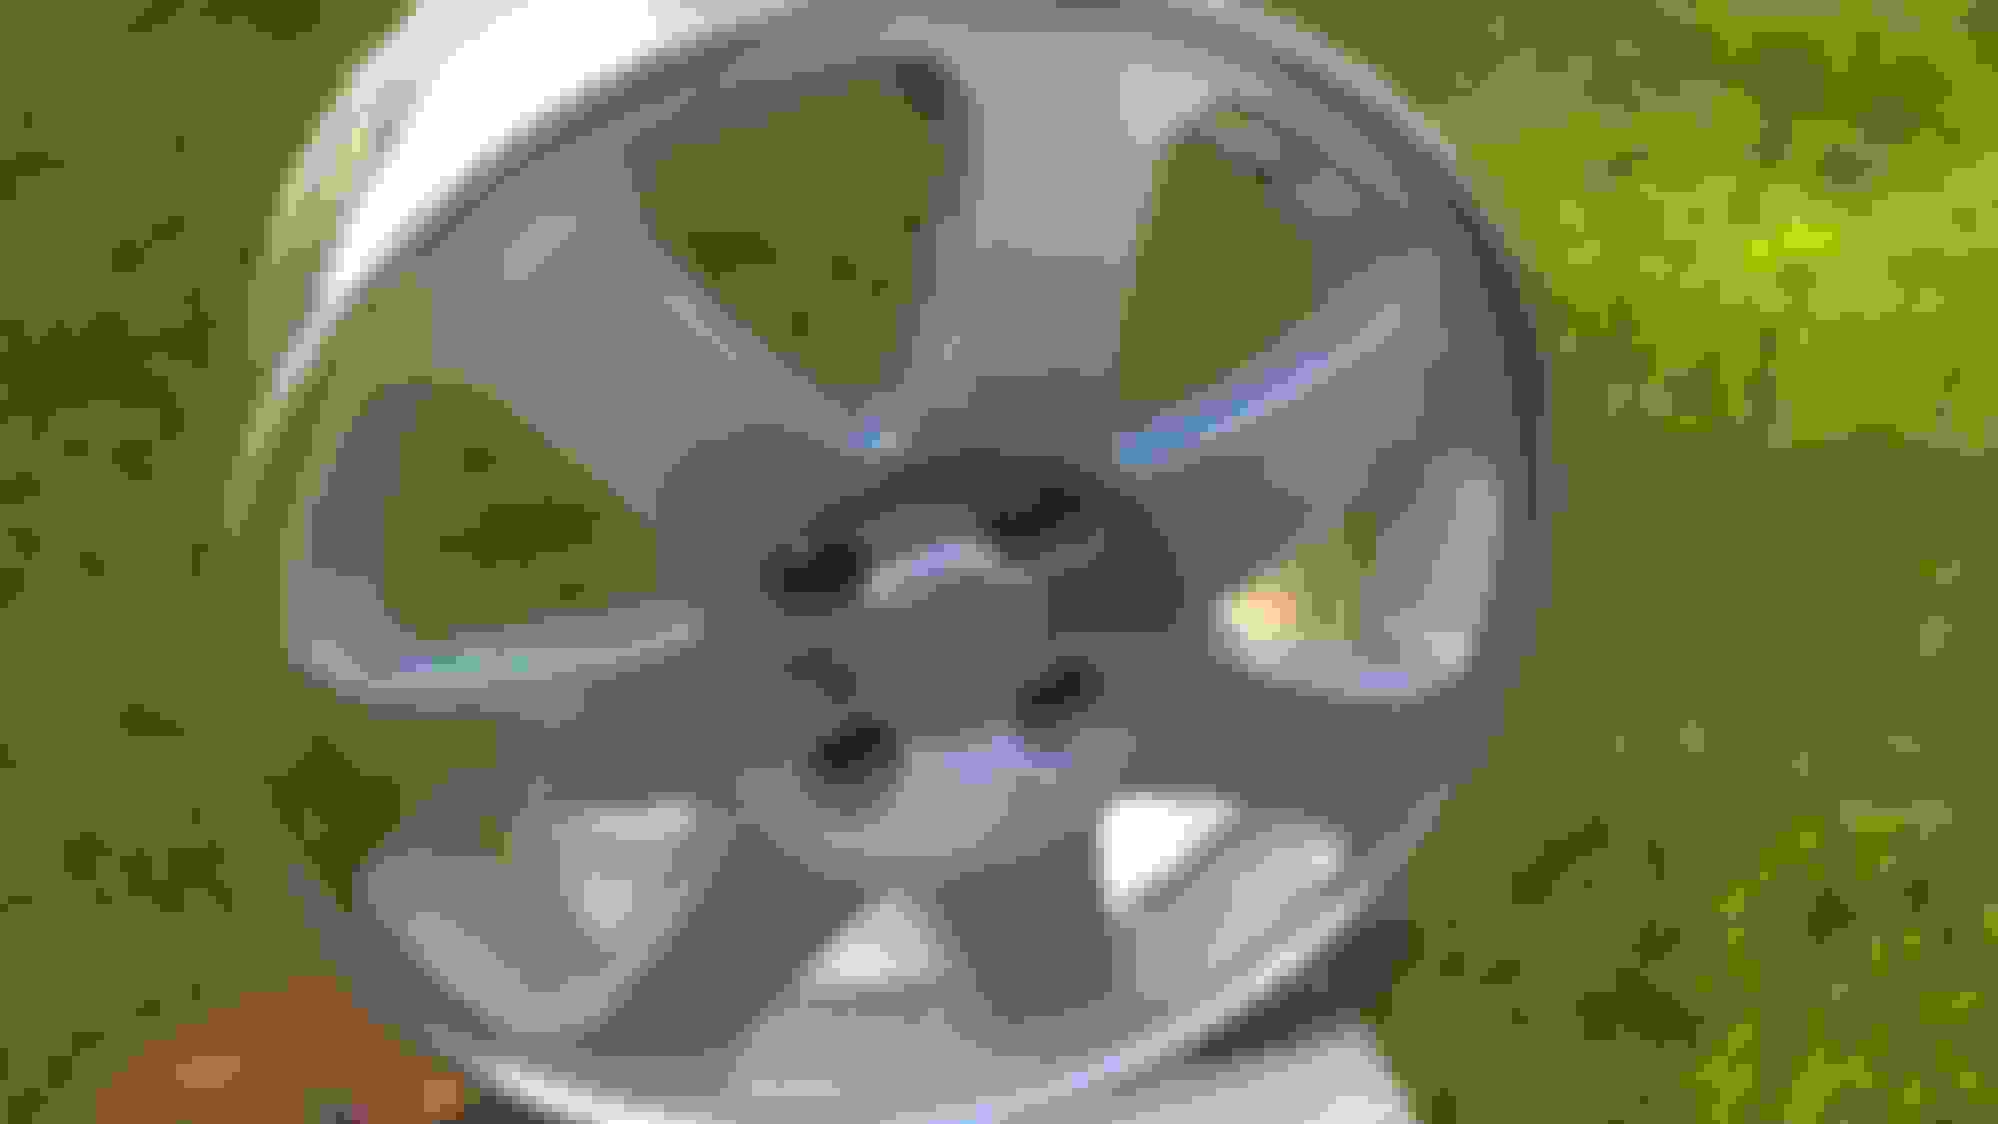
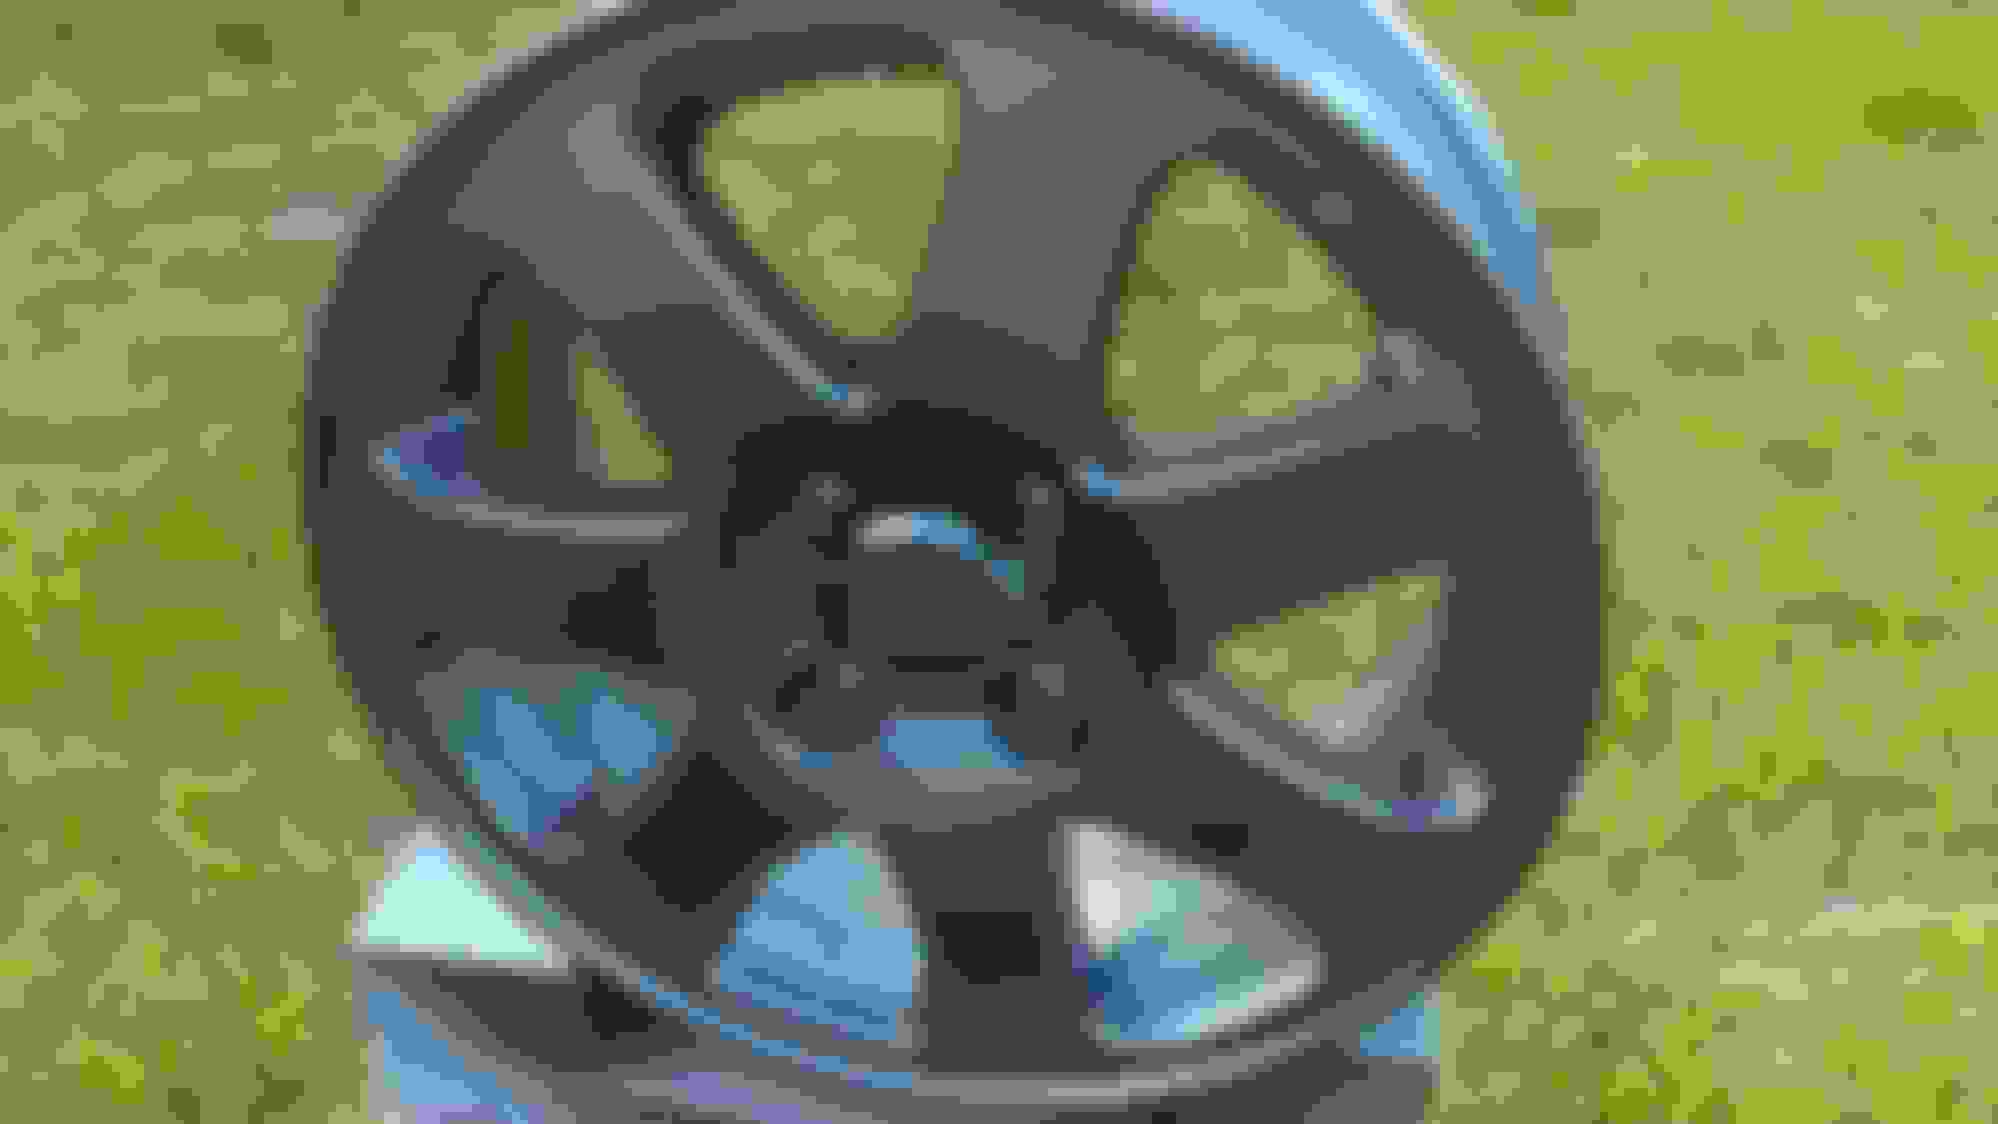
Id did some searching around and did not find a go to solution for taking the beginning of some nasty corrosion of of some SI wheels. Found plenty of info on stripping them so that is not an issue. Also to be clear i do not want to polish them, i would like to keep the finish as close to the factory machined with clear coat look. I am not wanting to skip steps, cost or time, i just do not want polished wheels. Any way here are the pics:
Any experience in terms of methods for cleaning up the corrosion?
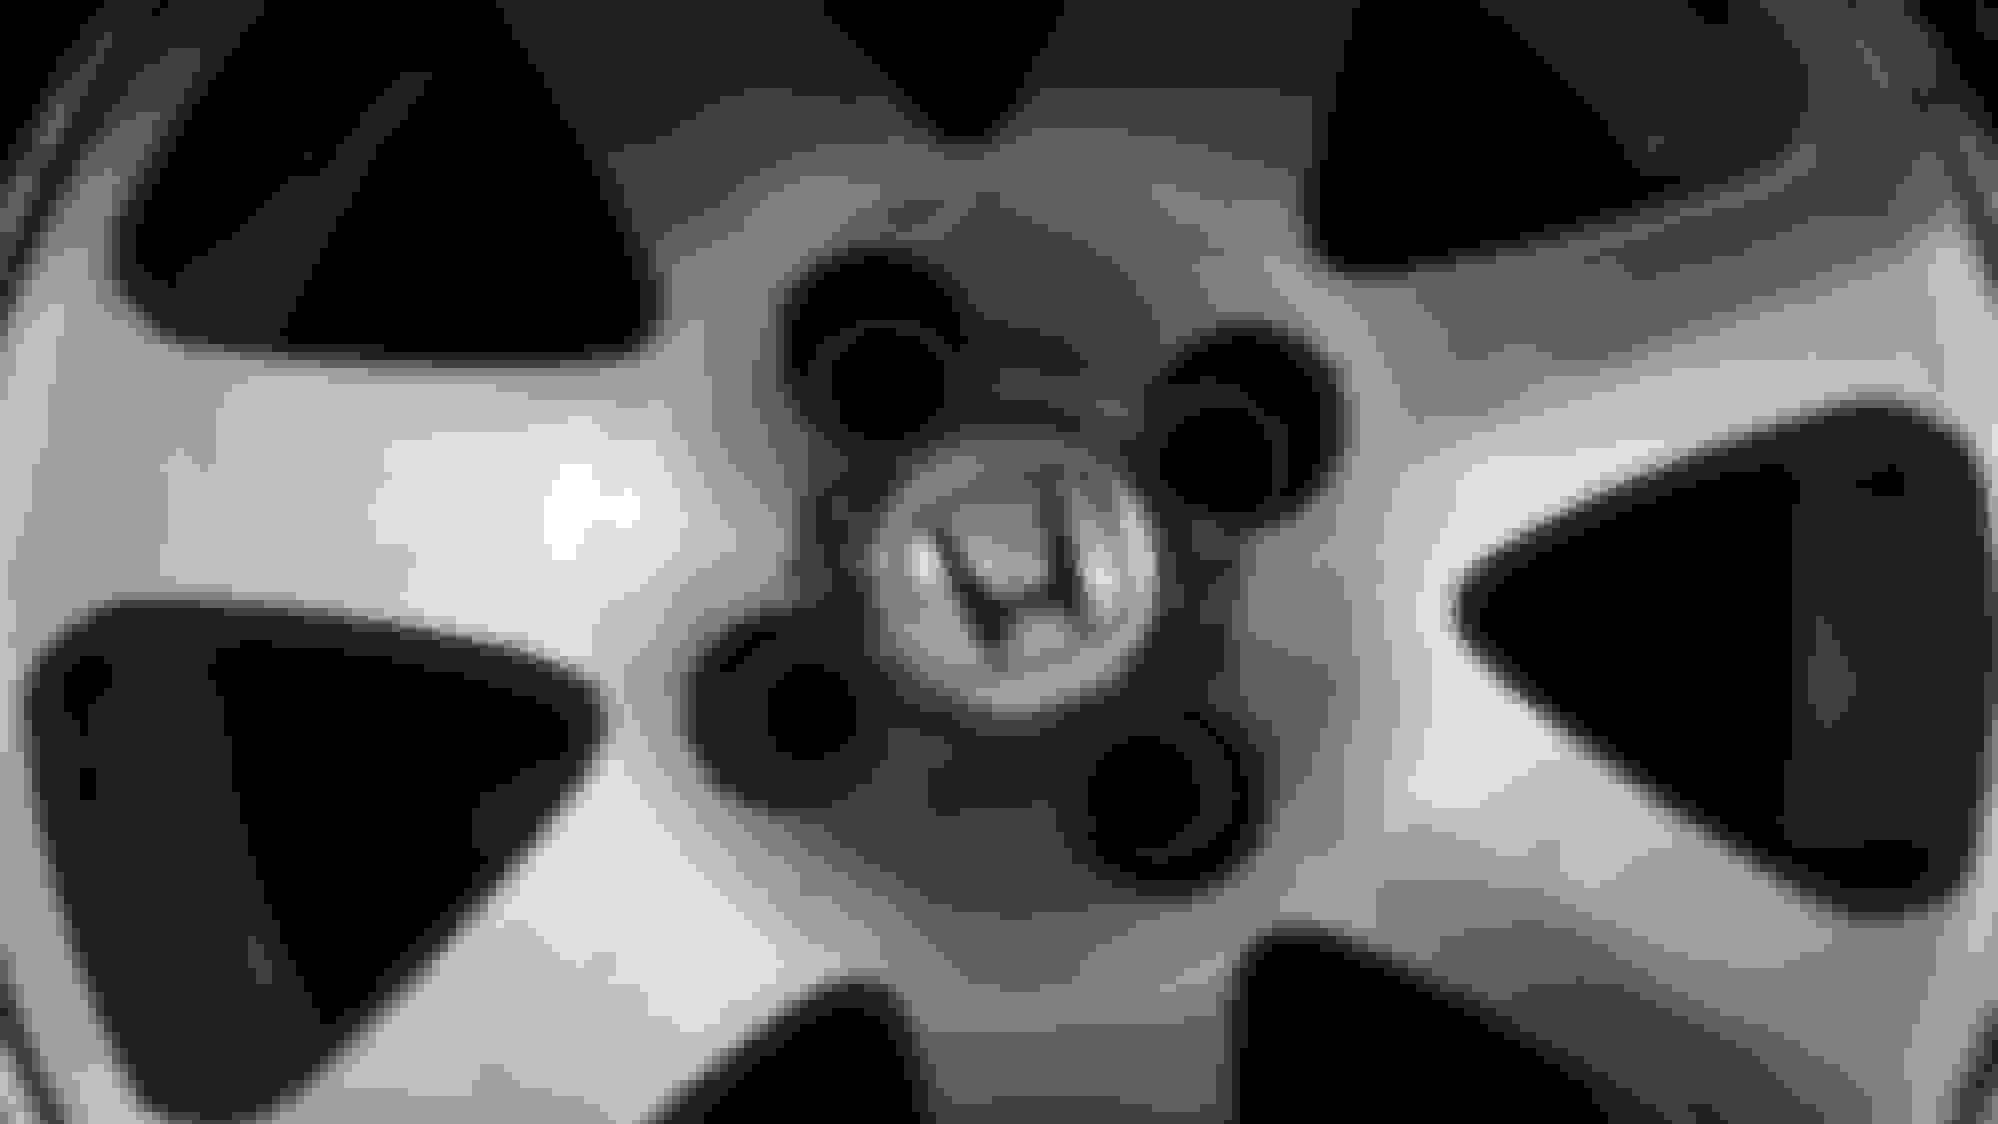
Is there a place that does that? Call me crazy but upon viewing the close up, it almost looks like machined aluminum surface is a veneer?
For those of you that have sanded these down, is that what is on the wheel?
The face is machined. Its not a veneer. What you're probably seeing is the clearcoat coming off of the metal, as clearcoat has a difficult time adhering to non-primed surfaces.
As for a facility that can re-machine the faces, I would recommend doing some local searches for machine shops catering to wheel repair/refinishing.
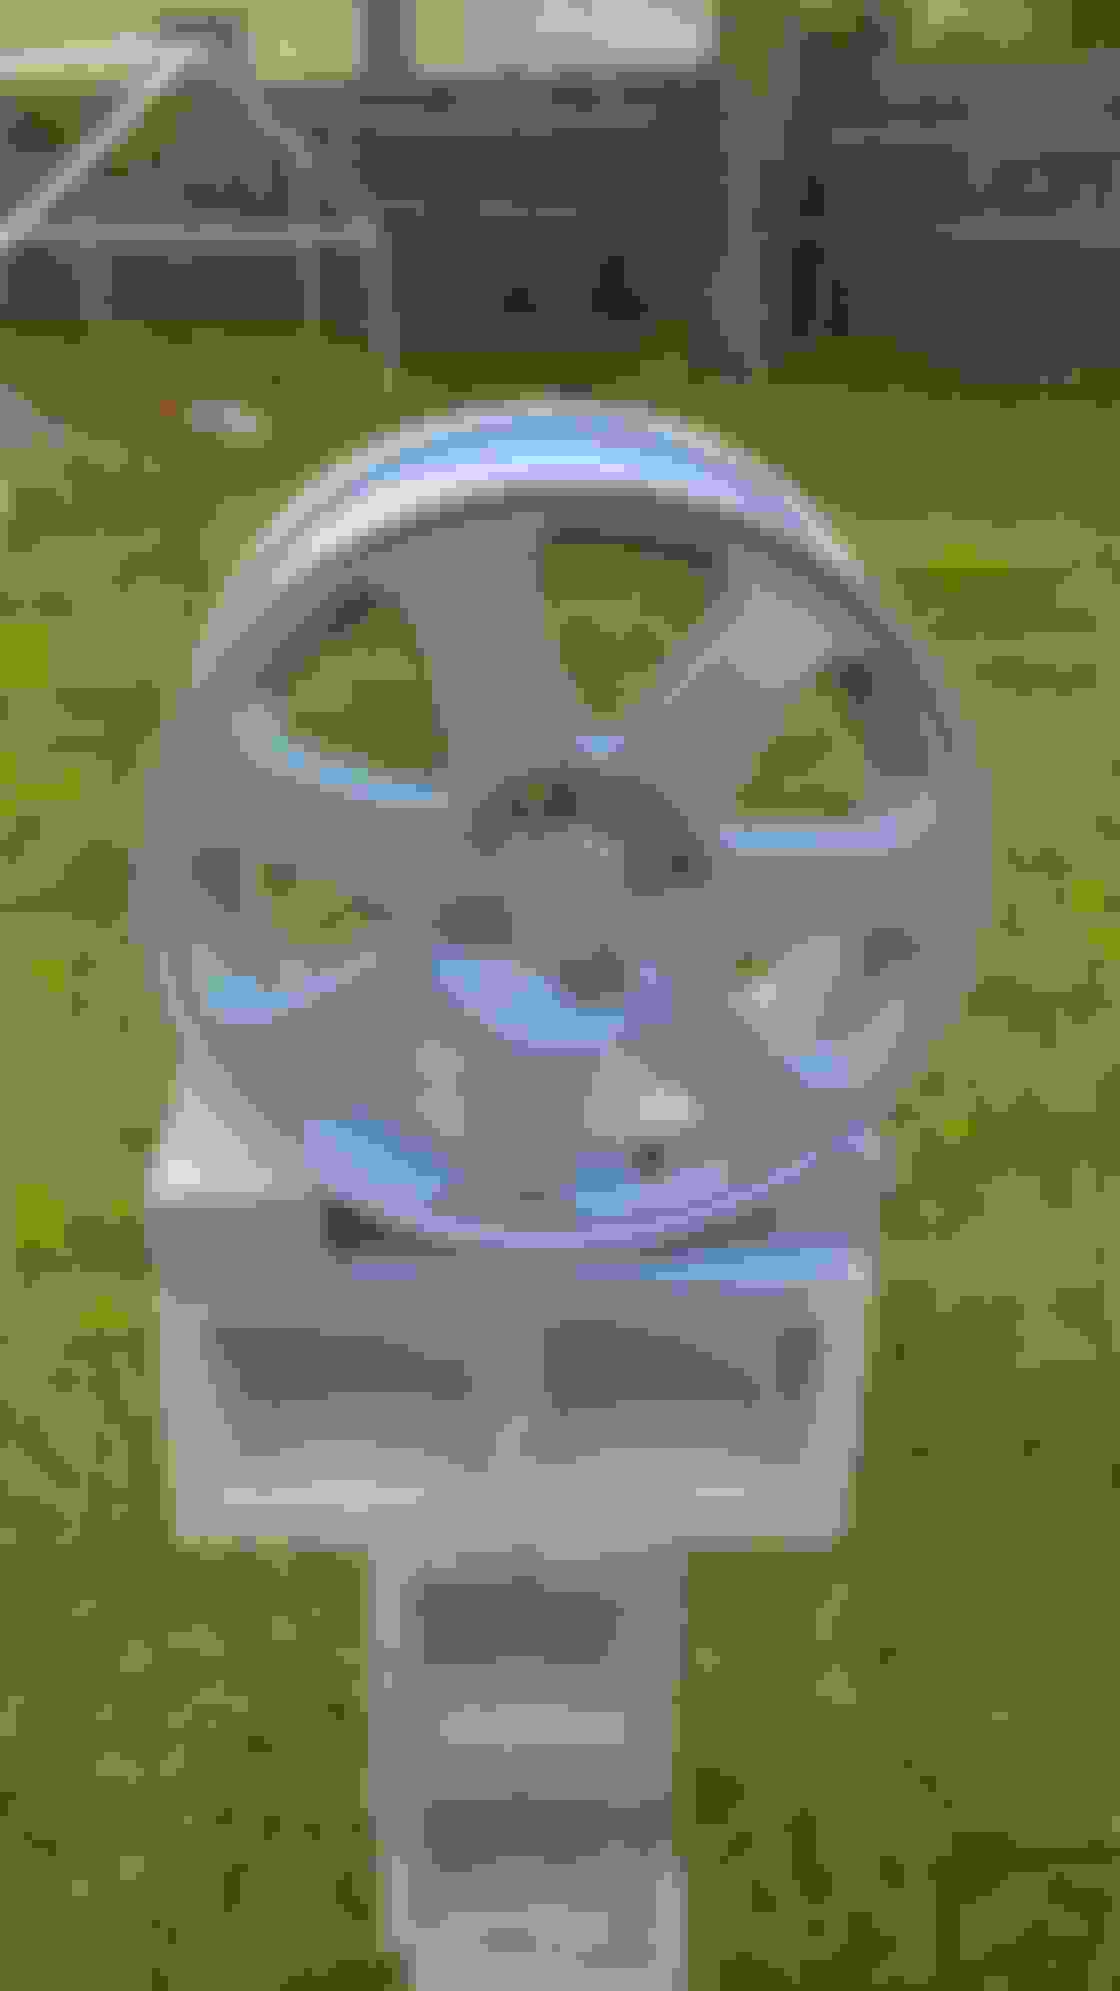
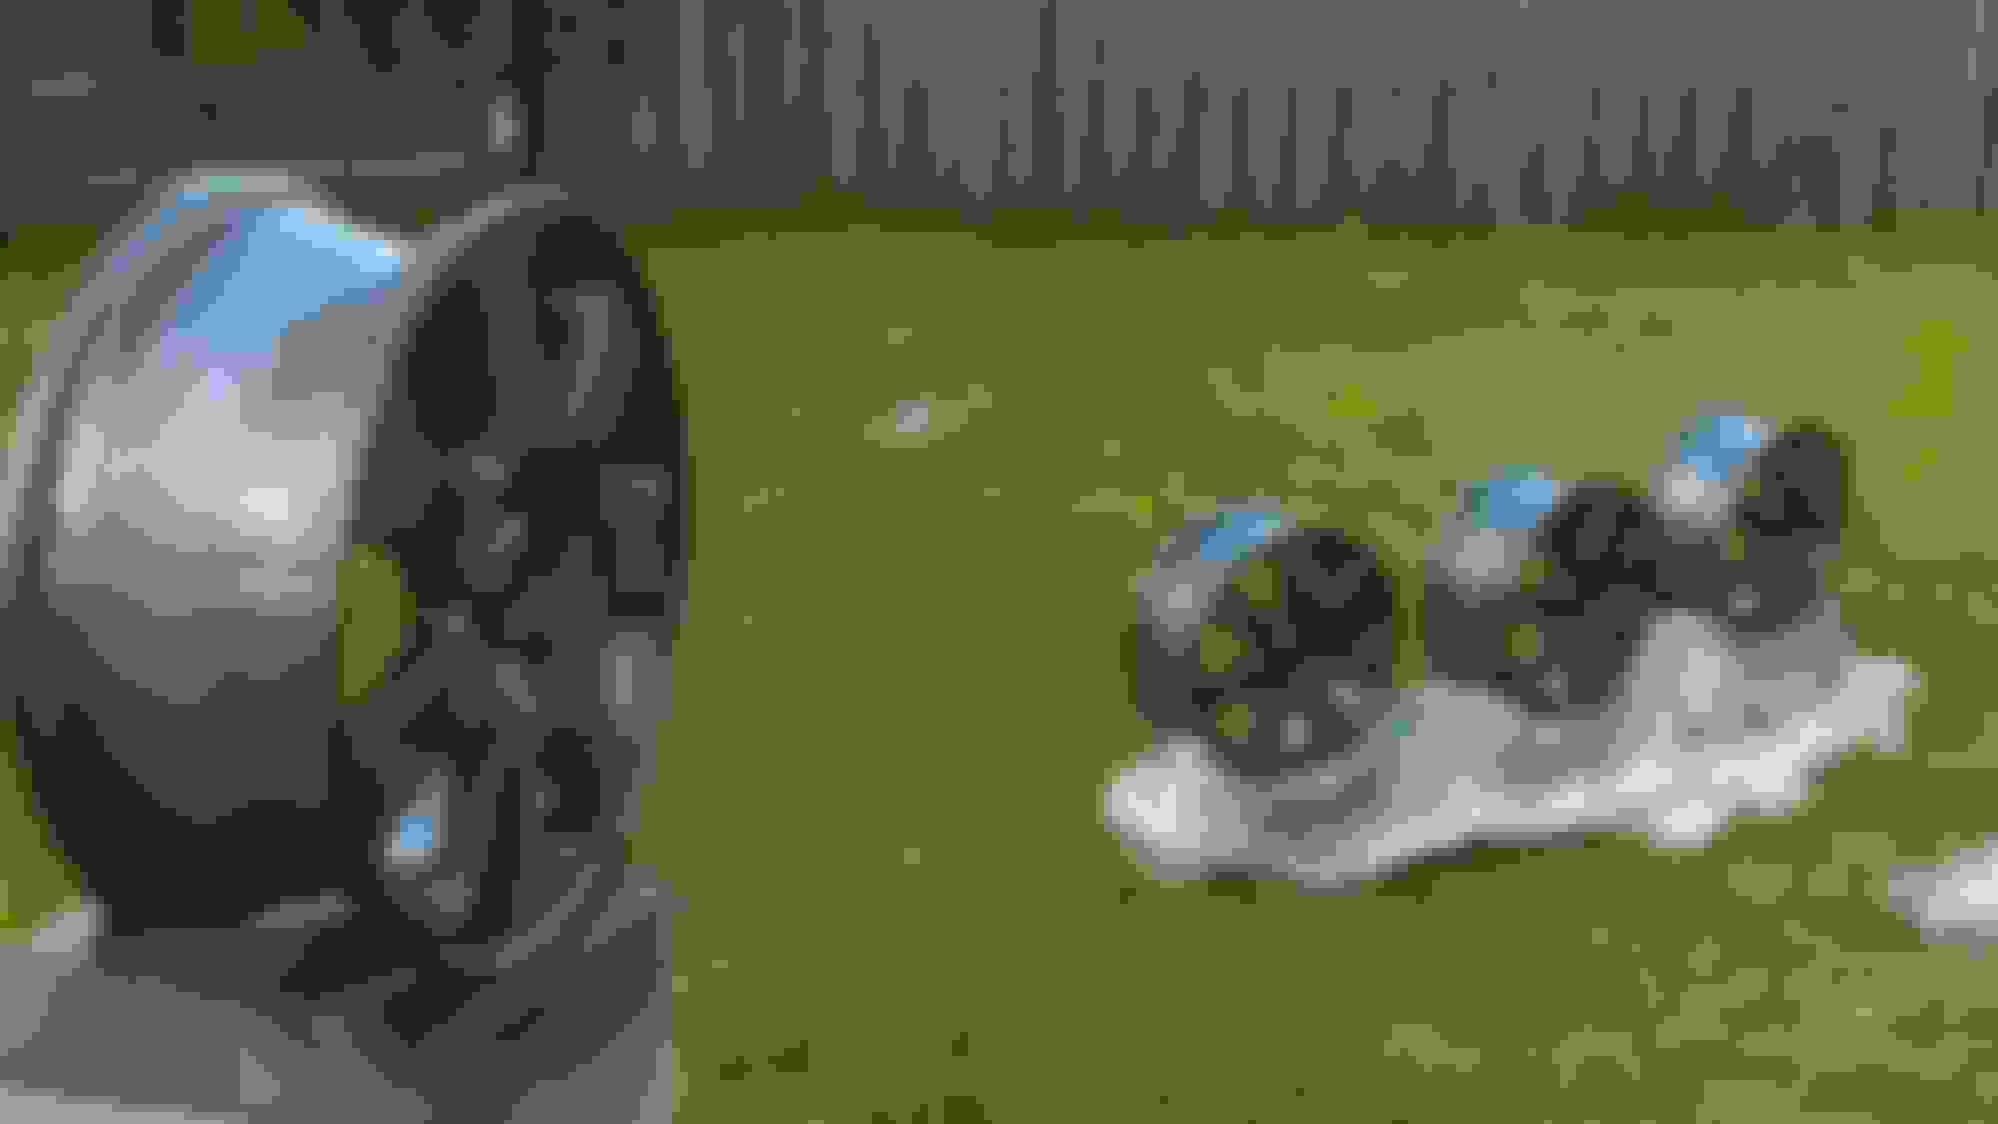
Im going to paint strip it and see what is left once its cleaned up. My plan B which I am thinking will be the likely route is going to be painting them Kaiser Silver (OEM Type R gun metal color).
Stripped the clear coat and sanded the effected areas with 80 ->120->320grit
Set-up for primer:
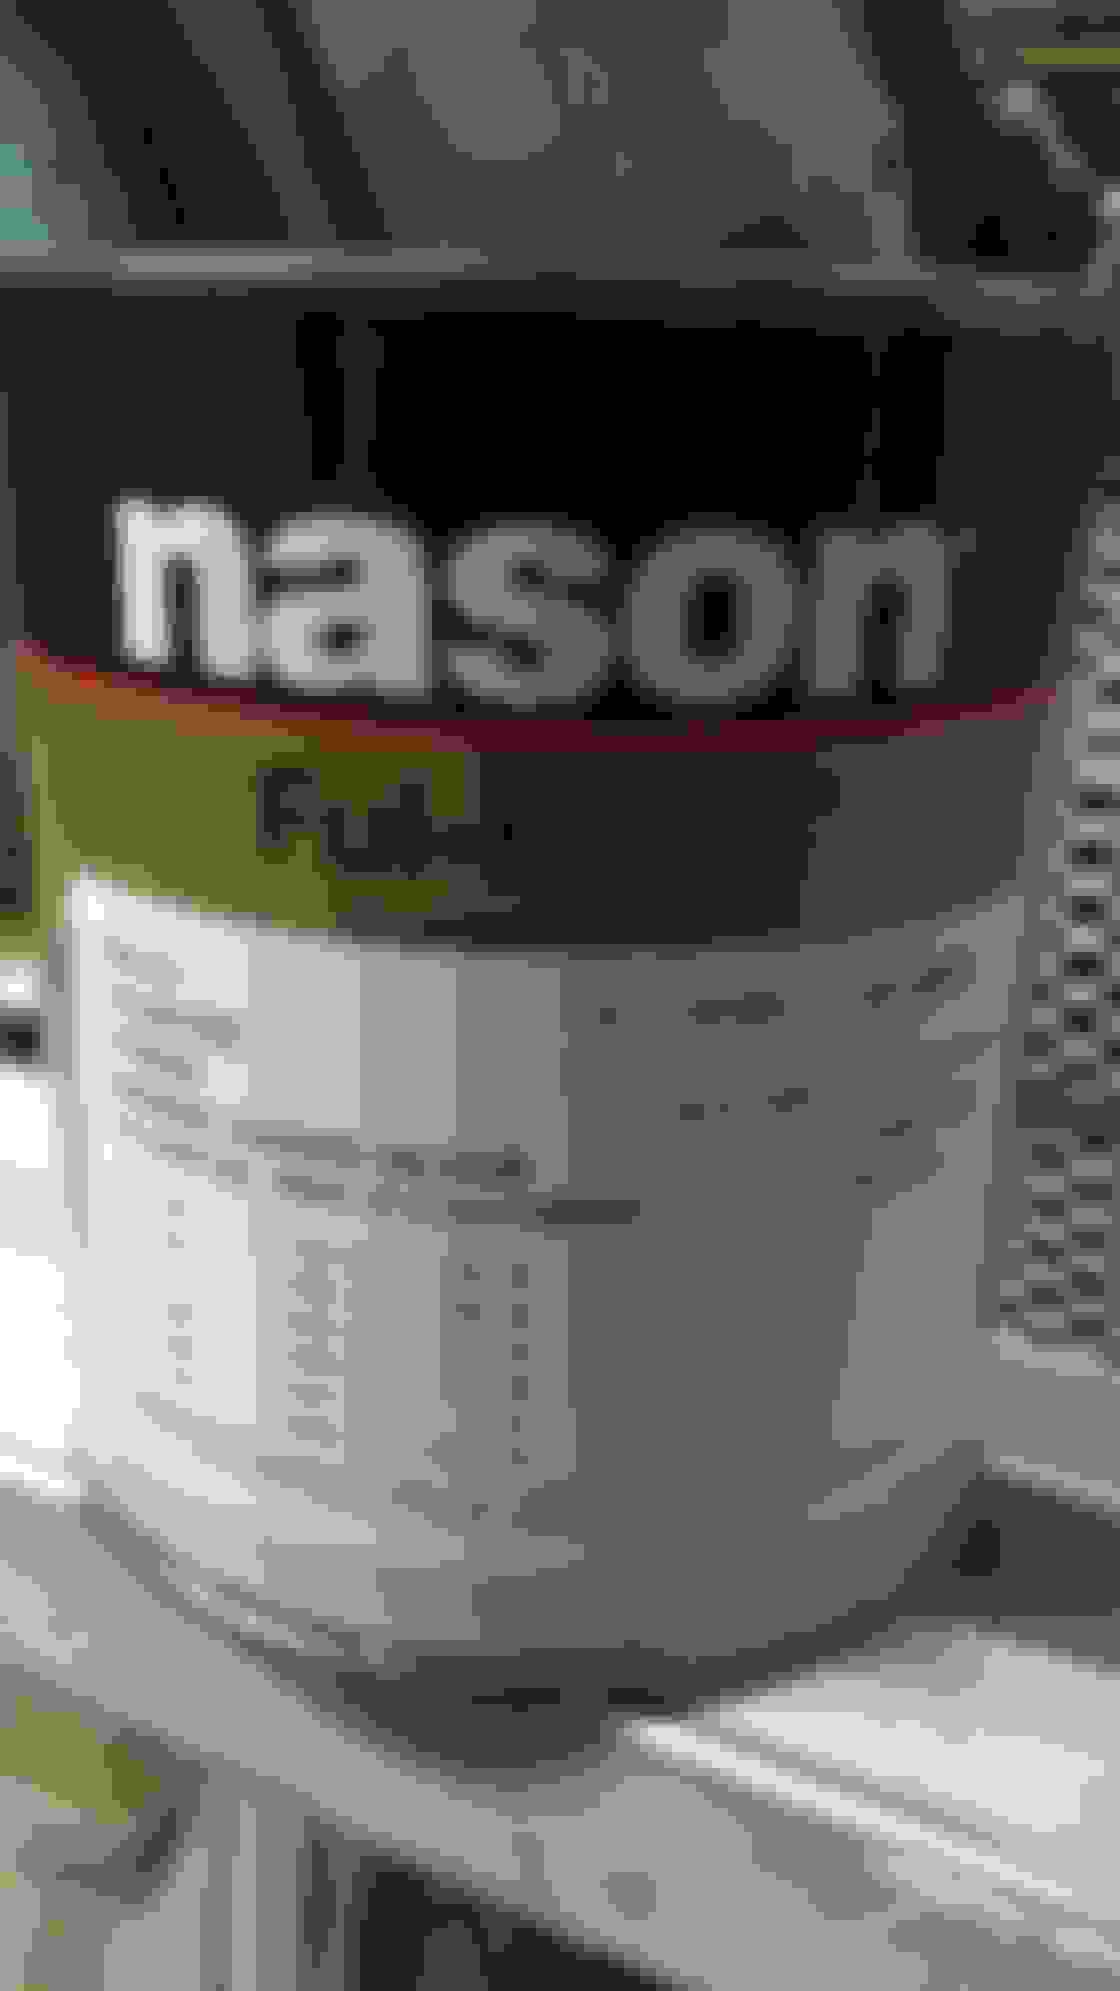
I used Nason DTM (direct to metal) 2 part epoxy for the primer.
After a 30 minute induction period, hit the wheels:
Let the set over night after two coats and did some mark up and sanding to get rid of the imperfections:
Also fill some of the curb rash and misc dings from possibly 18 years of use:
After sanding that down and hitting the wheels with a final layer of primer, it was onto the base:
I could see that, though it was smooth to the touch and didnt quite show in the primer stage, the areas in the rim that were painted between the blades really showed where i didn't get all the paint off. It looks like its crinkled but its not. Oh well live and learn. As these are for my daily driver, i was ok with a B. Here is a close up of what i am talking about:
For the clear i used Chromabase 7779s which is from the "Du pont" line up above the nason brand that Du pont makes (its all Axalta now, but people still call it Du pont).
I let those sit over night to harden up and brought them out the next day to see them in direct sun light:
I got a few runs in the clear so i hit those carefully with a razor blade then 1200-1500-2000grit then ultra cut compound up to a finish compound. Im happy with the way these came out. I am working on getting vinyl "H" decals made for the caps so i can stick those on and shoot clear over that for the finishing touch. Now i need to find a set of tires to put on these. When i do I'll try to grab some on the car pics though the car is next on the paint list having been rattle canned in its previous life.
make sure you tell them to put the weights on the inside or it will **** up your finish.
oh yeah, the place I go to knows better so it will get the sticker weight treatment. I just got the vinyl decals made for the center caps I just have to go pick them up. At the recommendation of the decal guy he told me to expose the vinyl to direct sun for 7 days to get them to fully adhere and settle before clearing over them.

 08-23-2016, 06:24 PM