
Another way to paint wheels.
 04-01-2009, 07:14 AM
#1
Honda-Tech Member
Thread Starter
Join Date: Oct 2007
Location: Gurnee, Illinois, America
Posts: 818
Likes: 0
Received 0 Likes
on
0 Posts
I figured since i was redoing my wheels, id take plenty of pics and make a write up for reference because ive seen numerous threads relating to how to paint wheels. Ill give the proper steps to painting aluminum wheels as well as sanding and polishing a lip. Im not saying this is how you must paint wheels, but this will give you much better results than a "rattle can" paint job.
Materials i used:
Sand blaster, you can use a regular media blaster but if your wheels have plastic caps such as mine did, Glass Bead blasting is more recommended because it is less abrasive.
400-600 Grit sand paper. If your planning on polishing the lip, sandblasting will cause a very rough texture, so to get a good shiny polish you must hand sand the lip to a smooth finish.
1200 Grit sand paper, not a necessity, but it helps for a very smooth finish after using the 400 or 600 grit.
Water for sanding.
Prep solvent, found at automotive paint stores, this is used to clean the wheels from any grease, polishing compound or any other contaminents that can cause the paint to lift, bubble, or "fisheye".
Primer, With a base coat/clear coat you should use an epoxy primer. This stuff is very expensive, about $250 a gallon for the better brand
Paint, I used a base coat/clear coat setup because it is usually cheaper and easier to spray. About 1 Qt of paint will do the job
Reducer for the paint
Clear Coat
Hardener for the clear
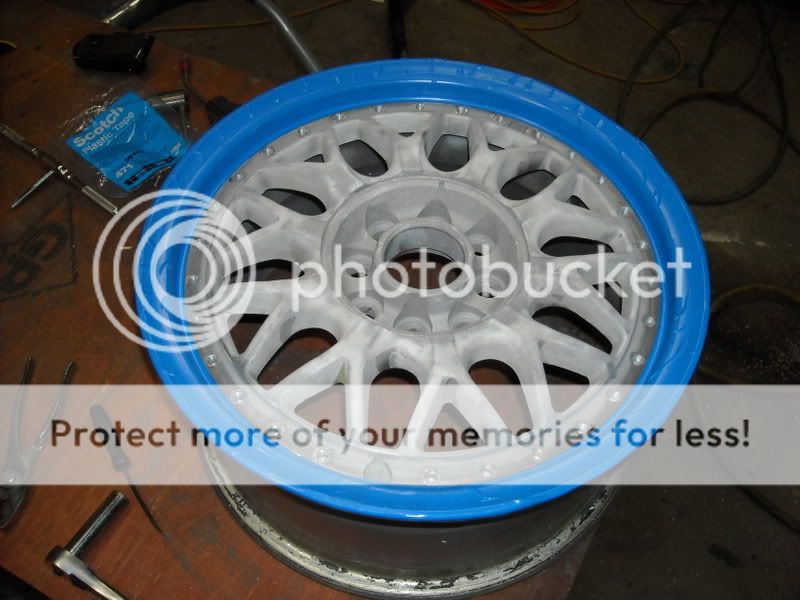
Masking tape, Scotch brand, usually found at automotive paint supply stores, the Blue type i used it the best because it is easily manipulated, stretchable, and flexible to get into small areas and to go with the curveture of the wheel. Bit expensive, but worth it!
Spray gun for primer, paint, and clear.
~Process~
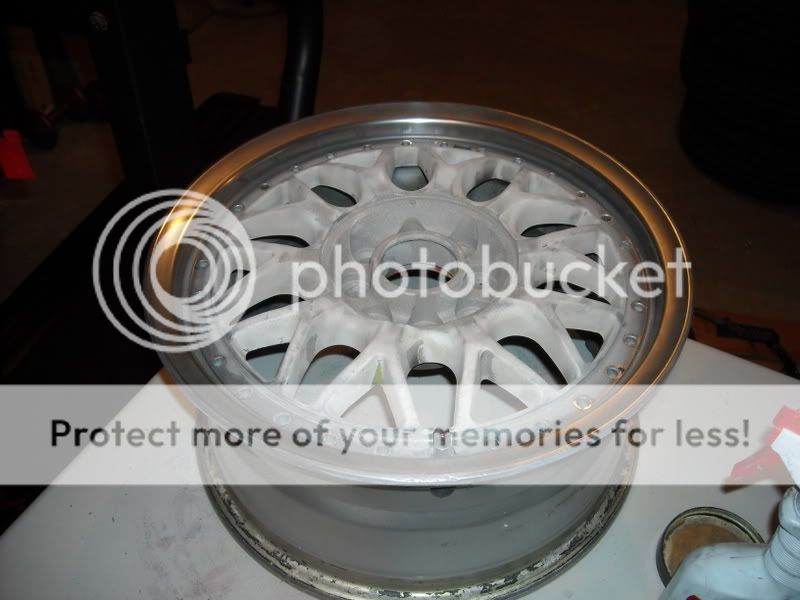
Upon dismounting the wheels, i sandblasted them using a media sandblaster, media sand is a bit more abrasive which is why i used it because i had about 4 layers of paint on the wheels. After sandblasting i started to sand the lip down and get it ready to be polished. I highly recommend wet sanding because it give less of a cleanup and keeps the sand paper clear of aluminum dust which helps it stay more abrasive longer.
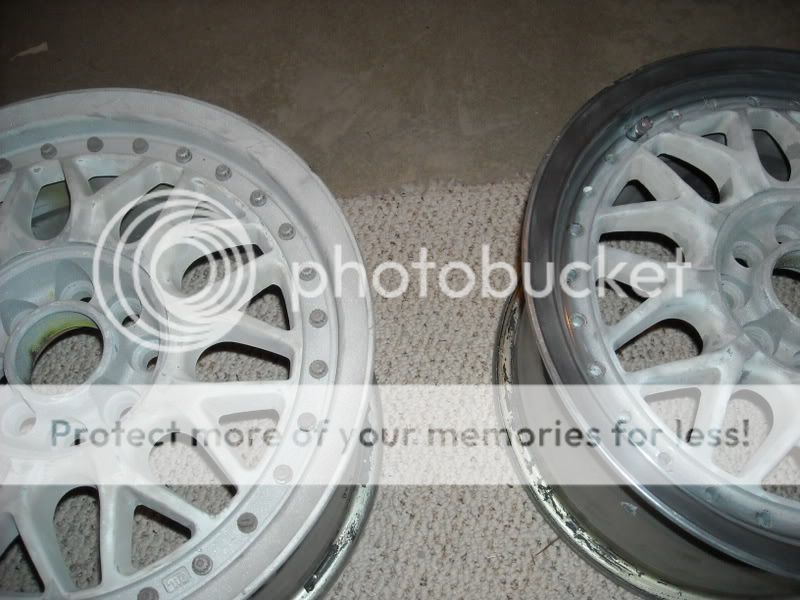
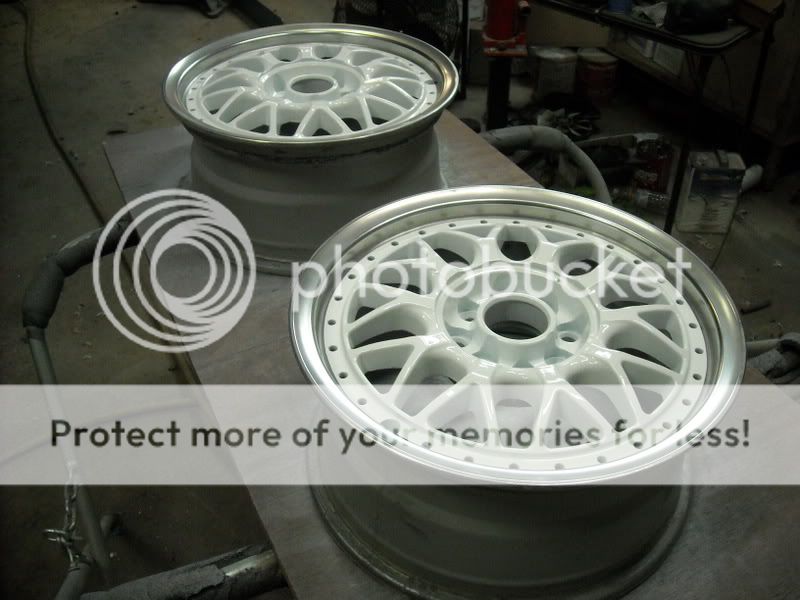
On the left is after sandblasting, the right is after wet sanding and a quicky hand polish...
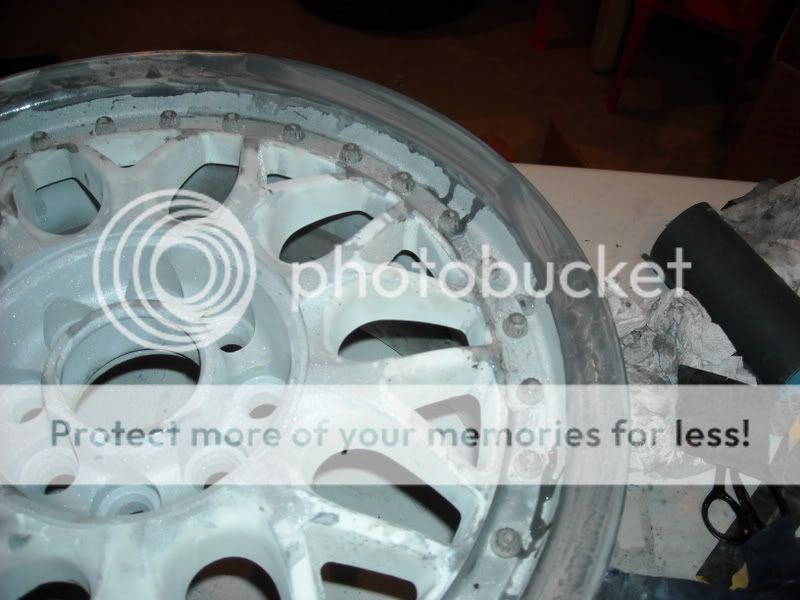
During Wet Sanding
More Wet Sanding
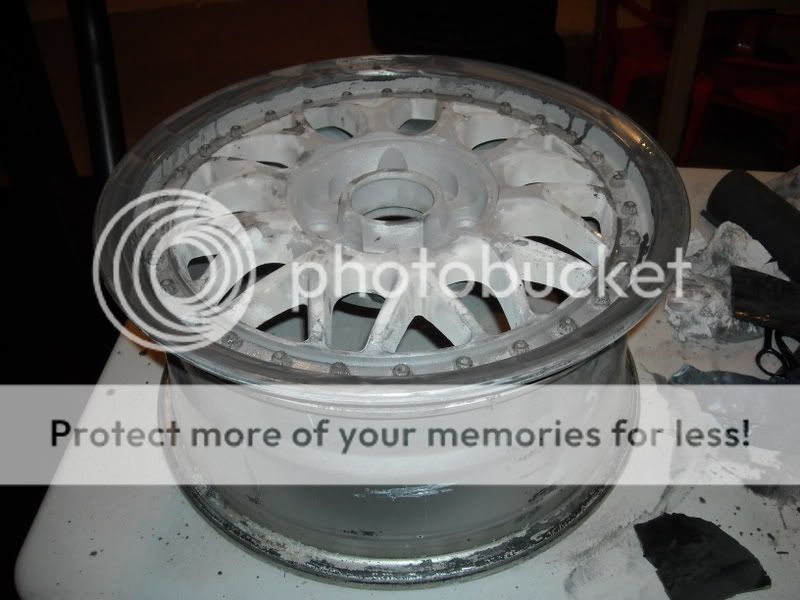
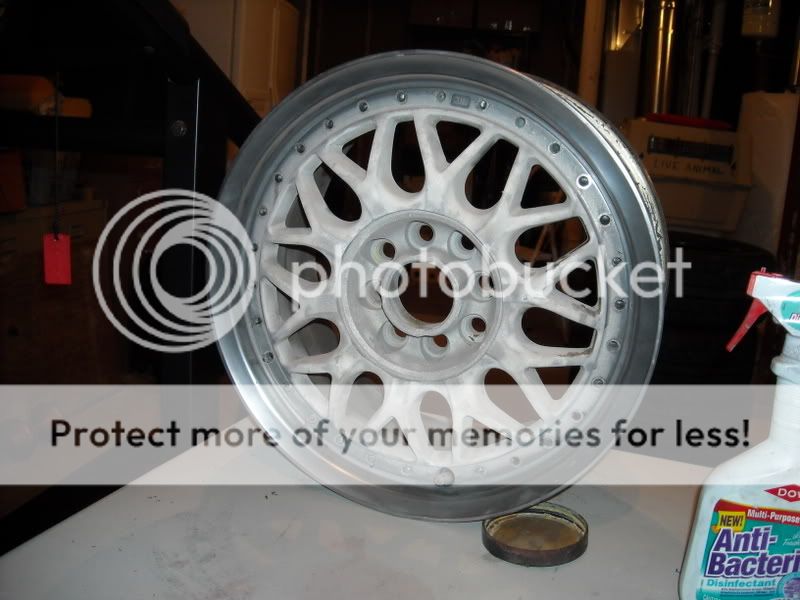
After wet sanding and cleaning the dust and debris, you can start polishing. I used Mothers aluminum polish. You can either do it by hand or to make it faster and easier, some companies sell mini buffing attachments that fit in a normal cordless drill. I recommend a base polish before applying primer and paint because you dont want to mess up the finished paint, especially when using a mini buffer. When polishing by hand, go in a small, circular motion and apply moderate pressure. When finished wipe away with a clean rag.
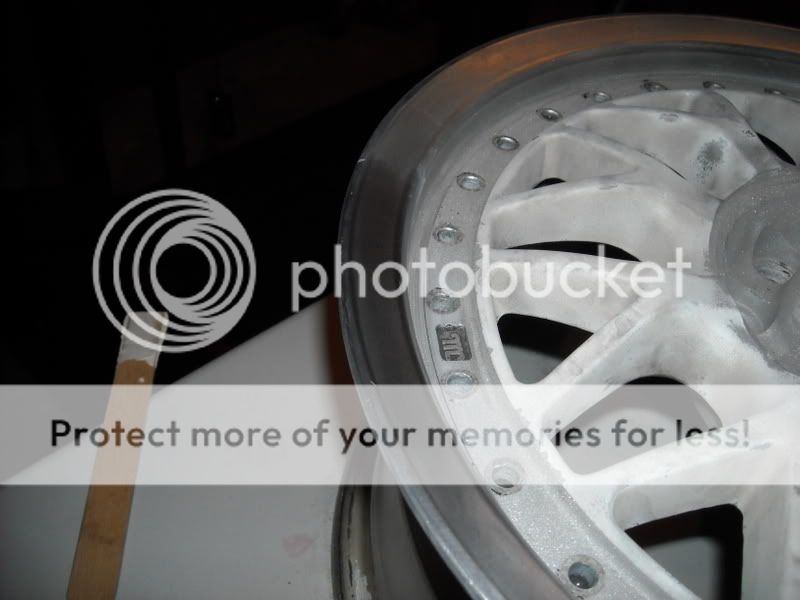
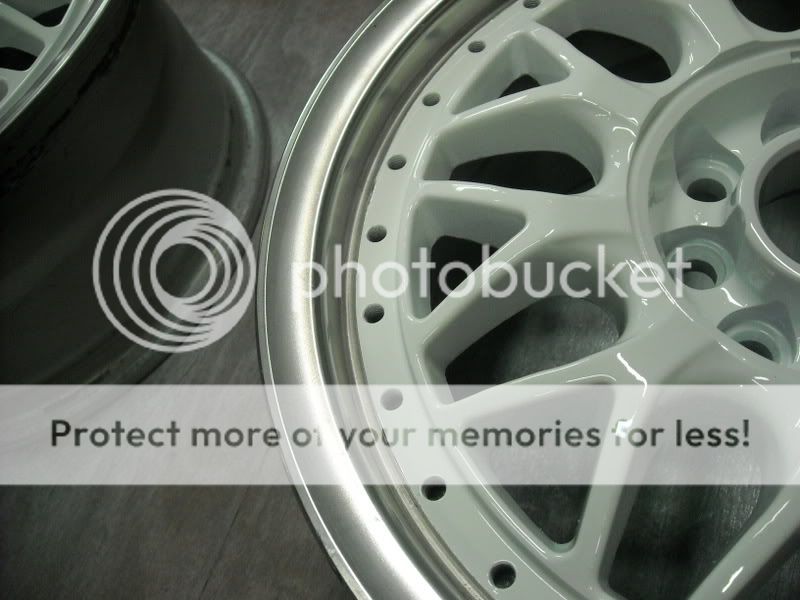
You can see which area has been hand polished compared to unpolished...
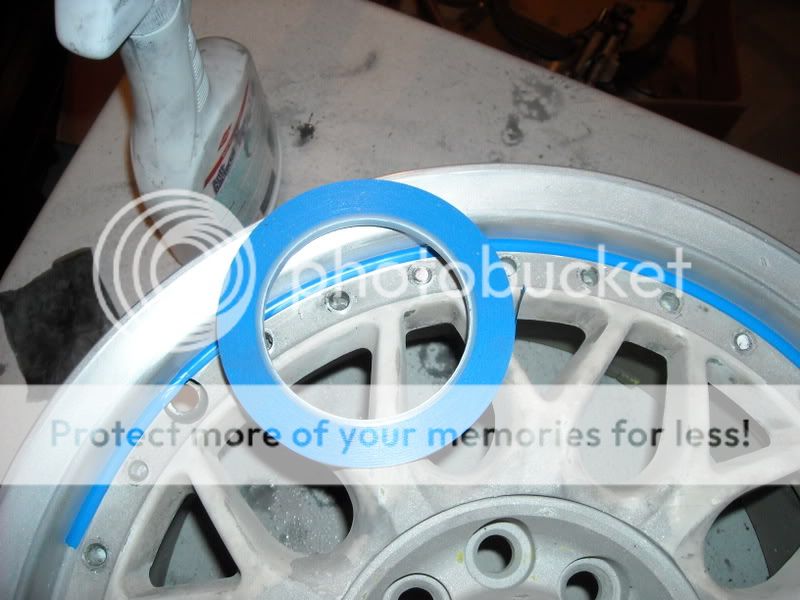
After polishing, use prep solvent to clean the entire painting surface, included the polished area. Although the lip is not being painted, the excess polishing compound must be cleaned or else the masking tape will not stick to the surface. The best way to use prep solvent is to put it in a spray bottle, apply it in a small area then wipe it away before it dries with a clean rag.
Once the lip is polished and the whole wheel surface has been cleaned and dried, you can start masking off the lip. For small edges use the thin blue tape and for larger areas use the thicker stuff.
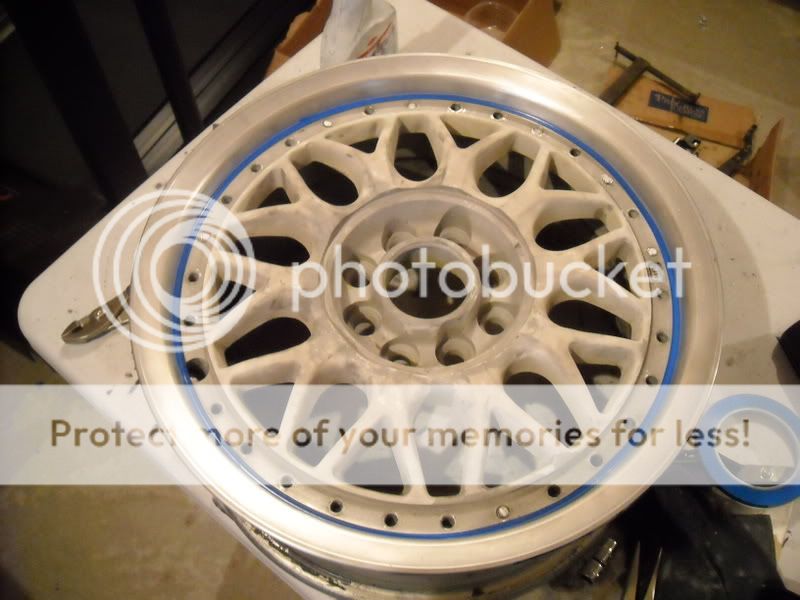
Once the whole lip is masked off, you can start priming. I used an epoxy primer which was Deltron DPLF. It calls for a 2:1 mixture, 2 parts primer, 1 part catalyst which can either be DP401LF or DP402LF, the DP 401 after being mixed must sit for around an hour to activate, 402 can be sprayed immediately. These mixtures do change from different brands so you must read the mixture directions!!!
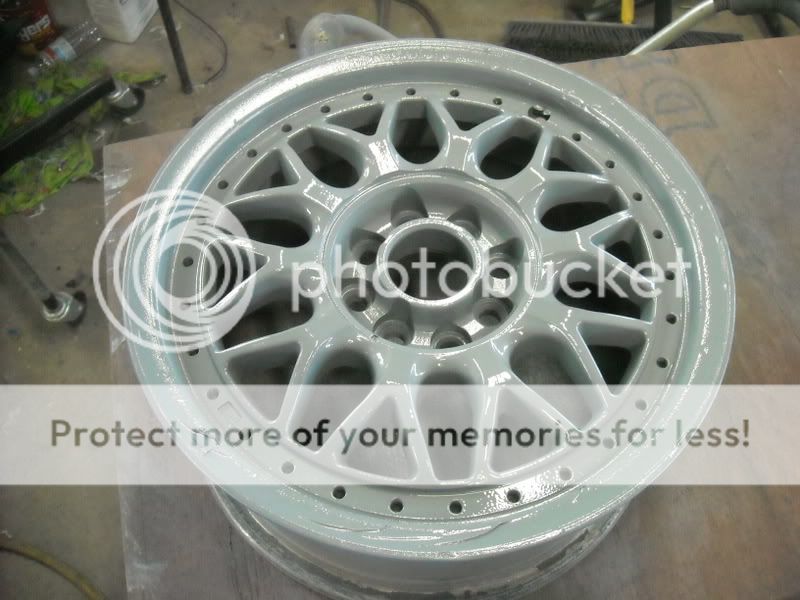
I put about 2 coats of primer on to make sure i had an even coat and got into all the small tight areas. Give the primer atleast 1 hour of setup time before you apply paint.
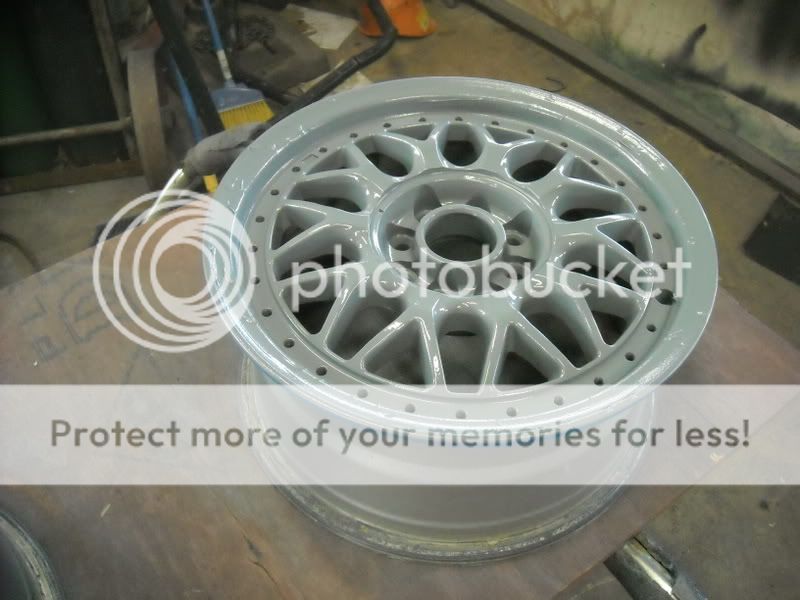
Once the primer has had time to set, you can shoot the paint. I used a regular base coat/clear coat setup. The mixture for that was 1:1, 1 part paint, 1 part reducer. You must use the recommended reducer for whatever paint brand you get as well as the mixing ratio. Usually takes about 2 coats of paint or until you get a good cover over the primer. Give about 10-15 minutes inbetween each coat.
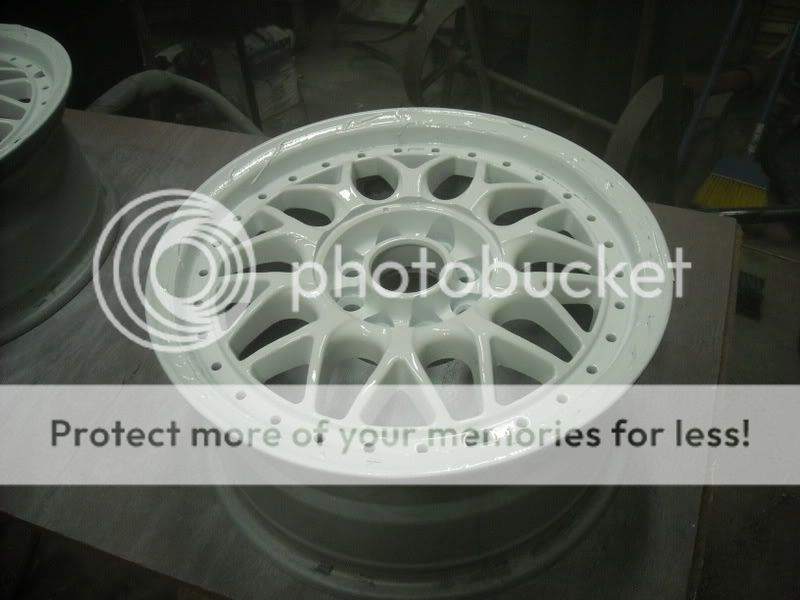
Color is Arctic White, before clear.
Some paints dont require clear coat but i used clear because it gives it more of a shine and is easier to clean. Give atleast 15 minutes for paint to setup and about 15-20 minutes between coats of clear.
I used Omni MC161 High Solids Urethane Clear. The mixing ratio recommended is 2:1, 2 parts clear, 1 part hardener. Use recommended hardener and ratios for your brand of clear. About 2 coats of clear should be good, just make sure you have a good eye for how much you put on, clear is very thin when being applied and can run very easily.
After clear is applied, let everything set for atleast 24 hours before you remove the masking tape. Best idea is to "bake" the paint in about 70-75 degree temp. Once dried, remove the masking tape.
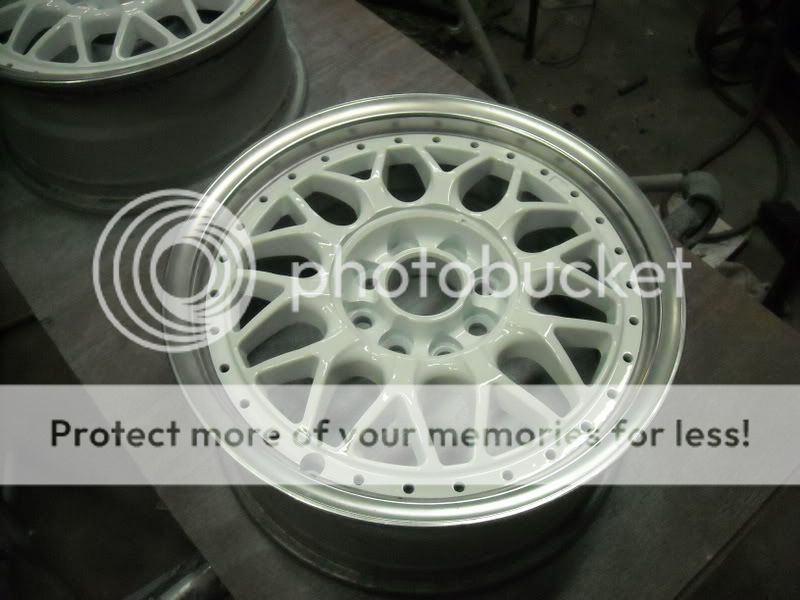
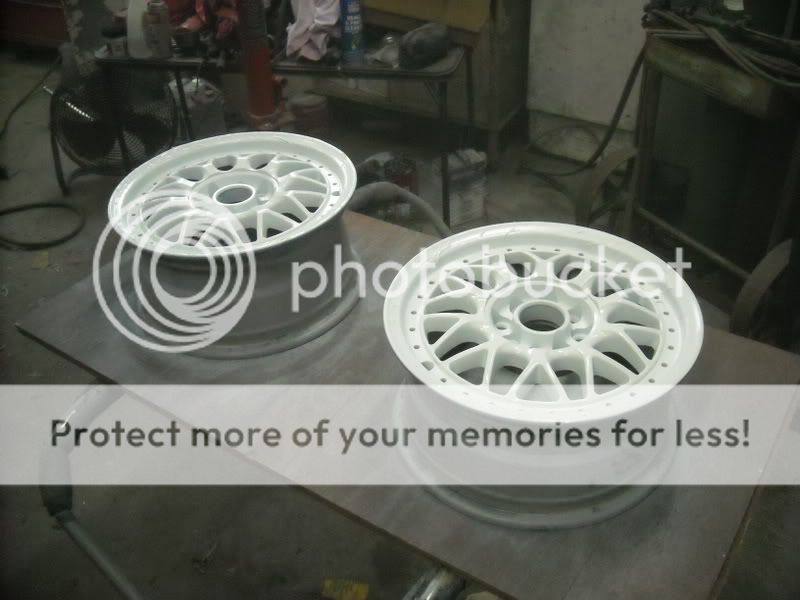
Finished Product, ready for tires...
Still needs a final hand polish.
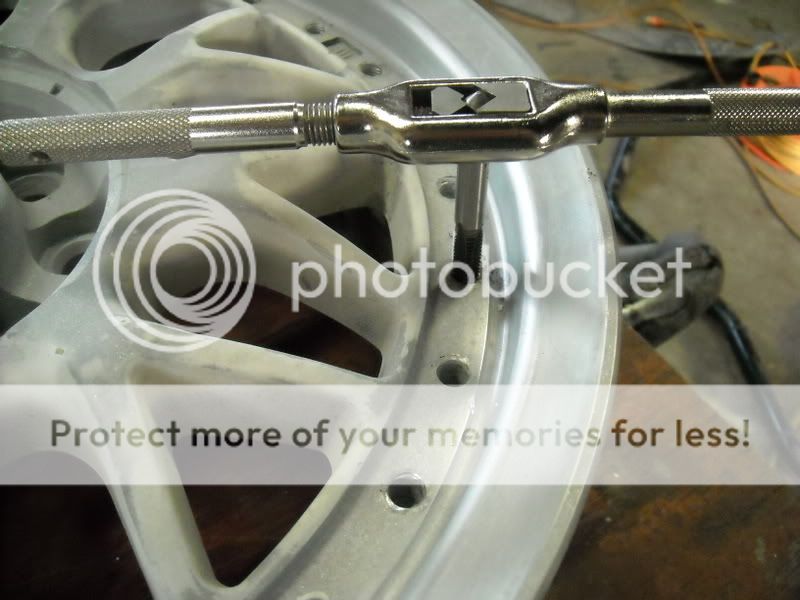
Unfortunately I had to get a little bit more into detail than most would be willing to go. My Three-Piece "look-a-like" wheels got the best of me. Instead of having actual metal studs in the surrounding of the wheels, they had pressed in plastic studs. When i tried remving them, a majority broke off in the wheels and being that they are an older wheel I could not located replacements. So i went to a local hardware store and picked out actual Chrome capped studs, which being chrome and me needing about 120 of them, it is going to cost about $150 or more just for all the studs. I had to pick out the correct size for the already drilled holes in my wheels, and tap threads into each individual hole so i can install the new "real" studs. Ofcourse i did this before i painted the wheels...
Materials i used:
Sand blaster, you can use a regular media blaster but if your wheels have plastic caps such as mine did, Glass Bead blasting is more recommended because it is less abrasive.
400-600 Grit sand paper. If your planning on polishing the lip, sandblasting will cause a very rough texture, so to get a good shiny polish you must hand sand the lip to a smooth finish.
1200 Grit sand paper, not a necessity, but it helps for a very smooth finish after using the 400 or 600 grit.
Water for sanding.
Prep solvent, found at automotive paint stores, this is used to clean the wheels from any grease, polishing compound or any other contaminents that can cause the paint to lift, bubble, or "fisheye".
Primer, With a base coat/clear coat you should use an epoxy primer. This stuff is very expensive, about $250 a gallon for the better brand
Paint, I used a base coat/clear coat setup because it is usually cheaper and easier to spray. About 1 Qt of paint will do the job
Reducer for the paint
Clear Coat
Hardener for the clear
Masking tape, Scotch brand, usually found at automotive paint supply stores, the Blue type i used it the best because it is easily manipulated, stretchable, and flexible to get into small areas and to go with the curveture of the wheel. Bit expensive, but worth it!
Spray gun for primer, paint, and clear.
~Process~
Upon dismounting the wheels, i sandblasted them using a media sandblaster, media sand is a bit more abrasive which is why i used it because i had about 4 layers of paint on the wheels. After sandblasting i started to sand the lip down and get it ready to be polished. I highly recommend wet sanding because it give less of a cleanup and keeps the sand paper clear of aluminum dust which helps it stay more abrasive longer.
On the left is after sandblasting, the right is after wet sanding and a quicky hand polish...
During Wet Sanding
More Wet Sanding
After wet sanding and cleaning the dust and debris, you can start polishing. I used Mothers aluminum polish. You can either do it by hand or to make it faster and easier, some companies sell mini buffing attachments that fit in a normal cordless drill. I recommend a base polish before applying primer and paint because you dont want to mess up the finished paint, especially when using a mini buffer. When polishing by hand, go in a small, circular motion and apply moderate pressure. When finished wipe away with a clean rag.
You can see which area has been hand polished compared to unpolished...
After polishing, use prep solvent to clean the entire painting surface, included the polished area. Although the lip is not being painted, the excess polishing compound must be cleaned or else the masking tape will not stick to the surface. The best way to use prep solvent is to put it in a spray bottle, apply it in a small area then wipe it away before it dries with a clean rag.
Once the lip is polished and the whole wheel surface has been cleaned and dried, you can start masking off the lip. For small edges use the thin blue tape and for larger areas use the thicker stuff.
Once the whole lip is masked off, you can start priming. I used an epoxy primer which was Deltron DPLF. It calls for a 2:1 mixture, 2 parts primer, 1 part catalyst which can either be DP401LF or DP402LF, the DP 401 after being mixed must sit for around an hour to activate, 402 can be sprayed immediately. These mixtures do change from different brands so you must read the mixture directions!!!
I put about 2 coats of primer on to make sure i had an even coat and got into all the small tight areas. Give the primer atleast 1 hour of setup time before you apply paint.
Once the primer has had time to set, you can shoot the paint. I used a regular base coat/clear coat setup. The mixture for that was 1:1, 1 part paint, 1 part reducer. You must use the recommended reducer for whatever paint brand you get as well as the mixing ratio. Usually takes about 2 coats of paint or until you get a good cover over the primer. Give about 10-15 minutes inbetween each coat.
Color is Arctic White, before clear.
Some paints dont require clear coat but i used clear because it gives it more of a shine and is easier to clean. Give atleast 15 minutes for paint to setup and about 15-20 minutes between coats of clear.
I used Omni MC161 High Solids Urethane Clear. The mixing ratio recommended is 2:1, 2 parts clear, 1 part hardener. Use recommended hardener and ratios for your brand of clear. About 2 coats of clear should be good, just make sure you have a good eye for how much you put on, clear is very thin when being applied and can run very easily.
After clear is applied, let everything set for atleast 24 hours before you remove the masking tape. Best idea is to "bake" the paint in about 70-75 degree temp. Once dried, remove the masking tape.
Finished Product, ready for tires...
Still needs a final hand polish.
Unfortunately I had to get a little bit more into detail than most would be willing to go. My Three-Piece "look-a-like" wheels got the best of me. Instead of having actual metal studs in the surrounding of the wheels, they had pressed in plastic studs. When i tried remving them, a majority broke off in the wheels and being that they are an older wheel I could not located replacements. So i went to a local hardware store and picked out actual Chrome capped studs, which being chrome and me needing about 120 of them, it is going to cost about $150 or more just for all the studs. I had to pick out the correct size for the already drilled holes in my wheels, and tap threads into each individual hole so i can install the new "real" studs. Ofcourse i did this before i painted the wheels...


Thread
Thread Starter
Forum
Replies
Last Post