
***DIY painting "Ek" sideskirts and CTR Style Grill***
 06-27-2007, 12:54 PM
#1
Ek Forever y0!
Thread Starter
Join Date: May 2005
Location: Beating people with a stick, GA
Posts: 16,712
Likes: 0
Received 6 Likes
on
6 Posts
Okay, so this is my first write-up and my first time doing any automotive painting, so cut me some slack.  It is VERY important that you don't wash your car 24 hours before you do any trim painting. You don't want water hiding in any crevices to come out on unsuspecting fresh paint. It will look like it doesn't match until you wash your car, wait at least 3 days for the paint to cure, then use rubbing compound on the sideskirts to get them to glow like oem paint, and then wash the car. It will match perfect with paint-scratch paint and proper technique.
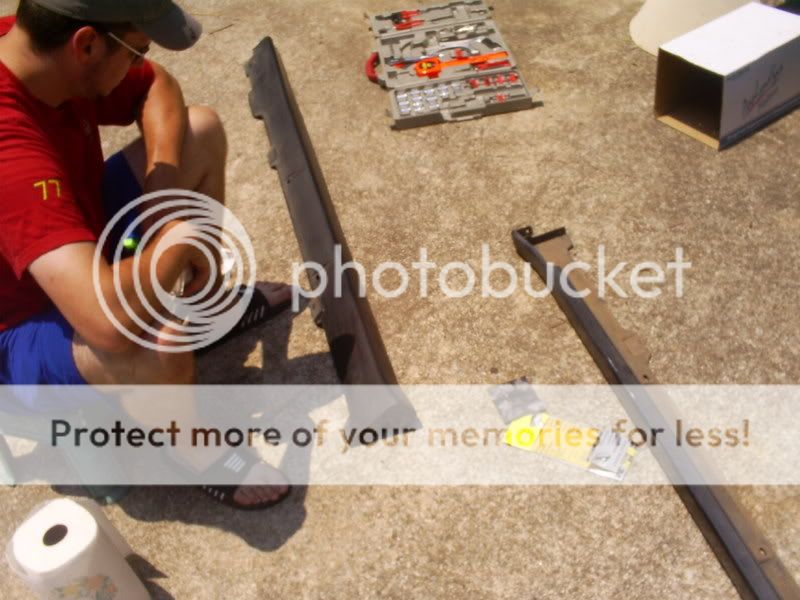
1. Gather the supplies needed. I got paint from paintscratch.com. It matches well and only cost me ~$27 a can shipped. I got two to do this and I still have enough left over for my moldings.
600/800 grit, adhesion promoter or primer, I used adhesion promoter. And some clearcoat I got at autozone. (Not pictured are the screwdriver and 10mm socket needed to remove the bumper/grill/sideskirts.)

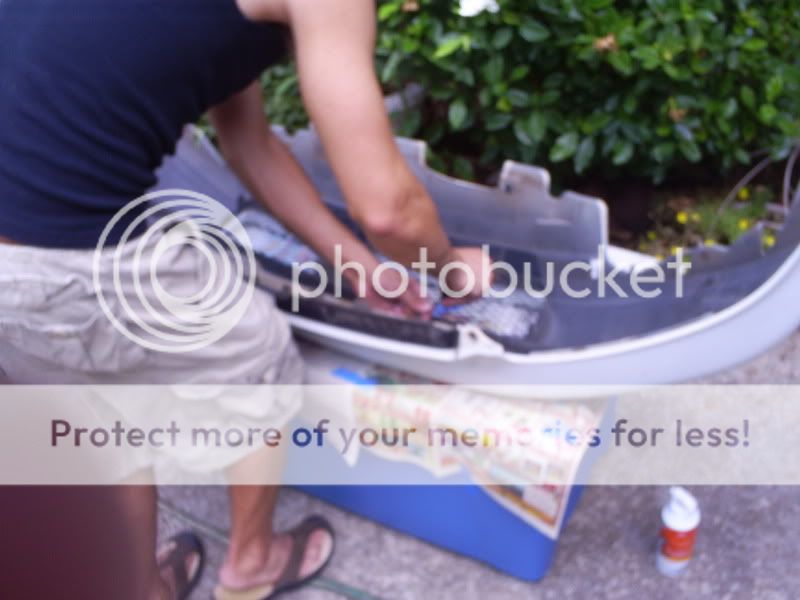
I then sanded my grill with 600 grit 3m sandpaper. Then once sanded (very important) I used cotton pads and rubbing alcohol to clean all the sanded debris.
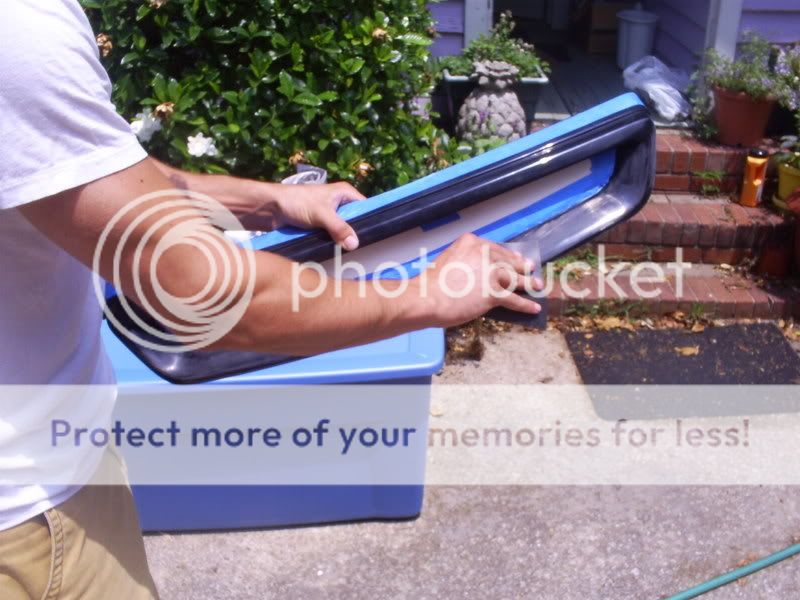
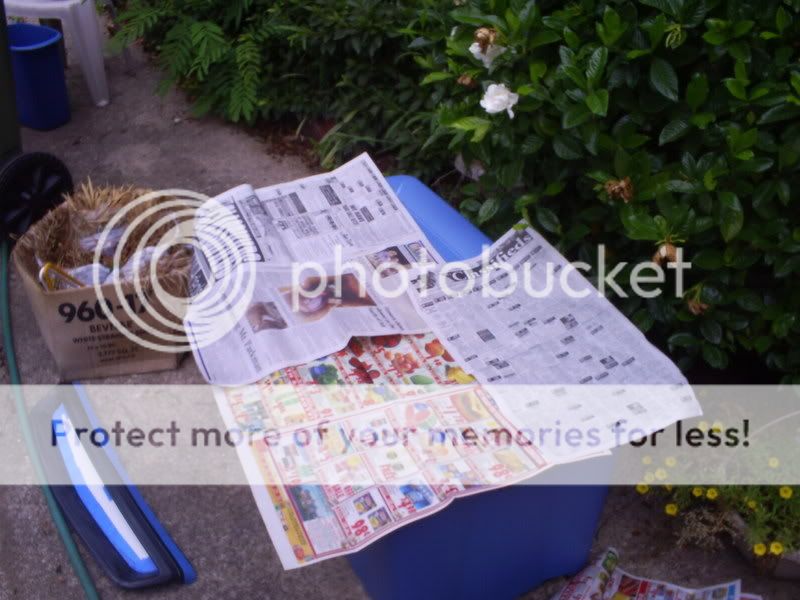
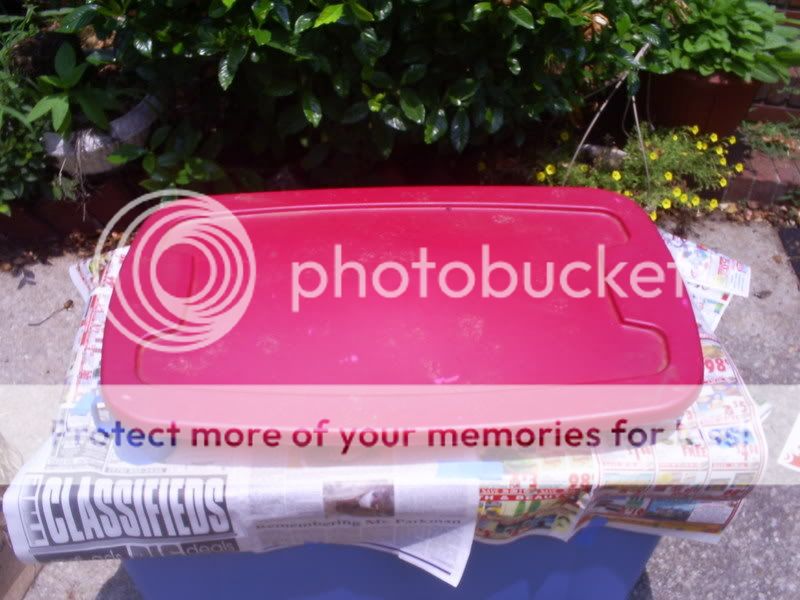
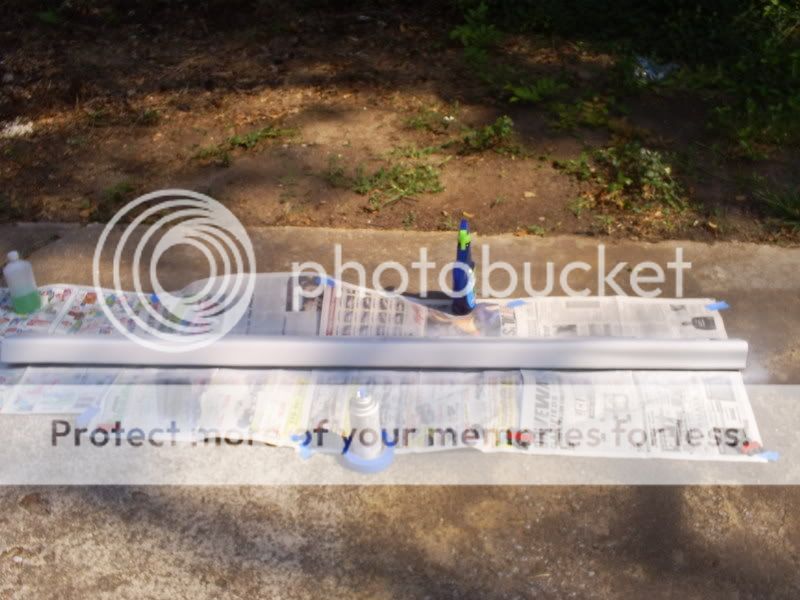
I made a little work station, I recommend using newspaper.
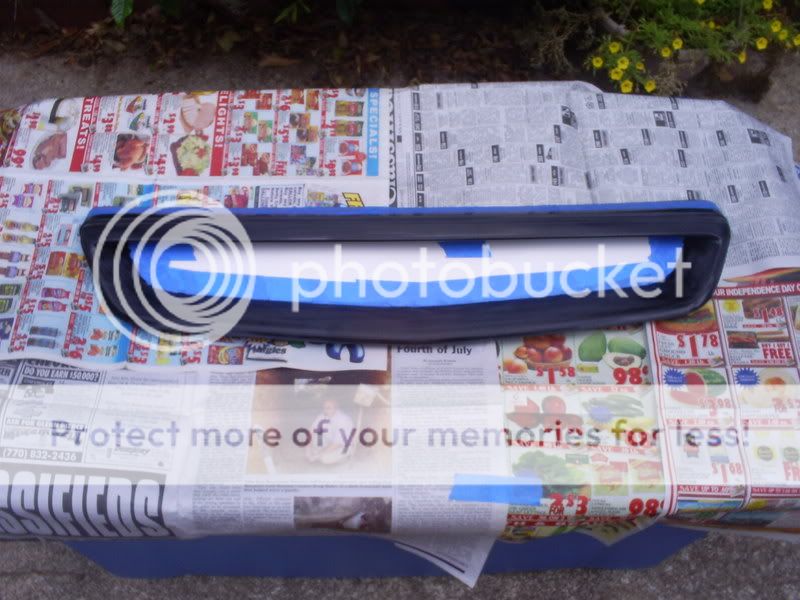
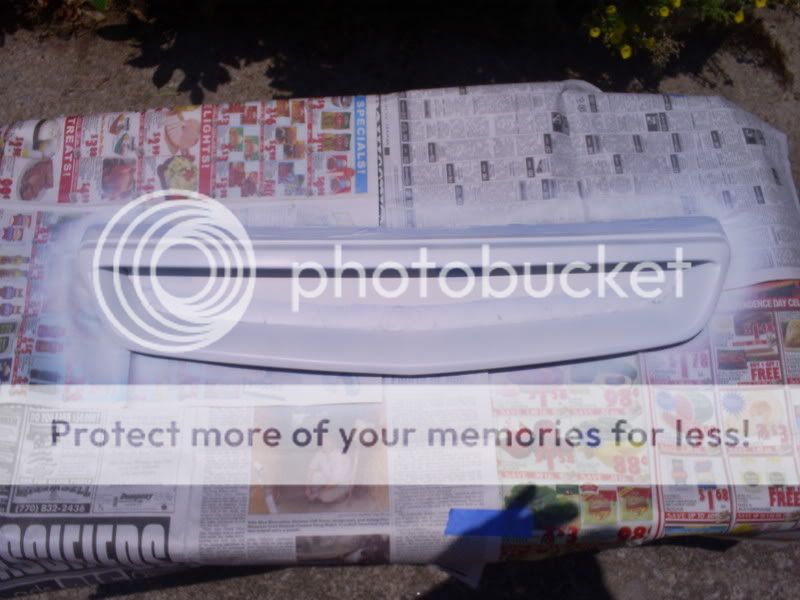
First coat of paint (no promoter used at all)
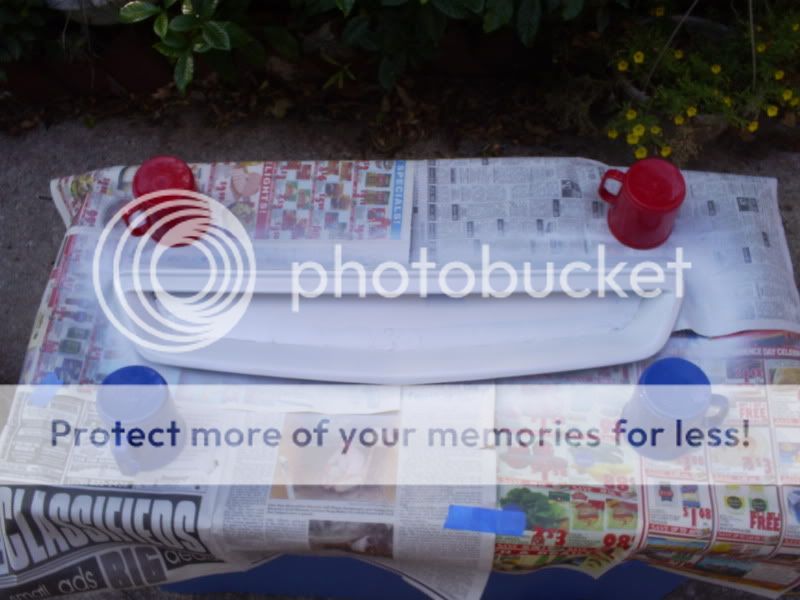
I then engineered a cover out of four coffee cups and a tubby Lid and covered it like So. This is to keep as much dust off of the fresh paint while it's drying.
Now, let that sit for 20 minutes or until it's tacky before doing another coat, I did 4 light coats, and two medium coats of clear.
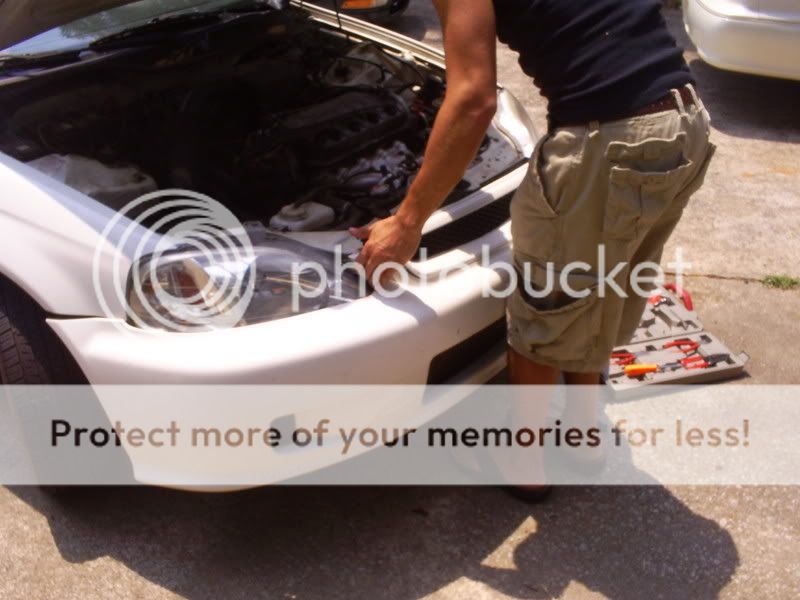
Remove the bumper. There's two bolts and two screws on the bottom side. And two hex-screws on either side at the base of the headlight near the fender. Oh, and 6-7 push rivets where the hood meets the grill.
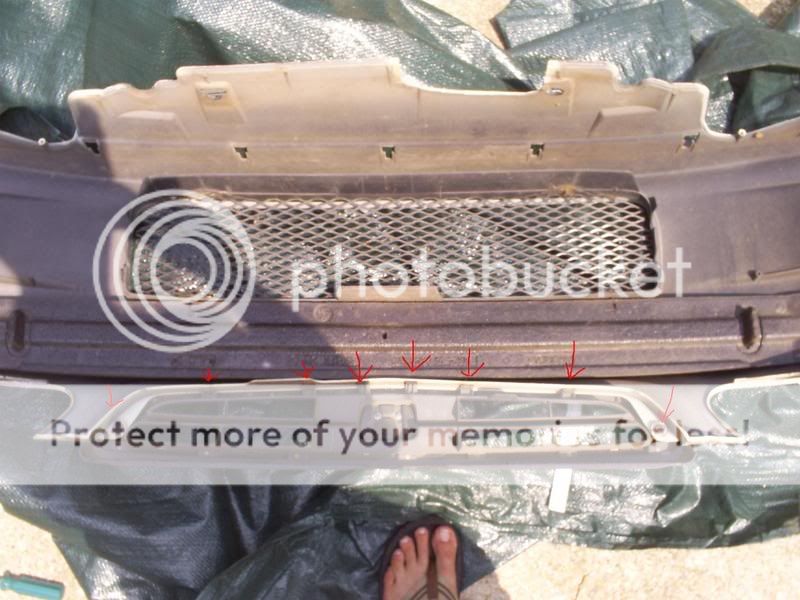
Once off and set safely on your work table remove the marked screws. Keep them but you won't need them anymore for your new grill if you have a "ctr style" grill.

Then remove the screws I marked.
Once off you can put your bumper back on and fit your painted grill. Use the 6-7 plastic push rivets back in and make sure the new grills tabs slide under the fitting place for the bumper, it will fit poorly if you don't.
Now, on to the sideskirts, I recommend you paint them both at the same time just for times sake, I did them seperately and it cost me a few hours extra time.
To remove them, there are two metal screws behind each front wheel in the wheel well. and 3 plastic rivet/screws along the sideskirt. Once the 5 total are removed from each side, the sideskirt is simply slid forward and off.
Sand them.
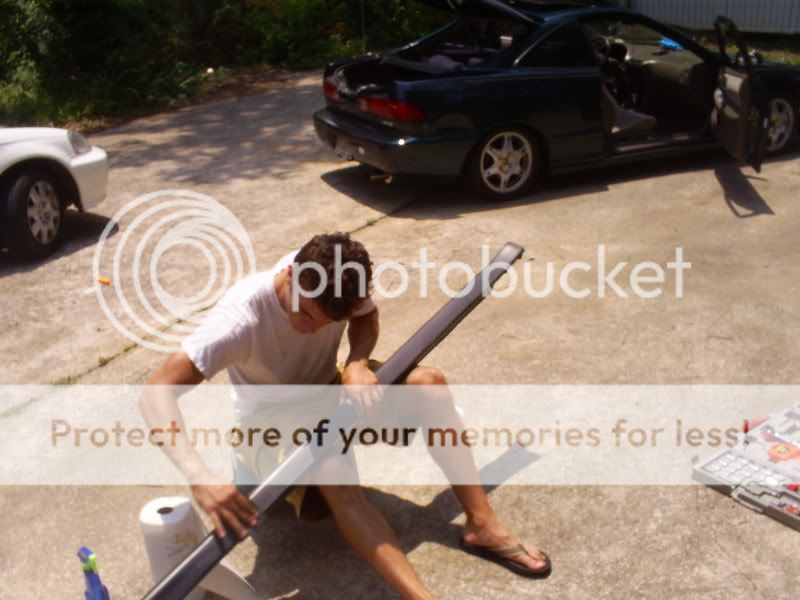
Then clean with alcohol again to get rid of the plastic dust.
Once clean, set it off to the side on your work area and spray the primer/adhesion promoter onto it. I didn't worry about overspray on the underside because no one's going to see that.
I did 4-5 light coats on these as well, and then 2 medium coats of duplicolor clearcoat.
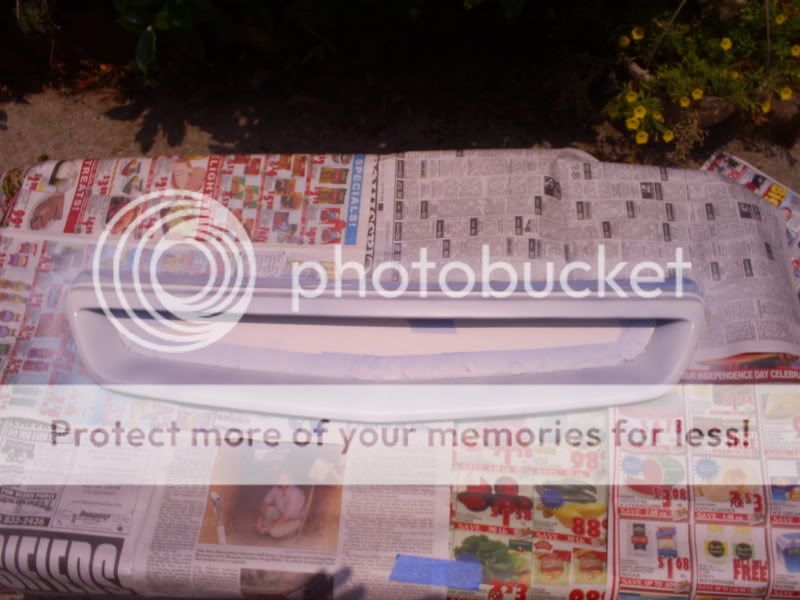
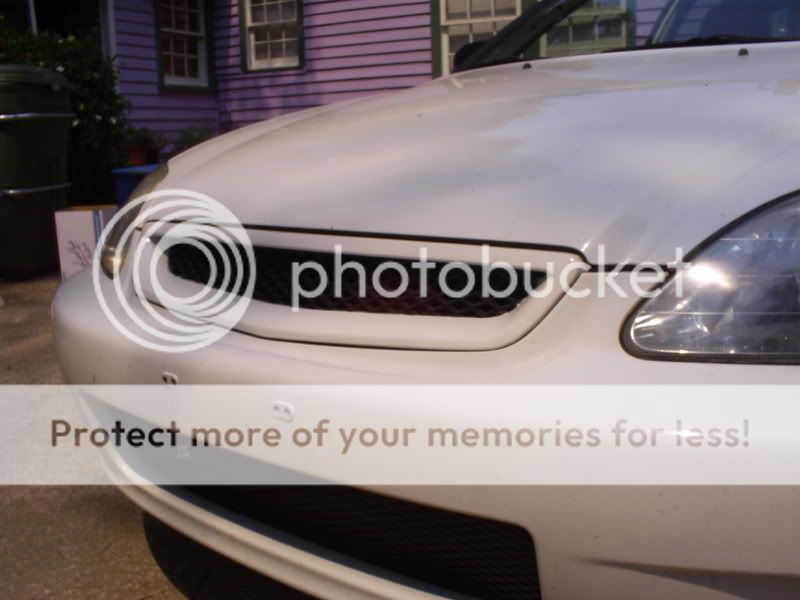
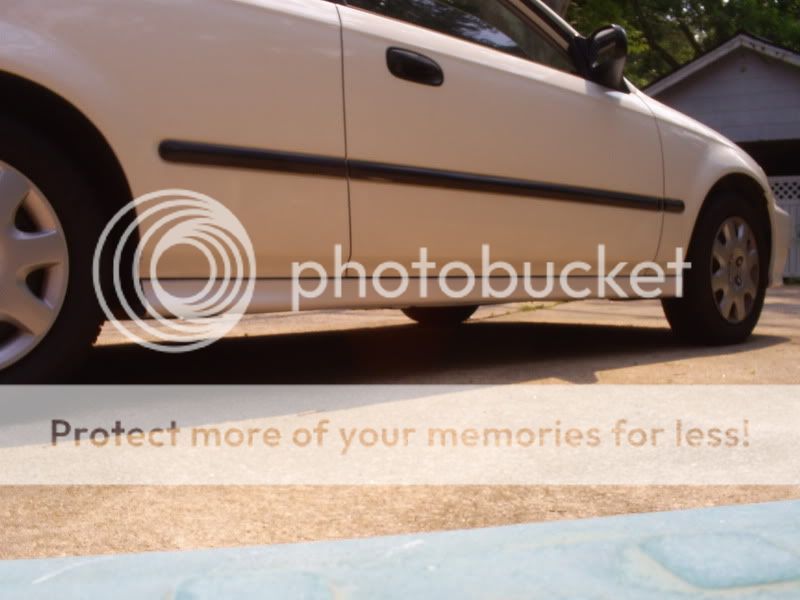
Here's the finished product.
Now, after this step I went inside and had some refreshing V8 fruit/vegetable juice.
Then! I went back outside, put all my Ish back on, and loved my ending results. The paint will look different until it fully cures, you apply rubbing compound, and wash your dirty car.
Fitment of the JDMsh!t peice is great
Will add washed pictures later.
Modified by ek forever guy at 4:18 PM 7/14/2007
It is VERY important that you don't wash your car 24 hours before you do any trim painting. You don't want water hiding in any crevices to come out on unsuspecting fresh paint. It will look like it doesn't match until you wash your car, wait at least 3 days for the paint to cure, then use rubbing compound on the sideskirts to get them to glow like oem paint, and then wash the car. It will match perfect with paint-scratch paint and proper technique.1. Gather the supplies needed. I got paint from paintscratch.com. It matches well and only cost me ~$27 a can shipped. I got two to do this and I still have enough left over for my moldings.
600/800 grit, adhesion promoter or primer, I used adhesion promoter. And some clearcoat I got at autozone. (Not pictured are the screwdriver and 10mm socket needed to remove the bumper/grill/sideskirts.)
I then sanded my grill with 600 grit 3m sandpaper. Then once sanded (very important) I used cotton pads and rubbing alcohol to clean all the sanded debris.
I made a little work station, I recommend using newspaper.
First coat of paint (no promoter used at all)
I then engineered a cover out of four coffee cups and a tubby Lid and covered it like So. This is to keep as much dust off of the fresh paint while it's drying.
Now, let that sit for 20 minutes or until it's tacky before doing another coat, I did 4 light coats, and two medium coats of clear.
Remove the bumper. There's two bolts and two screws on the bottom side. And two hex-screws on either side at the base of the headlight near the fender. Oh, and 6-7 push rivets where the hood meets the grill.
Once off and set safely on your work table remove the marked screws. Keep them but you won't need them anymore for your new grill if you have a "ctr style" grill.
Then remove the screws I marked.
Once off you can put your bumper back on and fit your painted grill. Use the 6-7 plastic push rivets back in and make sure the new grills tabs slide under the fitting place for the bumper, it will fit poorly if you don't.
Now, on to the sideskirts, I recommend you paint them both at the same time just for times sake, I did them seperately and it cost me a few hours extra time.
To remove them, there are two metal screws behind each front wheel in the wheel well. and 3 plastic rivet/screws along the sideskirt. Once the 5 total are removed from each side, the sideskirt is simply slid forward and off.
Sand them.
Then clean with alcohol again to get rid of the plastic dust.
Once clean, set it off to the side on your work area and spray the primer/adhesion promoter onto it. I didn't worry about overspray on the underside because no one's going to see that.
I did 4-5 light coats on these as well, and then 2 medium coats of duplicolor clearcoat.
Here's the finished product.
Now, after this step I went inside and had some refreshing V8 fruit/vegetable juice.
Then! I went back outside, put all my Ish back on, and loved my ending results. The paint will look different until it fully cures, you apply rubbing compound, and wash your dirty car.
Fitment of the JDMsh!t peice is great
Will add washed pictures later.
Modified by ek forever guy at 4:18 PM 7/14/2007

 06-27-2007, 12:59 PM
#4
Ek Forever y0!
Thread Starter
Join Date: May 2005
Location: Beating people with a stick, GA
Posts: 16,712
Likes: 0
Received 6 Likes
on
6 Posts
<TABLE WIDTH="90%" CELLSPACING=0 CELLPADDING=0 ALIGN=CENTER><TR><TD>Quote, originally posted by Eran »</TD></TR><TR><TD CLASS="quote">Looks good ... you need a new camera </TD></TR></TABLE>
I need a flippin tripod, it takes great pictures with a steady hand. But Working in the mid-day temps of GA summer leave me with shakey hands.
But you're right, a new camera is in order, and will likely come about the time i get my h22.
it's a decent 5mp from wally-world.
</TD></TR></TABLE>I need a flippin tripod, it takes great pictures with a steady hand. But Working in the mid-day temps of GA summer leave me with shakey hands.
But you're right, a new camera is in order, and will likely come about the time i get my h22.
it's a decent 5mp from wally-world.
Trending Topics
06-27-2007, 01:44 PM
#9
GO GIANTS!
Join Date: Apr 2007
Location: WEB CELEBRITY
Posts: 8,251
Likes: 0
Received 0 Likes
on
0 Posts
How come the 9th picture down it looks like an Si grill but the next one down looks totally different?
EDIT: Oh I see, you put the CTR Grill on instead. Ha Nice job
EDIT: Oh I see, you put the CTR Grill on instead. Ha
Nice job
06-27-2007, 01:46 PM
#11
Junior Member
Join Date: Feb 2007
Location: Midwest, United States
Posts: 386
Likes: 0
Received 0 Likes
on
0 Posts
Nice front end my kind of front end... literally haha
Looks good on the paint though. Ill be honest, not a great painter myself, but it looks pretty good from here.
Looks good on the paint though. Ill be honest, not a great painter myself, but it looks pretty good from here.
06-27-2007, 02:25 PM
#12
Junior Member
Join Date: May 2007
Location: San Francisco, CA
Posts: 327
Likes: 0
Received 0 Likes
on
0 Posts
when you say 4 light coats on the ctr grille, do you mean the tricoat?? how much "oz" did you get per can? amazing work btw 
06-27-2007, 02:44 PM
#14
Junior Member
Join Date: May 2007
Location: San Francisco, CA
Posts: 327
Likes: 0
Received 0 Likes
on
0 Posts
do you think one 12.5 oz can is enough for one ctr grille and pair of sideskirts? cos it showed $49 for one can 
06-27-2007, 03:10 PM
#16
Junior Member
Join Date: Dec 2006
Location: Mukilteo, WA, USA
Posts: 326
Likes: 0
Received 0 Likes
on
0 Posts
<TABLE WIDTH="90%" CELLSPACING=0 CELLPADDING=0 ALIGN=CENTER><TR><TD>Quote, originally posted by ek forever guy »</TD></TR><TR><TD CLASS="quote">
600/800 grit, adhesion promoter or primer, I used adhesion promoter. And some clearcoat I got at autozone. </TD></TR></TABLE>
fantastic write up!
care to share what kind of adhesion promotor you used and how its holding up thus far?
600/800 grit, adhesion promoter or primer, I used adhesion promoter. And some clearcoat I got at autozone. </TD></TR></TABLE>
fantastic write up!
care to share what kind of adhesion promotor you used and how its holding up thus far?
 06-27-2007, 03:31 PM
#18
Honda-Tech Member
Join Date: May 2007
Posts: 91
Likes: 0
Received 0 Likes
on
0 Posts
<TABLE WIDTH="90%" CELLSPACING=0 CELLPADDING=0 ALIGN=CENTER><TR><TD>Quote, originally posted by JLEK »</TD></TR><TR><TD CLASS="quote">fantastic write up!
care to share what kind of adhesion promotor you used and how its holding up thus far?</TD></TR></TABLE>
its shown in the first pic. its dupli-color adhesion promotor
care to share what kind of adhesion promotor you used and how its holding up thus far?</TD></TR></TABLE>
its shown in the first pic. its dupli-color adhesion promotor
06-27-2007, 05:16 PM
#20
Ek Forever y0!
Thread Starter
Join Date: May 2005
Location: Beating people with a stick, GA
Posts: 16,712
Likes: 0
Received 6 Likes
on
6 Posts
<TABLE WIDTH="90%" CELLSPACING=0 CELLPADDING=0 ALIGN=CENTER><TR><TD>Quote, originally posted by ShinotakuX »</TD></TR><TR><TD CLASS="quote">when you say 4 light coats on the ctr grille, do you mean the tricoat?? how much "oz" did you get per can? amazing work btw </TD></TR></TABLE>
I just painted until the black of the plastic pieces didn't show through.
At 3 coats I could still see the black through the paint. So I painted more.
I'm not an experienced painter, but I don't think tri-coat means 3 coats, I think it just means the type of work involved during the painting process. Like sanding the final coat, then painting another layer, then clearing/buffing.
06-27-2007, 05:17 PM
#21
Ek Forever y0!
Thread Starter
Join Date: May 2005
Location: Beating people with a stick, GA
Posts: 16,712
Likes: 0
Received 6 Likes
on
6 Posts
<TABLE WIDTH="90%" CELLSPACING=0 CELLPADDING=0 ALIGN=CENTER><TR><TD>Quote, originally posted by JLEK »</TD></TR><TR><TD CLASS="quote">
fantastic write up!
care to share what kind of adhesion promotor you used and how its holding up thus far?</TD></TR></TABLE>
They've been painted for a day.
<TABLE WIDTH="90%" CELLSPACING=0 CELLPADDING=0 ALIGN=CENTER><TR><TD>Quote, originally posted by ShinotakuX »</TD></TR><TR><TD CLASS="quote">do you think one 12.5 oz can is enough for one ctr grille and pair of sideskirts? cos it showed $49 for one can </TD></TR></TABLE>
I don't think so, you could be very careful and MAYBE get it done with one.
That's odd, I got out for ~$50 shipped for two 12.5oz cans from http://www.paintscratch.com
You're paint might just be more expensive to mix.
06-27-2007, 05:31 PM
#22
Junior Member
Join Date: Jun 2007
Location: Chapel Hill, NC, USA
Posts: 45
Likes: 0
Received 0 Likes
on
0 Posts
WOW! very nice job and write up.
I also bought a DX about a month ago, and was planning on doing the same thing.
You were talking about doing the moldings next? If you can please do a write up for that as well. I have never done any DIYs or any tuning at all and I think this will be my first project.
Thank you for the info and I'll be looking out for more.
06-27-2007, 05:57 PM
#23
Ek Forever y0!
Thread Starter
Join Date: May 2005
Location: Beating people with a stick, GA
Posts: 16,712
Likes: 0
Received 6 Likes
on
6 Posts
<TABLE WIDTH="90%" CELLSPACING=0 CELLPADDING=0 ALIGN=CENTER><TR><TD>Quote, originally posted by suko69 »</TD></TR><TR><TD CLASS="quote">WOW! very nice job and write up.
I also bought a DX about a month ago, and was planning on doing the same thing.
You were talking about doing the moldings next? If you can please do a write up for that as well. I have never done any DIYs or any tuning at all and I think this will be my first project.
Thank you for the info and I'll be looking out for more.</TD></TR></TABLE>
I might add that on, but I don't see it that necessary as it's the same steps to doing it. I might make one later that contains, moldings, handles, mirrors, tag area garnish and front lip.
06-27-2007, 06:06 PM
#24
Junior Member
Join Date: Jun 2007
Location: Chapel Hill, NC, USA
Posts: 45
Likes: 0
Received 0 Likes
on
0 Posts
<TABLE WIDTH="90%" CELLSPACING=0 CELLPADDING=0 ALIGN=CENTER><TR><TD>Quote, originally posted by ek forever guy »</TD></TR><TR><TD CLASS="quote">
I might add that on, but I don't see it that necessary as it's the same steps to doing it. I might make one later that contains, moldings, handles, mirrors, tag area garnish and front lip.</TD></TR></TABLE>
yes. I would love to see that.
Since im really new to this stuff, I dont even know how to take off bumpers, mirrors, handles, and such stuff like that.  So I would love it if you could write that up as well.
BTW did you buy that ctr grill or did you just take it off of the original? sorry for stupid question..
I might add that on, but I don't see it that necessary as it's the same steps to doing it. I might make one later that contains, moldings, handles, mirrors, tag area garnish and front lip.</TD></TR></TABLE>
yes. I would love to see that.
Since im really new to this stuff, I dont even know how to take off bumpers, mirrors, handles, and such stuff like that.
So I would love it if you could write that up as well. BTW did you buy that ctr grill or did you just take it off of the original? sorry for stupid question..
06-27-2007, 06:34 PM
#25
Ek Forever y0!
Thread Starter
Join Date: May 2005
Location: Beating people with a stick, GA
Posts: 16,712
Likes: 0
Received 6 Likes
on
6 Posts
<TABLE WIDTH="90%" CELLSPACING=0 CELLPADDING=0 ALIGN=CENTER><TR><TD>Quote, originally posted by suko69 »</TD></TR><TR><TD CLASS="quote">Since im really new to this stuff, I dont even know how to take off bumpers, mirrors, handles, and such stuff like that. So I would love it if you could write that up as well.
BTW did you buy that ctr grill or did you just take it off of the original? sorry for stupid question..</TD></TR></TABLE>
If you want to PM me I can detail you in on removing some parts. Though a $20 haynes manual will tell you everything you need to know about removing stuff. Honda body panels are easy.
The grill is a ctr style grill from jdmshit.com
Though if I had to do it again, i'd buy en OEM si grill minus the Si badge. The grill is a 2 peice design and you can remove the grill for painting without masking. I did a decent masking job and still got some of the grill with some overspray. With the OEM si grill that's not an issue. And they're ~$50
So I would love it if you could write that up as well. BTW did you buy that ctr grill or did you just take it off of the original? sorry for stupid question..</TD></TR></TABLE>
If you want to PM me I can detail you in on removing some parts. Though a $20 haynes manual will tell you everything you need to know about removing stuff. Honda body panels are easy.
The grill is a ctr style grill from jdmshit.com
Though if I had to do it again, i'd buy en OEM si grill minus the Si badge. The grill is a 2 peice design and you can remove the grill for painting without masking. I did a decent masking job and still got some of the grill with some overspray. With the OEM si grill that's not an issue. And they're ~$50