
Classic VW Baja Build
 10-20-2013, 07:19 AM
#1
I did this awhile back, so I'm just sharing it. I still have some work to do but I'm currently turbocharging my B16A EF Civic, so the bug is staying how it currently is.
Still to come:
Roll Cage
Tubular Front Bumper
Rally Bar with 4 HID Lamps
Install switches (Push to start, ect)
New Tires (Wrangler Wheels, 30 inch)
Winch install (looking at 2 Tons or so)
New Dash (6 Gauge custom dash)
I may end up doing a motor swap on this car if I can find a complete 911 motor. How beast would it be with a turbo charged EFI porsche motor? For now, 52 bhp will get me around town and still look like a boss.
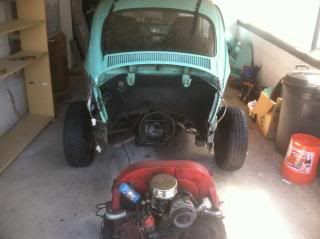
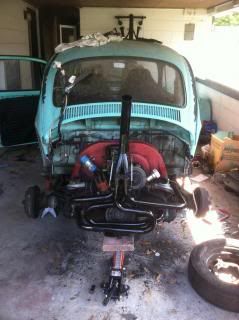
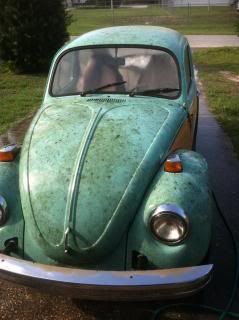
So here's the start of the bug and the progress along the way.
Day one taking the deck lid off of the bug
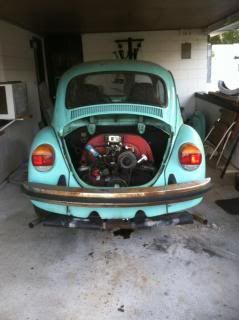
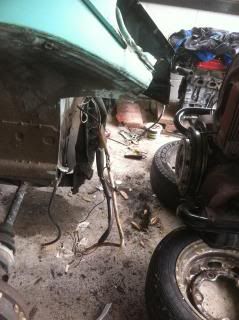
Jacked it up and removed the wheel to get to the engine bolts.
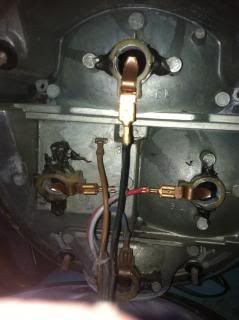
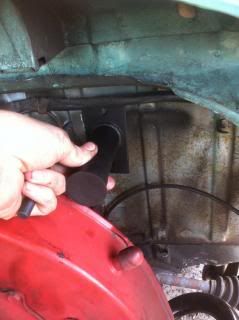
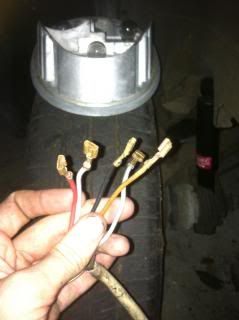
This is an important picture! Remember those wires and where they go.
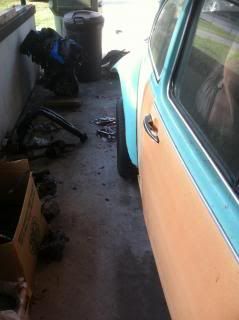
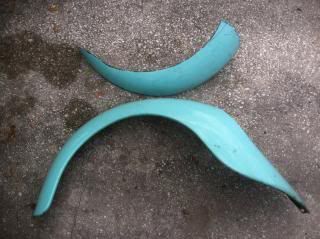
Took off the fenders
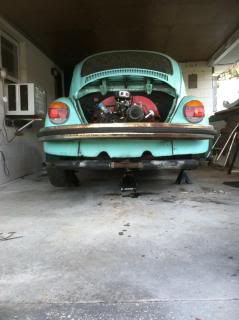
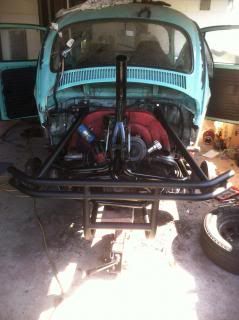
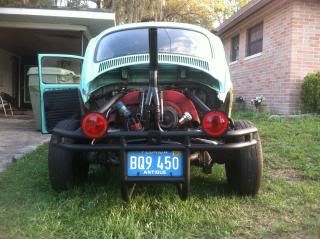
Cut off a portion of the rear end

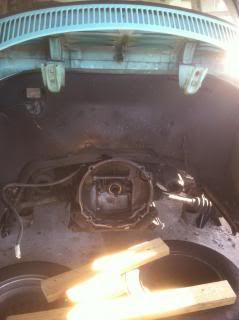
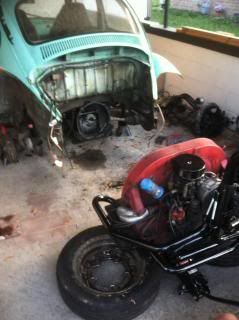
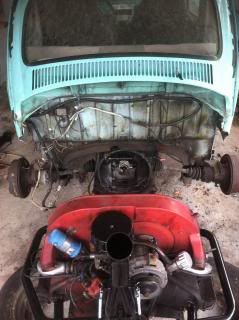
Rear end REMOVED
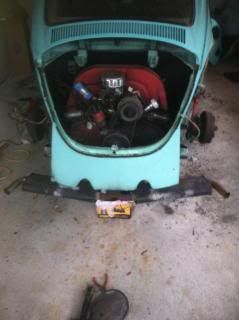
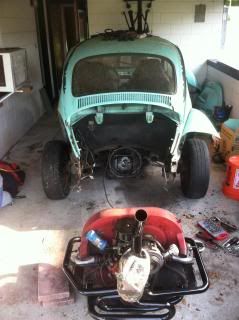
Engine is out! Pain in the butt to get to the engine/trans bolts
Shot of the transaxle
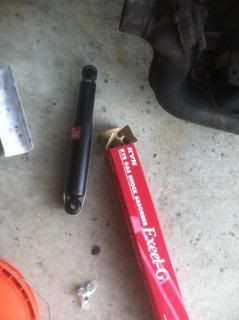
New shocks
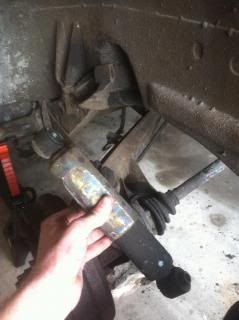
Crappy old shock looking dirty
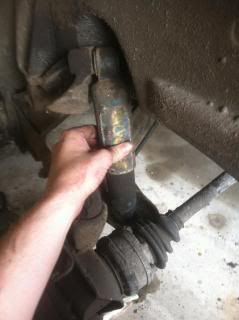
Removed the shock
Threw that crap down the drive way

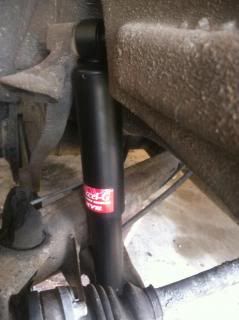
Prepped the new shock
Installed
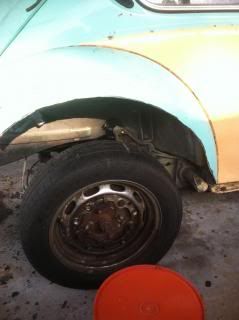
Looking at the new stance
Sits with an acceptable camber

Good wheel clearance
Removed the pressure plate to replace the clutch
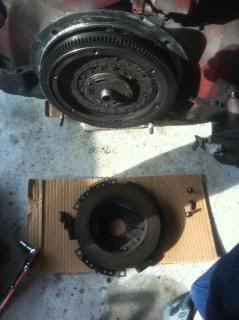
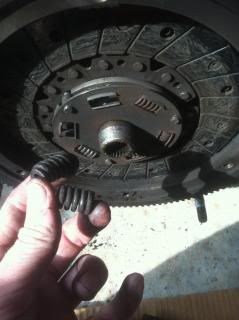
Clutch was GONE, springs had fallen off and were scraping
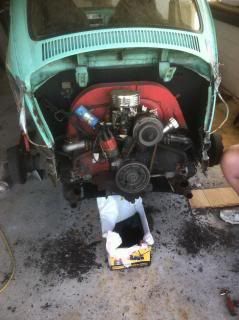
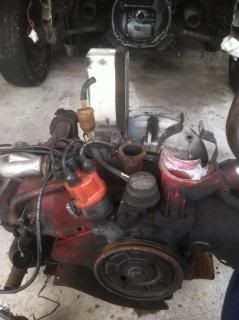
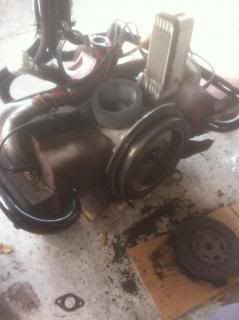
Then I removed the fan shroud and alternator from the engine
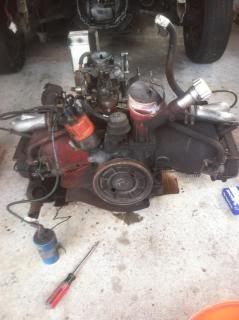
Removed the carb for cleaning
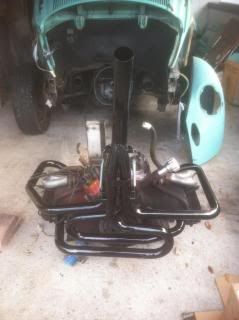
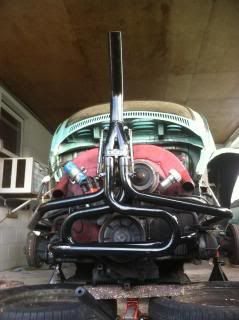
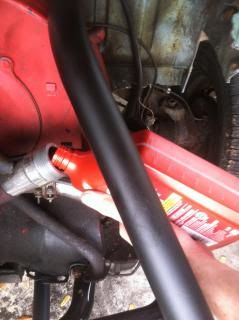
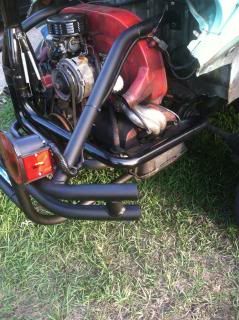
Put on the new headers
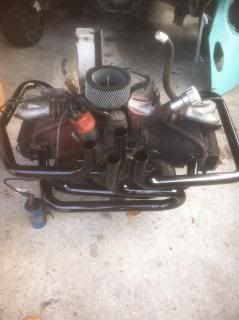
And the stinger tip
Back to the clutch, notice the dust that came out
Replaced the pilot/throw out bearing
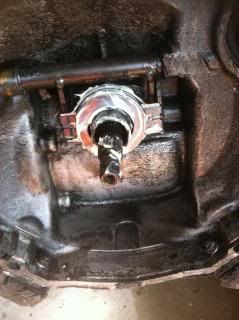
New pressure plate is on and torqued down

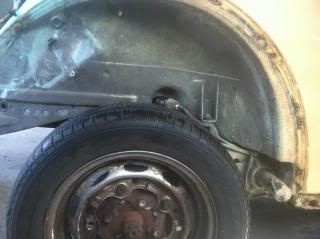
Cut the fender and rolled it out
Better clearance than stock
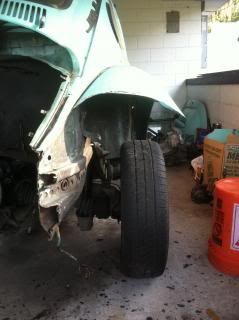
Plenty of room for some 30's
Good enough to protect the wheel too
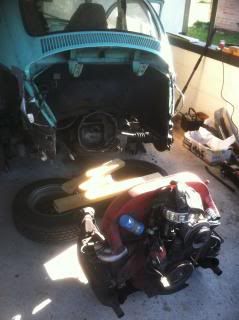
Jacking the engine up for reinstall

Moving in for the mount
And it's too wide
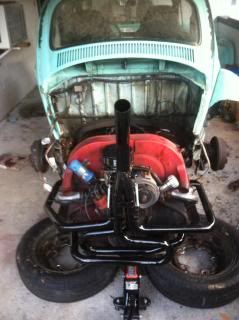
You can always hope it fits the first time
But whats this on the porch!?
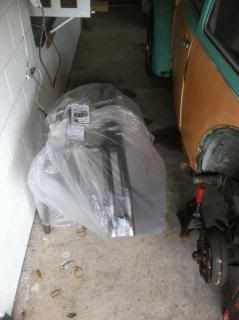
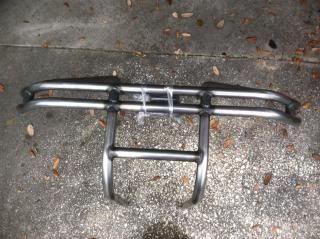
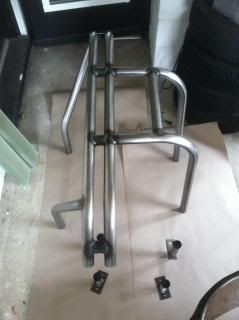
New bumper
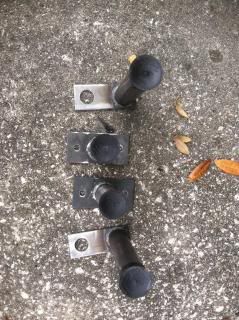
Bumper mounts
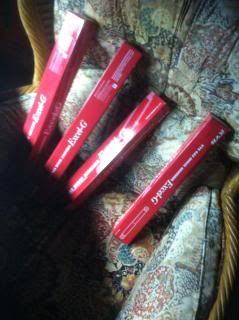
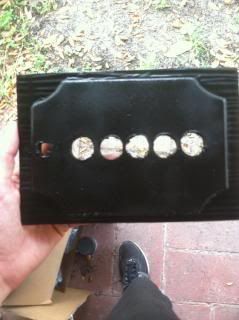
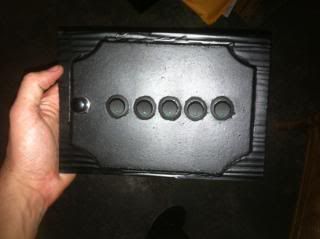
Had to clean the bumper prior to paint
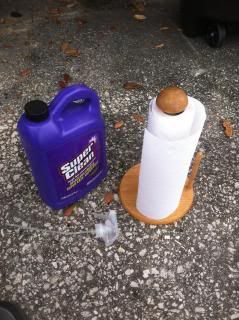
Prepped for paint
Sprayed matte black

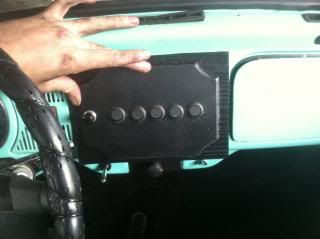
Holes drilled for my switch panel
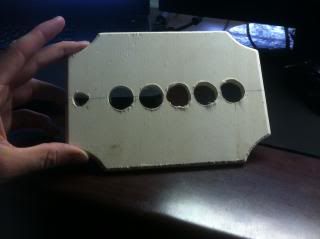
An aluminum backing to attach to the dash
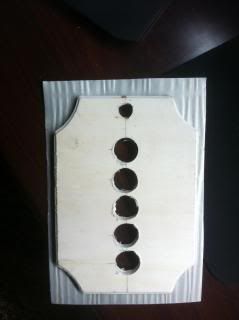
Painted that black too
Switches in
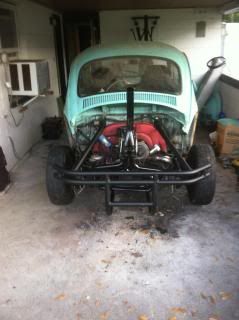
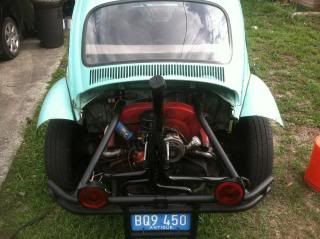
Back to the engine install, walls cut back more
Looking good from this angle
And it's in!
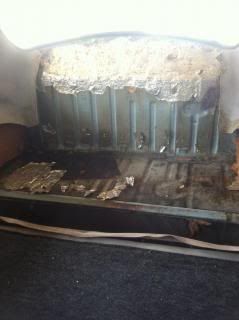
Removing the interior garbage
Marking the mounting positions
Drilled holes
Installed the bumper
Wheels put back on
Dash looking like a good fit
Oiled up!
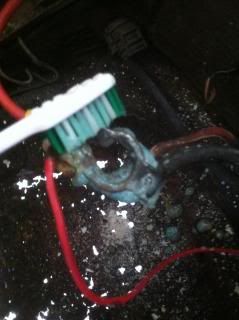
Cleaning corrosion off the battery cables
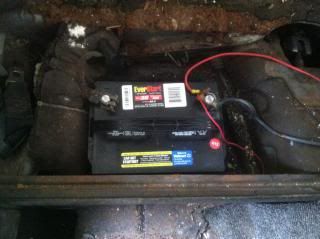
Battery installed
Trying to remember where these wires go...Aha!
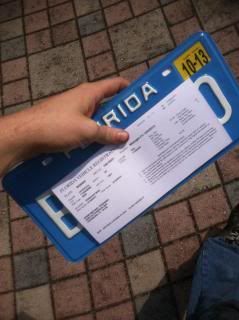
Got my plate!
Installed the sucker

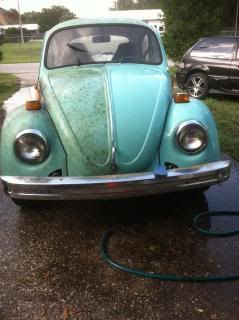
I forgot how dirty this car was
A before and after shot at once
How I hate this rusty bumper

Now it's black
Installed a tail light and ran the wires
Both lights good to go
Cutting the other fender finally
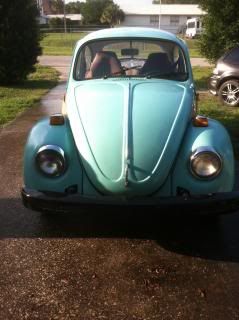
Looks pretty good with those fenders on it.
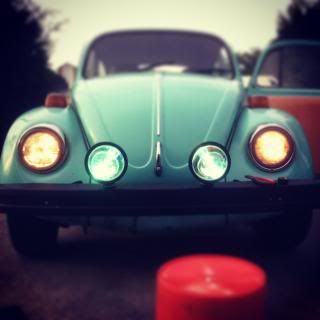
Here's where the front end started.
Check out my how to make cheap HID offroad lamps thread. I installed mine rally style on the bumper
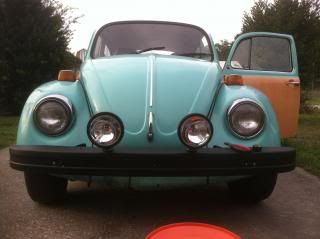
The HIDs have a much brighter and more usable light to them
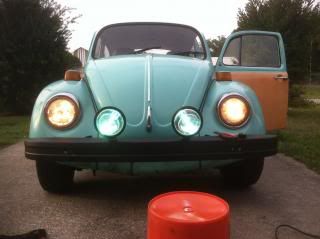
I think the front end will look even better with a tubular bumper, cut fenders, and that rally bar installed
Video List:
The Engine Starts!
Testing my Wiring
Tail Lights working
That's where the car stands today. I will be updating this original post whenever there is a change or update to be had.
Still to come:
Roll Cage
Tubular Front Bumper
Rally Bar with 4 HID Lamps
Install switches (Push to start, ect)
New Tires (Wrangler Wheels, 30 inch)
Winch install (looking at 2 Tons or so)
New Dash (6 Gauge custom dash)
I may end up doing a motor swap on this car if I can find a complete 911 motor. How beast would it be with a turbo charged EFI porsche motor? For now, 52 bhp will get me around town and still look like a boss.
So here's the start of the bug and the progress along the way.
Day one taking the deck lid off of the bug

Jacked it up and removed the wheel to get to the engine bolts.

This is an important picture! Remember those wires and where they go.

Took off the fenders

Cut off a portion of the rear end

Rear end REMOVED

Engine is out! Pain in the butt to get to the engine/trans bolts

Shot of the transaxle

New shocks

Crappy old shock looking dirty

Removed the shock

Threw that crap down the drive way

Prepped the new shock

Installed

Looking at the new stance

Sits with an acceptable camber

Good wheel clearance

Removed the pressure plate to replace the clutch

Clutch was GONE, springs had fallen off and were scraping

Then I removed the fan shroud and alternator from the engine

Removed the carb for cleaning

Put on the new headers

And the stinger tip

Back to the clutch, notice the dust that came out

Replaced the pilot/throw out bearing

New pressure plate is on and torqued down

Cut the fender and rolled it out

Better clearance than stock

Plenty of room for some 30's

Good enough to protect the wheel too

Jacking the engine up for reinstall

Moving in for the mount

And it's too wide

You can always hope it fits the first time

But whats this on the porch!?

New bumper

Bumper mounts

Had to clean the bumper prior to paint

Prepped for paint

Sprayed matte black

Holes drilled for my switch panel

An aluminum backing to attach to the dash

Painted that black too

Switches in

Back to the engine install, walls cut back more

Looking good from this angle

And it's in!

Removing the interior garbage

Marking the mounting positions

Drilled holes

Installed the bumper

Wheels put back on

Dash looking like a good fit

Oiled up!

Cleaning corrosion off the battery cables

Battery installed

Trying to remember where these wires go...Aha!

Got my plate!

Installed the sucker

I forgot how dirty this car was

A before and after shot at once

How I hate this rusty bumper

Now it's black

Installed a tail light and ran the wires

Both lights good to go

Cutting the other fender finally

Looks pretty good with those fenders on it.

Here's where the front end started.
Check out my how to make cheap HID offroad lamps thread. I installed mine rally style on the bumper

The HIDs have a much brighter and more usable light to them

I think the front end will look even better with a tubular bumper, cut fenders, and that rally bar installed

Video List:
Testing my Wiring
Tail Lights working
That's where the car stands today. I will be updating this original post whenever there is a change or update to be had.
 10-20-2013, 04:14 PM
#2
Honda-Tech Member
Join Date: Sep 2010
Location: Pensacola, FL and every Court House in Louisiana
Posts: 3,114
Likes: 0
Received 2 Likes
on
2 Posts
As a air cooler lover and prior owner of a ghia vert, I am a little saddened by this! It looked like such a mint specimen!!!
10-21-2013, 04:18 AM
#3
I do love my beetle though. As my first car, I can never replace it.
 10-21-2013, 01:01 PM
#5
Honda-Tech Member
Join Date: Sep 2010
Location: Pensacola, FL and every Court House in Louisiana
Posts: 3,114
Likes: 0
Received 2 Likes
on
2 Posts
I gotcha. I have been looking for a few years for a old vw that is close to rust free. Kinda hard in Florida. I had a 74 karmann ghia convertible that we restored when I was 14. I loved that car.
My wife has no interest in my honda but told me if I got her a classic vw convertible, she would be in the garage working on it with me. She shouldn't have told me that!!!
Got any side shots? It is hard to tell what difference the shocks made!
My wife has no interest in my honda but told me if I got her a classic vw convertible, she would be in the garage working on it with me. She shouldn't have told me that!!!
Got any side shots? It is hard to tell what difference the shocks made!
10-22-2013, 04:26 AM
#6
I gotcha. I have been looking for a few years for a old vw that is close to rust free. Kinda hard in Florida. I had a 74 karmann ghia convertible that we restored when I was 14. I loved that car.
My wife has no interest in my honda but told me if I got her a classic vw convertible, she would be in the garage working on it with me. She shouldn't have told me that!!!
Got any side shots? It is hard to tell what difference the shocks made!
My wife has no interest in my honda but told me if I got her a classic vw convertible, she would be in the garage working on it with me. She shouldn't have told me that!!!
Got any side shots? It is hard to tell what difference the shocks made!
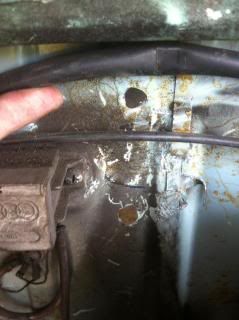
The no rust in Florida is hard. Picked this up from a guy who lived on the beach and it's just nothing but rust issues. The guy painted over the rust. So it looks good but it's not

And I hear you on the wife having no interest in the Honda world. I am boosting my car and she could care less. But the second I start up the bug it's, "whatcha doing?" The classic VW are babe magnets


Thread
Thread Starter
Forum
Replies
Last Post
FormulaIntegra
Road Racing / Autocross & Time Attack
24
01-11-2005 08:08 AM

