
sparksman's random build updates
 04-02-2014, 12:46 AM
#1
Honda-Tech Member
Thread Starter
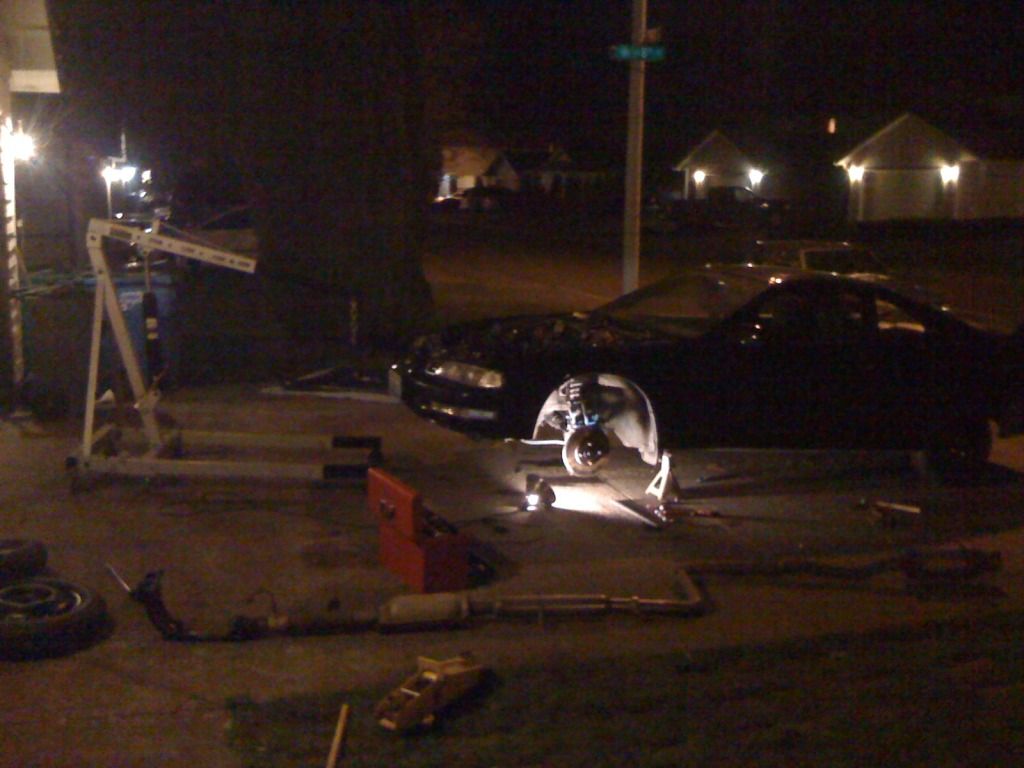
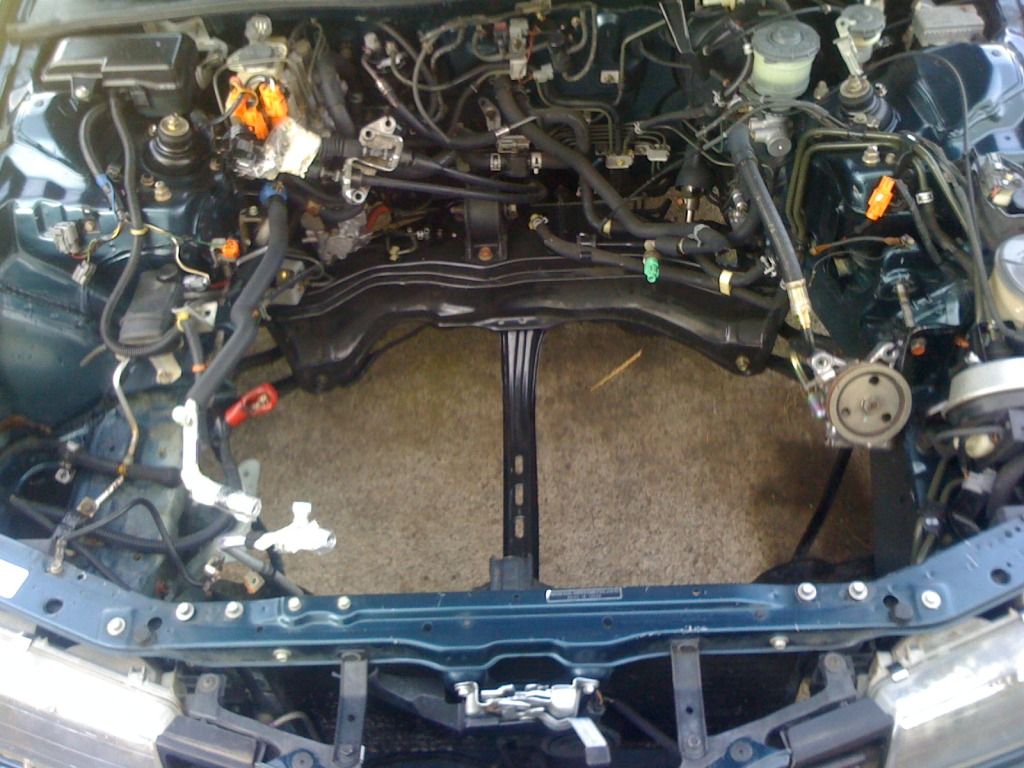
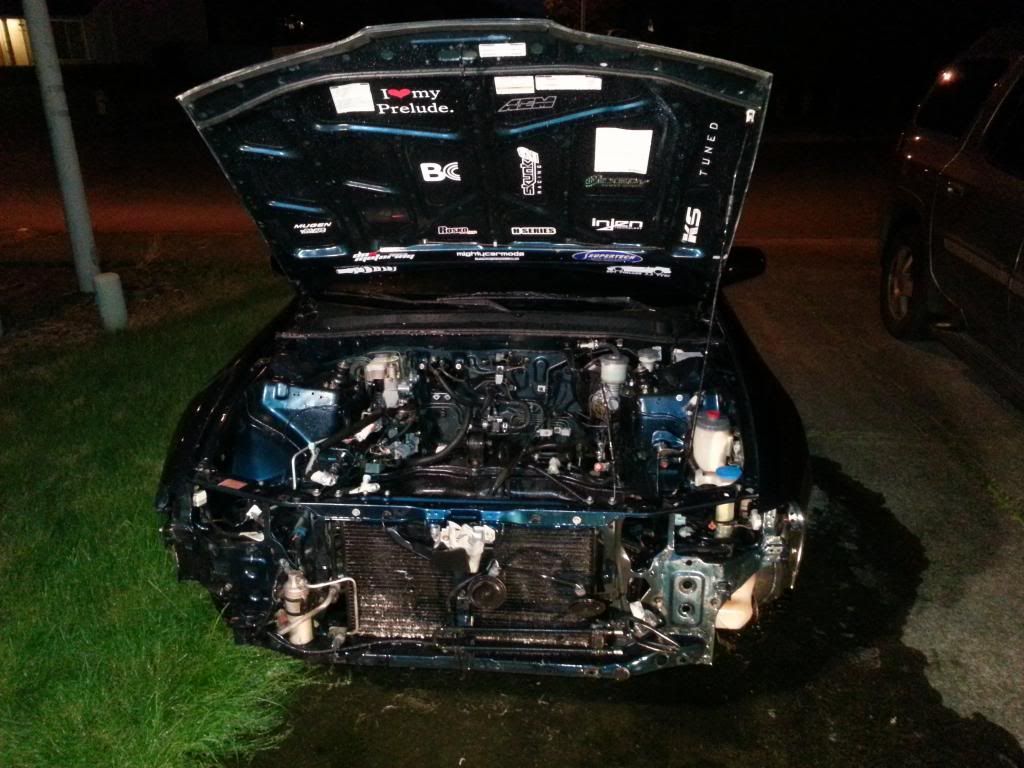
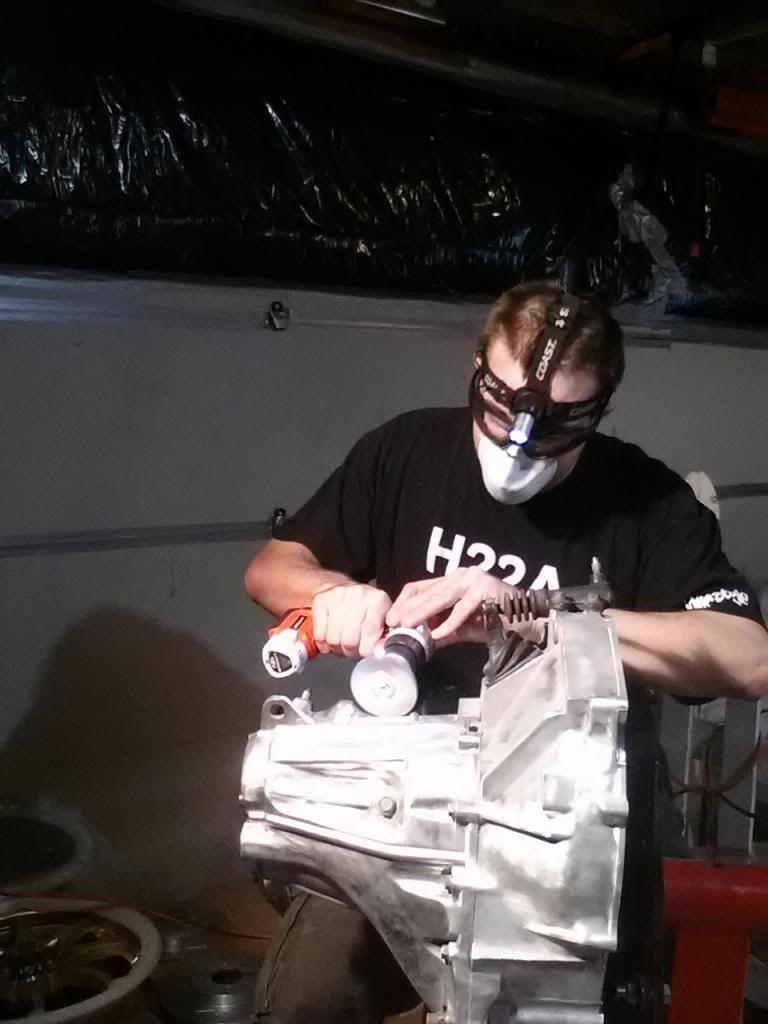
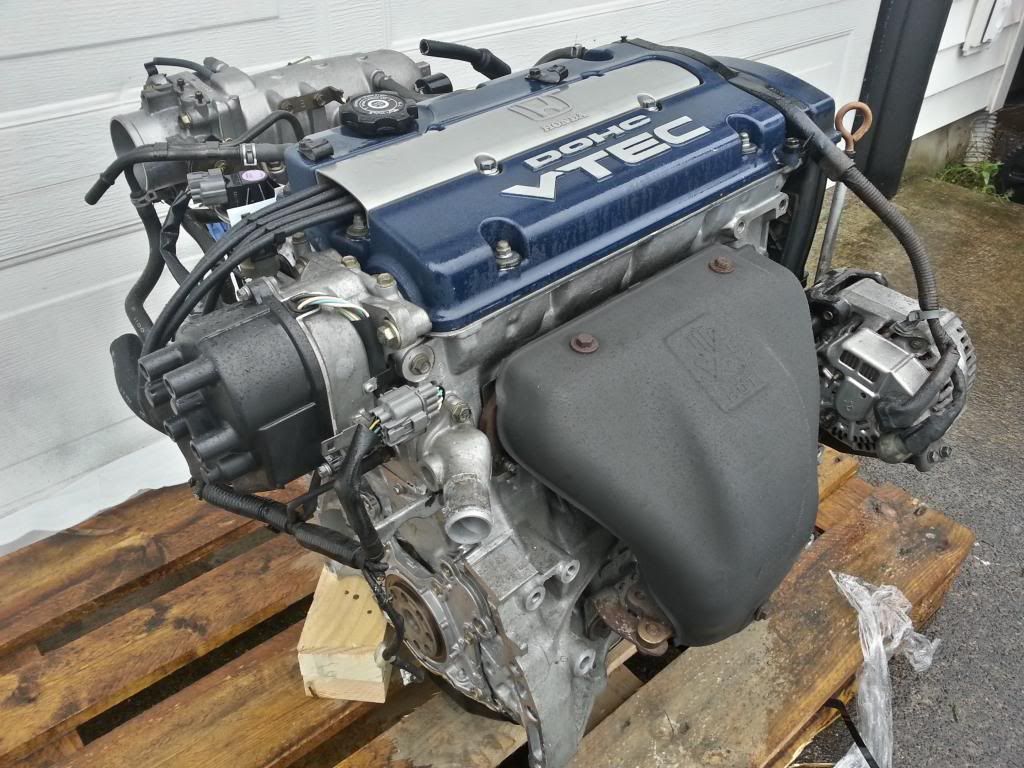
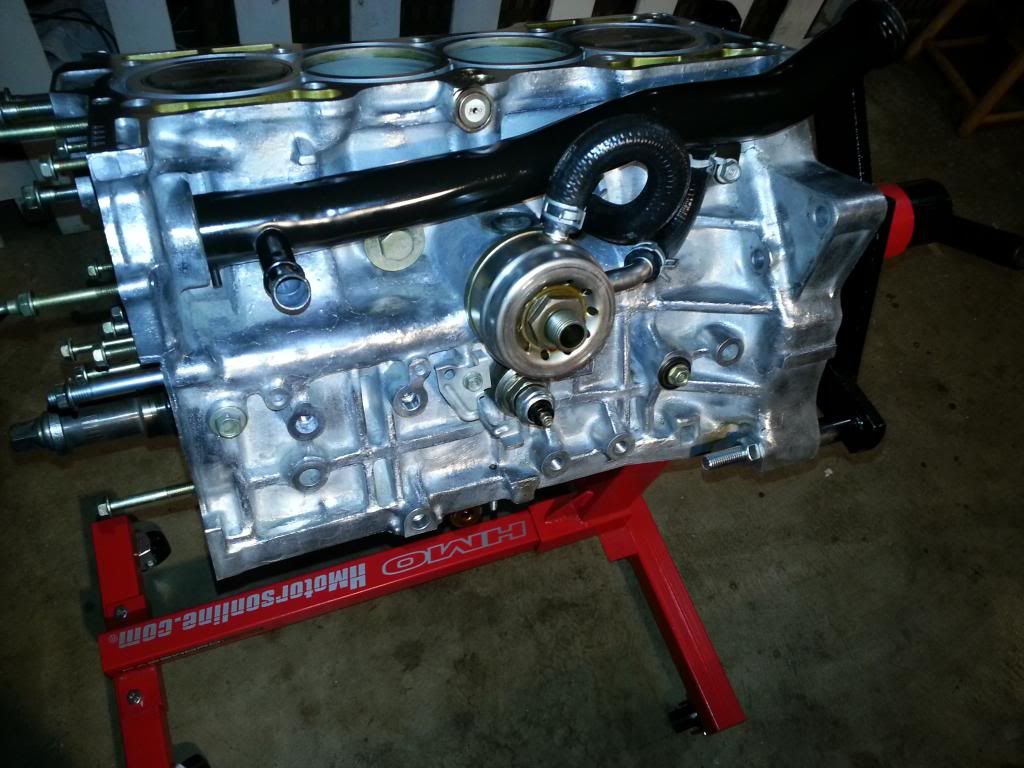
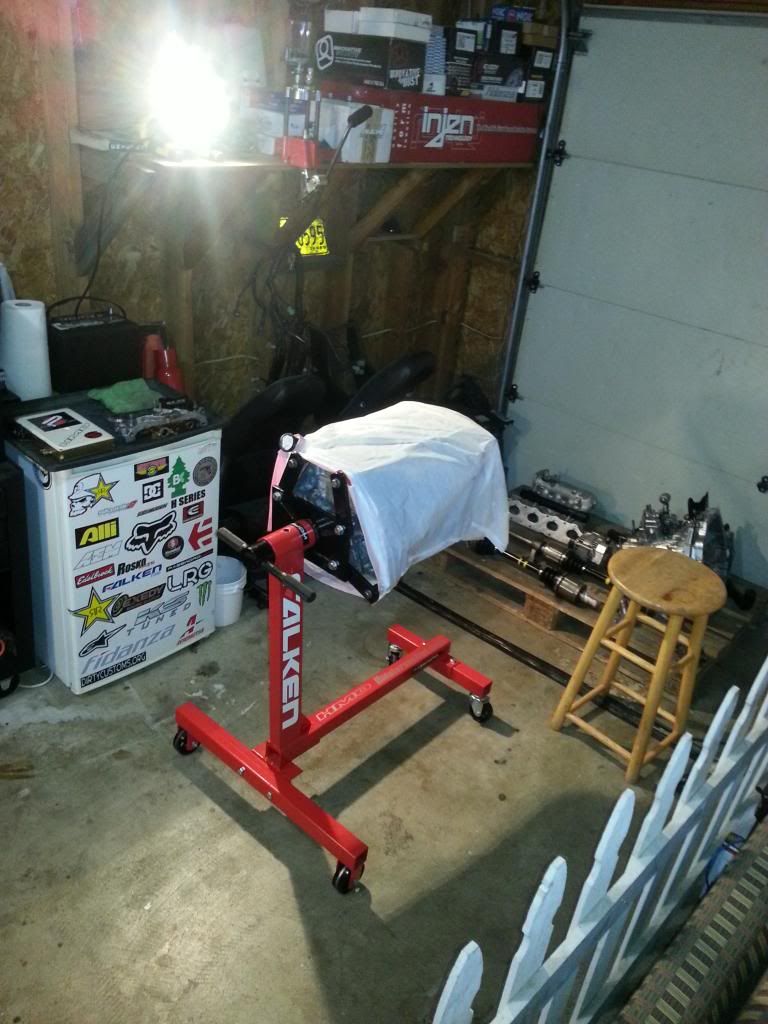
So I received my engine in the mail a few days ago, so the real work begins. I figured Id just post random pictures as I work. This isnt meant to be a detailed build thread.
Feel free to chime in.
Its meant to be like a factory stroked euro-r
T2W4
H23aV w/pde head
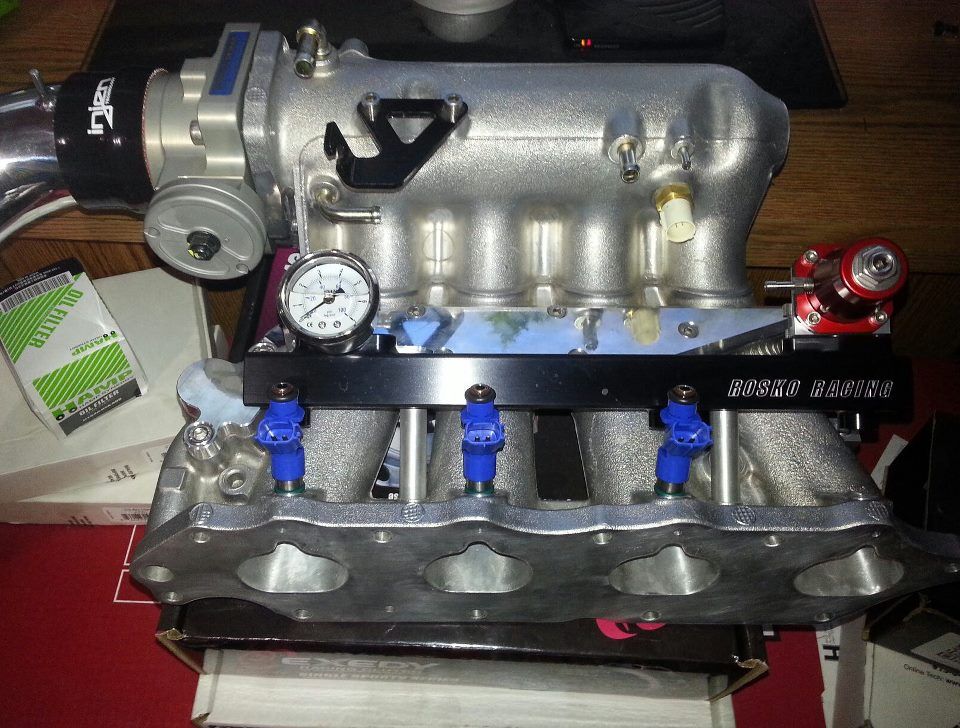
euro-r intake
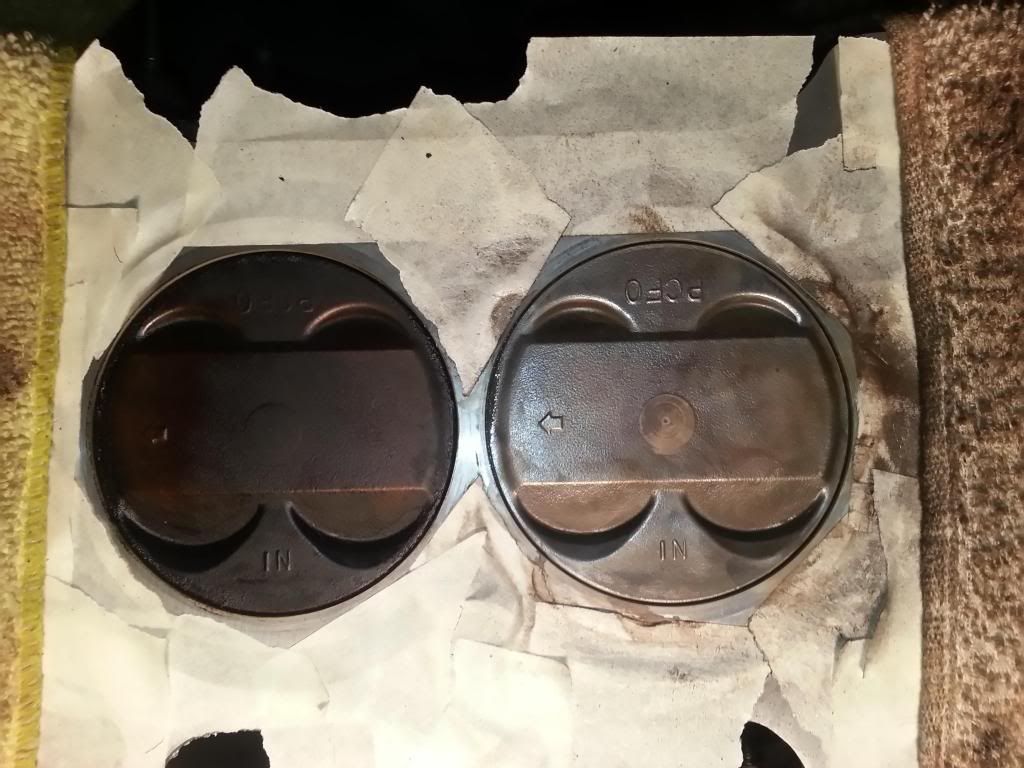
11.5:1
RDX 550cc @ 70psi
Neptune tuning
PLM Tri-Y header
custom exhaust
KS balance-shaft delete
Injen true cold air
Few others...
Here are a few pics I have on hand.
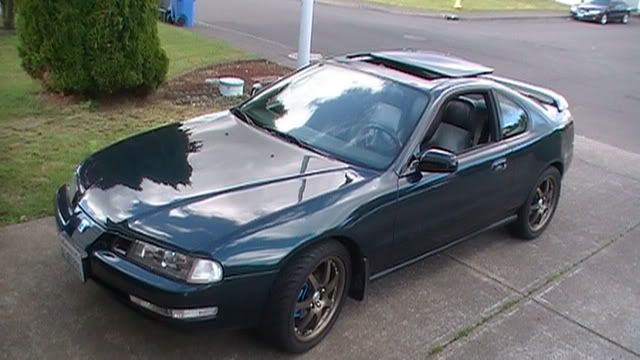
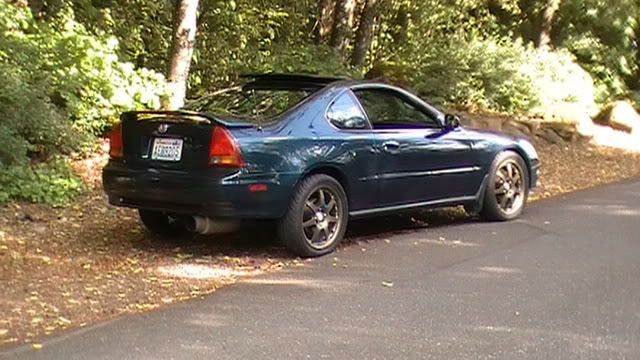
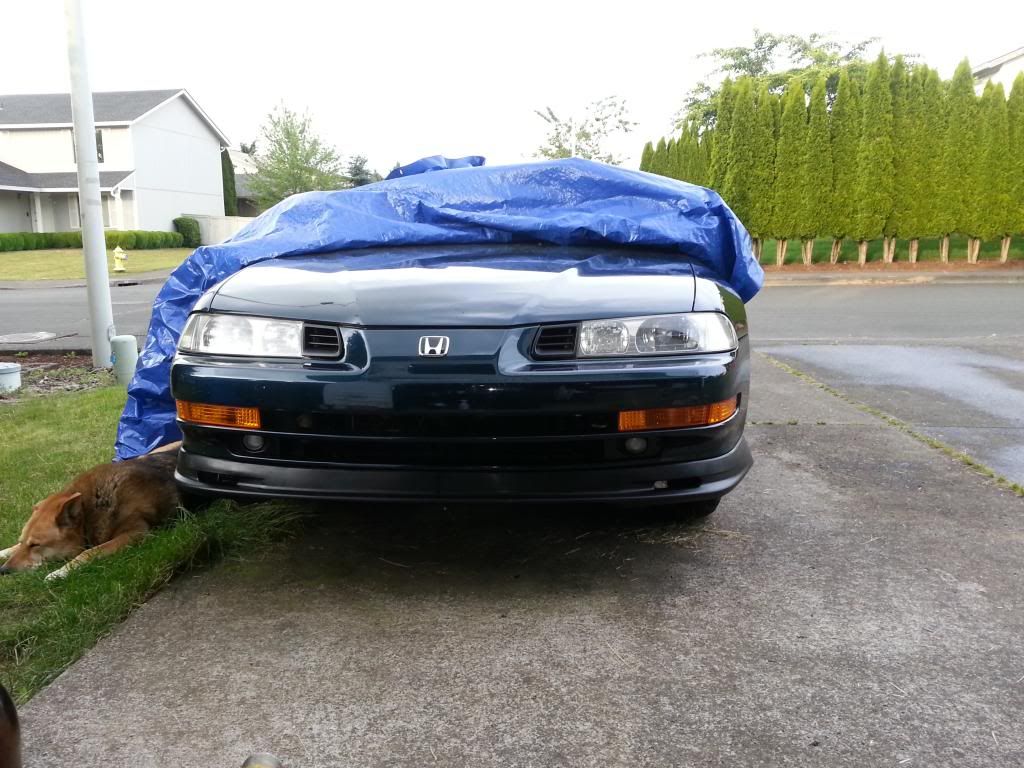
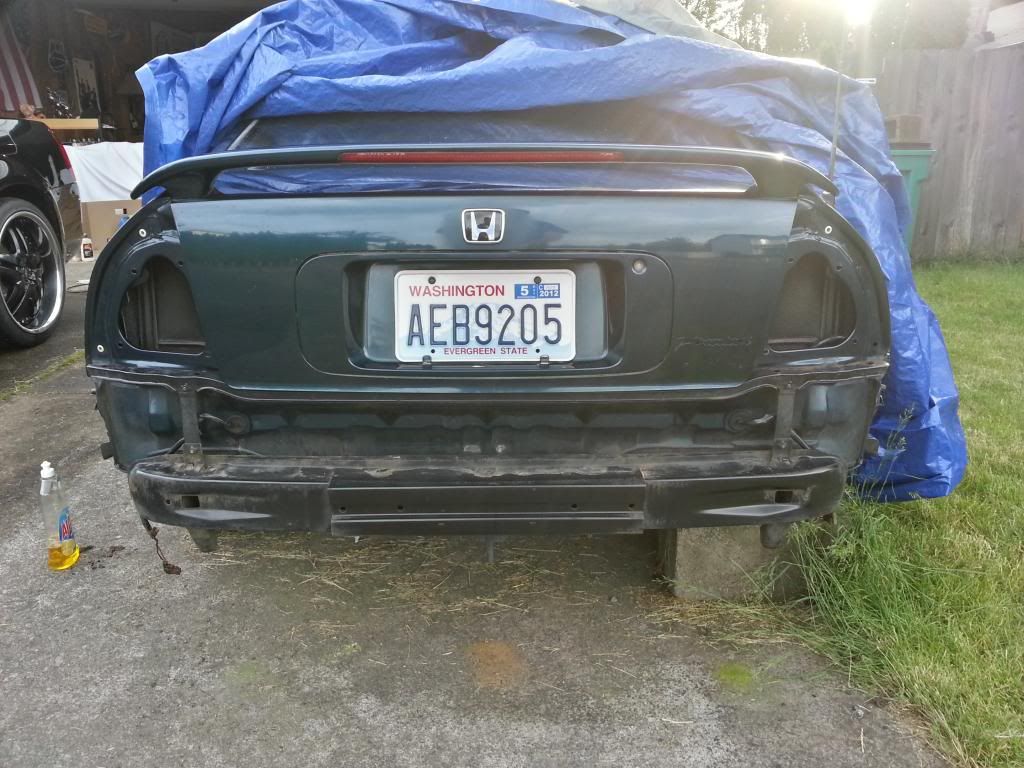
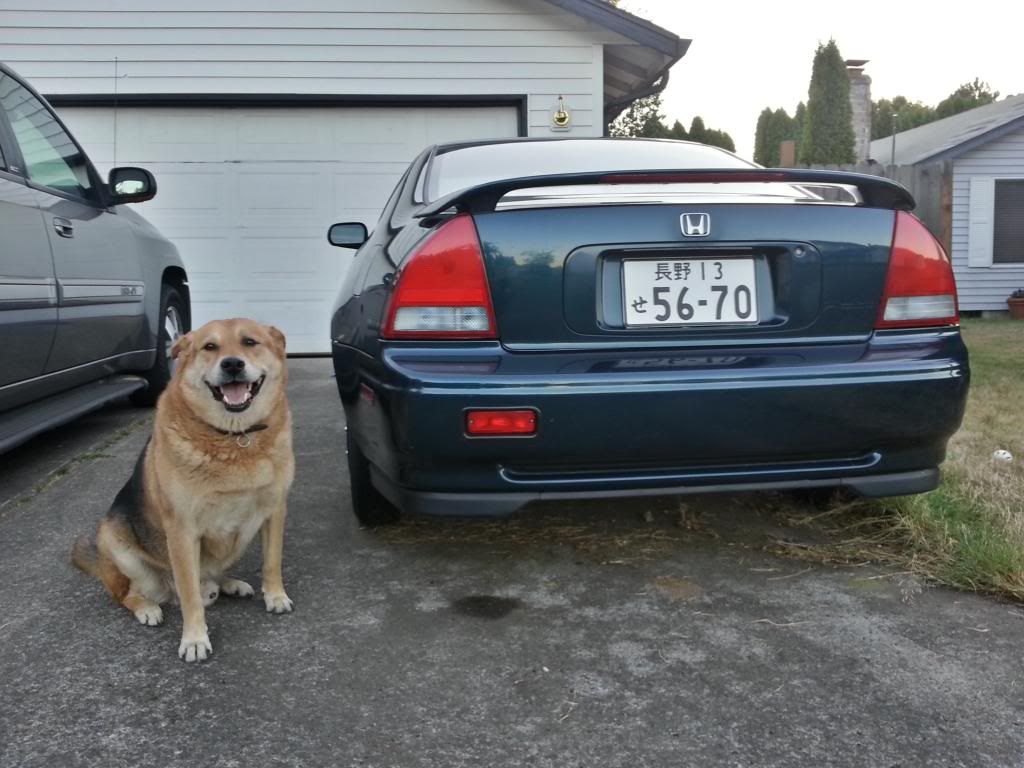
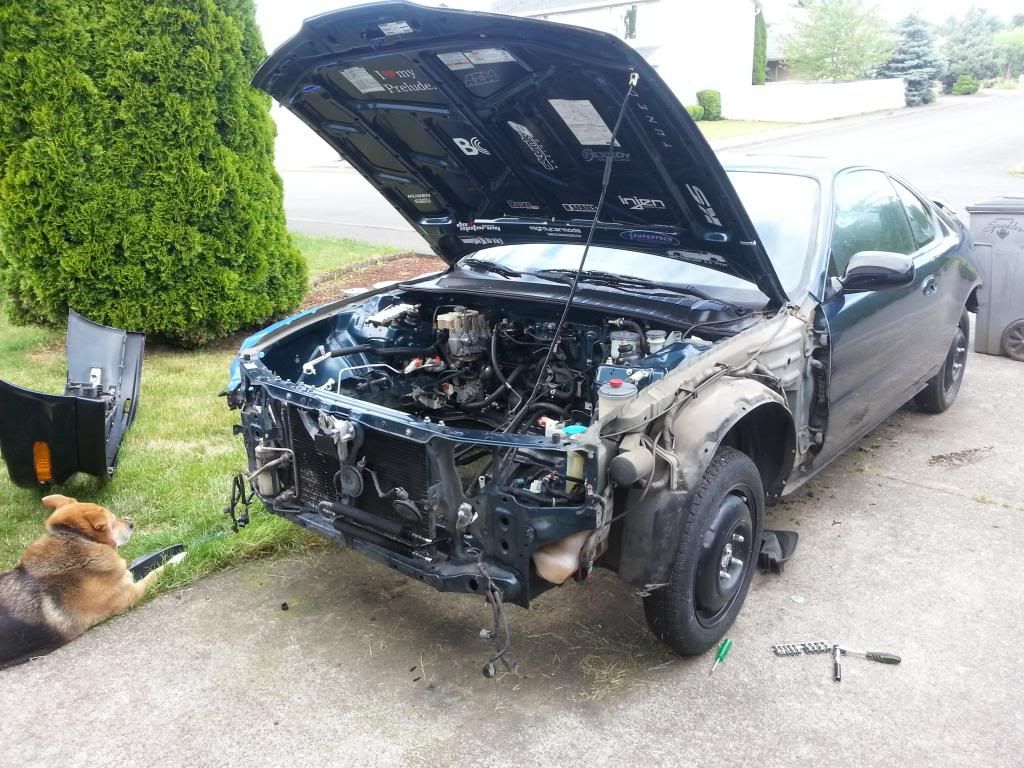
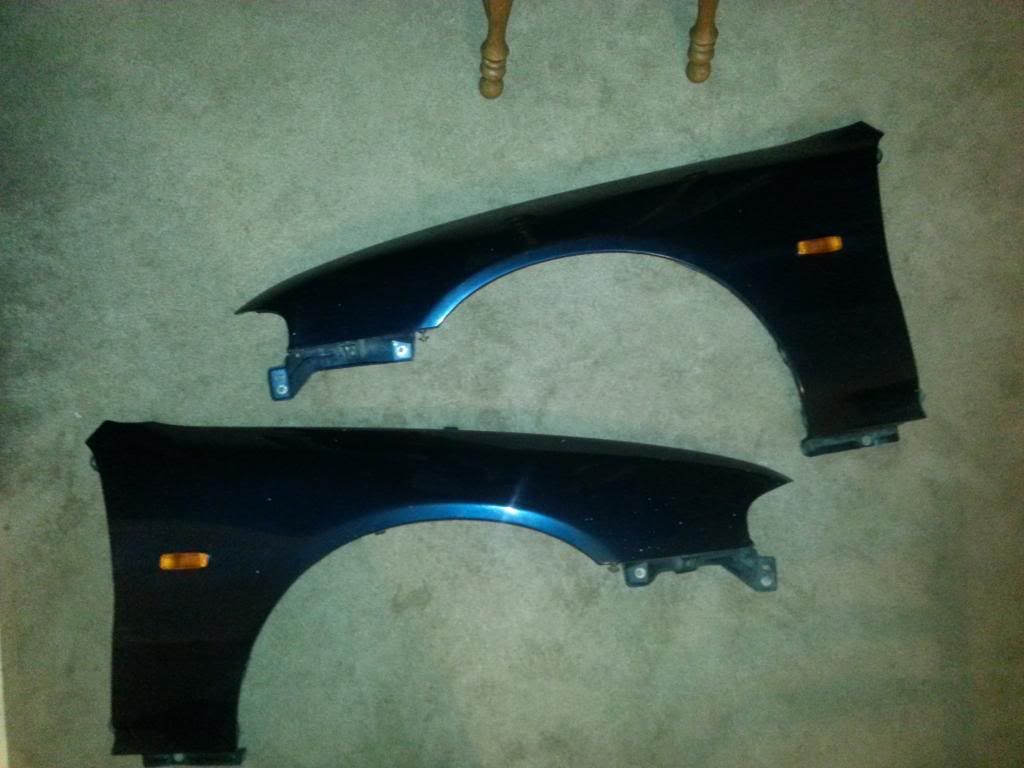
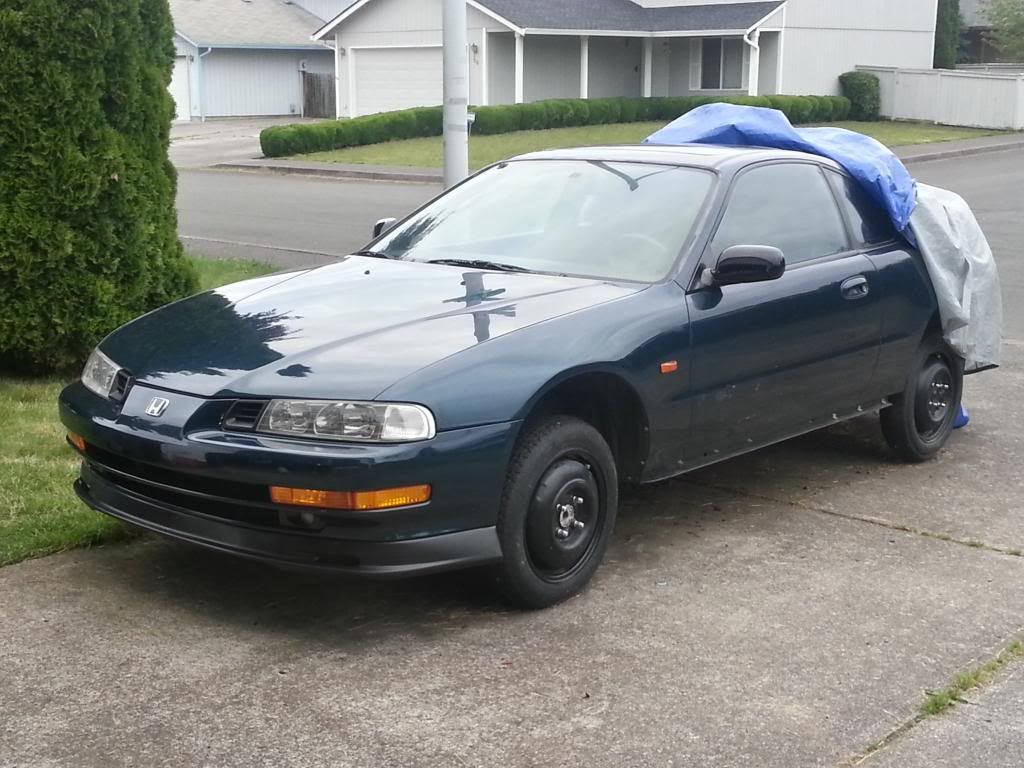
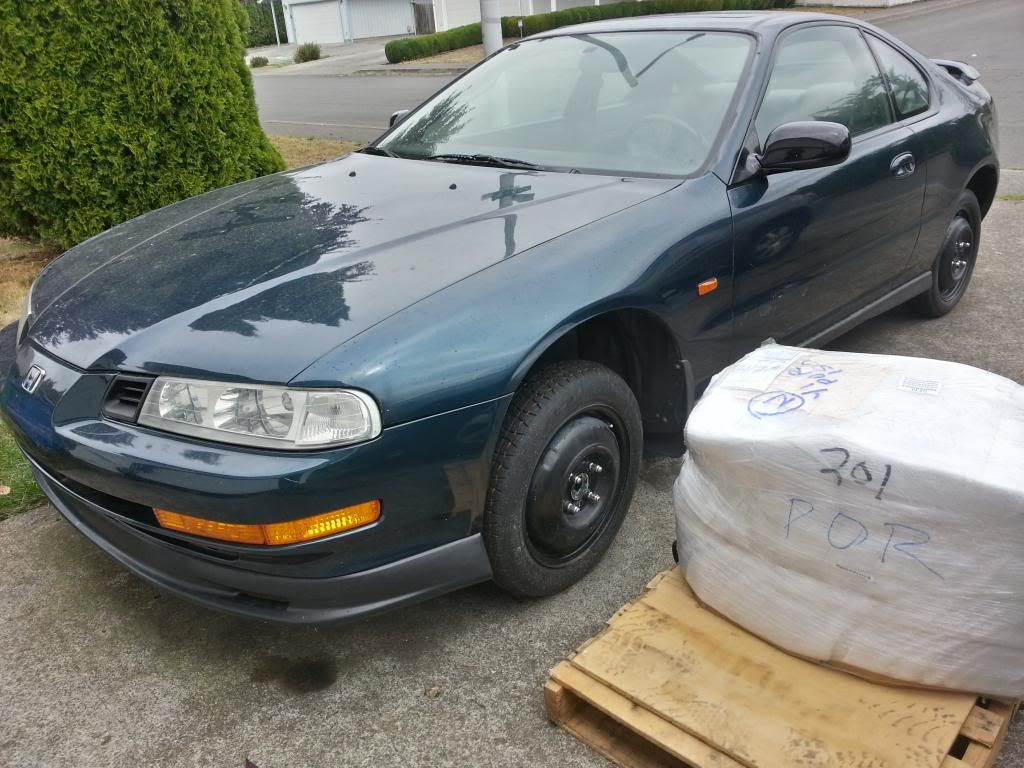
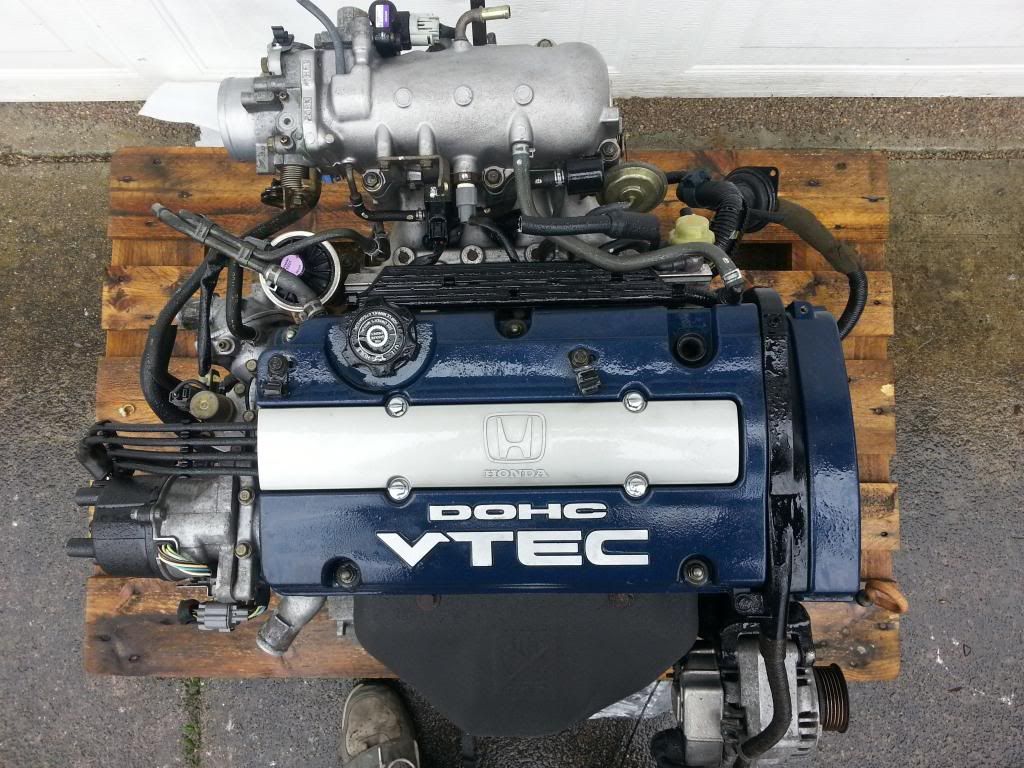
How it looked when I bought it
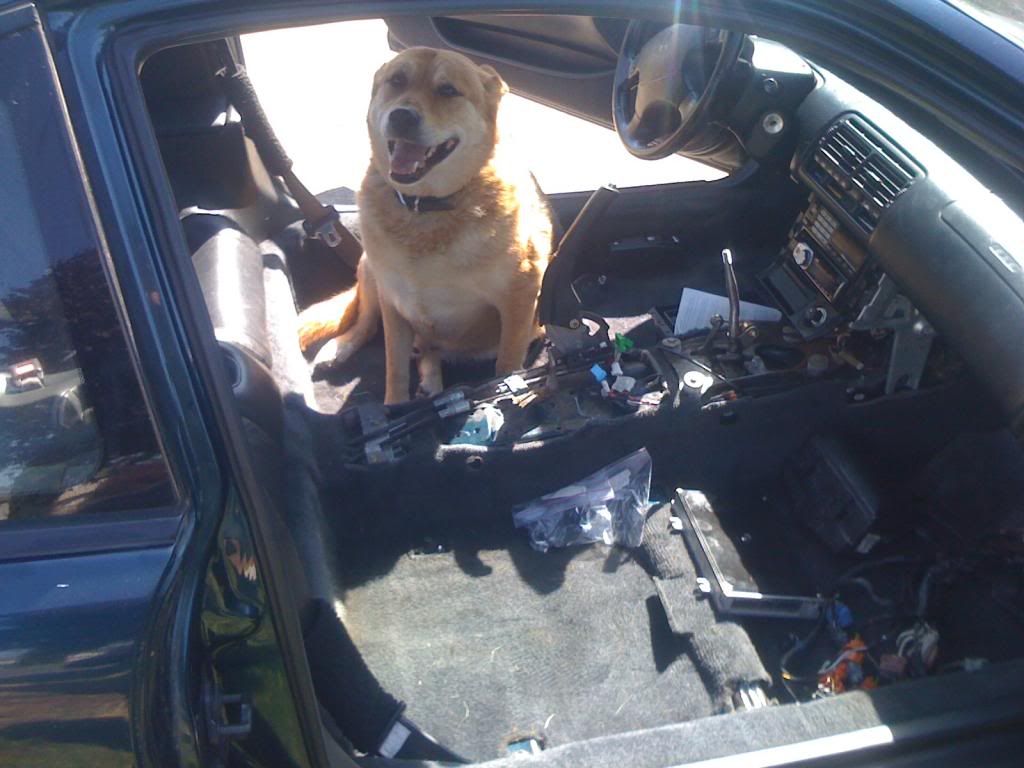
My little shop buddy
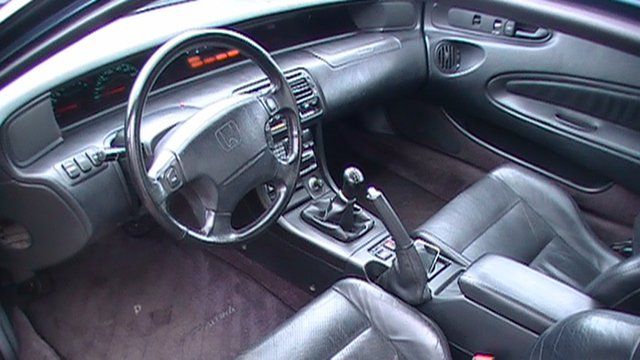
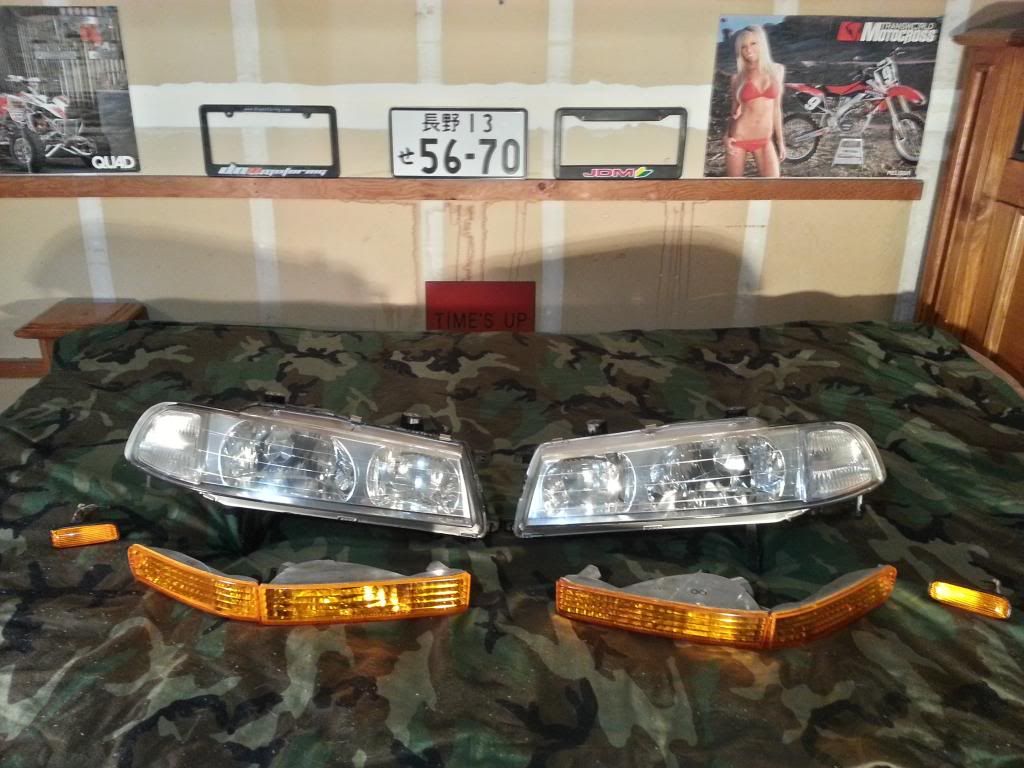
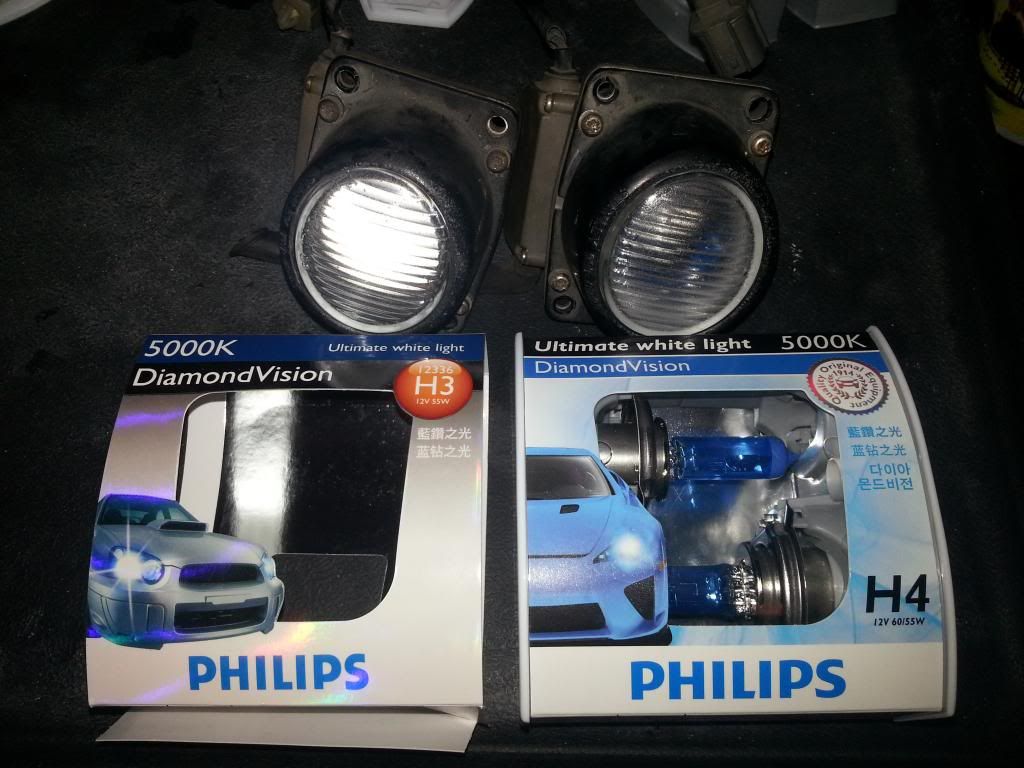
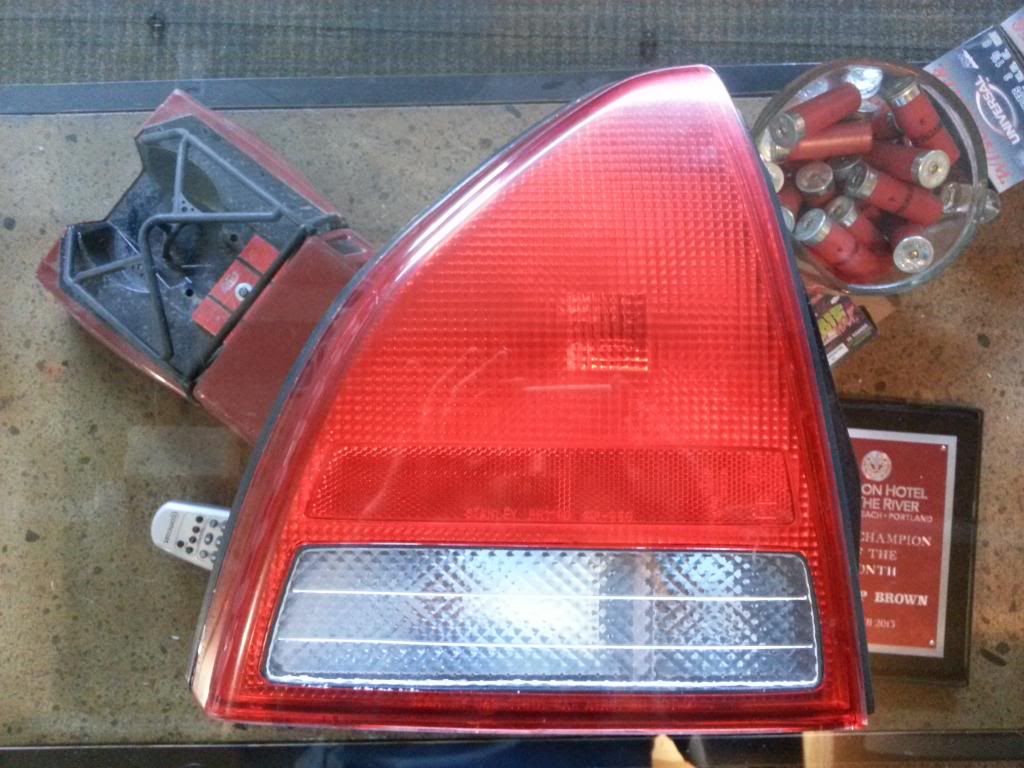
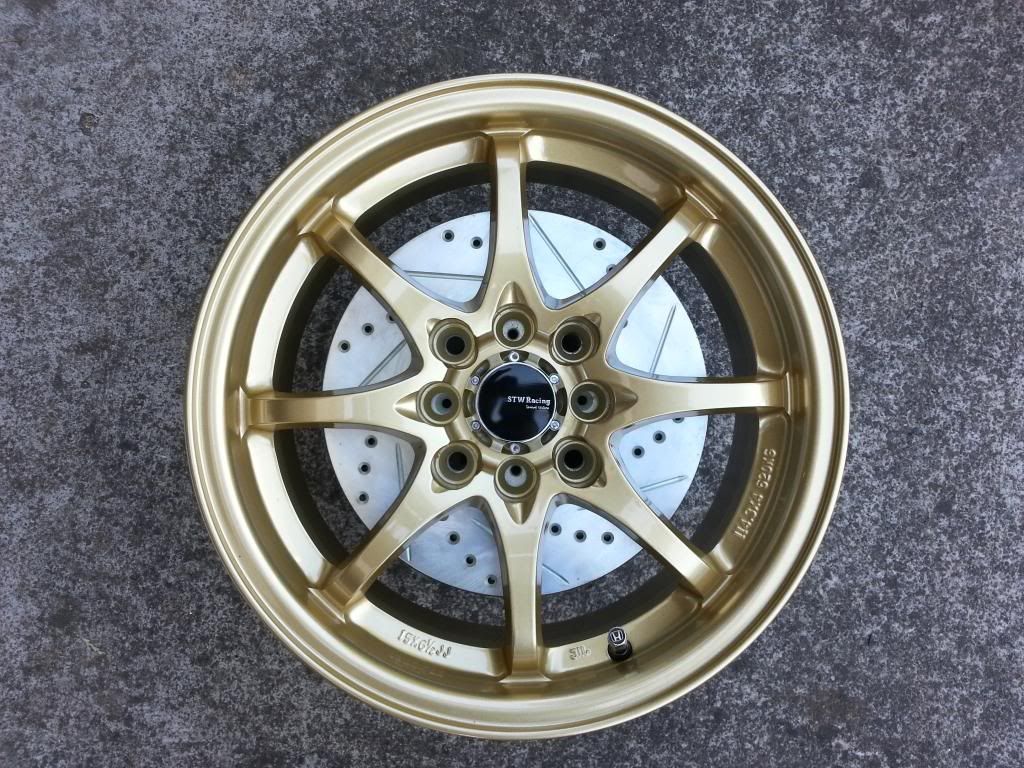
Jdm yo'
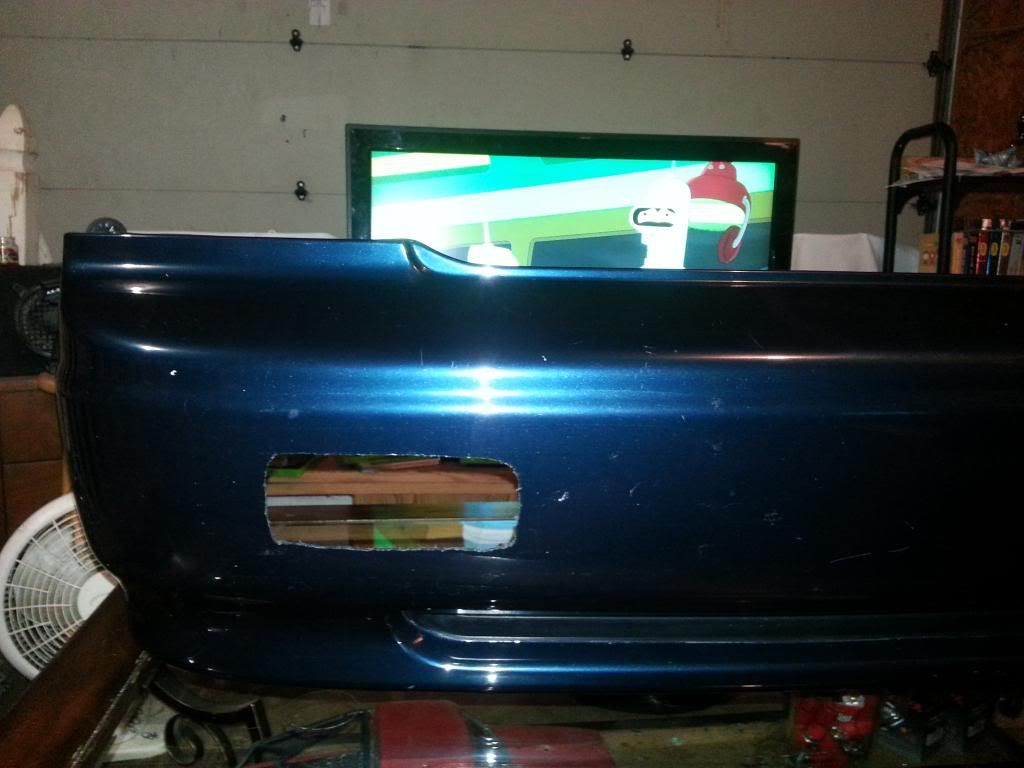
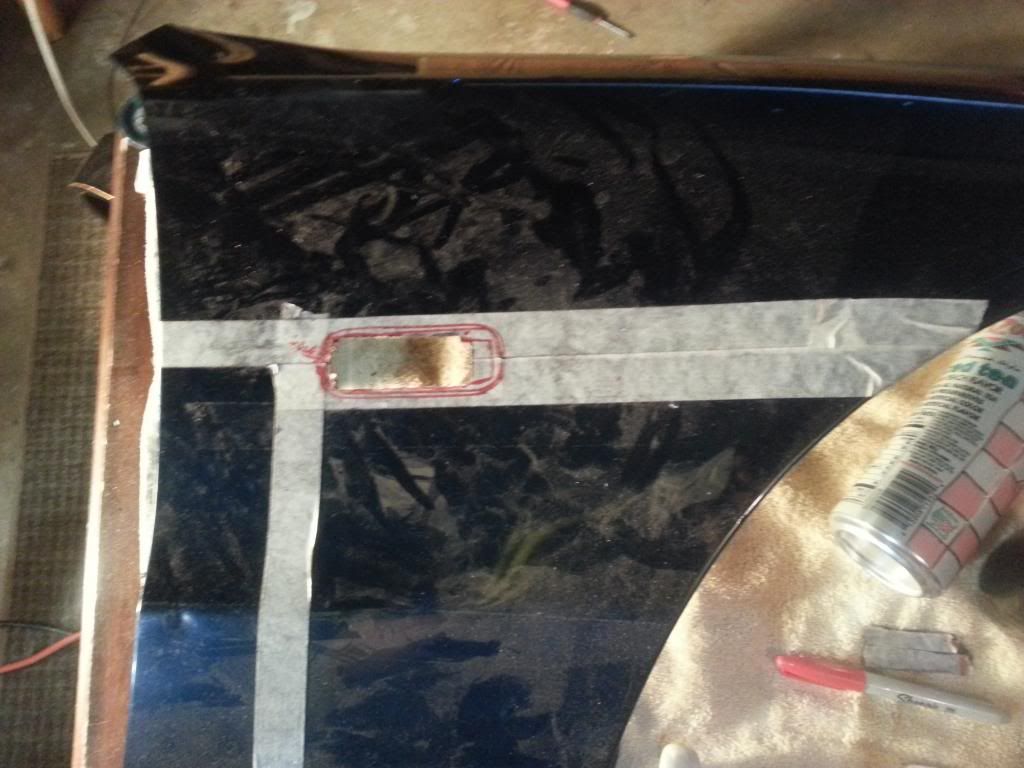
vvv- I made my outline with a sharpie

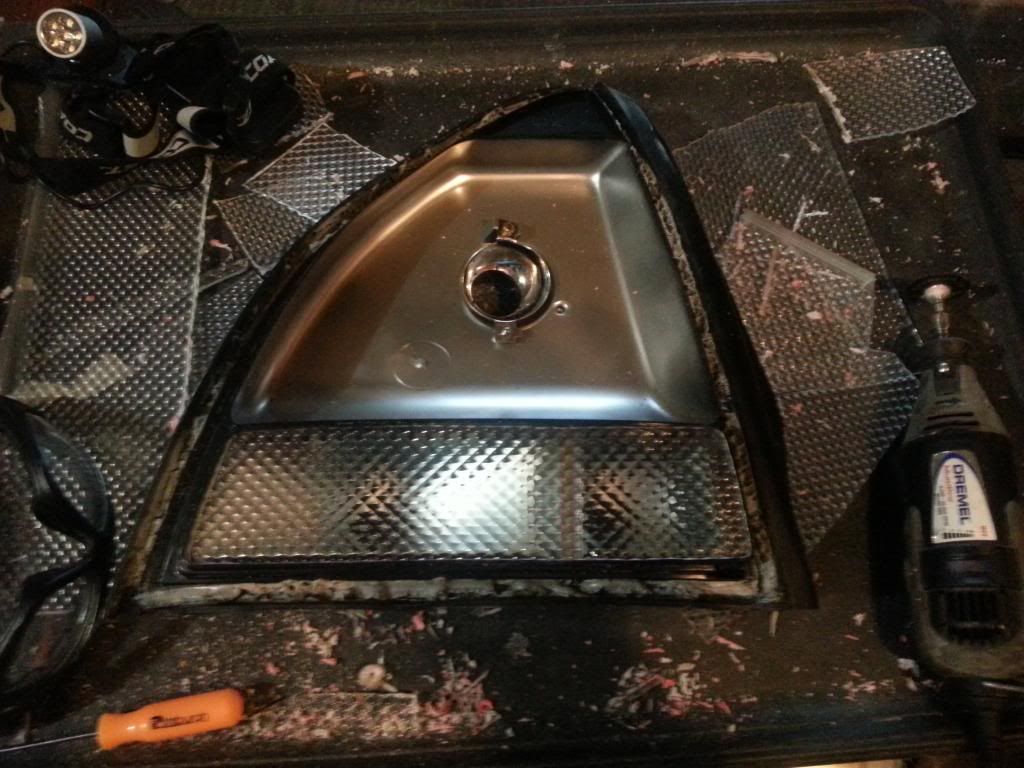
vvv- I used a drill to outline the inner of my outline so I could widen as needed
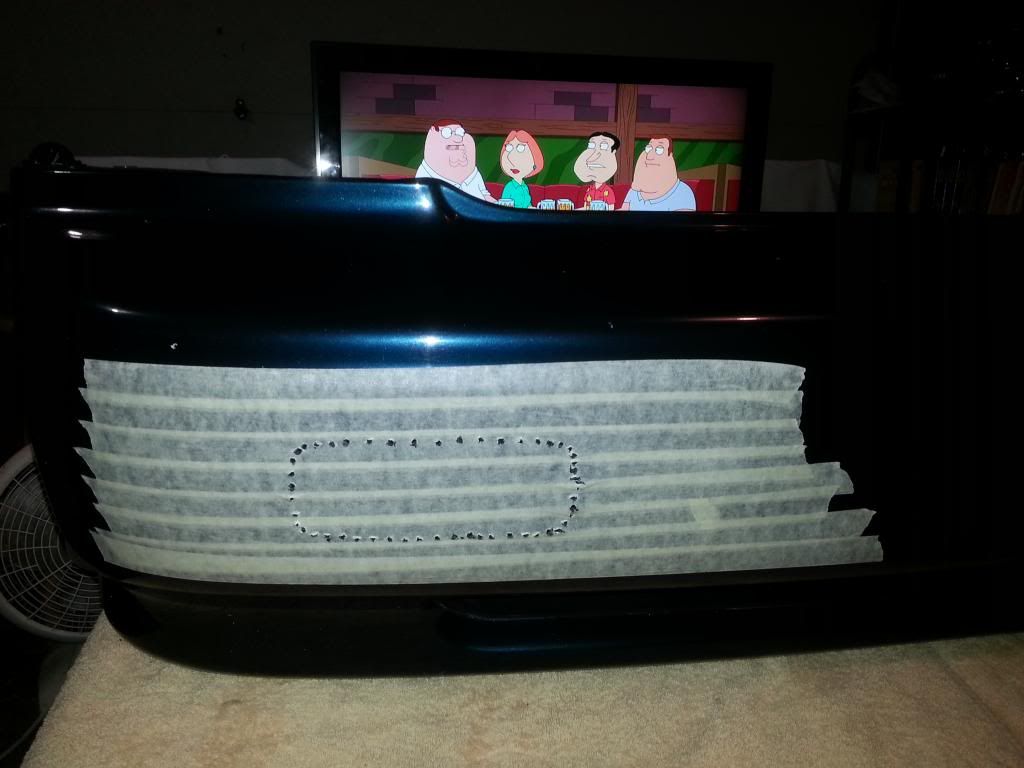
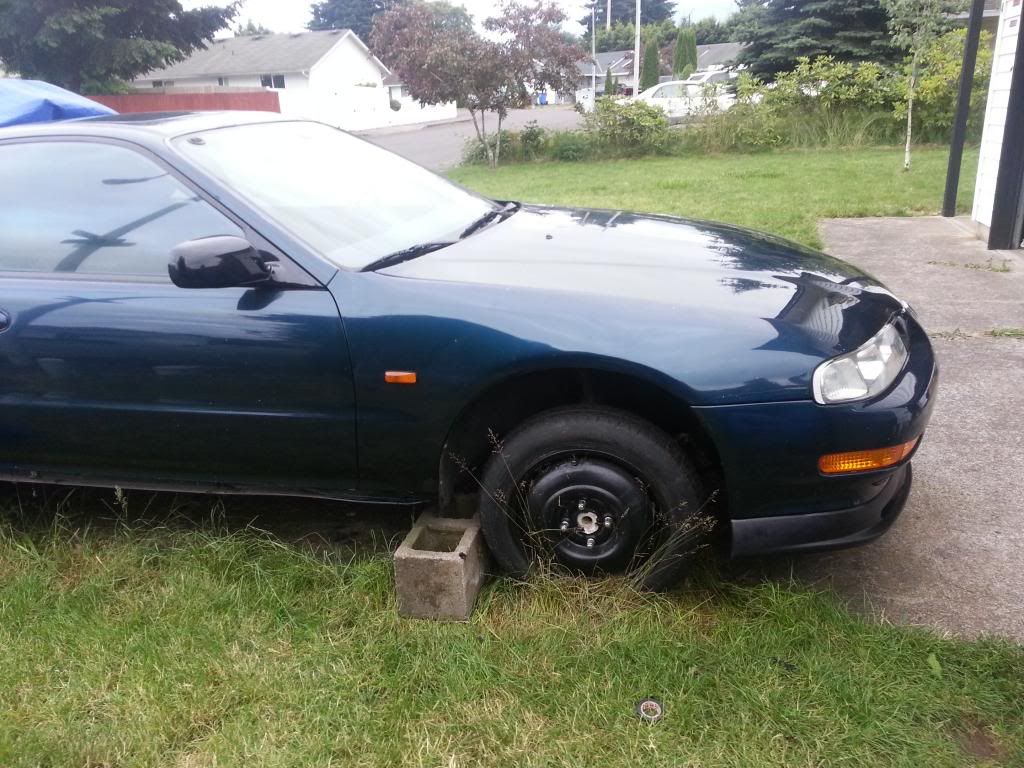
vvv- Its not the prettiest hole in the world, but it holds the light in strait! Fits snug and the edges are fully covered by the lights outer lip. There wax over spray and tape residue that make sthe bumper look beat up....
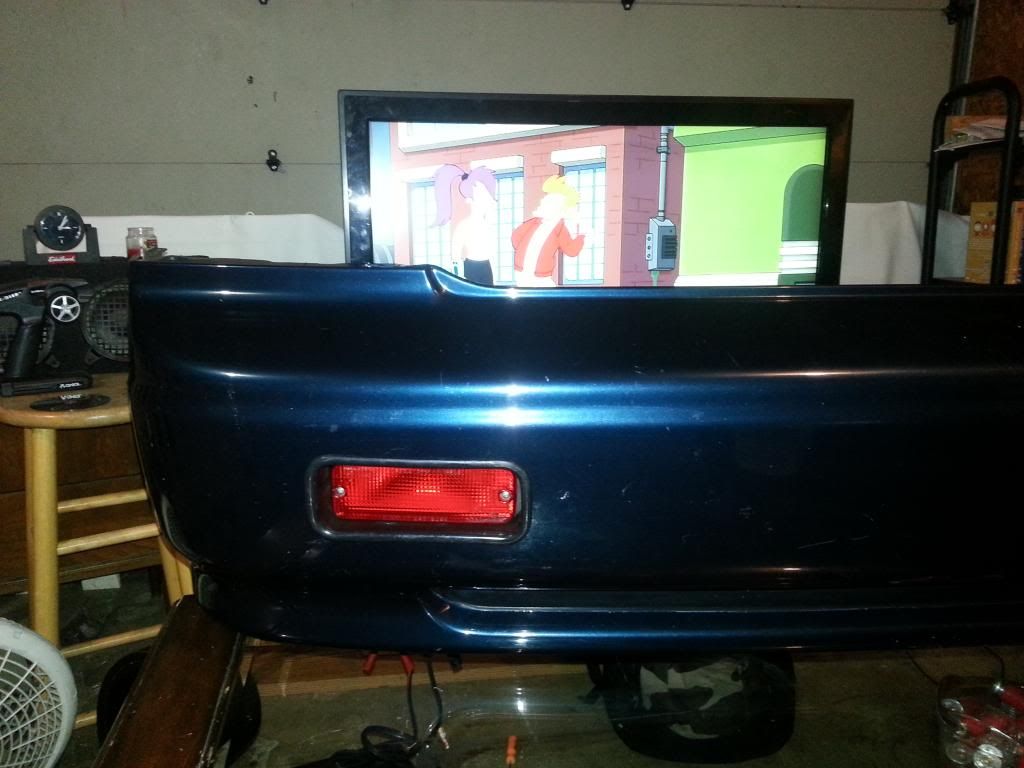
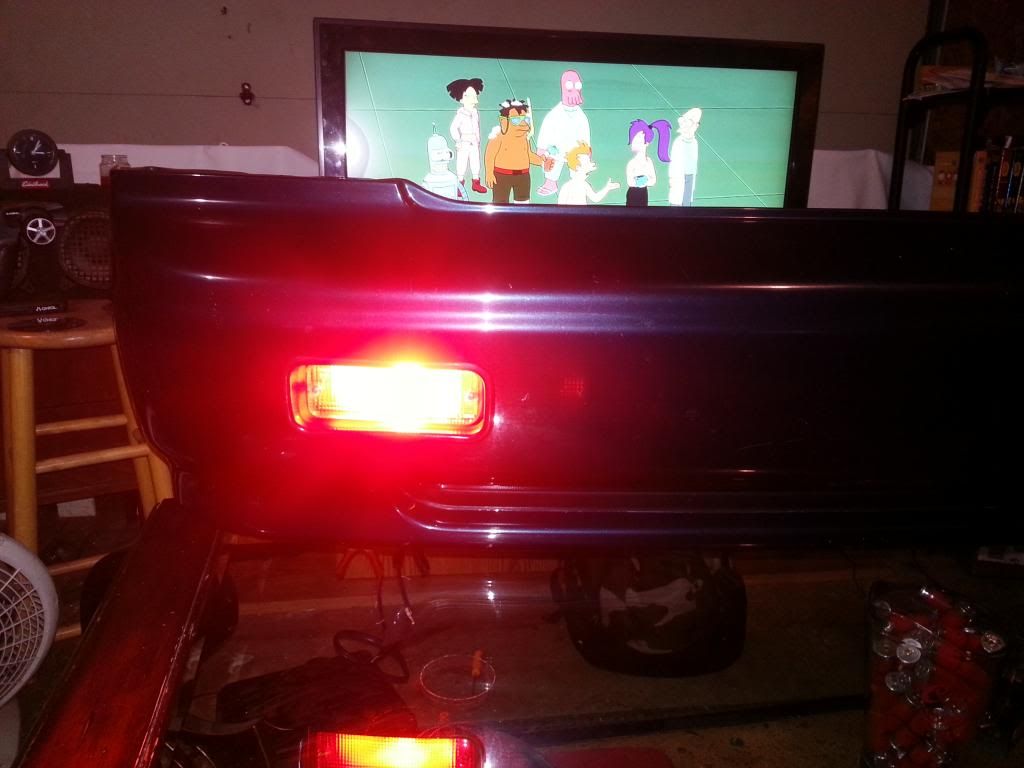
vvv- Here it is fully installed! :drool:
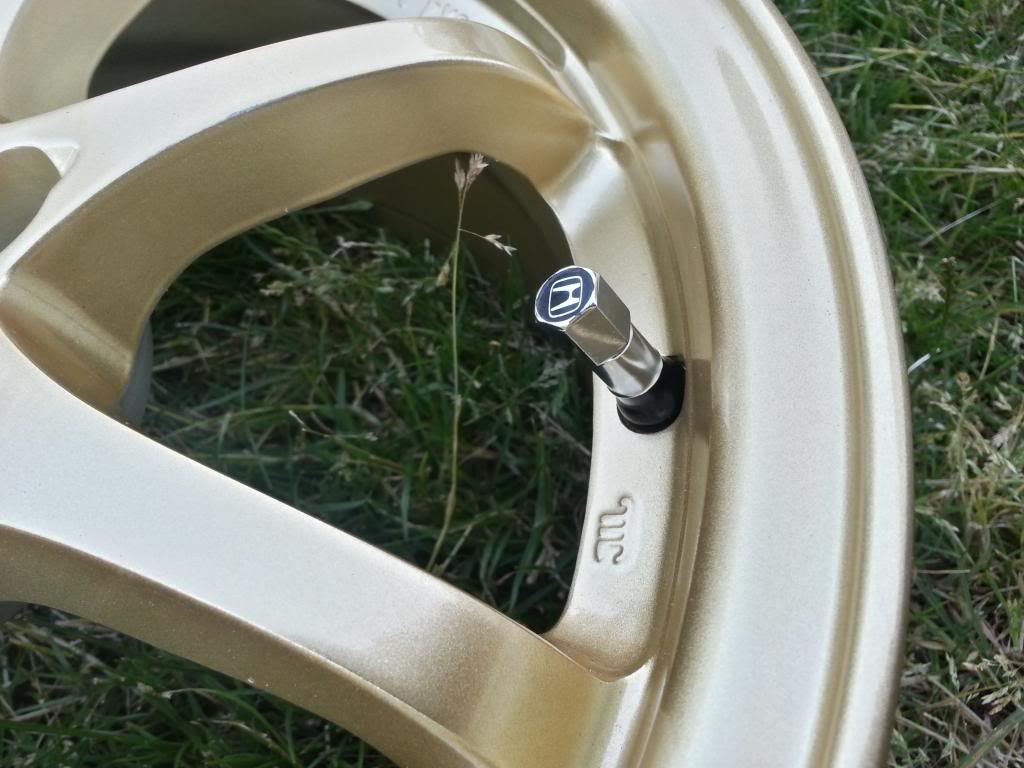
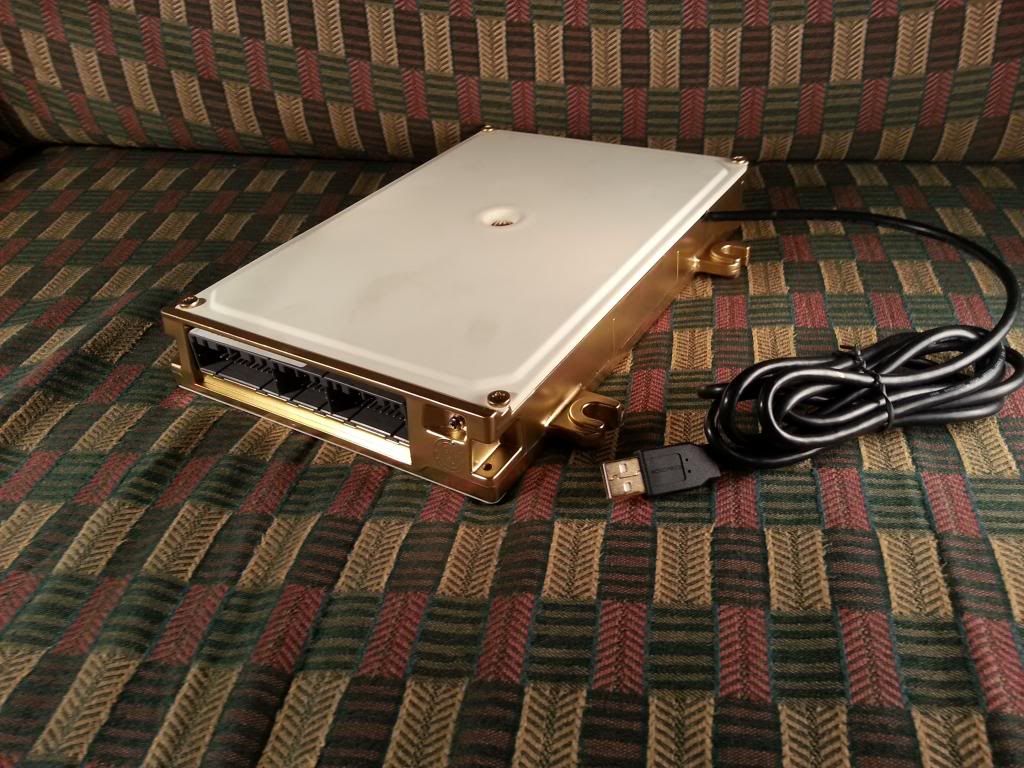
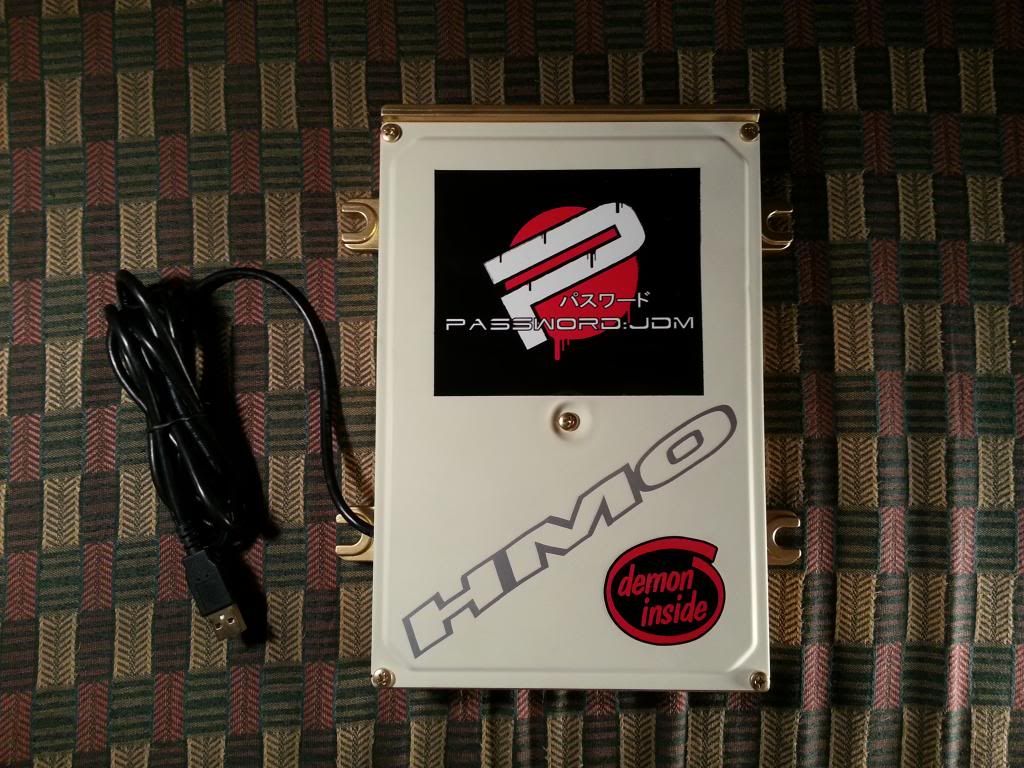
Still debating on if im going to plastidip or rock the gold--vvv
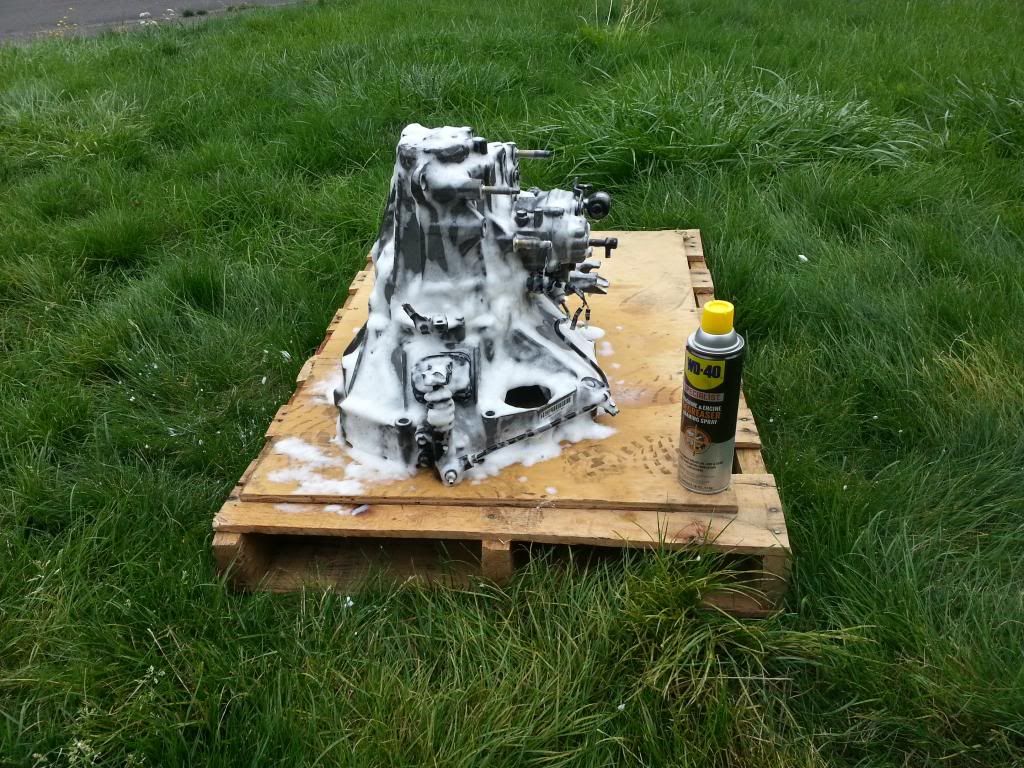
New engine!--vvv
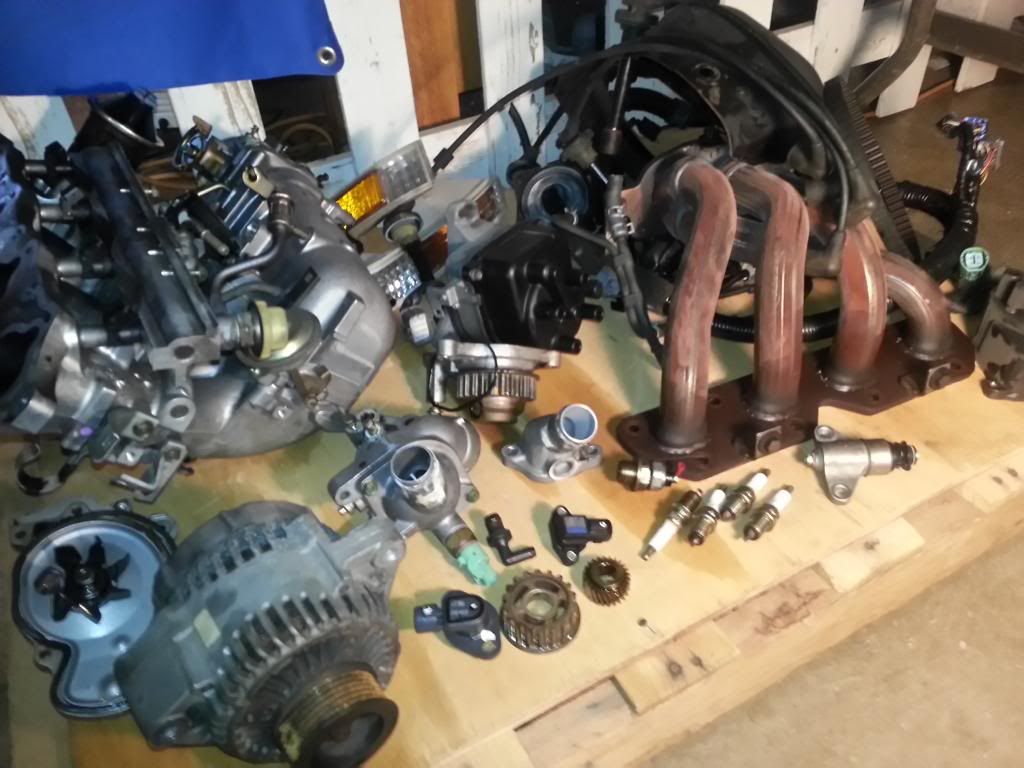
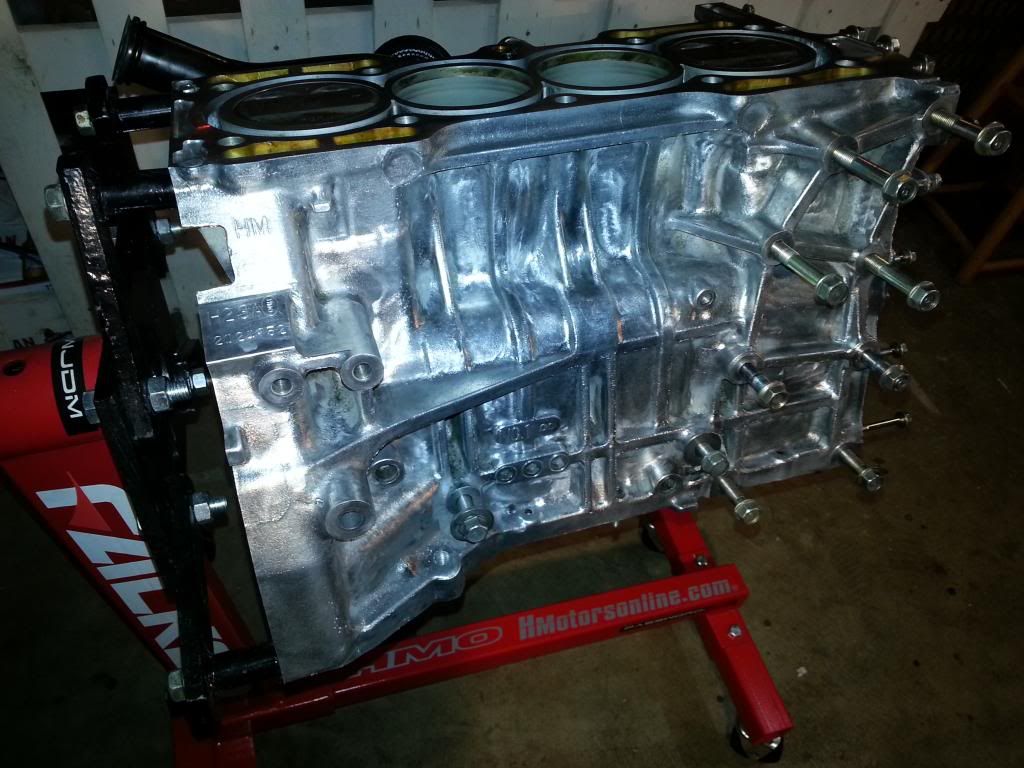
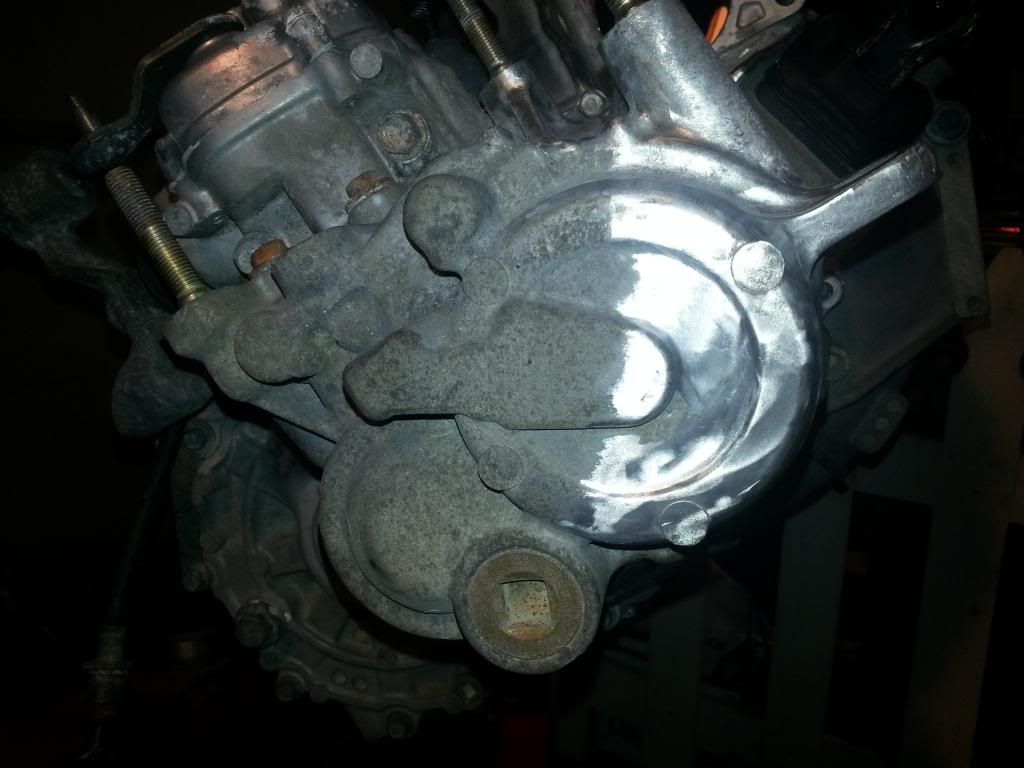
Took the Balance Shafts out--vvv
Feel free to chime in.
Its meant to be like a factory stroked euro-r
T2W4
H23aV w/pde head
euro-r intake
11.5:1
RDX 550cc @ 70psi
Neptune tuning
PLM Tri-Y header
custom exhaust
KS balance-shaft delete
Injen true cold air
Few others...
Here are a few pics I have on hand.
How it looked when I bought it


My little shop buddy


Jdm yo'


vvv- I made my outline with a sharpie

vvv- I used a drill to outline the inner of my outline so I could widen as needed

vvv- Its not the prettiest hole in the world, but it holds the light in strait! Fits snug and the edges are fully covered by the lights outer lip. There wax over spray and tape residue that make sthe bumper look beat up....

vvv- Here it is fully installed! :drool:


Still debating on if im going to plastidip or rock the gold--vvv


New engine!--vvv


Took the Balance Shafts out--vvv


Last edited by Sparksman; 11-19-2014 at 11:43 PM.
 04-04-2014, 04:06 AM
#2
Honda-Tech Member
Thread Starter
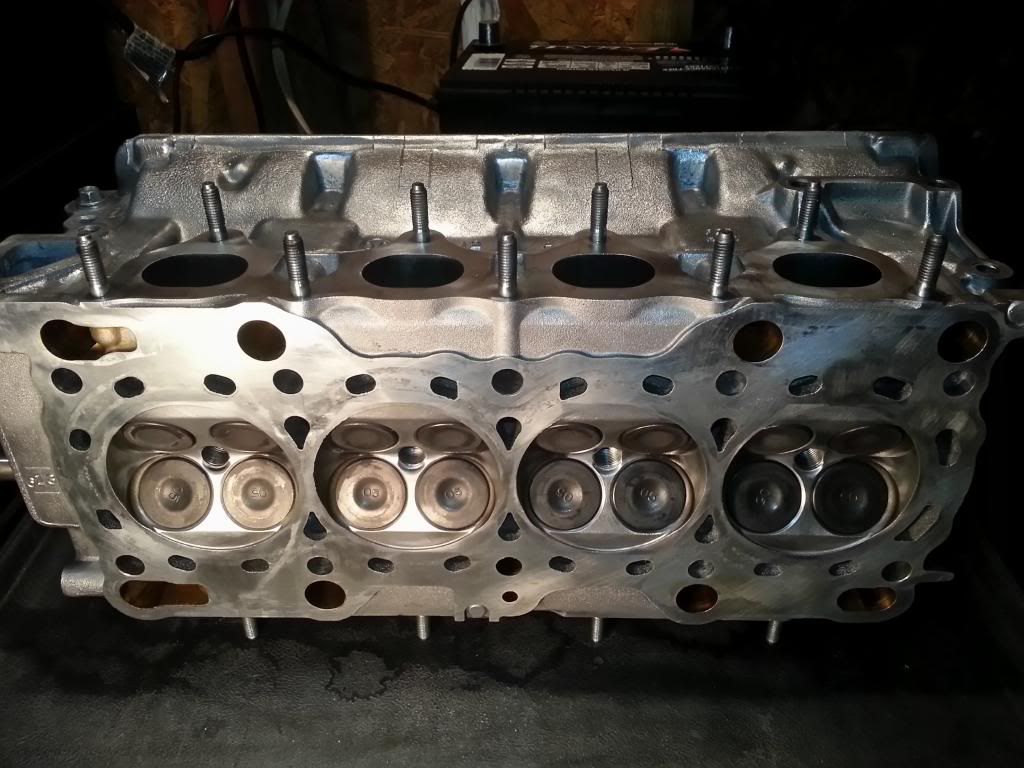
Im hoping by next week to have the head at the shop for some head work/rebuild. Might as well clean it up before I take it in.
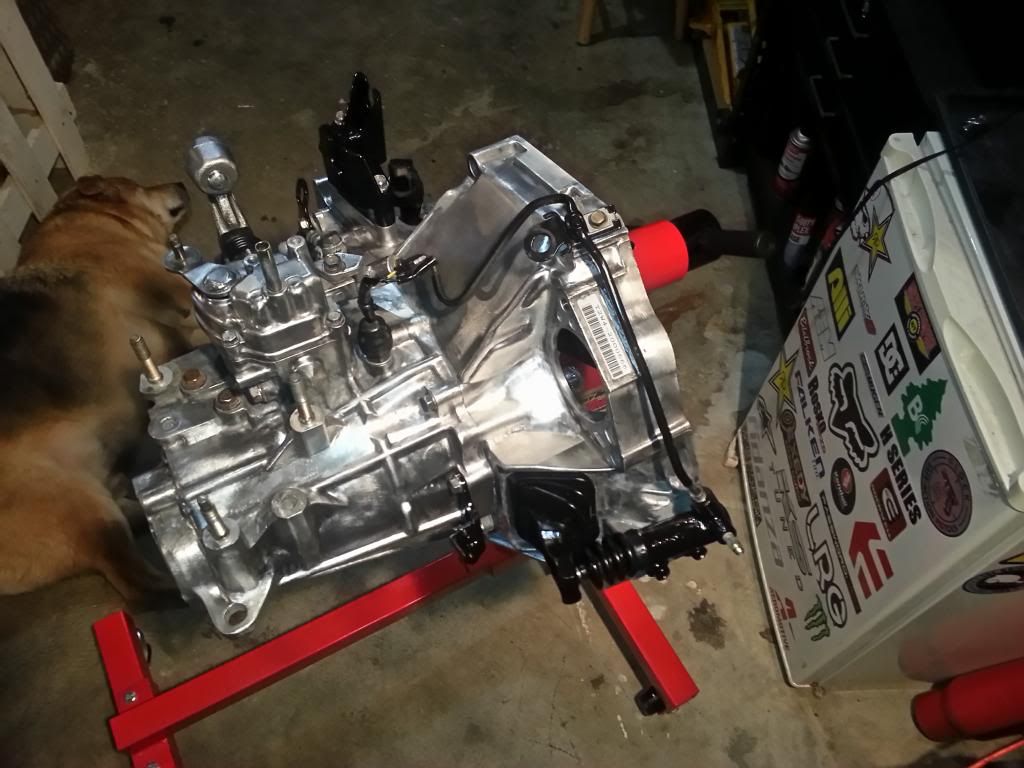
So I polished up the head to match the trans and block---vvv
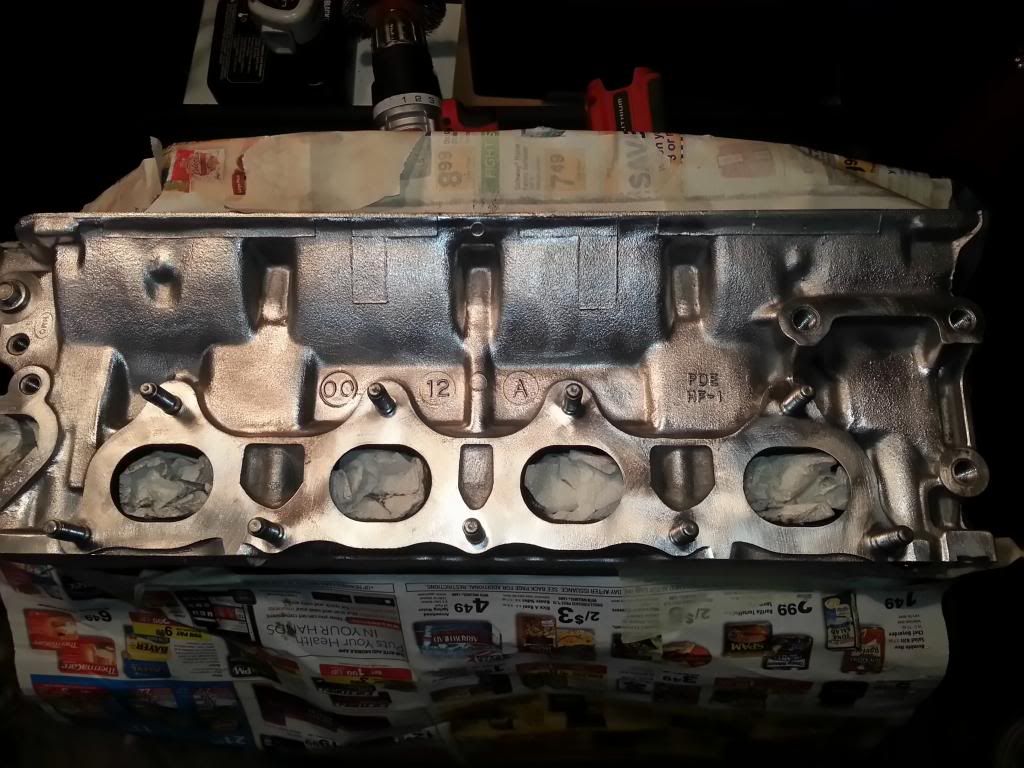
I figured it was apart why not clean off some of the build up. ---vvv
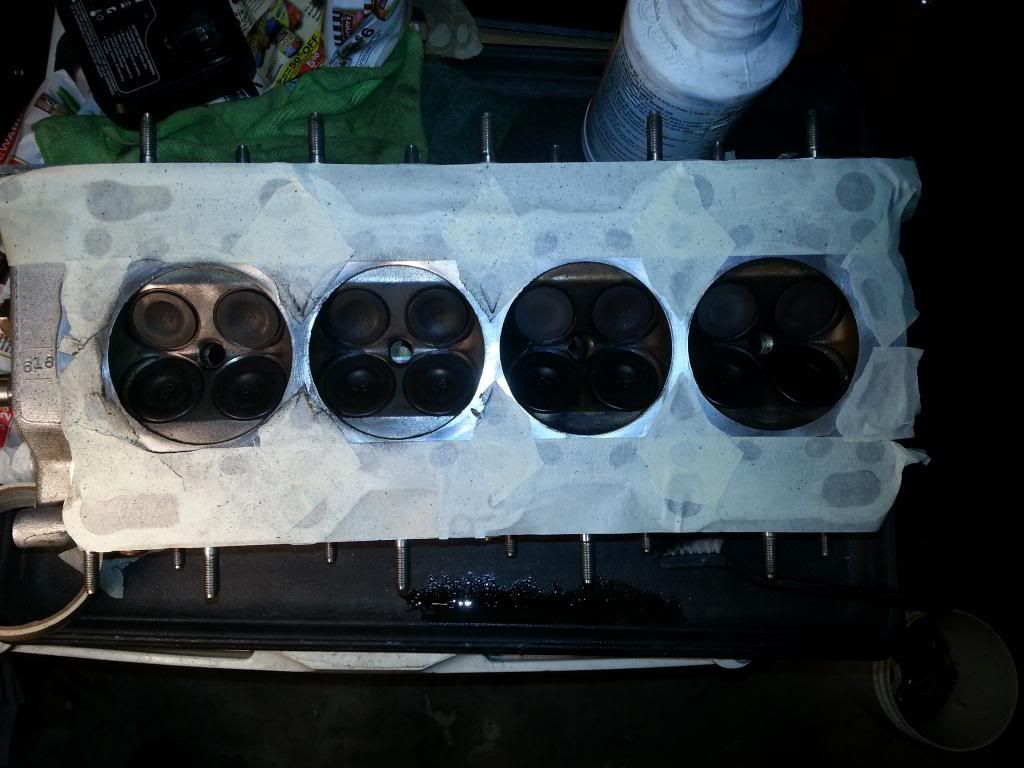
Ready for the shop.--vvv
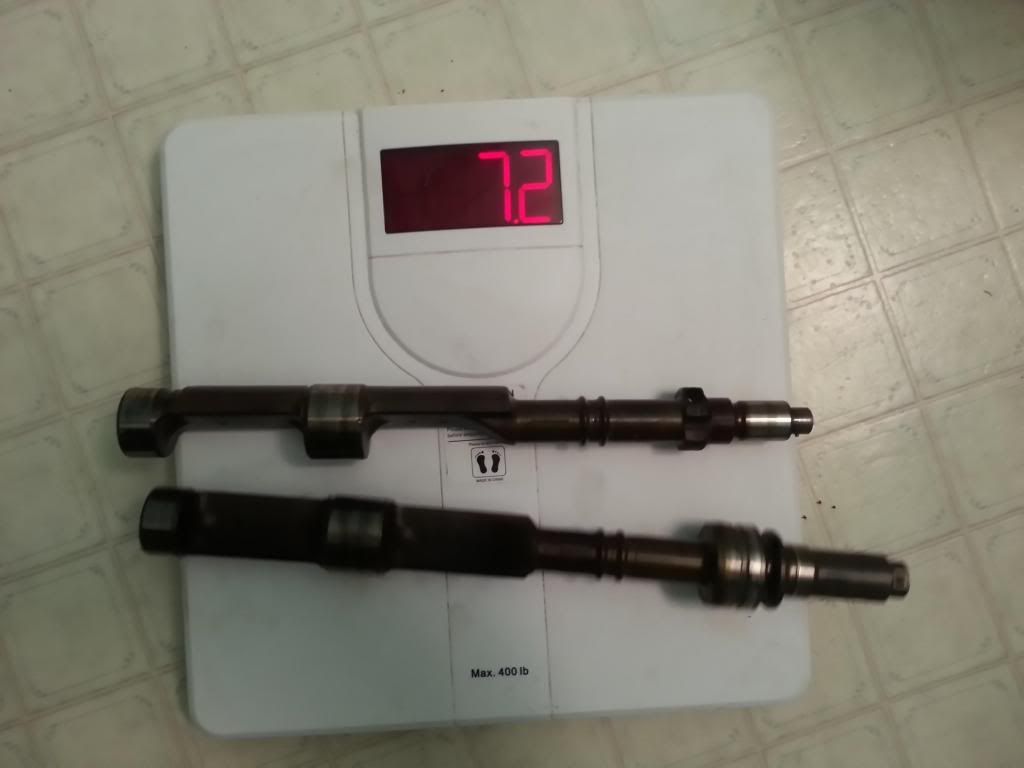
I weighed the balance shafts out to be 7.2lbs. I bet its safe to call it 7.5lbs if you add the washers, bolts, and cogs. Ive read oem flywheels weigh between 18-22lbs so Il just say 20lbs. My swap didnt come with a oem one to weigh.
So the total parasitic drag is 27.5lbs approx. I also have a 8lb flywheel Im going to be using. Thats 12lbs off the flywheel and 7.5lbs for no BS gives me 19.5lbs of removed rotational weight. Pretty much as if I had no flywheel at all lol. Not really going to be great at launches, but will kill on the rolling starts lol. ---vvv
 04-04-2014, 01:45 PM
#3
Honda-Tech Member
Fidenza 8lb and balance shaft delete user checking in. You will thoroughly enjoy the gains in throttle response.
Also, did you use a solution to clean the transmission/head/block or did you use a rotary tool or buffer, or both? Looks fantastic.
Also, did you use a solution to clean the transmission/head/block or did you use a rotary tool or buffer, or both? Looks fantastic.
04-04-2014, 03:19 PM
#4
Honda-Tech Member
Thread Starter
I should be installing the girdle plugs here soon, I had to call Kaizenspeed to get a new tap and plug for the main. The size I ordered was for h22a obd1 and non-vetec h23. I bought before I decided on my engine, I guess blue/red-tops and F series have a different size.
As for polishing it wasnt that hard, more time consuming. Just remember dont use wire wheels when wet, just smears things around... Also gets brush oily.
-degreaser
-soap/water
-a old tooth brush
-a drill with small 3 inch course wire wheel
-dremel with wire wheel
-lots of paper towels
Basically just scrubbed the sh*t out of them with degreaser, water, and soap. Then used the drill and big wire wheel to take off the oxidation in all the open big areas. Then used a dremel to clean up the nooks and crannies. The trans took the longest but has the most surface area, maybe 10 hrs for that. The block only too about 4 hours or so, you only really see the one side but I wanted to do the whole thing. The head only took about 2-3 hours, but like the block had a lot of masking to keep internals dust free.
Last edited by Sparksman; 04-04-2014 at 03:45 PM.
04-08-2014, 05:05 AM
#7
Honda-Tech Member
Thread Starter
Thanks! X2 ^^^
I took the main caps off so I could install the 4 solid plugs into the oil girdle , and use a tap to thread a oil passage on the block itself for a screw plug. The obd1 H22a and non-vtec h23a1 series take a 1/8 npt tap, and the other use a 1/4 npt tap. I ordered the kit before I settled on exactly which H i went with, so I had to re order a new tap and special short plug for my h23aV.
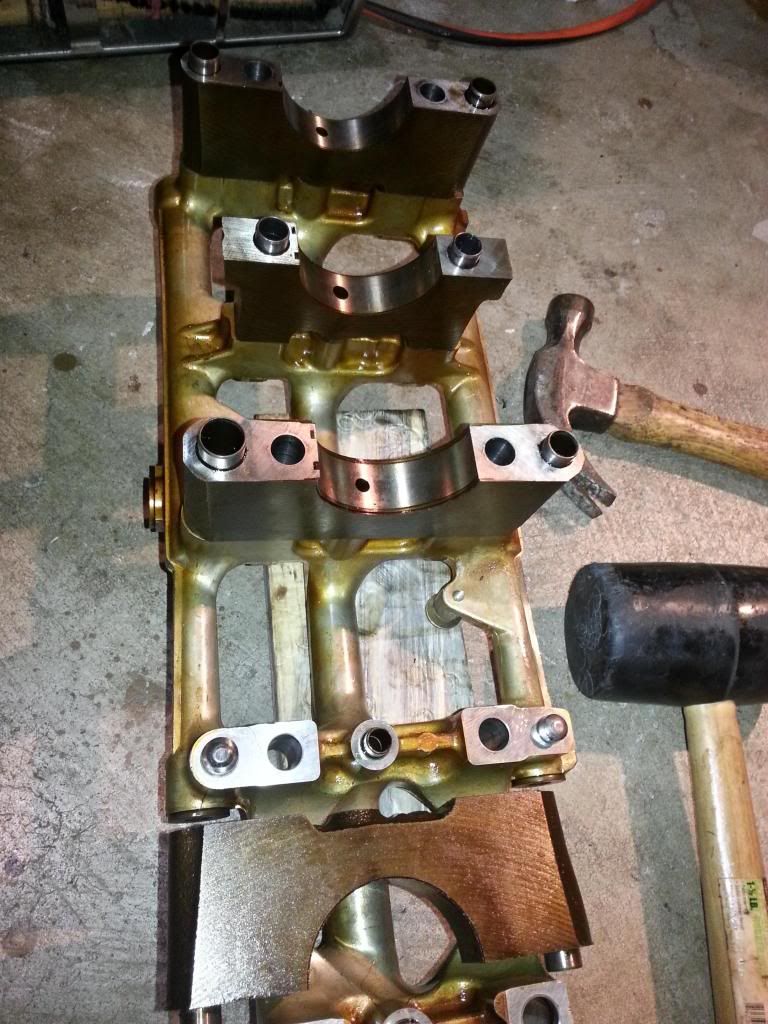
All the caps came of with the girdle first try--v

I used the 1/4 npt tap to thread the oil passage. After cleaning I screwed in the plug with some red lock-tight ---v

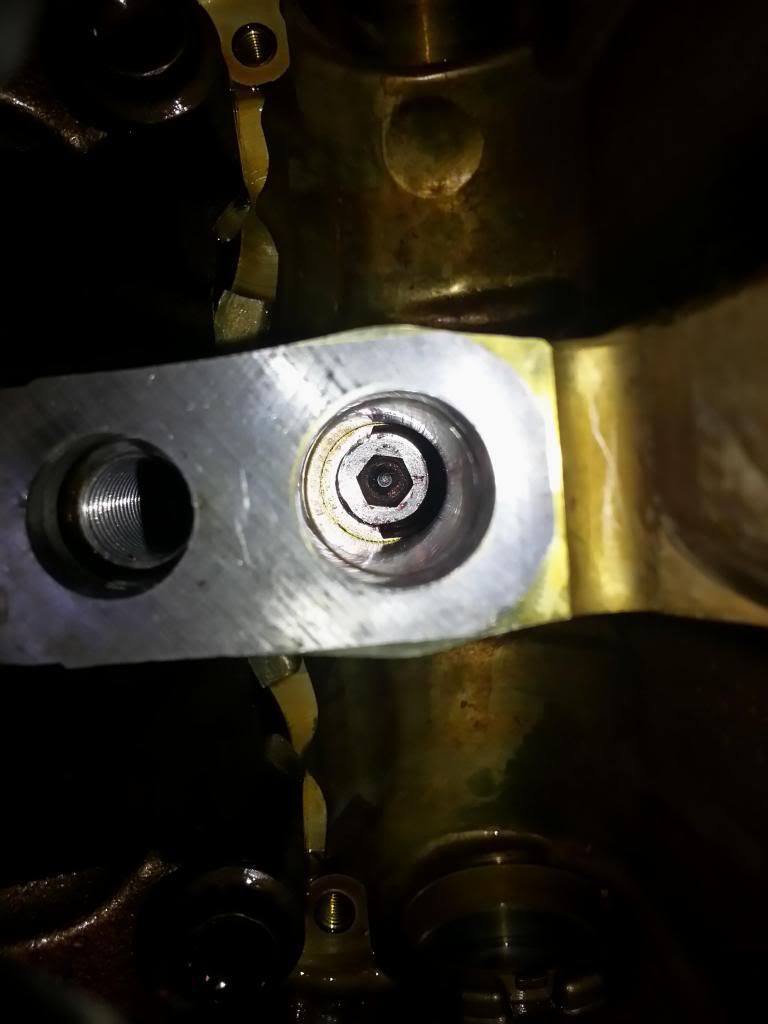
After installing the plugs in the oil girdle, and cleaning the matting surface well. I used a dead blow to start it, then after placing the dead blow on top of a main cap. I smacked the top of it as hard as I needed with the other hammer to get it to seat right. I used a pice of 2X4" wood laying around so it wasnt banging on concrete. ---v
Then after polishing the bearings and bearing surfaces with a microfiber clothe, I used a little royal purple to lube it and the crank for reassembly. ---v
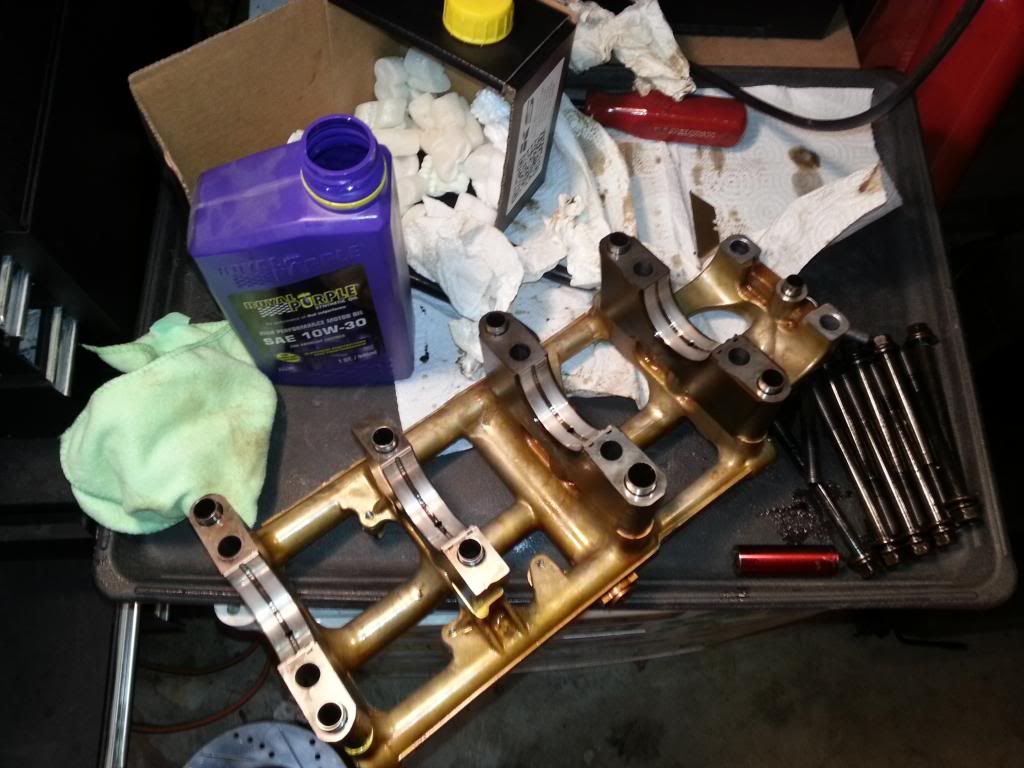
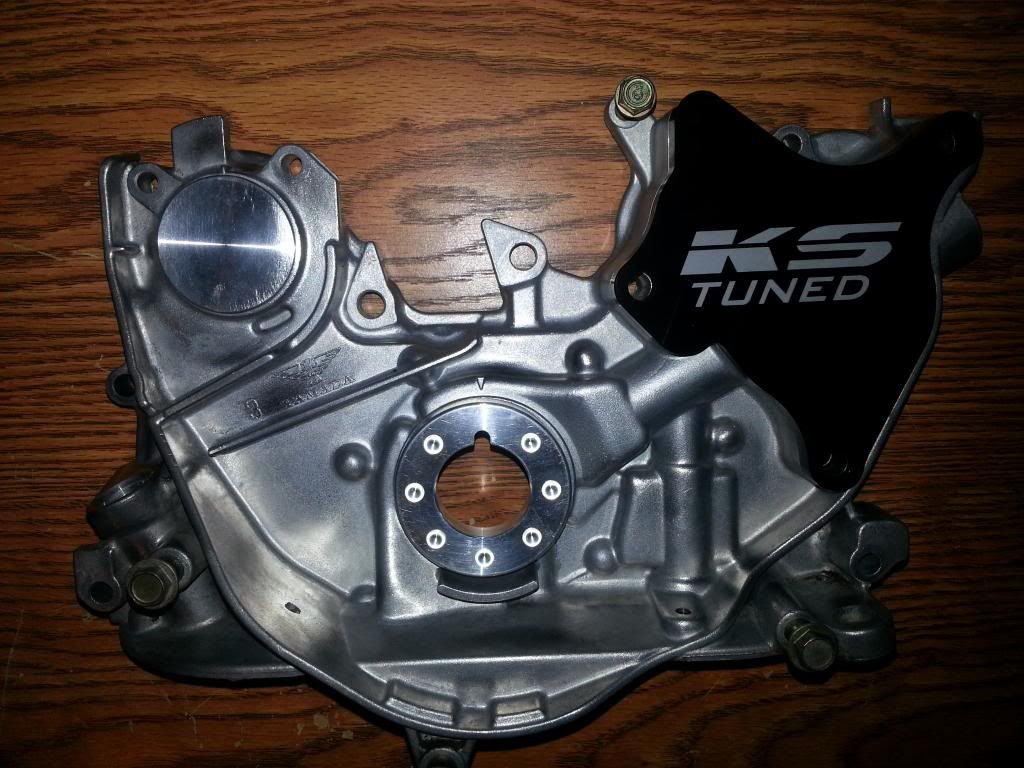
Now its back on the block, and the full KS balance-shaft delete is done.
I took the main caps off so I could install the 4 solid plugs into the oil girdle , and use a tap to thread a oil passage on the block itself for a screw plug. The obd1 H22a and non-vtec h23a1 series take a 1/8 npt tap, and the other use a 1/4 npt tap. I ordered the kit before I settled on exactly which H i went with, so I had to re order a new tap and special short plug for my h23aV.
All the caps came of with the girdle first try--v

I used the 1/4 npt tap to thread the oil passage. After cleaning I screwed in the plug with some red lock-tight ---v


After installing the plugs in the oil girdle, and cleaning the matting surface well. I used a dead blow to start it, then after placing the dead blow on top of a main cap. I smacked the top of it as hard as I needed with the other hammer to get it to seat right. I used a pice of 2X4" wood laying around so it wasnt banging on concrete. ---v

Then after polishing the bearings and bearing surfaces with a microfiber clothe, I used a little royal purple to lube it and the crank for reassembly. ---v

Now its back on the block, and the full KS balance-shaft delete is done.
Trending Topics
04-08-2014, 06:26 AM
#8
Nice, I wondered how much of a pain it would be to do without having the block totally apart. I did mine when I rebuilt, so I just hot-tanked the block again after I finished.
04-08-2014, 04:00 PM
#9
Honda-Tech Member
Thread Starter
Idealy you would want to have hot tanked, but didnt want to tear it down that far. Not to mention im grossly over budget as is lol. I used some purple as cutting oil, and most of the shaving stuck to the tap when i pulled it out. I then rotated the block upside down and sprayed it out with a can of cleaner. Then I used a shop vac to try and suck everything else out, and wiped it down before screwing in the plug. If there happens to be anything else left in there Im hoping it will get picked up in the oil filter. I plan to buy some cheap oil and filter to do a 20 min break-in for first start up.
04-17-2014, 11:12 PM
#10
Honda-Tech Member
Thread Starter
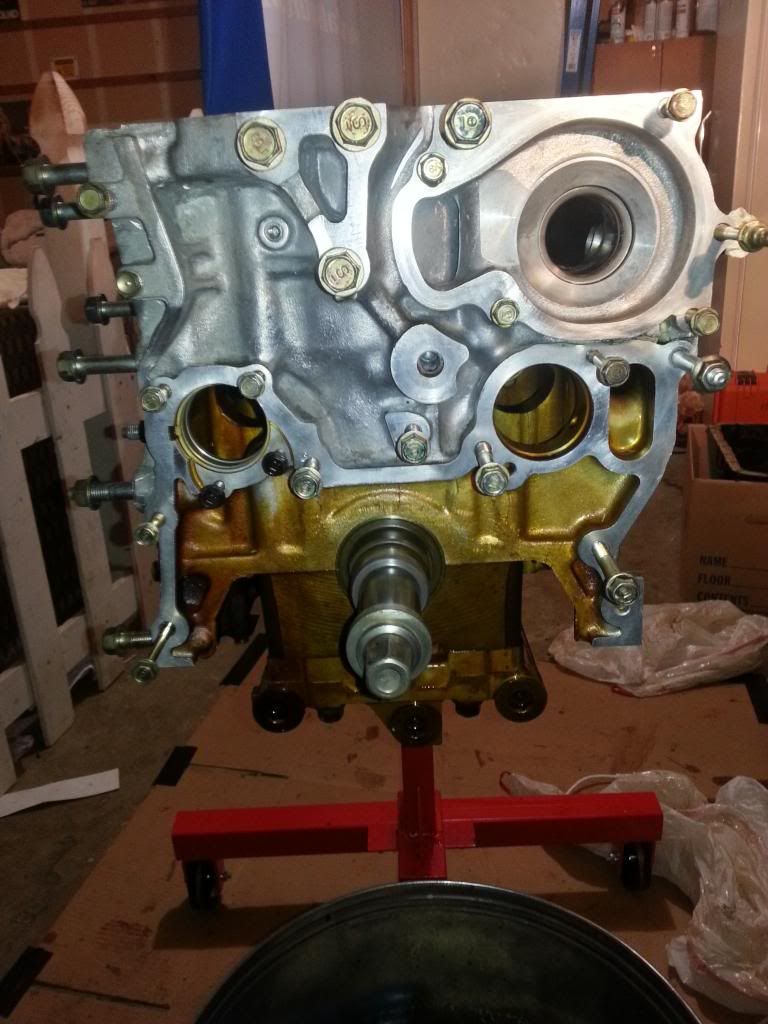
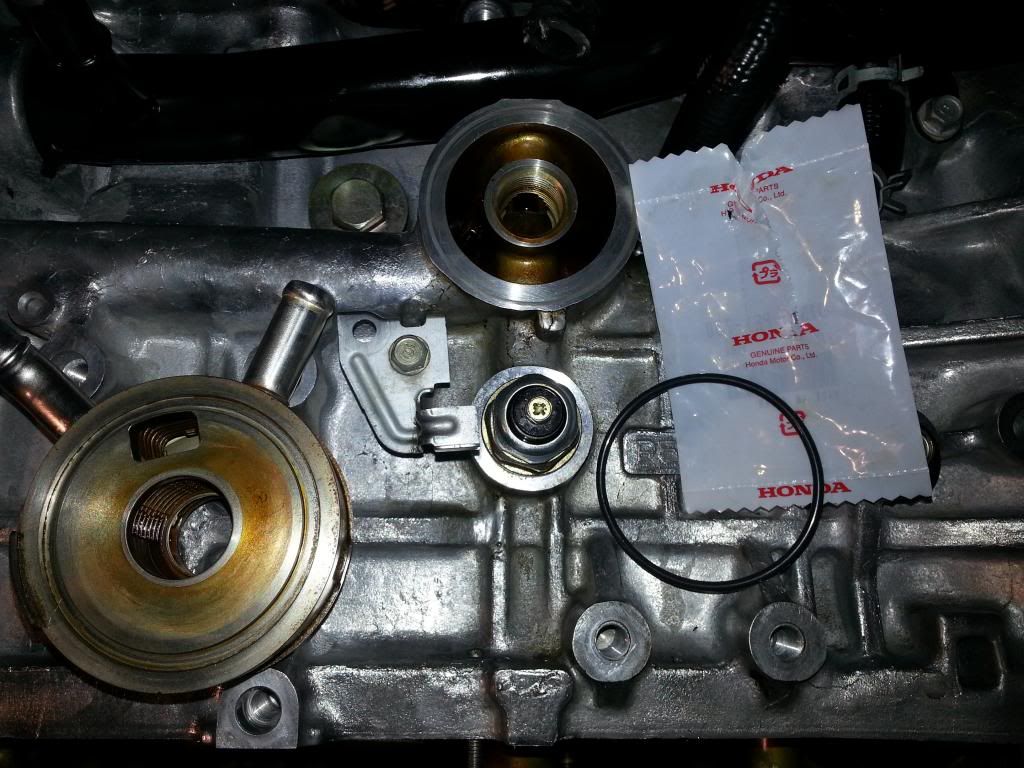
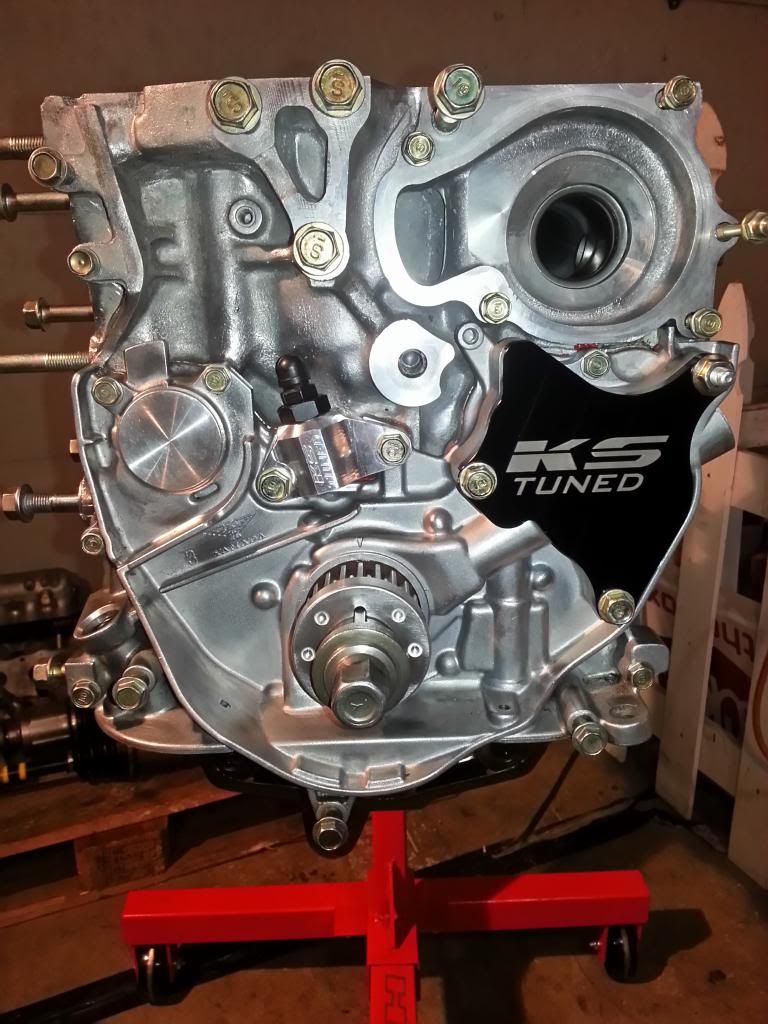
Money has been tight, but Ive been doing what I can. Just replaced the front and rear crank seals, and installed my oil pump back on. I also installed the KS manual tensioner, timing cog, crank spacer, and replaced the oil-cooler O-ring.

 04-26-2014, 09:48 PM
#11
Honda-Tech Member

The polish job you did on the block & tranny was an inspiration when I started my rebuild project 2 weeks ago. Degreased and pressure washed the block, head, tranny, and engine mounts, then set about polishing the block before I tore out the bottom end and discovered my cylinders were .006" out of spec. Boo! On the upside, I have an h23av on order, along with the KaizenSpeed balance shaft delete kit and manual tensioner conversion. The shop I'm ordering all this through has several types of the balance shaft kits, and fortunately has the dif sized taps and plugs on hand. As soon as my 5 days is up, I'll start a new thread. The polish job looks just as sexy in person, so I'll definitely be doing that to the new block as well. Are you going to go spray a clear engine enamel over it to keep the shine, or just run it super clean for as long as it lasts? Which flywheel are you using? If you're sticking with the JDM oil pump, are you going OBD1 with the internal coil dizzy? I haven't made up my mind as to how I'm going to handle that. My Prelude is a '96, and North Carolina requires testing at the OBD2 port, so my OBD1 conversion is going to be backwards (forwards?) compatible so I can swap the ECU back for testing. Anyway, great info! I've been following some of your advice on other threads to make my swap go easier.
Last edited by Hyperluminesent; 04-26-2014 at 10:03 PM. Reason: Additional info, removed irrelevant question
04-27-2014, 12:34 AM
#13
Honda-Tech Member
Thread Starter
This is only my second H series "tear down", this H23aV SIR and a H22A4 which was the last one I pulled out. Im just comfortable enough to dive in it, there not very complicated one you get in there. Just cant cut corners, and try to do things right the first time. You can still do everything right and have some mess up, Im hoping it turns out for me lol... This hobby has an expensive learning curve

The polish job you did on the block & tranny was an inspiration when I started my rebuild project 2 weeks ago. Degreased and pressure washed the block, head, tranny, and engine mounts, then set about polishing the block before I tore out the bottom end and discovered my cylinders were .006" out of spec. Boo! On the upside, I have an h23av on order, along with the KaizenSpeed balance shaft delete kit and manual tensioner conversion. The shop I'm ordering all this through has several types of the balance shaft kits, and fortunately has the dif sized taps and plugs on hand. As soon as my 5 days is up, I'll start a new thread. The polish job looks just as sexy in person, so I'll definitely be doing that to the new block as well. Are you going to go spray a clear engine enamel over it to keep the shine, or just run it super clean for as long as it lasts? Which flywheel are you using? If you're sticking with the JDM oil pump, are you going OBD1 with the internal coil dizzy? I haven't made up my mind as to how I'm going to handle that. My Prelude is a '96, and North Carolina requires testing at the OBD2 port, so my OBD1 conversion is going to be backwards (forwards?) compatible so I can swap the ECU back for testing. Anyway, great info! I've been following some of your advice on other threads to make my swap go easier.

Well the rust that was on it took over ten years to accumulate. So I figure I will do the whole thing once outside the car. Then I would just use the drill and polish any visible spots later down the road if need be. I didnt want to paint anything on it because eventually it will flake and look like crap.
I have a external dizzy for my 94's H22A1
I kept the jdm oil-pump because my car was obd1, and I dont need a CPS. You wanting to pass obd2 emissions will need a obd2 CPS which is in the oil pump.
04-27-2014, 01:15 AM
#14
Honda-Tech Member
iTrader: (2)
Join Date: Dec 2007
Location: temecula, ca, usa
Posts: 1,059
Likes: 0
Received 0 Likes
on
0 Posts
Love this thread, I will definitely be keeping an eye on your progress. That KS TUNED balance shaft delete cover plate is pure sexy! Keep up the clean work.
04-28-2014, 06:17 AM
#15
Honda-Tech Member
Thanks man, Ive put a bit of effort into this build. I try to help out if I can, glad it made you want to better your lude!
Well the rust that was on it took over ten years to accumulate. So I figure I will do the whole thing once outside the car. Then I would just use the drill and polish any visible spots later down the road if need be. I didnt want to paint anything on it because eventually it will flake and look like crap.
I have a external dizzy for my 94's H22A1
I kept the jdm oil-pump because my car was obd1, and I dont need a CPS. You wanting to pass obd2 emissions will need a obd2 CPS which is in the oil pump.
I've had the '96 for about 6 years, so all I see is OBD2 now.  I'm doing all this work at my brother-in-law's shop about 3 miles down the road, and I have zero data reception on my phone there. I have the 92-95 manual that I printed out and bound together years ago for reference, but I have to wait until the end of each day to look anything up, and it seems that every day there is a new round of questions. I've lurked these forums for probably 8 years (and become quite acquainted with the search function during that time) but the sheer volume of info on here makes it hard to keep track of the finer details sometimes! You should see all of my notes.
The shop I purchased the engine through is well versed with OBD1 conversions, and is going to wrap a custom harness for me once the engine is in so I can swap ECU's for inspection. It's added another layer of slight complication to trying to figure it all out. The swap that was done before I bought the car was a bit of a hack job. Random wires running through the engine bay, bolts & brackets missing, etc. I enjoy the challenge, but it's putting my problem solving abilities to a sore test!
 05-18-2014, 09:54 PM
#16
Honda-Tech Member
Thread Starter
----------------------------------------------------------------------------
Update:
So I took my head into a local well know performance shop called Toms Performance in Vancouver Wa. They deal with mainly big v8's making close to 4 digit HP numbers but are also familiar with Honda heads. Not too many custom performance shops around, so I guess they get them in a bit.
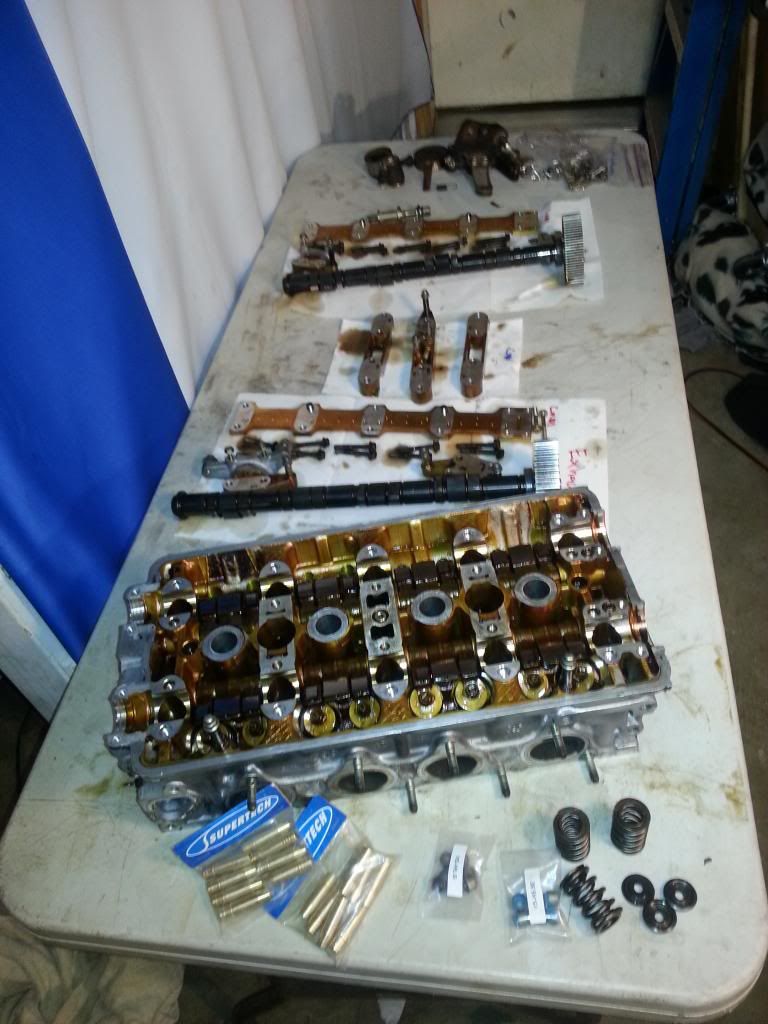
Had the head tanked/cleaned, resurfaced .020", a valve-job with oem valves, Super-tech seals,-bronze guides, and BC springs/retainers all installed by the shop.
I installed the cams myself to save some money. I know I went a little lube happy lol, but i plan on doing a oil change after about 20 minutes of initial start up running time.
PS- I added a few more pictures to my original post if you care to scroll back up.
Here is the head strait from the shop


I guess the cam gears on the H23a blue-top have the cam keys and gears as one piece... So when I went to put my adjustables on I had two female bits with nothing to stick in there. So I had to make a trip to the wrecking yard and got some from two different F22's.
BUT.... I forgot my breaker bar and my #12 long socket on the car when I left


I still need a head gasket and timing belt, but I felt like mocking it up for a sneak peak!


Last edited by Sparksman; 05-19-2014 at 12:59 PM.
05-20-2014, 07:08 AM
#17
Looks good, and plenty of lube is always good for first start up! Oh and make sure to follow the 2000rpm for 20 min thing!
Just a side note, did you add hondabond on the corners of all the cam caps? I just had to pull my top end apart and fix leaks, since I was evidently in a rush last time I assembled my engine, and forgot that step!
Just a side note, did you add hondabond on the corners of all the cam caps? I just had to pull my top end apart and fix leaks, since I was evidently in a rush last time I assembled my engine, and forgot that step!
05-20-2014, 03:34 PM
#18
Honda-Tech Member
Thread Starter
Looks good, and plenty of lube is always good for first start up! Oh and make sure to follow the 2000rpm for 20 min thing!
Just a side note, did you add hondabond on the corners of all the cam caps? I just had to pull my top end apart and fix leaks, since I was evidently in a rush last time I assembled my engine, and forgot that step!
Just a side note, did you add hondabond on the corners of all the cam caps? I just had to pull my top end apart and fix leaks, since I was evidently in a rush last time I assembled my engine, and forgot that step!
05-23-2014, 12:12 AM
#20
Honda-Tech Member
Thread Starter
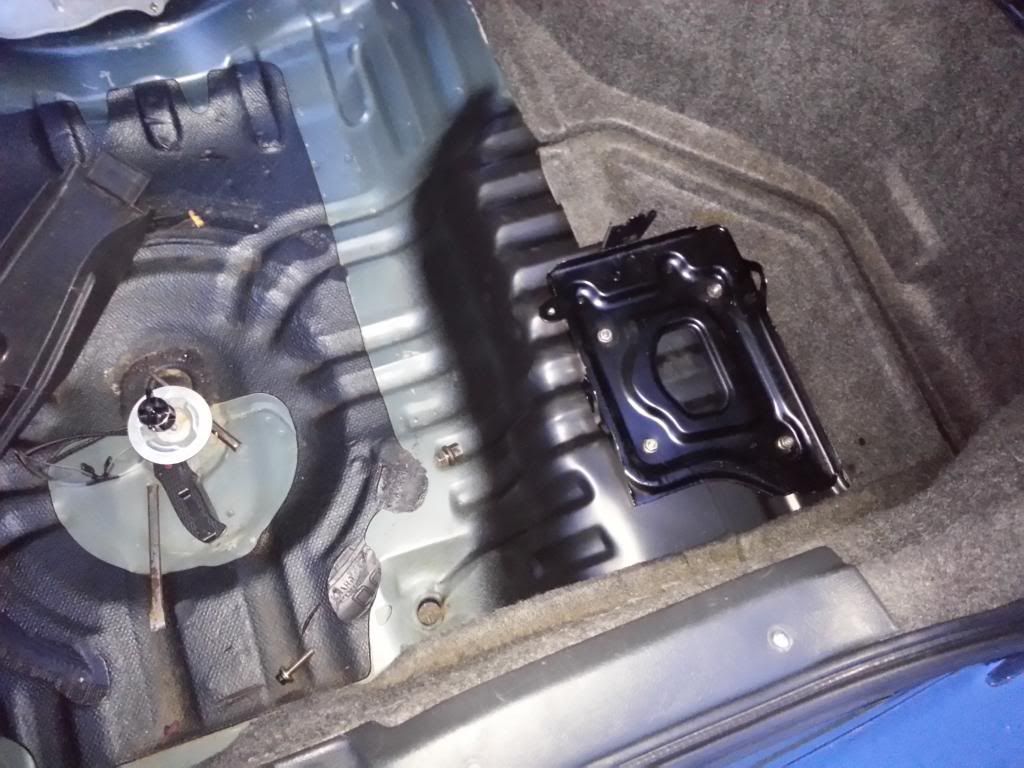
So today I decided to install my new fuel pump, its a Areomotive Stealth 340lph "drop in". The fuel pump is located in the worst spot... Wasnt looking forward to tearing my car down but I guess you gotta do what you gotta do...
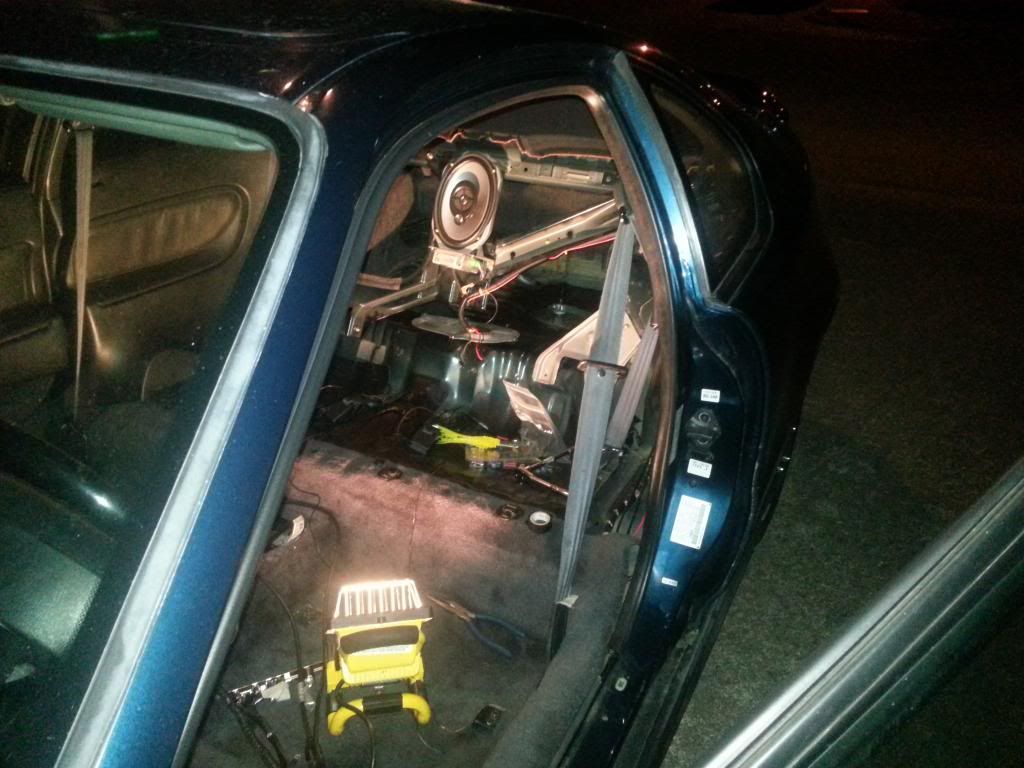
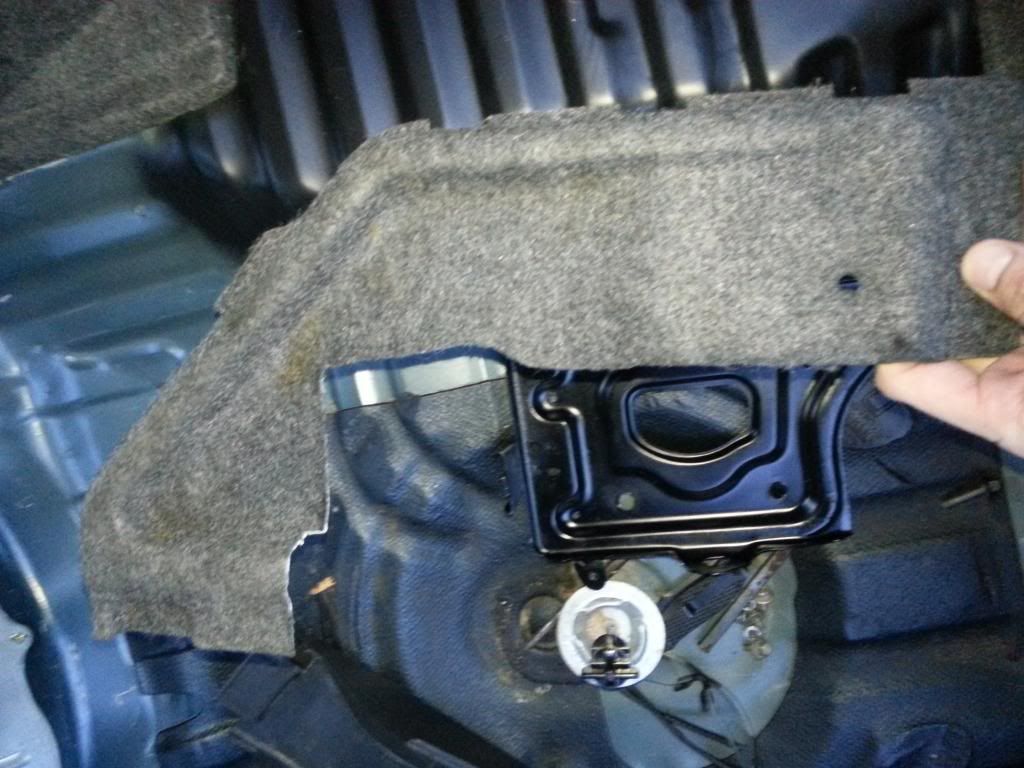
Removed the rear seats completely and the cross member with center speaker to get access to the fuel pump.
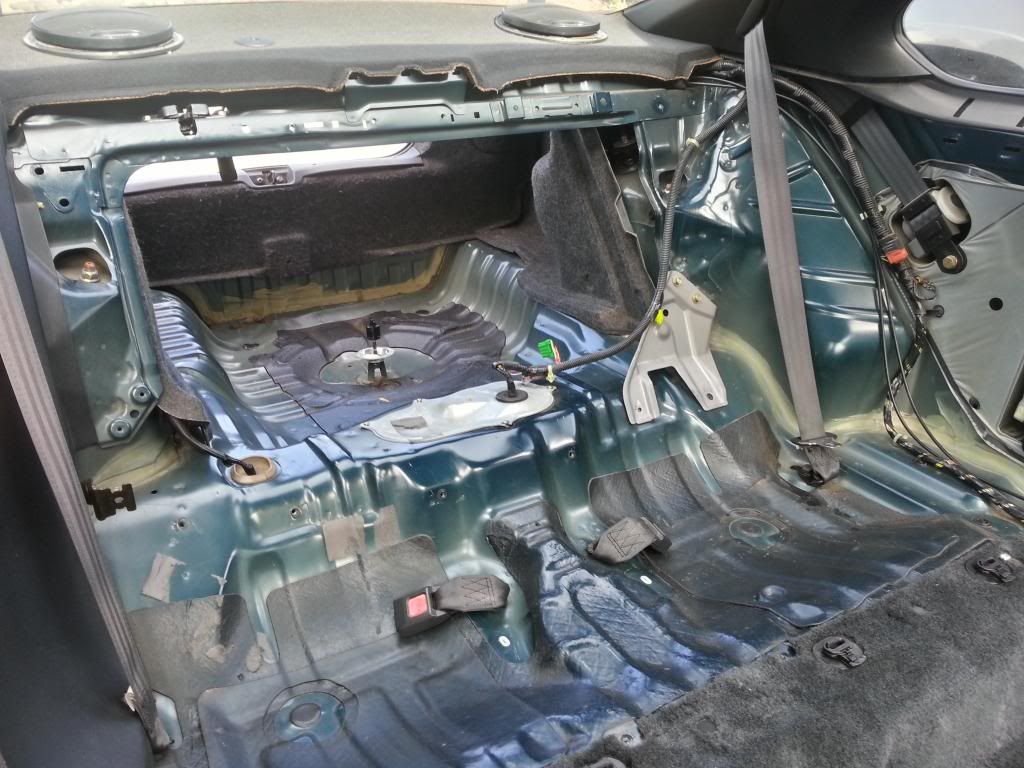
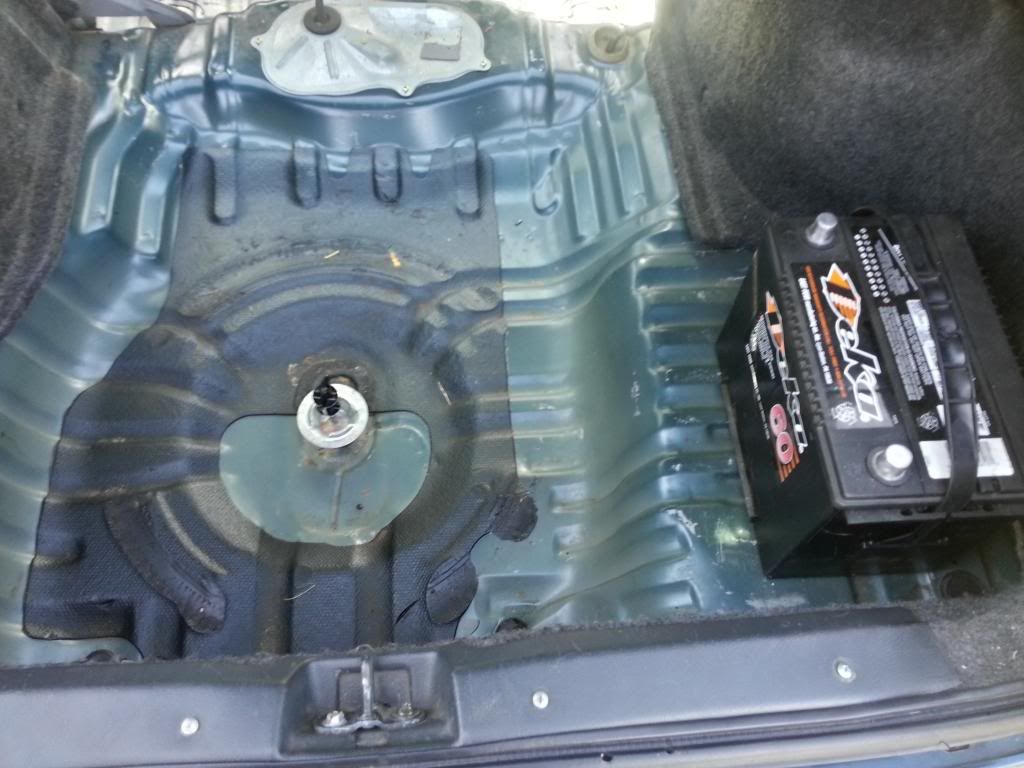
This is where Im going to relocate my battery to the trunk. Its the perfect spot, opposite side as the driver and looks almost as if its meant to go there lol.
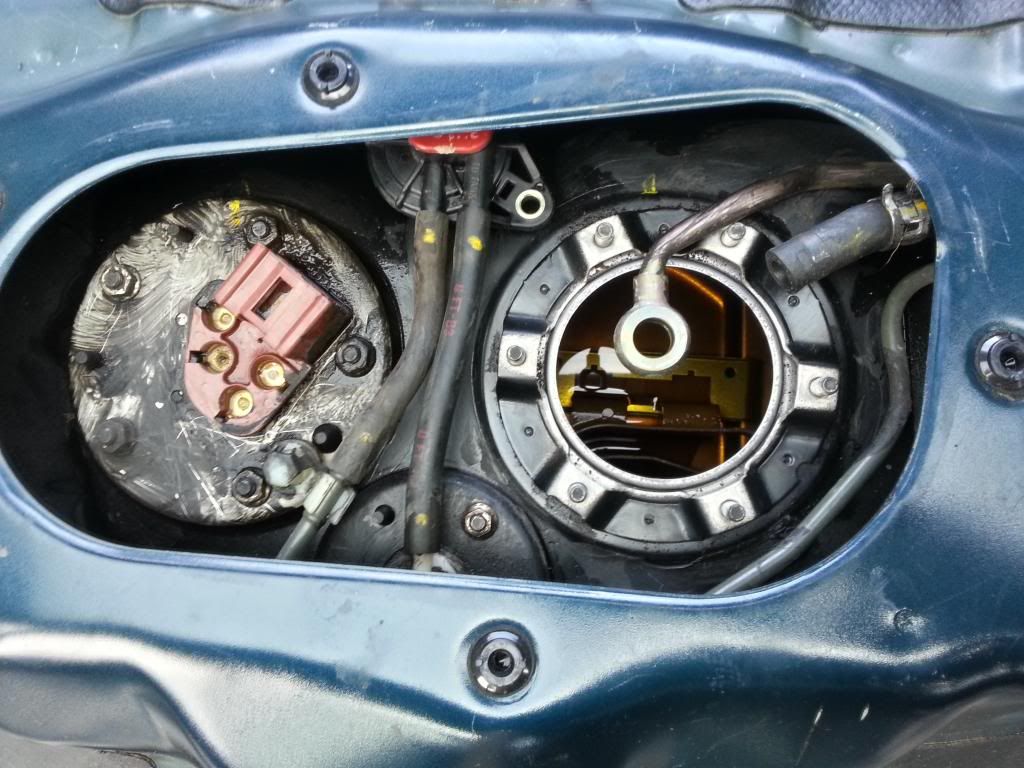
I had to clean it a few times before removing. Then I used a vacuum while I cleaned the edges so not to drop crap into the tank.
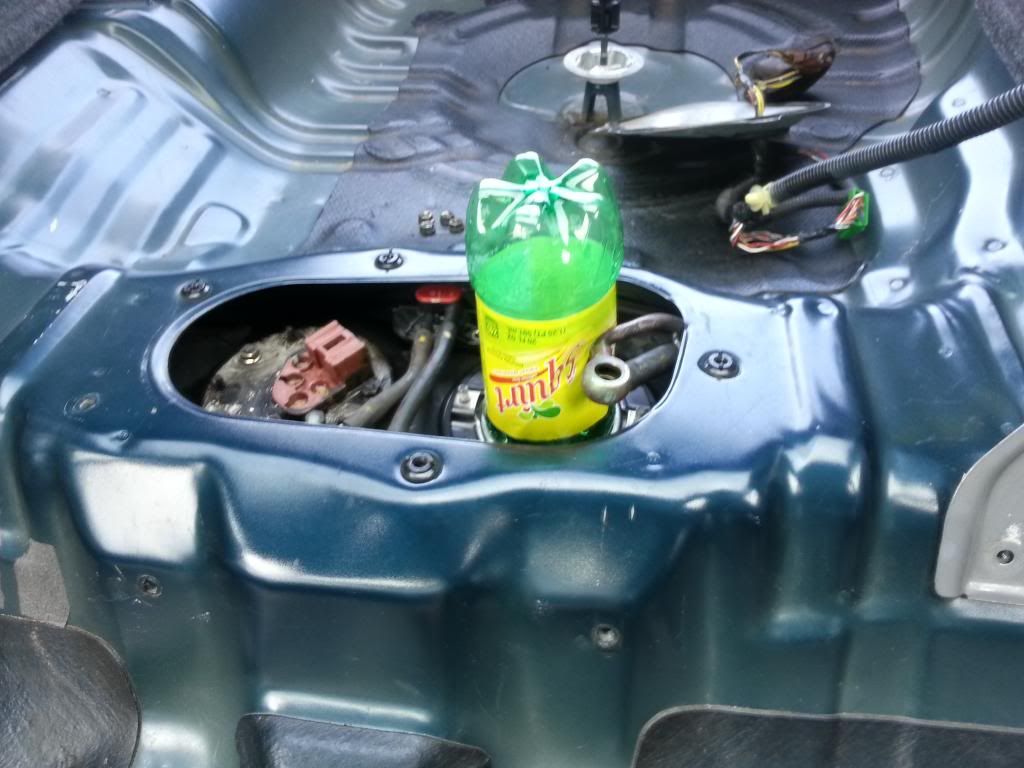
This is how its sitting now, going to have to finish tomorrow and needed a plug lol.
I had a issue getting this to sit right on the bracket... Wasnt just pop on like I was hopping. Wasnt too bad though, easy fix. On the bottom of the bracket there was a lip that ever so slightly stopped the white piece on the bag from seating properly to the pump.
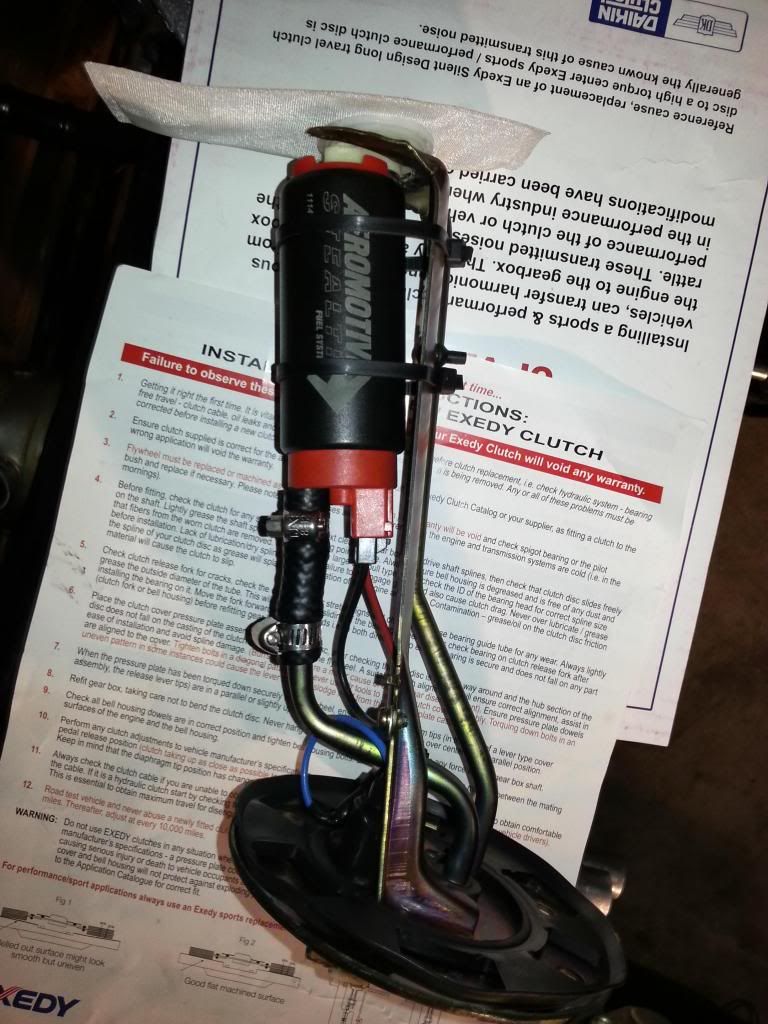
I used some tin snips and removed the lip, then used a hammer and pliers to make strait and flush again. The zip-ties are not needed, its sturdy. Just wanted some extra security to hold in place.

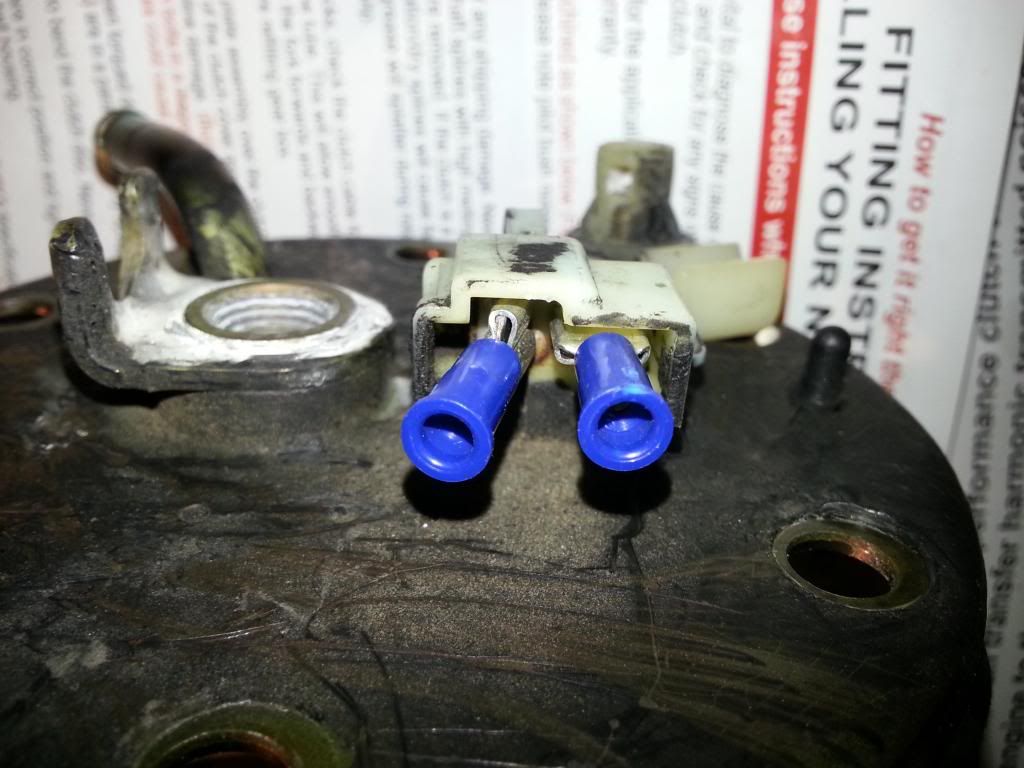
This pump needs a separate relay, a 30 amp breaker, and a 13v. 10-gauge power source strait off the alternators charging post for peak performance. So since its recommended by the manufacturer not to use stock pump wires, Im going to do this--vvv. Im going to stick something between the two posts and use hondabond rubber to cover and seal the tips in the plug for insulation.
Removed the rear seats completely and the cross member with center speaker to get access to the fuel pump.

This is where Im going to relocate my battery to the trunk. Its the perfect spot, opposite side as the driver and looks almost as if its meant to go there lol.

I had to clean it a few times before removing. Then I used a vacuum while I cleaned the edges so not to drop crap into the tank.

This is how its sitting now, going to have to finish tomorrow and needed a plug lol.

I had a issue getting this to sit right on the bracket... Wasnt just pop on like I was hopping. Wasnt too bad though, easy fix. On the bottom of the bracket there was a lip that ever so slightly stopped the white piece on the bag from seating properly to the pump.

I used some tin snips and removed the lip, then used a hammer and pliers to make strait and flush again. The zip-ties are not needed, its sturdy. Just wanted some extra security to hold in place.

This pump needs a separate relay, a 30 amp breaker, and a 13v. 10-gauge power source strait off the alternators charging post for peak performance. So since its recommended by the manufacturer not to use stock pump wires, Im going to do this--vvv. Im going to stick something between the two posts and use hondabond rubber to cover and seal the tips in the plug for insulation.
 05-25-2014, 12:57 AM
#21
Honda-Tech Member
Thread Starter
So I worked into the night, I got a bit done. I finished up installing the fuel pump, and got the wiring for that sorted. Ran a thick wire all the way up through the firewall to the alternator location.
I fully buttoned up the dash which I had half way torn apart. Next I installed the center cross brace, and speaker. Then I went over all the speakers in the car and installed new clips on all ends.
What I need now are some relays and breakers so I can finish the pump and rear fog wiring. Also a cable to run from the hood to the trunk for my battery relocation. Once I do that I can shampoo the carpets and put the interior back in.
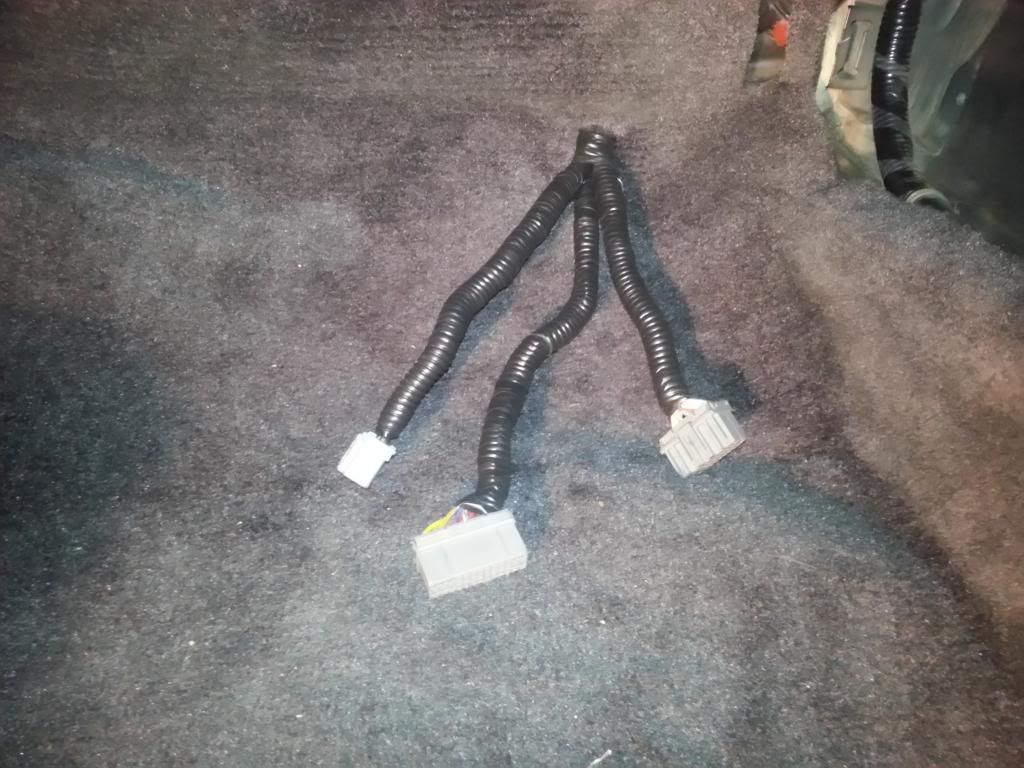
I though the harness looked cleaner with some flex pipe. Im not sure why I ran it through the carpet honestly. Il most likely put it back, but any opinions are welcome? It sounded like a good idea at the time when I talked myself into doing it lol


Last edited by Sparksman; 05-25-2014 at 02:04 AM.
05-25-2014, 10:24 PM
#22
Honda-Tech Member
Don't waste time shampooing the carpet. Last time I gutted my interior, I took the carpet up to the car wash, gave it a couple of minutes blasting hot soap, then rinsed it clean. The first good bit of rinse water comes out looking like coffee! You'd never be able to shampoo that much dirt out. Carry it over to the wet/dry vacs and run straight lines to get most of the remaining water out. Hang it outside and it'll be dry and ridiculously clean the next day. I think I spent 5 bucks (the self wash bay had a $4 minimum), and it took all of 20 minutes + drive time.
While you're at it, another $10 and a couple of hours will get some surprisingly decent sound deadening. Go to a UHaul or mini storage center and buy a batted wool packing blanket. They look like old army blankets, but they're grey. Pick up a can of spray adhesive from your local auto parts store. Lay the blanket flat and square your carpet on the front edge. Start at the shifter hole and trace the openings with a Sharpie marker. Work your way outward then back, making sure you flatten the carpet out as you go to keep it lined up. Cut the holes out with scissors. Dry fit the blanket first, and in the same order as you marked the holes, lift up the sides of the blanket, spray a little bit of adhesive on the underside and press it into place around your bolt holes and openings. Unclip and remount any wires on top, or at least make sure you fish the connectors top side. If you don't feel like taking out the radio console cage, just snip the thin strip of blanket at the firewall side and safety pin it back together. Trim the edges, put the carpet in and mash it into the curves of your floorboard to get it to lay flat. Pull the slack up towards the exhaust hump, not towards to doors.
VOILA! Dynamat performance at 1/1000th the cost. I learned this from a guy in South Carolina who won NOPI Nationals with the first Civic to ever have 20" rims tucked. Garage full of trophies, so I'll believe in its legitimacy. It made a huge difference in my cabin ambient noise levels.
05-26-2014, 04:25 PM
#23
Honda-Tech Member
Thread Starter
Good idea, but Im not so worried about the sound. Its going to be noticeably loud no matter what. Plus I kind of like hearing my exhaust, should sound good with the set up I got.
-PLM tri-y 2.5", to a magnaflow HF-cat, to a 30"long 3" piping cherry bomb glasspack for a resonator, to a Vibrant stealth flat black oval muffler 2" in/out 3".
It should have a low grumble for a 4 banger, thats a huge resonator. As for shampooing, I have a home unit that detaches for mobile use. I just mainly want to hit a few spots and do a once over. That carpet isnt in bad shape, but it seen better days. Mainly Im just shampooing to satisfy my ocd when putting the car back together lol.
Last edited by Sparksman; 05-26-2014 at 08:19 PM.
05-27-2014, 06:29 AM
#24
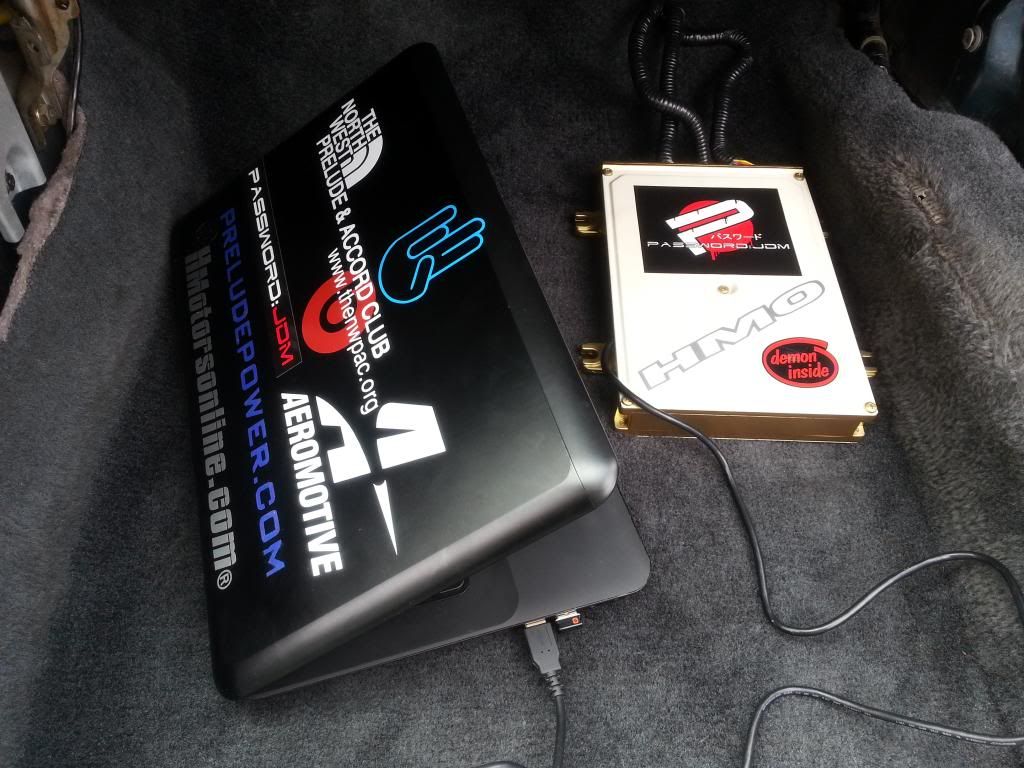
Personally, I like my ecu out of the way, so I have it bolted down in the stock location (as well as it fits at least) and the usb cable run up and through the glovebox. I can coil the cable in the box, and just pull it out when needed. I also have my wideband controller right there, they both fit under the stock ecu cover plate.
05-29-2014, 10:06 PM
#25
Honda-Tech Member
Thread Starter
^ Ya I ended up putting back for now. Still think it may be cool to bust out at a car meet/show. But I took my time painting the ecu case and cover. I dont want people stepping all over it while riding shotgun lol. That was the main reason I went back.
-----------------------------------------------------------------------------------
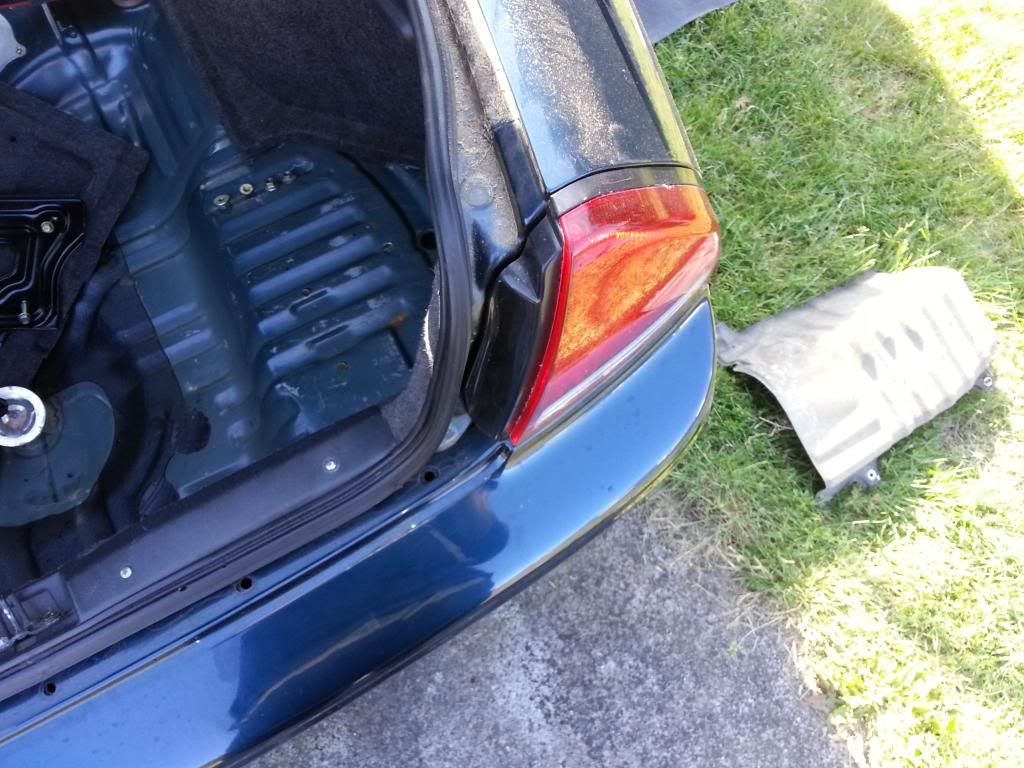
So I mounted my oem battery bracket to the trunk. I was kind of just winging it but think it turned out pretty good
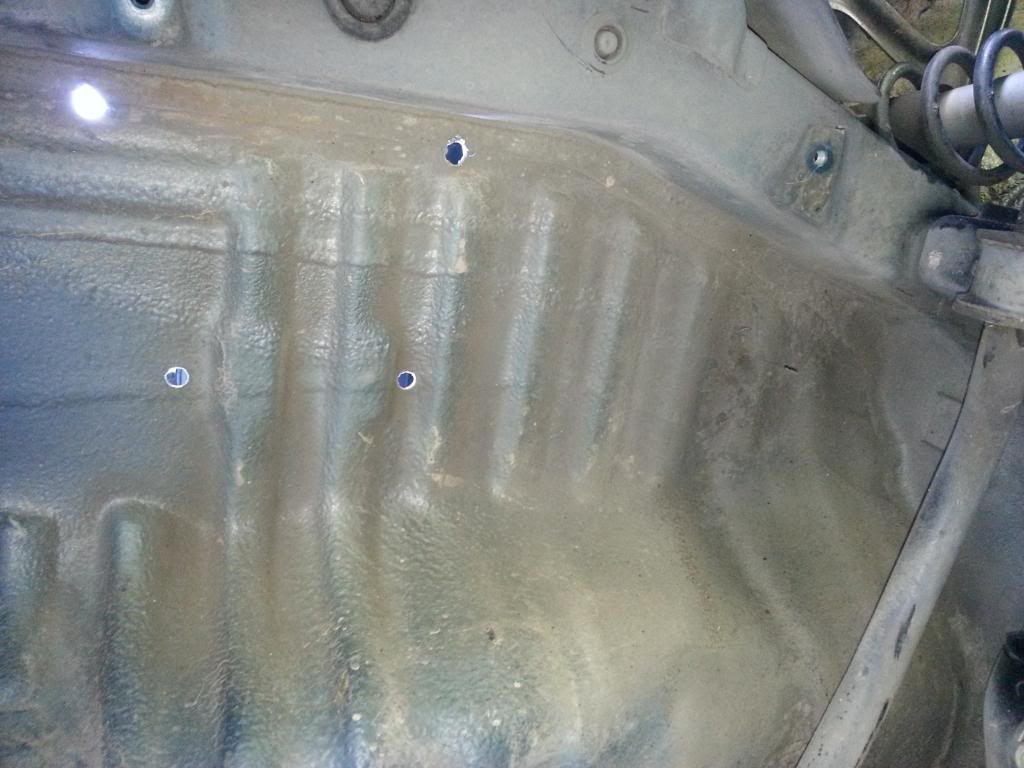
I took the metal guard off from underneath and marked my drill points.
Here is the drilled holes from underneath
The battery bracket wouldnt sit flush so I had to cut the panel to fit
I dont have the trunk mat anymore... When I get another Il cut to fit around the bracket as well. In the mean time Im going to plastidip the whole inside rear trunk space to just give it a cleaner look. Il put some tire shine on the spare and might just call it good for awhile. A new mat is low on my agenda, unless I find something else to work in the mean time.
-----------------------------------------------------------------------------------
So I mounted my oem battery bracket to the trunk. I was kind of just winging it but think it turned out pretty good
I took the metal guard off from underneath and marked my drill points.

Here is the drilled holes from underneath

The battery bracket wouldnt sit flush so I had to cut the panel to fit

I dont have the trunk mat anymore... When I get another Il cut to fit around the bracket as well. In the mean time Im going to plastidip the whole inside rear trunk space to just give it a cleaner look. Il put some tire shine on the spare and might just call it good for awhile. A new mat is low on my agenda, unless I find something else to work in the mean time.


