When you click on links to various merchants on this site and make a purchase, this can result in this site earning a commission. Affiliate programs and affiliations include, but are not limited to, the eBay Partner Network.
I've had my wagovan for a while now, and have some threads on some other sites, but they don't get much attention so I figured I'd post up my build thread here. I'll be cross-posting my build thread from another site so I'll date my posts for now.
Oct. 6, 2012
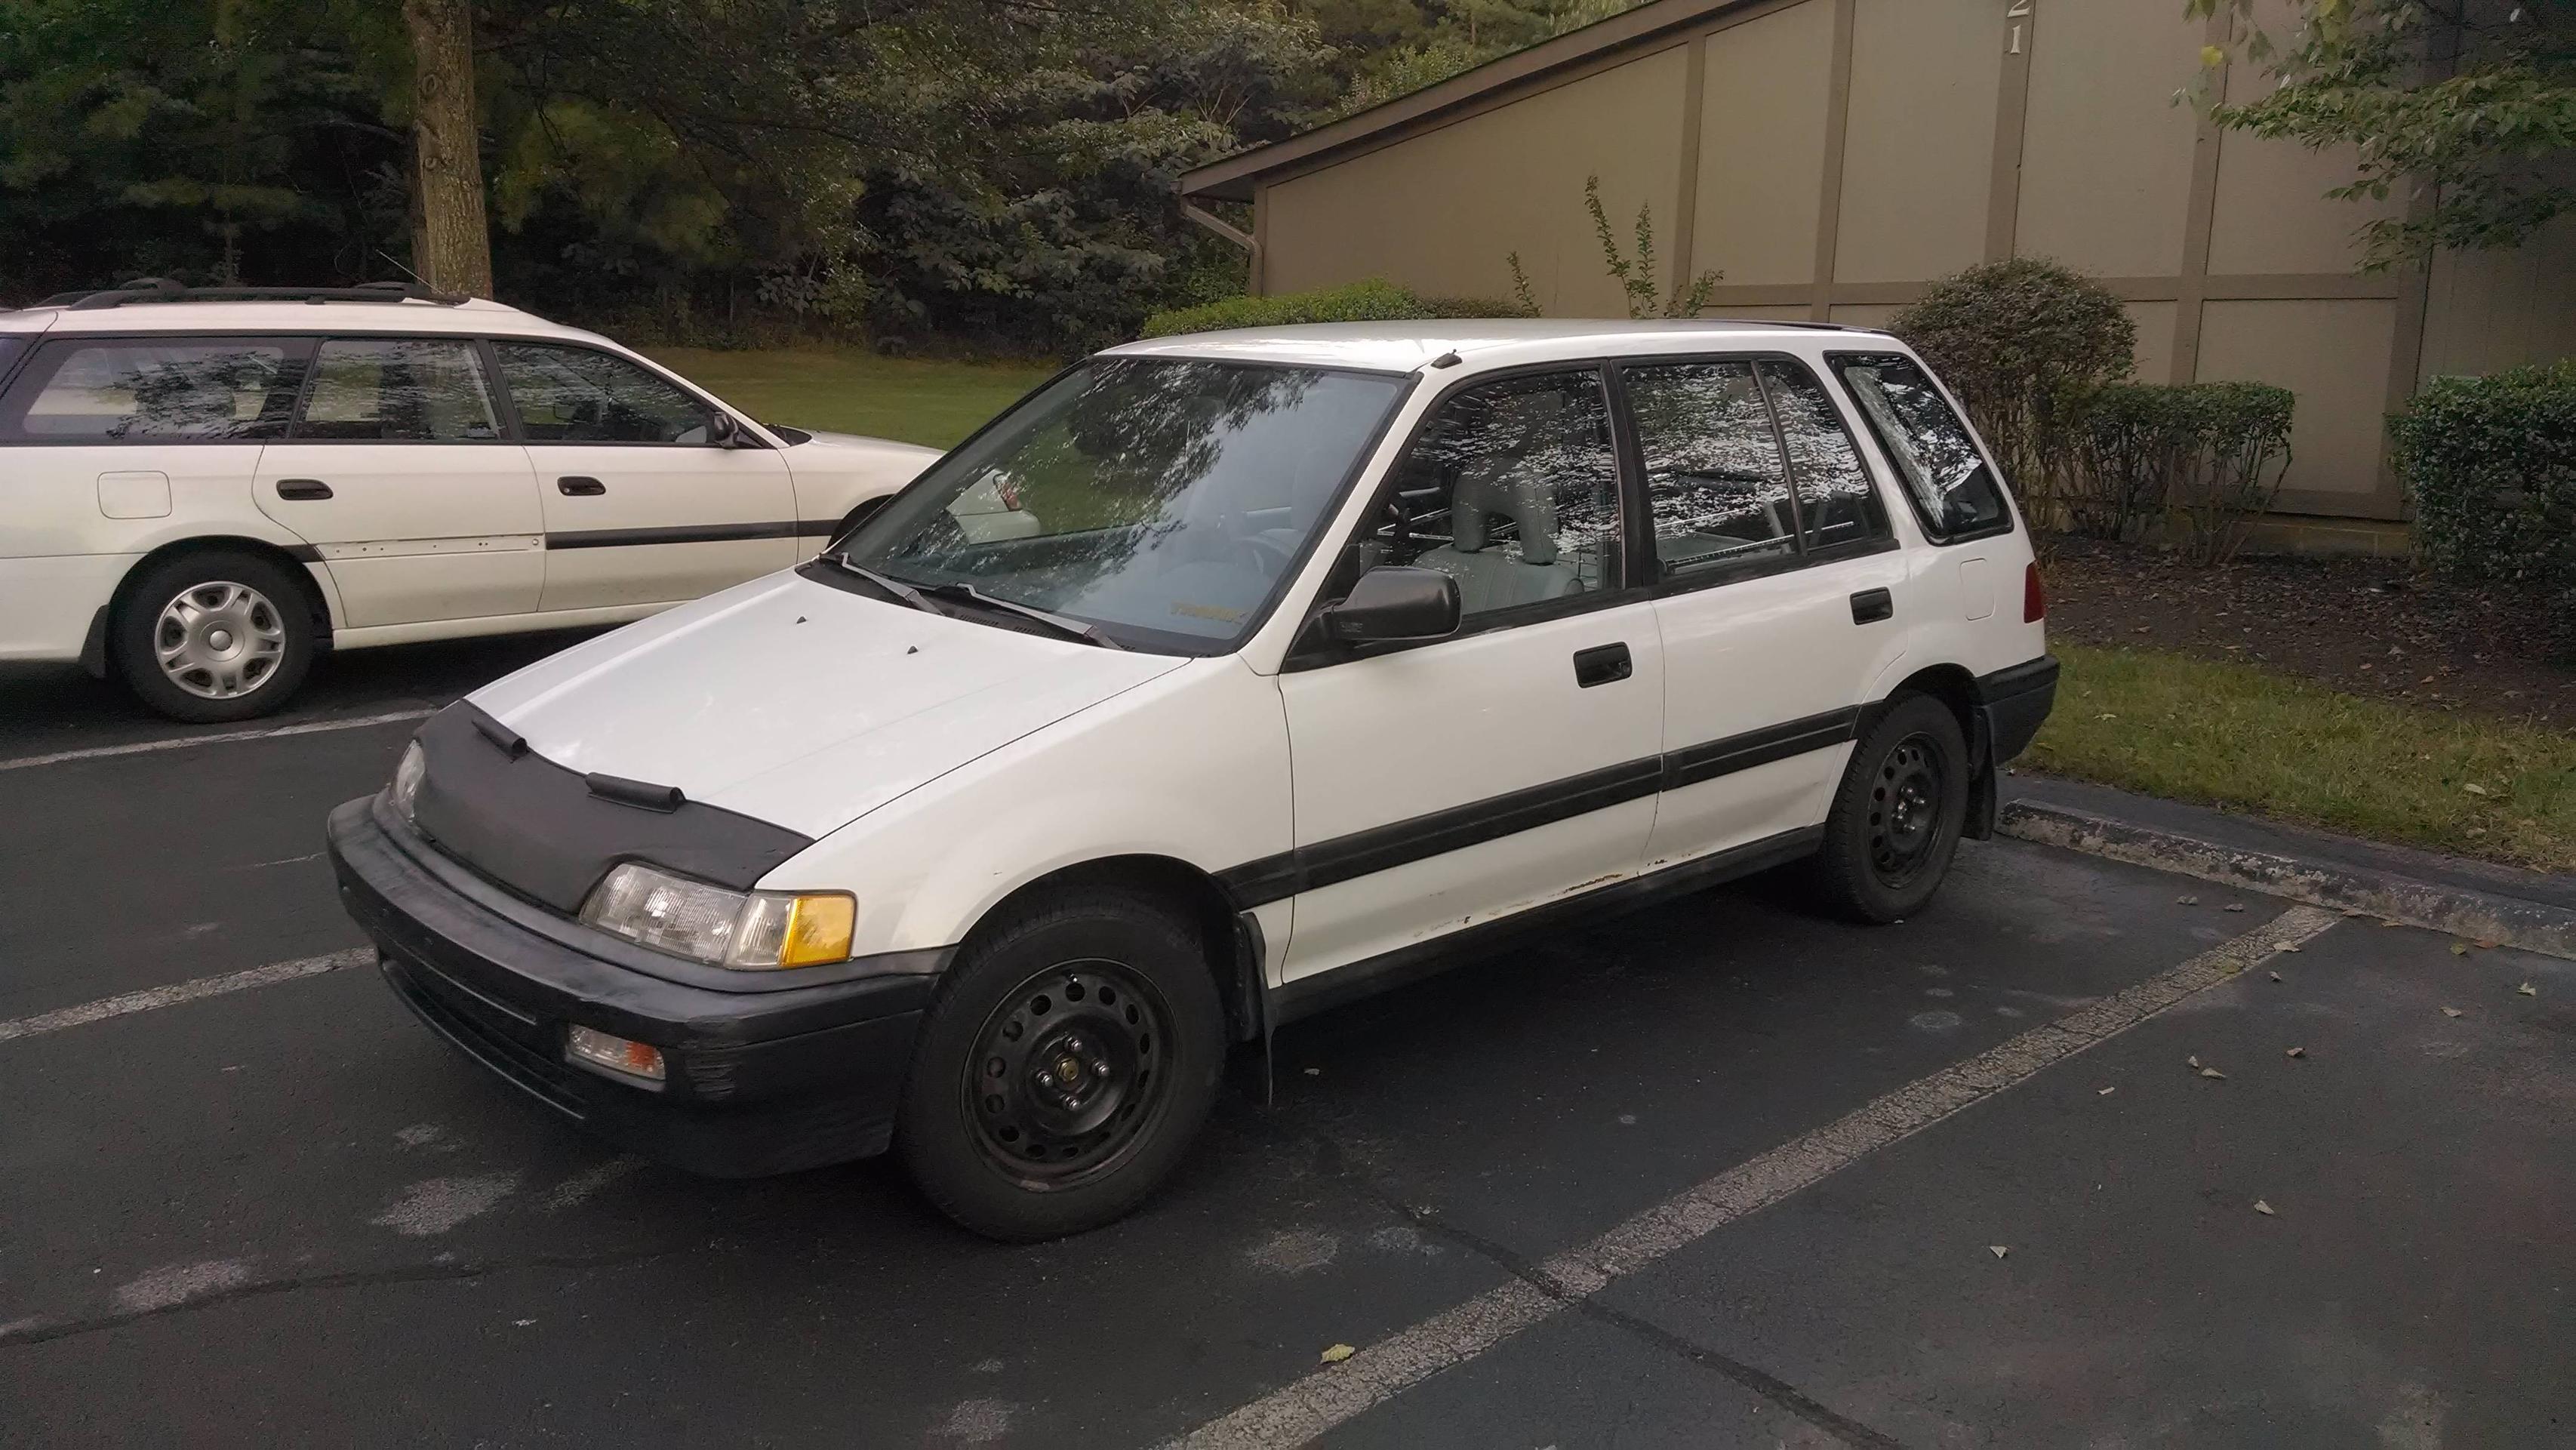
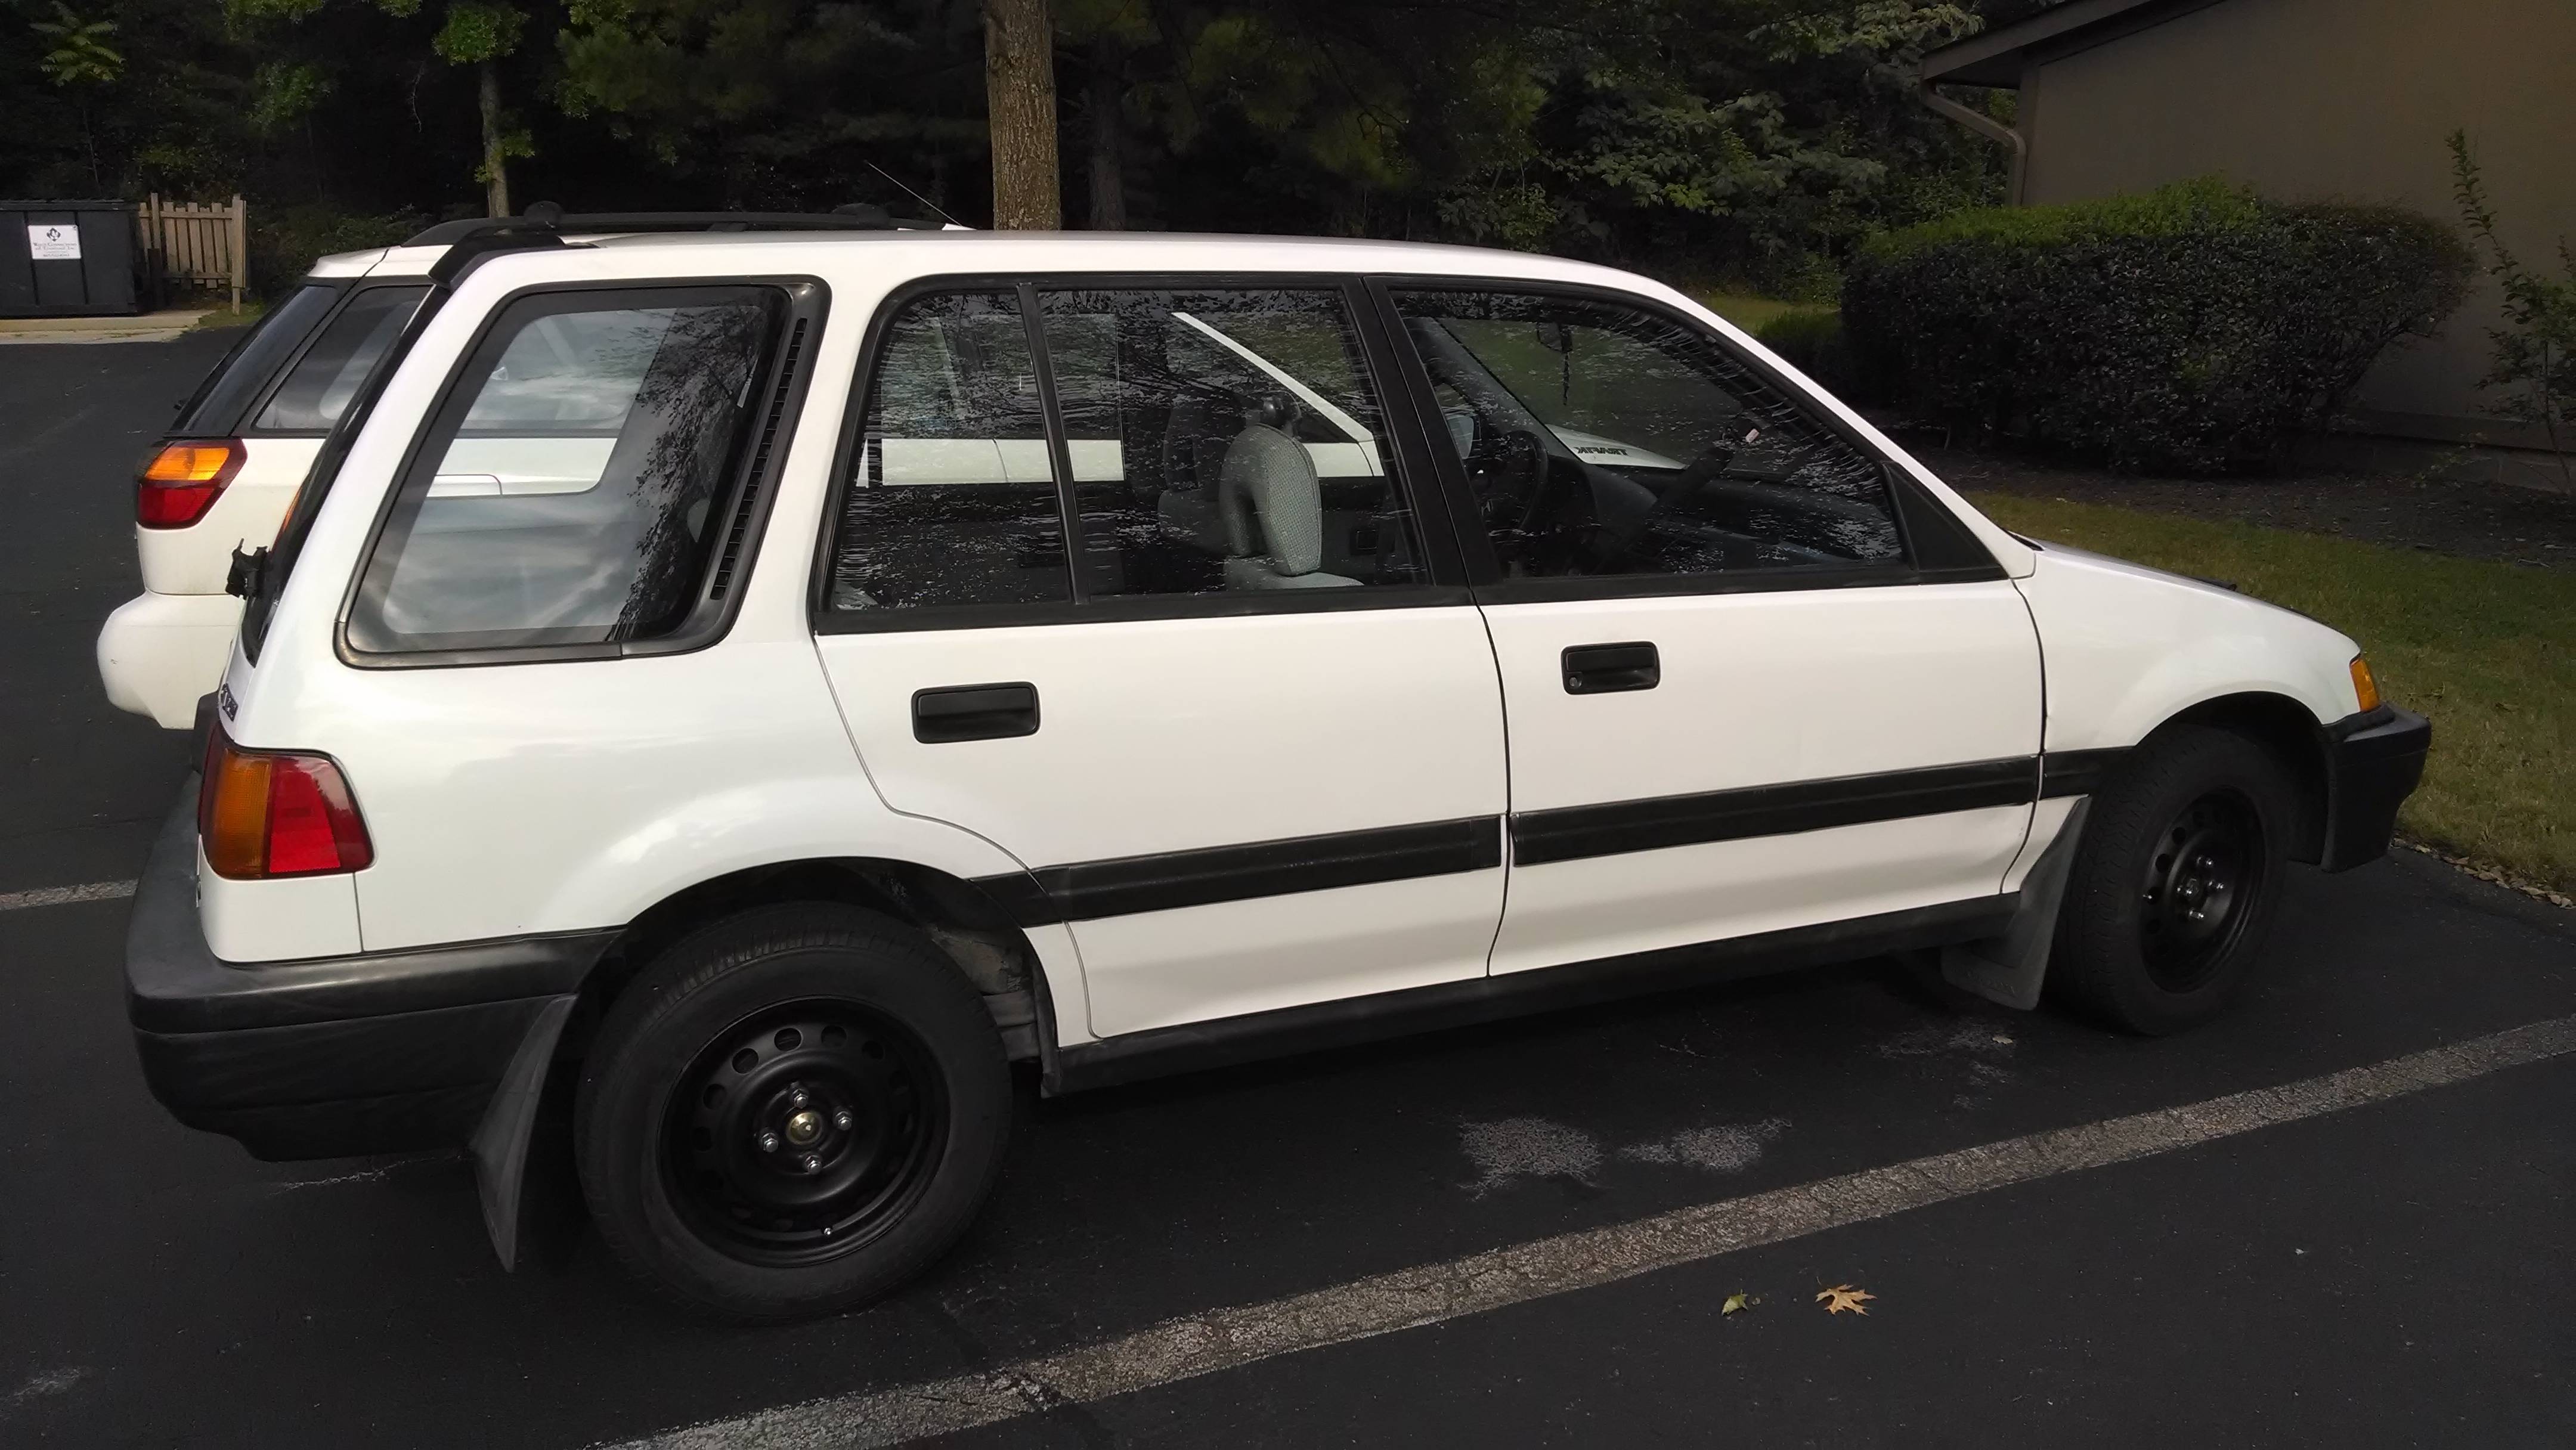
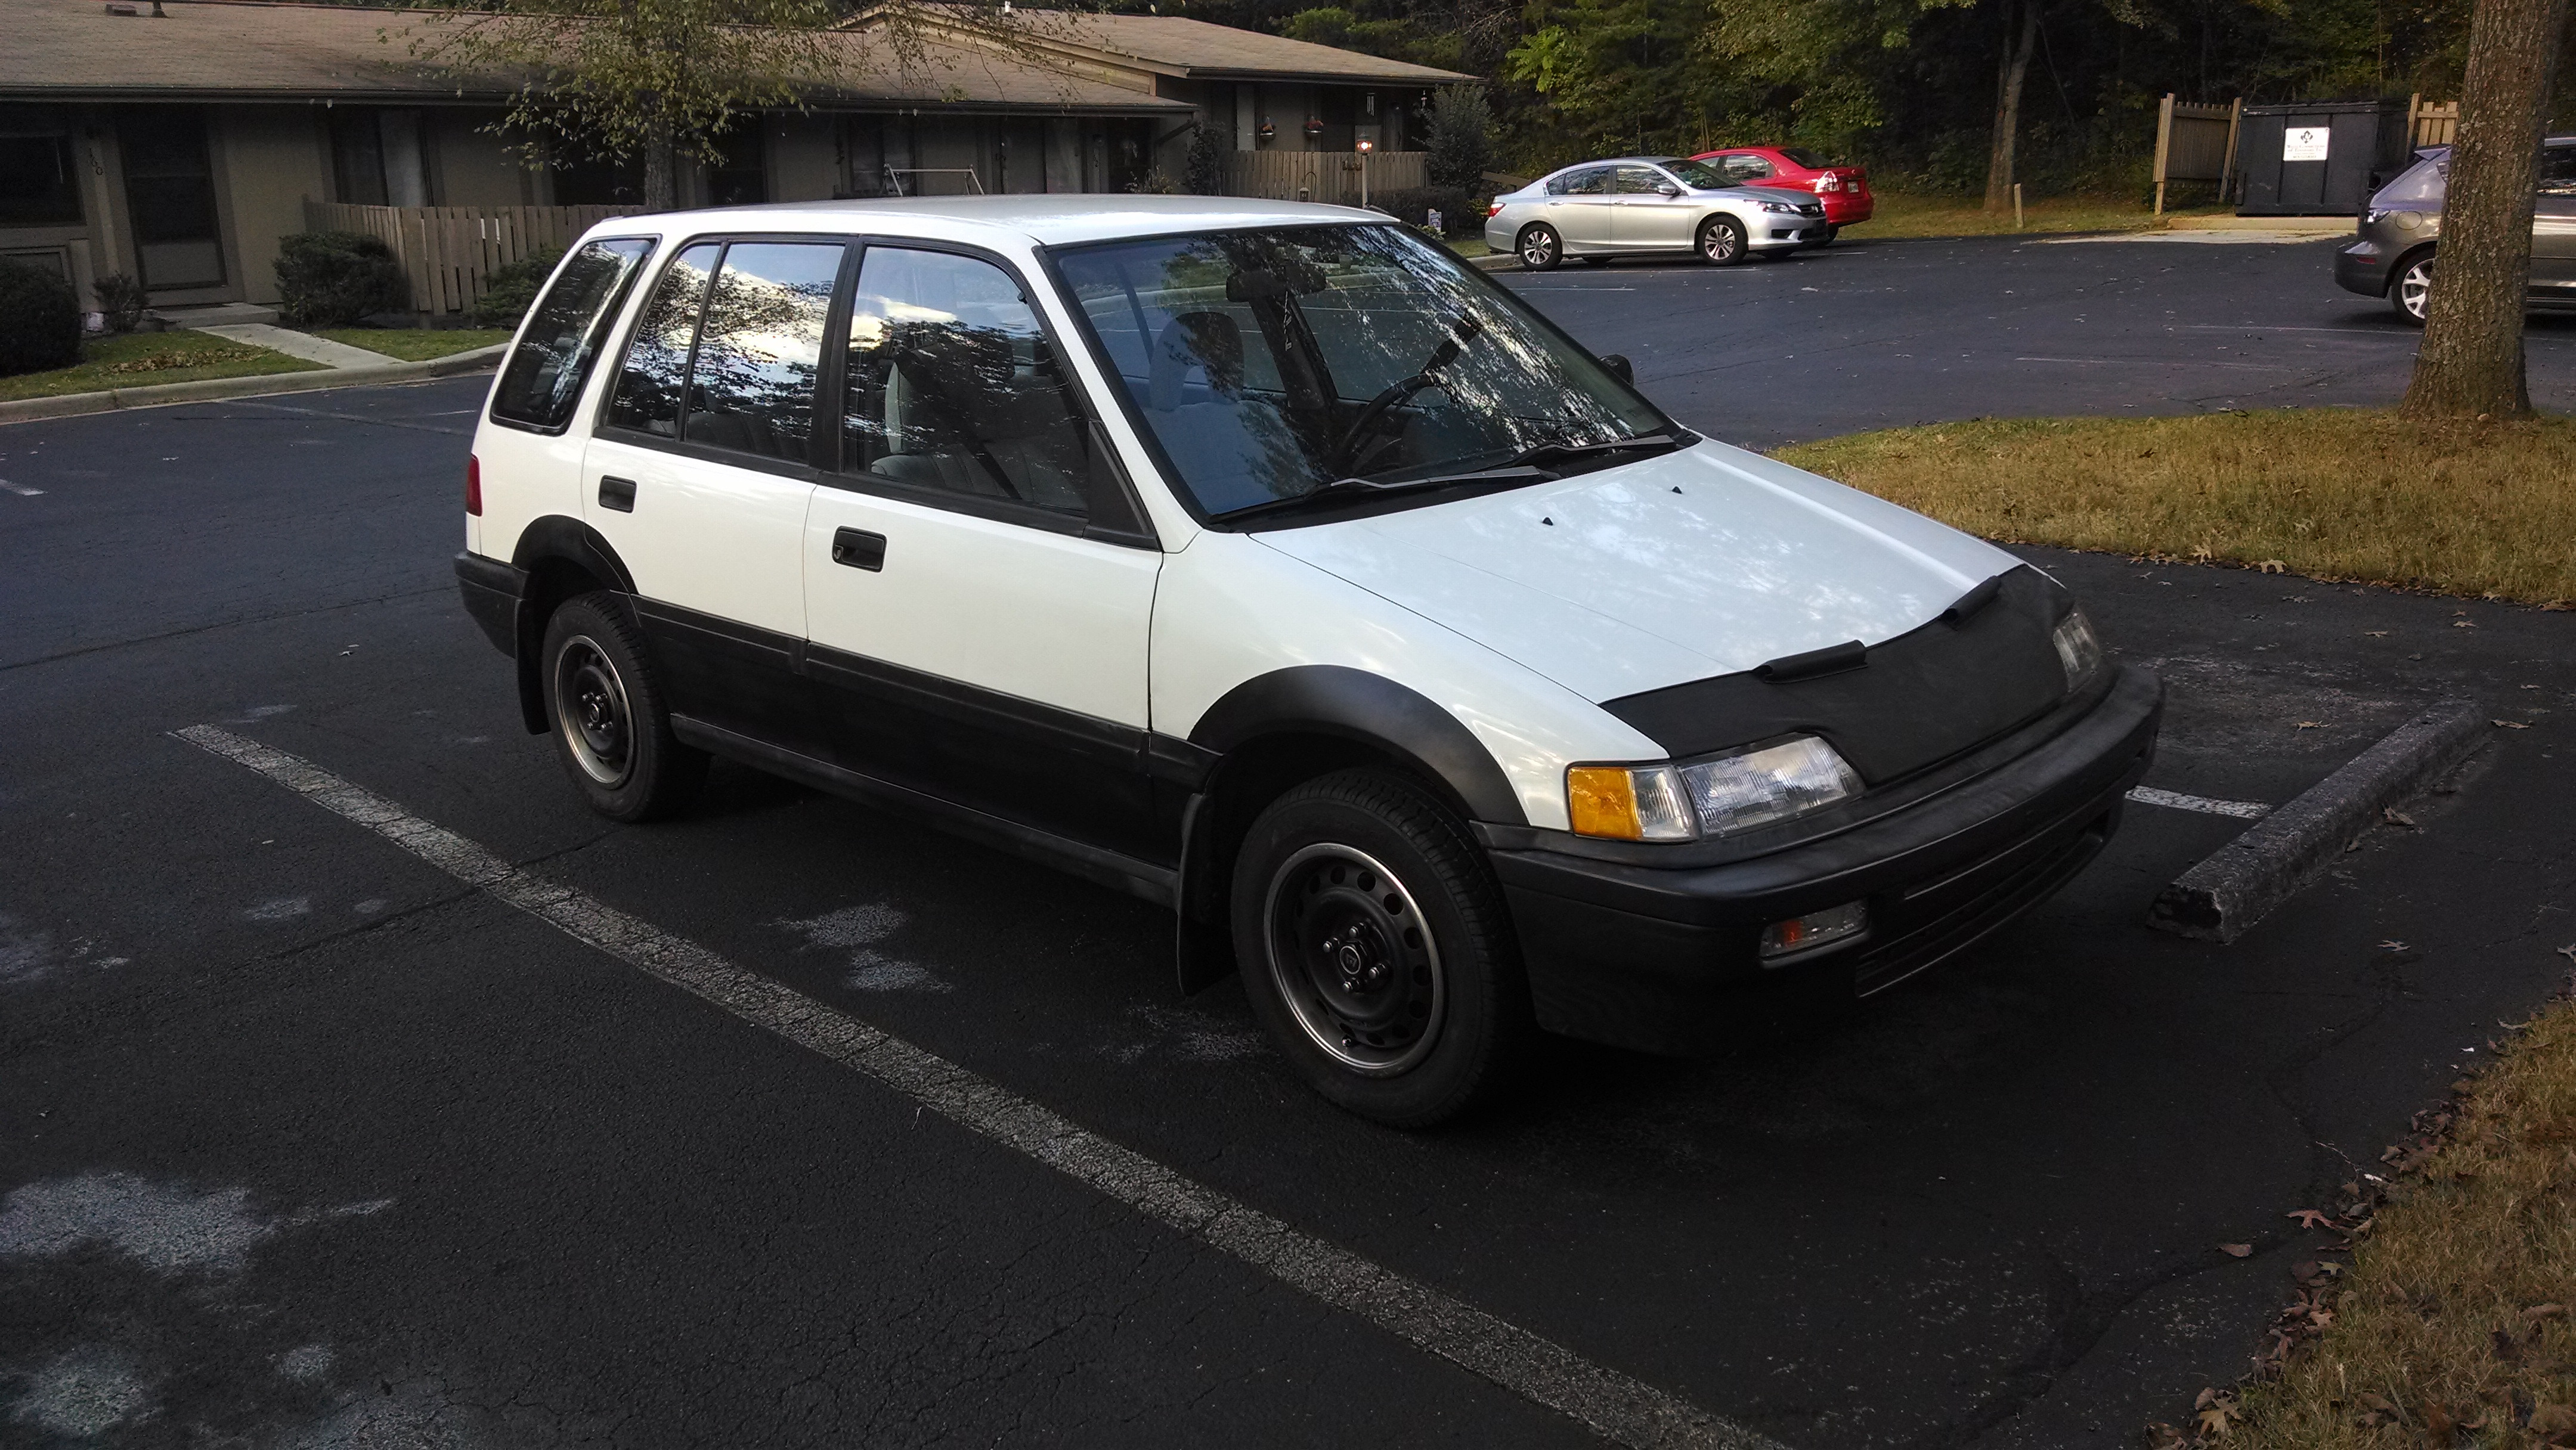
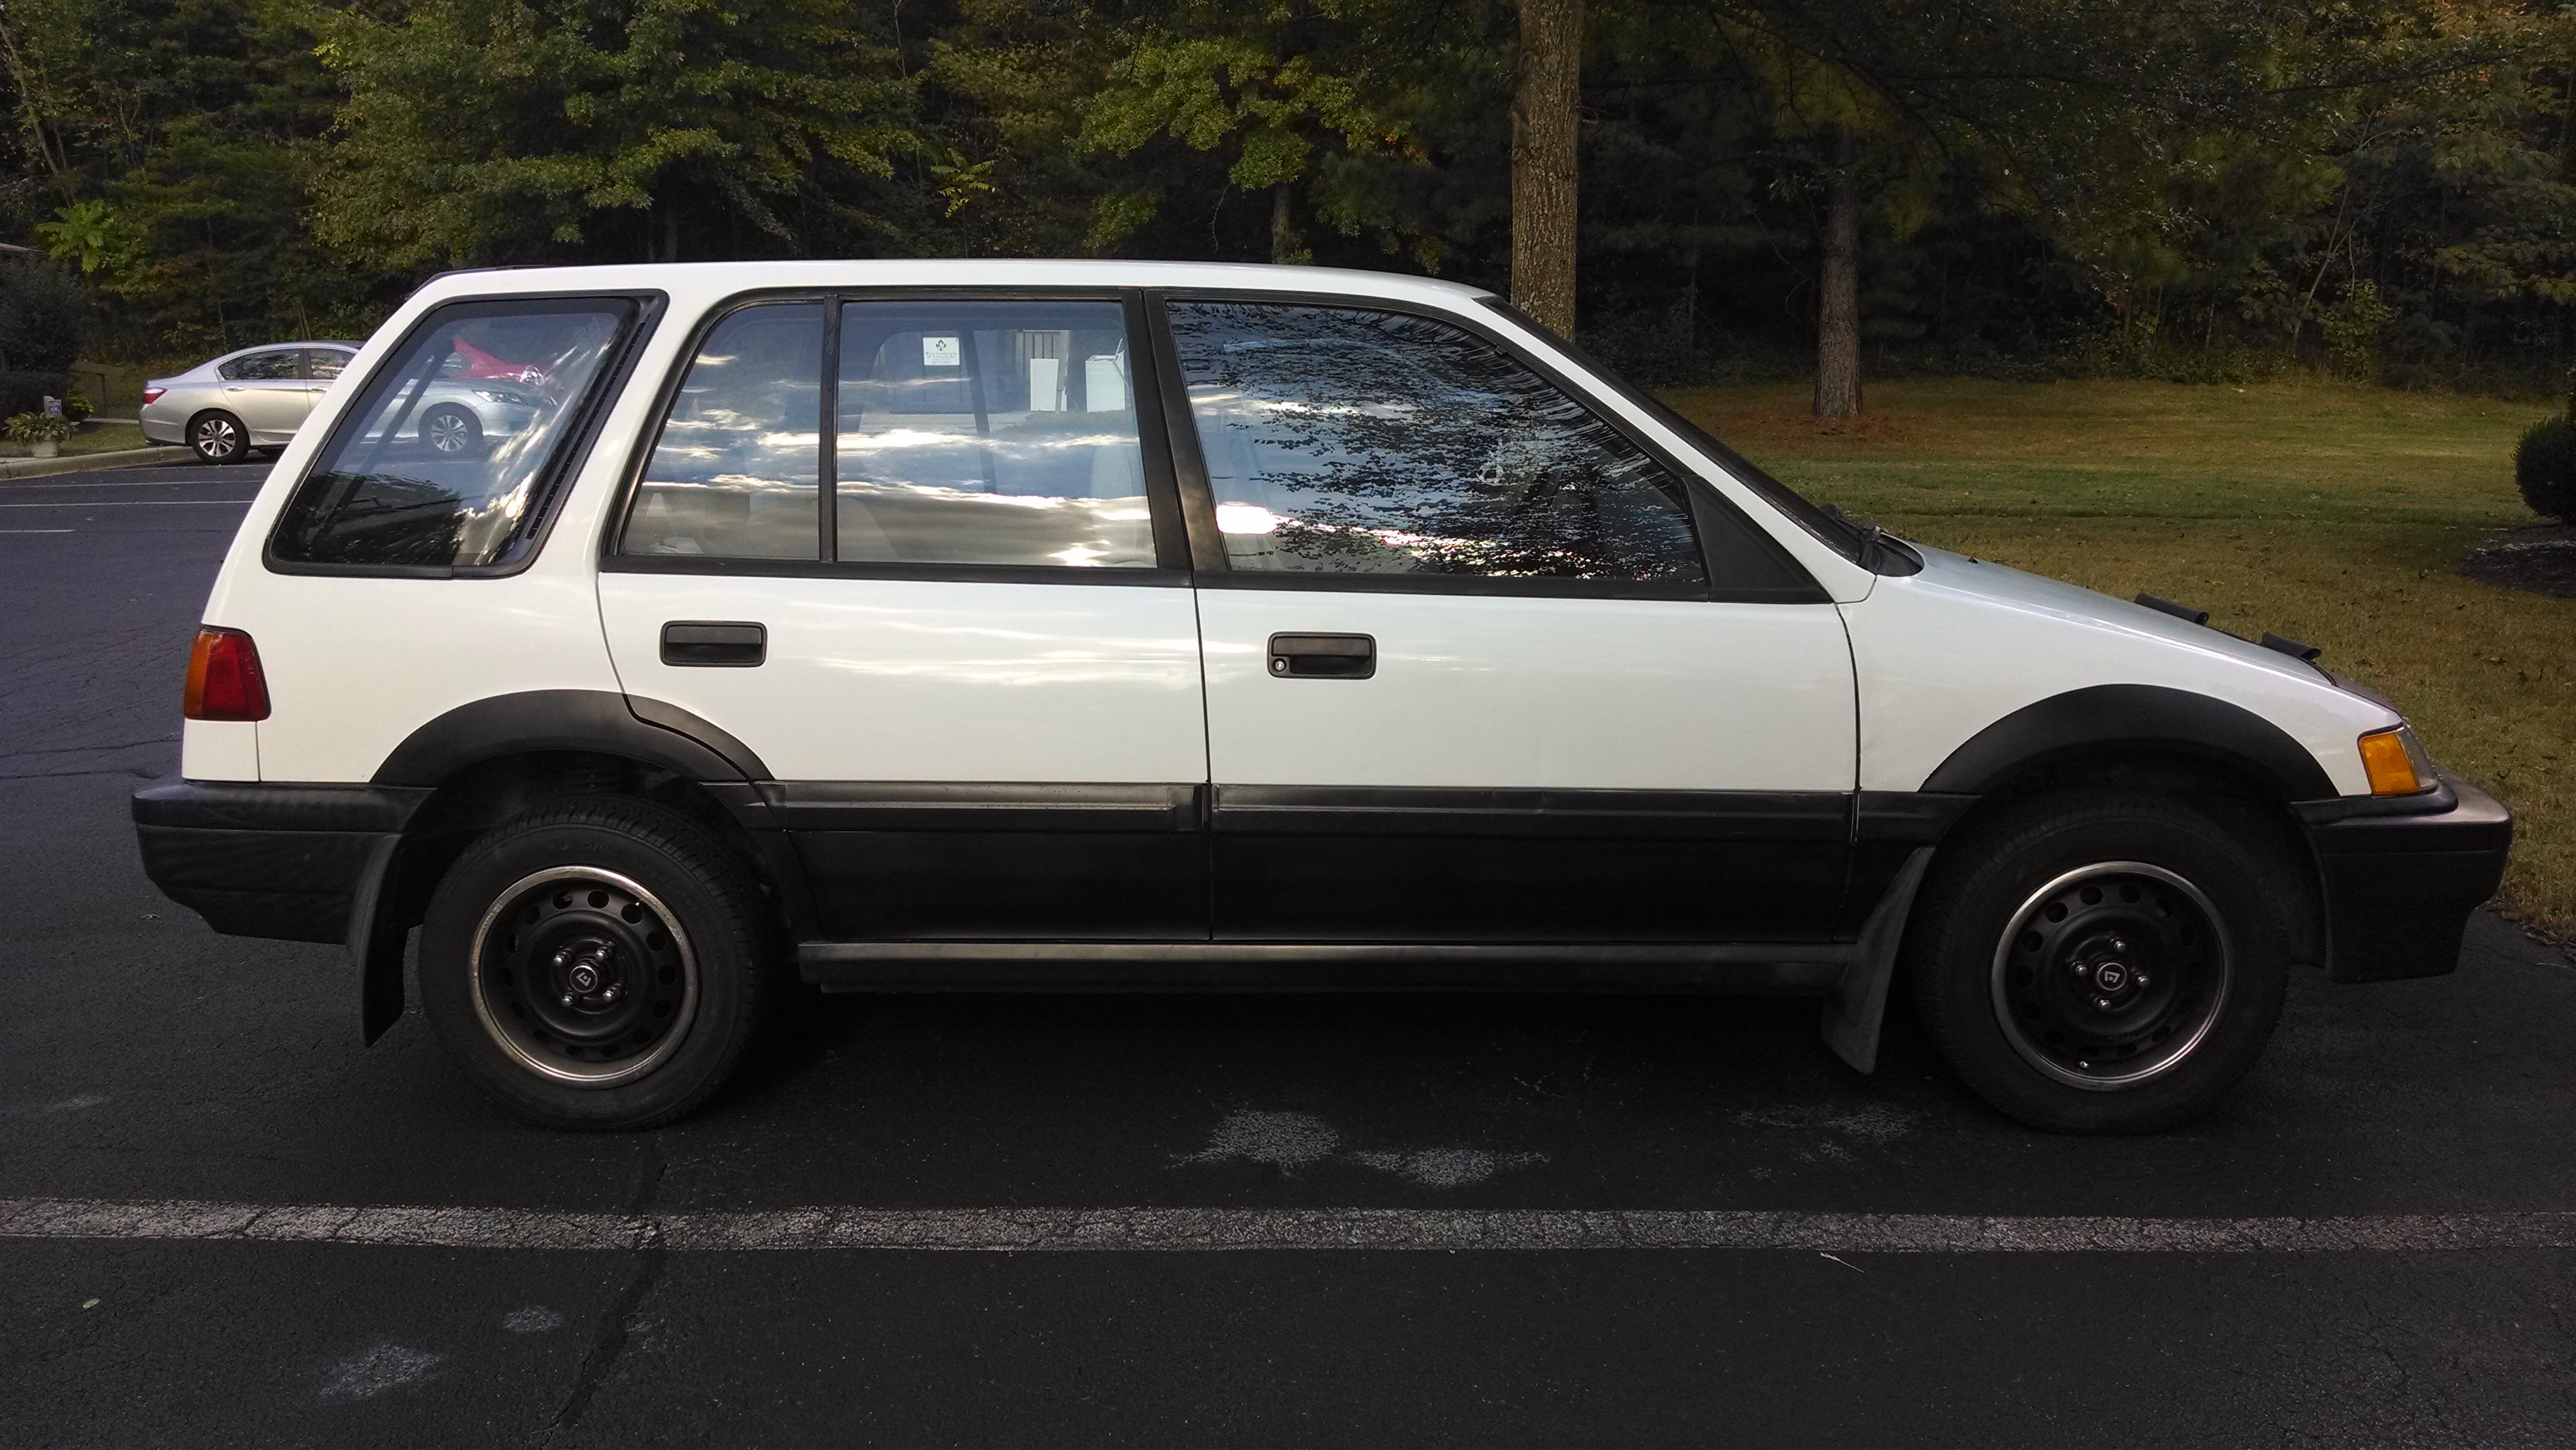
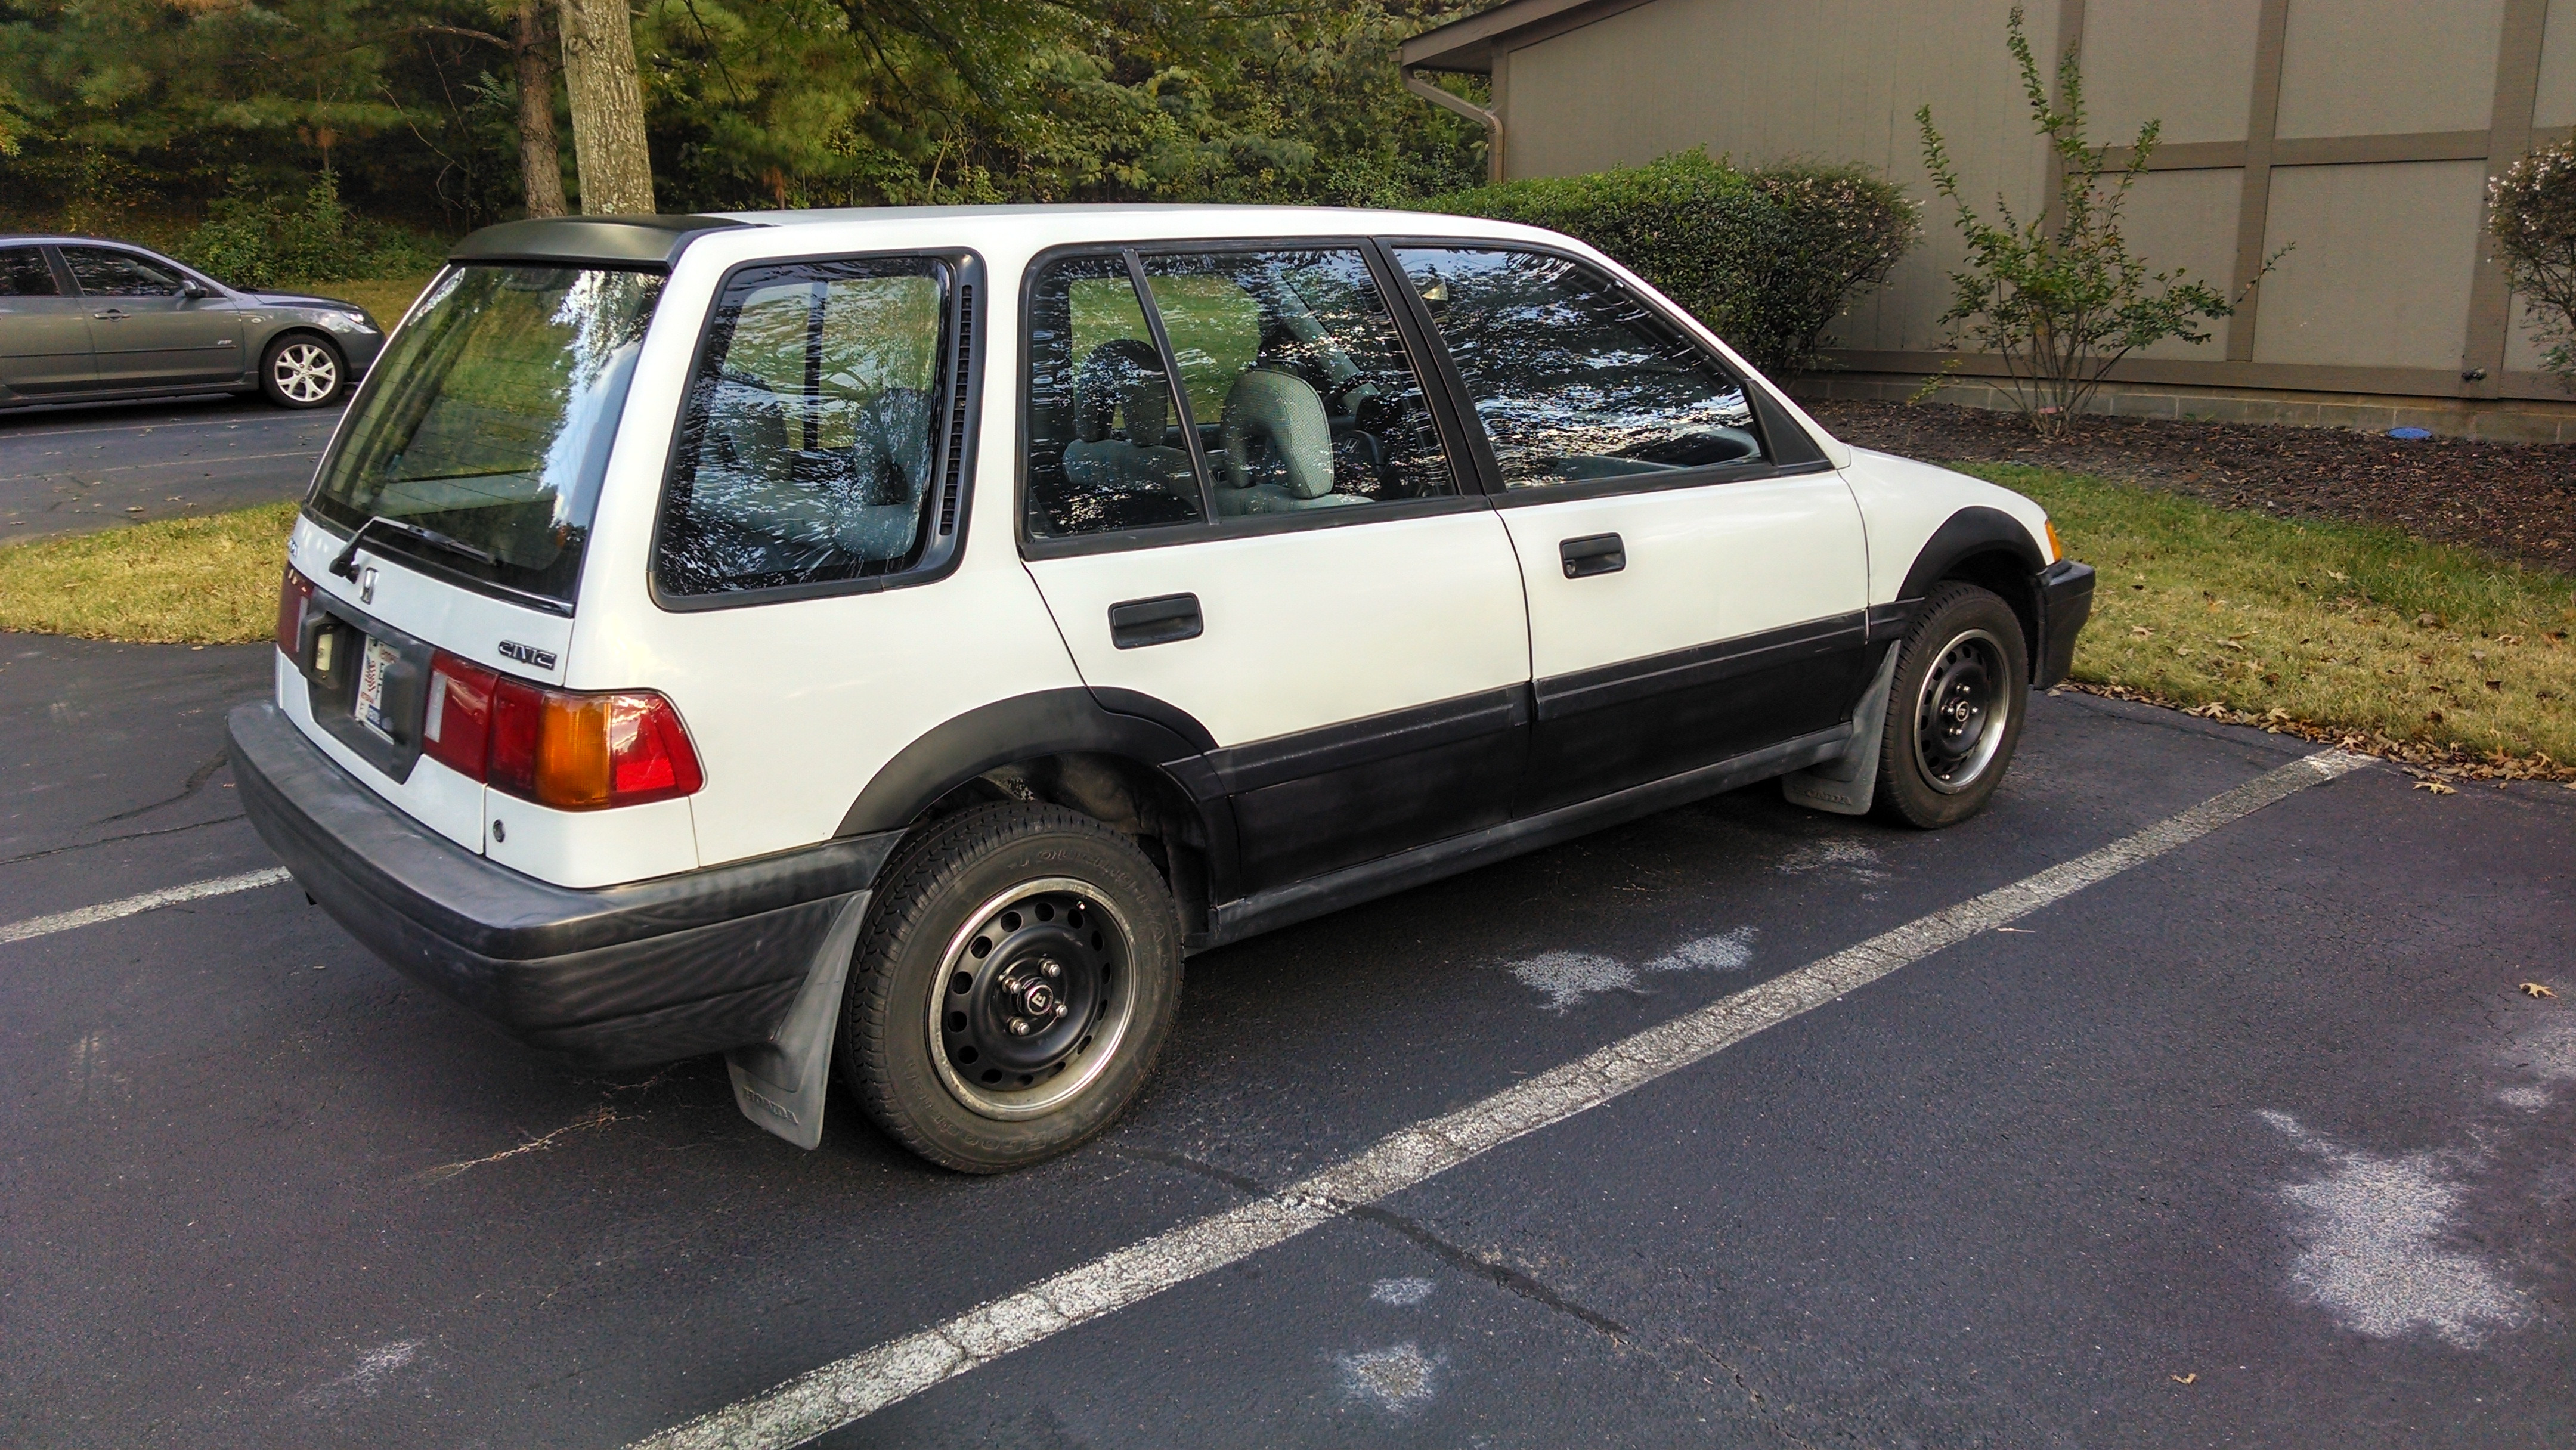
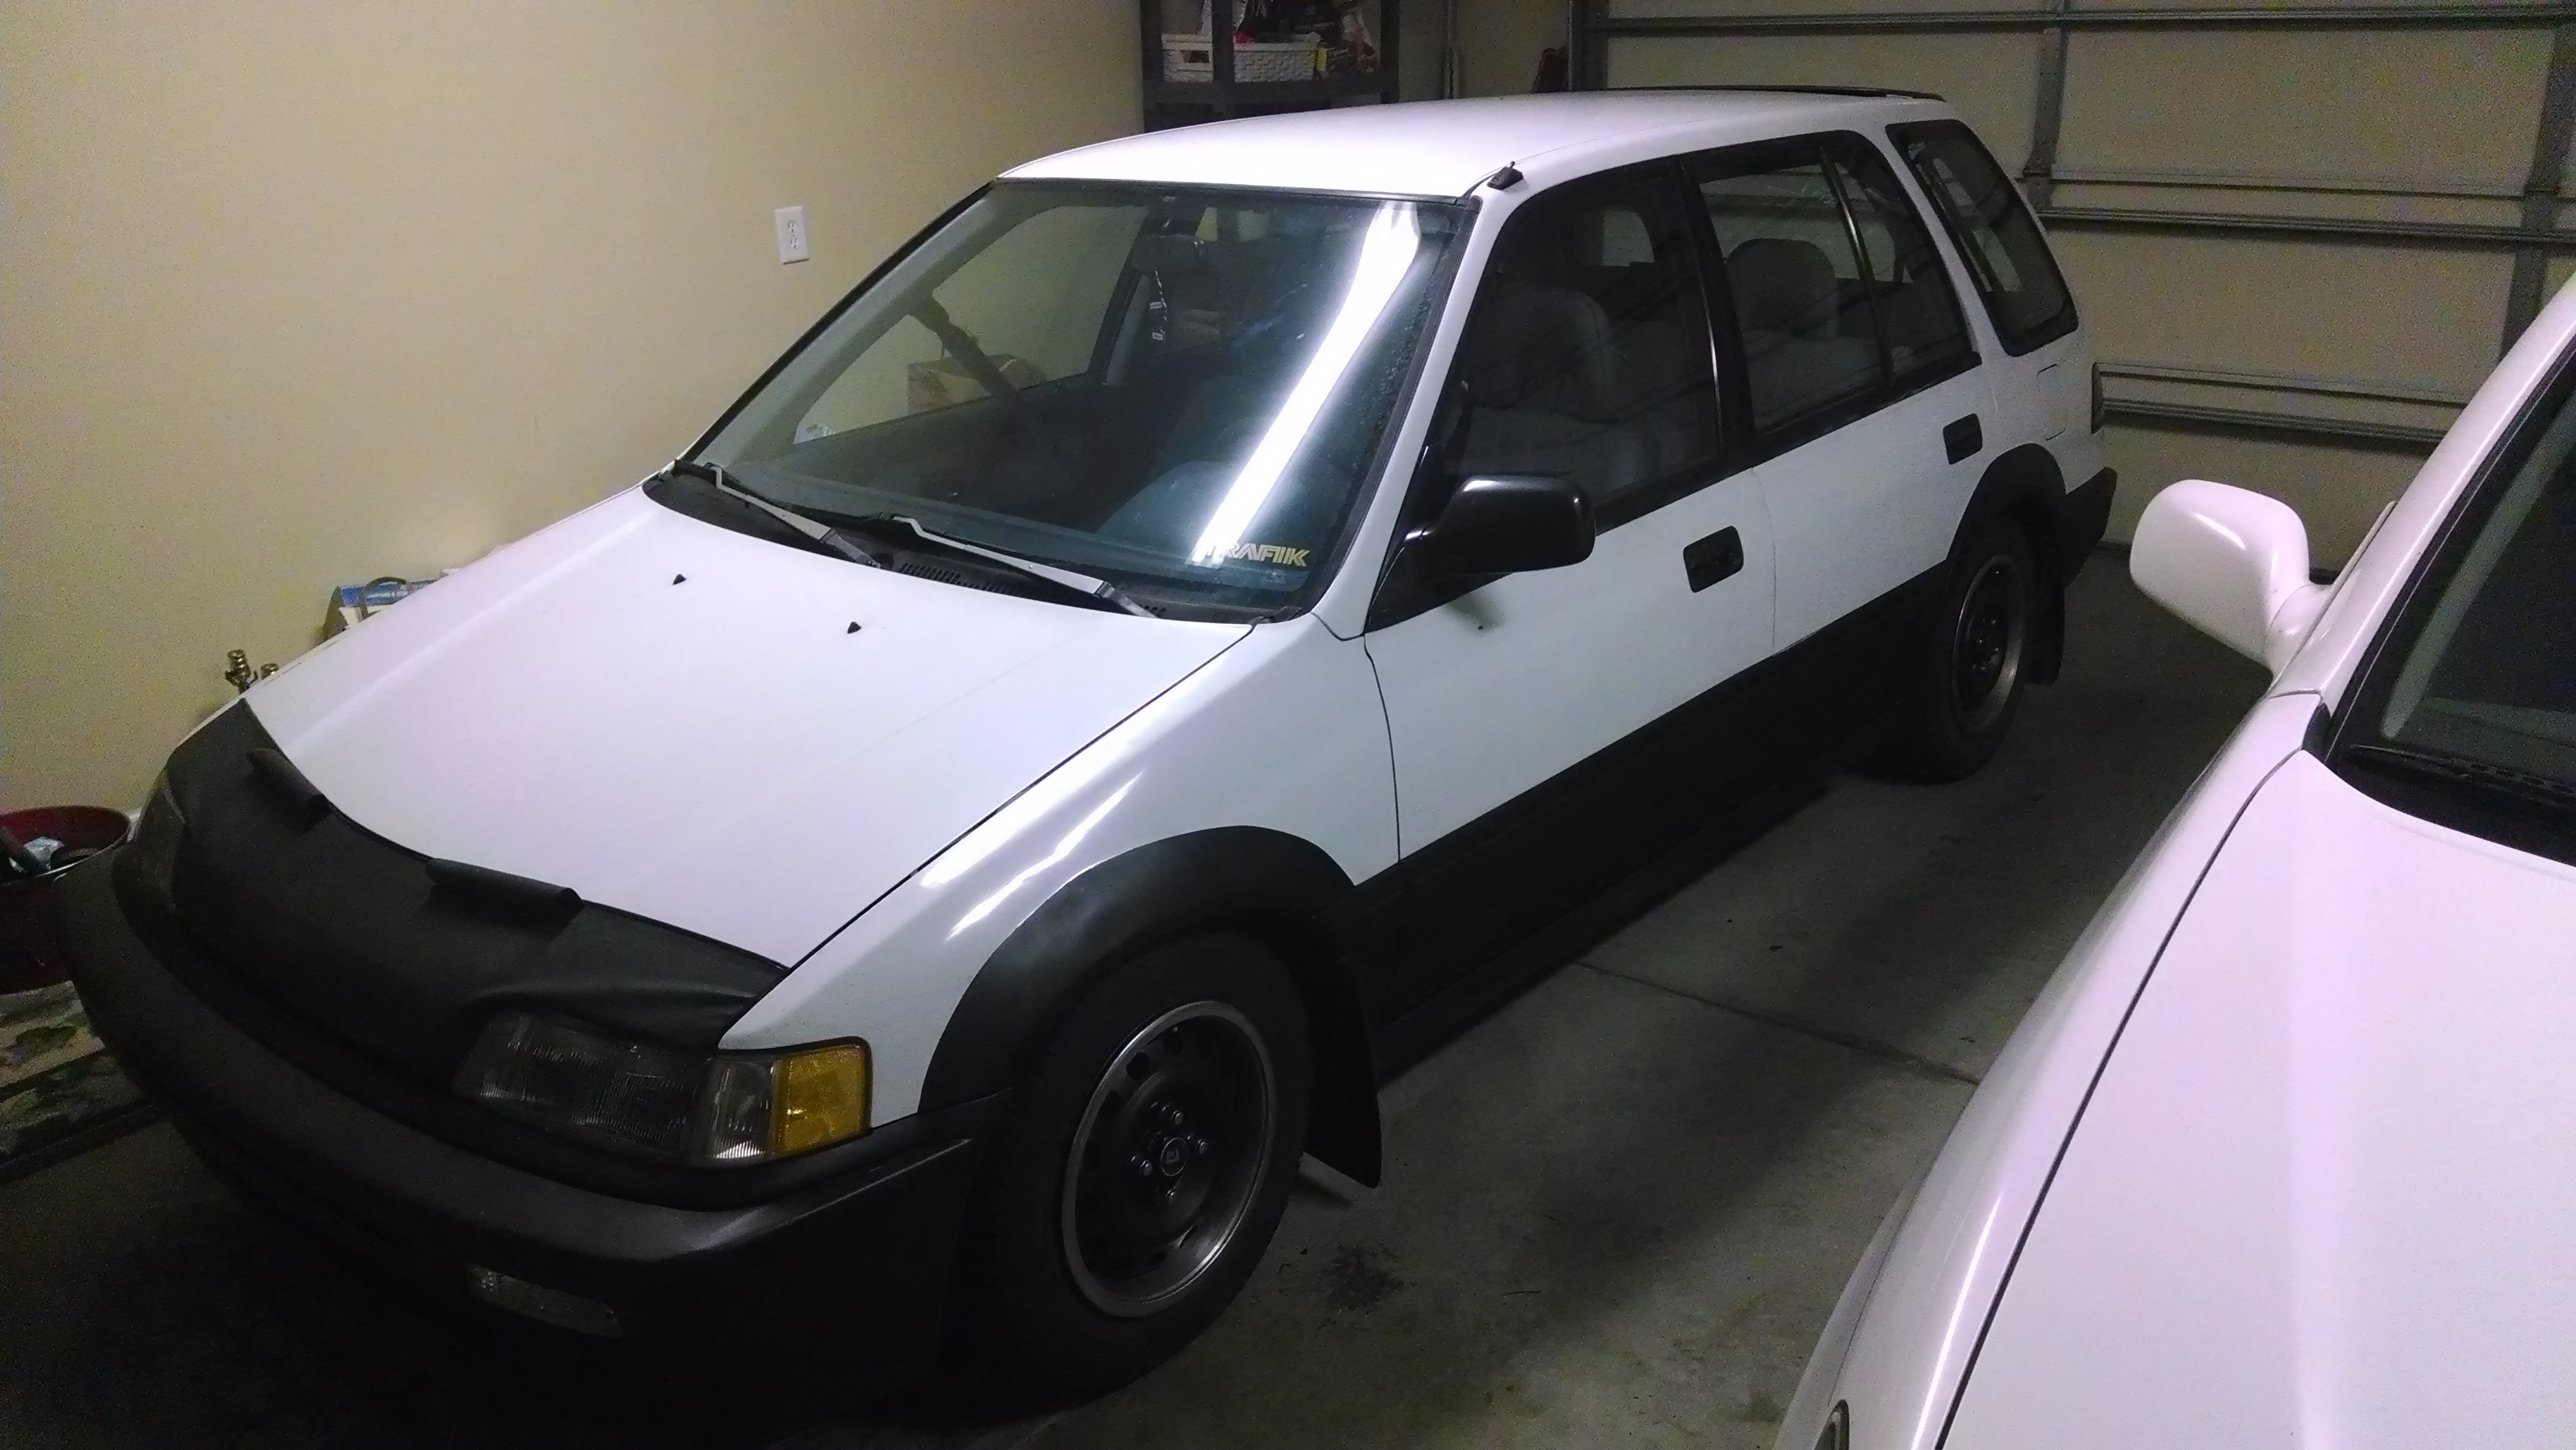
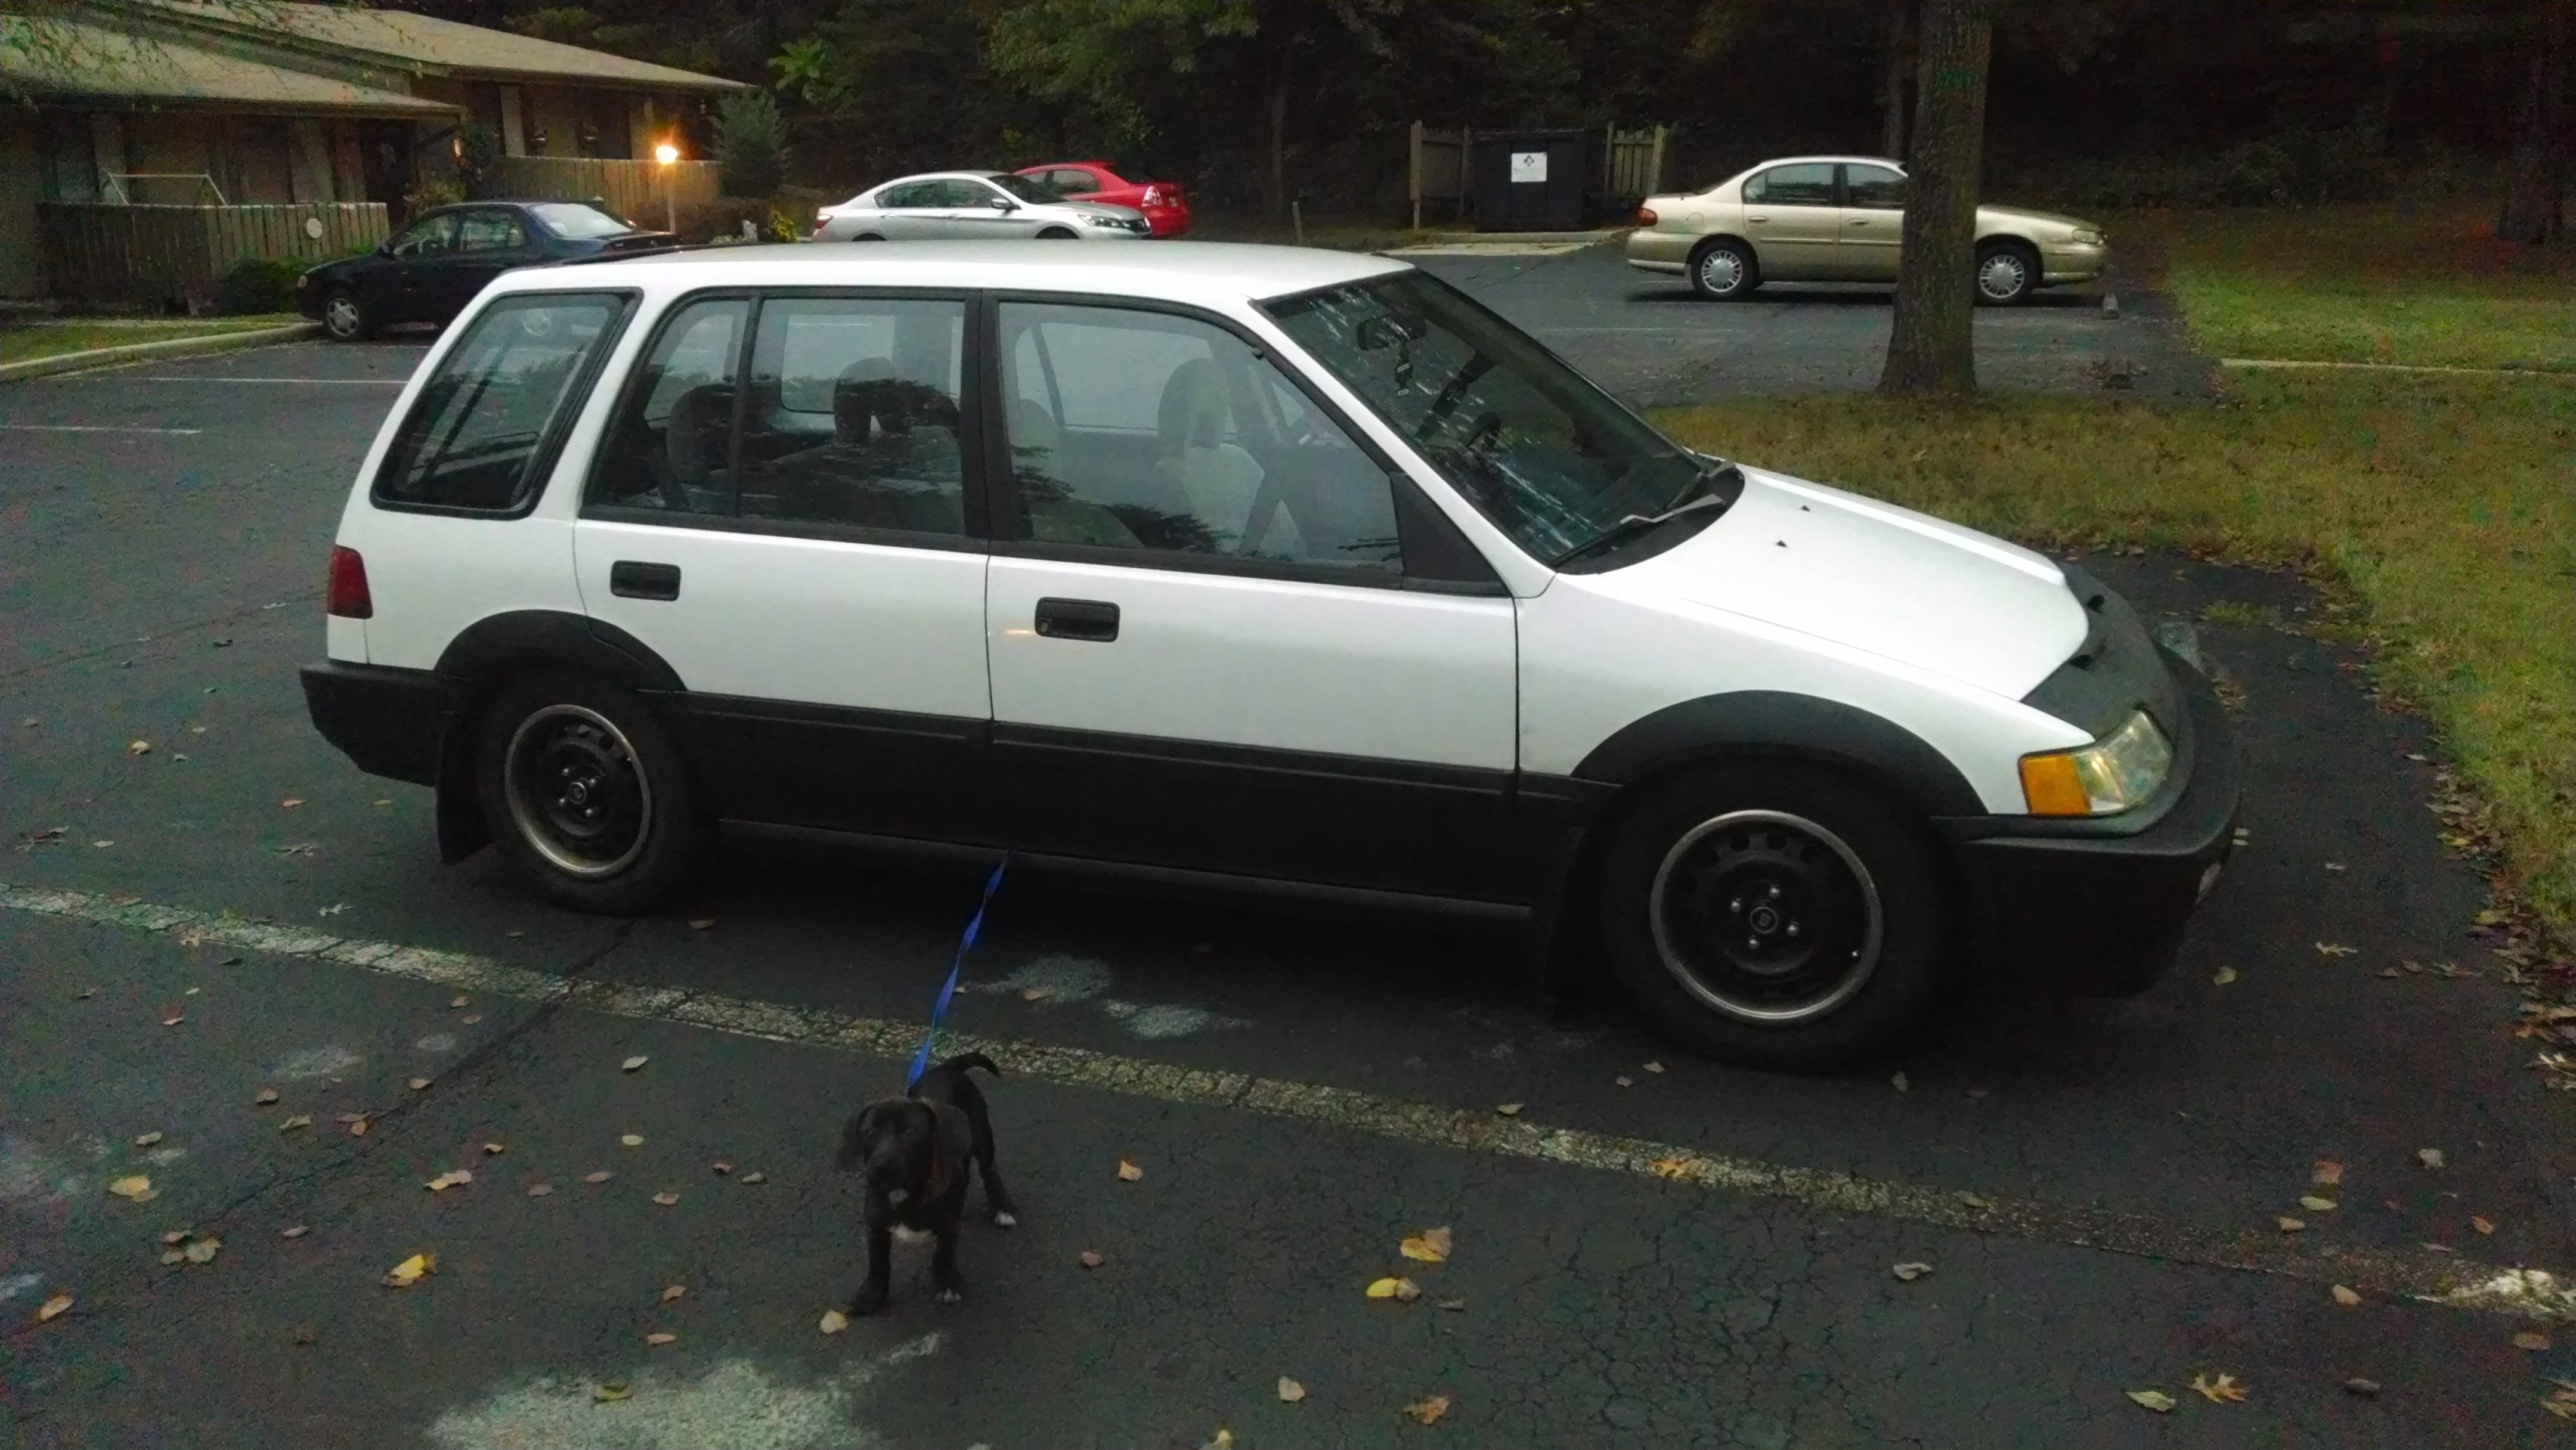
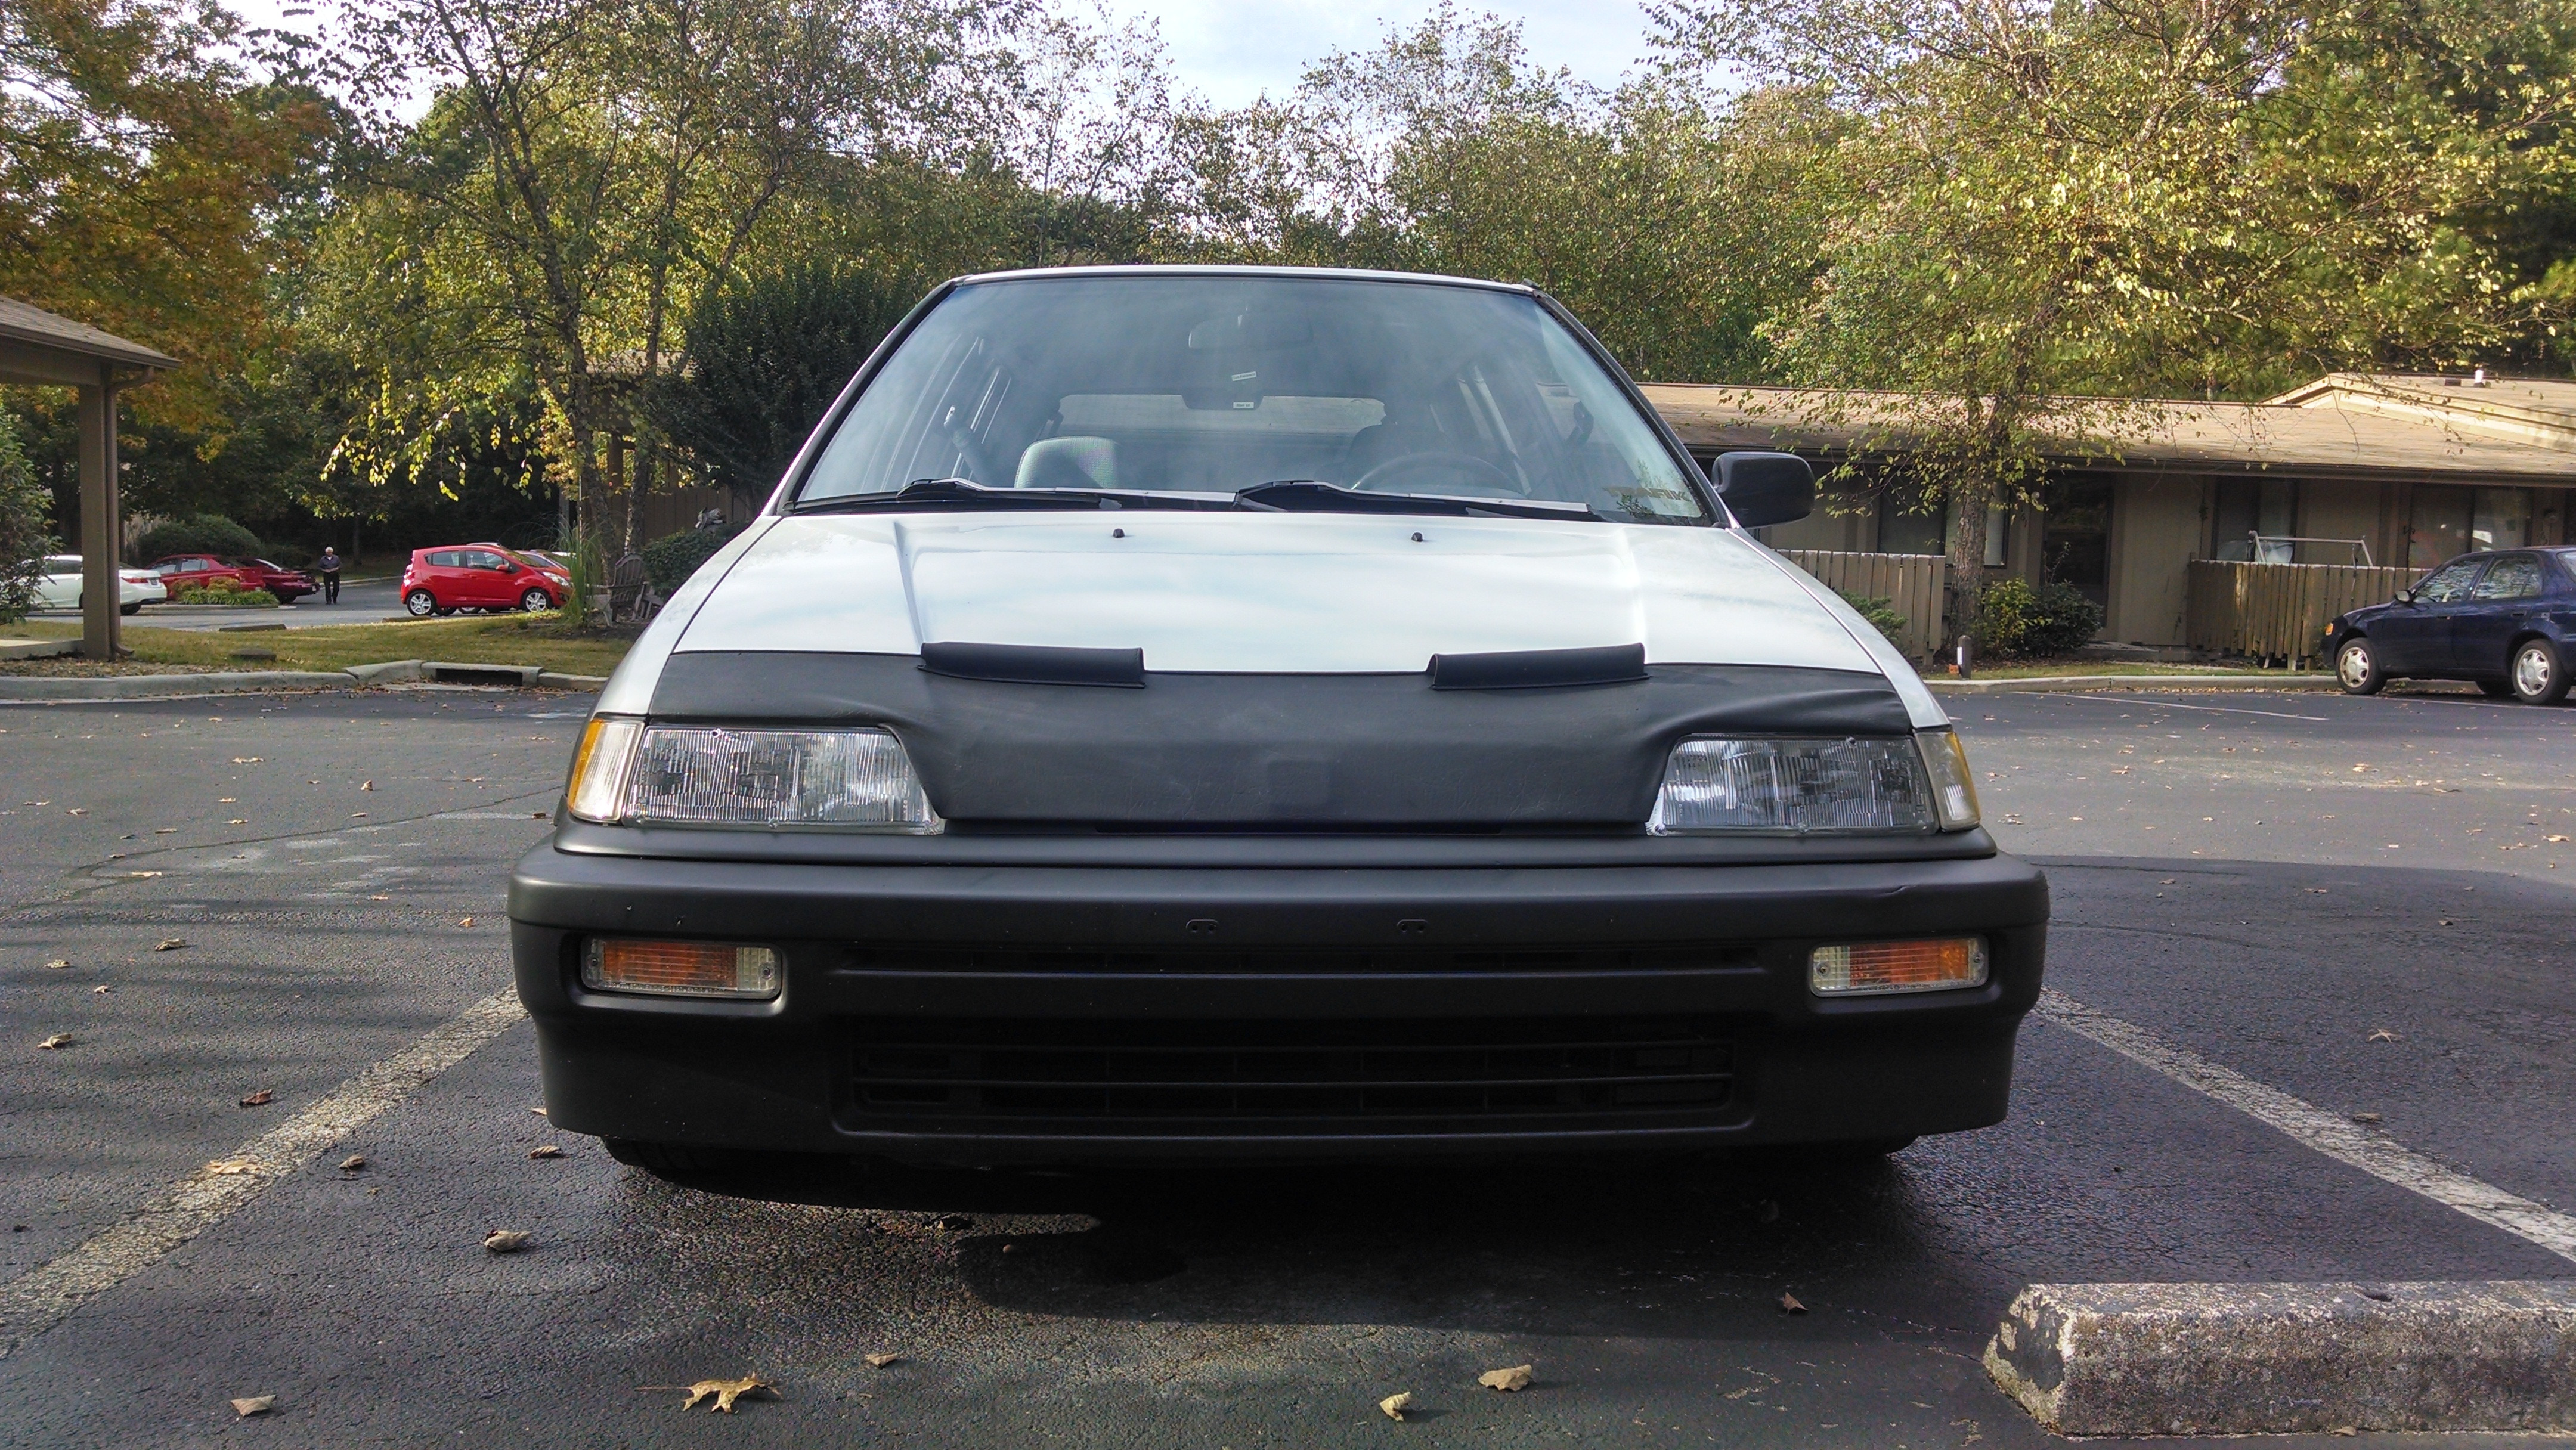
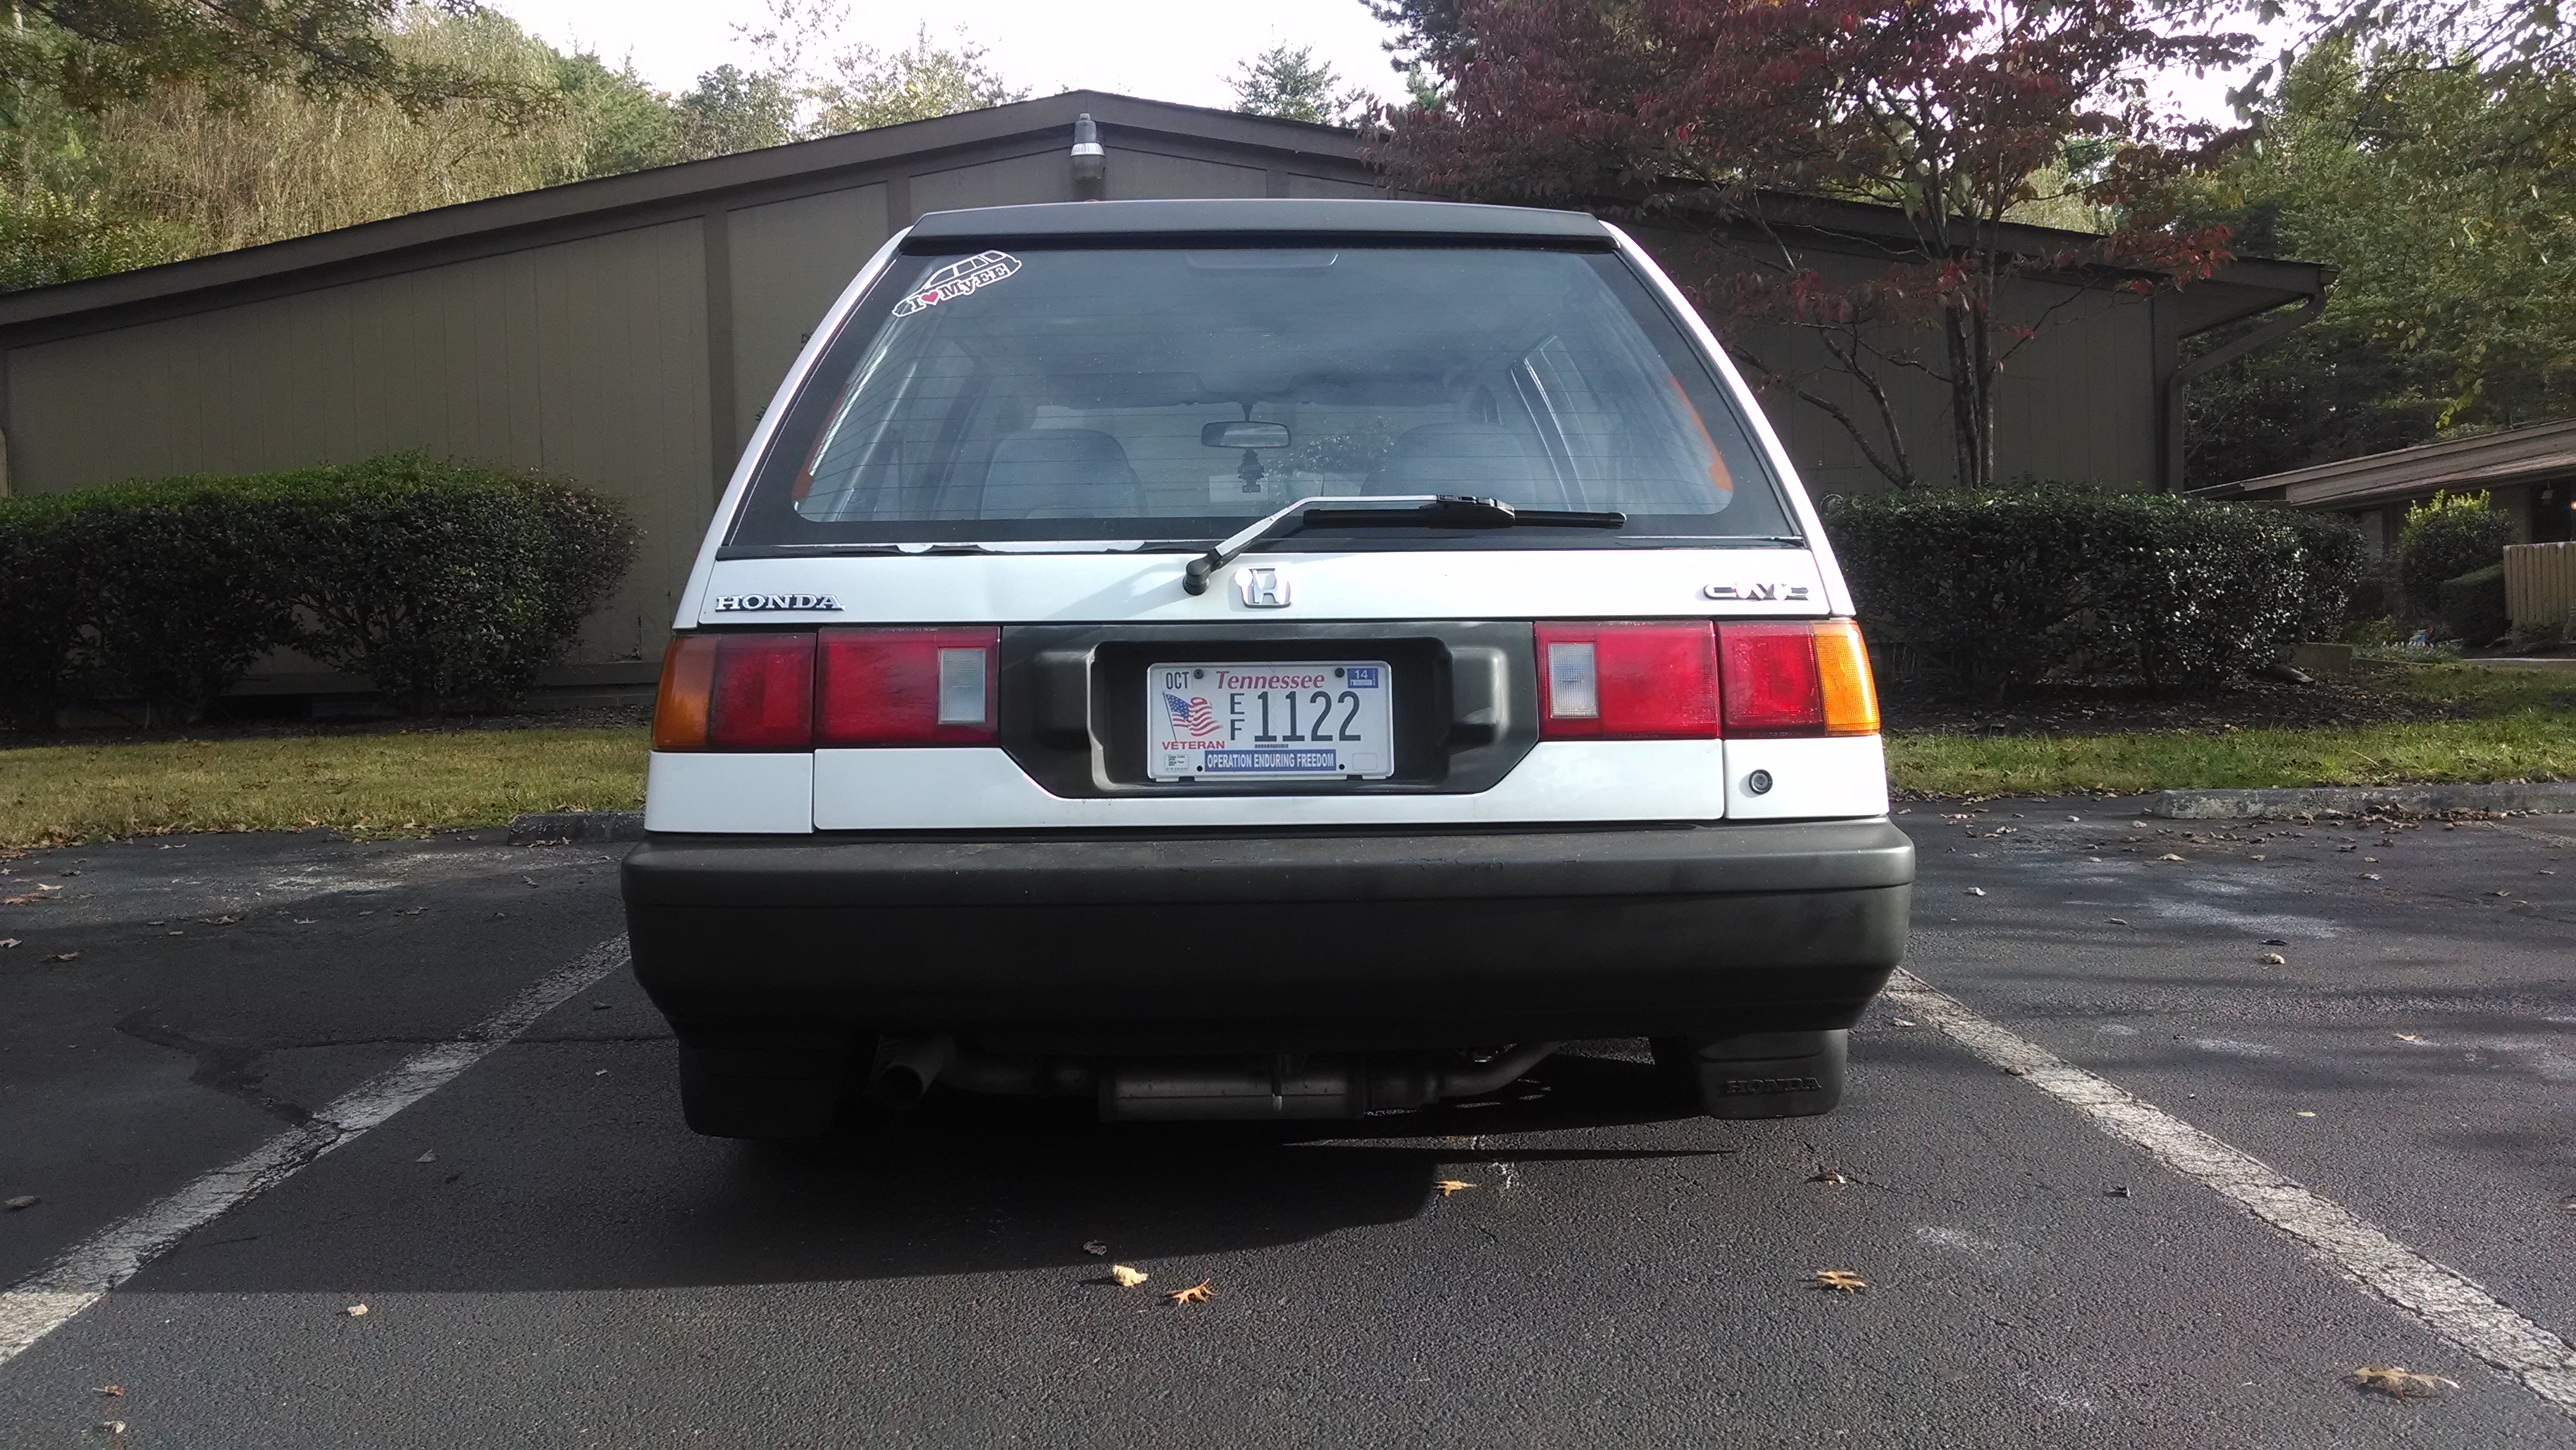
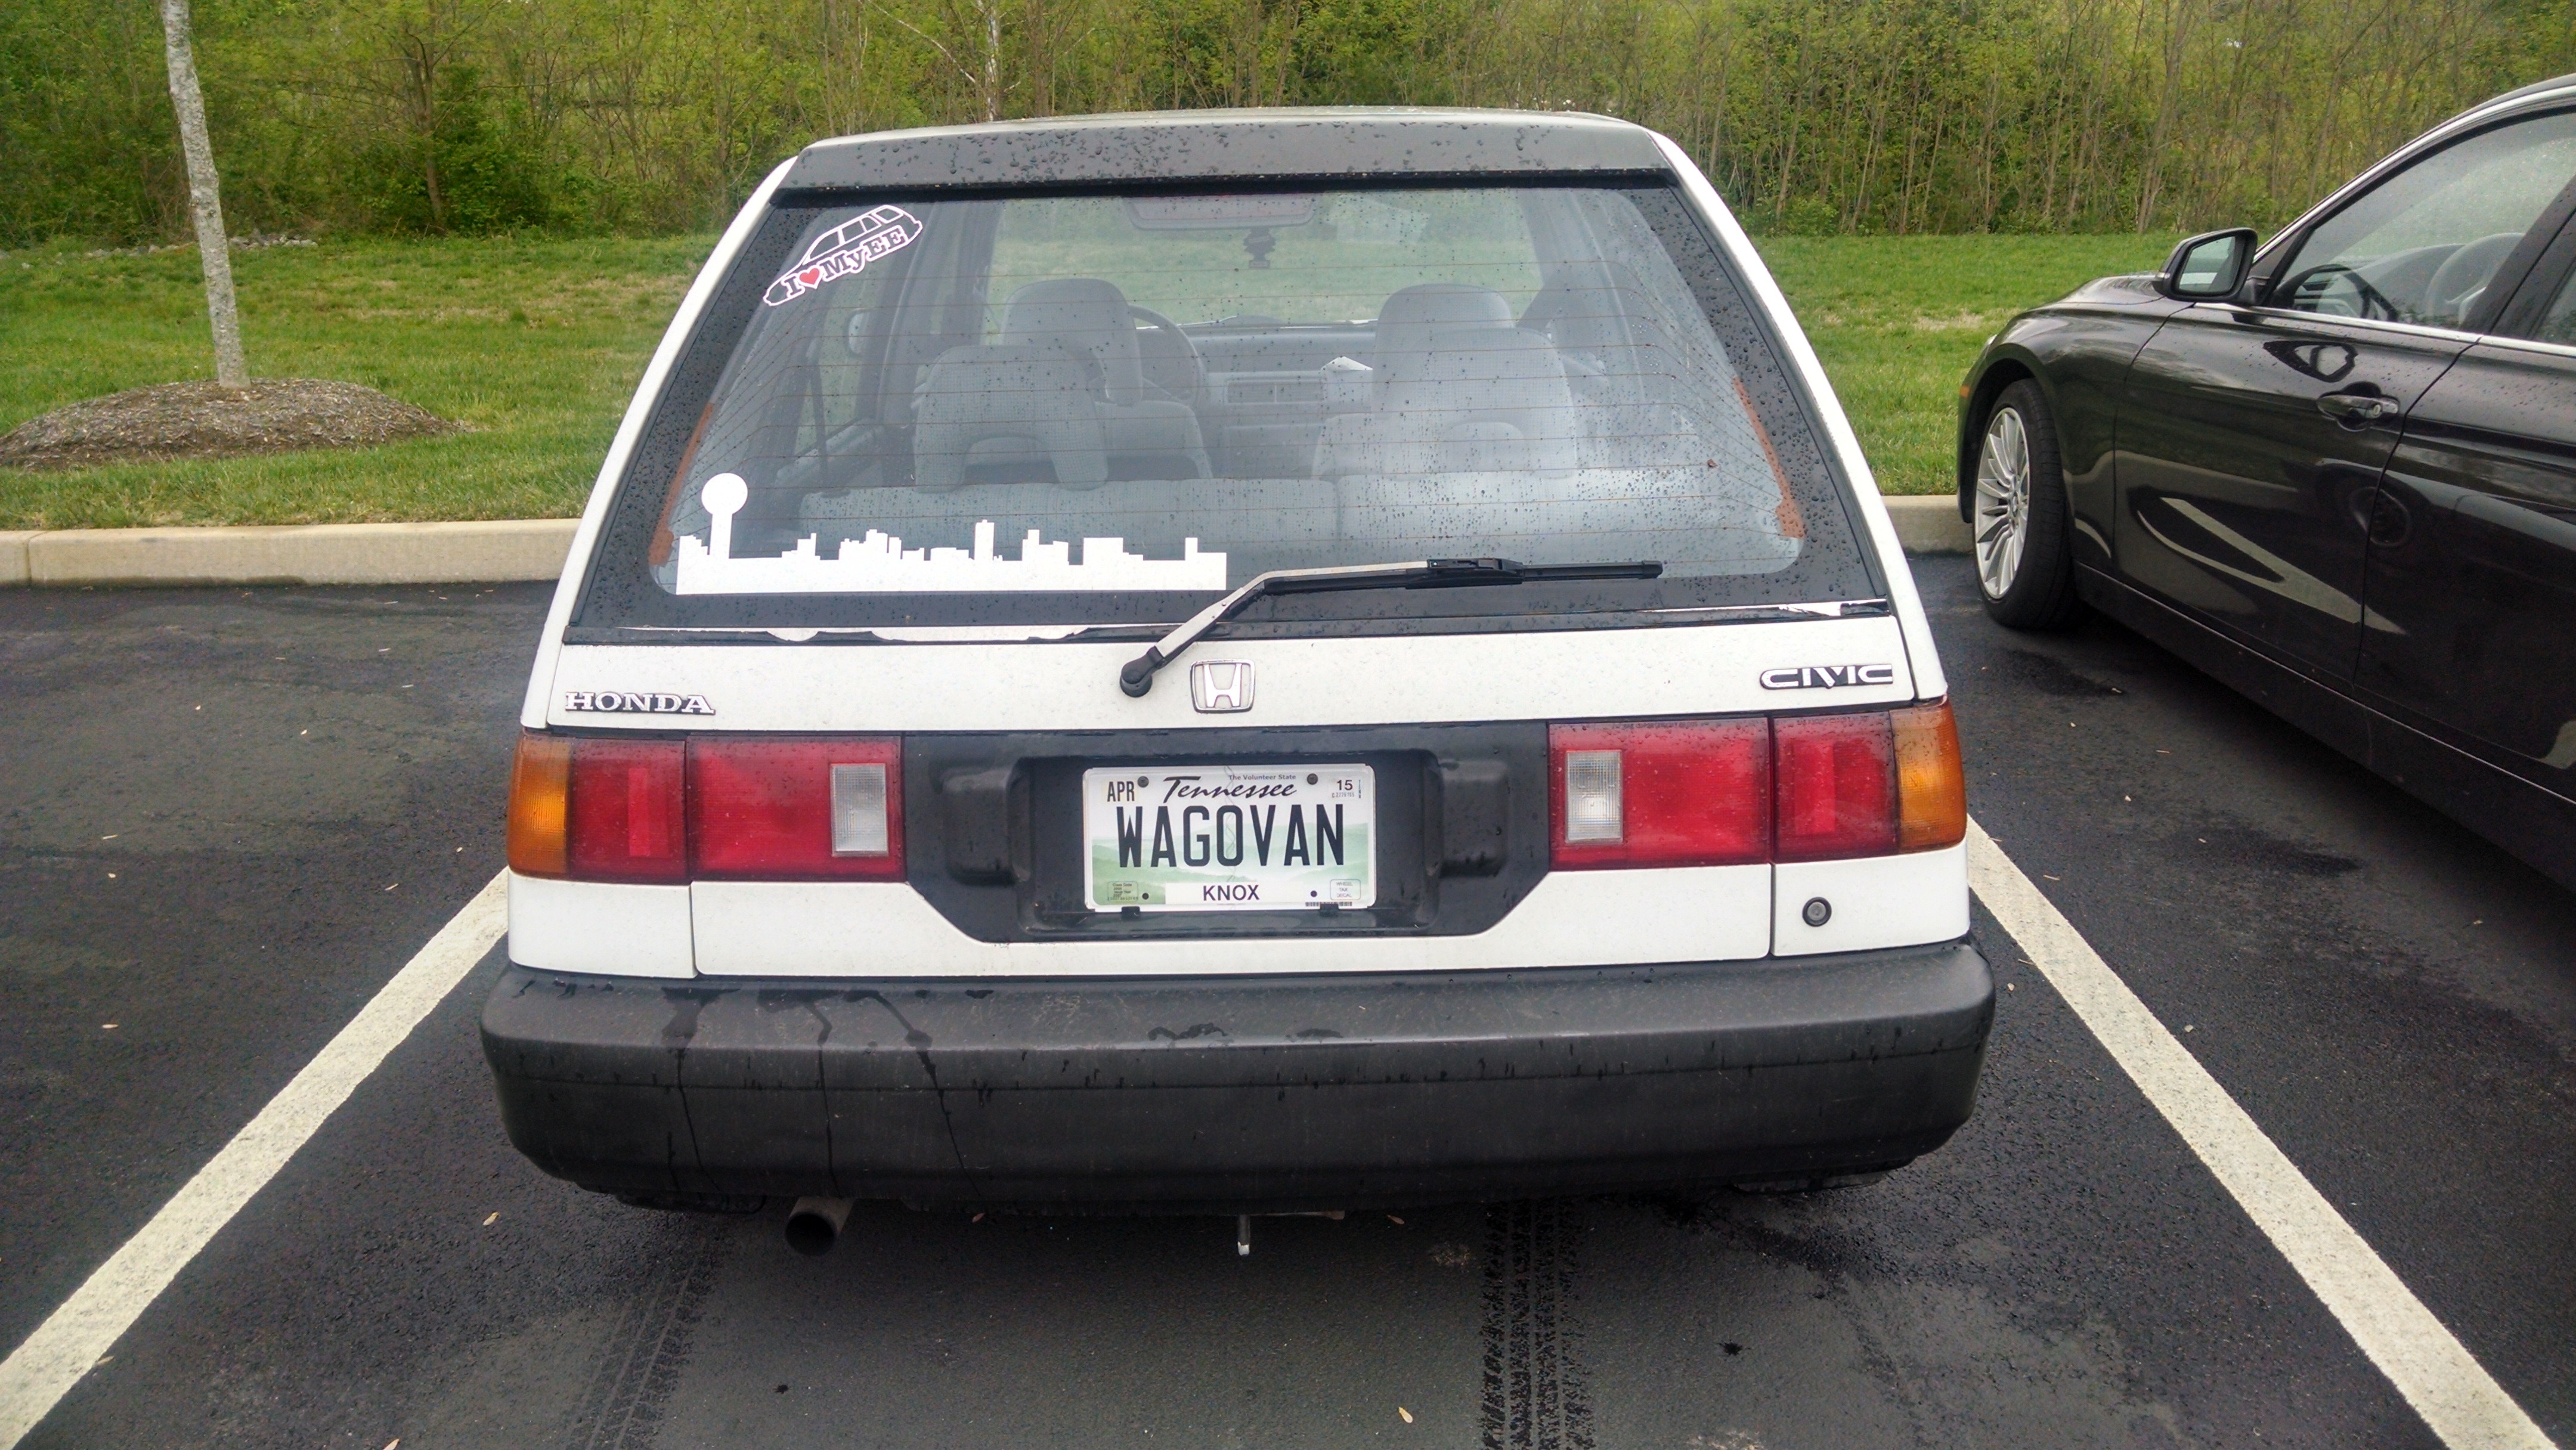
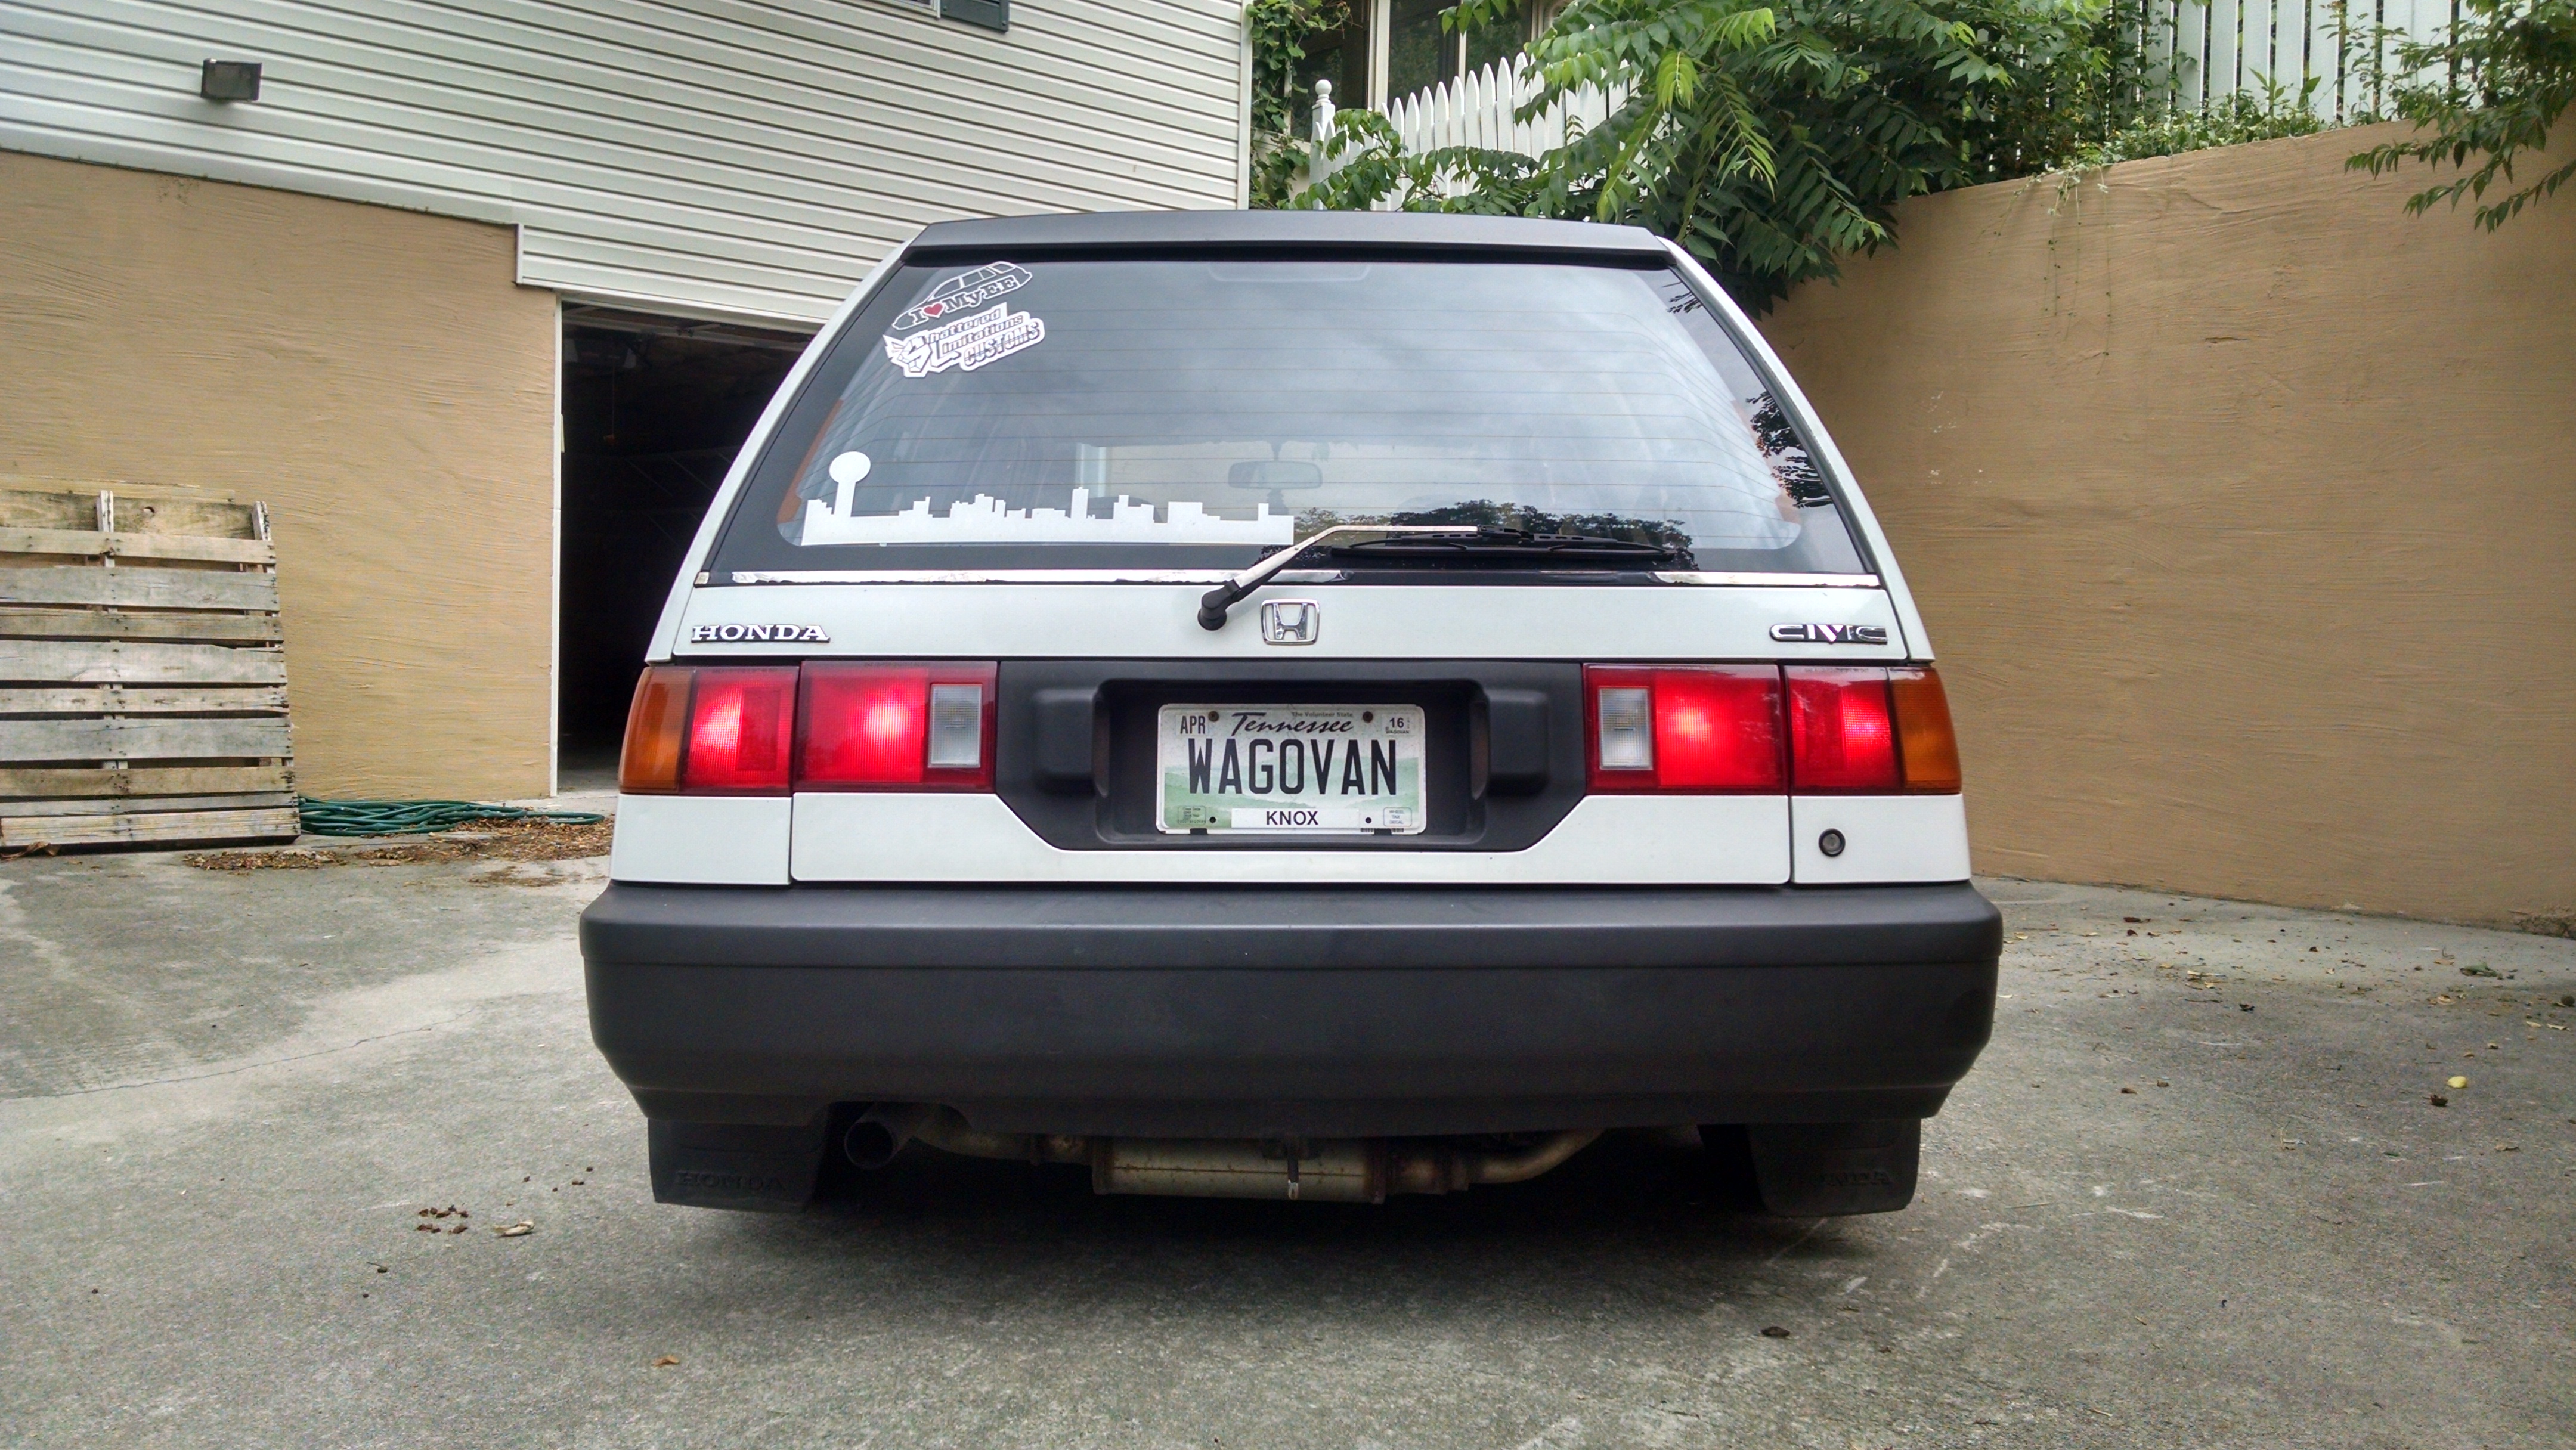
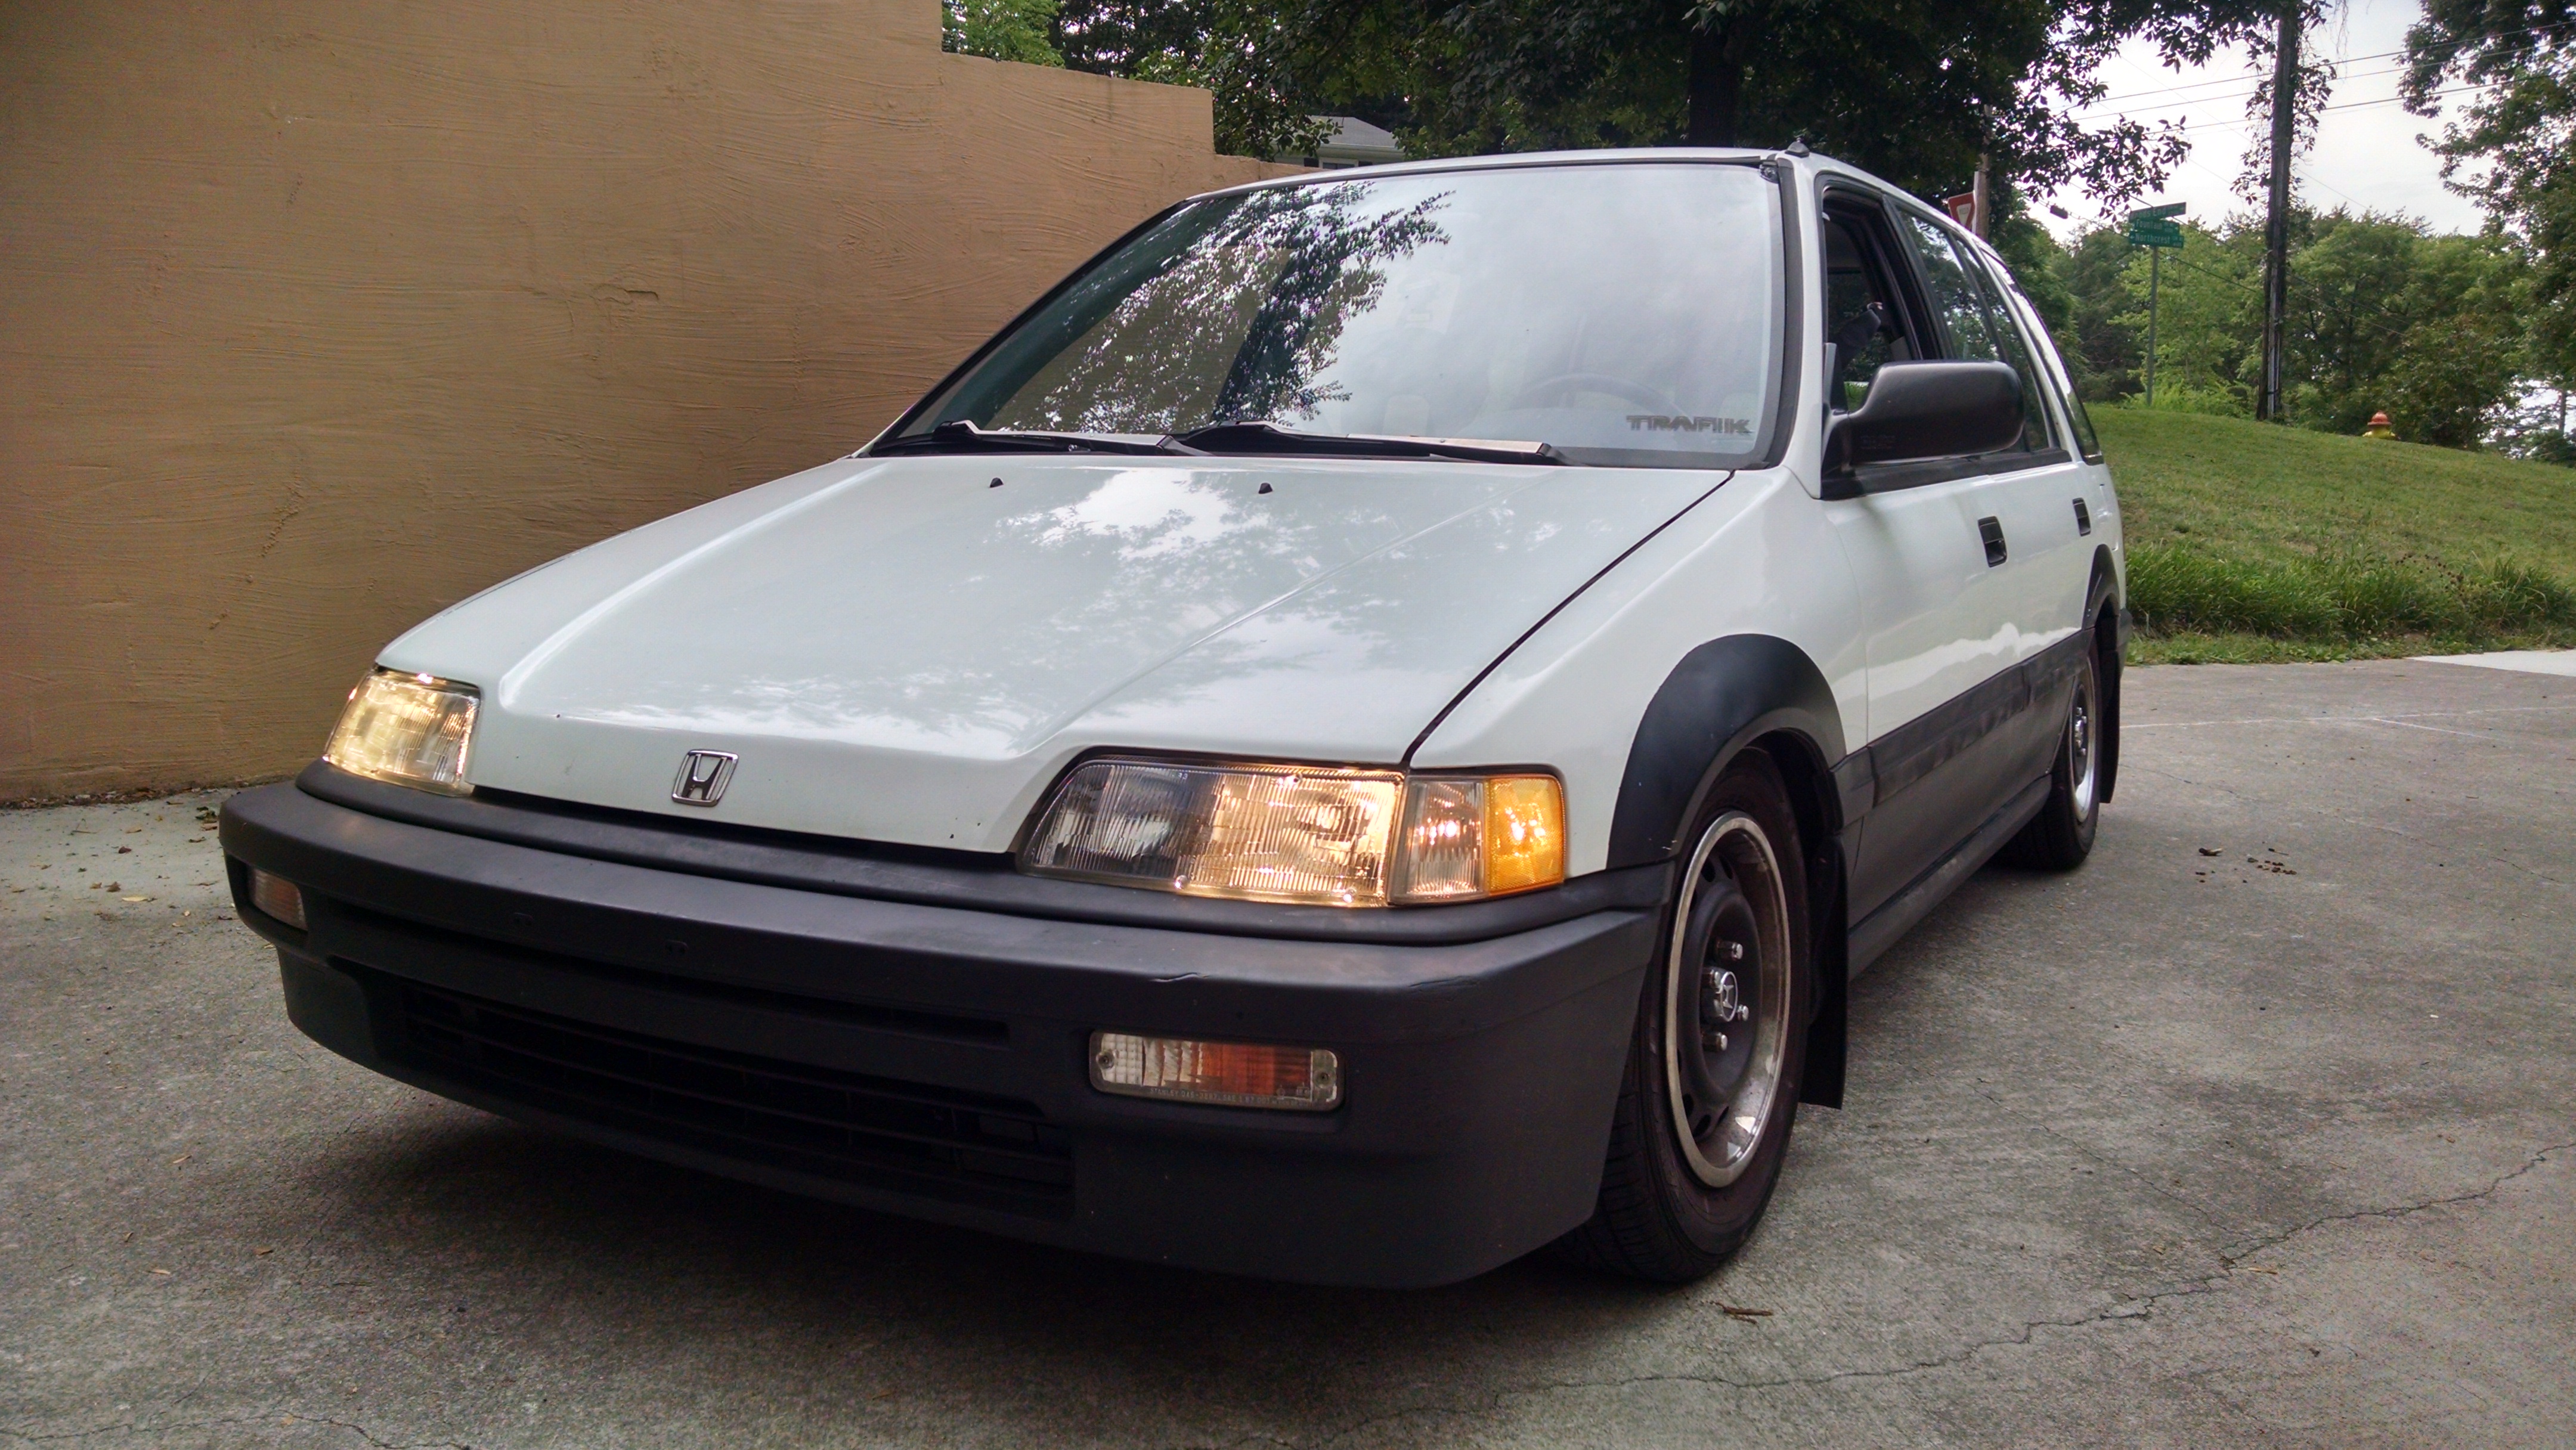
Well, I've been a member here a while, but have just mainly lurked and followed some build threads. I have a 2000 VSM EX coupe that I've had for almost a year now. I've seen some pretty clean EKs, and I don't dislike them, I just never really fell in love with the car. One problem was too many little issues that I didn't really feel like spending the money to fix. Anyway, a super clean '91 wagon popped up on my local CL, and I've really liked them for a while, so I went to check it out. Here are some pics:
It's in amazing shape for it's age and the fact that it's a Honda. I'm the third owner. First owner was an old guy, and the guy I bought it from was in his late twenties and took meticulous care of it, since he's a Honda guy and he knew the value of the car. It's a 5 speed, and unfortunately it's not the 4wd wagon, but hey you can't get everything. When I went to check it out it had been sitting outside for a while, and it wouldn't start. I called up a shop that had serviced it and they said it was probably the main relay. I went back a little later and it started and I drove it around a bit and loved it. I started googling and it turns out the main relay going bad is a common issue in EFs. I told the guy I'd buy it, and then went to oreilley's and grabbed a replacement relay. Picked it up the next day, drove it home, replaced the relay, and she's golden. Only other real issue is that the rear control arm bushings need replaced at some point. I'm kind of in a pickle on what to do for wheels. The wheels on it now have almost new tires, but they're 14s. I have ls meshies on my EK that I was gonna put on the wagon, but they're 15s, and the tires need replacing pretty soon. I'd rather be able to swap the new tires over to different wheels as that will be a heck of a lot cheaper than buying new tires. I almost forgot, the seller also threw in the original wheels from the car, which are in pretty decent shape, but the tires on them need replacement, and they're 13s.
Anyway, I bought the car for $2500, and I'm hoping to sell the EK for like $3500-ish. Hopefully I'll have enough money left over for some coilovers, or wheels, or both possibly. I've looked around for 14 inch wheels, and the only wheels I saw in my brief search were SSR classics, which I think would look nice. I also thought maybe some Ronal Turbos or even some Vette Sawblades might look good on it, but I haven't looked into sizes on those.
So, TL;DR, I got me a sweet shuttle and since I'm a broke college student it's gonna be a slow build, but I'd like to at least get some wheels and coilovers on it in the near future.
Nov. 3, 2012
Homemade dash mat.
Nov. 10, 2012
Need to take care of this before it gets worse.
Jan. 21, 2013
Update time. Nothing big. Decided to work on the car some today with my free time. First I washed it. It was 43 degrees and I was out there in shorts, a tank top, and flip flops washing. Neighbors probably thought I was crazy. Anyway, after washing I ran to the store and got some iron on patches for my seat. Not terribly awesome looking, but it's better than giant holes and always having seat cushion dust all over the seat.
Aug. 18, 2013
Got some Energy Suspension poly shift linkage bushings and installed them.
The shift linkage boot looks like it needs replaced. The steering rack boot? behind it is torn too.
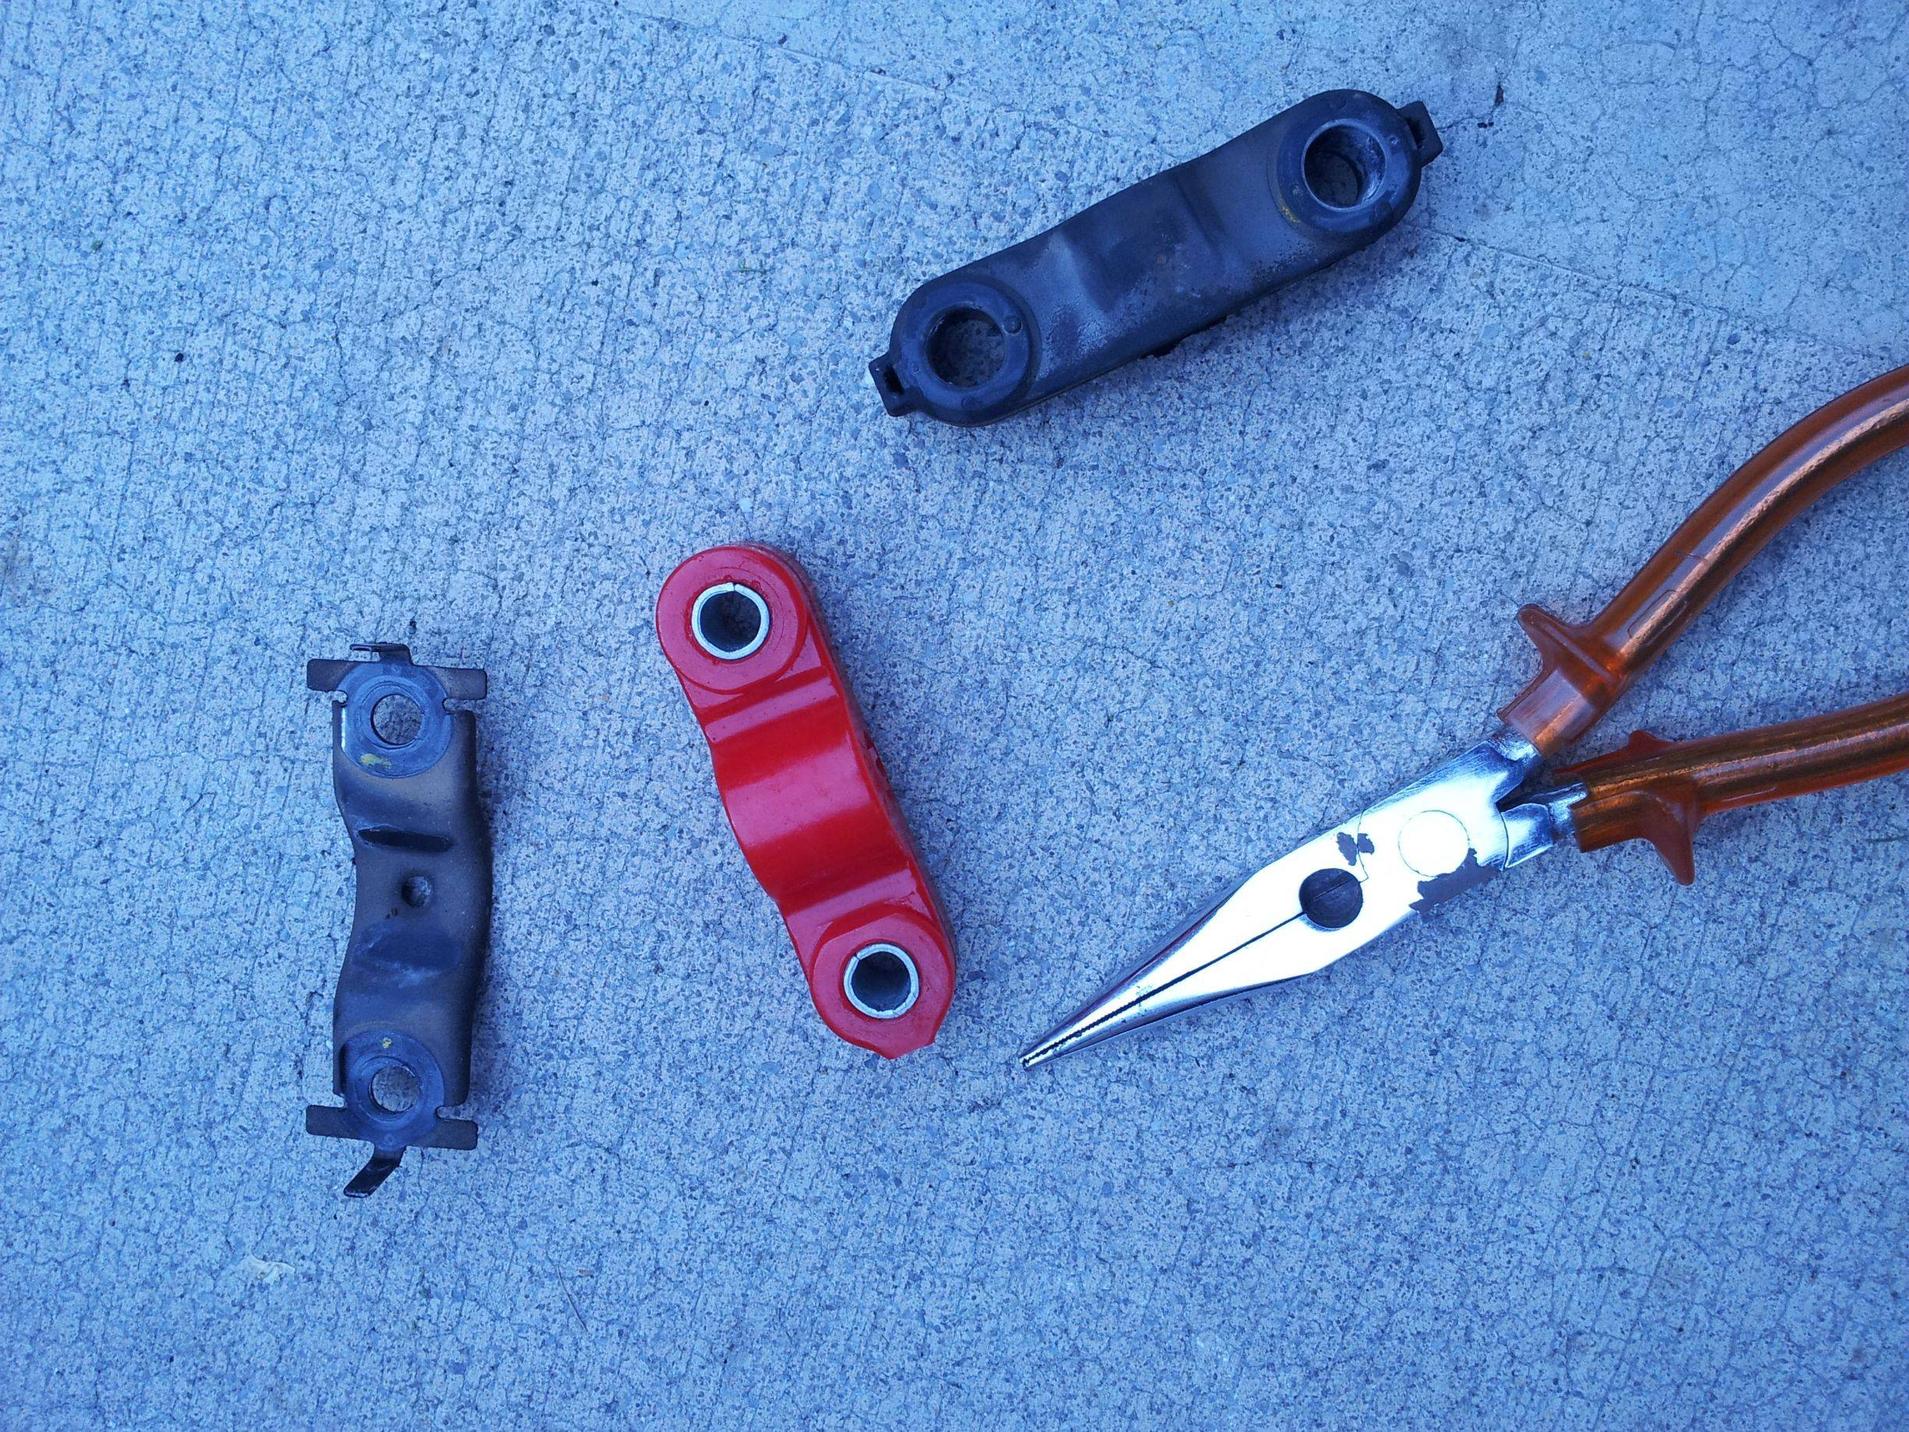
Got the old bushing off
Old next to new
Front bushing is all one piece, so how to get it out?
Just used my knife and cut the lip off.
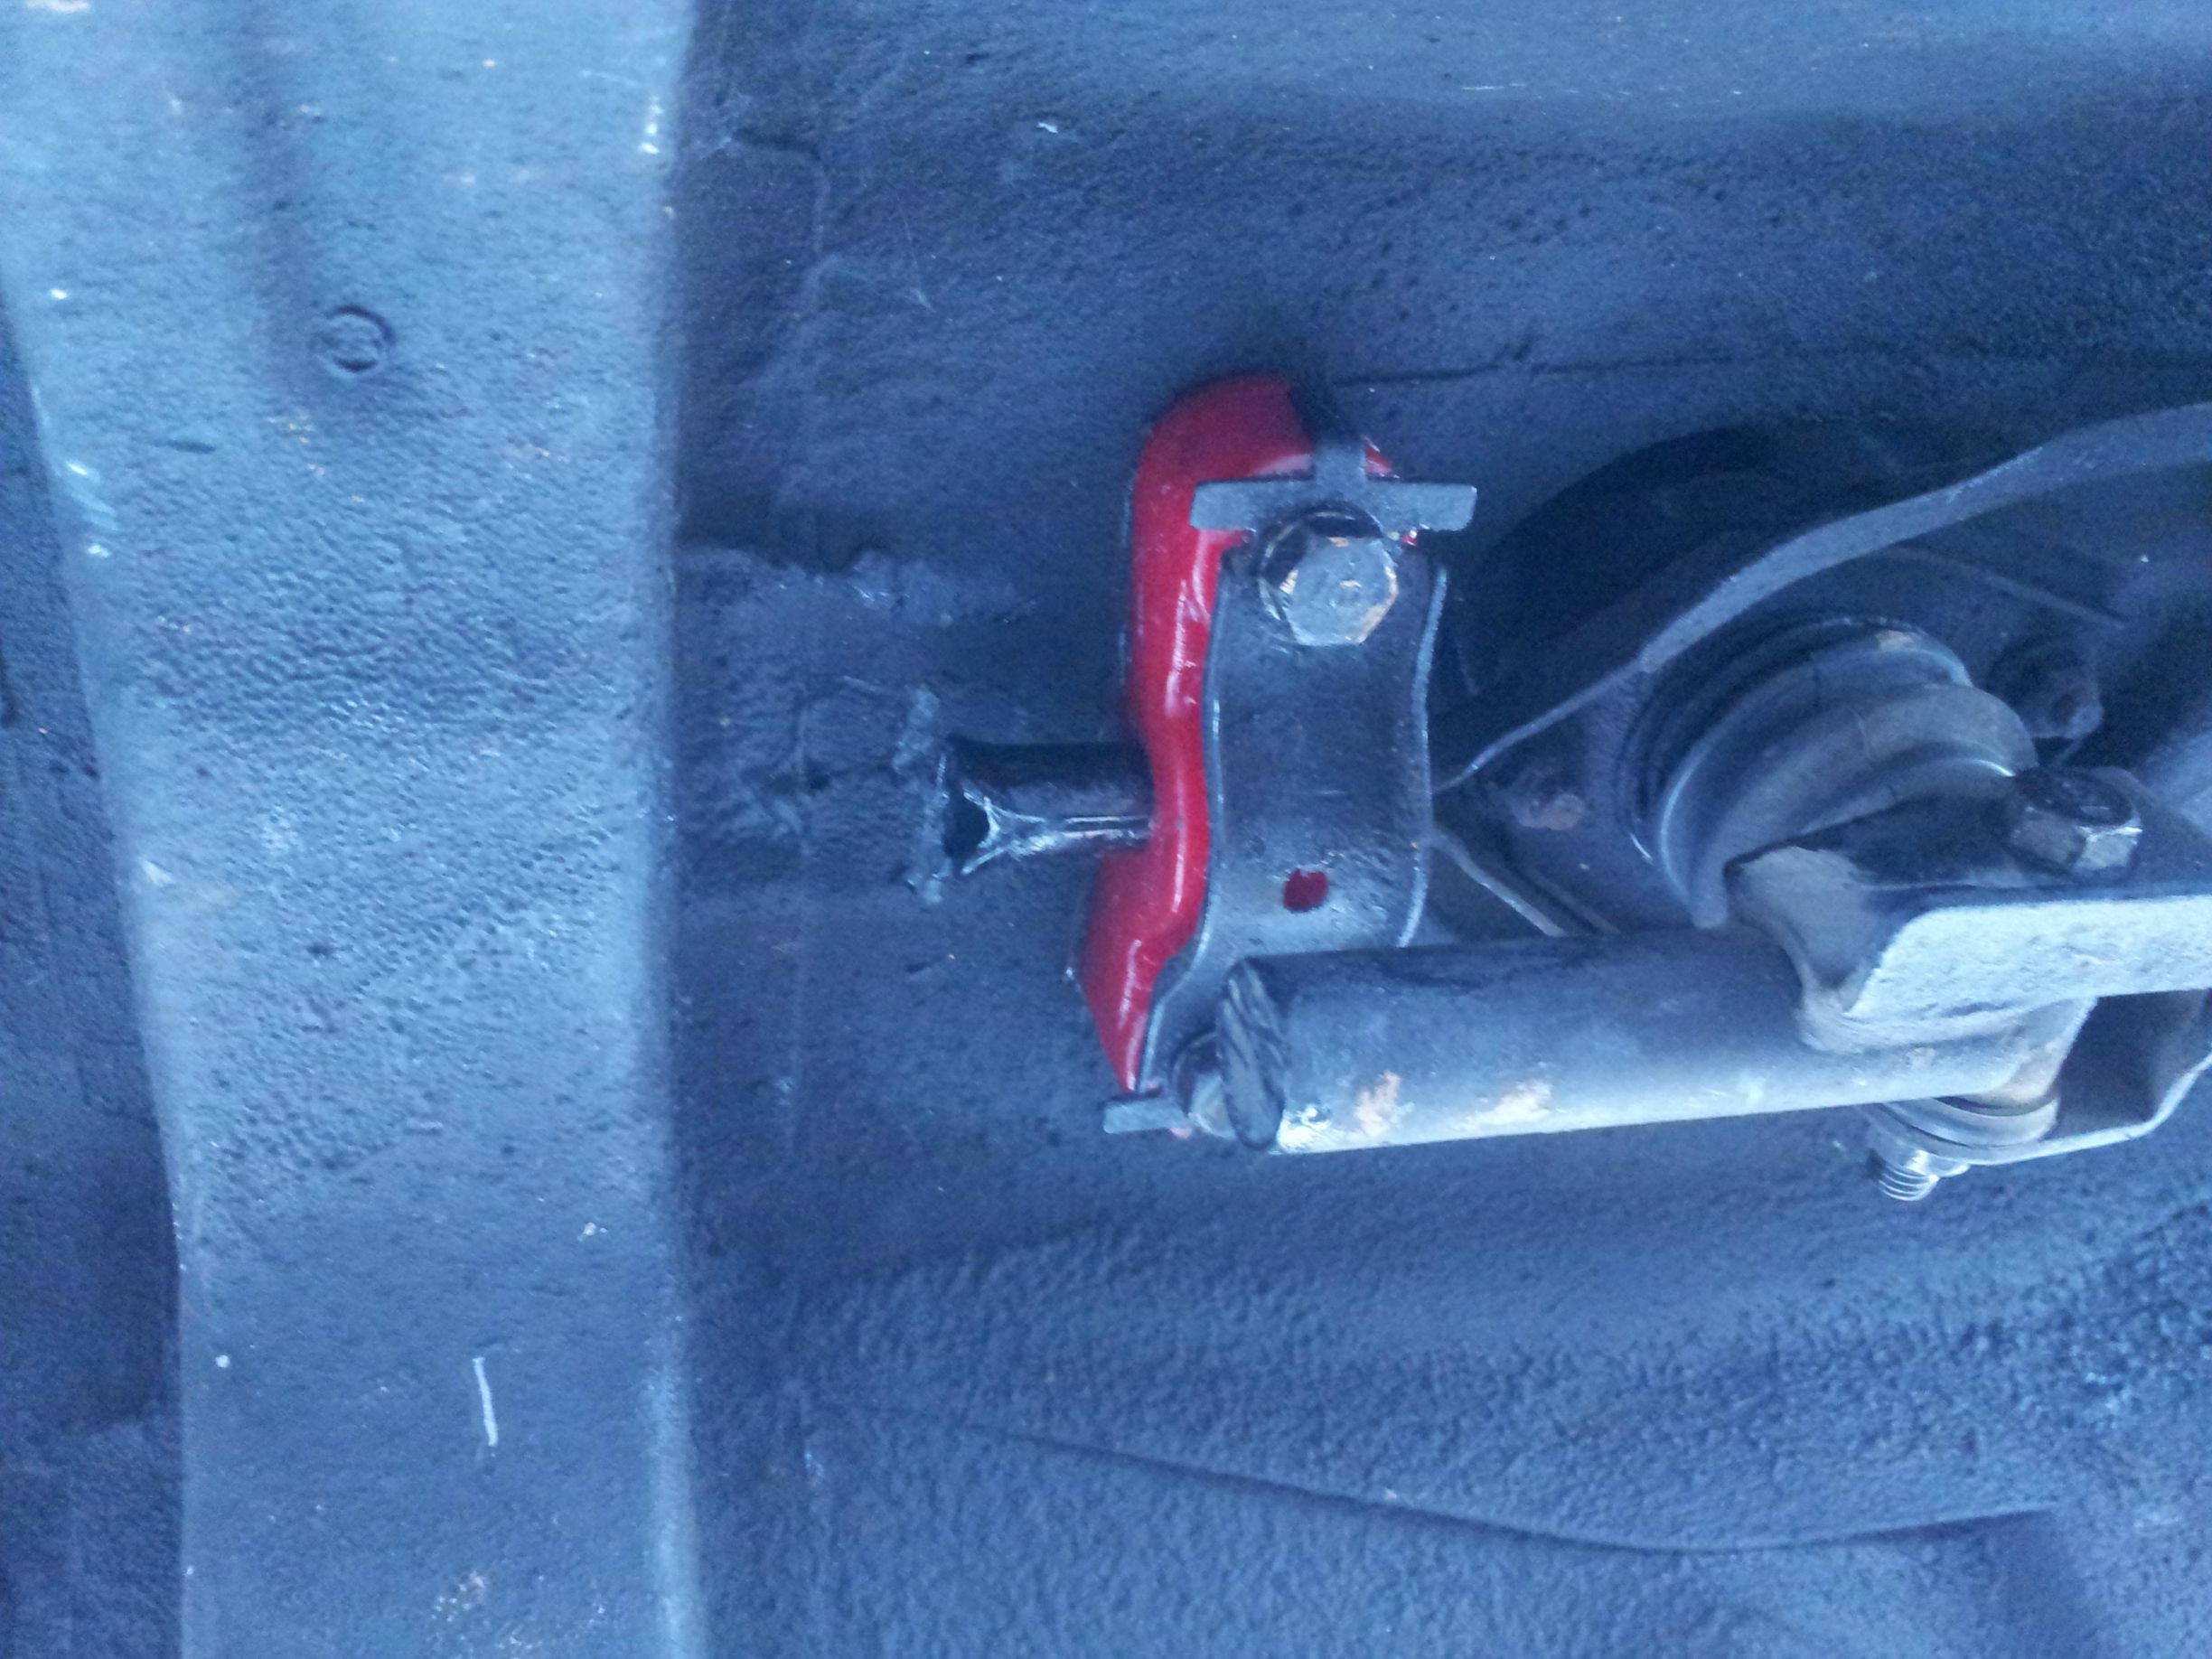
I forgot to take a pic of the new one installed in the front. It was a bit of a pain. The replacement was two separate pieces, so putting it in wasn't too bad, but it didn't want to go all the way in, which meant I couldn't fit it back into the bracket. I ended up using an adjustable plier wrench to squeeze the bushing in and kinda hammered it into place. Then getting the holes to line up was a bit tricky, but it didn't take too long to get hooked back up.
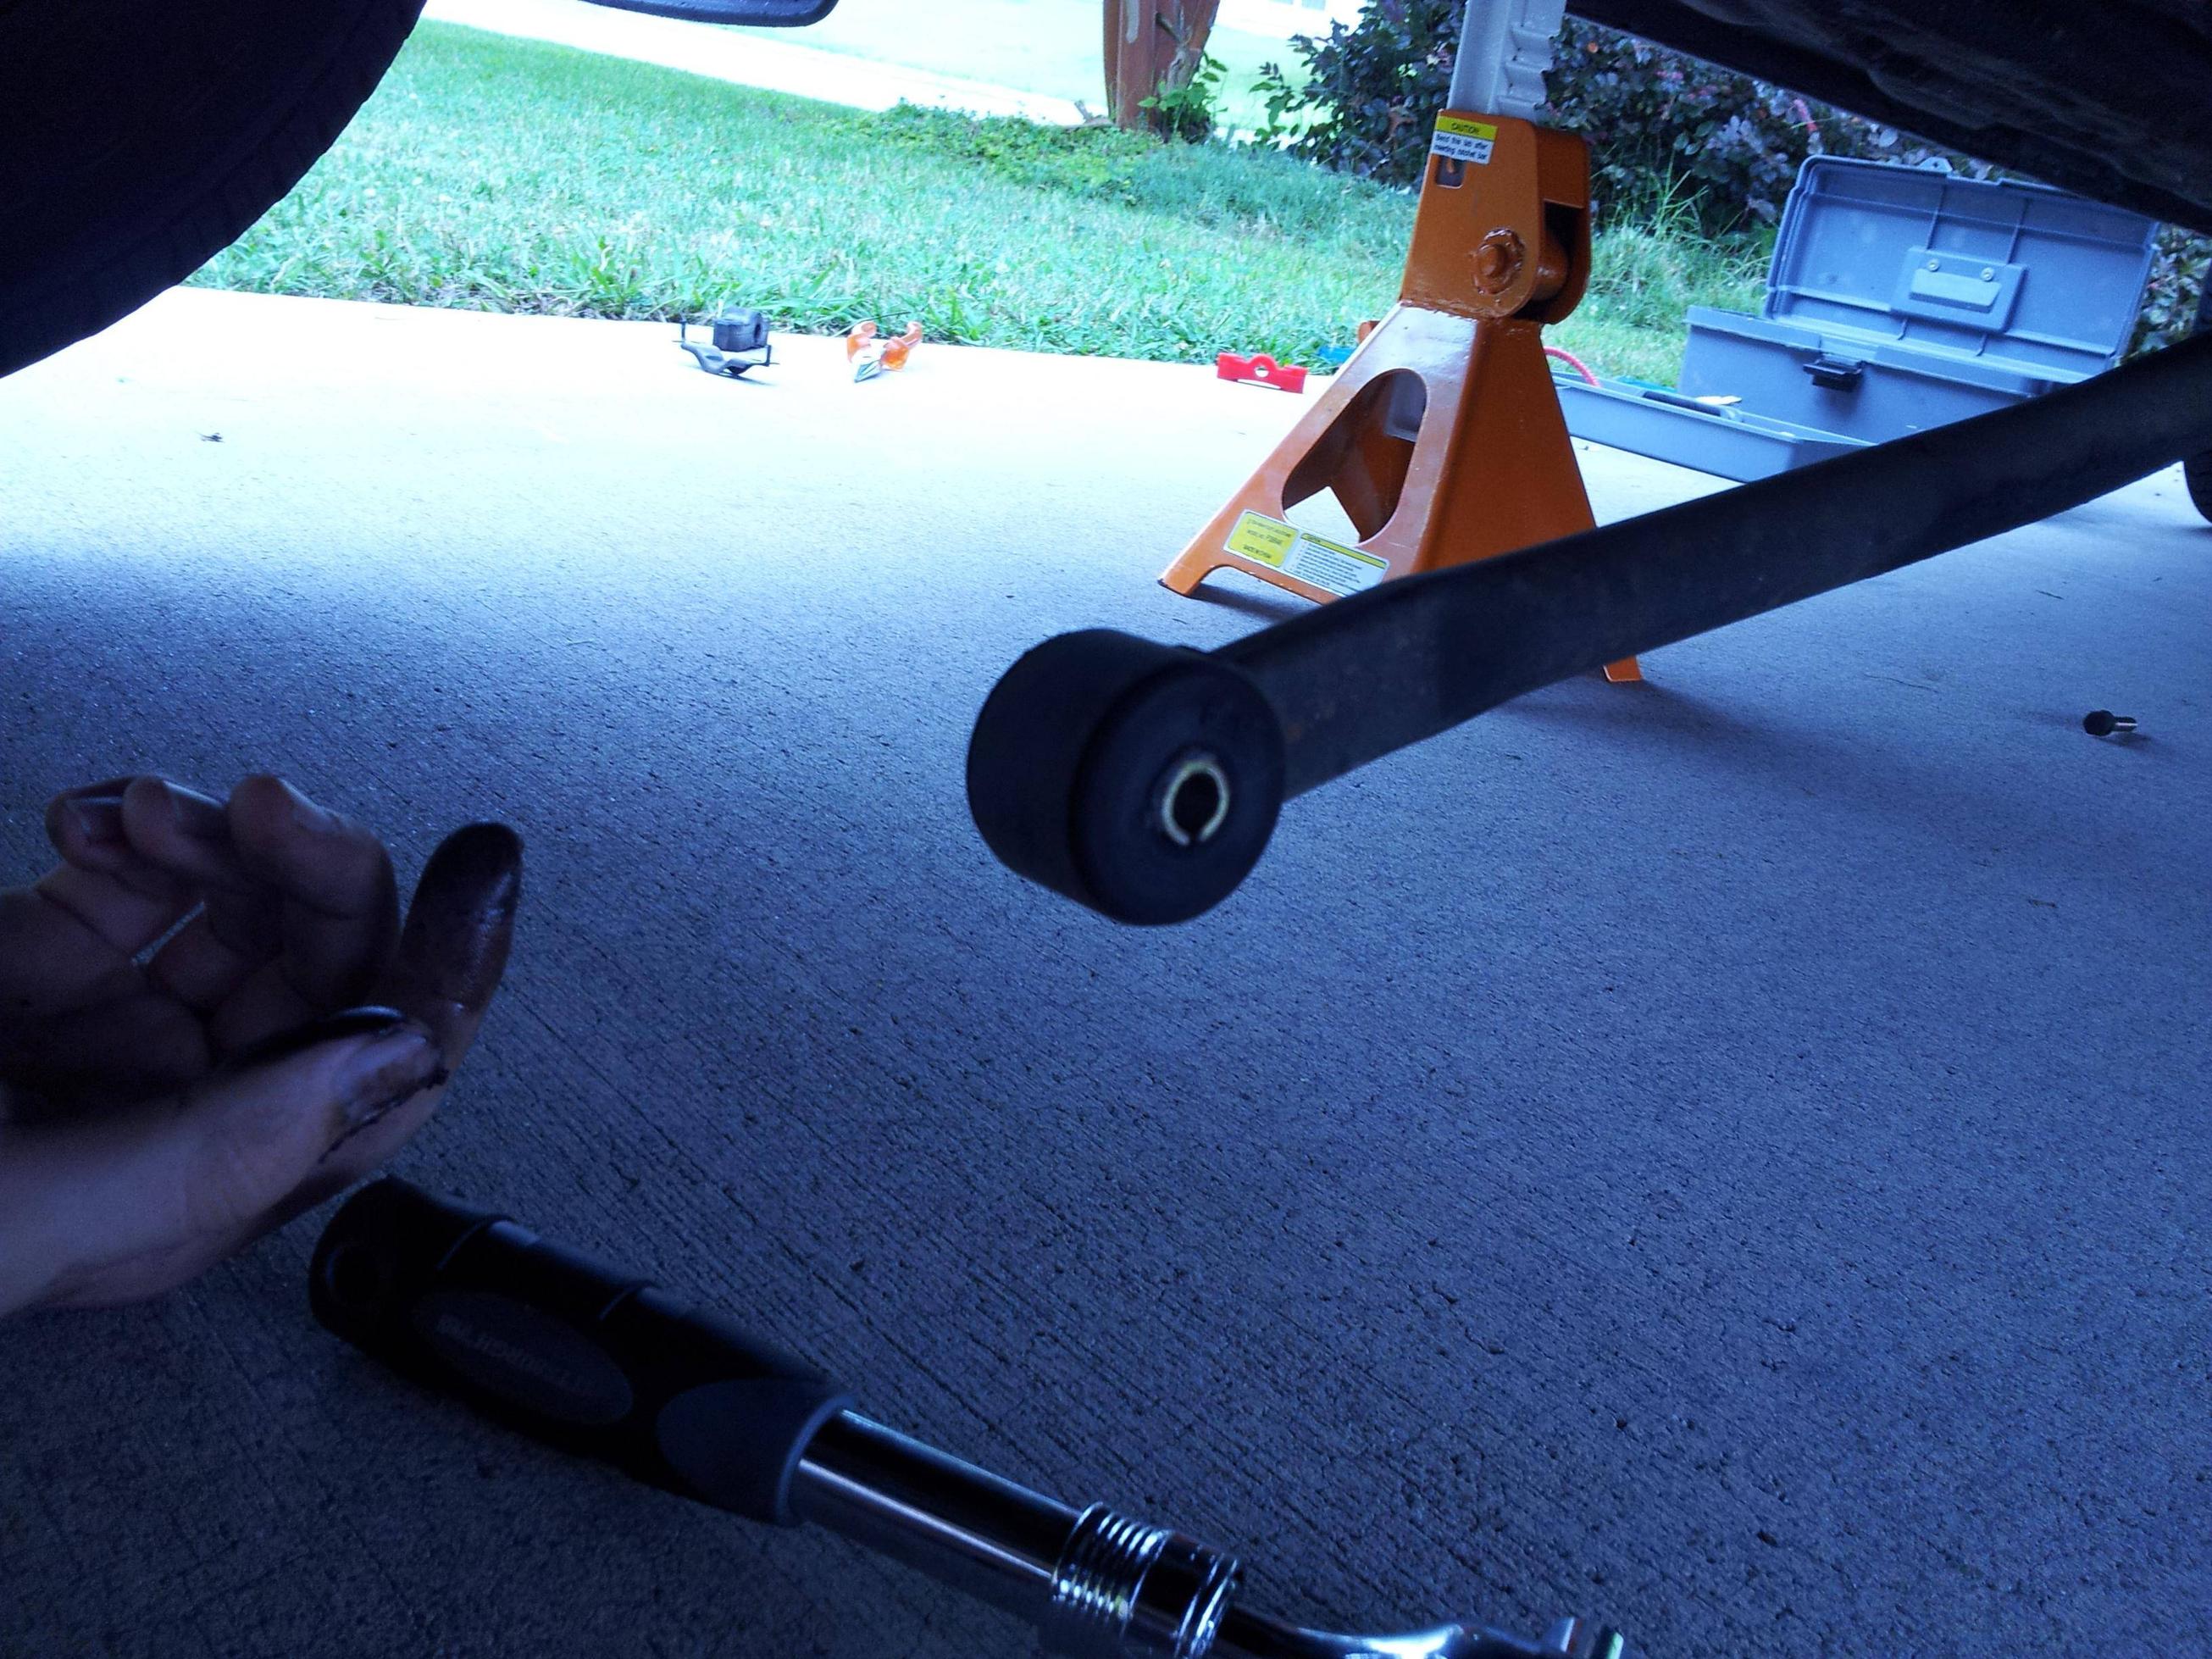
Here's the back bushing installed
It took me a second to figure out how to get it on since the end of the rod thing it goes onto is flared, but I got it on and bolted up.
I definitely notice a difference when shifting into gears. It's a lot crisper and I don't have any problems with it "sticking" when I'm trying to get it into gear. All in all, $15 well spent.
Sep. 5, 2013
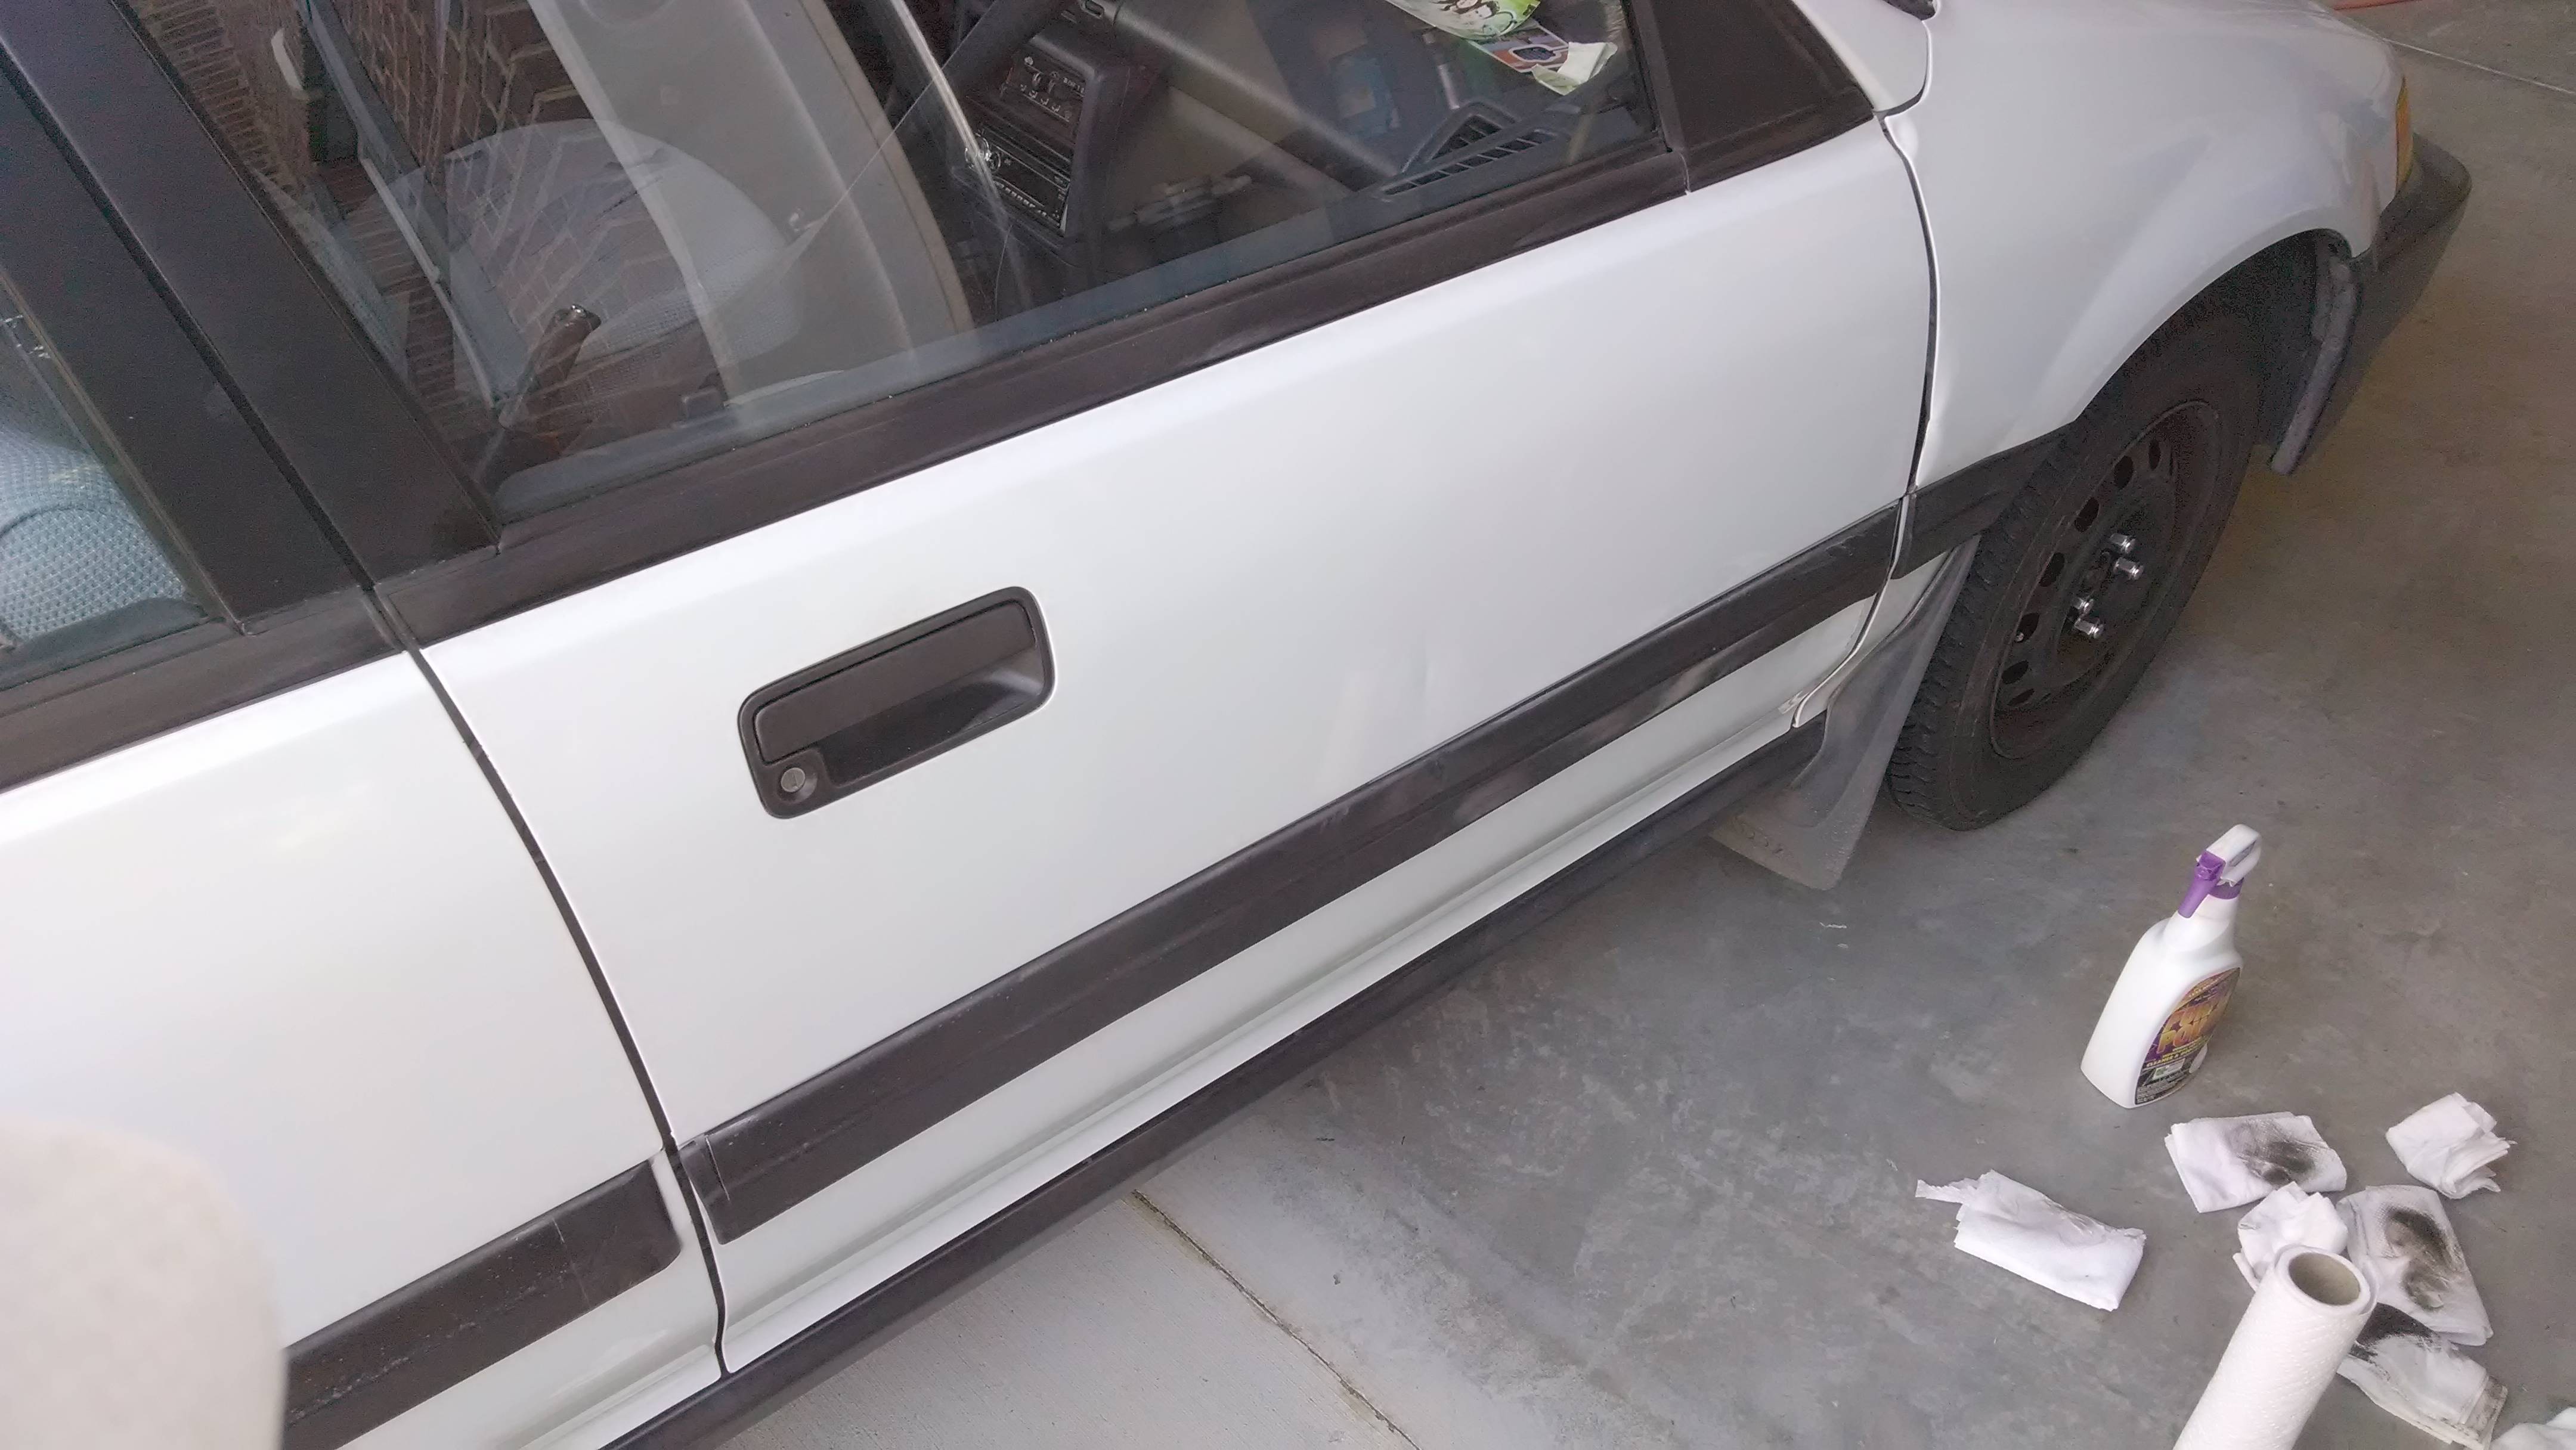
So I cleaned up the wagon a little today. I have to park under trees sometimes at my apartment so sap gets on the car. Bleh. I washed the car to try and get the sap off, but it didn't really do anything. Then I tried using some Turtle Wax tar remover stuff, and it didn't really do anything. Finally I just used some Turtle Wax polish on the car, and that did the trick. I also fixed my bent passenger door trim.
Taking the trim off wasn't too bad, although I did break one of the little white clips that hold the blue clips on. Fortunately the blue clips have two white clips so it stays on.
After taking the trim off
Since it was so dirty I went ahead and cleaned it up a little
Not the best picture, but now the trim lays flush with the door all the way down instead of sticking out from the door at the front.
Also, I think I'd rather just buy a whole new door than ever take that trim off and put it back on again lol. Putting it back on took me like 30 minutes. It sucked.
This is why I love wagons. Wagons are the pinnacle of the automobile, and I'm not sure why they bother making anything else. lol
Finally, I took the wheel covers off to see how I liked the way it looks without them. I'm still undecided if I think it looks better or not. I still think it might look better if they were white though.
Sep. 17, 2013
So I decided to plastidip my wheels today.
Front done
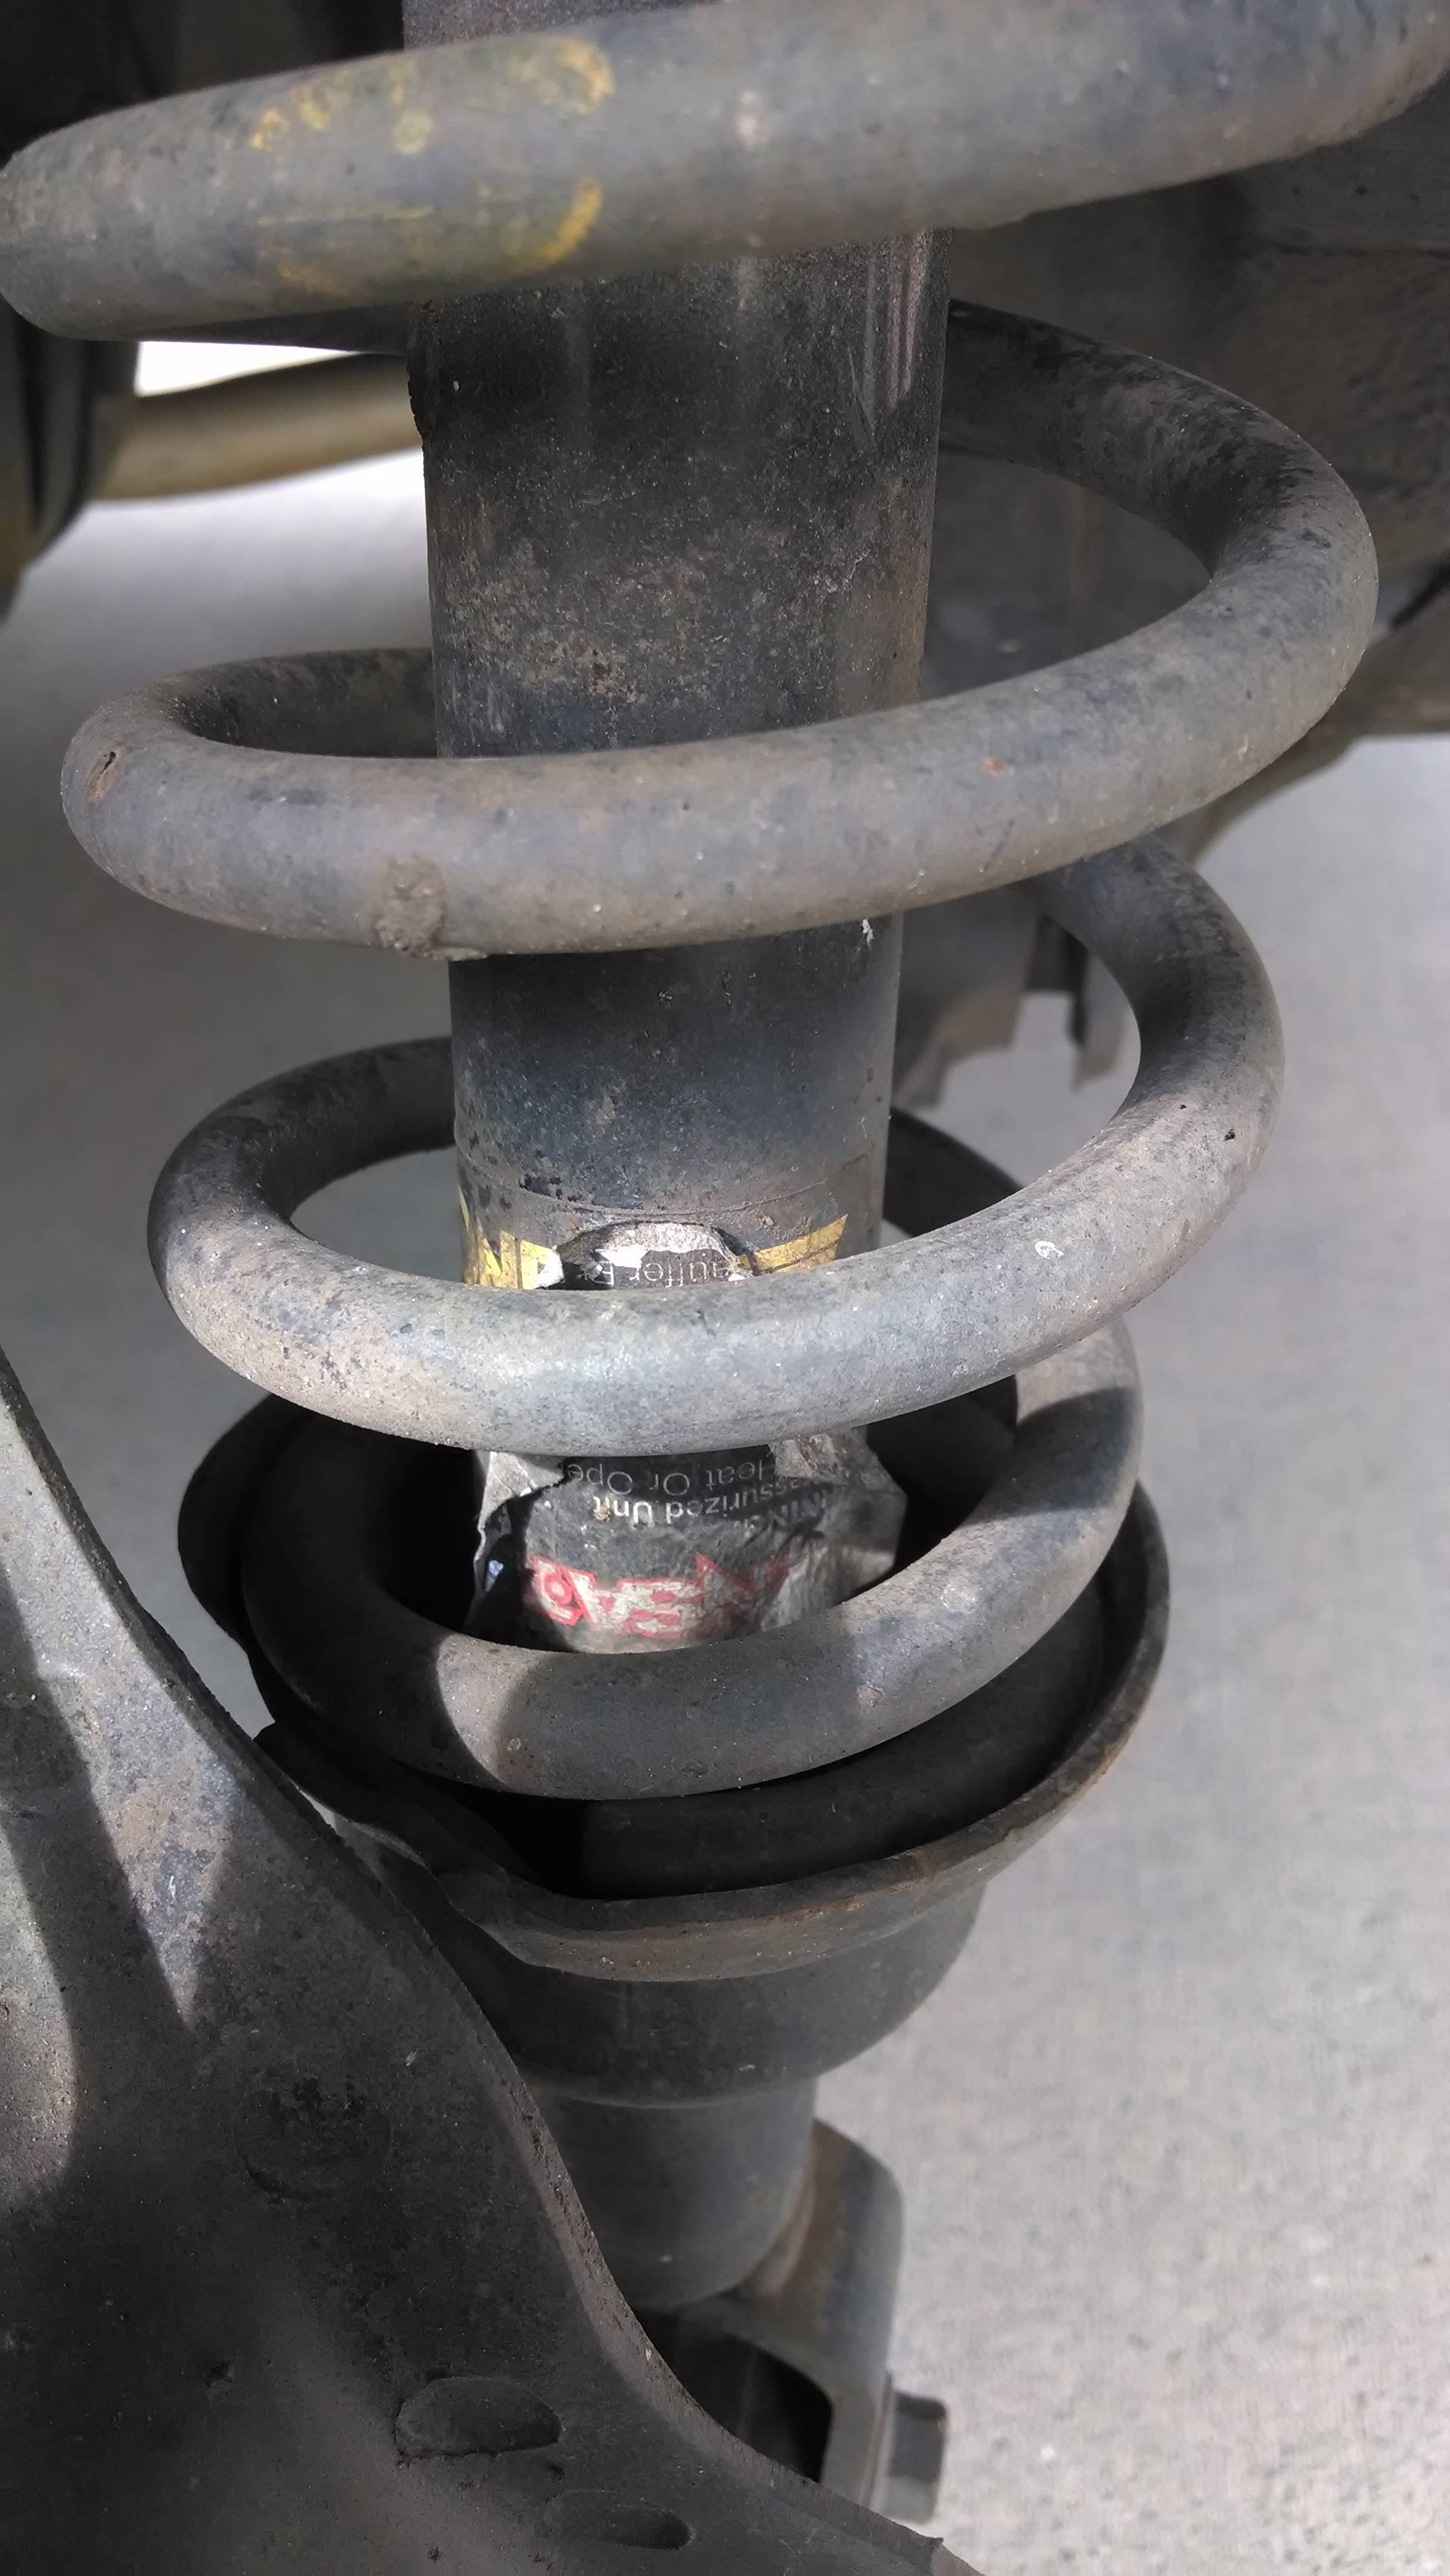
I'm not sure why I never noticed it before, but while I had the rear wheels off I noticed that the rear struts are Monroes. I checked the others and they were as well. Apparently one of the previous two owners did replace the struts and possibly the springs as well. You can see the Monroe sticker underneath. I'm not sure what that other sticker is from.
I also made another discovery. I was pretty sure the exhaust wasn't stock since it seemed too big to be stock. I was looking at the muffler through the rear wheel well and realized it was a Magnaflow. Can't really read it, but you can see the raised letters.
Finally, some shots of the wheels finished.
Looks a lot better than before.
Oct. 9, 2013
Picture time.
First, a pic of the rust we were taking care of.
Step 1, sanding
Next was bondo and primer
He had some 14" beauty rings from the wheels that came with his liftback Celica, and let me have them if they'd fit. Test fitting one. He also gave me some Motegi center caps, so I have Motegi steelies now lol.
Final pics
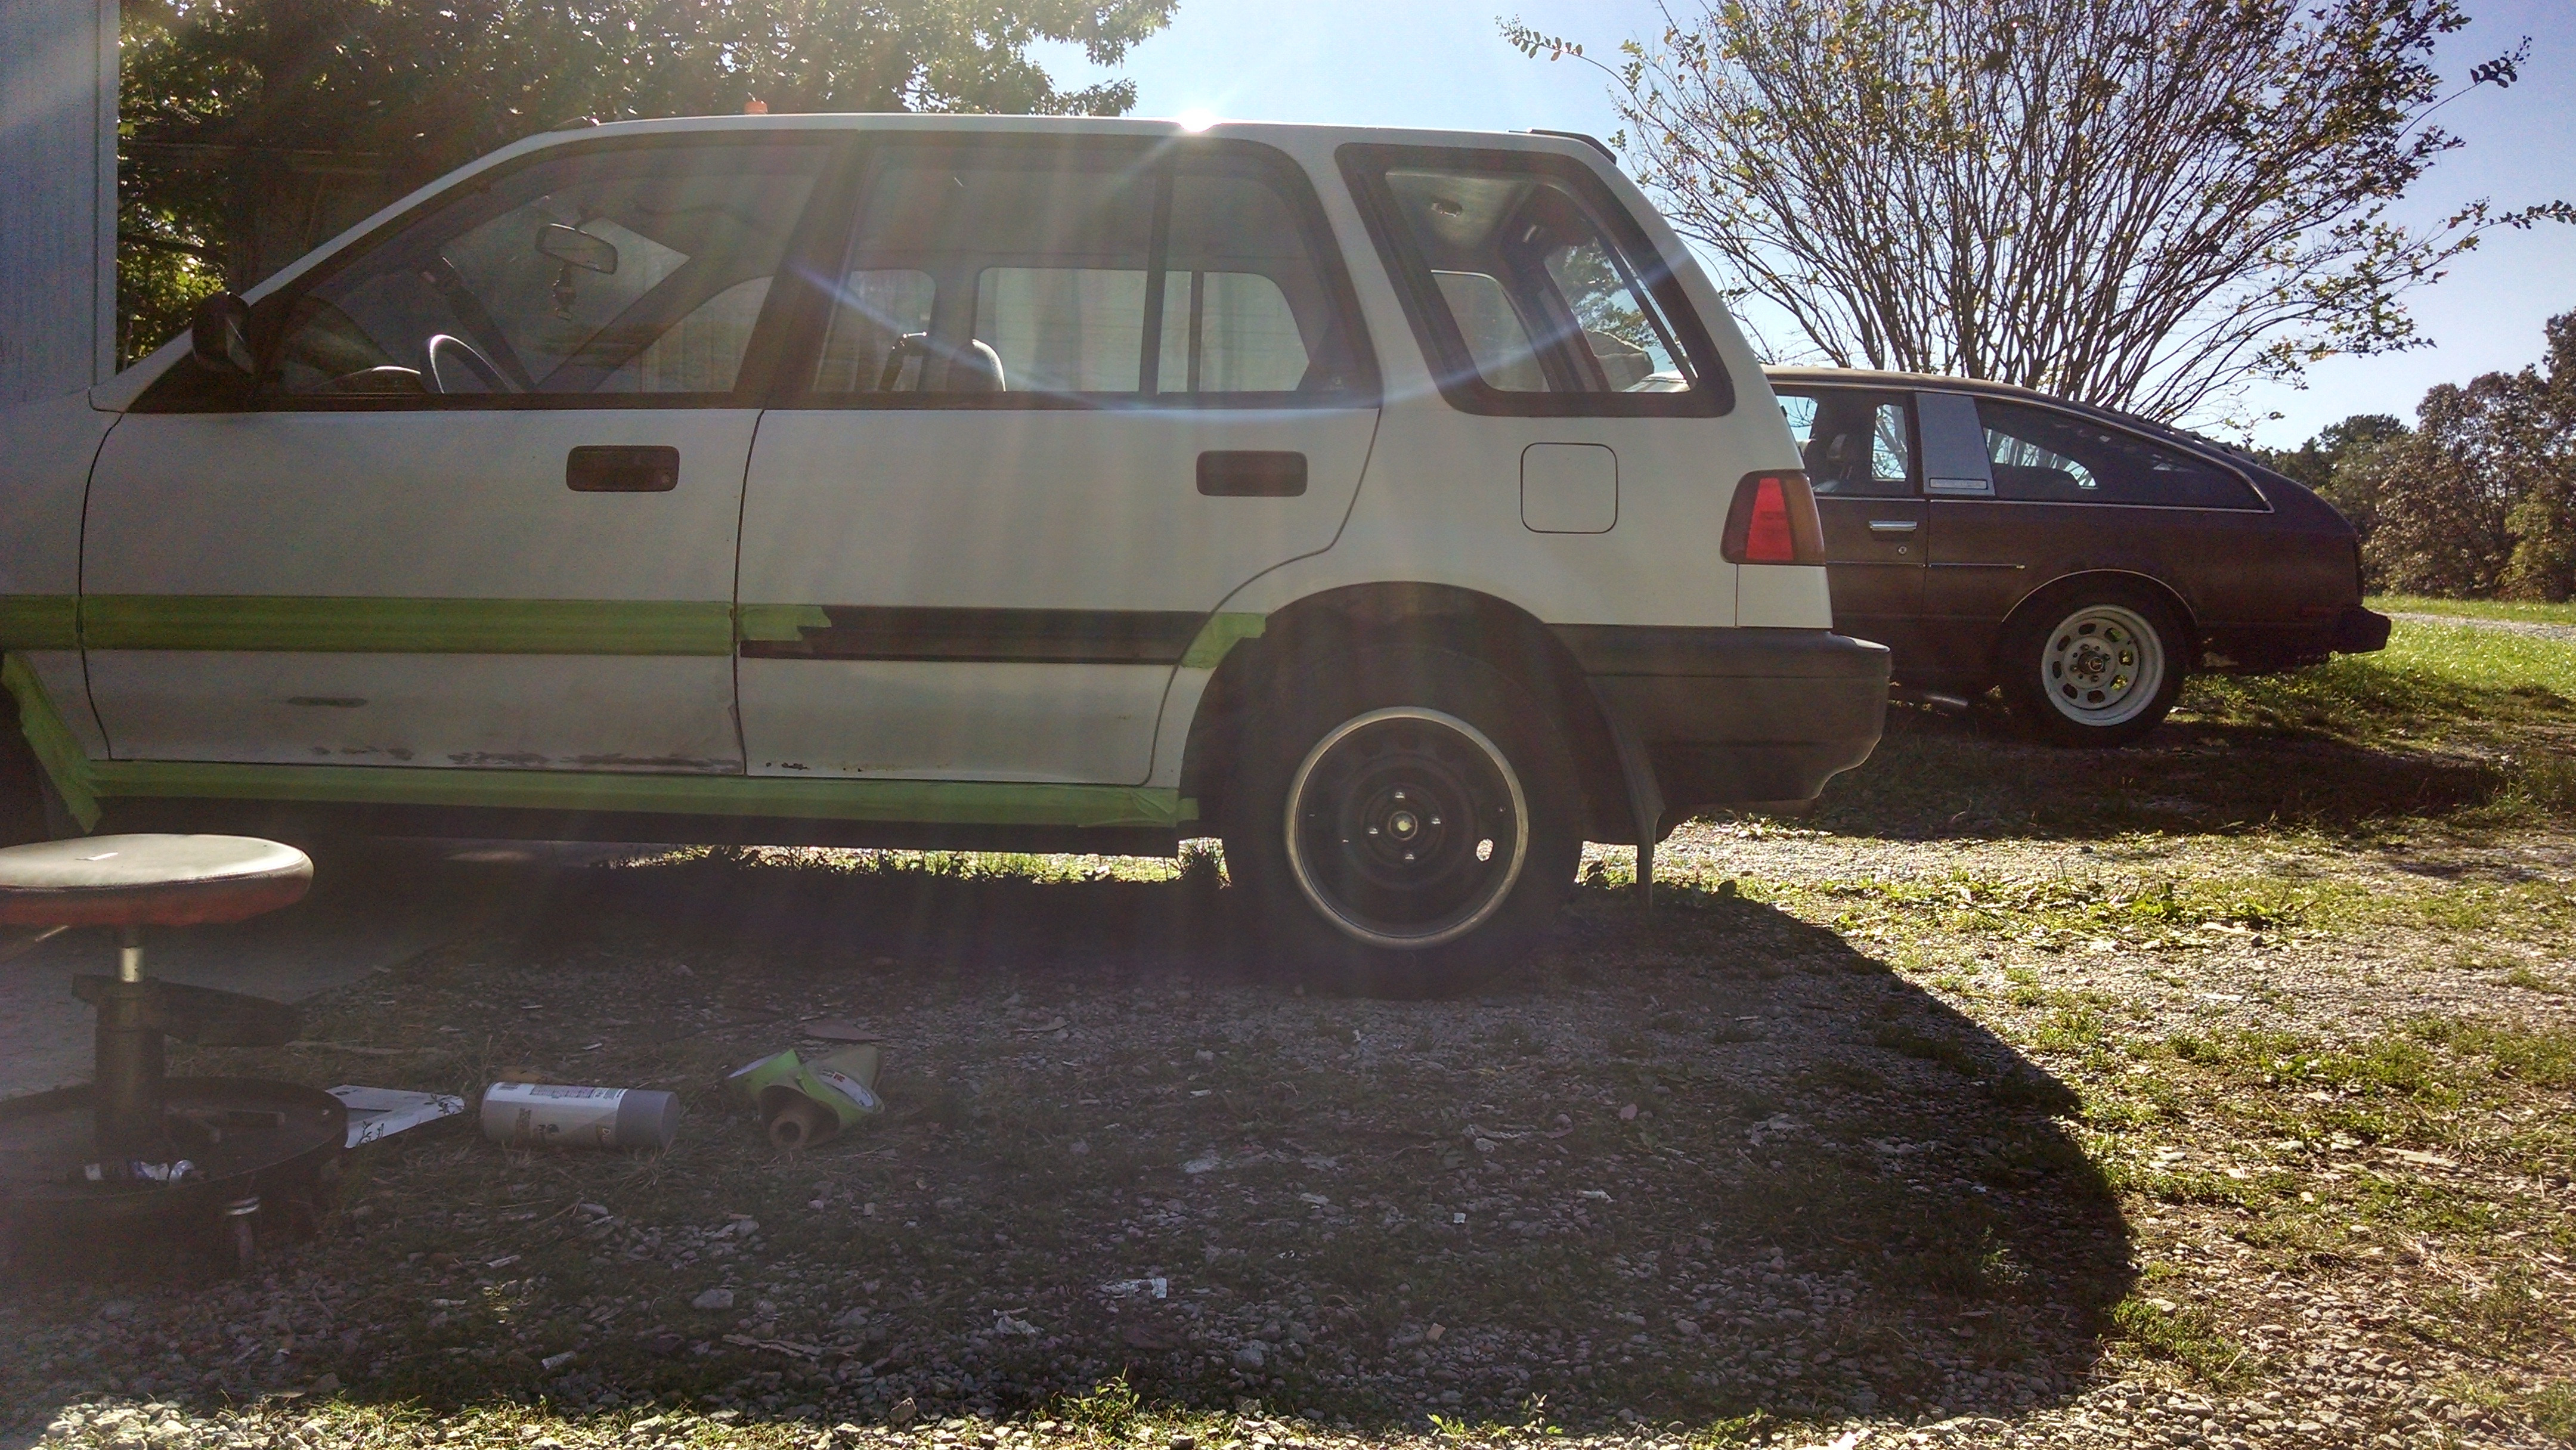
As you can see I wasn't sure that just black from the trim down would look good, so I decided to do more of a Beagle two-tone thing and paint the fenders as well. I think it turned out pretty good for a cheap rattle can job. It's not perfect, but it was cheap and the main purpose was to stop the rust. Also, it's so nice not having a clicking CV joint. Coilovers are on the way, so that will be what comes next.
Oct. 18, 2013
Sorry for the delay on pics. I kept getting home too late to take pics in good light.
Pics before coilover installation
Right after install at the height they shipped
Then after driving on the height they came at for a day I lowered it some more
I would lower it some more, but I wanna get some wider wheels first, and I don't really wanna ruin my OEM mudflaps. I might try and find another pair of mudflaps that I won't care about ruining.
Nov. 10, 2013
Well, spun the rings all the way down.
Dragging flaps.
Nov. 28, 2013
New sticker. Gotta represent my k-town. Also, happy Thanksgiving!
Apr. 22, 2014
woot
Jul. 16, 2014
Been a while since I've been on here. Wagon was burning coolant really bad, so I finally decided to do the head gasket. Took the head off and sent it to the machine shop. Cam was scored too bad to reuse, so I ordered a new one. Got the head back, put it all back together, and it didn't want to start. We checked the spark and fuel and it was getting both. Did a dry compression test. 25 psi in #1, 115 in #2 and #3, and 50 in #4. Put some oil in and the compression went up. Rings are shot. Managed to get it running somehow, but it was smoking oil.
At this point I had a choice, rebuild the bottom end on the crappy D15B2, or swap. I decided that in the long run a swap would most likely be cheaper, so I ordered a D16ZC SOHC VTEC, a Boomslang OBD0 DPFI to OBD1 MPFI harness, and an ebay header. Hopefully it will be here next week and the swap will get done next weekend.
Jul. 28, 2014
Engine swap is done! :wheee:
Old engine ready to come out
It's out!
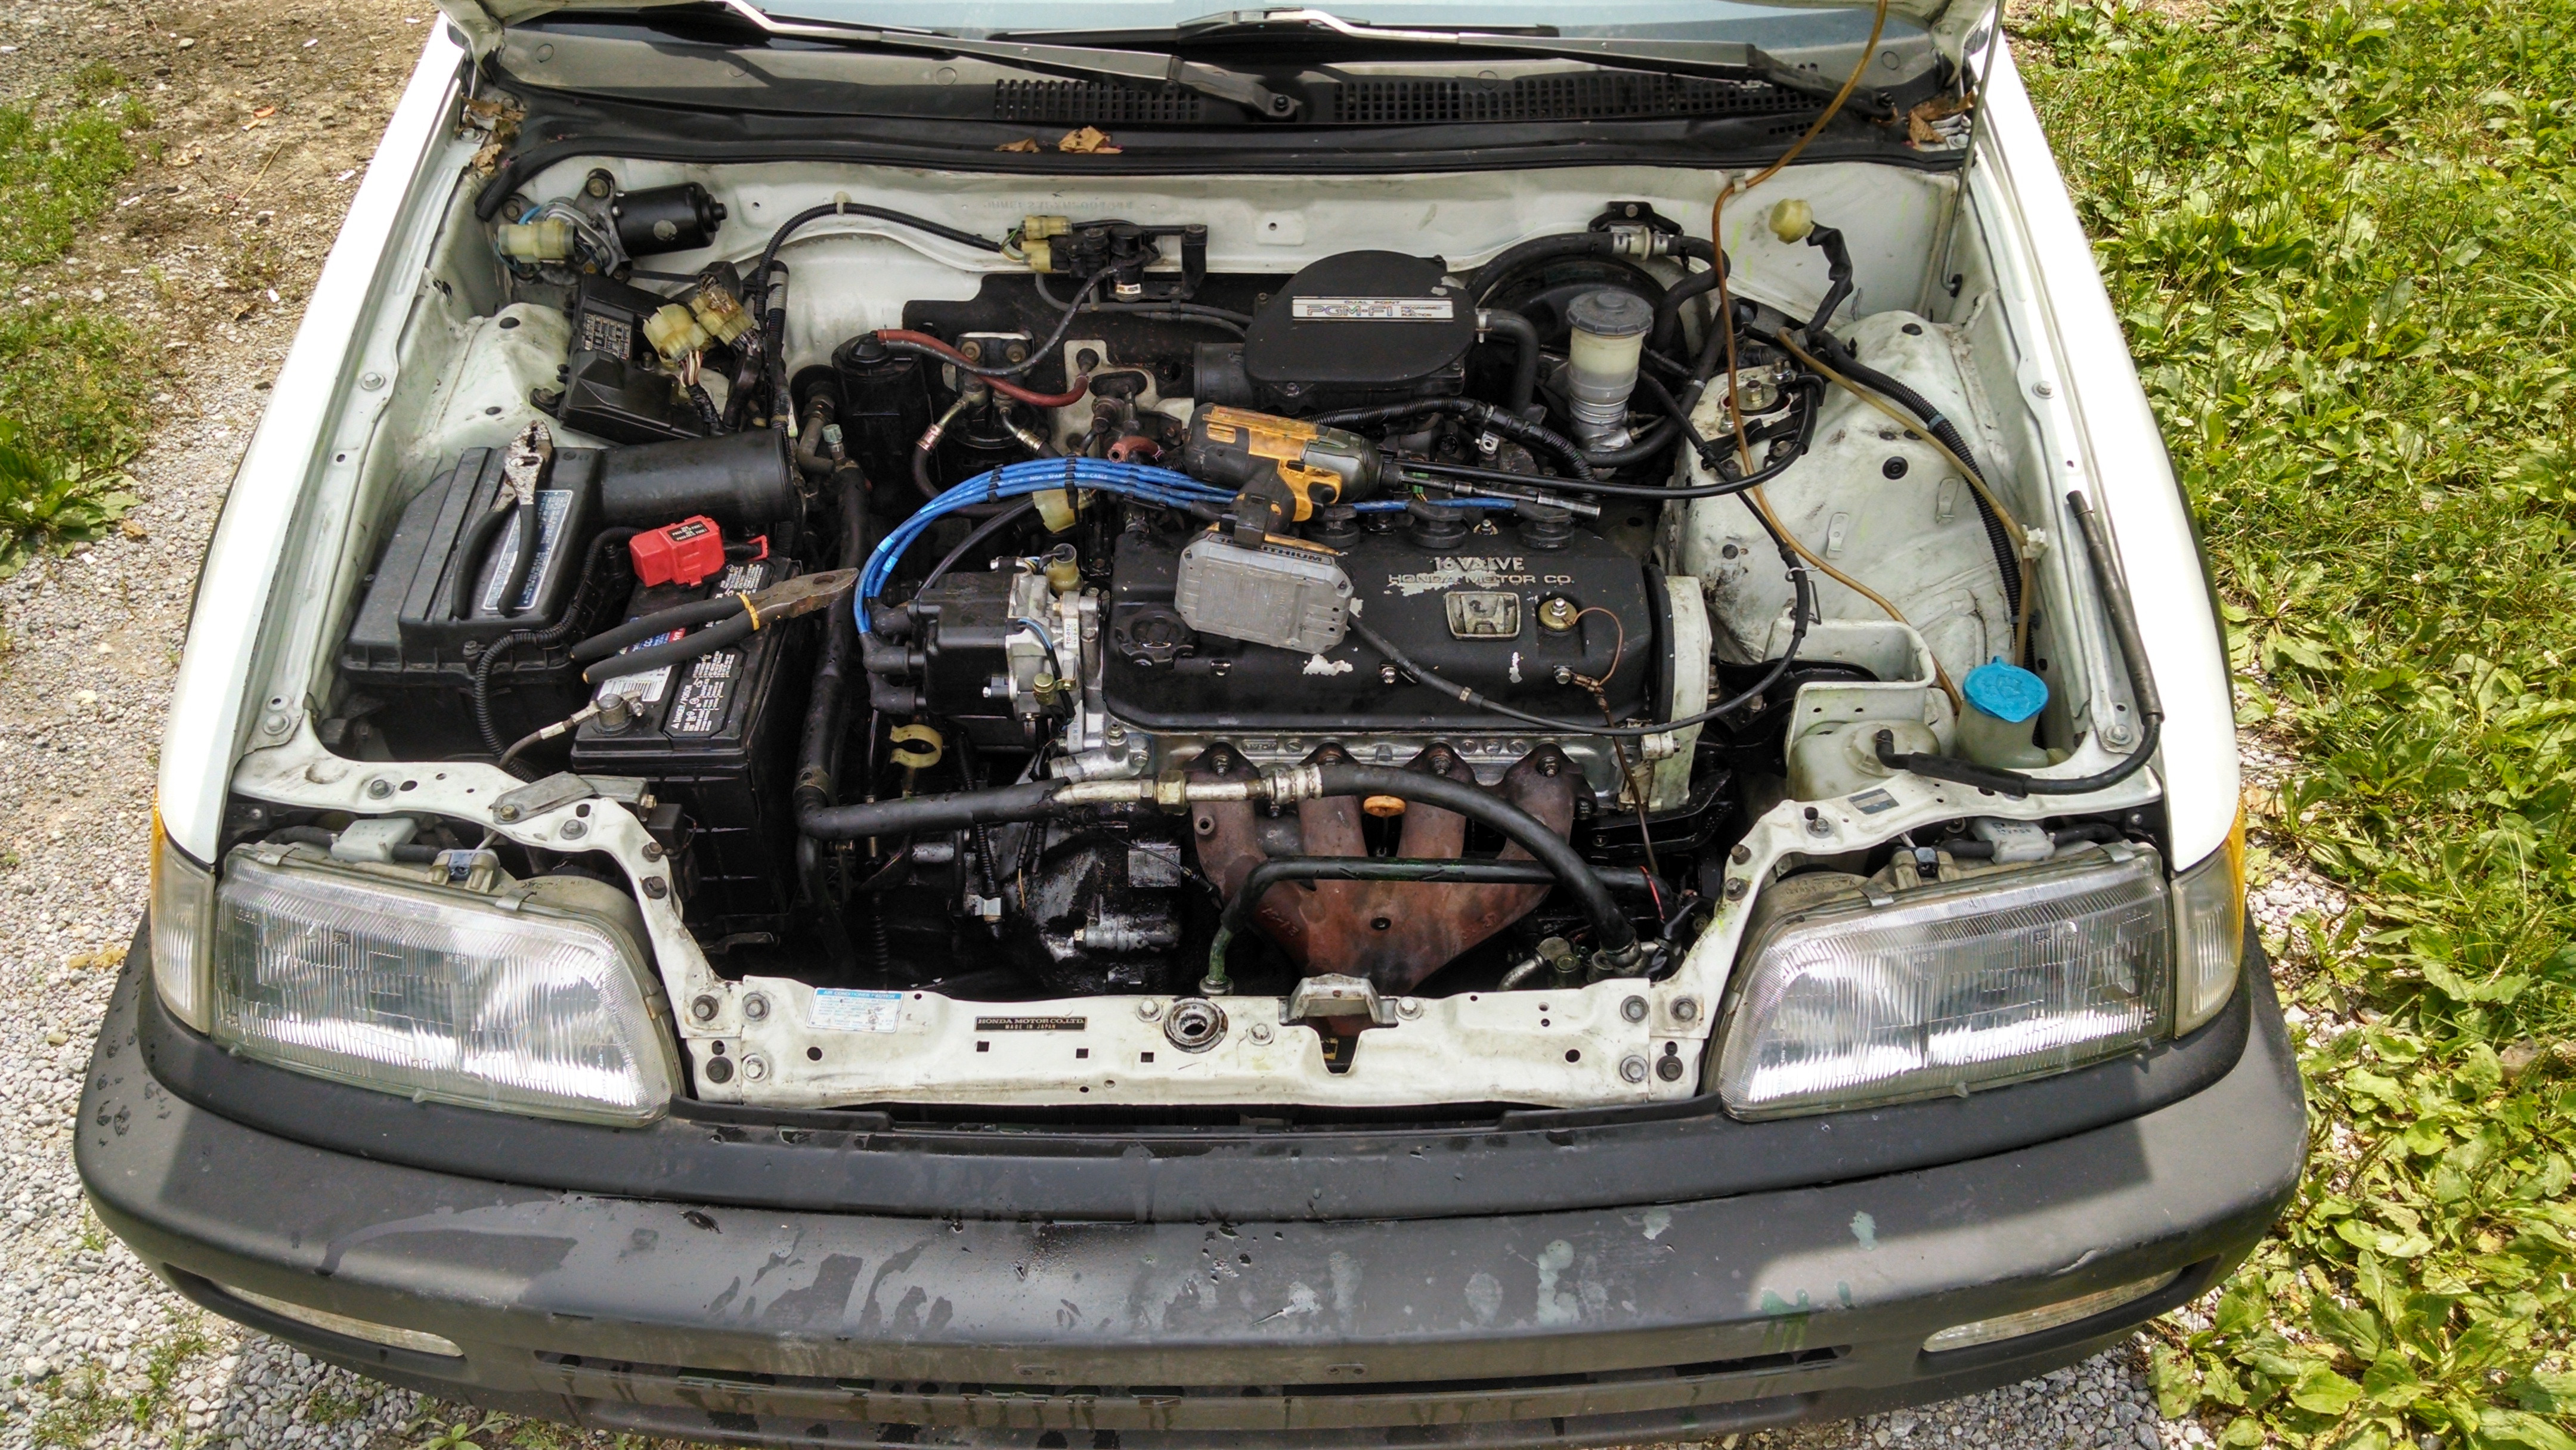
Dirty engine bay
New engine with header installed
Clean engine bay
It's done!
Short ram intake is ordered and should be here this week. I used the original cable transmission just to keep the swap easier. Using the hydro transmission would've meant I would have had to convert the car to hydro and it would have just been more money and work. I had to take out the A/C because the header was literally touching the A/C fan and one of the lines. I hardly use it anyway, so not a huge deal. One of the guys helping out with the swap had a lightweight flywheel that fit my motor, so I went ahead and bought it from him and threw it in while we had the transmission off. The clutch that was in the motor was actually a pretty nice carbon ceramic clutch with plenty of life left on it, so I reused it. I'm going to sell the hydro trans and probably use the money to get a custom exhaust made up.
When we first got the motor in and had oil in it, we tried to start it but weren't getting a spark. Ended up just being a ground. We bolted the ground down and it started right up.
Had some problems with the radiator fan not kicking on. Turned out that the D15B2 (old motor) had two temp sensors for the fan, and the new motor only had one. We noticed that the second one didn't have a home, but we didn't think it would affect anything so we just left it unplugged. Turns out as soon as we wired the two prongs on that sensor together the fan kicked on, so we just soldered some wire to it and put some heatshrink over it. The fan now runs whenever the car is on, but better than it not running at all.
The difference driving it is incredible. I went from a 92 HP and 88 ft-lb motor, to a 128 HP and 107 ft-lb motor, plus a header and lightweight flywheel. One downside of the lighter flywheel though is that the car tends to jerk when I'm in gear at really low speeds, like 10 mph or under.
All in all we only had two bigger issues, and they both turned out to be easy fixes. I'm impressed with the conversion harness we used and how easy it made things. Now I've got to figure out if I can get my check engine light to turn off, and try and fix the idle. When I first start it and it's cold, the idle is a little low and it surges a little. Once it warms up it idles fine. It's not a huge issue but I'd like to fix it if possible.
TL;DR - The new motor is in and it's running and it's so much better than the old motor.
Jul. 29, 2014
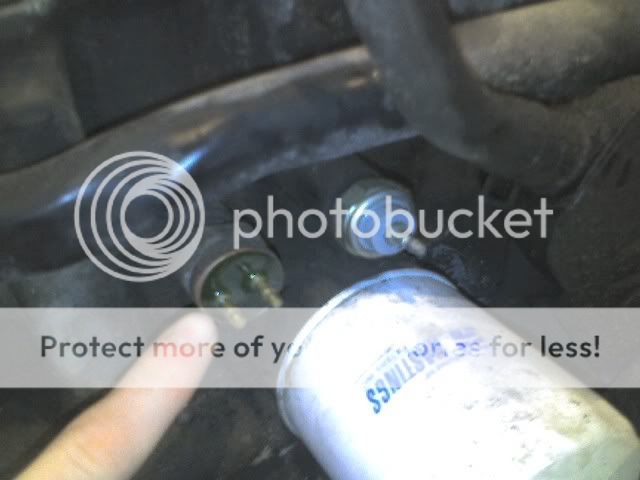
So on Friday I was driving the wagon to my parents' house to help load up my new motor onto my friend's trailer. I was then going to drive the wagon out to my other friend's house who helped me do the swap. On the way to my parents', I had to brake really hard. I then noticed that my brakes would work, but if I kept pressing, the pedal would slowly go all the way to the floor. I drove it carefully to my parents', and ended up having my friend bring his car hauler and haul it to his house because I didn't want the brakes going out on me. After the swap it was still doing it, but the brakes were working well enough that I felt safe enough to drive it. Drove it to work yesterday and then home. After I got home, I went outside and pressed the brake pedal all the way to the floor a few times, then checked for leaks. Sure enough I found brake fluid on the ground near my front driver's side wheel. Took the wheel off, and found this:
Apparently when I braked hard I burst the hose lol. Went and got a replacement and replaced it and it's all good now. It was a pretty simple fix. Afterwards I washed and cleaned the wagon really good. Don't have any pics because it was dark when I got done. I'll post some up later maybe.
Aug. 2, 2014
Put my SRI on today and replaced my O2 sensor.
The SRI I ordered was for my chassis, but not my motor. My stock motor's throttle body was farther to the right, so the SRI, which was supposed to go over the the empty spot to the left of the battery, was too long, so I had to cut it. I couldn't cut it to fit where it was supposed to go because both ends had bends near the end, and to cut off the end I would have changed the angle of the tube and it wouldn't have fit right, therefore I had to cut it really short. Oh well. I can definitely feel a little bit of a difference in the low end. Nothing major, but every little bit helps. I have a good K&N cone filter on the way to replace the crappy ebay one, and at some point I'll probably replace the blue coupler and hose with black ones. Now that I have a nicer motor and I've had to take out some stuff like the A/C and airbox, the engine bay is starting to look cleaner, and it's motivating me to clean it up even more and try to do some mild tucking maybe. Nothing crazy.
May 7, 2015
Been a while since I updated. I've done some more maintenance to the motor. New timing belt and tensioner, new water pump, new thermostat. The thermostat was stuck I'm pretty sure because my upper radiator hose was all bulged out lol. Replaced the hose. Also my clutch cable finally stretched to the point where it was all the way tight but I couldn't shift. This also happened while driving home so I had to park it behind a grocery store. Had a friend trailer it home, and installed a new clutch cable. It's much better. So much so that I think the previous clutch cable was the wrong one and was too long. I've been filling up with 100% gas for a while and it seems to run a tad better. It's running pretty good now.
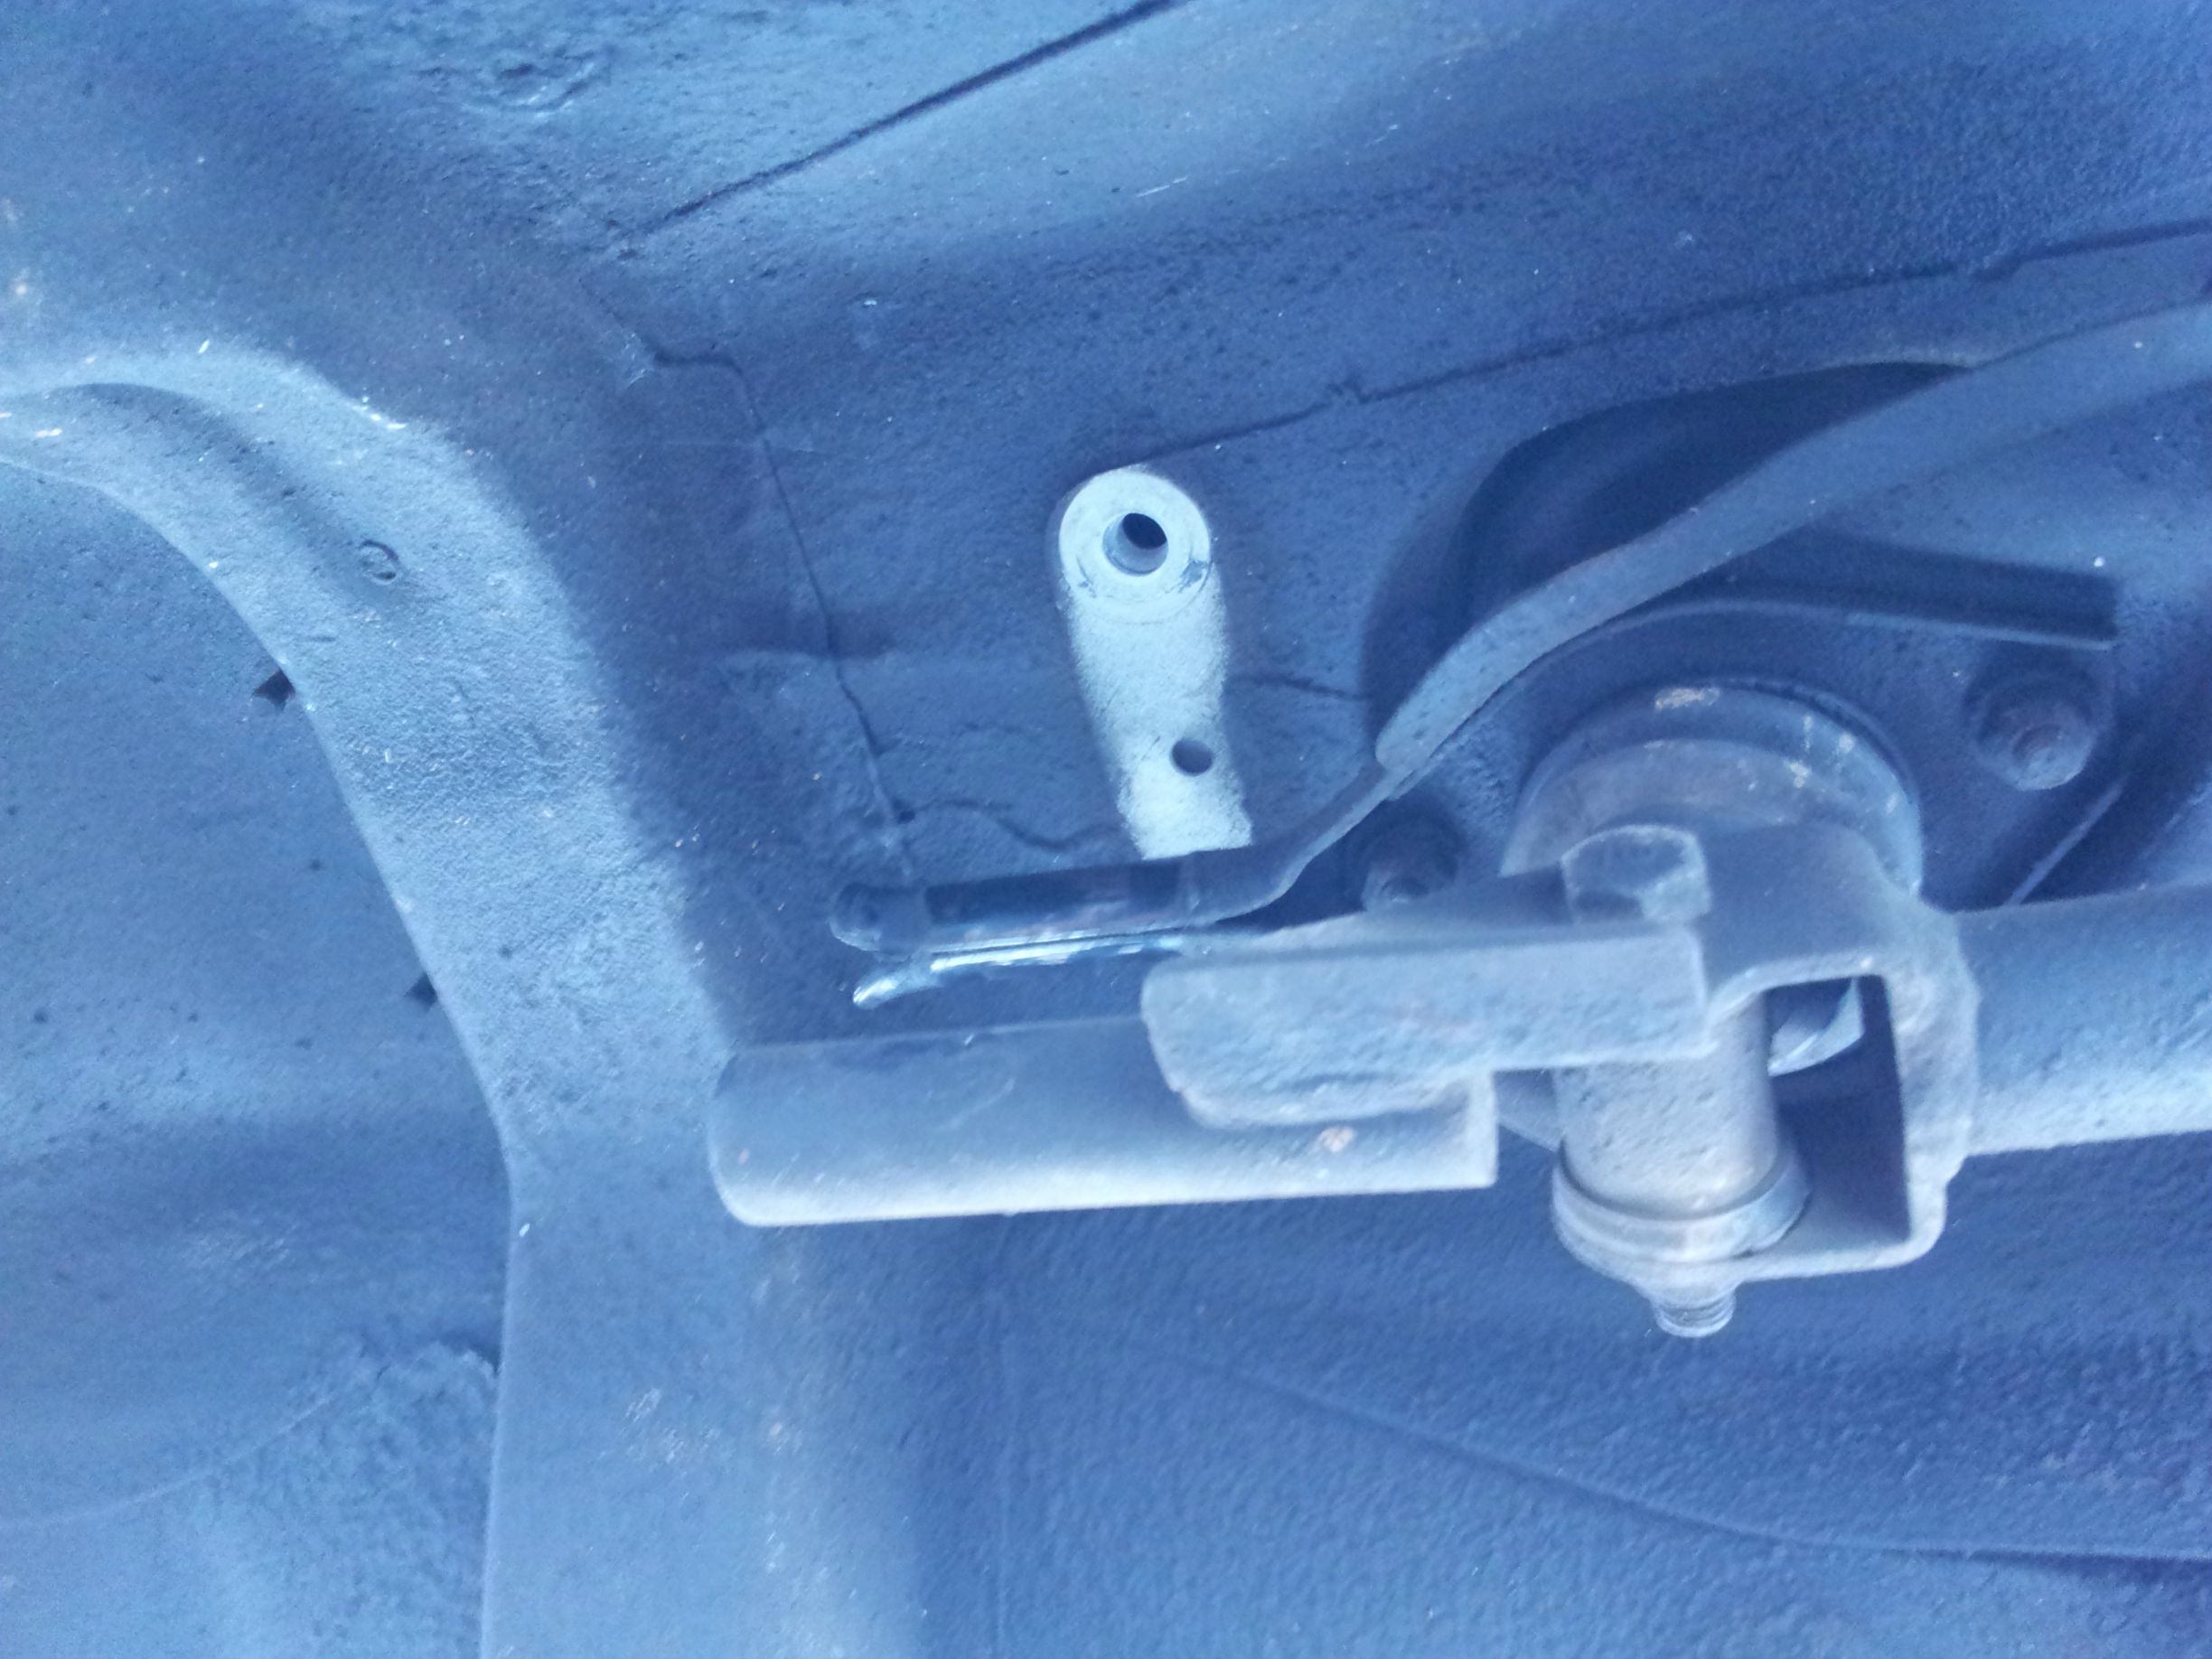
As far as other things I replaced my driver front LCA because one of the two threads where the tie rod attaches was screwed up. Also replaced my passenger front strut fork, because the thread in it was messed up too and I couldn't tighten it all the way. Got new OEM replacement pads, although I'd like to get maybe some Hawks or something in the near future. Finally replaced the old tires with same Falken Ziex ZE912s. They're pretty decent, and my options were pretty limited for 14" wheels.
I'm starting to feel pretty good about having all the maintenance items done, so I think it's time to start slowly upgrading. First things on the list are bushings, a rear sway bar, and new rear LCAs since mine don't have mounting points for the sway bar end links. Probably gonna go with Hardrace LCAs and a Suspension Techniques rear sway bar. I've decided I really want to go for a more performance oriented build, so at some point I'm going to replace the F&F Type 1s with a Koni/GC setup, and get some bigger, wider wheels. Not sure if I want to go 15" or 16" yet.
I'll try and post some pics soon.
Jul. 29, 2015
After doing a bunch of reading, I've discovered something. When I did my engine swap we couldn't get my rad fans to kick on. The switch was a two prong sensor that plugged into the back of my old block, but there was no corresponding hole in my new block. We ended up soldering the prongs together and the fans just run continuously. The new engine has a sensor on the thermostat housing for the fan switch, but there was a plug that fit on that sensor, and the two prong sensor didn't fit there. Well I just figured out that that plug that we plugged into the thermostat sensor was a leftover plug from the old dual-point system that wasn't used anymore that just so happened to fit on that plug. I was supposed to replace the prong sensor from the back of the block with a plug that would plug into the thermostat housing sensor. I'll have to add that to my checklist of things to do if I ever get to it lol.
For reference:
D15B2 fan switch
Three unused plugs from original harness. Green and brown are injectors, the white one, which is the one I have plugged into my thermostat housing, is a tandem valve plug.
Since I know the white connector fits, I can just cut it off and lengthen my fan switch wires to connect to it.
Aug. 1, 2015
Also, forgot to post up my last little "mod"
Rubber boot on the clutch pedal came off a while ago, and my foot would slip sometimes if it was wet. Since I put the grip tape on there it hasn't rained, so I haven't had the chance to see if it's any better lol. Better in the dry though. Makes heel-toeing easier.
Aug. 3, 2015
Forgot to mention that I finally fixed my ride height a few weeks ago lol. Not long after I got my coilovers, I was stupid and just cared about being as low as possible, so I spun my coilovers as low as they could go, which made them ride kinda crappy and my back tires rubbed a lot. Finally quit being lazy and spun them back up to the correct height.
Still low, but rides so much better now, and no rubbing!
Aug. 15, 2015
Went to the Tail of the Dragon today. So much fun. I ran it 4 times. Pretty happy with how the wagovan handled it. The Falken Ziex ZE 912s provided plenty of grip for my power, which admittedly isn't much, but still. The car handled very well, maybe a tad of understeer, but very little. A rear swaybar should sort that. Brakes performed pretty well too. I didn't notice any fade, although I stopped for 5 or so minutes between each run, and I was in 2nd gear almost the whole time, so I didn't need to brake very heavily.
All in all a successful trip!
Oct. 7, 2015
So I finally replaced my radiator fan. No more squealing! I also decided to change up my intake to try and get colder air.
Just used the stock intake tube to lengthen the intake.
+5 ricer points for my little air filter
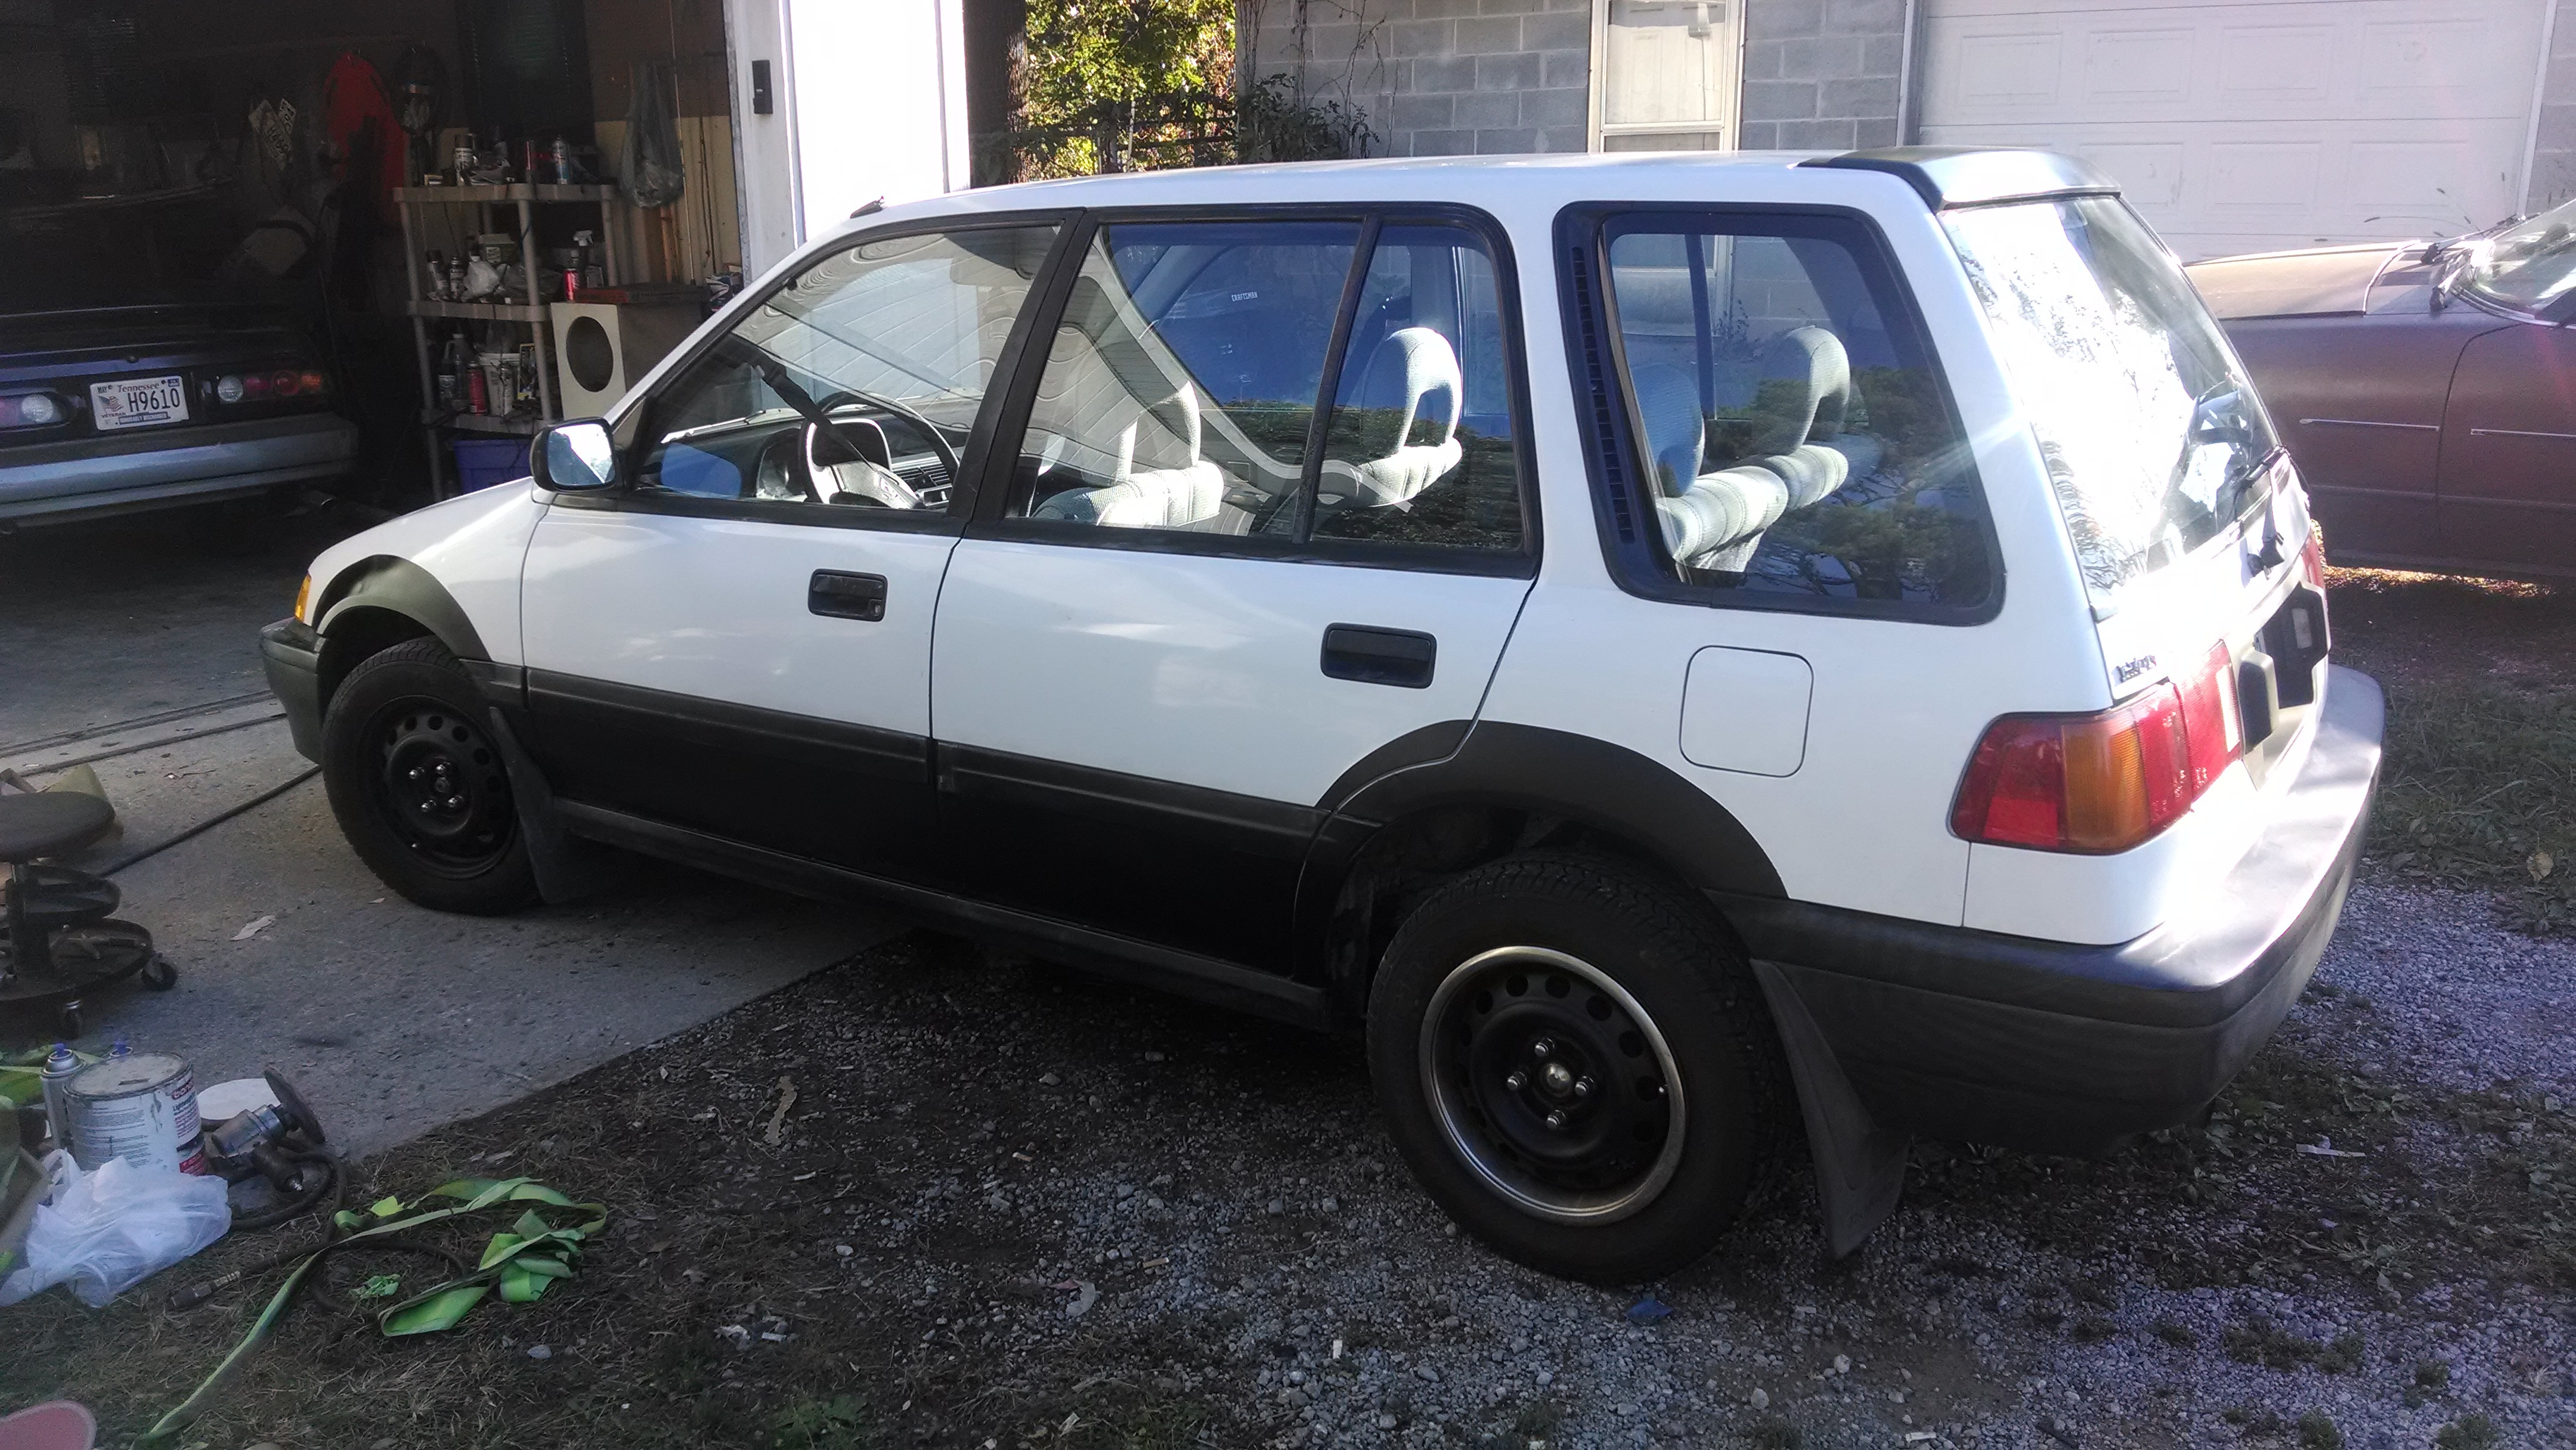
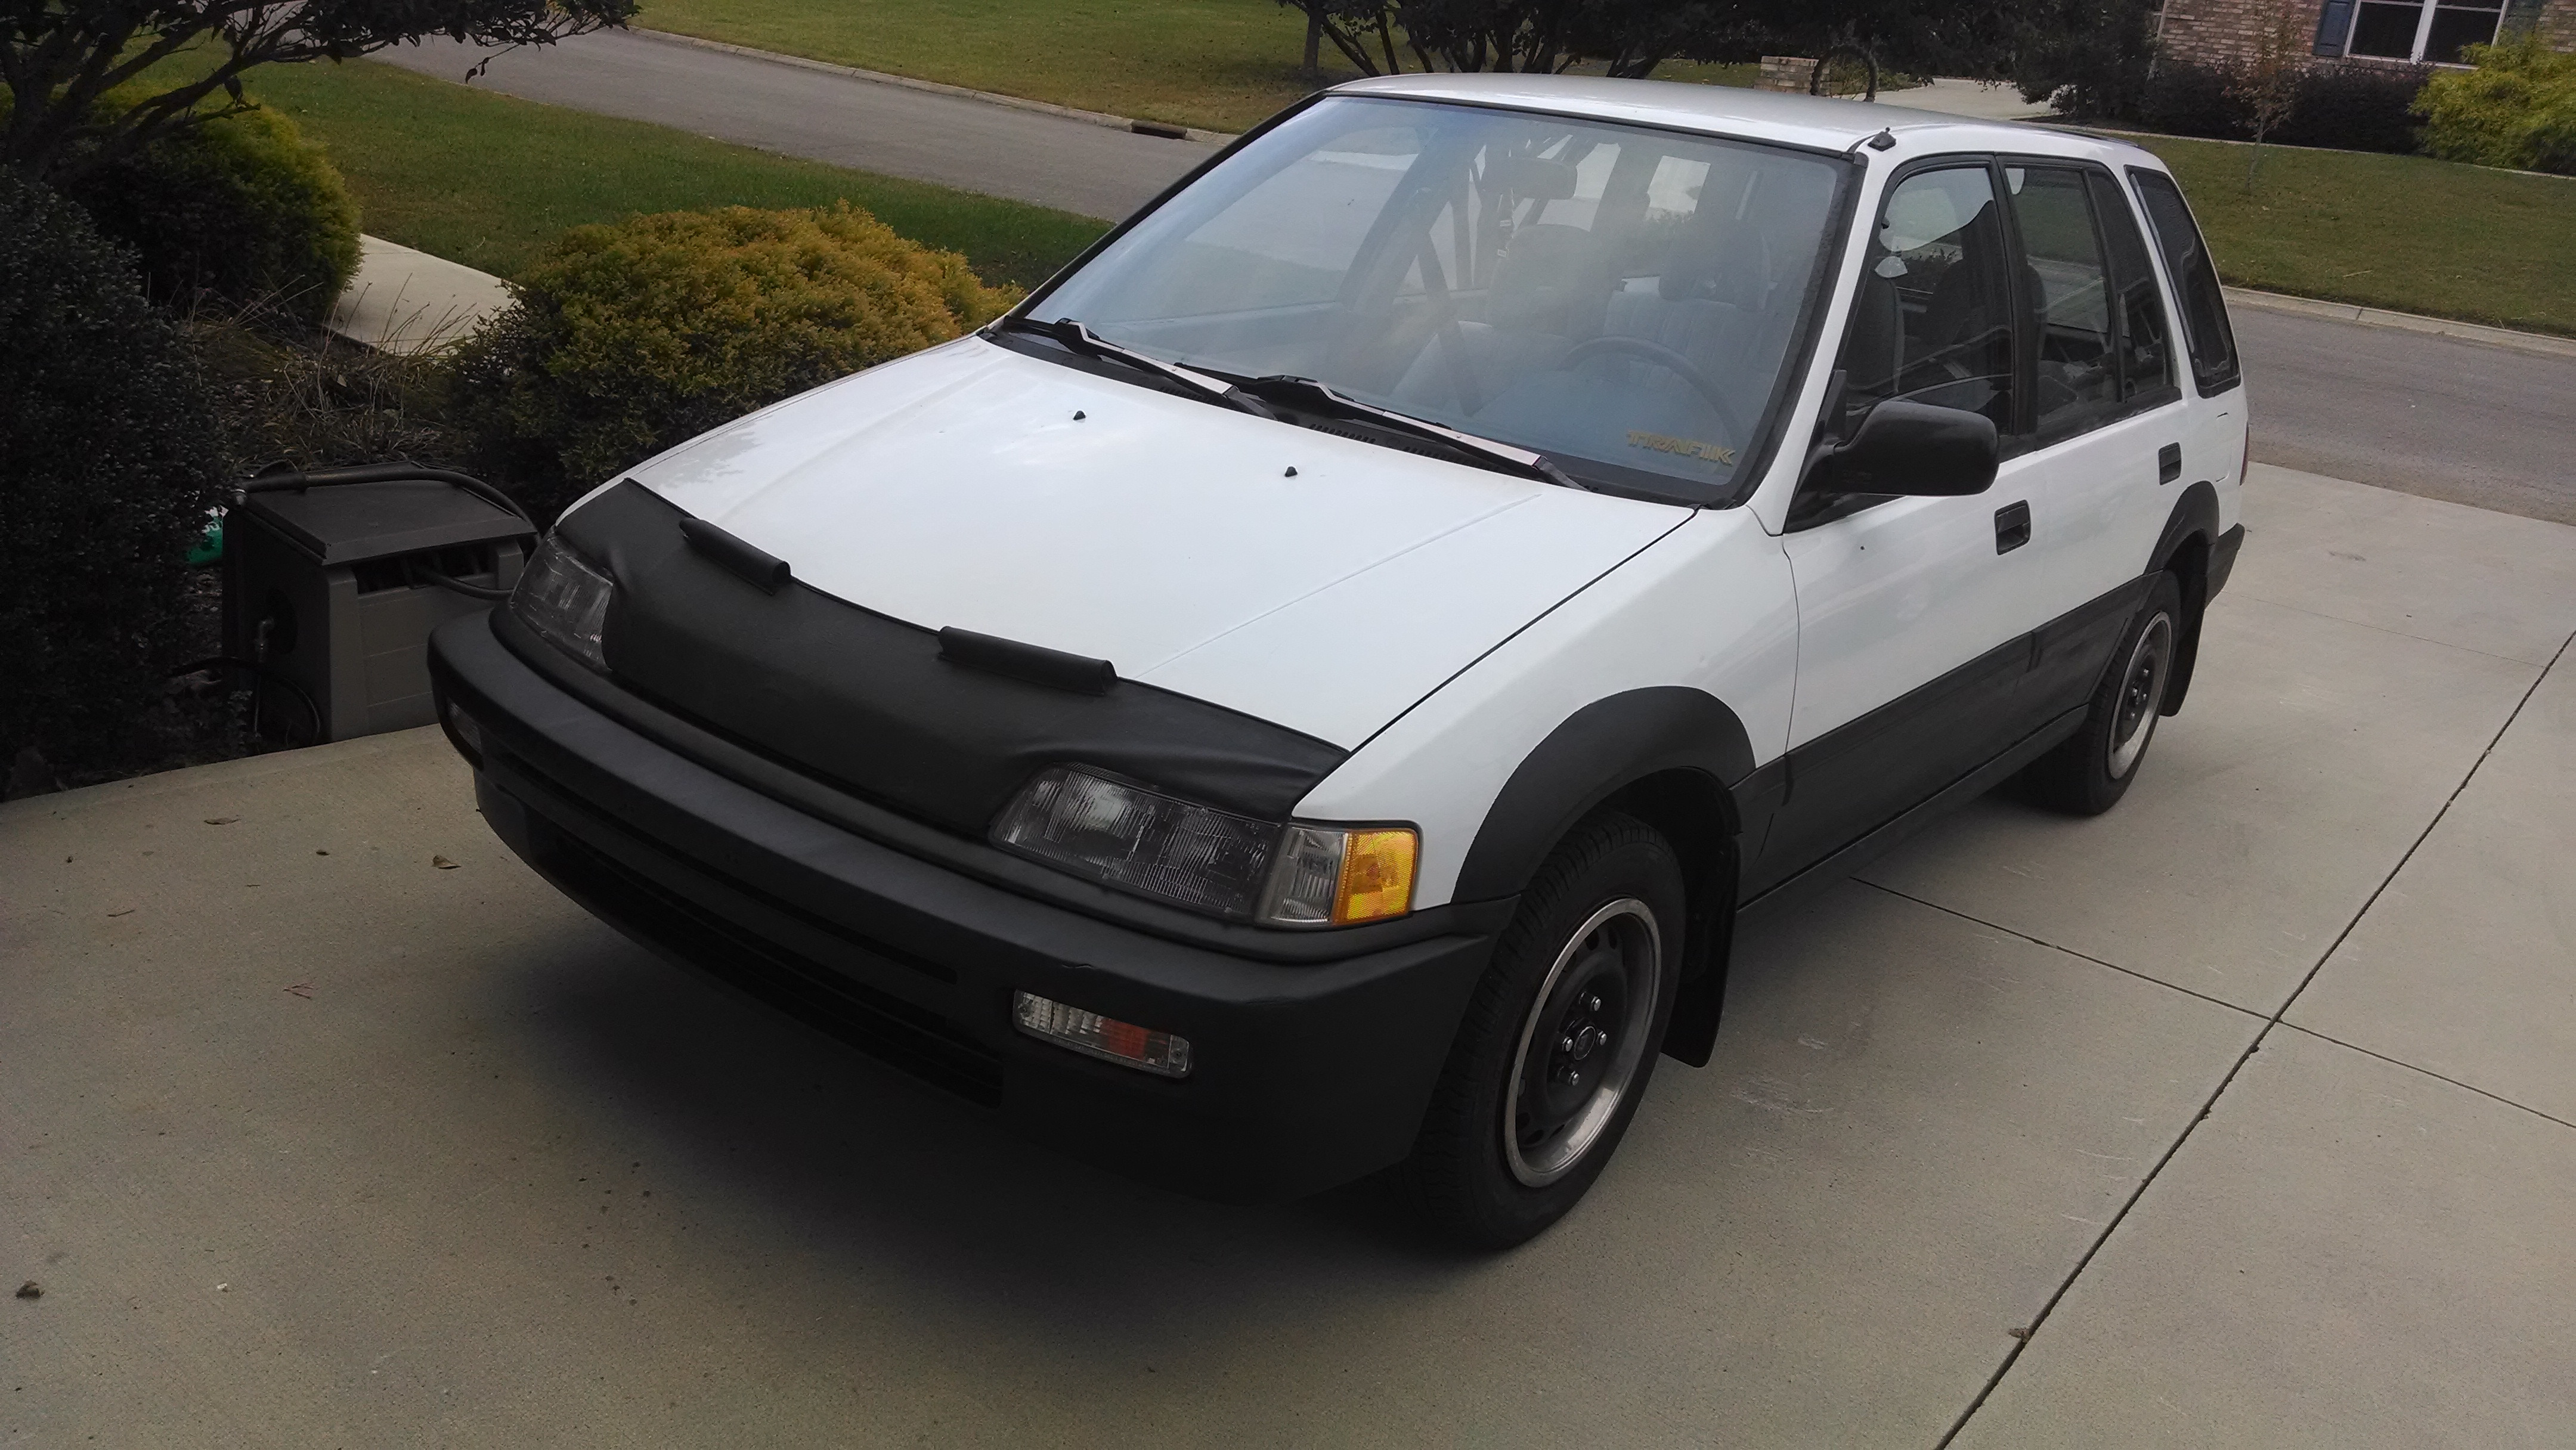
Current
That's basically it for now. My original vision was more of a show car, but I've since decided I want to go for a more performance oriented street car. My immediate plans are to slowly upgrade the suspension, so aftermarket rear LCAs so I can install a swaybar, aftermarket toe and camber links, aftermarket front UCAs, and then hopefully some wheels. I really like the 949Racing 6ULs.
I hate going back and looking at pics from when I first got it because it looks cleaner then and sometimes I feel bad for messing with such a clean stock wagovan, but someday I'll get it repainted to look better again.
Money is tight because I had a kid and bought a house, so like the title states, this is going to be a slow build, but I hope you guys will enjoy it. Thanks for reading!
Regarding your fan switch, take a look at your new motor's thermostat housing.
It should have a smaller two prong switch on it instead of on the larger one found on the back of your stock motor.
Regarding your fan switch, take a look at your new motor's thermostat housing.
It should have a smaller two prong switch on it instead of on the larger one found on the back of your stock motor.
Yeah it is, I just plugged an unused plug into the new one because it fit. I need to fix it but I'm not really in a hurry since it's not really hurting anything.
It's an F23A RA-6 finished in white with a mild Gold & Silver Flake Laquer.
Currently has:
Sports Kit, uprated Induction, TEIN Coilovers, running on WORK Diamond Cut 19's.
Custom Exhaust System too.
It runs on 99RON Gas & Liquid Propane Gas.
Tidy motor!
I've started the process of working towards some much needed power as it's pants and to my frustration, it gets owned by anyone who wants to floor their 1200cc and above motors all day long.....
I just got back from having a couple of Dyno runs so I can see a "before and after."
The figures did not impress me at all, but then, I wasn't expecting it to make much in the way of power.
i remember when i was adjusting my clutch cable
on my ef sadan long ago
i got super geeky with it
and got it to engage at what i thought was my perfect spot ^_^
Cable clutches are a bit of a pain. Once I can afford it, I'll probably do a hydro conversion. I'll have to anyway if I ever do a K-swap, and it would make a B-swap easier as well, since most B-series transmissions are hydros.
So yesterday I was almost home, and all of a sudden second gear was whining way louder than the other gears. At first I actually thought it was a firetruck siren or something lol.
Therefore instead of playing FO4, my evening was spent changing my transmission fluid. Fortunately I had 2 1/4 bottles of Honda MTF sitting around. It took me longer than it should have because there are three plugs on the side of the transmission. I only saw the two at first. One was obviously the drain plug, and the other I thought was a fill plug, but after unsuccessfully trying to fill through that plug, I realized that the actual fill plug was somewhere else. The plug I was using it seemed was there for the sole purpose of being able to get to a C-clip inside the transmission.
After finding the fill plug, it went pretty smoothly. Since it was on the side of the transmission instead of the top, I had to fit a rubber hose over the end of my funnel and put the other end into the fill hole. Fortunately I had a hose that fit perfectly.
Also I realized that what I thought was a big water drop inside my headlight from condensation was actually a big crack/impact site. There's actually a pinhole in my headlight right in the middle, so I'm assuming a rock or something hit it on the interstate. Fortunately the main headlight part is interchangeable between all the Civics for that year, so finding a replacement shouldn't be too difficult.
I do need to adjust the clutch cable. I have to push the pedal to the floor to disengage the clutch. Really annoying in stop and go traffic.
I thought the cable was going out on my 89 RT4WD but since I didn't want to *** with it I took it to the shop. They found it wasn't the cable but the clutch pedal bracket that was bending. Apparently it's a common thing.
You may want to check yours since you just replaced the cable.
I thought the cable was going out on my 89 RT4WD but since I didn't want to *** with it I took it to the shop. They found it wasn't the cable but the clutch pedal bracket that was bending. Apparently it's a common thing.
You may want to check yours since you just replaced the cable.
Yeah I'm aware of that issue. I think that's part of the problem. My clutch was acting weird again. There was a lot of play in the pedal towards the top, and I was having issues with it not disengaging fully. I was tired of screwing around with it, so I picked up a '97 Civic hatch to DD lol. Next step for the wagon will be a hydro conversion.
Here's the hatch
The Good
- only 124k miles
- interior is mint
- totally stock
The Bad
- clear coat is shot
- input shaft bearing is noisy
I know a guy with a spare CX trans that he's gonna sell me for $100, so that should solve the input shaft bearing problem.
The other good part is I can really start messing around with the wagon without worrying about keeping it driveable.
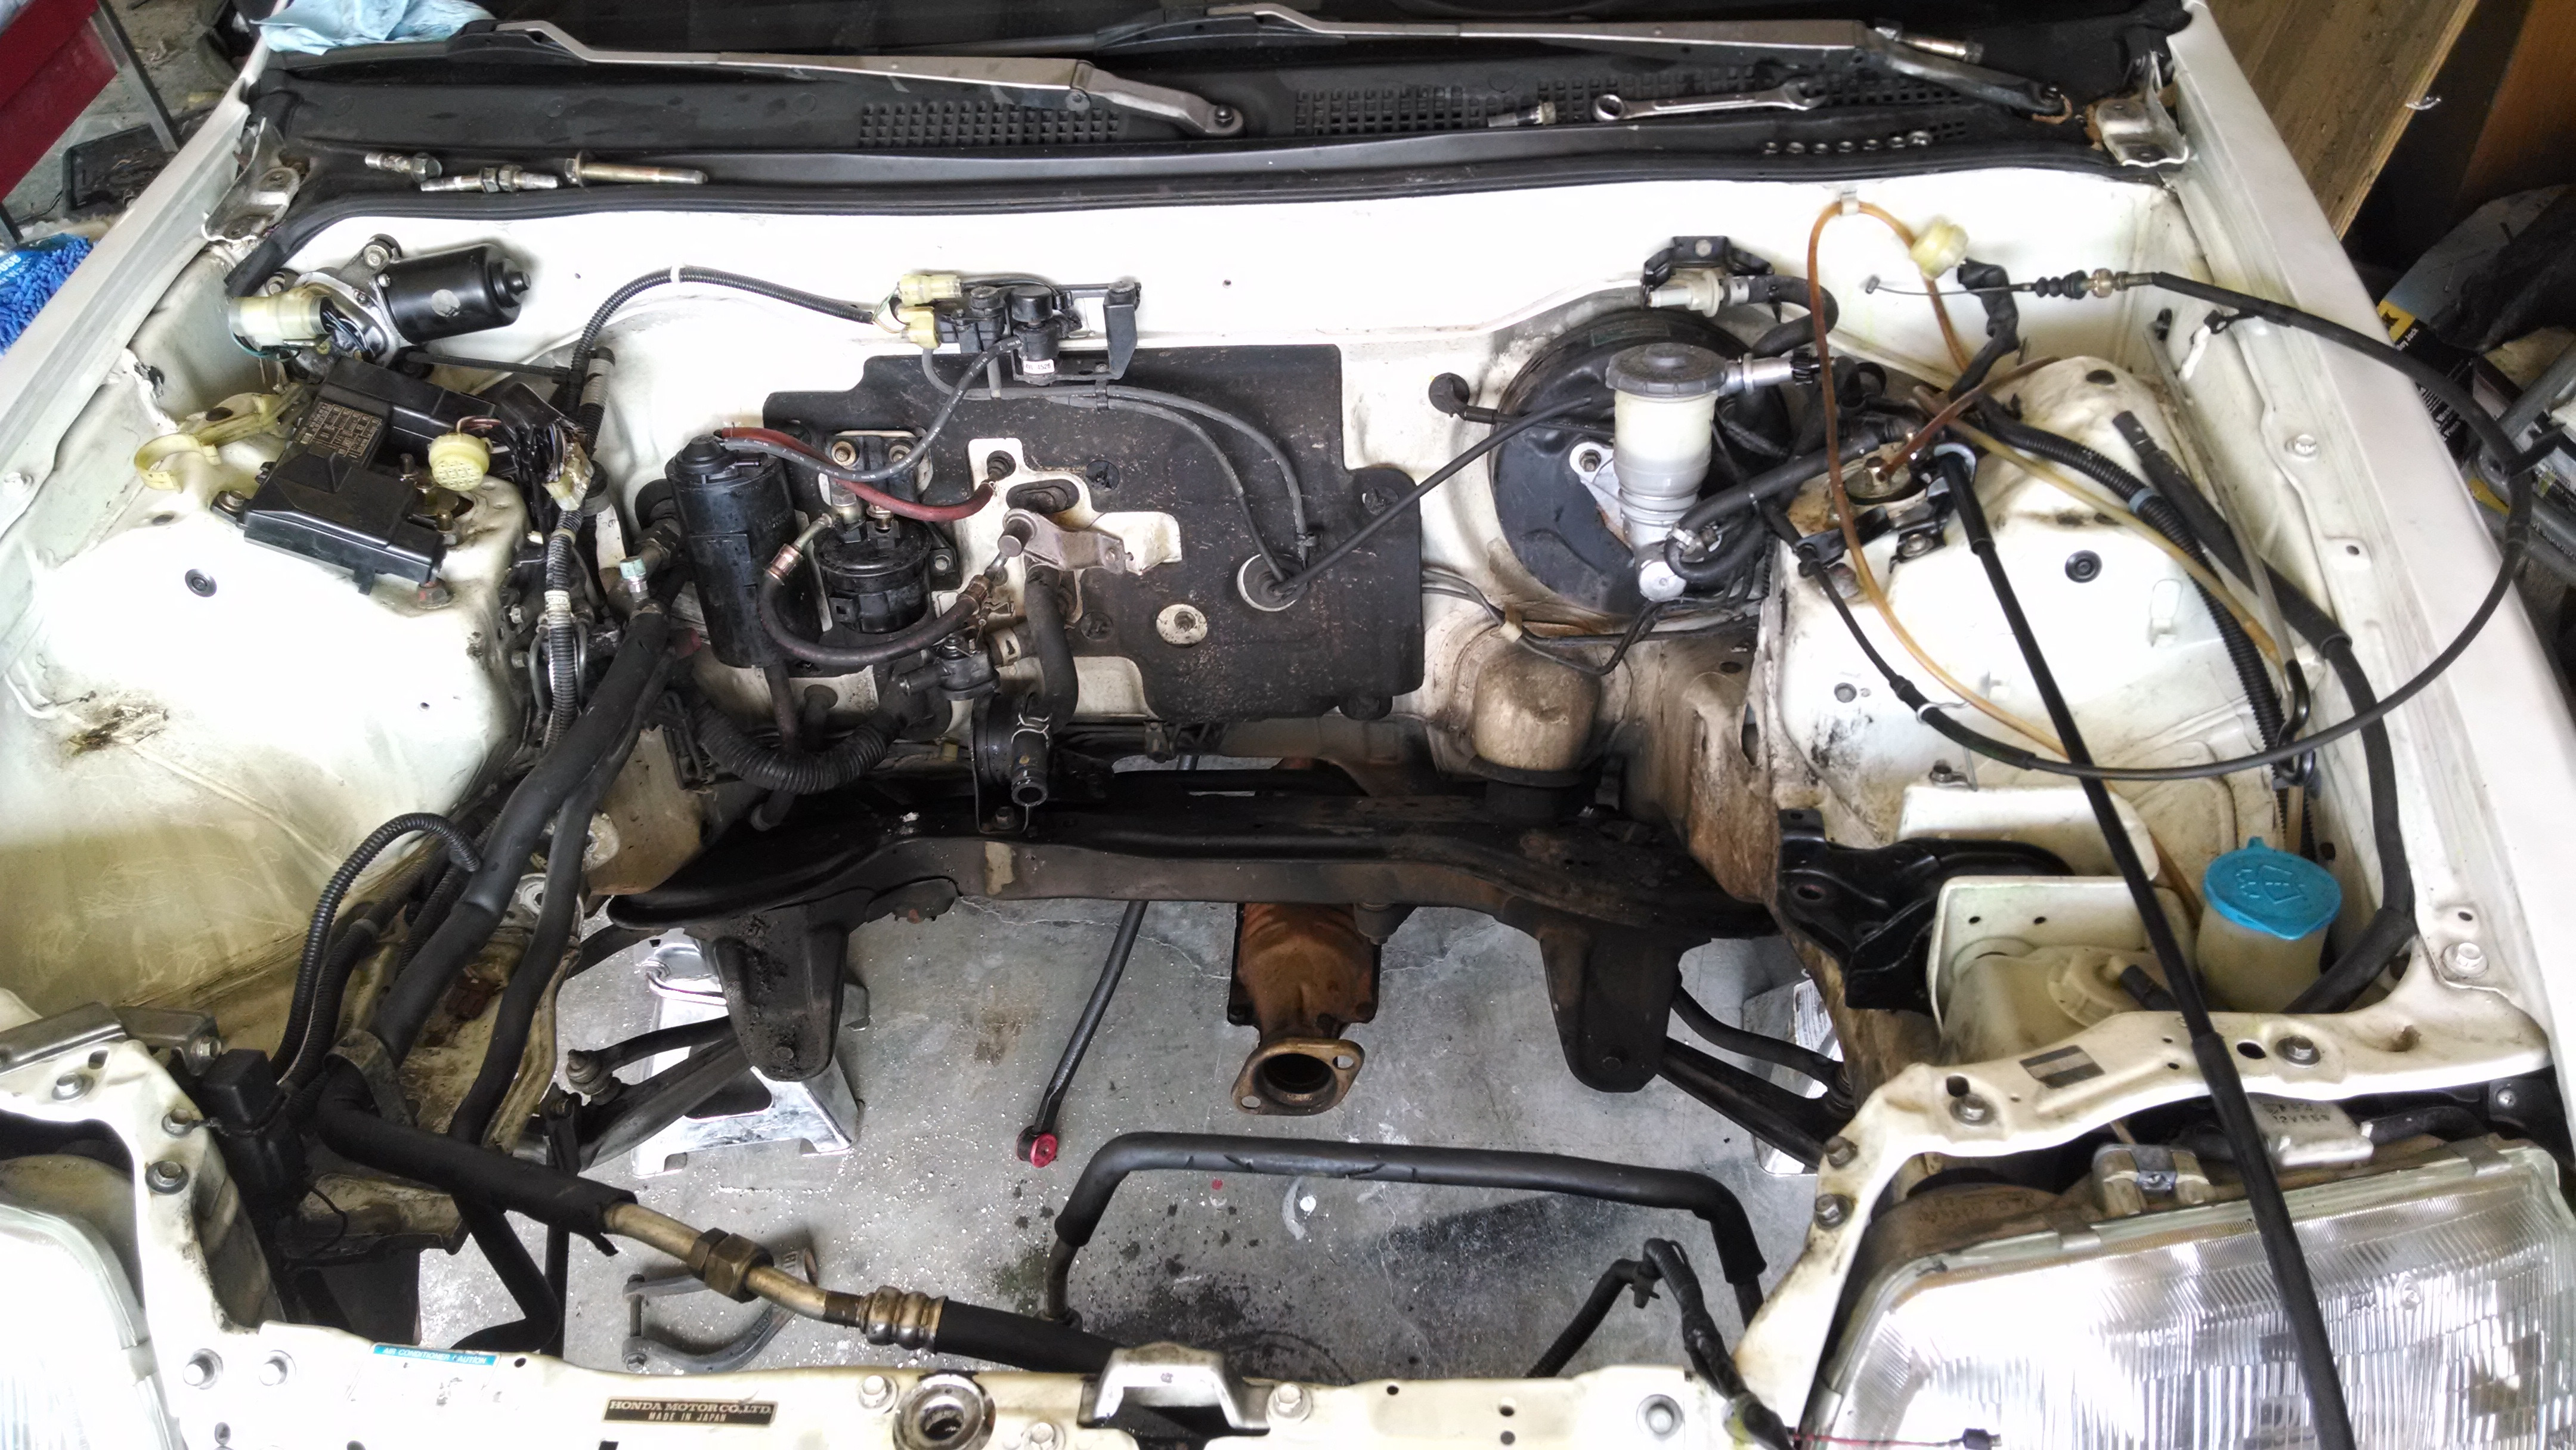
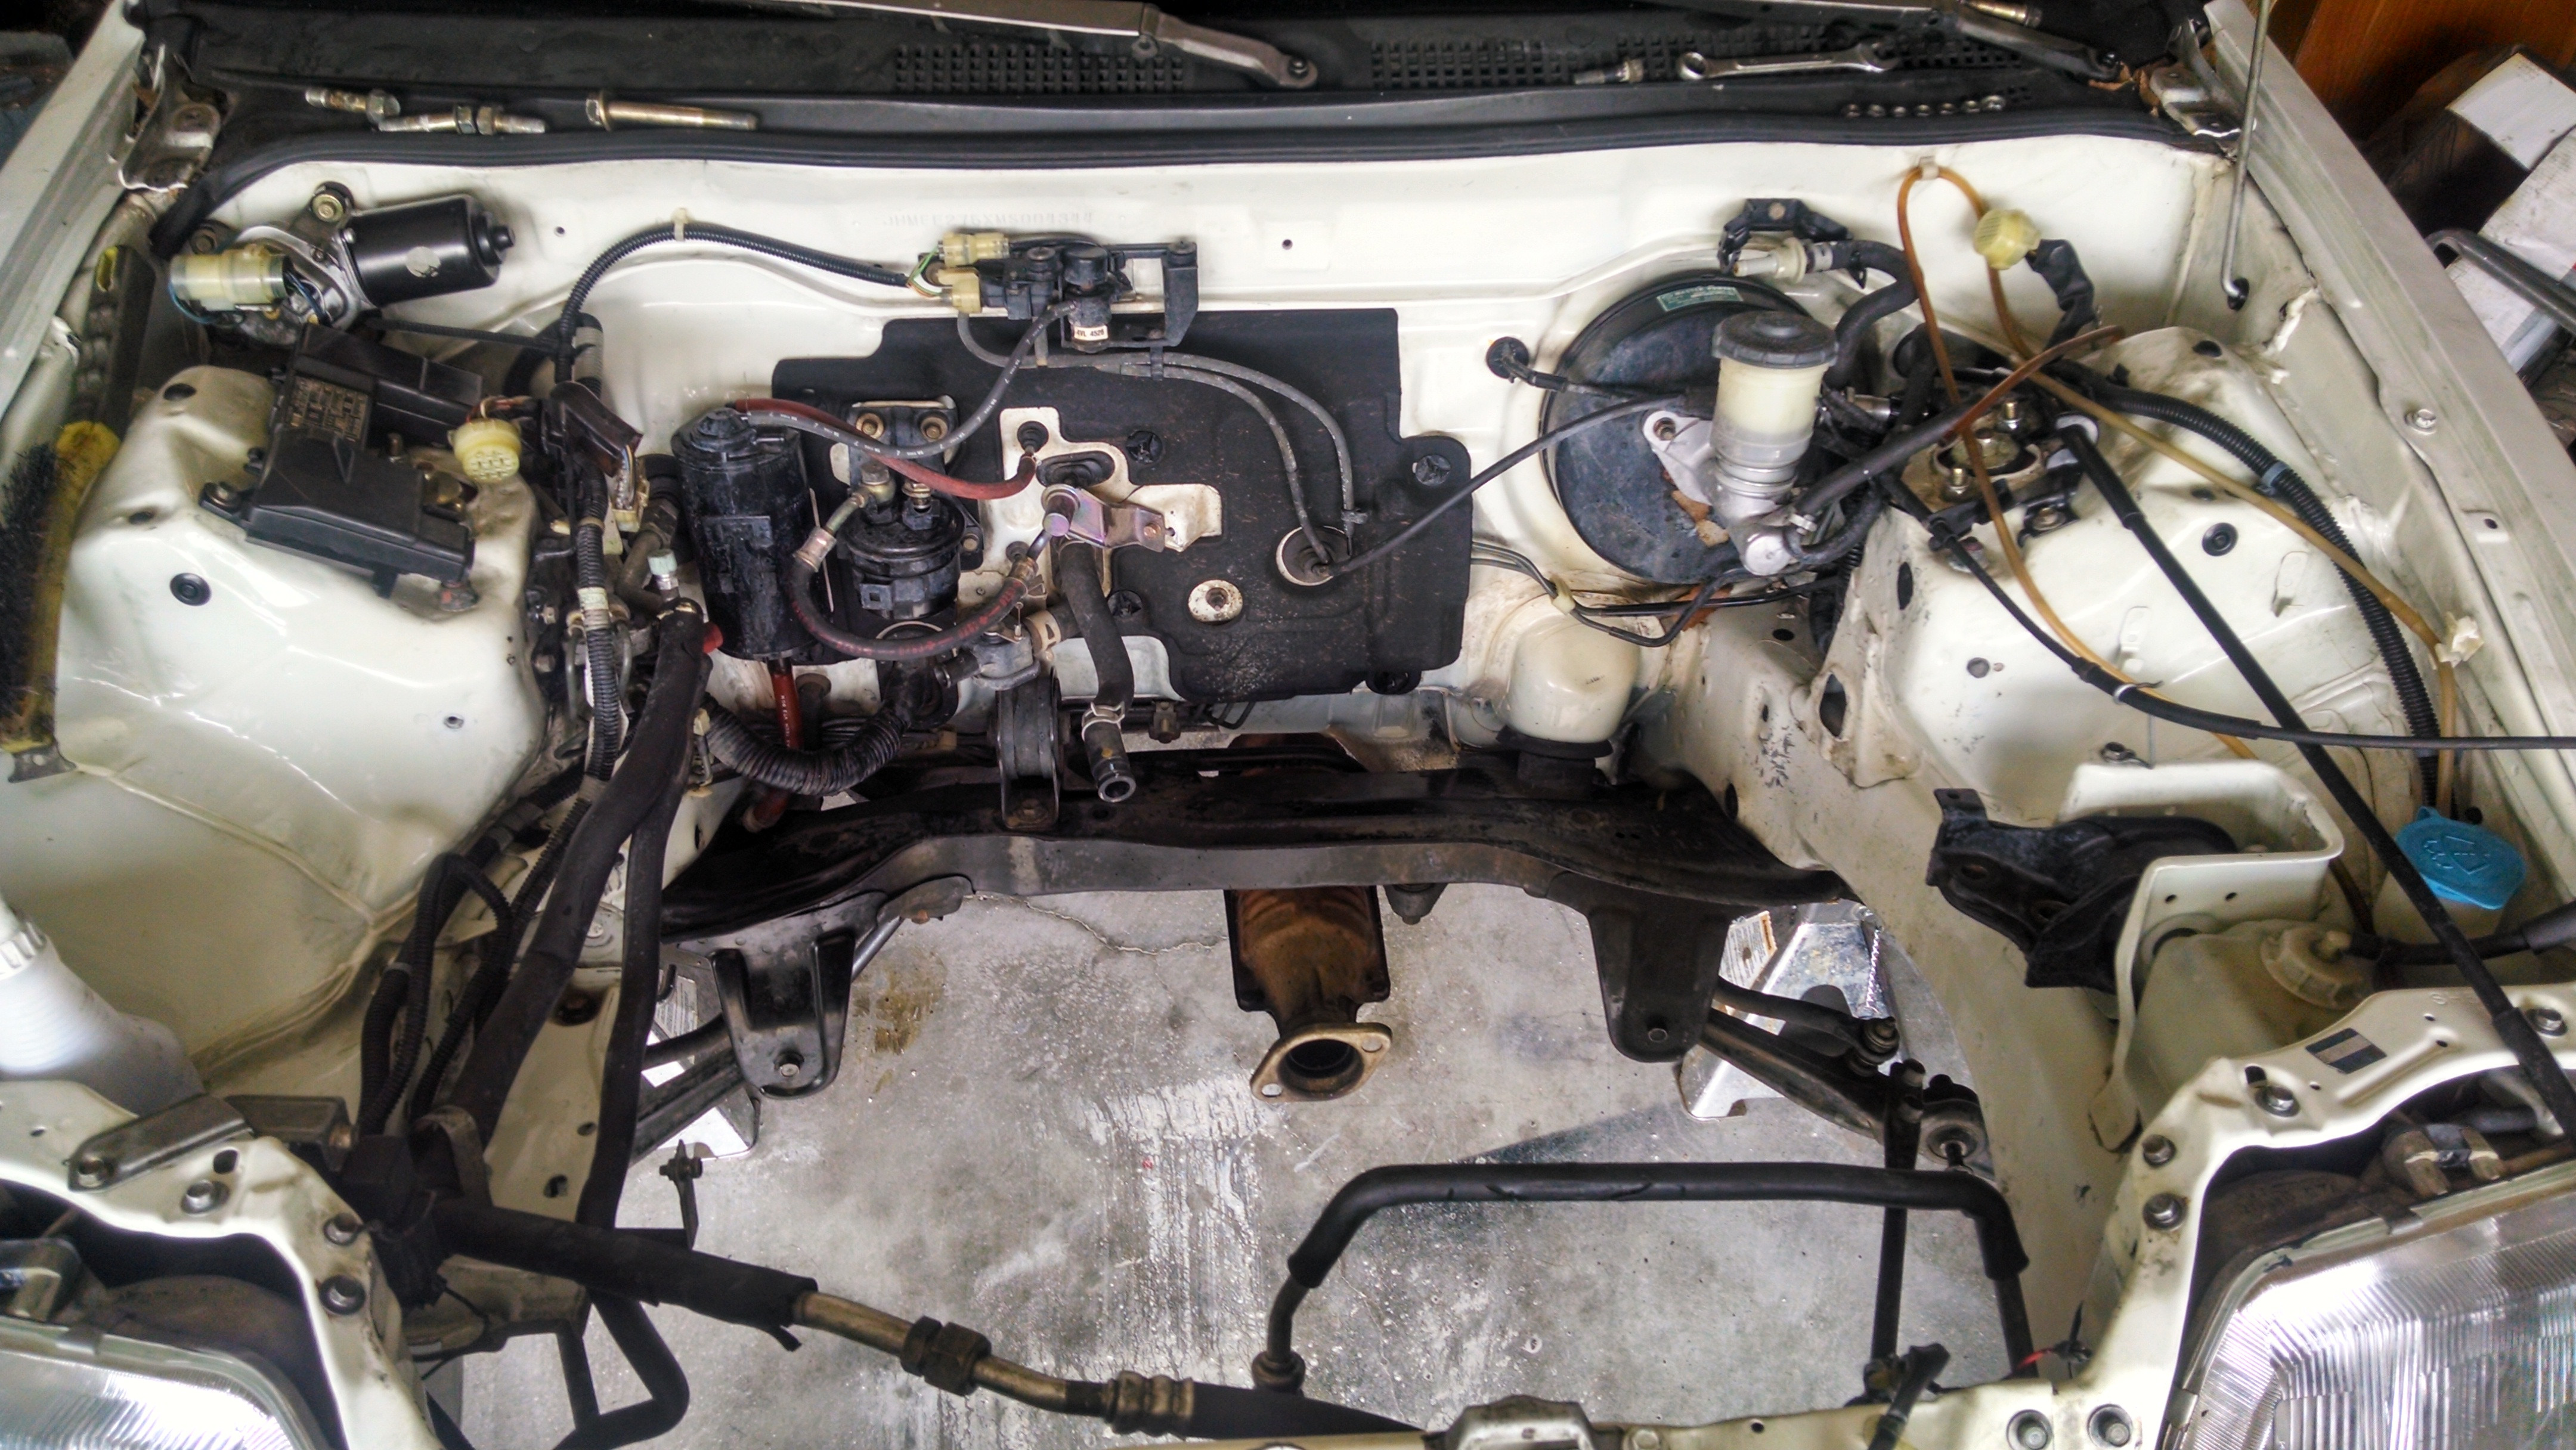
Then I dropped the steering column to make things easier
The culprit
You guys may or may not be aware of the issue the wagovans (not sure if it's common on other EFs as well) have with the pedal assembly breaking and flexing. As you can see, that bar shaped piece in the middle is broken on the right end. That piece is holds the pivot for the clutch pedal, but it also somewhat holds the clutch pedal in place. Since it's broken, it weakens that side of the pedal assembly and allows that side to flex when I press the clutch pedal in. That causes slack in the clutch cable and screws with the clutch engagement. That's why my cables keep loosening. I'll have to either find another pedal assembly, and strengthen it before putting it back in, or just try and bend this one back, weld it back, and then brace it. Most people either weld up both ends of that bar more, or cut a strip of metal or two the length of the bar, and then weld the metal in to brace it up.
I'll probably just try and fix this one, since it shouldn't be too bad.
Finally got the pedal assembly welded up. I put the pedals back in after work today. Now all I have to do is put the A/C ducts, steering column, and fuse box back in place and she should be good to go. I also ordered some StopTech front pads and Centric rotors to try and improve my brakes, since they leave much to be desired.

 10-23-2015, 08:46 AM