
Phantom Grip LSD install B Series transmission.
 12-30-2009, 08:31 PM
#1
Honda-Tech Member
Thread Starter
Join Date: May 2009
Location: So-Cal
Posts: 1,722
Likes: 0
Received 0 Likes
on
0 Posts
Hello Honda-Tech brethren (and sisteren),
Mod's If I am in the Wrong thread/section please feel free to move. I mainly hang out in the 88-91 EF section and rarely poke my head out.
Before I start this Build I would like to say that yes.
I do realize that the Phantom Grip (P.G.) line of LSD products are considered by some to be a waste of money.
But I think that a lot of this hater info is mostly passed down through the grapevine (noobs) and not based off of experiencing the Spring loaded LSD.
I have nothing against the product and know many who love it as well as some whom hate it.
SOOOO!! That said lets start (by reading this you certify that you have enough mechanical knowledge to do this and i am liable for nothing..... Right???!?)
Step 1. You should have a nice solid work area to perform this task, some good ole WD-40 a good set of quality punches a set of dikes a small screw driver and a nylon padded ball peen hammer or other hard material mallet.
Step 2. Tear down. I will not go into this because it is very well covered by SEARCHING! Here is a Very informative Build Thread by HONDABULL http://www.ht-archive.com/showthread.php?t=2443459
as well as a VERY KILLER video by Evans-tuning http://articles.evans-tuning.com/200...-differential/
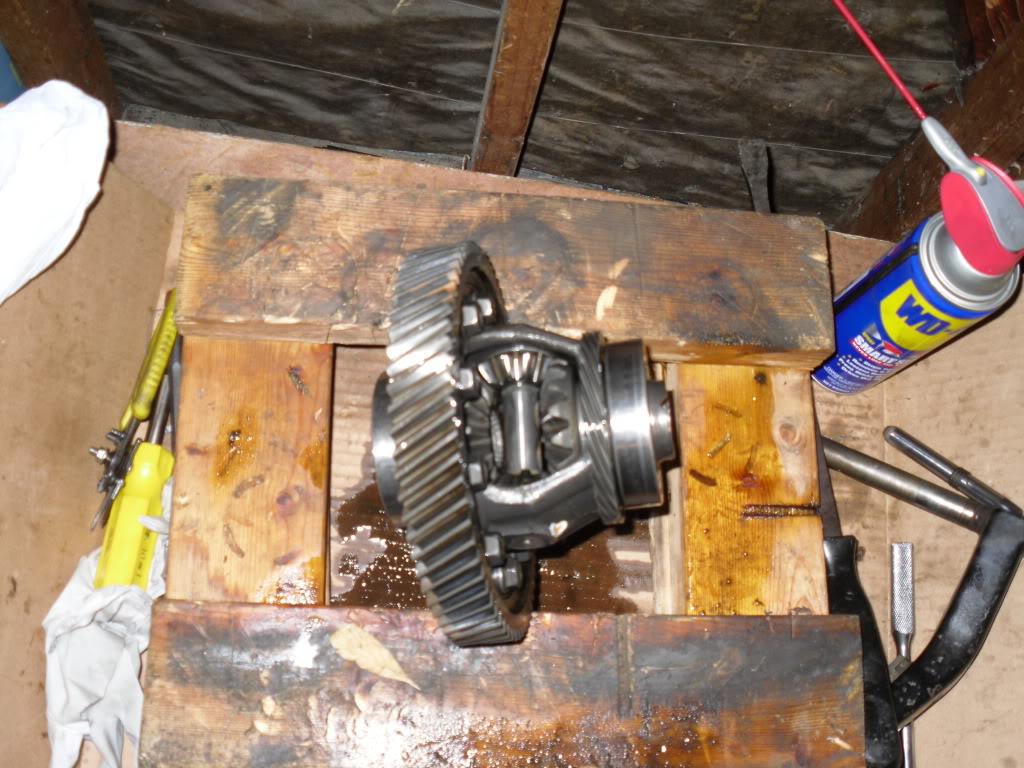
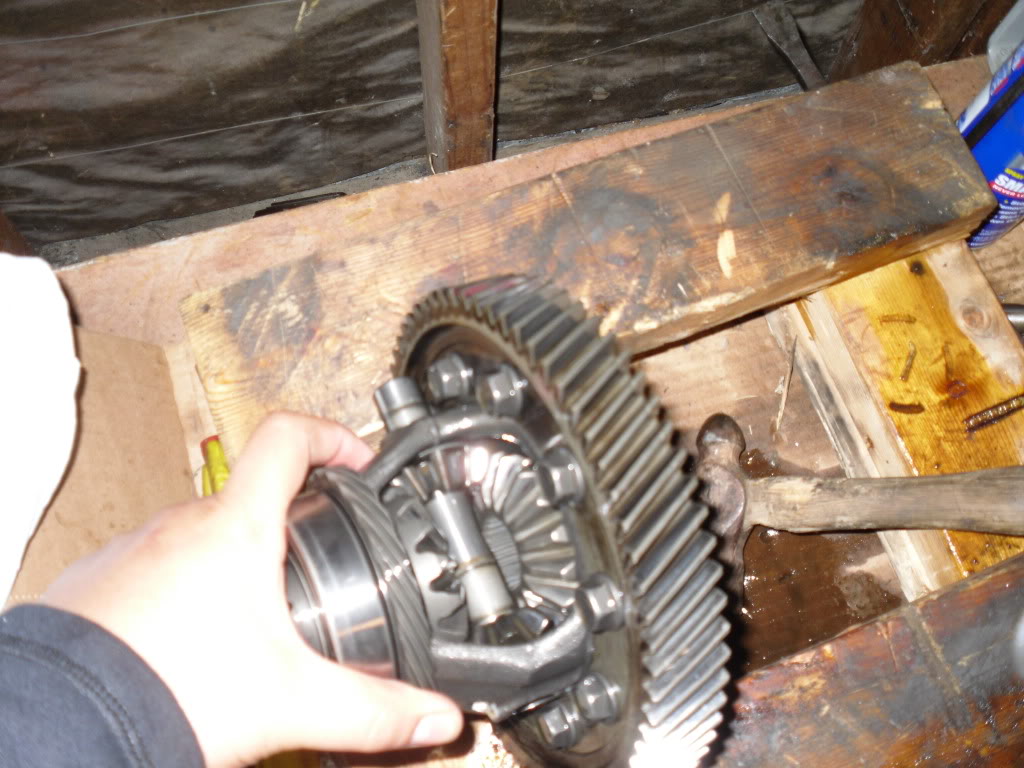
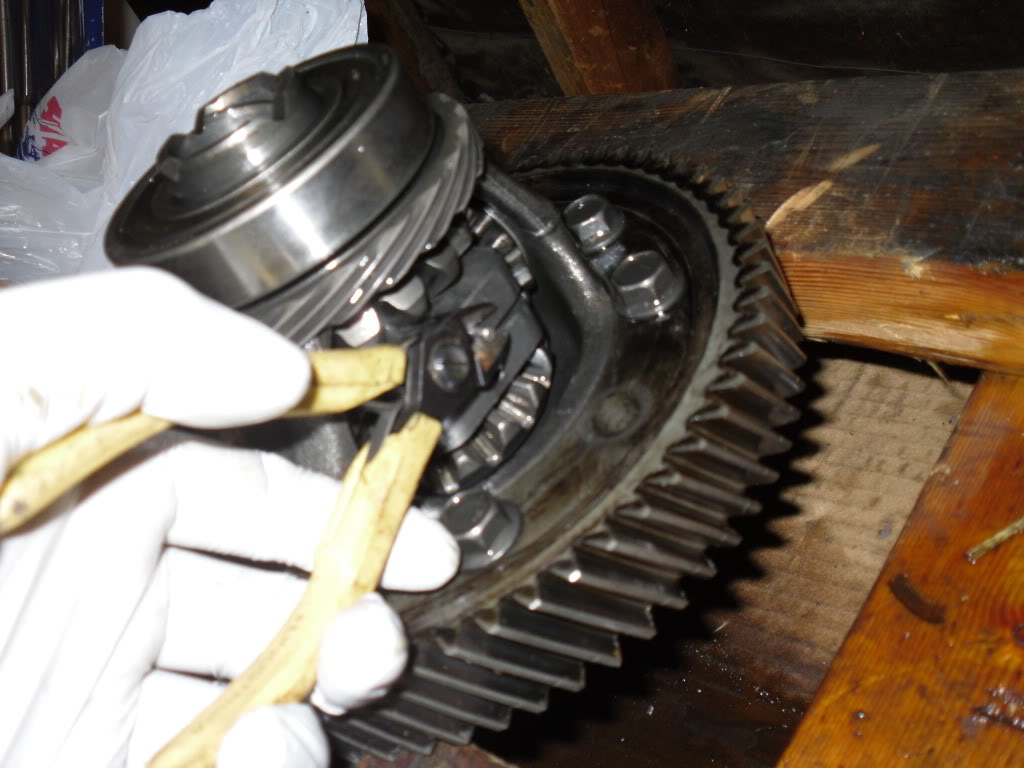
Step 3. Diff is out.
There is a little skinny spring pin (some call bitchpin?) in this little hole.
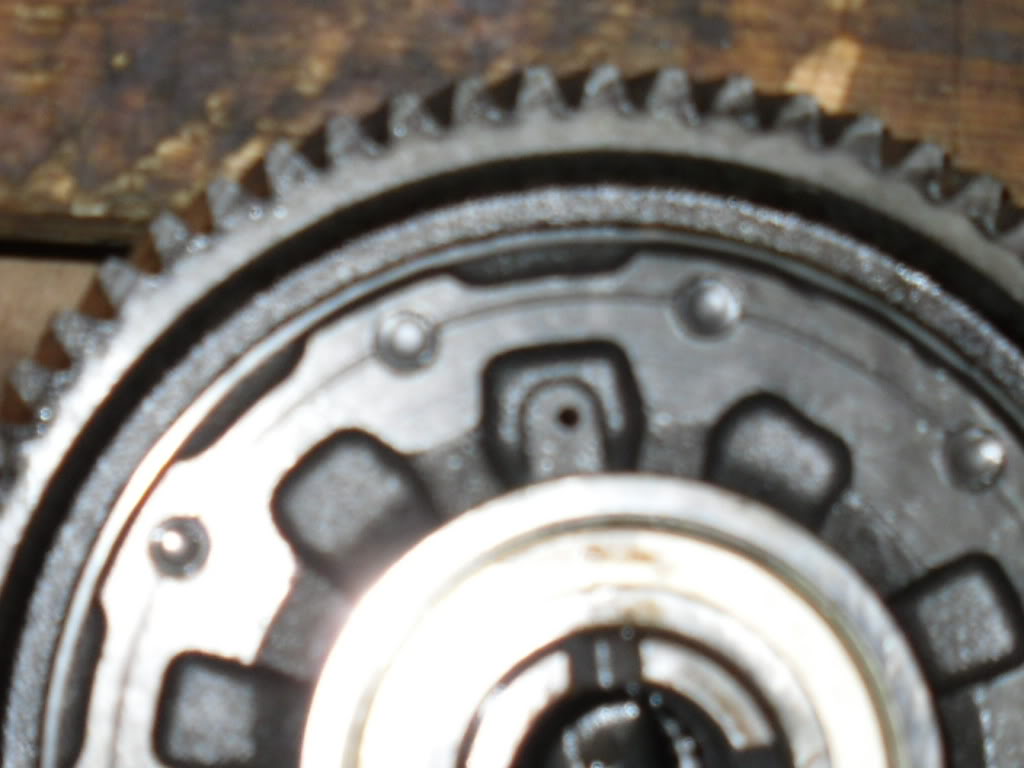

It must be tapped out from the reverse side of the Diff (opposite side of reverse gear). I find that spring pins like to be sprayed with WD-40 and tapped out slowly and straight. I also swear by these kinds of punches since they have a bevel/recess to avoid "flowering" the end of the pin.
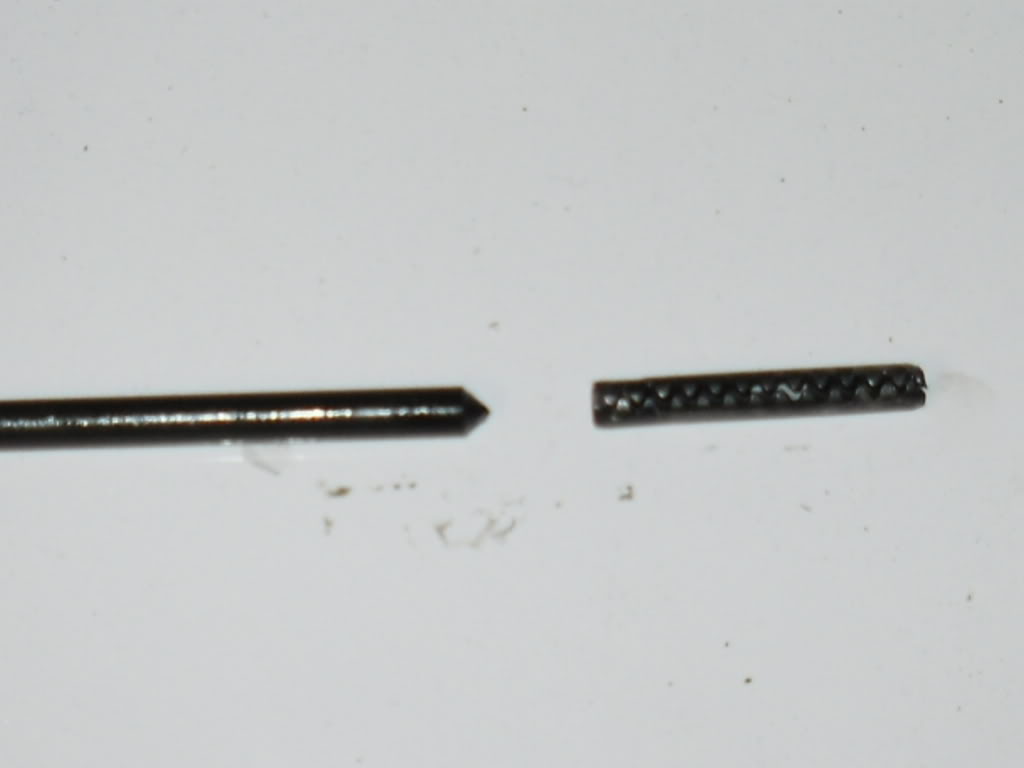
If you use a Nail or Screwdriver or some other thing besides a nice punch you are on your own, My cheap friend!
Step 4. The spider pin should move like butter and slide right out but sometimes it may need some persuasion. use the Nylon padded hammer.
Step 5. This ring gear bolt needs to be removed in order to clear a path for the P.G. Remember that these fine thread bolts are REVERSE THREAD clearly marked on the bolt head.
Now you should be here and the Phantom Grip is almost ready to move into its new home! (between spider gears)
Step 6. Eyeball the hole in the Phantom Grip and ensure that the hole lines up with the Spider Gear pin holes and push the pin into the assembly until it stops early (It will not travel all the way in).
Step 7. These are spring pressure retention plates/pins. They can now be gently pryed off with a small screw driver they "pop" off so dont crap your pants.. Go slow and easy until the plates come off.

Remove pins.
Step 8. Spray some good ole WD-40 and start tapping the Spider gear pin while keeping mind that the Spider Gear pin has a hole which must be aligned with the hole on the Diff. The Spring pin goes in there.
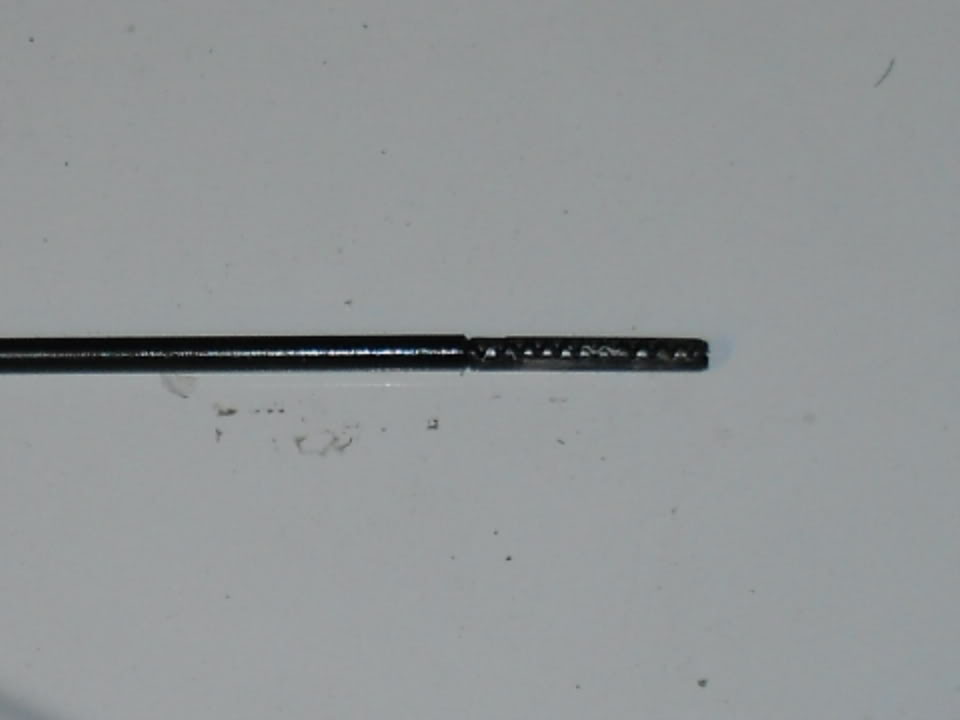
Step 9. Almost done! Clean the Spring pin as well as the Spring pin hole with brake Cleaner. Install spring pin the way it came out (see photo). I use some red Loctite on the spring pin for added security.
Keeping as straight as possible tap the Spring Pin into the Diff until it sits flush.

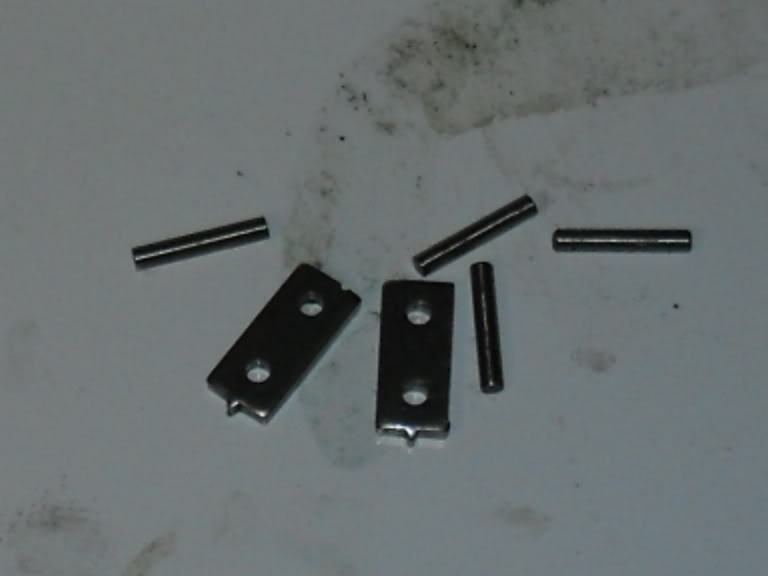
Step 10. Gather all these pieces!! You do not want them in the diff. Trash em!
You are done. You deserve a beer.. Assemble tranny and go to your Race Track and give the P.G. a try!!

After thoughts? None really. I will post up vids and pics in my build thread when I am done. I got the P.G. brand new for 120bux off a friend so I took an hour and put it in. I understand the principle behind how this works. And it is based off a good idea so What the hell.
Cheers!
Mod's If I am in the Wrong thread/section please feel free to move. I mainly hang out in the 88-91 EF section and rarely poke my head out.
Before I start this Build I would like to say that yes.
I do realize that the Phantom Grip (P.G.) line of LSD products are considered by some to be a waste of money.
But I think that a lot of this hater info is mostly passed down through the grapevine (noobs) and not based off of experiencing the Spring loaded LSD.
I have nothing against the product and know many who love it as well as some whom hate it.
SOOOO!! That said lets start (by reading this you certify that you have enough mechanical knowledge to do this and i am liable for nothing..... Right???!?)
Step 1. You should have a nice solid work area to perform this task, some good ole WD-40 a good set of quality punches a set of dikes a small screw driver and a nylon padded ball peen hammer or other hard material mallet.
Step 2. Tear down. I will not go into this because it is very well covered by SEARCHING! Here is a Very informative Build Thread by HONDABULL http://www.ht-archive.com/showthread.php?t=2443459
as well as a VERY KILLER video by Evans-tuning http://articles.evans-tuning.com/200...-differential/
Step 3. Diff is out.
There is a little skinny spring pin (some call bitchpin?) in this little hole.
It must be tapped out from the reverse side of the Diff (opposite side of reverse gear). I find that spring pins like to be sprayed with WD-40 and tapped out slowly and straight. I also swear by these kinds of punches since they have a bevel/recess to avoid "flowering" the end of the pin.
If you use a Nail or Screwdriver or some other thing besides a nice punch you are on your own, My cheap friend!
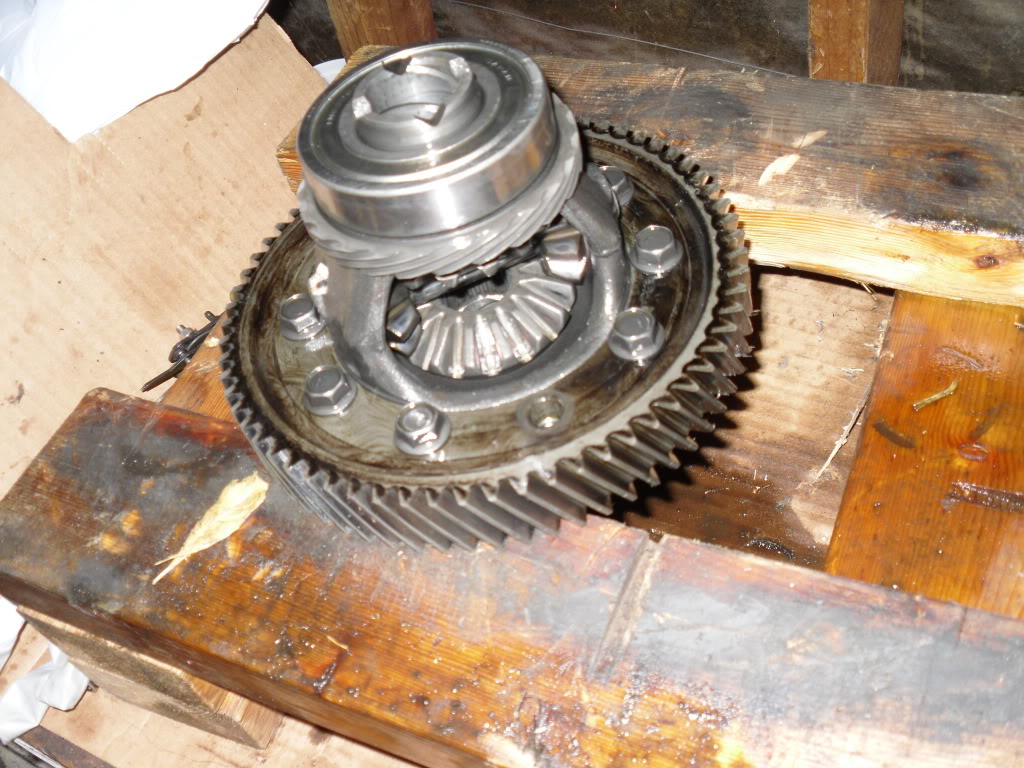
Step 4. The spider pin should move like butter and slide right out but sometimes it may need some persuasion. use the Nylon padded hammer.
Step 5. This ring gear bolt needs to be removed in order to clear a path for the P.G. Remember that these fine thread bolts are REVERSE THREAD clearly marked on the bolt head.
Now you should be here and the Phantom Grip is almost ready to move into its new home! (between spider gears)
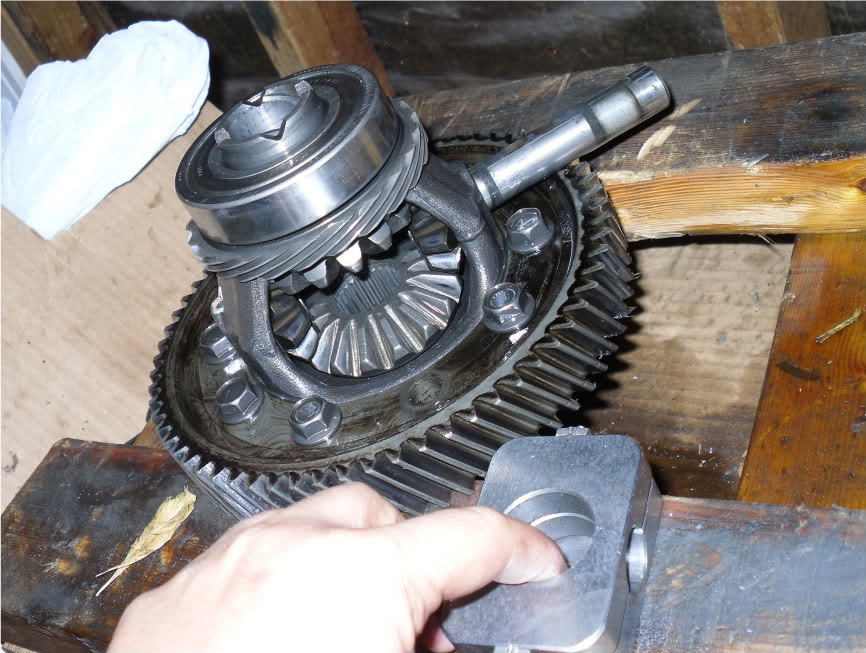
Step 6. Eyeball the hole in the Phantom Grip and ensure that the hole lines up with the Spider Gear pin holes and push the pin into the assembly until it stops early (It will not travel all the way in).
Step 7. These are spring pressure retention plates/pins. They can now be gently pryed off with a small screw driver they "pop" off so dont crap your pants.. Go slow and easy until the plates come off.
Remove pins.
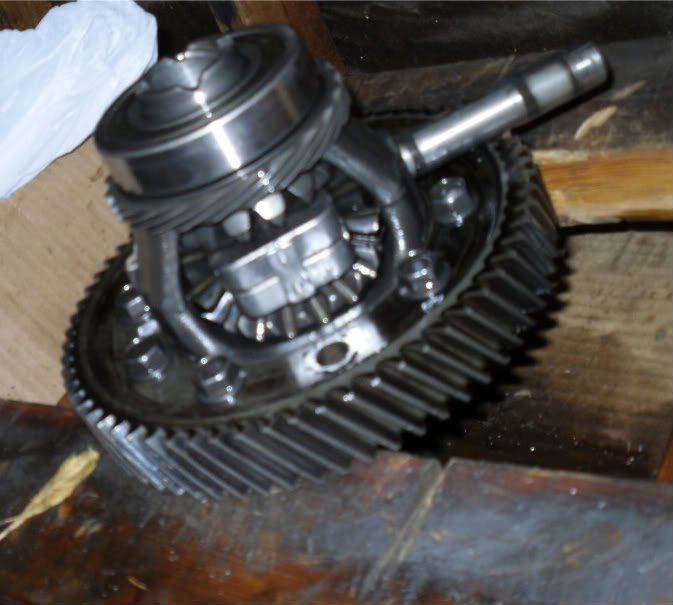
Step 8. Spray some good ole WD-40 and start tapping the Spider gear pin while keeping mind that the Spider Gear pin has a hole which must be aligned with the hole on the Diff. The Spring pin goes in there.
Step 9. Almost done! Clean the Spring pin as well as the Spring pin hole with brake Cleaner. Install spring pin the way it came out (see photo). I use some red Loctite on the spring pin for added security.
Keeping as straight as possible tap the Spring Pin into the Diff until it sits flush.
Step 10. Gather all these pieces!! You do not want them in the diff. Trash em!
You are done. You deserve a beer.. Assemble tranny and go to your Race Track and give the P.G. a try!!
After thoughts? None really. I will post up vids and pics in my build thread when I am done. I got the P.G. brand new for 120bux off a friend so I took an hour and put it in. I understand the principle behind how this works. And it is based off a good idea so What the hell.
Cheers!
Last edited by beansandrice; 01-23-2010 at 04:51 PM.
 12-30-2009, 08:53 PM
#3
Honda-Tech Member
Thread Starter
Join Date: May 2009
Location: So-Cal
Posts: 1,722
Likes: 0
Received 0 Likes
on
0 Posts
Many do but alot more talk doo doo on the Phantom grip. Personally I think they are a good low price alternative. The way it works is quite easy. It just pushes the spider gears out.
Trending Topics
12-30-2009, 10:39 PM
#8
EFB055
I'd like to see a vid of the car launching with maybe one wheel in the grass, one on the road. I've had no experience with these, i'd like to see what someone who's actually using one has to say 
12-30-2009, 10:44 PM
#9
Honda-Tech Member
Thread Starter
Join Date: May 2009
Location: So-Cal
Posts: 1,722
Likes: 0
Received 0 Likes
on
0 Posts
And that is the Exact reason for me getting it in there!
It seems that people are 50/50 on these doo-hickies. Sure Ill try that but LSD diffs in general will still slip hard if one wheel is on the pavment and one is on grass. A locker is what your thinking about. I have ARB lockers in my F-250. It takes alot for me to get stuck in Glamis.
It seems that people are 50/50 on these doo-hickies. Sure Ill try that but LSD diffs in general will still slip hard if one wheel is on the pavment and one is on grass. A locker is what your thinking about. I have ARB lockers in my F-250. It takes alot for me to get stuck in Glamis.
12-30-2009, 10:53 PM
#11
EFB055
Yeah, though it gives a good indication of how much power it'll be able to transfer when pushed hard.
 12-31-2009, 02:32 AM
#16
Honda-Tech Member
even at full price i think it'd be worth a try. seems like their web sight has nothing but good feed back, and it's not like you're replacing your entire diff with an aftermarket one. if anything, this would be perfect for me, since i'm mainly looking to evenly transfer the power, not have this one wheel wonder stuff
12-31-2009, 06:24 AM
#17
Honda-Tech Member
Thread Starter
Join Date: May 2009
Location: So-Cal
Posts: 1,722
Likes: 0
Received 0 Likes
on
0 Posts
I am down to help anyone near me install these.
Hey Chorizo. Where did you get that Dia de los muertos dancer? LOL
Hey Chorizo. Where did you get that Dia de los muertos dancer? LOL
01-01-2010, 07:32 AM
#20
Honda-Tech Member
Thread Starter
Join Date: May 2009
Location: So-Cal
Posts: 1,722
Likes: 0
Received 0 Likes
on
0 Posts
Yea that mod is down the line. I already finished my new setup, my last engine bit the chorizo.
I built a nice PMITR engine with this PMLSD!
I built a nice PMITR engine with this PMLSD!
 01-01-2010, 03:36 PM
#25
Honda-Tech Member
cool write up, I have a even poorer mans lsd lol I welded my diff and put about 5k miles on it with 280 ft lbs of tq. so far so good 