
THE LUNCHBOX!

 02-26-2017, 03:12 PM
#203
Honda-Tech Member
Thread Starter
Probably should ae haha
Last edited by afx31; 04-17-2023 at 03:42 AM.
02-26-2017, 11:26 PM
#204
Honda-Tech Member
The belt may appear ok, but I wouldn't reuse it given how little a belt costs. Reason I wouldn't reuse it is... well it jumped time. The stresses that happen in that instant as the belt overcomes the cam sprocket are not negligible. It will see a significantly shortened life and is more likely to strip teeth. I was in the same boat, I bought a car that jumped time and smashed some valves. The timing belt had been done in October, car lost time at the end of December. The ContiTech belt that was in there looked immaculate, but for $25 I couldn't risk another timing belt 'event' given that heads for diesel VWs aren't exactly easy to come by or cheap.
I'm not a 'throw money at it' kinda guy, and even I forked out money for a new belt, so I don't say this without reason. Especially for an engine that sees regular high rpms and engine braking, etc... nope nope nope. Fine to use it for a day, a week... but I would order one and replace ASAP
I'm not a 'throw money at it' kinda guy, and even I forked out money for a new belt, so I don't say this without reason. Especially for an engine that sees regular high rpms and engine braking, etc... nope nope nope. Fine to use it for a day, a week... but I would order one and replace ASAP
02-27-2017, 12:33 PM
#205
Honda-Tech Member
Thread Starter
The belt may appear ok, but I wouldn't reuse it given how little a belt costs. Reason I wouldn't reuse it is... well it jumped time. The stresses that happen in that instant as the belt overcomes the cam sprocket are not negligible. It will see a significantly shortened life and is more likely to strip teeth. I was in the same boat, I bought a car that jumped time and smashed some valves. The timing belt had been done in October, car lost time at the end of December. The ContiTech belt that was in there looked immaculate, but for $25 I couldn't risk another timing belt 'event' given that heads for diesel VWs aren't exactly easy to come by or cheap.
I'm not a 'throw money at it' kinda guy, and even I forked out money for a new belt, so I don't say this without reason. Especially for an engine that sees regular high rpms and engine braking, etc... nope nope nope. Fine to use it for a day, a week... but I would order one and replace ASAP
I'm not a 'throw money at it' kinda guy, and even I forked out money for a new belt, so I don't say this without reason. Especially for an engine that sees regular high rpms and engine braking, etc... nope nope nope. Fine to use it for a day, a week... but I would order one and replace ASAP
03-06-2017, 09:56 PM
#206
Honda-Tech Member
Thread Starter
So few updates:
I've managed to get my hands on the good old discontinued Fastline Performance shifter, keen to put it in. I am considering purchasing the Innovative shift linkages as they will come with the universal joint thing, as mine is extremely lose and slops everywhere..

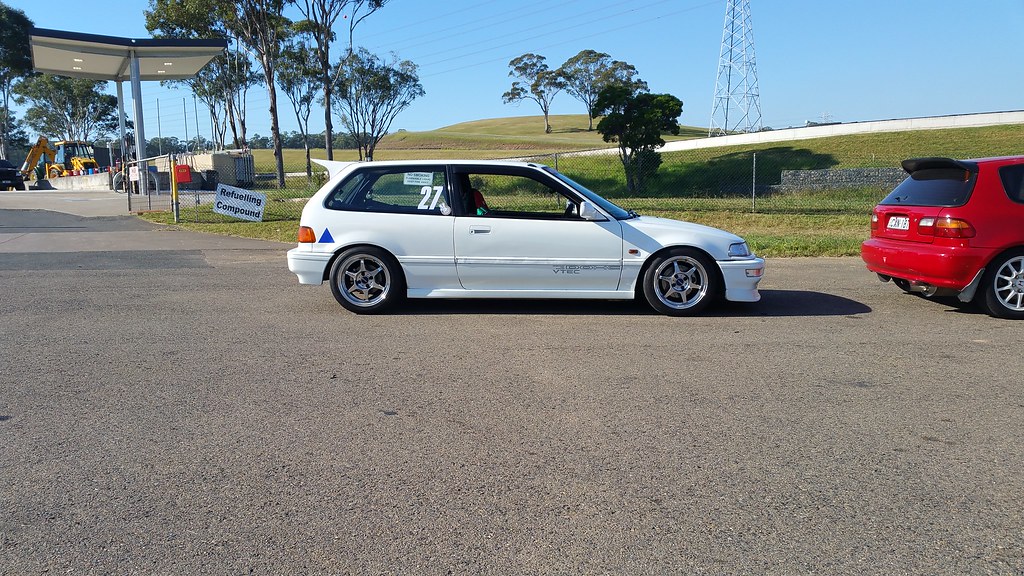
Now.. regarding the whole track wheel ordeal I've been on about for some time.. A friend lent me his Buddy club P1's to test fit and if I like I can purchase from him for cheap, they are a 15 x 8 +32 which makes them sit in a little bit compared to my Work Equip 01's. But then I thought what about using my Works for track, I was once told not to use 2/3 piece wheels as they will snap/buckle/explode due to the bolts + dish. But a friend who has a ED track car just did a track day on SSR MK2 which is exactly what I was told not to use in regards to 2/3 piece wheels.. So I did some googling and turns out a lot of MX-5 owners apparently use the Work Equip 01's on track and have no problems, and others use different 2/3 piece wheels on track, even the Osaka JDM 5 Mart folks use their own designed 2/3 piece rim on track.. As I wanted a wider offset on the front and not the rear, the works would be a good idea as well as I can just swap out the barrel for a greater offset barrel, of course thats after finding one... More research/thought continues, please if anyone has knowledge on this topic feel free to comment. Here's some pics with the P1's on car (if i do end up using the Works for track, I'll probably buy the P1's still but use for daily, they look quite neat)


I've managed to get my hands on the good old discontinued Fastline Performance shifter, keen to put it in. I am considering purchasing the Innovative shift linkages as they will come with the universal joint thing, as mine is extremely lose and slops everywhere..
Now.. regarding the whole track wheel ordeal I've been on about for some time.. A friend lent me his Buddy club P1's to test fit and if I like I can purchase from him for cheap, they are a 15 x 8 +32 which makes them sit in a little bit compared to my Work Equip 01's. But then I thought what about using my Works for track, I was once told not to use 2/3 piece wheels as they will snap/buckle/explode due to the bolts + dish. But a friend who has a ED track car just did a track day on SSR MK2 which is exactly what I was told not to use in regards to 2/3 piece wheels.. So I did some googling and turns out a lot of MX-5 owners apparently use the Work Equip 01's on track and have no problems, and others use different 2/3 piece wheels on track, even the Osaka JDM 5 Mart folks use their own designed 2/3 piece rim on track.. As I wanted a wider offset on the front and not the rear, the works would be a good idea as well as I can just swap out the barrel for a greater offset barrel, of course thats after finding one... More research/thought continues, please if anyone has knowledge on this topic feel free to comment. Here's some pics with the P1's on car (if i do end up using the Works for track, I'll probably buy the P1's still but use for daily, they look quite neat)
03-15-2017, 09:58 PM
#207
Honda-Tech Member
Thread Starter
So past few days I have been installing my EF9 SiR cluster, I've had it sitting around for maybe half a year now lol.. Just followed a pinout of the cluster against my ED6 workshop manual for the cluster wiring, more of it I was able to just re-pin into the EF9 SiR plugs. Only have the 2 door signals left.. I have photos but for some reason the photo host I use (photobucket) doesn't seem to want to work at the moment, so I'll have to keep trying.
 03-17-2017, 12:53 AM
#210
Honda-Tech Member
Join Date: Feb 2016
Location: Adelaide, South Australia
Posts: 251
Likes: 0
Received 0 Likes
on
0 Posts
good looking build mate, always seems that the australian cars i find on here are from interstate and nothing else from SA...
might have missed it, but what did you end up doing for your throttle cable? i'd like to avoid looping my oem cable all the way around the engine in my nice clean bay like you have
might have missed it, but what did you end up doing for your throttle cable? i'd like to avoid looping my oem cable all the way around the engine in my nice clean bay like you have
03-17-2017, 02:26 AM
#211
Honda-Tech Member
Thread Starter
good looking build mate, always seems that the australian cars i find on here are from interstate and nothing else from SA...
might have missed it, but what did you end up doing for your throttle cable? i'd like to avoid looping my oem cable all the way around the engine in my nice clean bay like you have
might have missed it, but what did you end up doing for your throttle cable? i'd like to avoid looping my oem cable all the way around the engine in my nice clean bay like you have
 juuuust kiddin.. more in VIC. I used a SOHC EK throttle cable I believe, you loop it under the manifold and but up the right side to ontop of it!
03-17-2017, 04:54 AM
juuuust kiddin.. more in VIC. I used a SOHC EK throttle cable I believe, you loop it under the manifold and but up the right side to ontop of it!
03-17-2017, 04:54 AM
#212
Honda-Tech Member
Join Date: Feb 2016
Location: Adelaide, South Australia
Posts: 251
Likes: 0
Received 0 Likes
on
0 Posts
03-18-2017, 06:16 PM
#213
Honda-Tech Member
Thread Starter
PHOTOBUCKET WORKS! Finally, no idea why it just wouldn't let me load anything the past few days..
So I'll post the photos after this little blurb.. I got the plugs SiR side, labelled each one and then started de-pinning the ED6 ones, as certain wires couldn't just be clipped straight into the SiR ones, actually I used all of them.. Then for whatever was left on the SiR side I just put in spare ones I had, some wires had to be piggy backed to another (going off the guide I was using) but everything was fairly straight forward. Wired in the VSS, the electronic VSS I bought fits, but the bracket to bolt into the gearbox is just too short (shown in one of the pics) so me being me, I just jammed it in there and it works. I will make a bracket or something for it soon, but for now not too bothered.
In 2 of the photos you'll see I took a 8 pin plug and cut 1 pin off either side, turning it into a 6 pin plug, as the SiR requires it and it's apparently the hardest one to find.. It works perfectly! Comparison of the cable VSS vs electronic VSS to check everything is same size. And yeah the final product. I can now read past 8000RPM which is good, as my redline is set to 8400RPM. Have the open doors and few other little goodies, and also the check engine light as the ED6 Carby cluster doesn't have one, and now I have the shift light set up through it with the Hondata!


Here's some photos of the final product! Very happy with how it turned out, gives a complete different feel when driving, not sure how but it does, and at night with the cluster lit up it's even cooler, so SiR!


So I'll post the photos after this little blurb.. I got the plugs SiR side, labelled each one and then started de-pinning the ED6 ones, as certain wires couldn't just be clipped straight into the SiR ones, actually I used all of them.. Then for whatever was left on the SiR side I just put in spare ones I had, some wires had to be piggy backed to another (going off the guide I was using) but everything was fairly straight forward. Wired in the VSS, the electronic VSS I bought fits, but the bracket to bolt into the gearbox is just too short (shown in one of the pics) so me being me, I just jammed it in there and it works. I will make a bracket or something for it soon, but for now not too bothered.
In 2 of the photos you'll see I took a 8 pin plug and cut 1 pin off either side, turning it into a 6 pin plug, as the SiR requires it and it's apparently the hardest one to find.. It works perfectly! Comparison of the cable VSS vs electronic VSS to check everything is same size. And yeah the final product. I can now read past 8000RPM which is good, as my redline is set to 8400RPM. Have the open doors and few other little goodies, and also the check engine light as the ED6 Carby cluster doesn't have one, and now I have the shift light set up through it with the Hondata!
Here's some photos of the final product! Very happy with how it turned out, gives a complete different feel when driving, not sure how but it does, and at night with the cluster lit up it's even cooler, so SiR!
Last edited by afx31; 04-09-2017 at 06:42 AM.
04-09-2017, 06:30 AM
#214
Honda-Tech Member
Thread Starter
So today I decided to attend to my sloppy shift linkage universal joint, it's been horrible for a while with massive amounts of 'play', and since I came back from Japan I picked up a Fastline Performance shifter (which are discontinued/rare-ish) so thought now would be a good time to over haul everything. I was going to purchase the Innovative replacement but a mate said let's just 'rebuild' it.
First off is a photo just showing it before we started, it sloppy left, right and center on the 2 different joints. So we grinded off the bins to separate the joint from linkage and then the joint itself. The bitch pin side of the joint you are presented with a black rubber/metal outer insert for either side with a white nylon plastic inner piece. Straight away we found a large gap between the nylon piece against the inside of the metal T piece where the bitch pin goes in to. We thought of a few method to pack this out, but in the end (after walking around bunnings) decided to go with these PVC piping pieces as you can see in the 3rd photo. So what I did was file down the threaded side as the inlet was better suited for the T piece, then once it just fitted inside the T piece I cut off the smooth side/filed down and in she went! Next up I got the dremel and grinded out inside of it a few mill so the black outa rubber/metal insert could slide in. Once this was done for either side, all was reassembled with some greased and put back into the joint bracket.
For the pin holding the bracket to linkage I actually didn't get any photos of it as my mate was working on that piece as I did the above.. But once you grind of the pins either side, tap out the metal shaft which runs through it. He then tapped and threaded holes either end. One end is bigger then the other, I believe the 2 sizes were 8mm and 6mm but will double check those sizes later on. Once that was done, we bolted it in from either side with washers and she was shmick! Reassembled that to the joint and job was done!


LEFT = original nylon piece MIDDLE = new custom PVC piece RIGHT = PVC piece before modding


I then bolted it all back up to the car along with the new Fastline Performance shifter. It feels a lot better with everything done + the new shifter, I did try it first with my original DC2R one, much better. Still a little bit of play, but I believe this is from a few other areas, as there are multiple points in the entire shifting system. The rubber boot which goes around the ball towards the bottom of the shifter seems to move around a lot when the shifter is moved, also noticed the bushing underneath the car at the back of the linkages (takes 2 x 12mm bolts into chassis) flexes ALOT when moving back and forth on the shift.. The thought of a nice billet piece for there, I feel would make a good difference. I've read the bitch pin itself can cause some play.. BUT having said all that, what we've done today took a few hours, 2 x $2.50 pieces from bunnings and then your left over bolts in the garage, very happy with the result and keen to test it out at Eastern Creek later this month, along with Wakefield at the very start of next month! I will get some photos of the shifter in car tomorrow!

First off is a photo just showing it before we started, it sloppy left, right and center on the 2 different joints. So we grinded off the bins to separate the joint from linkage and then the joint itself. The bitch pin side of the joint you are presented with a black rubber/metal outer insert for either side with a white nylon plastic inner piece. Straight away we found a large gap between the nylon piece against the inside of the metal T piece where the bitch pin goes in to. We thought of a few method to pack this out, but in the end (after walking around bunnings) decided to go with these PVC piping pieces as you can see in the 3rd photo. So what I did was file down the threaded side as the inlet was better suited for the T piece, then once it just fitted inside the T piece I cut off the smooth side/filed down and in she went! Next up I got the dremel and grinded out inside of it a few mill so the black outa rubber/metal insert could slide in. Once this was done for either side, all was reassembled with some greased and put back into the joint bracket.
For the pin holding the bracket to linkage I actually didn't get any photos of it as my mate was working on that piece as I did the above.. But once you grind of the pins either side, tap out the metal shaft which runs through it. He then tapped and threaded holes either end. One end is bigger then the other, I believe the 2 sizes were 8mm and 6mm but will double check those sizes later on. Once that was done, we bolted it in from either side with washers and she was shmick! Reassembled that to the joint and job was done!
LEFT = original nylon piece MIDDLE = new custom PVC piece RIGHT = PVC piece before modding
I then bolted it all back up to the car along with the new Fastline Performance shifter. It feels a lot better with everything done + the new shifter, I did try it first with my original DC2R one, much better. Still a little bit of play, but I believe this is from a few other areas, as there are multiple points in the entire shifting system. The rubber boot which goes around the ball towards the bottom of the shifter seems to move around a lot when the shifter is moved, also noticed the bushing underneath the car at the back of the linkages (takes 2 x 12mm bolts into chassis) flexes ALOT when moving back and forth on the shift.. The thought of a nice billet piece for there, I feel would make a good difference. I've read the bitch pin itself can cause some play.. BUT having said all that, what we've done today took a few hours, 2 x $2.50 pieces from bunnings and then your left over bolts in the garage, very happy with the result and keen to test it out at Eastern Creek later this month, along with Wakefield at the very start of next month! I will get some photos of the shifter in car tomorrow!
12-15-2017, 02:31 PM
#215
Honda-Tech Member
Thread Starter
So it's been a while (since start of the year) since I've uploaded.. Busy with life itself especially with uni + work, but still not excuse for not keeping the build thread updated. Then of course Photobucket did the whole blocking photo thing unless you pay $400 to have photo's view no 3rd party forums again.. So I started going through uploading all the photos again to Flickr and then here, but just got told yesterday by a friend there is a Google Chrome plugin which allows you to view it. I will still go through and upload everything to Flickr and re link in case people don't know of the plugin.
I'll go back to where I last posted (May 2017 this year haha) and continue from there, many track days ahve occured since! :D
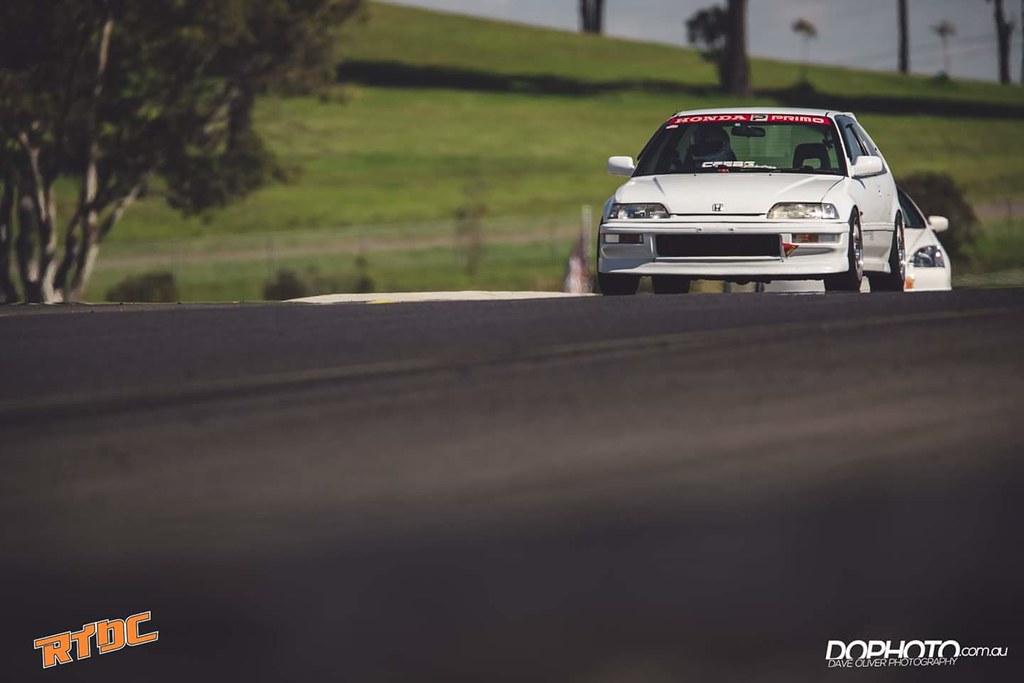
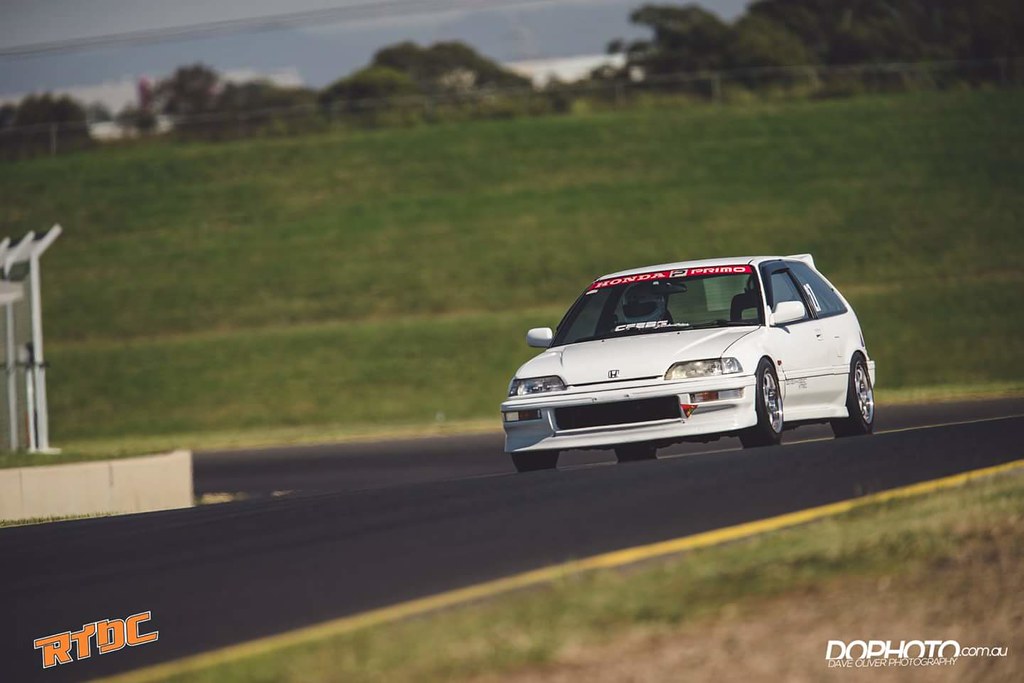
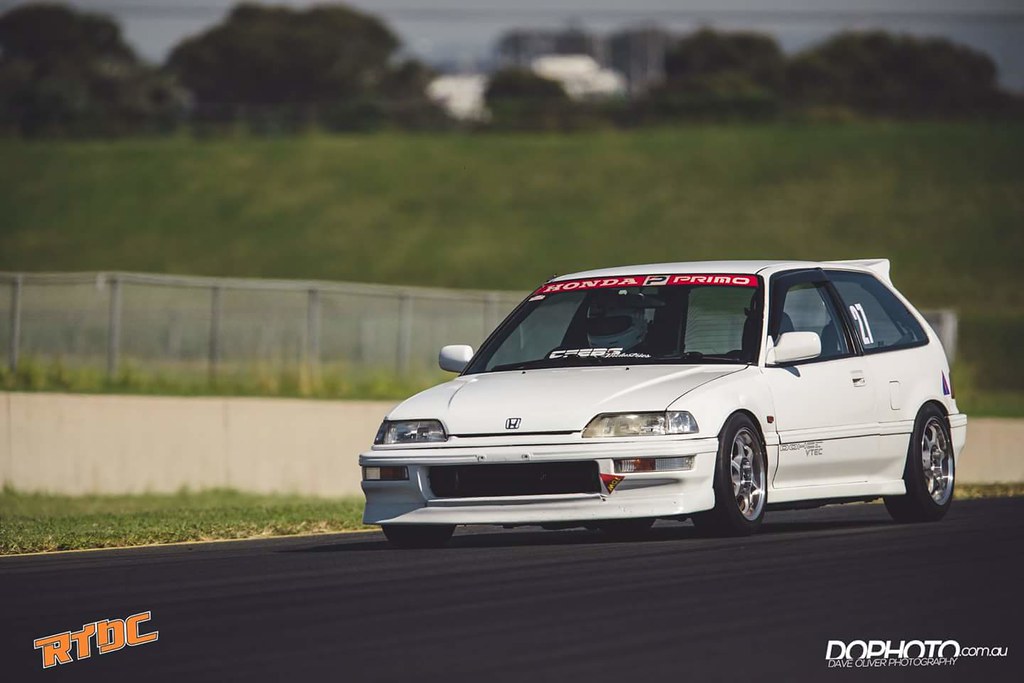
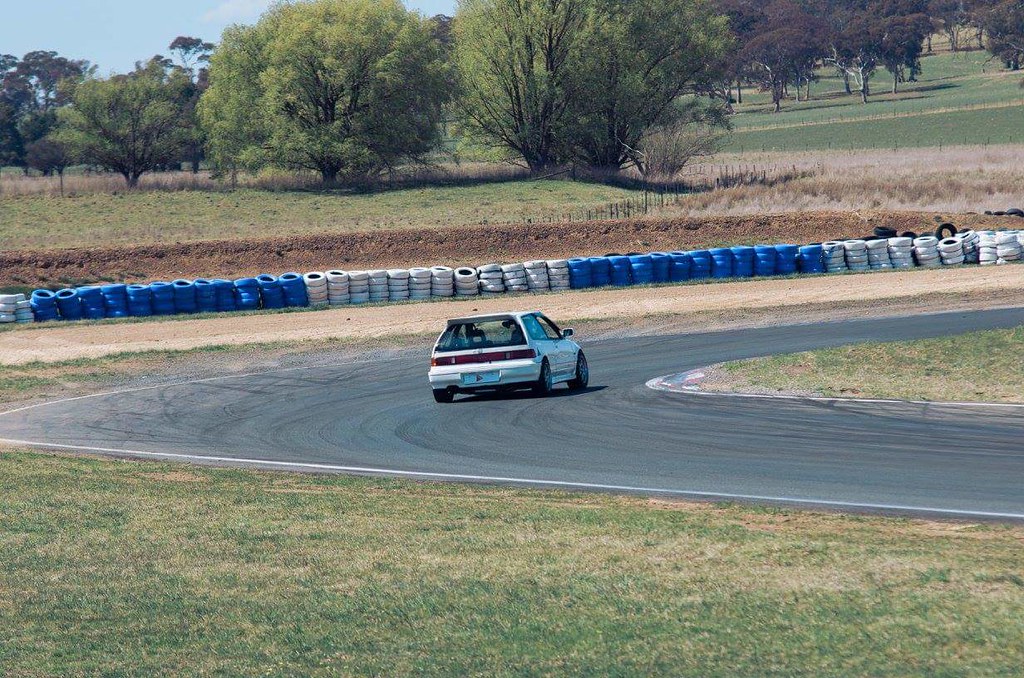
RTDC a club I signed up with this year (however probably shouldn't have I don't hear much from them), held a track day at Sydney Motor Sport Park on the North Circuit configuration, boy its a fun track, high speeds but at times felt like the NA B18C needed a turbo Much longer than Wakefield, sitting in 3rd to 5th most of the time, hitting over 200km on the main straight then 170km through first turn. 35 degrees day meant my second hand RS3's were getting a beating, nuffin like melting rubber aye. Exhaust also managed to melt the bumper too. Ended up with a 1.20.XX PB by the end of the day, sat around the mid of the time board, happy with the out come. Once I went home and watched the footage I know where I need to improve, however probably won't go back until next year, very fast track for my little civic, but thats no excuse
  I also put together a YouTube video which I'll link below!
Quite a few photos, the photographers on the day did an amazing job. Thanks to RTDC for holding a well organised and smooth track day!


I'll go back to where I last posted (May 2017 this year haha) and continue from there, many track days ahve occured since! :D
RTDC a club I signed up with this year (however probably shouldn't have I don't hear much from them), held a track day at Sydney Motor Sport Park on the North Circuit configuration, boy its a fun track, high speeds but at times felt like the NA B18C needed a turbo
Much longer than Wakefield, sitting in 3rd to 5th most of the time, hitting over 200km on the main straight then 170km through first turn. 35 degrees day meant my second hand RS3's were getting a beating, nuffin like melting rubber aye. Exhaust also managed to melt the bumper too. Ended up with a 1.20.XX PB by the end of the day, sat around the mid of the time board, happy with the out come. Once I went home and watched the footage I know where I need to improve, however probably won't go back until next year, very fast track for my little civic, but thats no excuse I also put together a YouTube video which I'll link below!Quite a few photos, the photographers on the day did an amazing job. Thanks to RTDC for holding a well organised and smooth track day!
12-15-2017, 02:48 PM
#216
Honda-Tech Member
Thread Starter
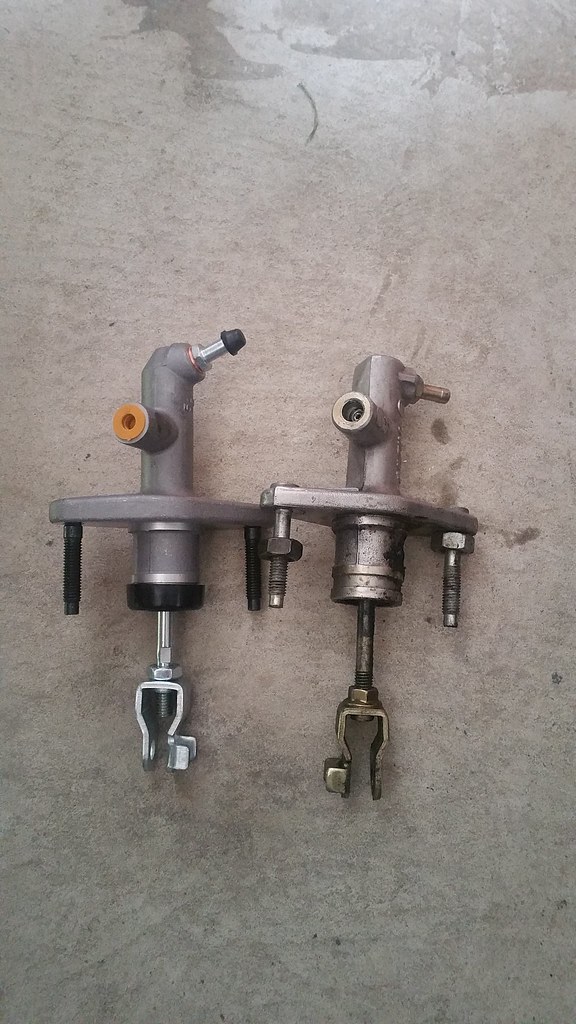
A month after the SMSP track day posted above, my clutch slave started to leak I noticed yet still worked just topped up the master. Then a few days later it finally let go and there was zero action. So I ordered and installed a new slave, believe this one was a EK one for my Hasport Cable to Hydro converter. Works nicely, there was more adjustment on it so had to try figure out the sweet spot, and even to this day I'm still not 100% on it, I keep adjusting it here and there to different bite points, but cannot find a sweet spot for me..
New vs Old:
New vs Old:
Last edited by afx31; 12-15-2017 at 03:08 PM.
12-15-2017, 02:50 PM
#217
Honda-Tech Member
Thread Starter
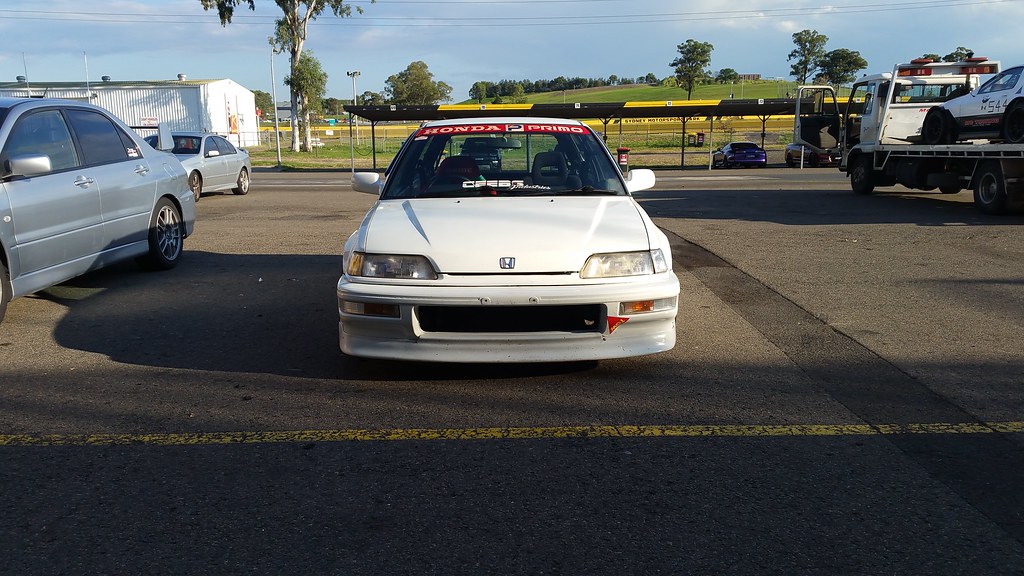
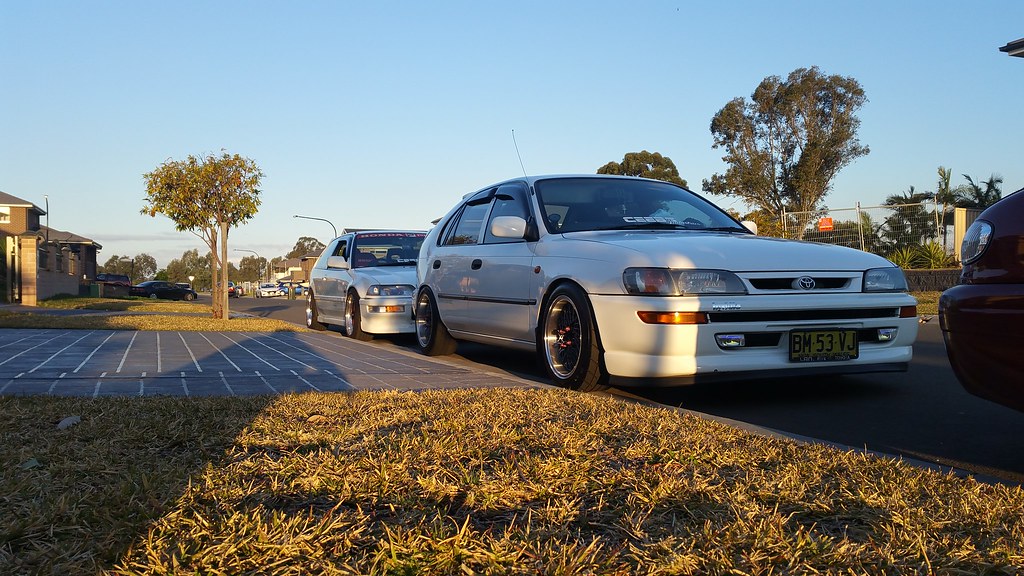
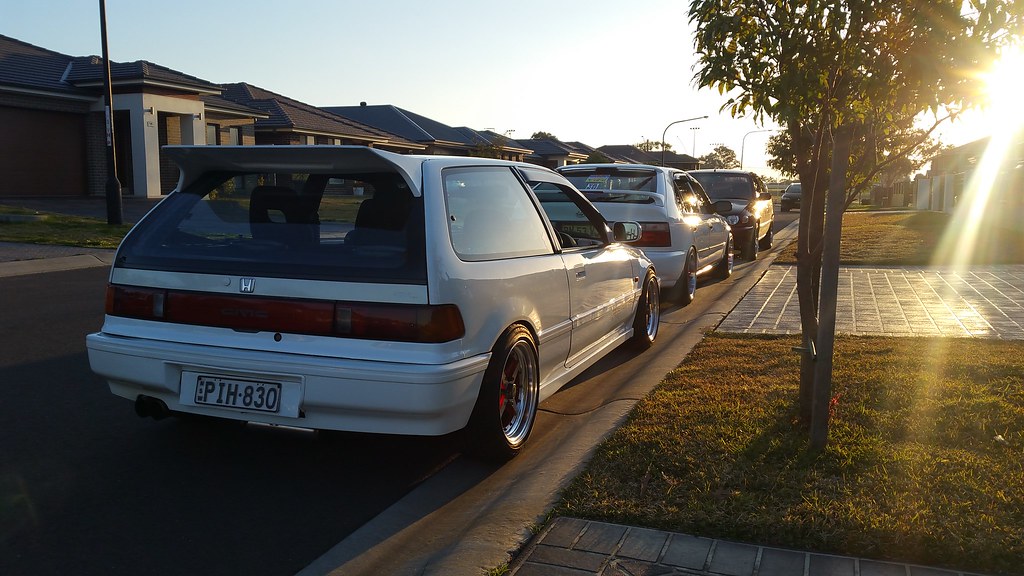
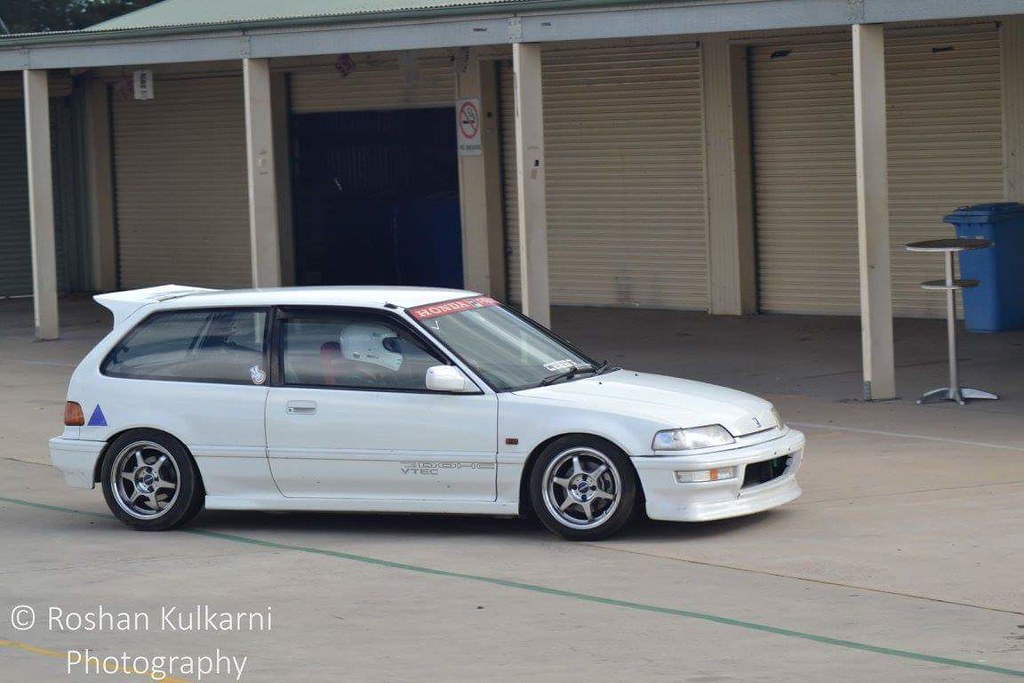
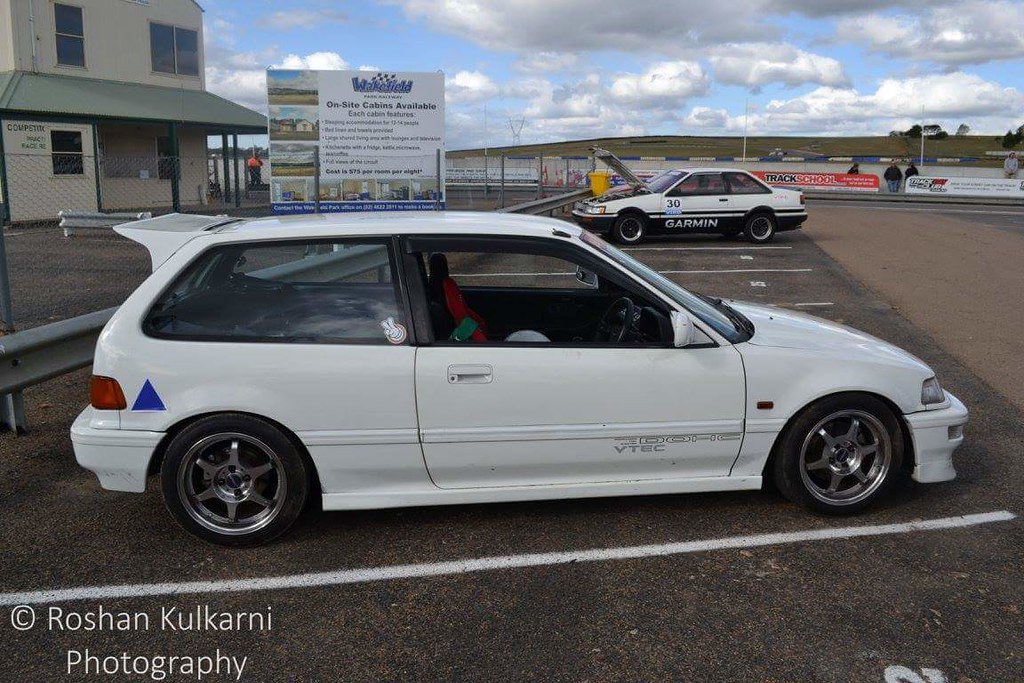
Nothing much happened for the next month, since start of year I've always had a daily so the civic truely became the weekend/fun car/race car. I still take it about to work/daily duties now and then. Few pics with it and my mates AE101 Corolla w/Silvertop
12-15-2017, 02:58 PM
#218
Honda-Tech Member
Thread Starter
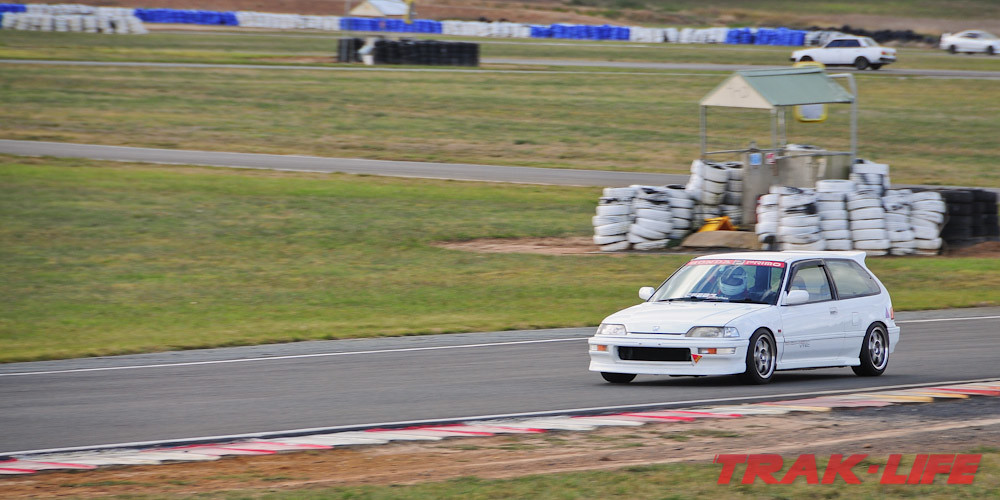
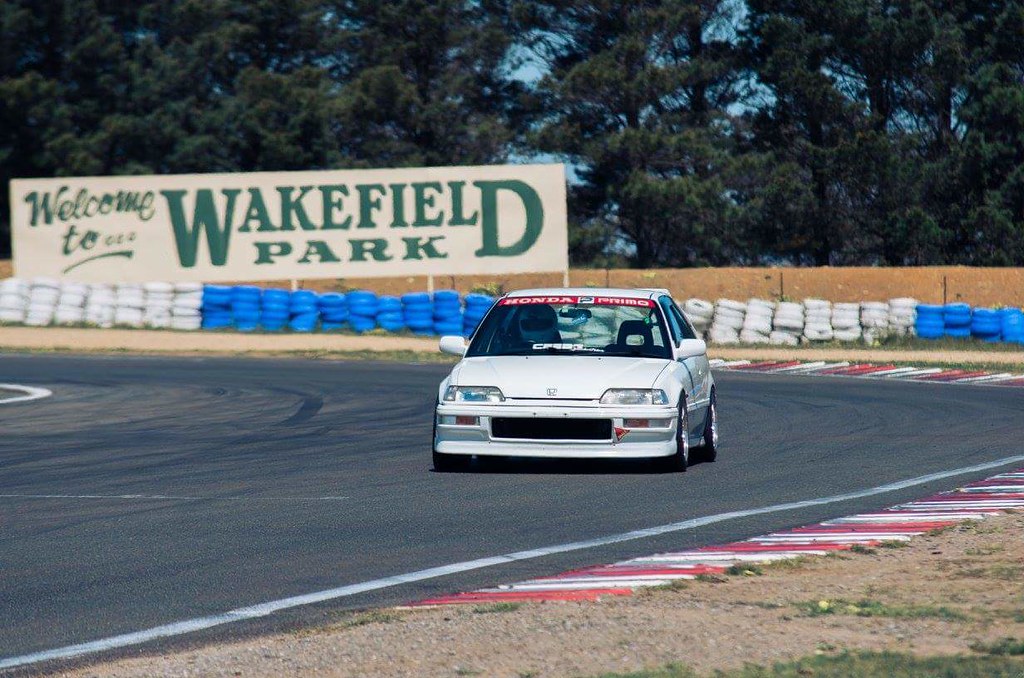
A month later I attended the Greaser x Trak-Life Wakefield Track day. Fun day, some fast car's out. However this was the first track day I've attended and the car has turned on me.. Track time commenced 9am, by 9:30am I gave it the beans down the straight on my first 'fast' lap and as I did so the lower alternator bolt decided it didn't want to be holding the alternator and it would rather fall out and be in the organsiers S15 A050 semi slick behind me.. Spent all day going around Goulburn trying to find a shop to repair bolt and I offered to repair the guys tyre (he ended up getting a Pb on the repaired tyre, and we now good friends and his my brake pad/disc supplier now ).. Then turns out bit of the bolt snapped off, so had to return to town and find somewhere that had a bolt which would work, eventually found the exact same bolt just with a normal hex head instead of the OEM square head. Once all back together it was already 2:30pm, track closes at 4pm. Was going to just drive home but everyone ghee'd me to return to the track and so I did. Previous Pb is a 1.13.00 flat, didn't beat it but I managed to get down to a 1.14.00 in the YouTube vid I'll link below.
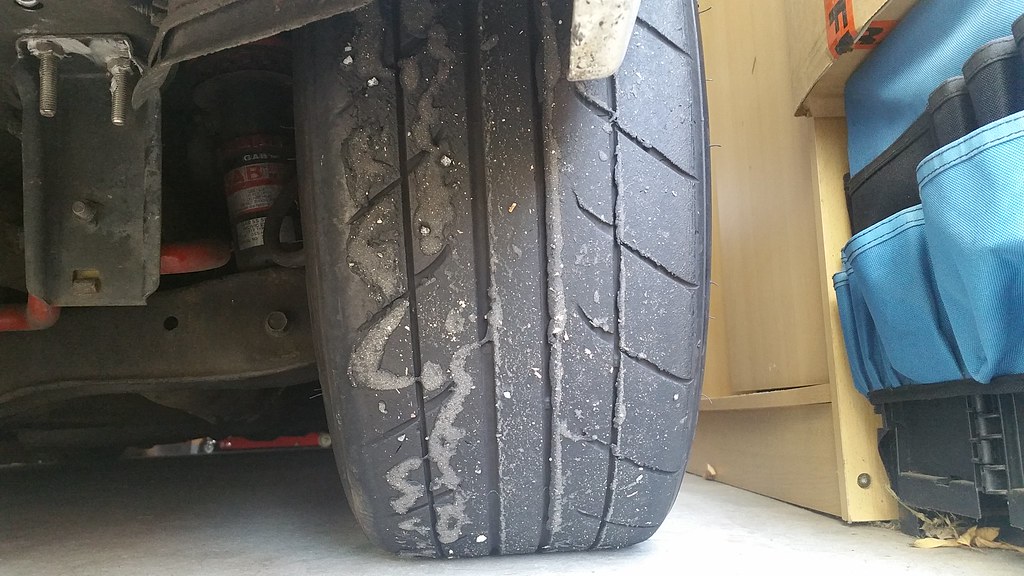
The PB 1.13.00 was set on street Nitto NT830's, this time I had the same worn Hankook RS3's from Eastern Creek earlier this year, time for new tyres gary! Still a very fun day in the end and was able to drive the car home. Thanks Greaser x Trak-Life for holding an awesome day, and sorry Phil for the tyre
).. Then turns out bit of the bolt snapped off, so had to return to town and find somewhere that had a bolt which would work, eventually found the exact same bolt just with a normal hex head instead of the OEM square head. Once all back together it was already 2:30pm, track closes at 4pm. Was going to just drive home but everyone ghee'd me to return to the track and so I did. Previous Pb is a 1.13.00 flat, didn't beat it but I managed to get down to a 1.14.00 in the YouTube vid I'll link below.The PB 1.13.00 was set on street Nitto NT830's, this time I had the same worn Hankook RS3's from Eastern Creek earlier this year, time for new tyres gary! Still a very fun day in the end and was able to drive the car home. Thanks Greaser x Trak-Life for holding an awesome day, and sorry Phil for the tyre
12-15-2017, 03:03 PM
#219
Honda-Tech Member
Thread Starter
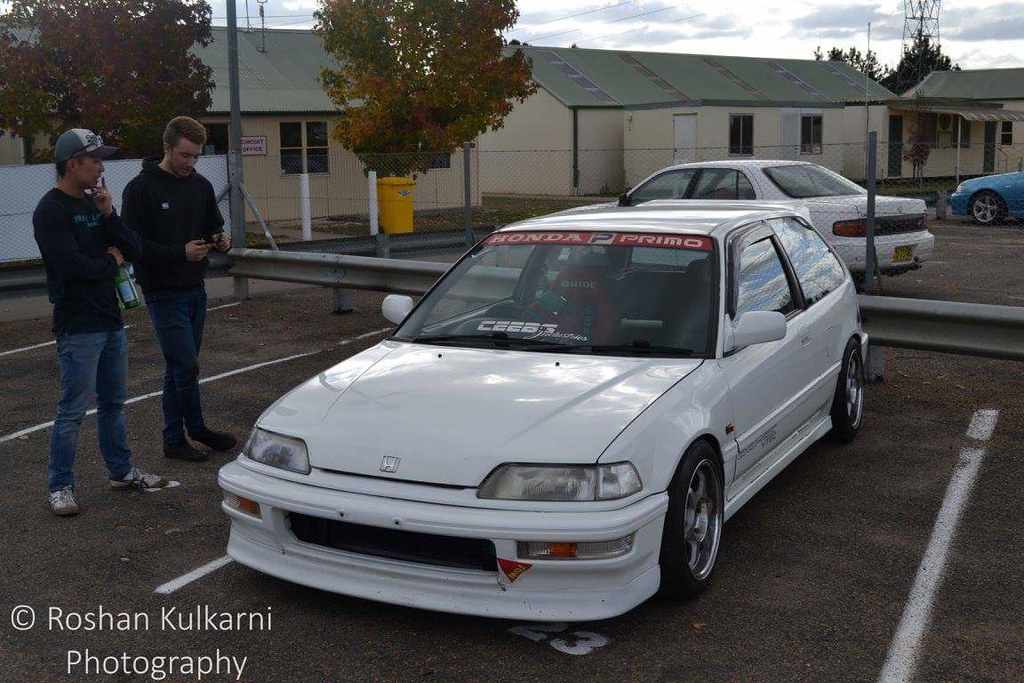
Here's some more photos that came about a week later from the Greaser x Trak-Life track day. Nothing since has happened with the car it's just resting. The lower alternator bolt seems to be holding up. I will be required to get new pads + rotors soon as my current ones have been on the car for over 2hrs now and they were used when I put them on, when I did the DA9 big brake upgrade
12-15-2017, 03:15 PM
#220
Honda-Tech Member
Thread Starter
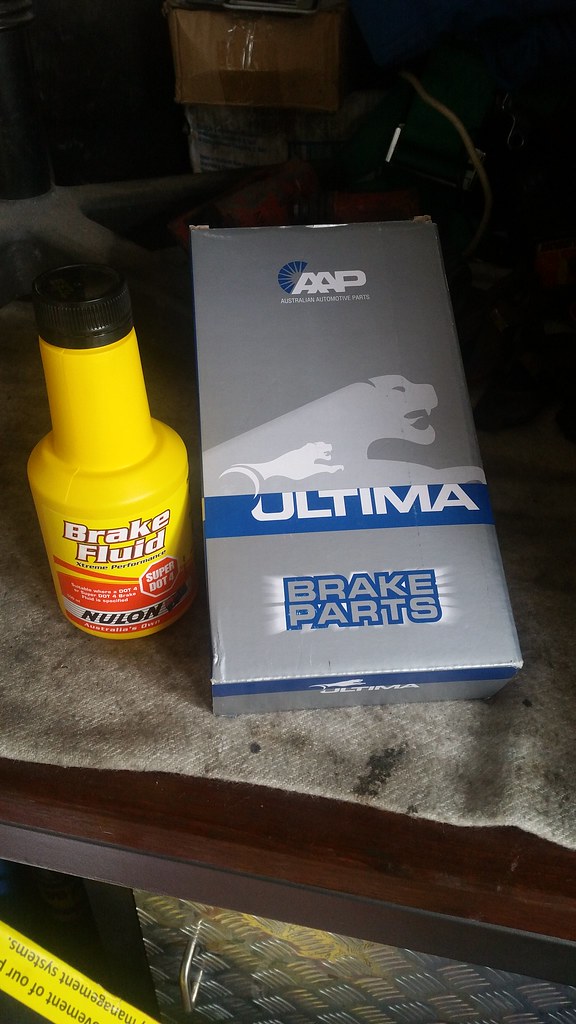
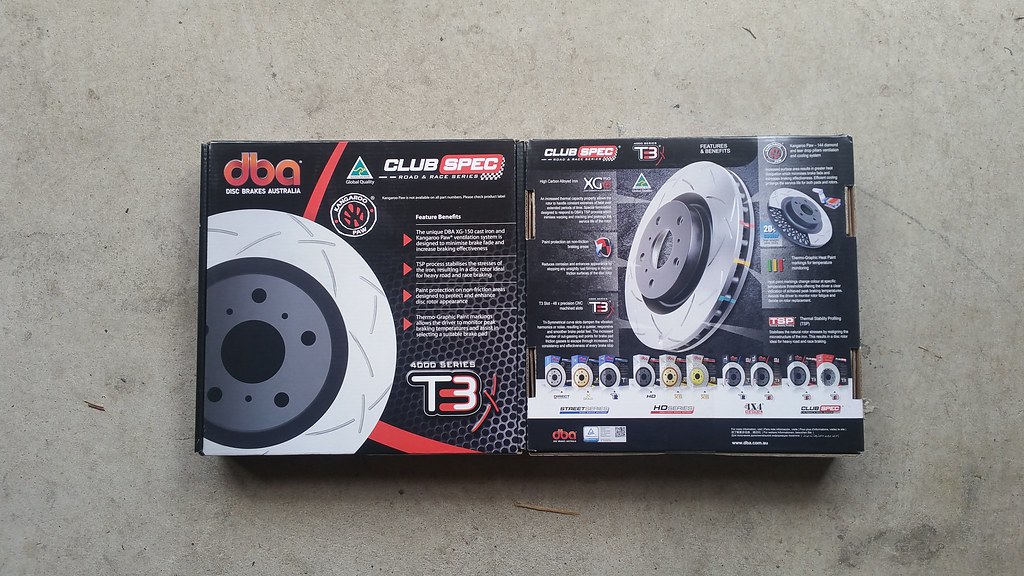
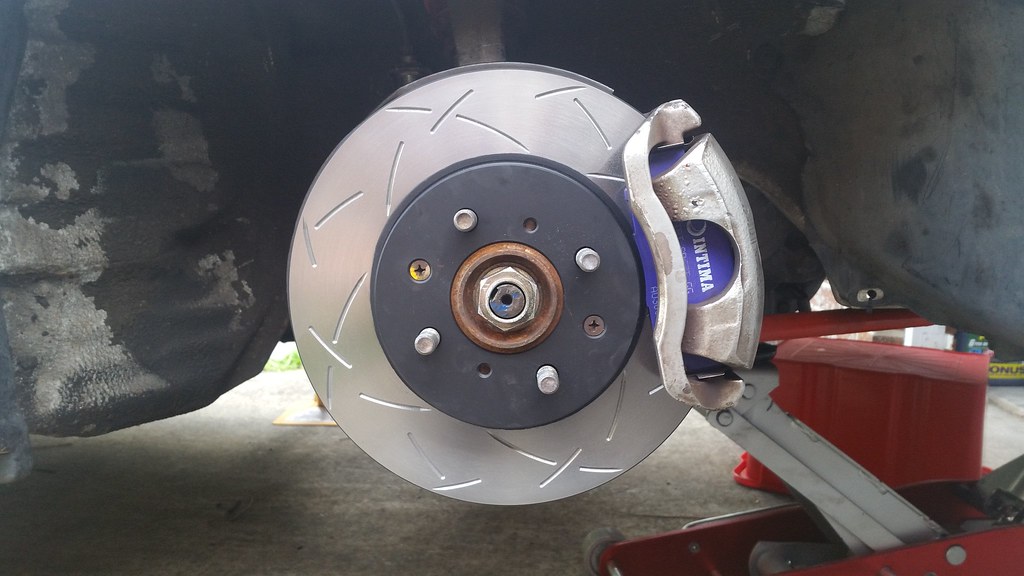
As mentioned above, I was in need of a brake refreshment. Currently I've done all these track days of second hand, no name pads and discs and braking hasn't been overly great but was still decent enough. Time to ballse up and enter the proper track stuff. My mate who I popped the S15 tyre for, he runs a brake company called Intima. I bought their SR pads which are the track with a lil daily spec ones, they then have a daily and a full track spec pad as well. Very cheap too! He also hooked me up with some fresh DBA T3 track rotors as well which look very nice. Thank you so much Intima/Phil for looking after me, the feed back on the pads themselves are amazing, so responsive, and as I'll mention in other posts for track, I was able to do 10 hard consistent laps jumping on the brakes late (as I can now do that) and they did not fail one bit!
Also, I bought a fresh set of Hankook Ventus RS3's, 195 for the rear and bumped up to the 225's for up front, JDMyard had a sale on as the RS3's are now discontinued..

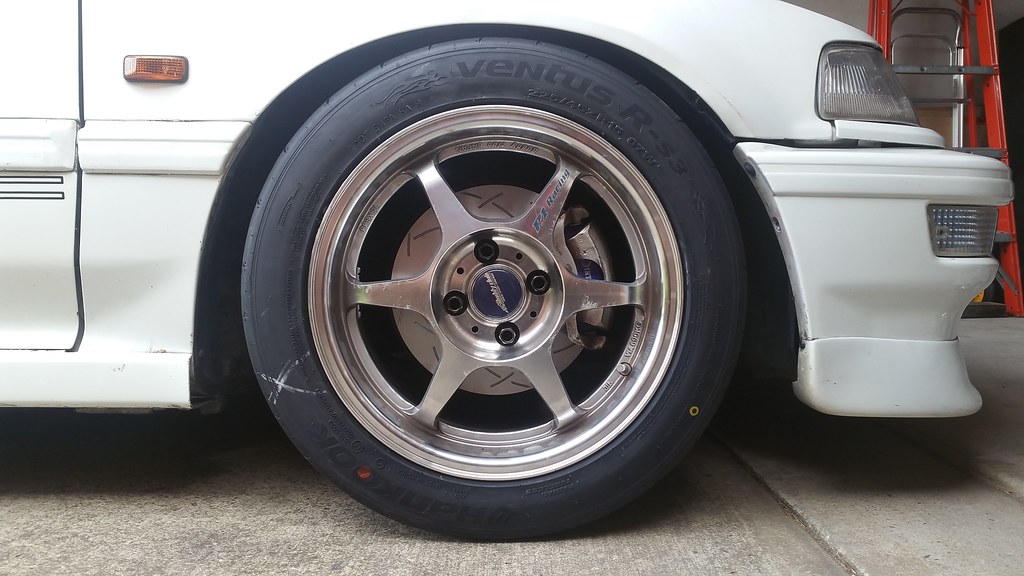
Also, I bought a fresh set of Hankook Ventus RS3's, 195 for the rear and bumped up to the 225's for up front, JDMyard had a sale on as the RS3's are now discontinued..
Last edited by afx31; 12-26-2017 at 10:12 PM.


