When you click on links to various merchants on this site and make a purchase, this can result in this site earning a commission. Affiliate programs and affiliations include, but are not limited to, the eBay Partner Network.
My various wires are breaking in the door hinge area. I cannot figure out how to release the connector "pins" from the body side of the door plug to put new wires in. I have some new connectors to put in which give me no clue as to how they come out. Can anyone explain clearly how to do this?
A very helpful comment. The wires are not pinched. They bend every time the door is opened or closed, and the copper eventually work-hardens, which causes it to break. Civics and CRVs are notorious for this problem. It goes with high mileage, or like the Chev Equinox in my shop Saturday, at low mileage.
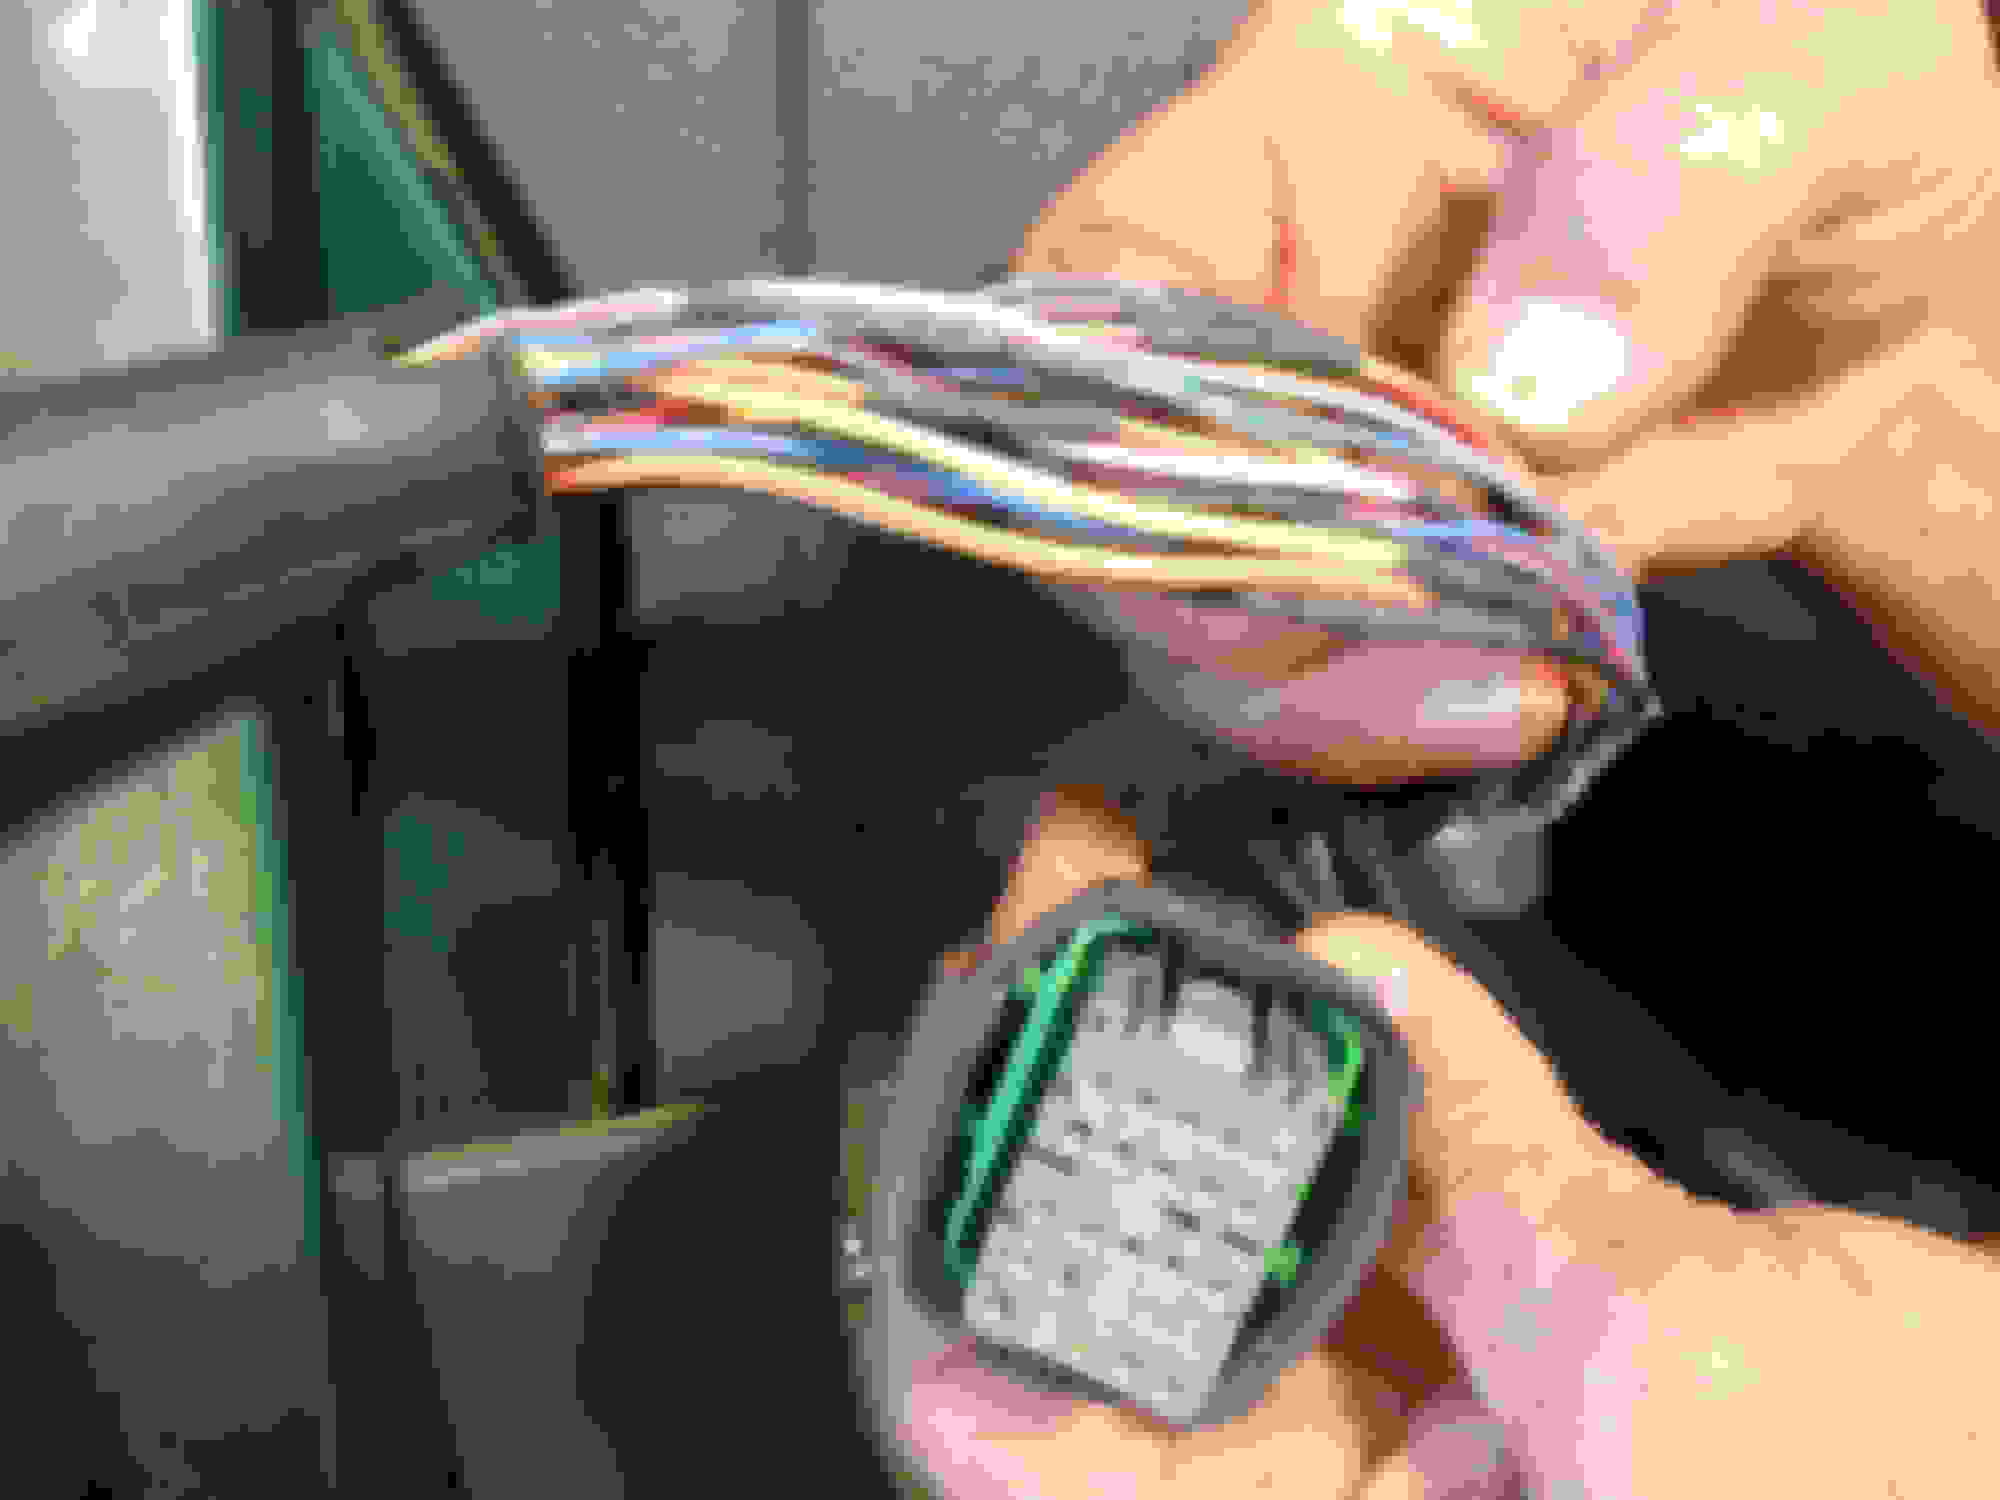
First step is to blow all the grease out with some brake-clean and air. The pop up the white lock on the main part of connector, look inside connector and you'll see the tabs to release the pins, long thin pic seems to work the best
I am in the midst of this repair currently on my 99 CR-V with 283K on the clock. Heading for wrecking yard and will pursue this when I have another harness plug (door jamb). Photos will be posted.
Found a good door jamb plug at the wrecking yard. Cut it off with a length of wire and will solder and shrink tube the wires later in the week with photos along the way.
Last edited by S2K Yellow; 09-16-2017 at 01:27 PM.
just got my new daily, 2000 crv, and just daig this problem, power locks dont work and window opens only with the door open, ill share my experance as well, love this crv about to click 350,000 miles too.. ill be making a post about her soon.... #hondakid for life.. lol..
Went to the wrecking yard. Got the best harness they had. One wire was broken anyway. I'm sick of this **** so I ordered some 16AWG and some 24 AWG silicon sheathed auto wire. I'm gonna use the spare connector and some new pins to make a flex pigtail. It'll flex long after I'm dead. Gonna use 3" of this and then solder my wires to it. Also ordered a bag of 07JAZ-001330A and a bag of 07JAZ-001340A
Not sure about that second part number. It says it's for 18-22 AWG but it was the closest I could find that looked like I could make a 16 AMG wire fit
Last edited by burnoutboy; 09-20-2017 at 06:00 AM.
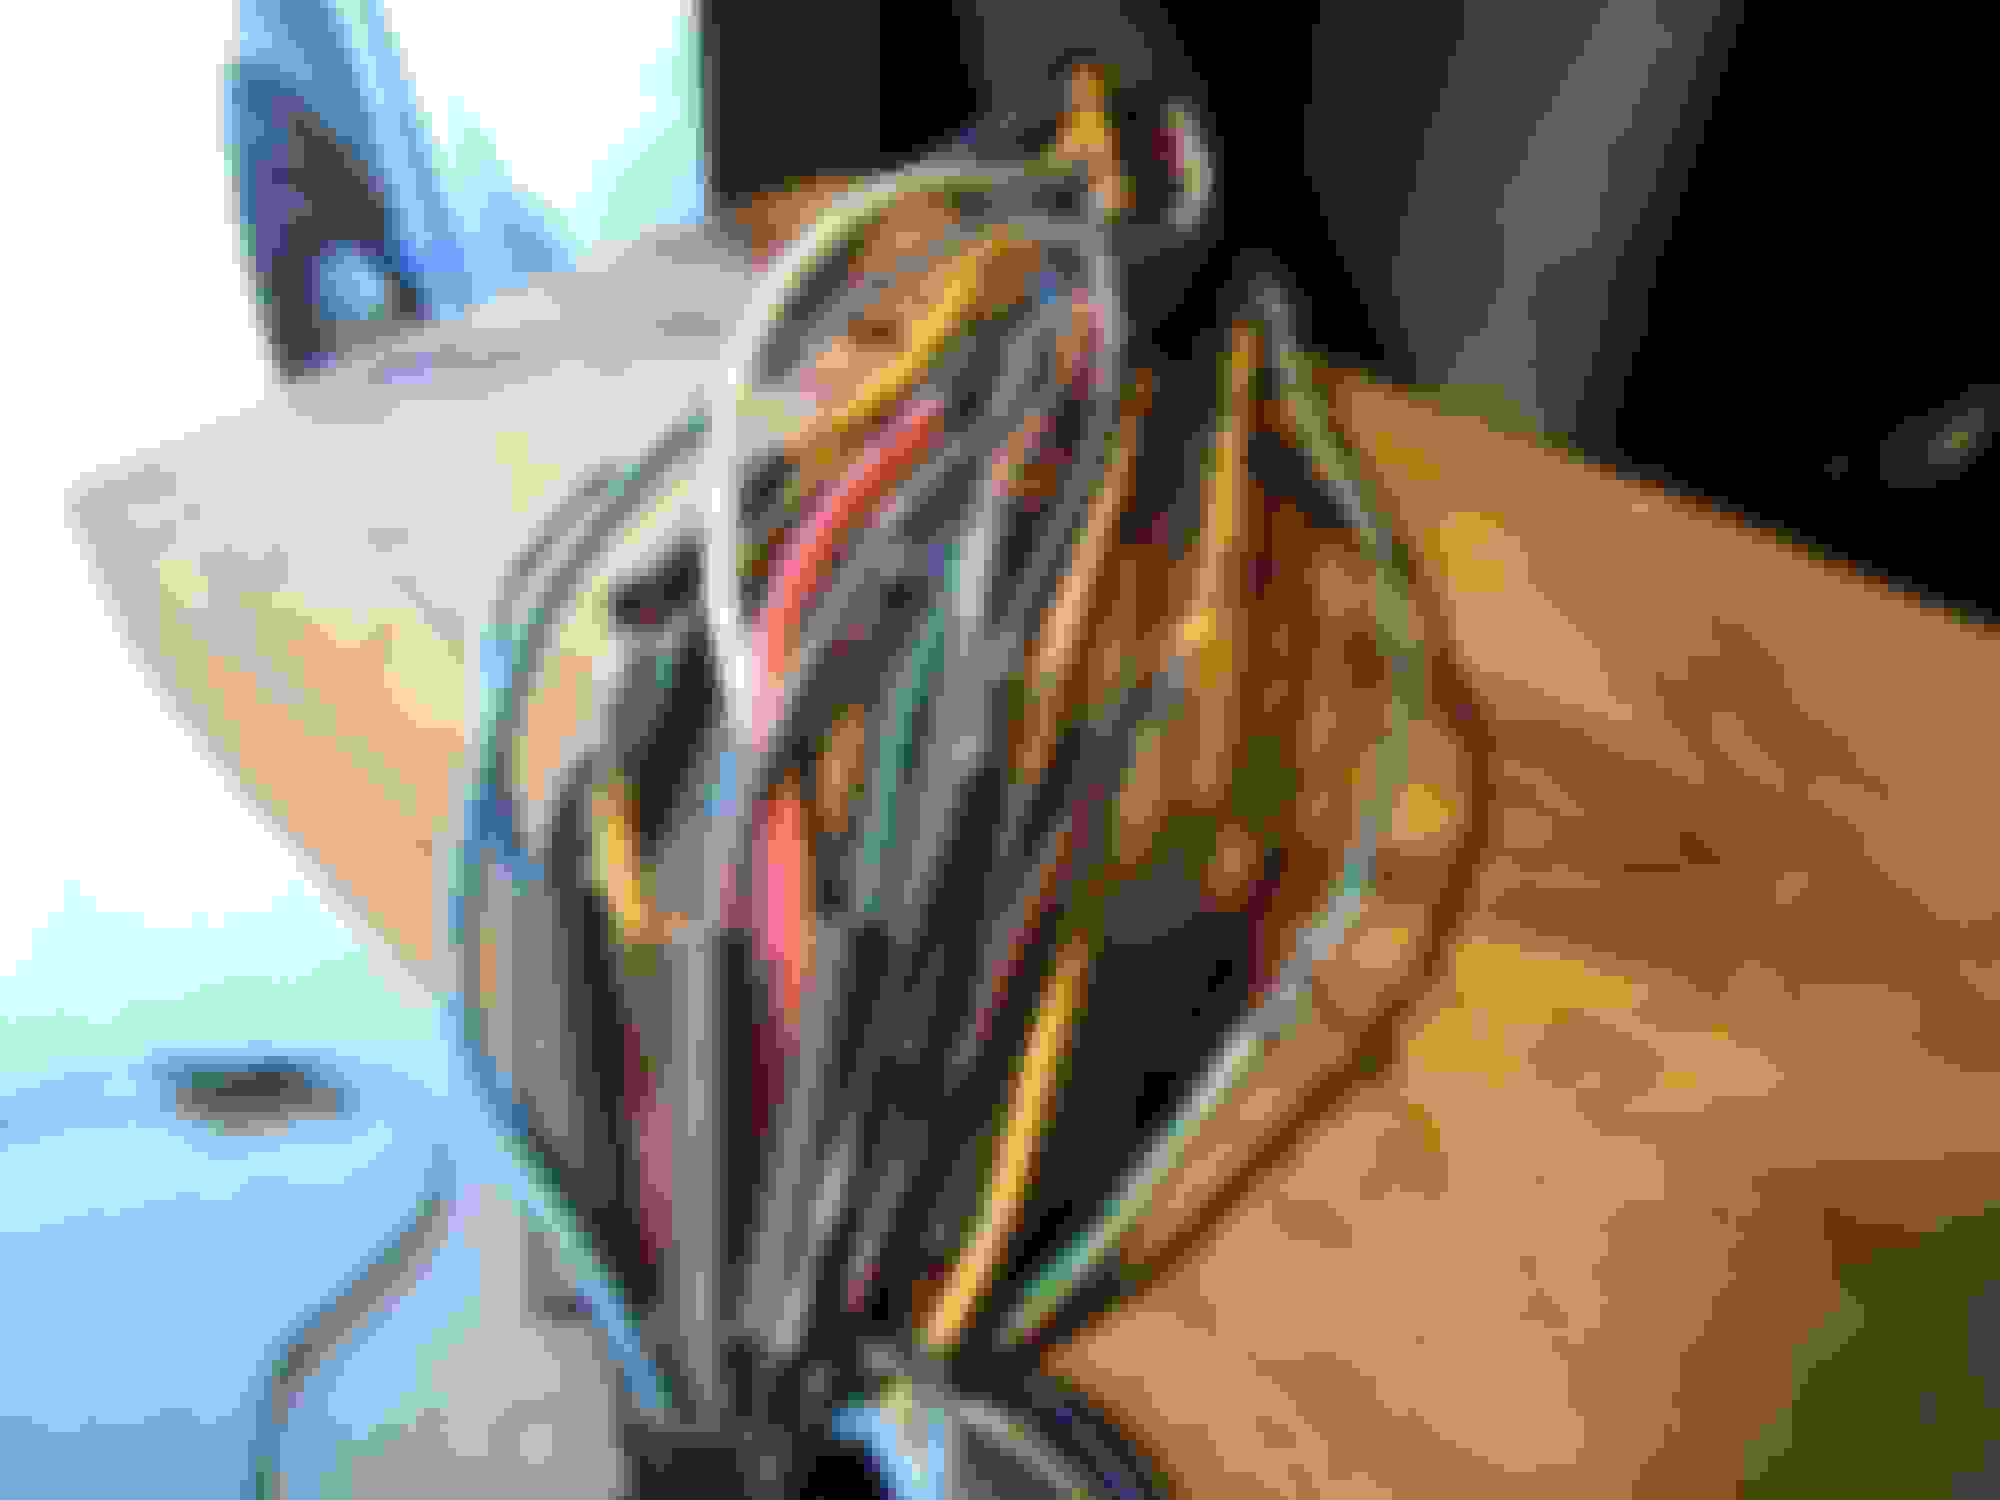
Once I pulled the connector apart and verified the broken wire, others began to break just by handling so I decided to buy a good used connector from the wrecking yard. They had 3 CR-V's to choose from and the first one had a good plug with only one yellow wire showing a crack in the insulation. I paid $3.20 for the connector and $2 to get into the yard.
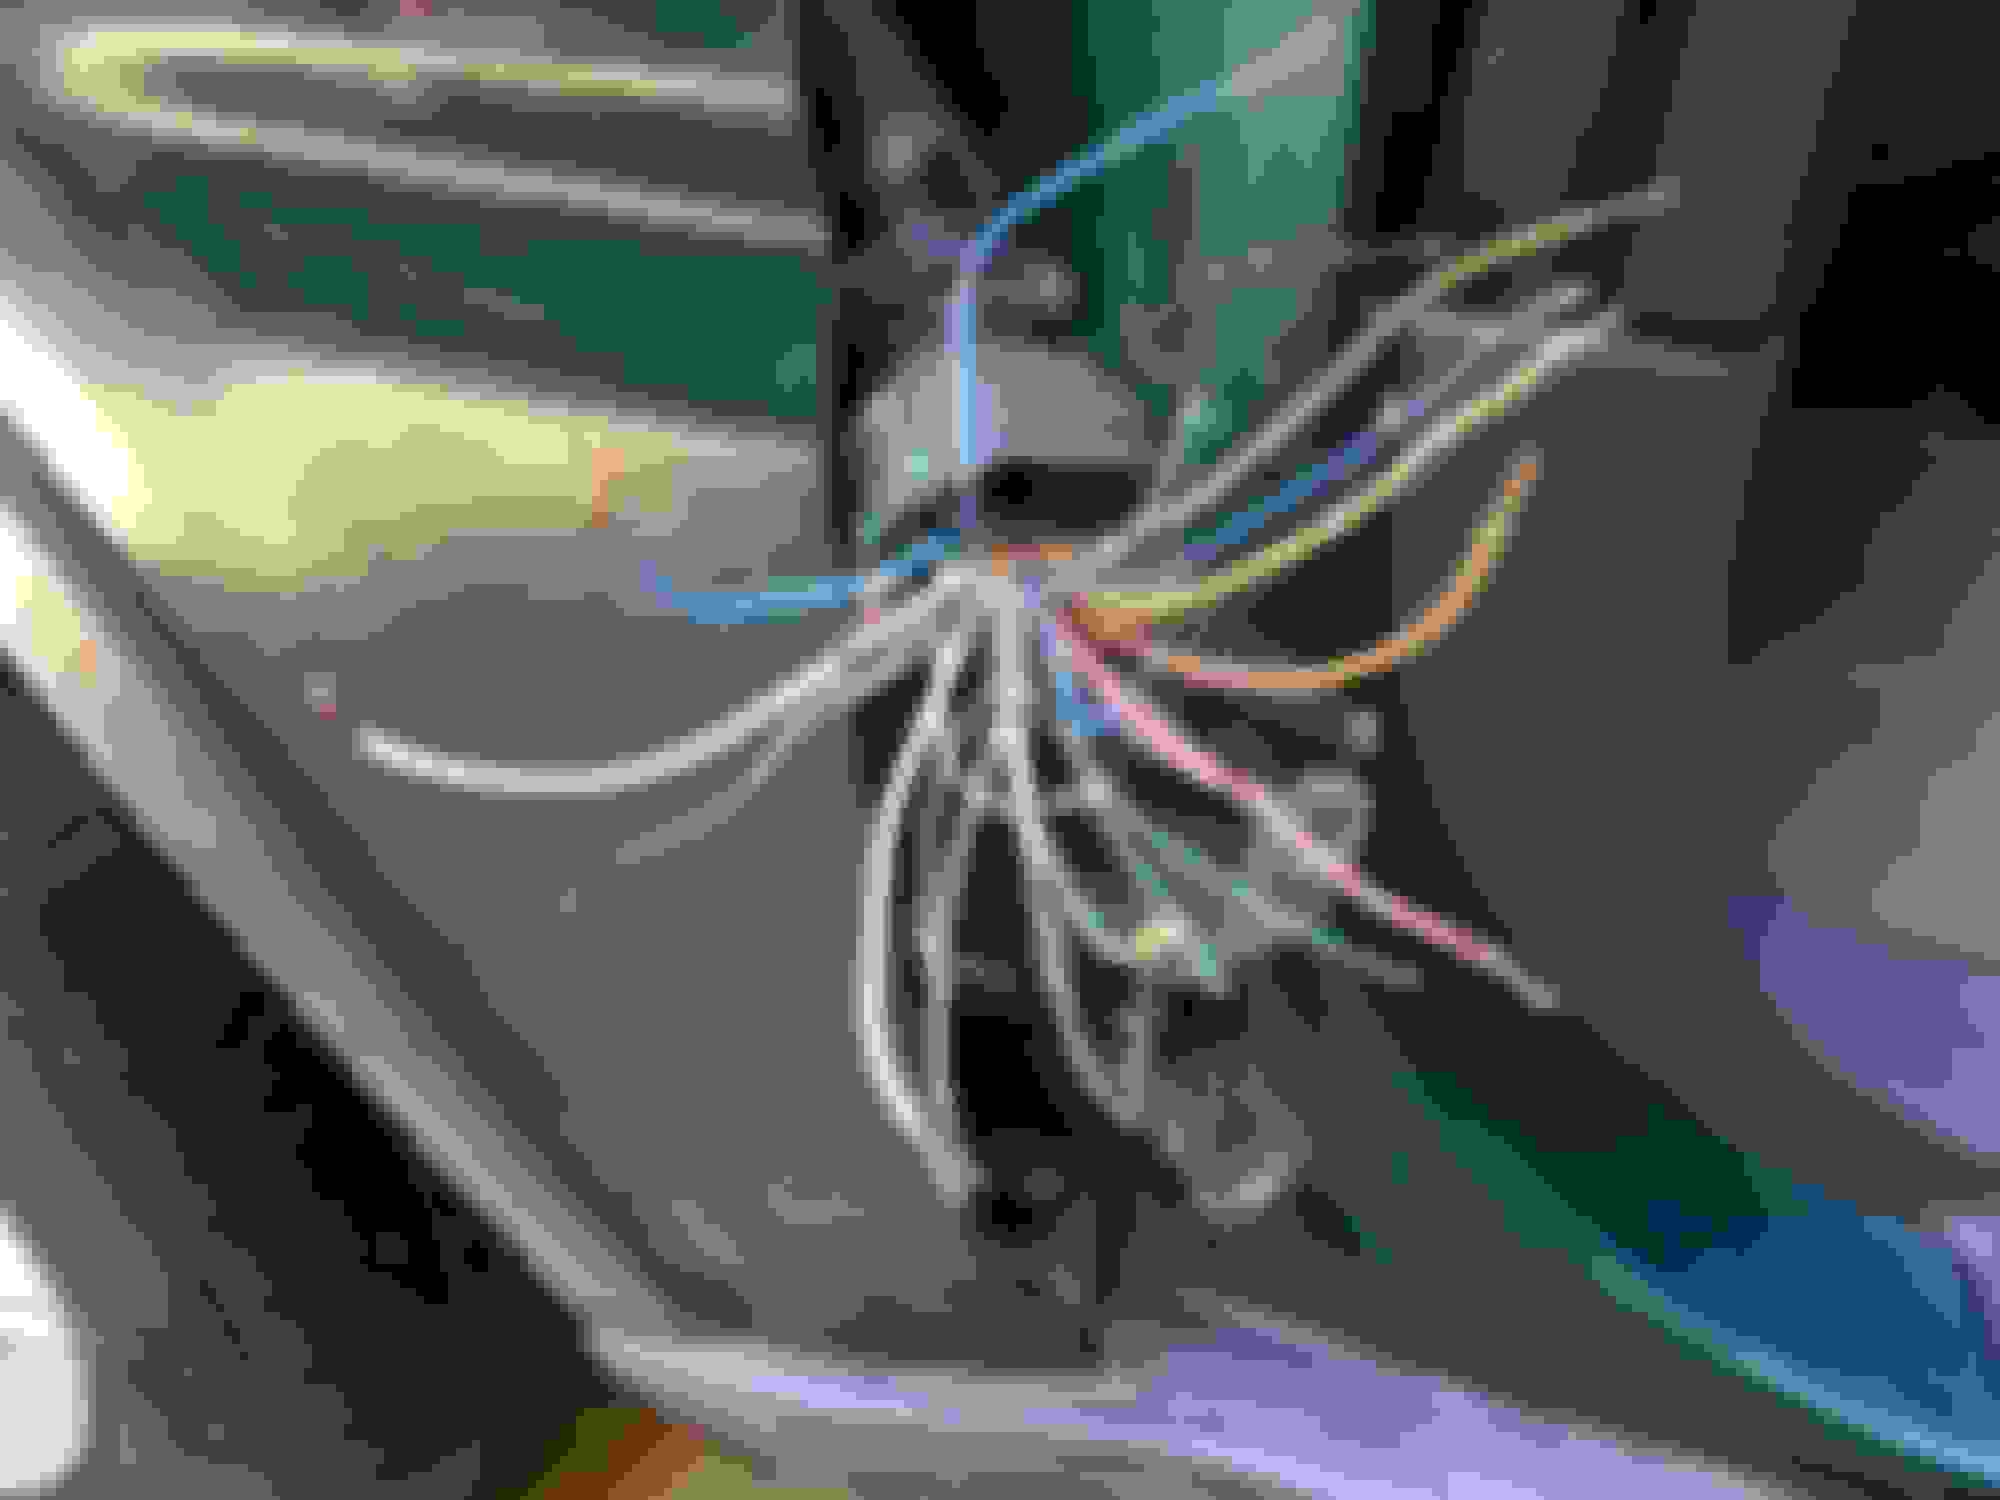
By taking this route of repair, be ready to spend hours doing the cutting, soldering, and shrink tubing if you want to make it look good when done. With 23 wires to join, it is not the place for crimp-on butt connectors. That would guarantee the rat in the snake look when done.
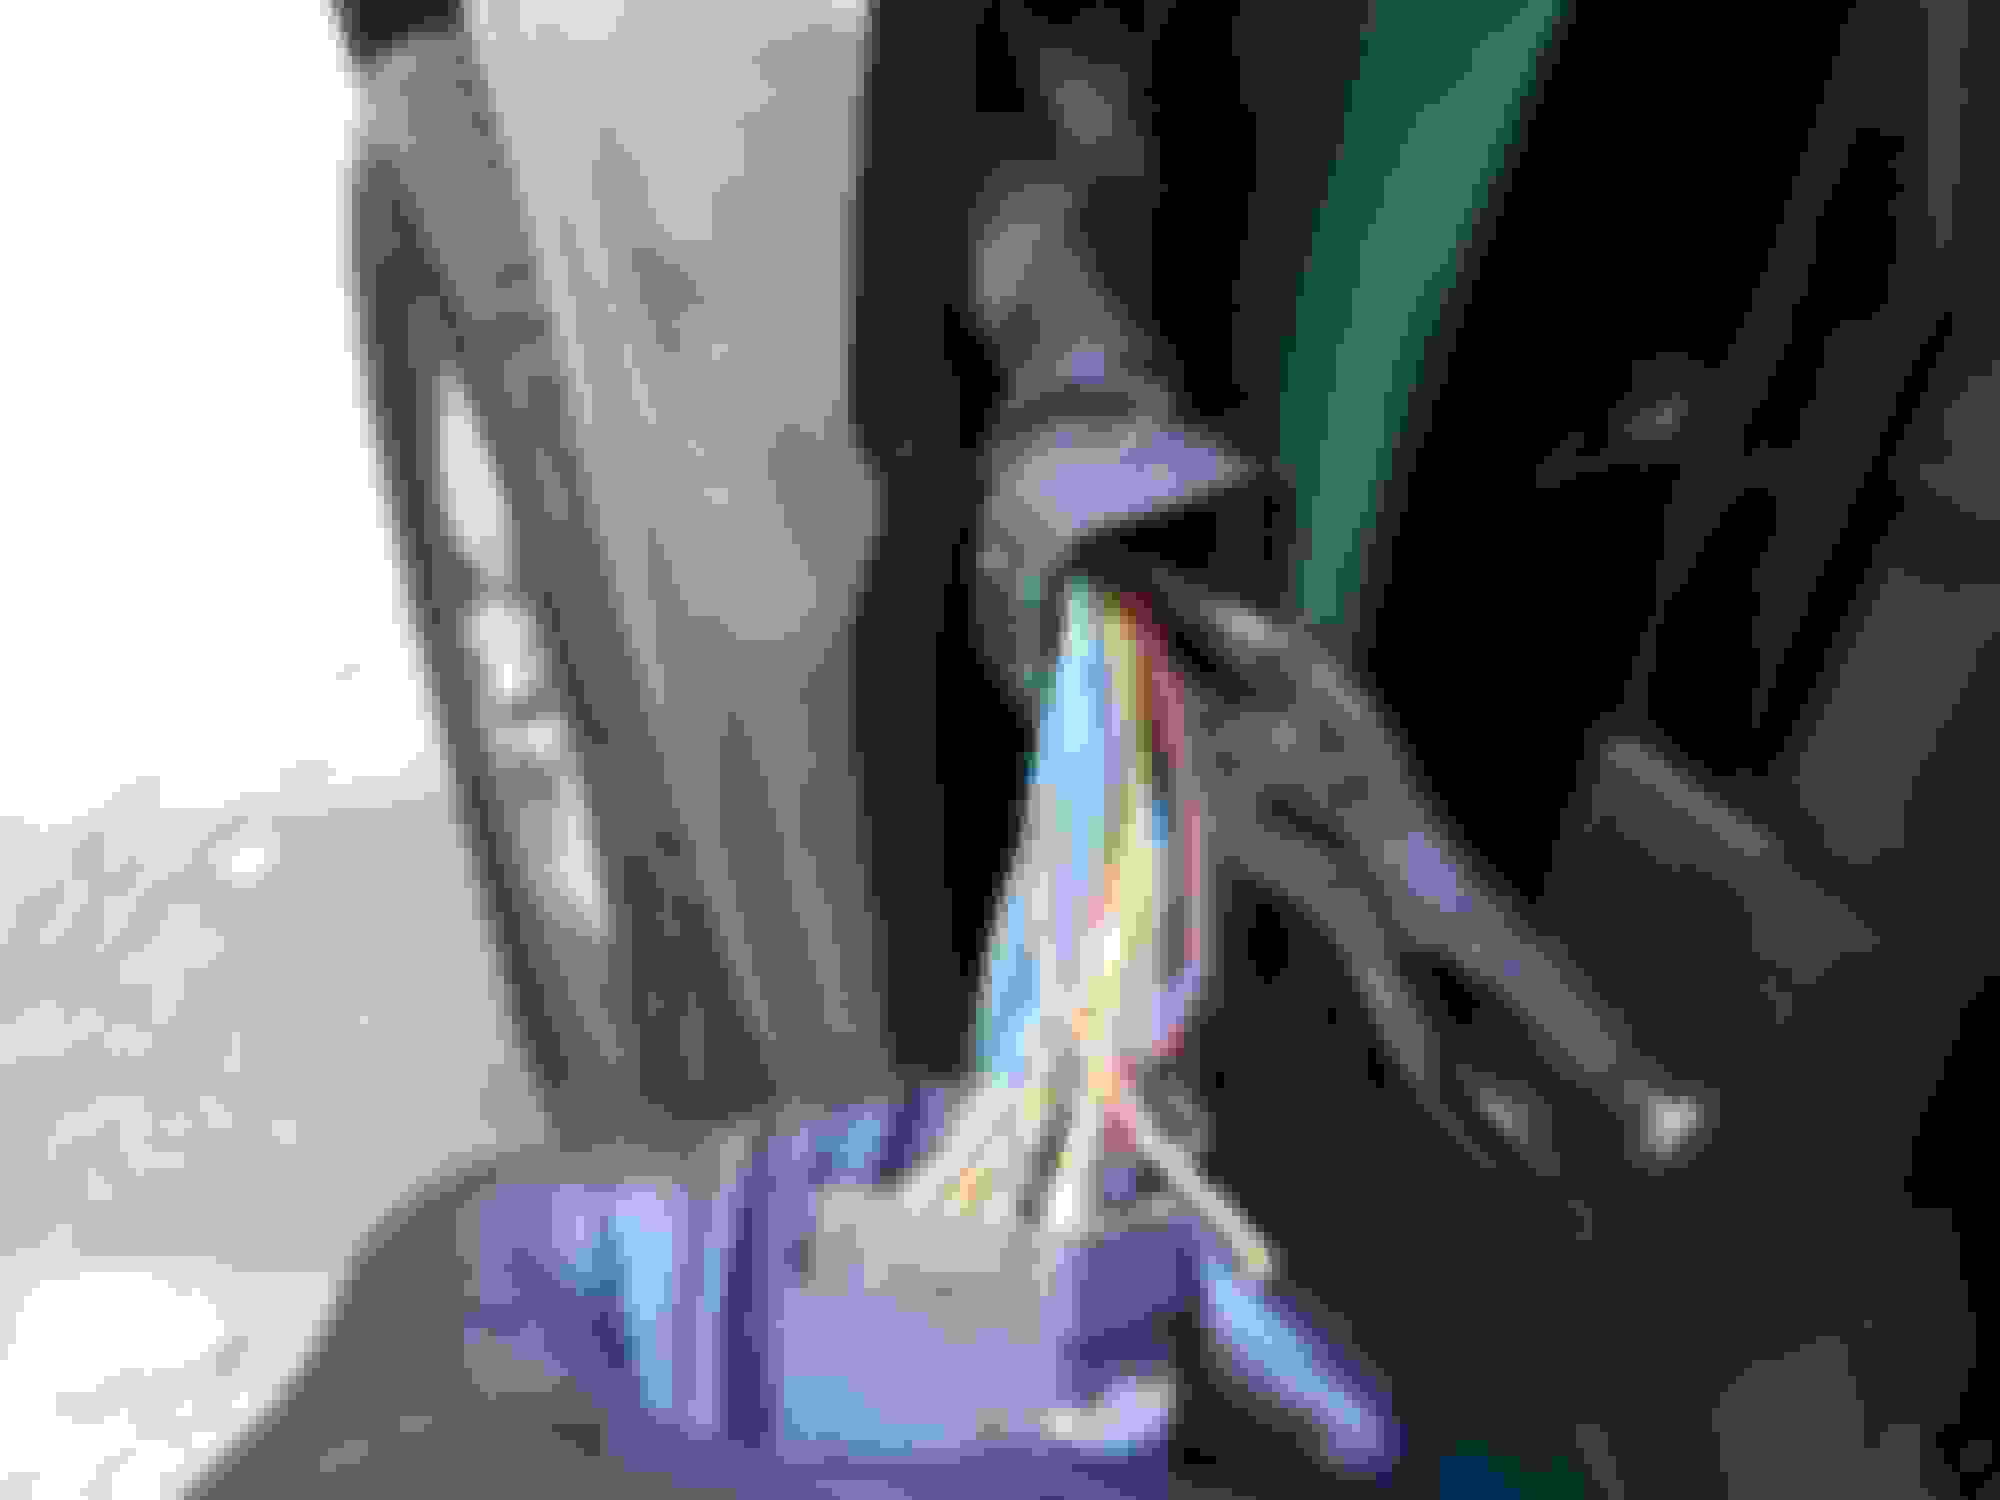
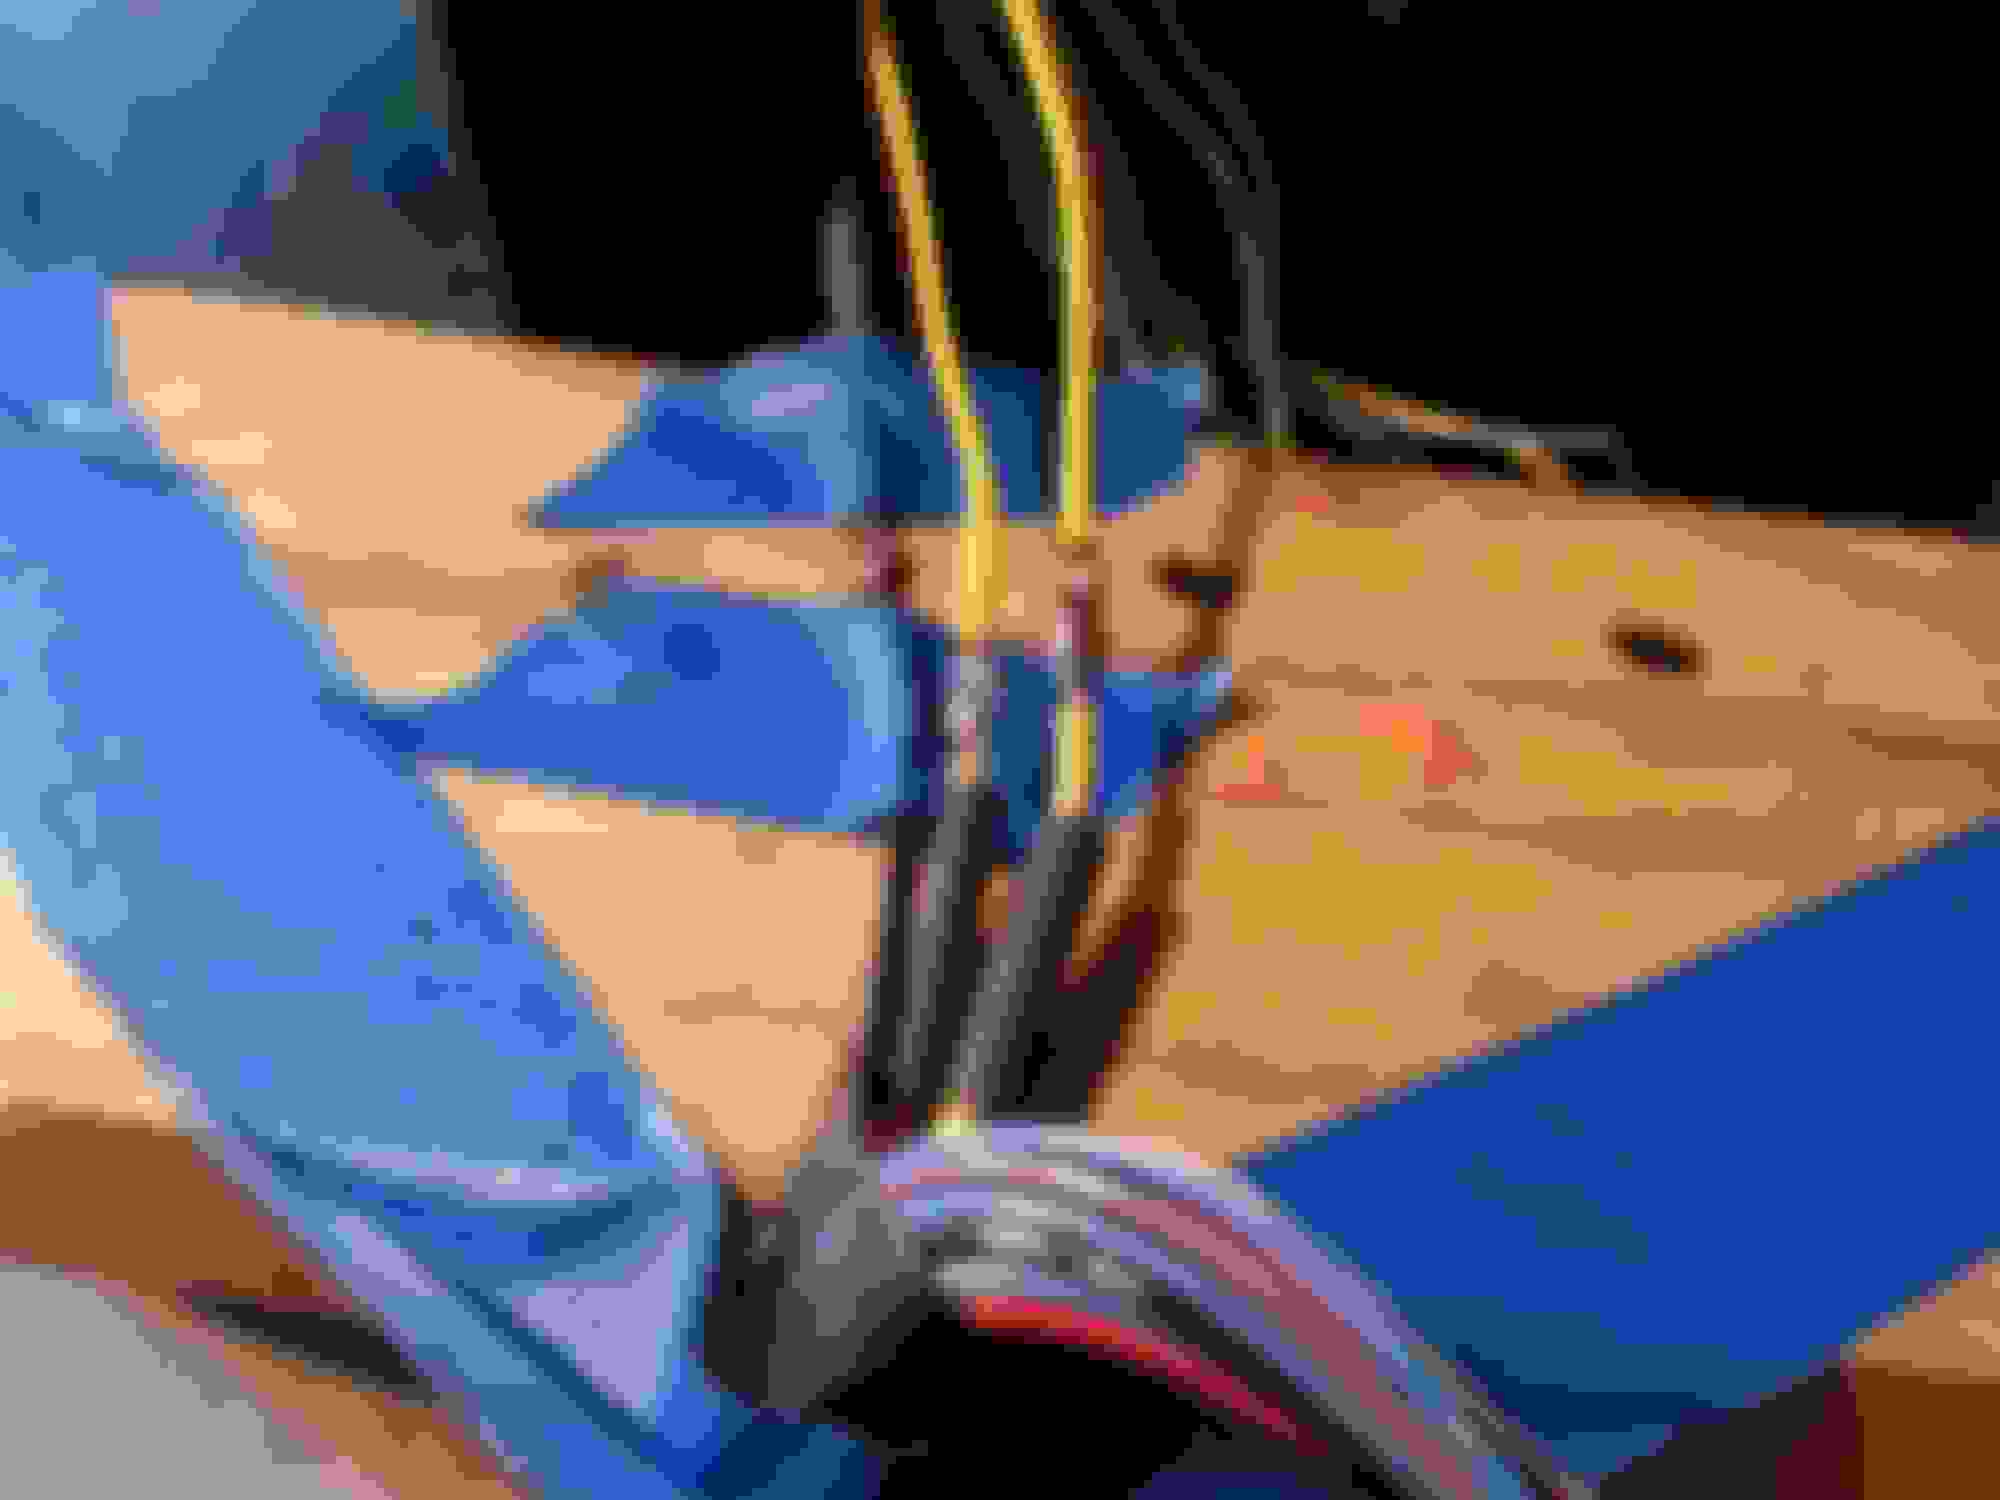
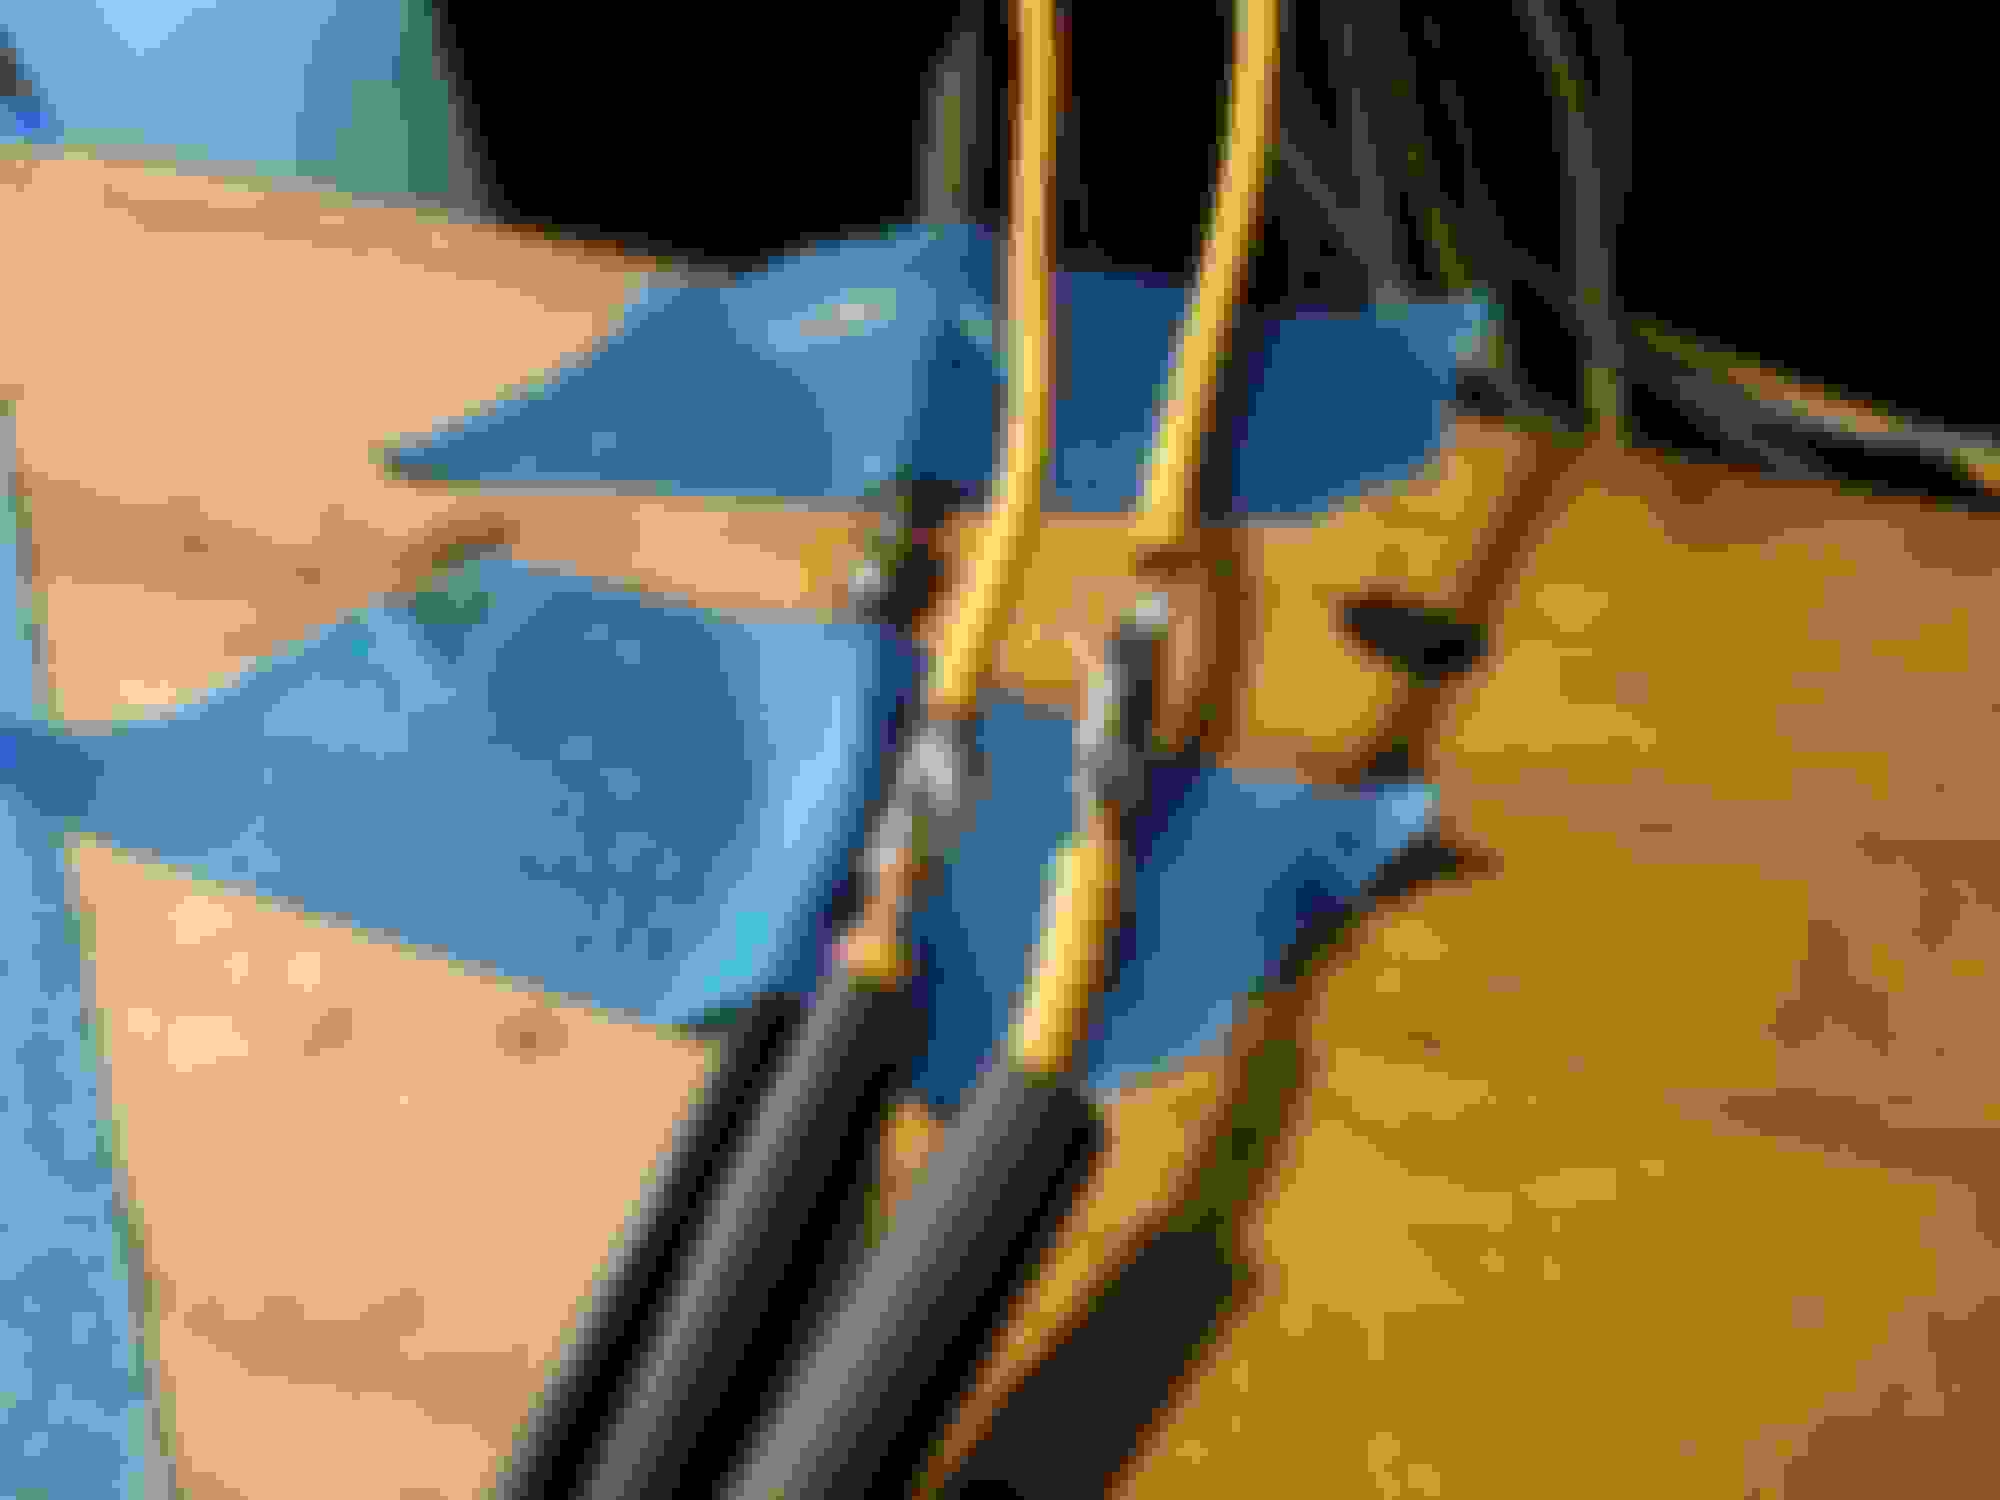
I chose to remove the driver door to gain access to the wire harness but removing the fender would be a better choice. In a couple photos you will see a wood platform I made up quickly so that I had a surface to solder against. It was screwed to the hole left in the door hinge. This enabled me to hold the wire down using tape while doing an end-to-end soldering job. By spacing out the wire joints, I avoided ending up with the snake that swallowed the rat look. I finished with some split wall plastic wire loom material since I added to the overall length of the harness. More wires broke off as I handled the connector trying to remove the pins.
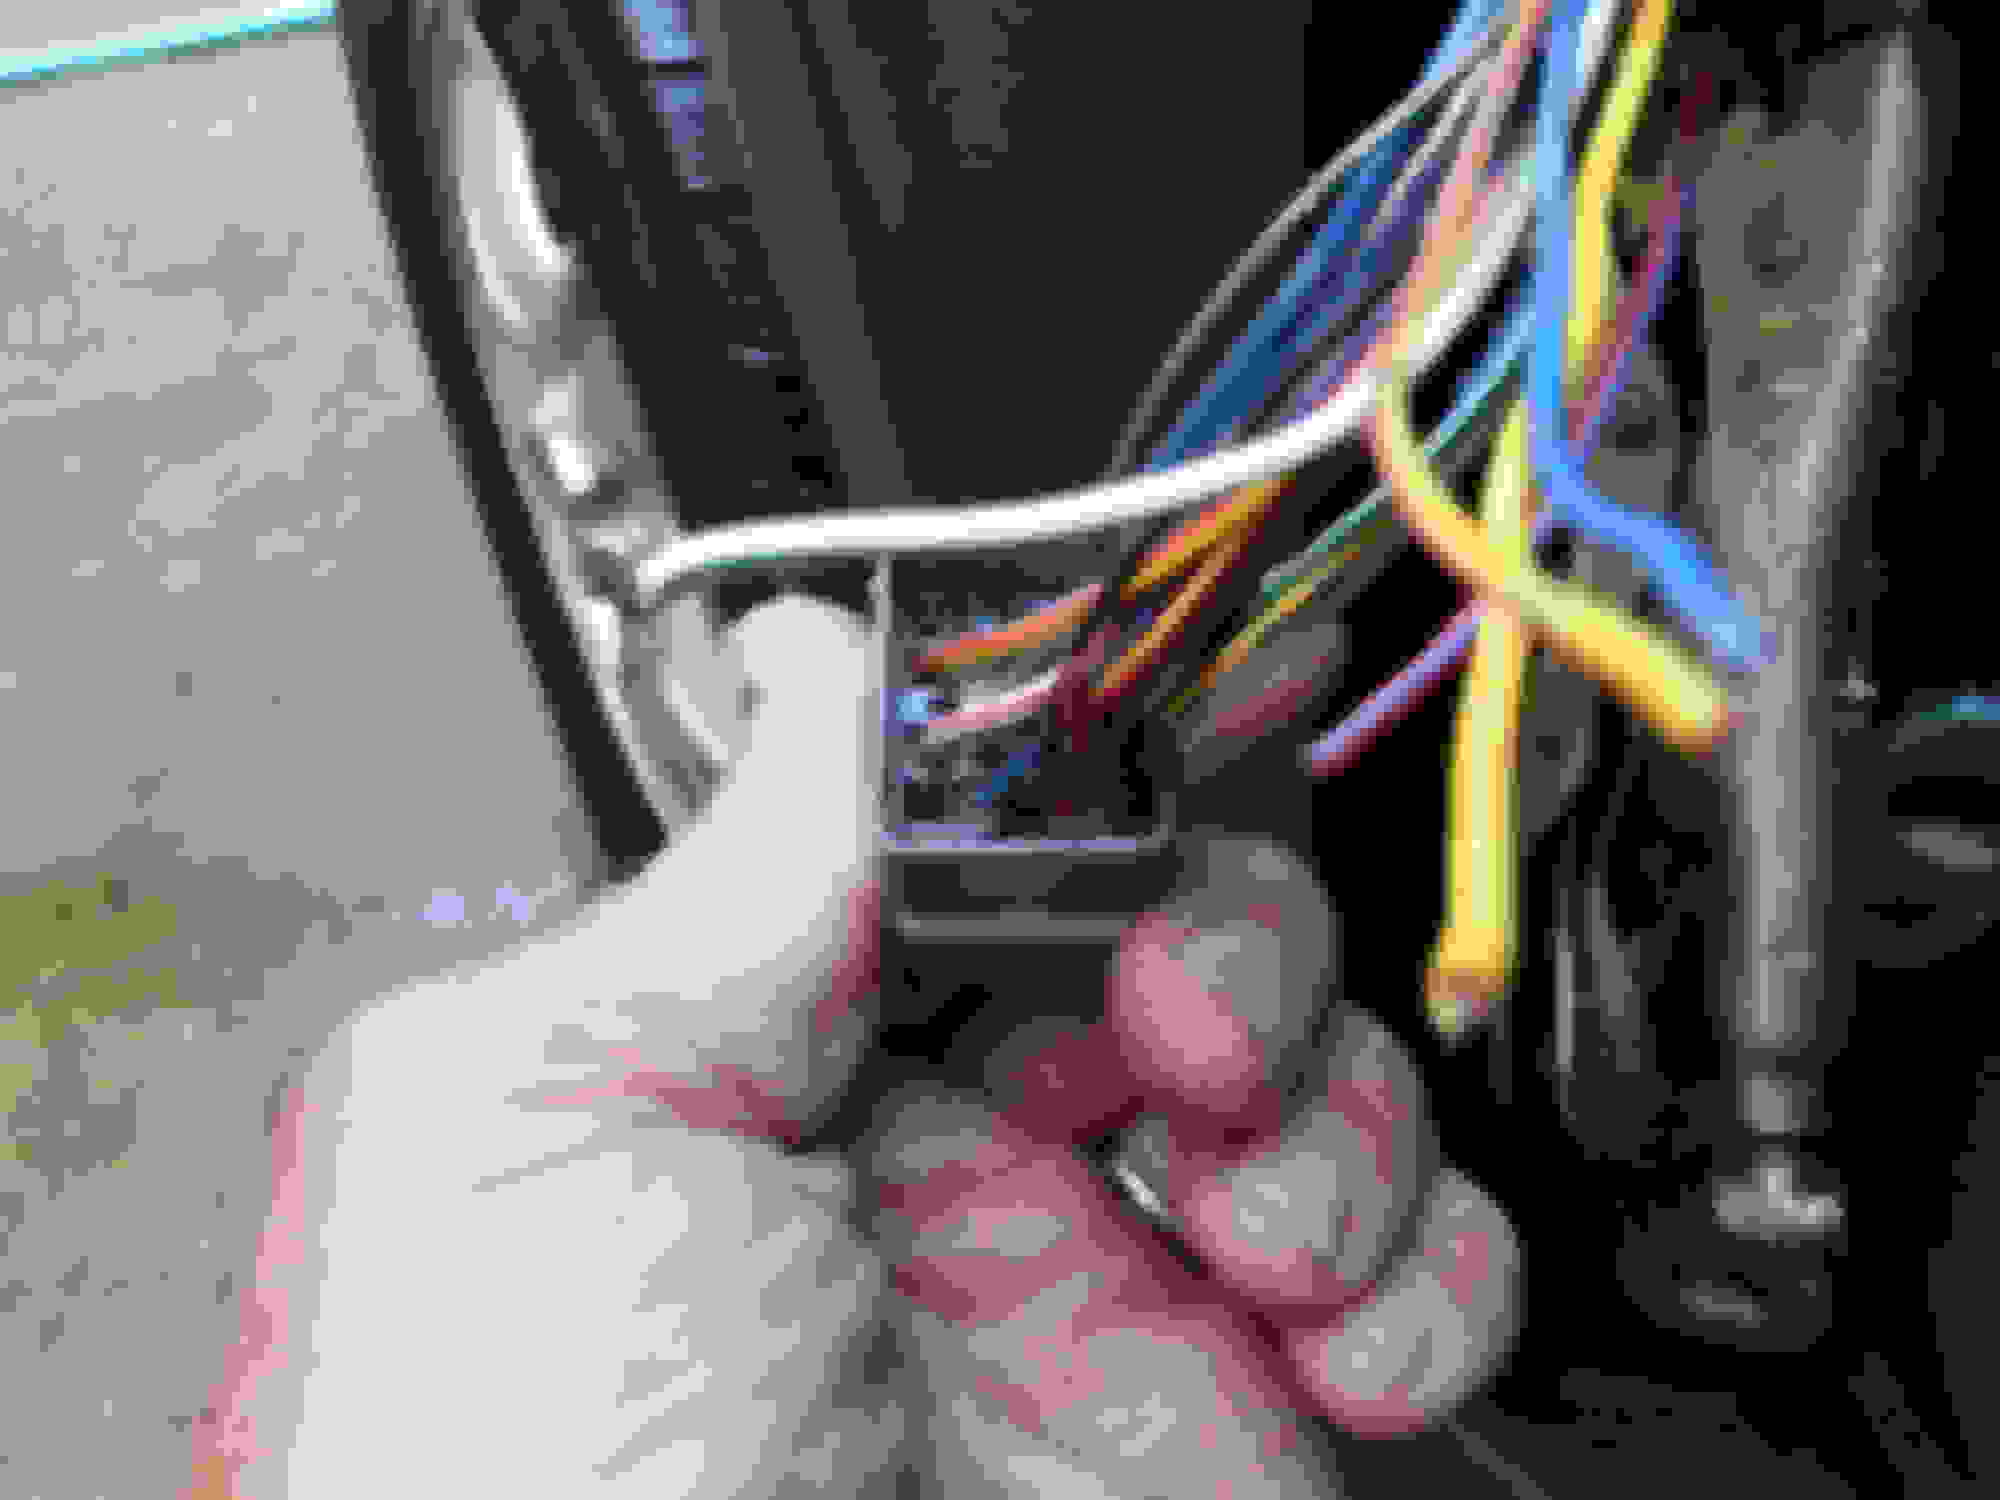
This next array of photos are self explanatory as the soldering job proceeded. I used painter's tape to hold down the two wire ends while soldering, this proved weak so I switched to gorilla tape. My wife came back from town and then with her help the process was made easier. I am sure there is some other method of holding the two wires together that is not so Rube Goldberg as what we did.
Again, I say, don't be in a rush to do this; 46 wire ends to prepare and solder, then 23 to heat shrink. I used a heat gun and held 3,4, wires at a time once I was done with the soldering.
With 283K miles on this '99 I do wonder how long I will keep it, however since I don't EVER want to do this again, I may do one more thing and that is secure firmly the wires as they leave the plug connector going down so that if there is another break in the wire I will not have to deal with the plug but a wire break that is easy to get to. This would be done with some kind of clamp to hold the wires against the door just below the connector, this would force the twist motion into another part of the harness.
So the second part number for the larger wire wasn't for terminals at all... It was the rubber seals. Totally unneeded. Oh well, i ended up making the smaller ones work for 16AWG not ideal at all though. Crimped AND THEN soldered every terminal.
Hi, and thanks for the tutorial.
I fixed my CRV, soldering the pins that had been cut.
This job, isn�t easy, but I coud make the repair with out have to disassemble the door.
Here the pics of my job.
Nice work on the pin removal and re-soldering. I have removed pins before on plastic connectors, however I could not seem to manage getting the pins out of this one. What is the technique ?
Rob
Nice work on the pin removal and re-soldering. I have removed pins before on plastic connectors, however I could not seem to manage getting the pins out of this one. What is the technique ?
Rob
Hi Rob,
Here is the video that explane the method to depin (min 13 more o less)
Adrian - thanks for that video piece on removing the pins. Now I know for the next time I have to deal with this. We bought this CR-V in 2004 with 93K on the odometer. We now have 286K on it and not sure how long we will keep it. When looking at newer ones I notice manual transmission is no longer available. Sure do like to have the 5 speed when towing the 8ft. trailer filled with wood.
I have a '97 CR-V LX and just completed this procedure. My vehicle had 12 broken wires and 5 more that were marginal which were also then reconnected.
First off I want to thank everyone who has contributed to this long thread it has been very helpful, especially the trick to remove the connectors from the gray plug.
The 07JAZ-001330A connectors worked just fine for both the 16 and 22 gauge wires.
A couple of comments: I was not always able to determine if a marker was silver or gold because they were faded. But, if the wire had one or two markers was always clear so that information above was very helpful as is the wire gauge for the couple of wires that otherwise appeared to be the same.
One correction that I had to make to the above diagram, the 22 AWG Yellow Wire with no stripe and 2 silver markers needs to be connected up one row and over two columns to the blank location between the 16 AWG Red wire with yellow stripe and gold marker and the 22 AWG Blue wire with red stripe and silver marker.
Note again that this correction was needed for my '97 CR-V. I confirmed all of the wire locations by removing the male end of the gray connector from the door and double checking the wires from the back of the connector. This particular wire is for the door pin connector and once I made the change the dome light works again (it has not worked for several years).
One last note: I added liquid electrical tape to each wire starting on the end of the connector and extending about 0.75-inches. I did this because a few of the wires had cracks in the insulation need the connector and in hopes that this will provide some additional strength to each wire.
Now my wife is happy because the driver's door speaker works again along with the dome light and the power door locks.

 10-24-2011, 03:01 PM