
My first wire-tuck EG Coupe
 08-04-2011, 08:57 PM
#51
Honda-Tech Member
Thread Starter
Thanks Guys I am going to keep pushing myself to finish up this stuff. I will get back to this tomorrow and try to get at least the back and middle done !
 08-25-2011, 02:31 PM
#52
Honda-Tech Member

Join Date: Jul 2011
Location: Elizabethton, TN
Posts: 392
Likes: 0
Received 0 Likes
on
0 Posts
I don't mean to be a troll and flame you, but after all the $ you spent on the harness, wilwood brakes, etc, why in the world are you still using the D16?
08-25-2011, 03:20 PM
#53
Honda-Tech Member
Join Date: Nov 2006
Location: Fort Myers, FL
Posts: 832
Likes: 0
Received 0 Likes
on
0 Posts
Don't mean to troll or flame YOU but why are you being a tool? Its his car he can do what he wants with it. You cant go wrong with a clean bay no matter what motor your running.
 08-28-2011, 12:41 AM
#55
Honda-Tech Member
 02-06-2012, 10:46 AM
#57
Honda-Tech Member

Join Date: Jul 2009
Location: boiling springs
Posts: 169
Likes: 0
Received 0 Likes
on
0 Posts
Sorry guys about the delay in work on the car. I have been busy with school and studying. Engineering is not as easy as it seems to be. Anyways I finally got around to tucking the driver side harness. I loomed it and shrink wrapped the harness. I thought it was going to be a cinch but.............. it was a big b****.
First off I got the harness out and tried to tuck it through this hole were this drain was and guess what...... you can�t use this because the car is a coupe. Well it is a drain for the sunroof and if you block the hole then your car will become a swimming pool. So I had to resort to getting a hole cutter and putting a hole in the car.
Tools needed:
7/8 or 3/4 hole cutter Milwaukee Tools (worked great)
Special grommet for the hole
Drill (preferably a wall socket one for more power)
Primer
Tube silicone
Piece
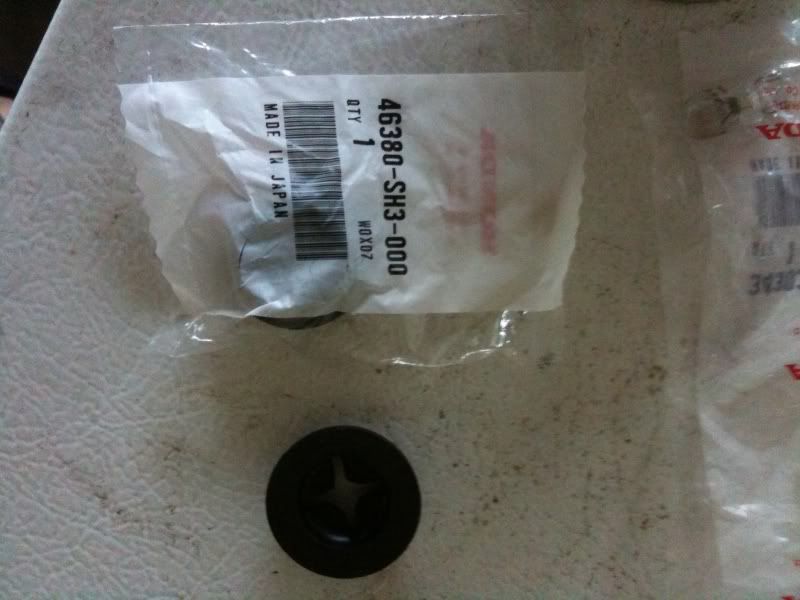
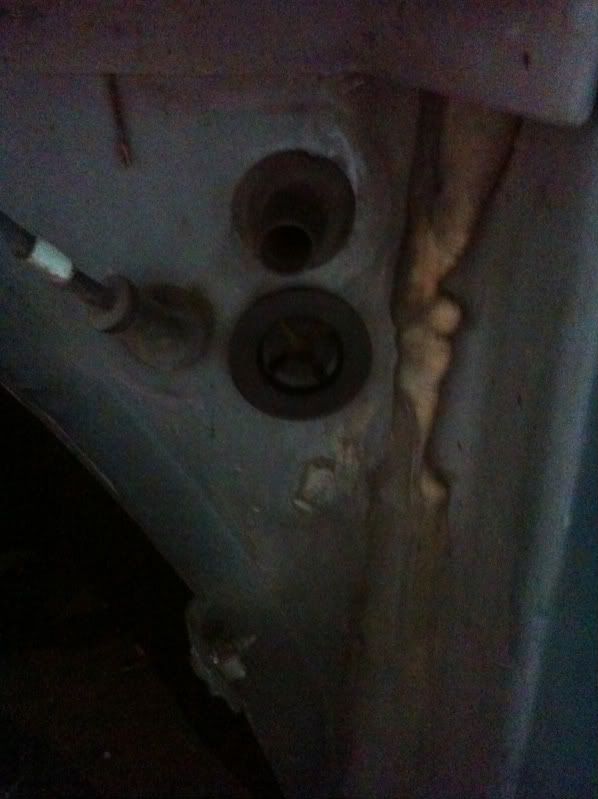
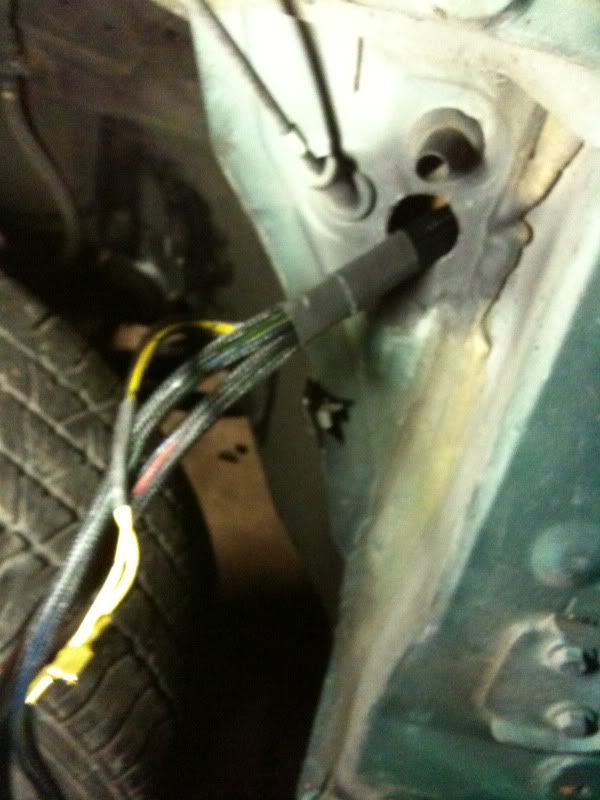
This is the grommet I used; it is the brake line grommet. I think it is good because it has a gaping hole in the front. I�ll use silicone after I finish, blocking out any leftover gap and putting some on the back to make a solid and firm fit.
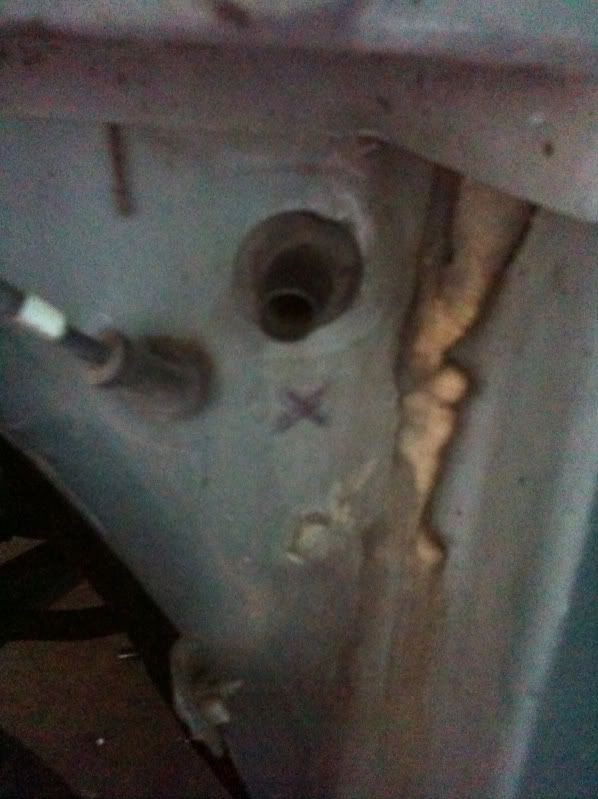
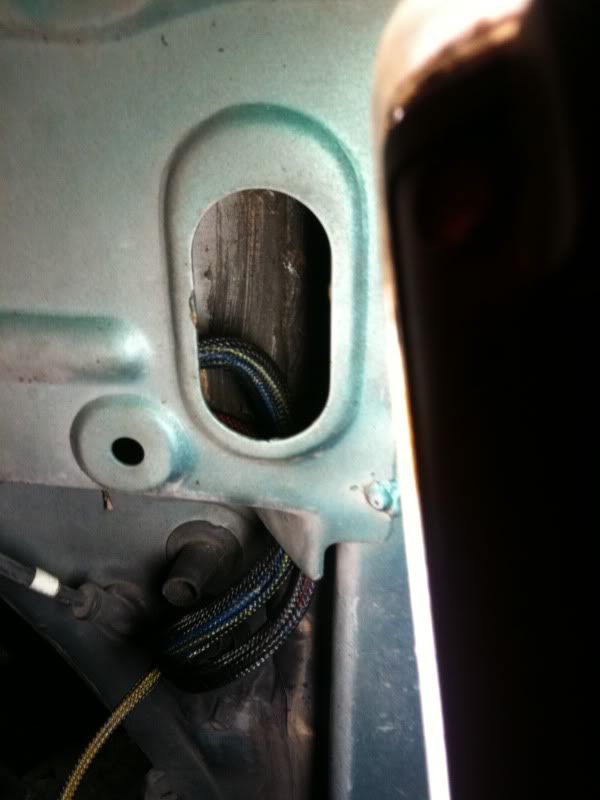
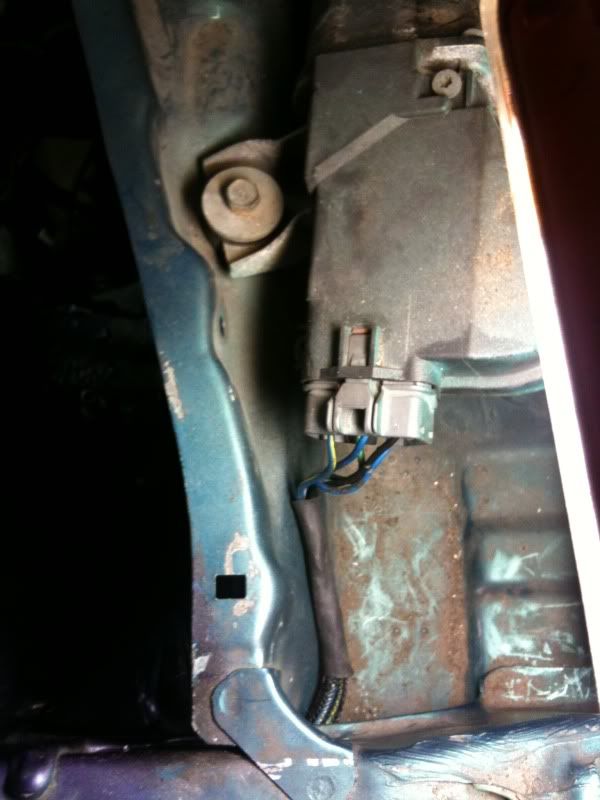
See the black thing on the top it is the sunroof drain. You cannot use that so the hole I drilled is marked with an x. On the inside of the cabin make sure you free up the wires and a ground back there or when you drill it will be disaster for the harness. I put a piece of wood back there to absorb the drill and the hole-cutter when it goes through; it worked well. Take your time and drill in make sure it�s the bi-metallic one or you'll find out real fast it won�t cut.
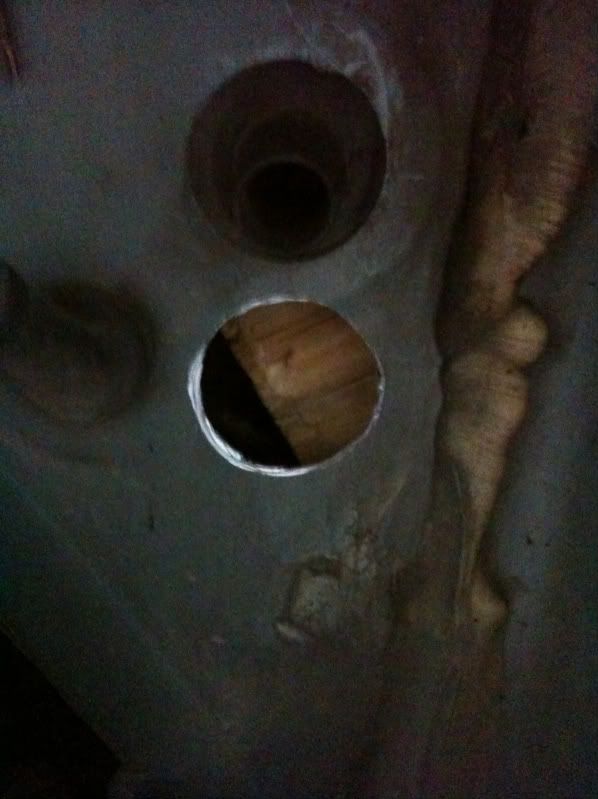
Then you primer the bare metal this way it will not rust. I put some newspaper behind it. Picture is hard to see I am sure you cannot mess this up.
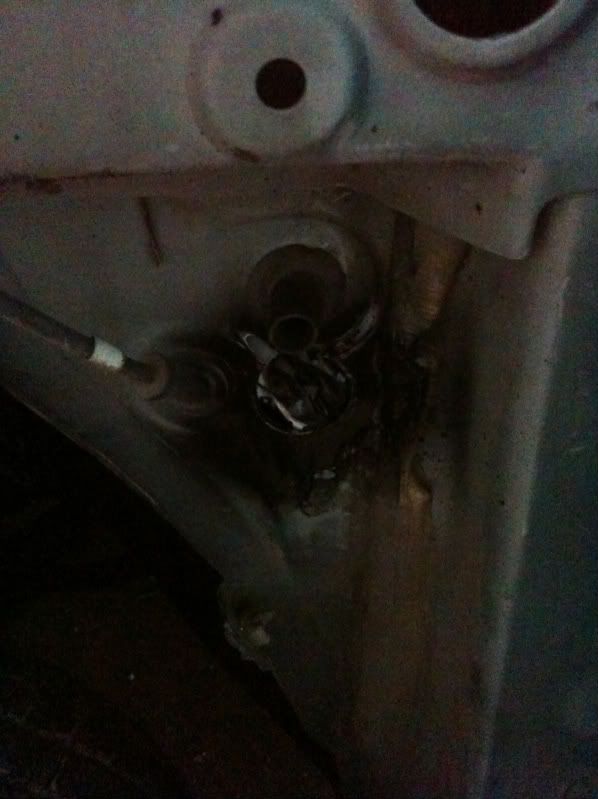
I am test fitting my brake grommet on the hole. It fit kind of loose because that 7/8 hole cutter goes kind of wide as you start to cut. So it�s better to use a smaller one and jam it in there. Next time I do this I�ll use a 3/4 hole cutter.
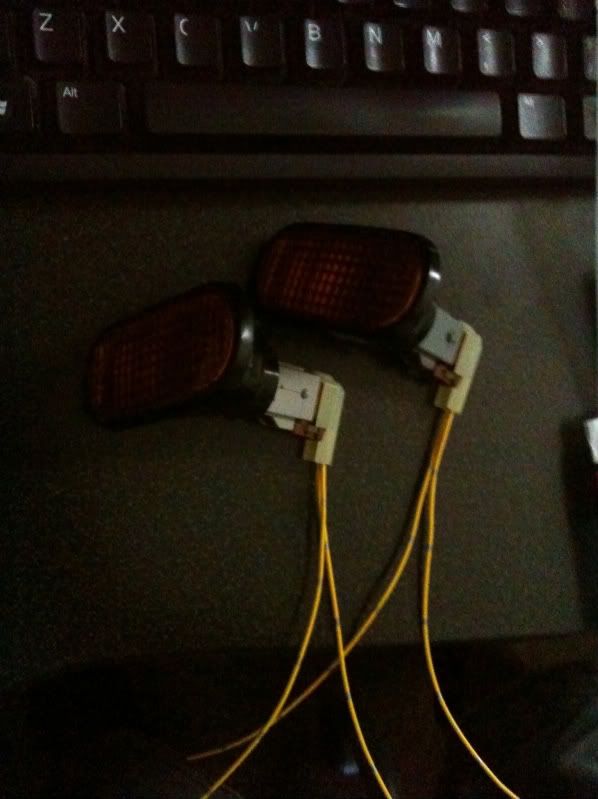
Oh I forgot one dumb thing. I had some of these JDM side markers and I was trying to get the darn connectors and pins for them forever. I needed to wire this in before I finish the harness and that was one of the things that delayed me. Here is the picture of them. If you�re smart you can figure out how to make USDM stuff look like JDM crap and impress your most pompous JDM homies!
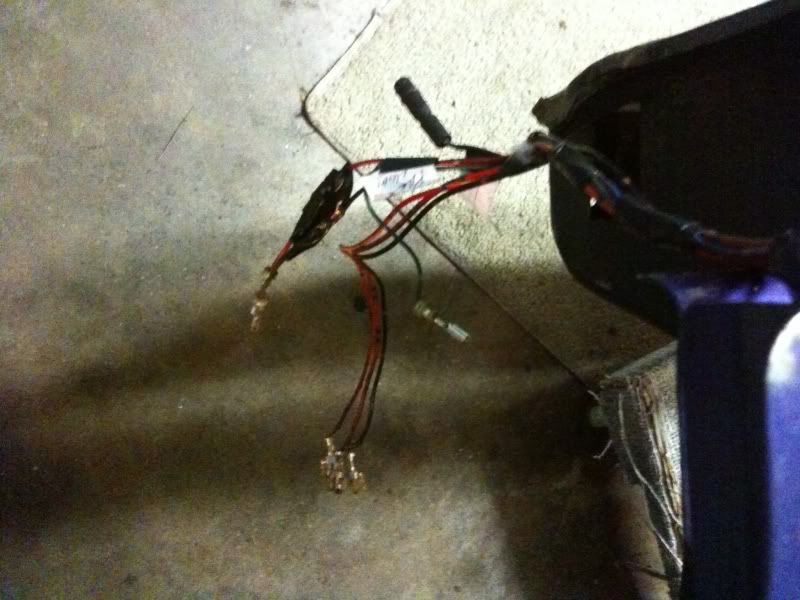
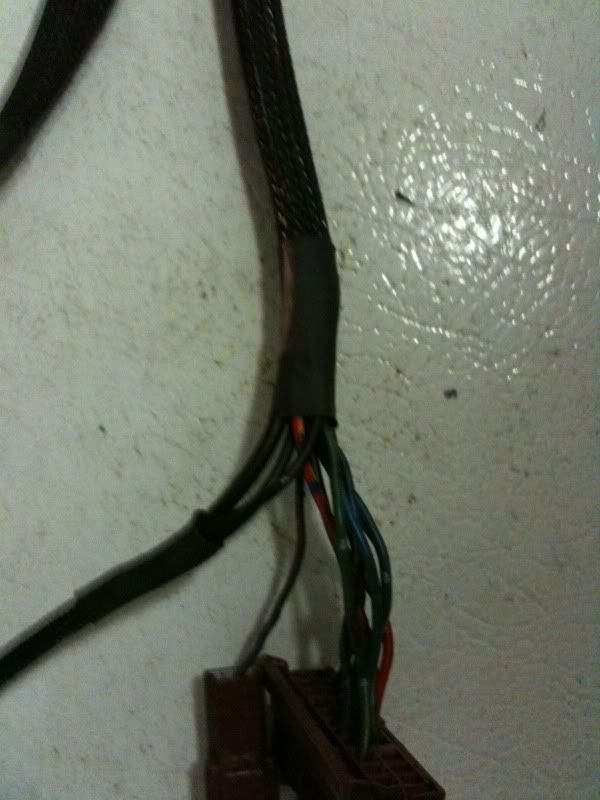
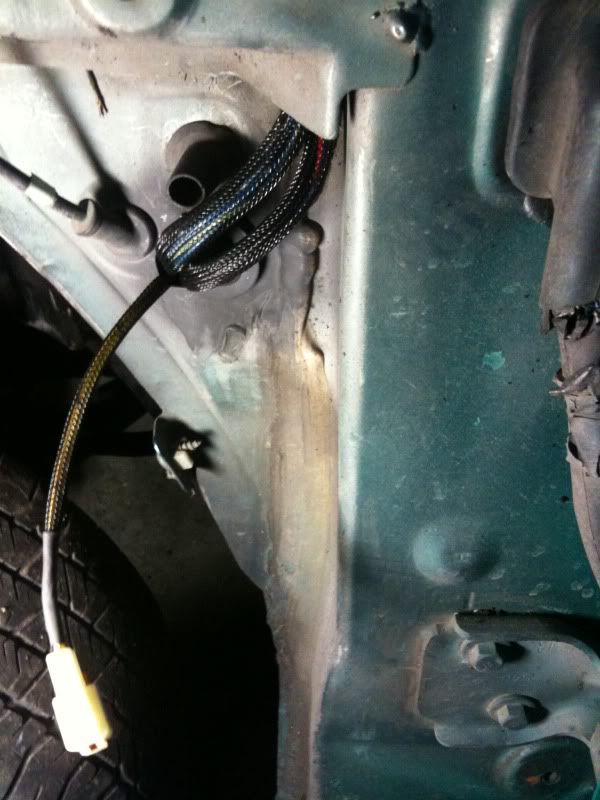
Anyways back to the harness. I am test fitting it here. On The driver�s side the harness is actually longer or exactly long enough to go from the brown connector inside the car C307 to the front of the headlights and to the wipers; it actually is too long for the wipers. Anyways here it is after I figured that out from the test fit. The test fit also shows your where your break outs or splits are where the harness takes 2 different directions. You will need to make marks or zip ties on where you want these to be. I�ll leave that for you to decide.

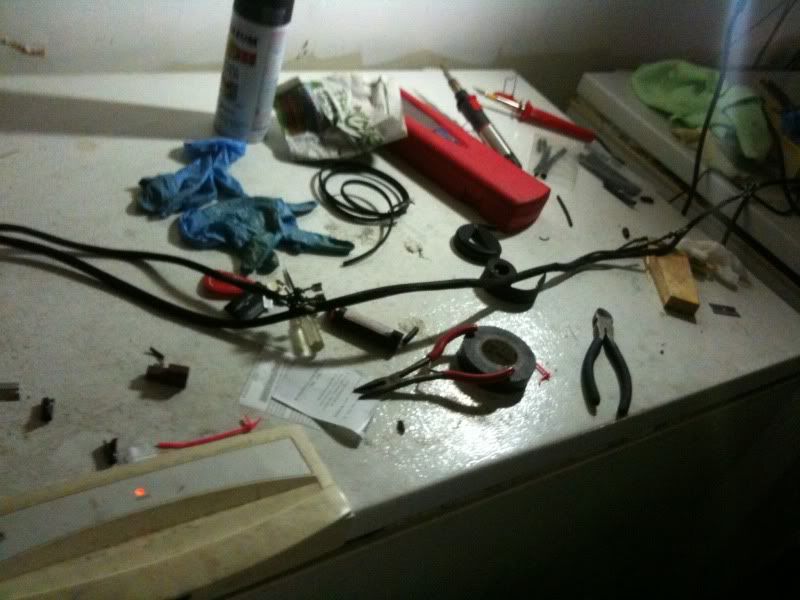
I apologize in advance, that I did not take more pictures of me actually looming the harness. It is not hard ............ it was freaking difficult (if you are at any point not willing to work hard just tape it and pass it through the body). The looms are like those Chinese finger traps the more you pull the wires the freaking tighter it got, so tight that you could not move the harness. So you have to push and pull and etc. It took me forever about 2 hours to figure it out. The trick is to put something round in the loom like a piece of hose to guide the wires through. That crap is amazing, the loom, it can stretch like 3 times its original size. So with some determination you can make some tight looking looms. I was so engulfed in my work I took one picture. Sorry doodes you can figure this out from my notes. It took me 6 freaking HOURS!!!

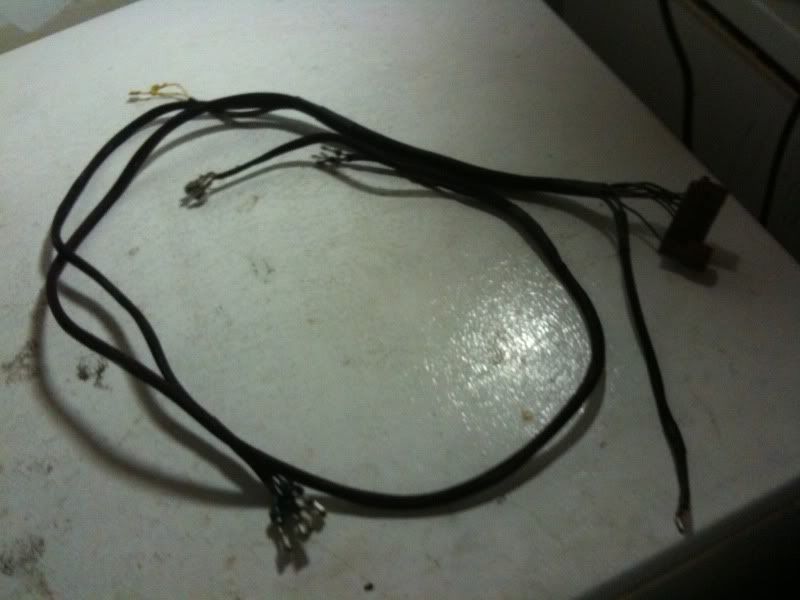
Pretty much completed harness.
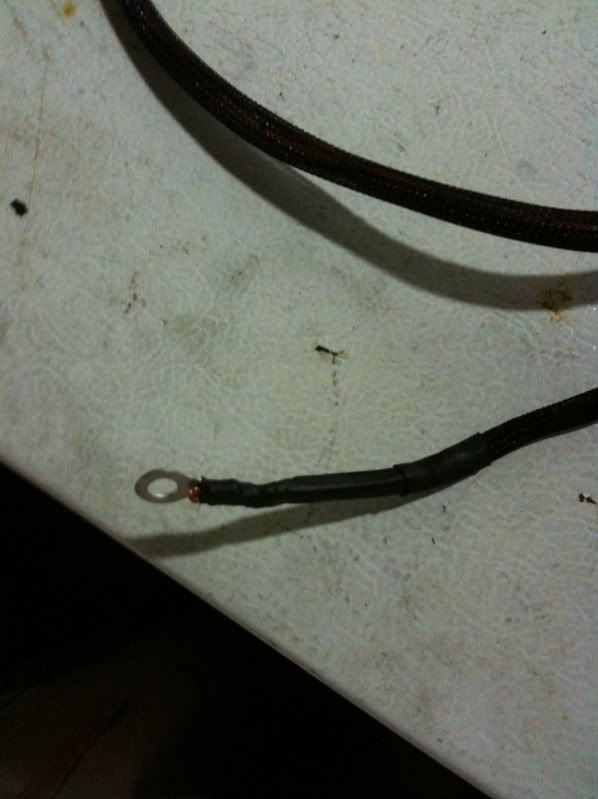
Ground here.
You have to start from the ends and figure out where your break outs are. Then mark it, loom it and shrink wrap the ends. Then you work from the other side and feed up a larger loom to cover those 2 break outs. Heats shrink the looms together and repeat first step. You will be working from the front to back and etc. You will need to finally de-pin all the harness and mark it or you�ll get lost in your entire work. Write yourself a connector view and wires and number and label colors. It makes it a lot easier.
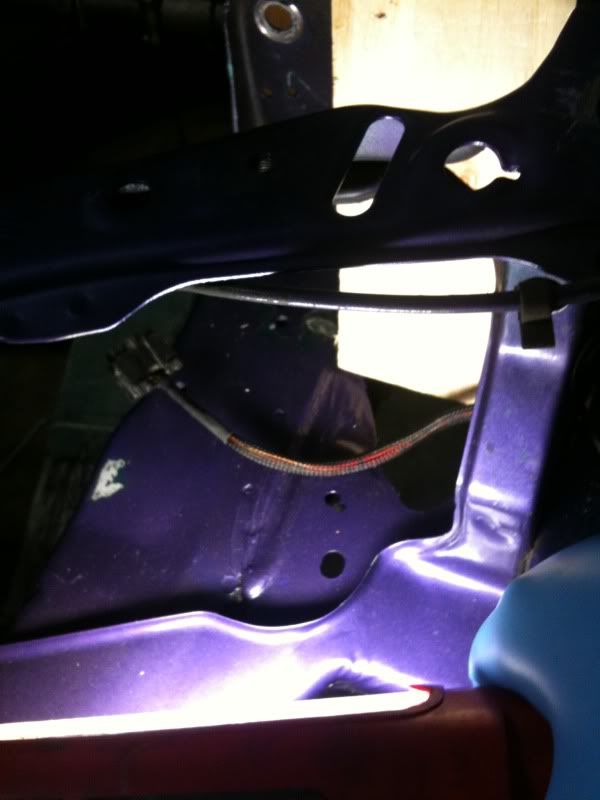
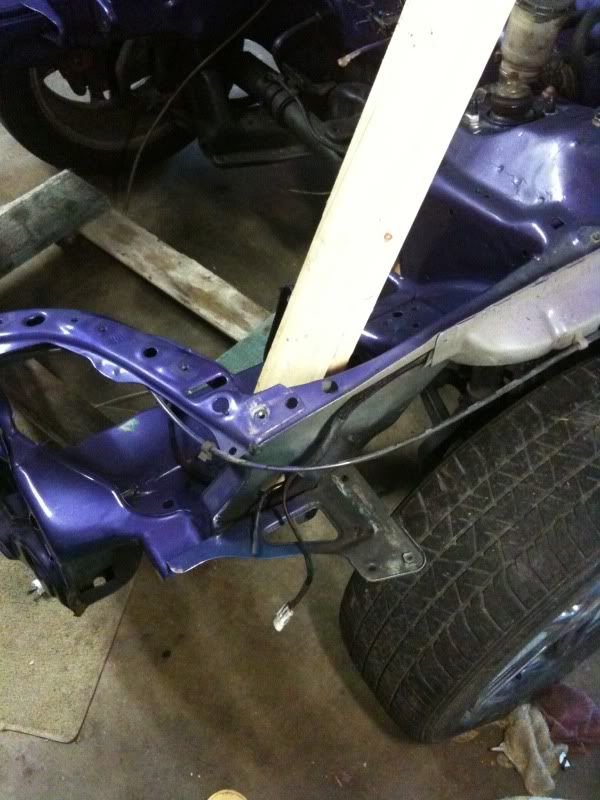
Finally when you�re satisfied and have your grounds hooked up you can go ahead and feed the wires through the hole. Then feed the grommet through the wires. Plug your connector in and ground the harness. Then you can manage your wires to the front however you want. I wanted the ultra stealth look and fed them through the frame rail. The wiper harness was a b****. Use a coat hanger and cut it and start fighting it up there. It took me 1 hour to get the harness situated. You can the re-pin all your harness and stuff. Make sure you labeled everything or get your Chilton's out. And you�re pretty much done on the external harness side. I still need to extend the wires for the gray plug on the inside that will be tomorrow and tucking the passenger side of the car (not really excited).

I was so tired after finishing I did not take any more pictures it was 1 am. So ill take some more tomorrow and show you what it looks like done on the outside. It�s really clean I am happy I did this; it makes the car so much more pleasing to do it the right way.
You can get all the loom stuff from www.wirecare.com that is what I did.
You'll have to learn on your own what works, order whatever size looms and shrink wraps and experiment it�s more fun that way!!!
Stay tuned guys there is much much more to come!!!!
First off I got the harness out and tried to tuck it through this hole were this drain was and guess what...... you can�t use this because the car is a coupe. Well it is a drain for the sunroof and if you block the hole then your car will become a swimming pool. So I had to resort to getting a hole cutter and putting a hole in the car.
Tools needed:
7/8 or 3/4 hole cutter Milwaukee Tools (worked great)
Special grommet for the hole
Drill (preferably a wall socket one for more power)
Primer
Tube silicone
Piece
This is the grommet I used; it is the brake line grommet. I think it is good because it has a gaping hole in the front. I�ll use silicone after I finish, blocking out any leftover gap and putting some on the back to make a solid and firm fit.
See the black thing on the top it is the sunroof drain. You cannot use that so the hole I drilled is marked with an x. On the inside of the cabin make sure you free up the wires and a ground back there or when you drill it will be disaster for the harness. I put a piece of wood back there to absorb the drill and the hole-cutter when it goes through; it worked well. Take your time and drill in make sure it�s the bi-metallic one or you'll find out real fast it won�t cut.
Then you primer the bare metal this way it will not rust. I put some newspaper behind it. Picture is hard to see I am sure you cannot mess this up.
I am test fitting my brake grommet on the hole. It fit kind of loose because that 7/8 hole cutter goes kind of wide as you start to cut. So it�s better to use a smaller one and jam it in there. Next time I do this I�ll use a 3/4 hole cutter.
Oh I forgot one dumb thing. I had some of these JDM side markers and I was trying to get the darn connectors and pins for them forever. I needed to wire this in before I finish the harness and that was one of the things that delayed me. Here is the picture of them. If you�re smart you can figure out how to make USDM stuff look like JDM crap and impress your most pompous JDM homies!
Anyways back to the harness. I am test fitting it here. On The driver�s side the harness is actually longer or exactly long enough to go from the brown connector inside the car C307 to the front of the headlights and to the wipers; it actually is too long for the wipers. Anyways here it is after I figured that out from the test fit. The test fit also shows your where your break outs or splits are where the harness takes 2 different directions. You will need to make marks or zip ties on where you want these to be. I�ll leave that for you to decide.
I apologize in advance, that I did not take more pictures of me actually looming the harness. It is not hard ............ it was freaking difficult (if you are at any point not willing to work hard just tape it and pass it through the body). The looms are like those Chinese finger traps the more you pull the wires the freaking tighter it got, so tight that you could not move the harness. So you have to push and pull and etc. It took me forever about 2 hours to figure it out. The trick is to put something round in the loom like a piece of hose to guide the wires through. That crap is amazing, the loom, it can stretch like 3 times its original size. So with some determination you can make some tight looking looms. I was so engulfed in my work I took one picture. Sorry doodes you can figure this out from my notes. It took me 6 freaking HOURS!!!
Pretty much completed harness.
Ground here.
You have to start from the ends and figure out where your break outs are. Then mark it, loom it and shrink wrap the ends. Then you work from the other side and feed up a larger loom to cover those 2 break outs. Heats shrink the looms together and repeat first step. You will be working from the front to back and etc. You will need to finally de-pin all the harness and mark it or you�ll get lost in your entire work. Write yourself a connector view and wires and number and label colors. It makes it a lot easier.
Finally when you�re satisfied and have your grounds hooked up you can go ahead and feed the wires through the hole. Then feed the grommet through the wires. Plug your connector in and ground the harness. Then you can manage your wires to the front however you want. I wanted the ultra stealth look and fed them through the frame rail. The wiper harness was a b****. Use a coat hanger and cut it and start fighting it up there. It took me 1 hour to get the harness situated. You can the re-pin all your harness and stuff. Make sure you labeled everything or get your Chilton's out. And you�re pretty much done on the external harness side. I still need to extend the wires for the gray plug on the inside that will be tomorrow and tucking the passenger side of the car (not really excited).
I was so tired after finishing I did not take any more pictures it was 1 am. So ill take some more tomorrow and show you what it looks like done on the outside. It�s really clean I am happy I did this; it makes the car so much more pleasing to do it the right way.
You can get all the loom stuff from www.wirecare.com that is what I did.
You'll have to learn on your own what works, order whatever size looms and shrink wraps and experiment it�s more fun that way!!!
Stay tuned guys there is much much more to come!!!!
Great write up man !!! inspired me to start mine im about to order some of this material from the site you mentioned wirecare.com I wanted to ask what material, lenth ,sizes , shirkwrap sizes did you go with ?? there are so many options ? Expandable Sleeving - Tightweave / flame resistant .... i have no idea witch i should get I am doing a b series wire tuck in a eg street turbo car fyi thanks

 04-16-2012, 08:50 AM
#63
Honda-Tech Member
Great write up man !!! inspired me to start mine im about to order some of this material from the site you mentioned wirecare.com I wanted to ask what material, lenth ,sizes , shirkwrap sizes did you go with ?? there are so many options ? Expandable Sleeving - Tightweave / flame resistant .... i have no idea witch i should get I am doing a b series wire tuck in a eg street turbo car fyi thanks

 08-04-2012, 06:03 PM
#71
Honda-Tech Member

 I bet his engine bay is cleaner than yours.
  12-28-2012, 05:20 AM
#72
Honda-Tech Member

Join Date: Nov 2012
Posts: 19
Likes: 0
Received 0 Likes
on
0 Posts
Bump!!!
I about to take my engine out and wire tuck, this inspired me to do it my self
I would really love to see how it all came out and how it looks
I about to take my engine out and wire tuck, this inspired me to do it my self
I would really love to see how it all came out and how it looks

