When you click on links to various merchants on this site and make a purchase, this can result in this site earning a commission. Affiliate programs and affiliations include, but are not limited to, the eBay Partner Network.
Im going to outline how i do LED Lighting on older cars using my (new to me) 94 Civic Coupe
*Disclaimer (Im not covering removal of these components as there is already a wealth of resources for that already.)
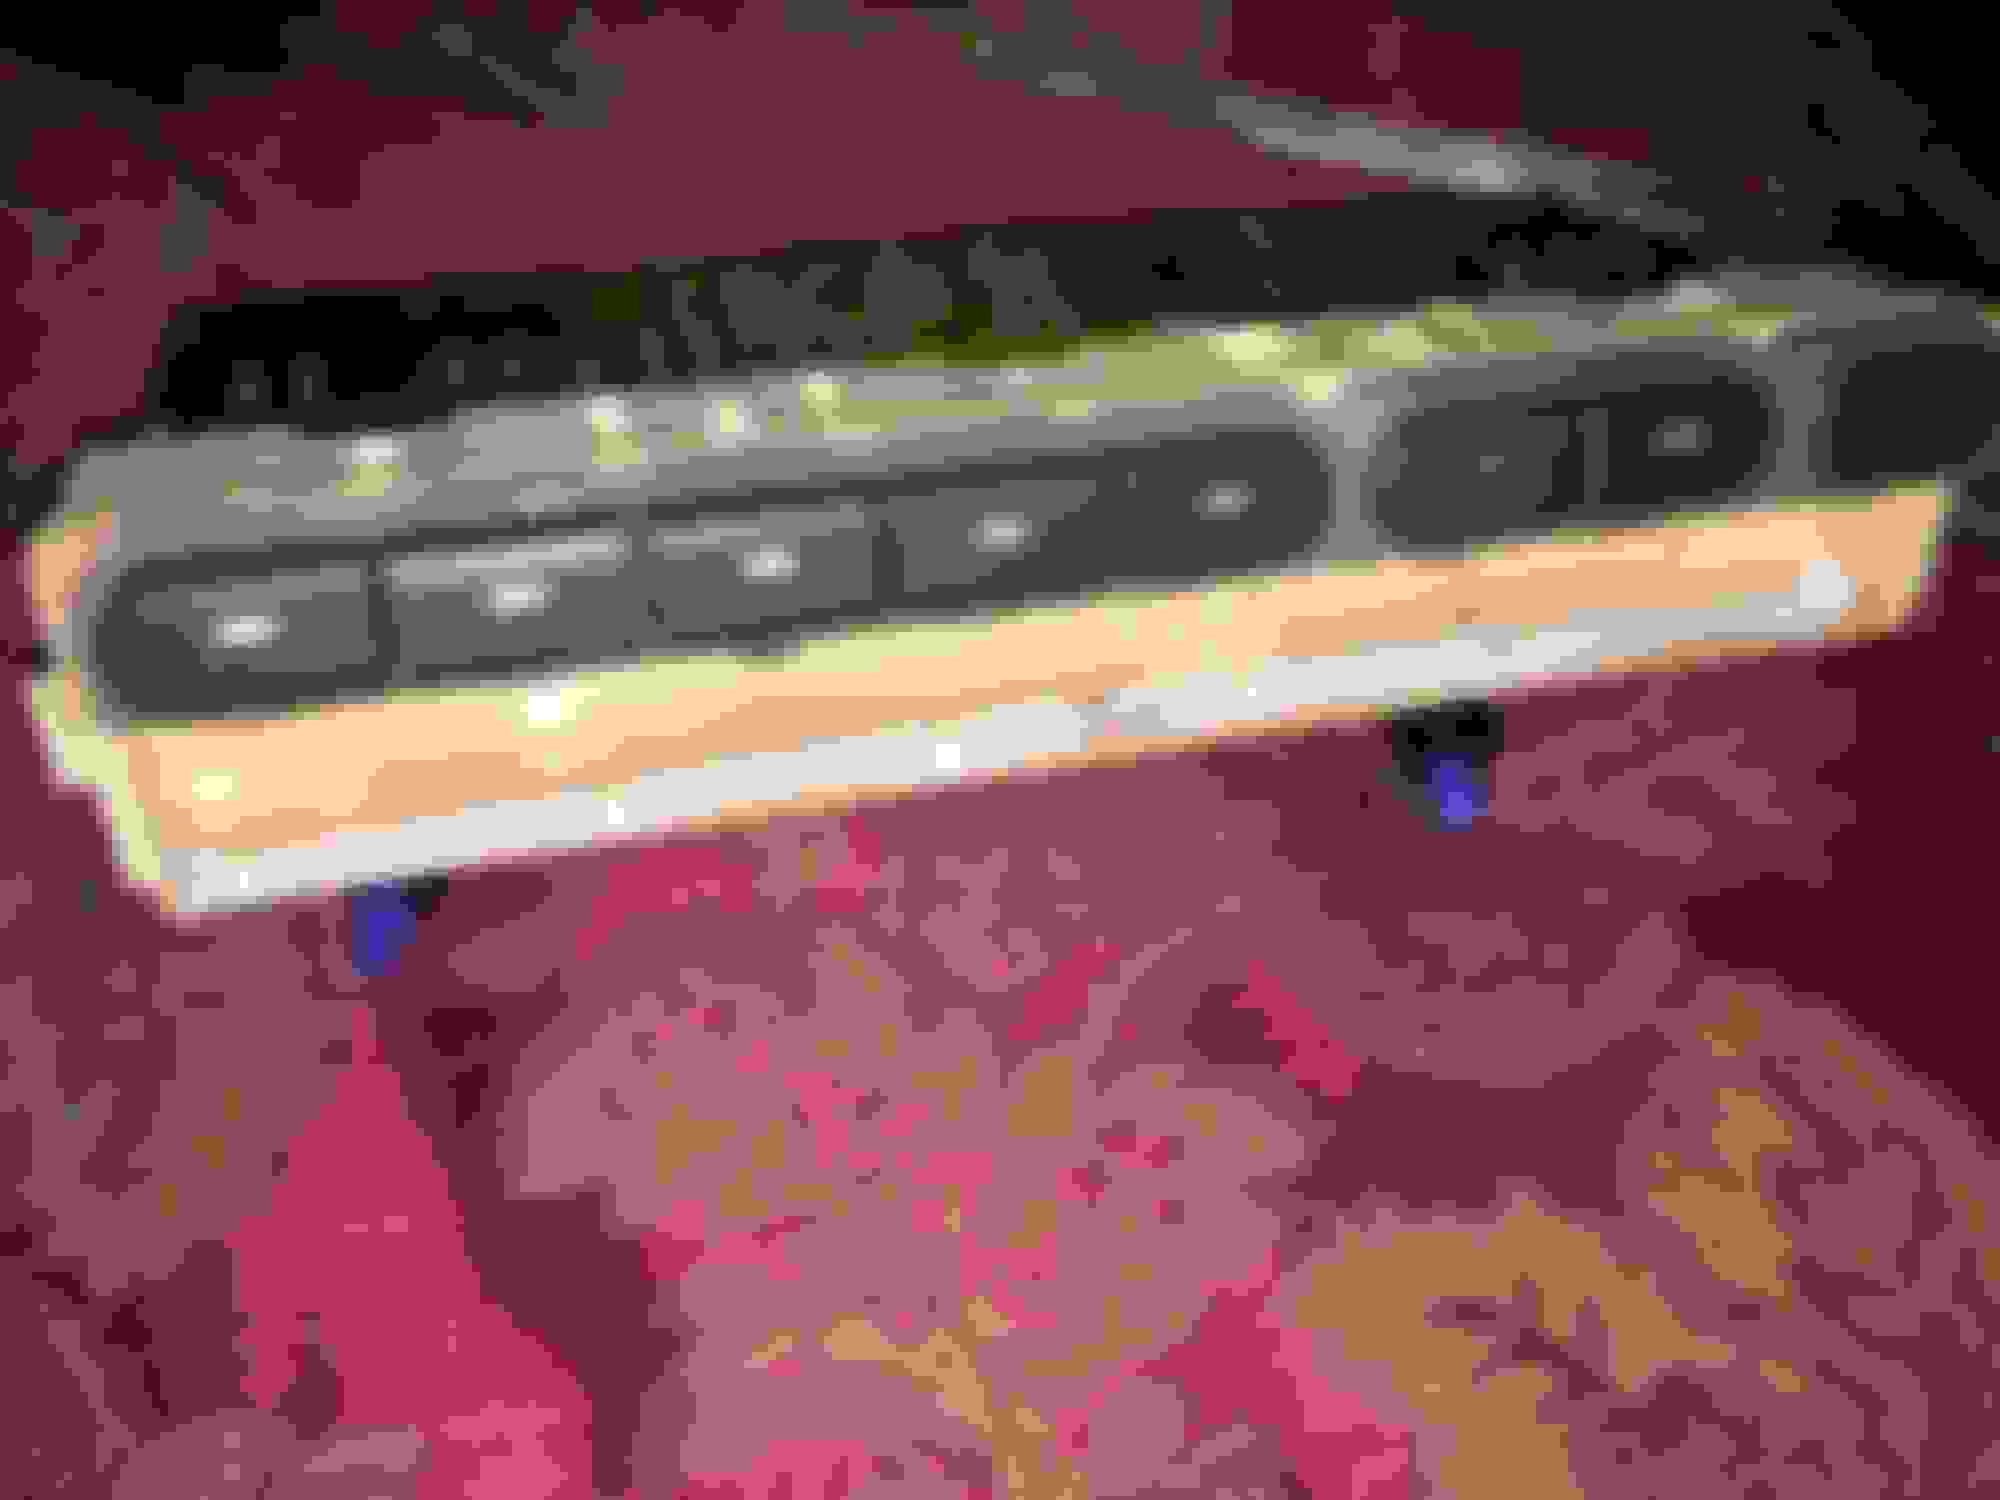
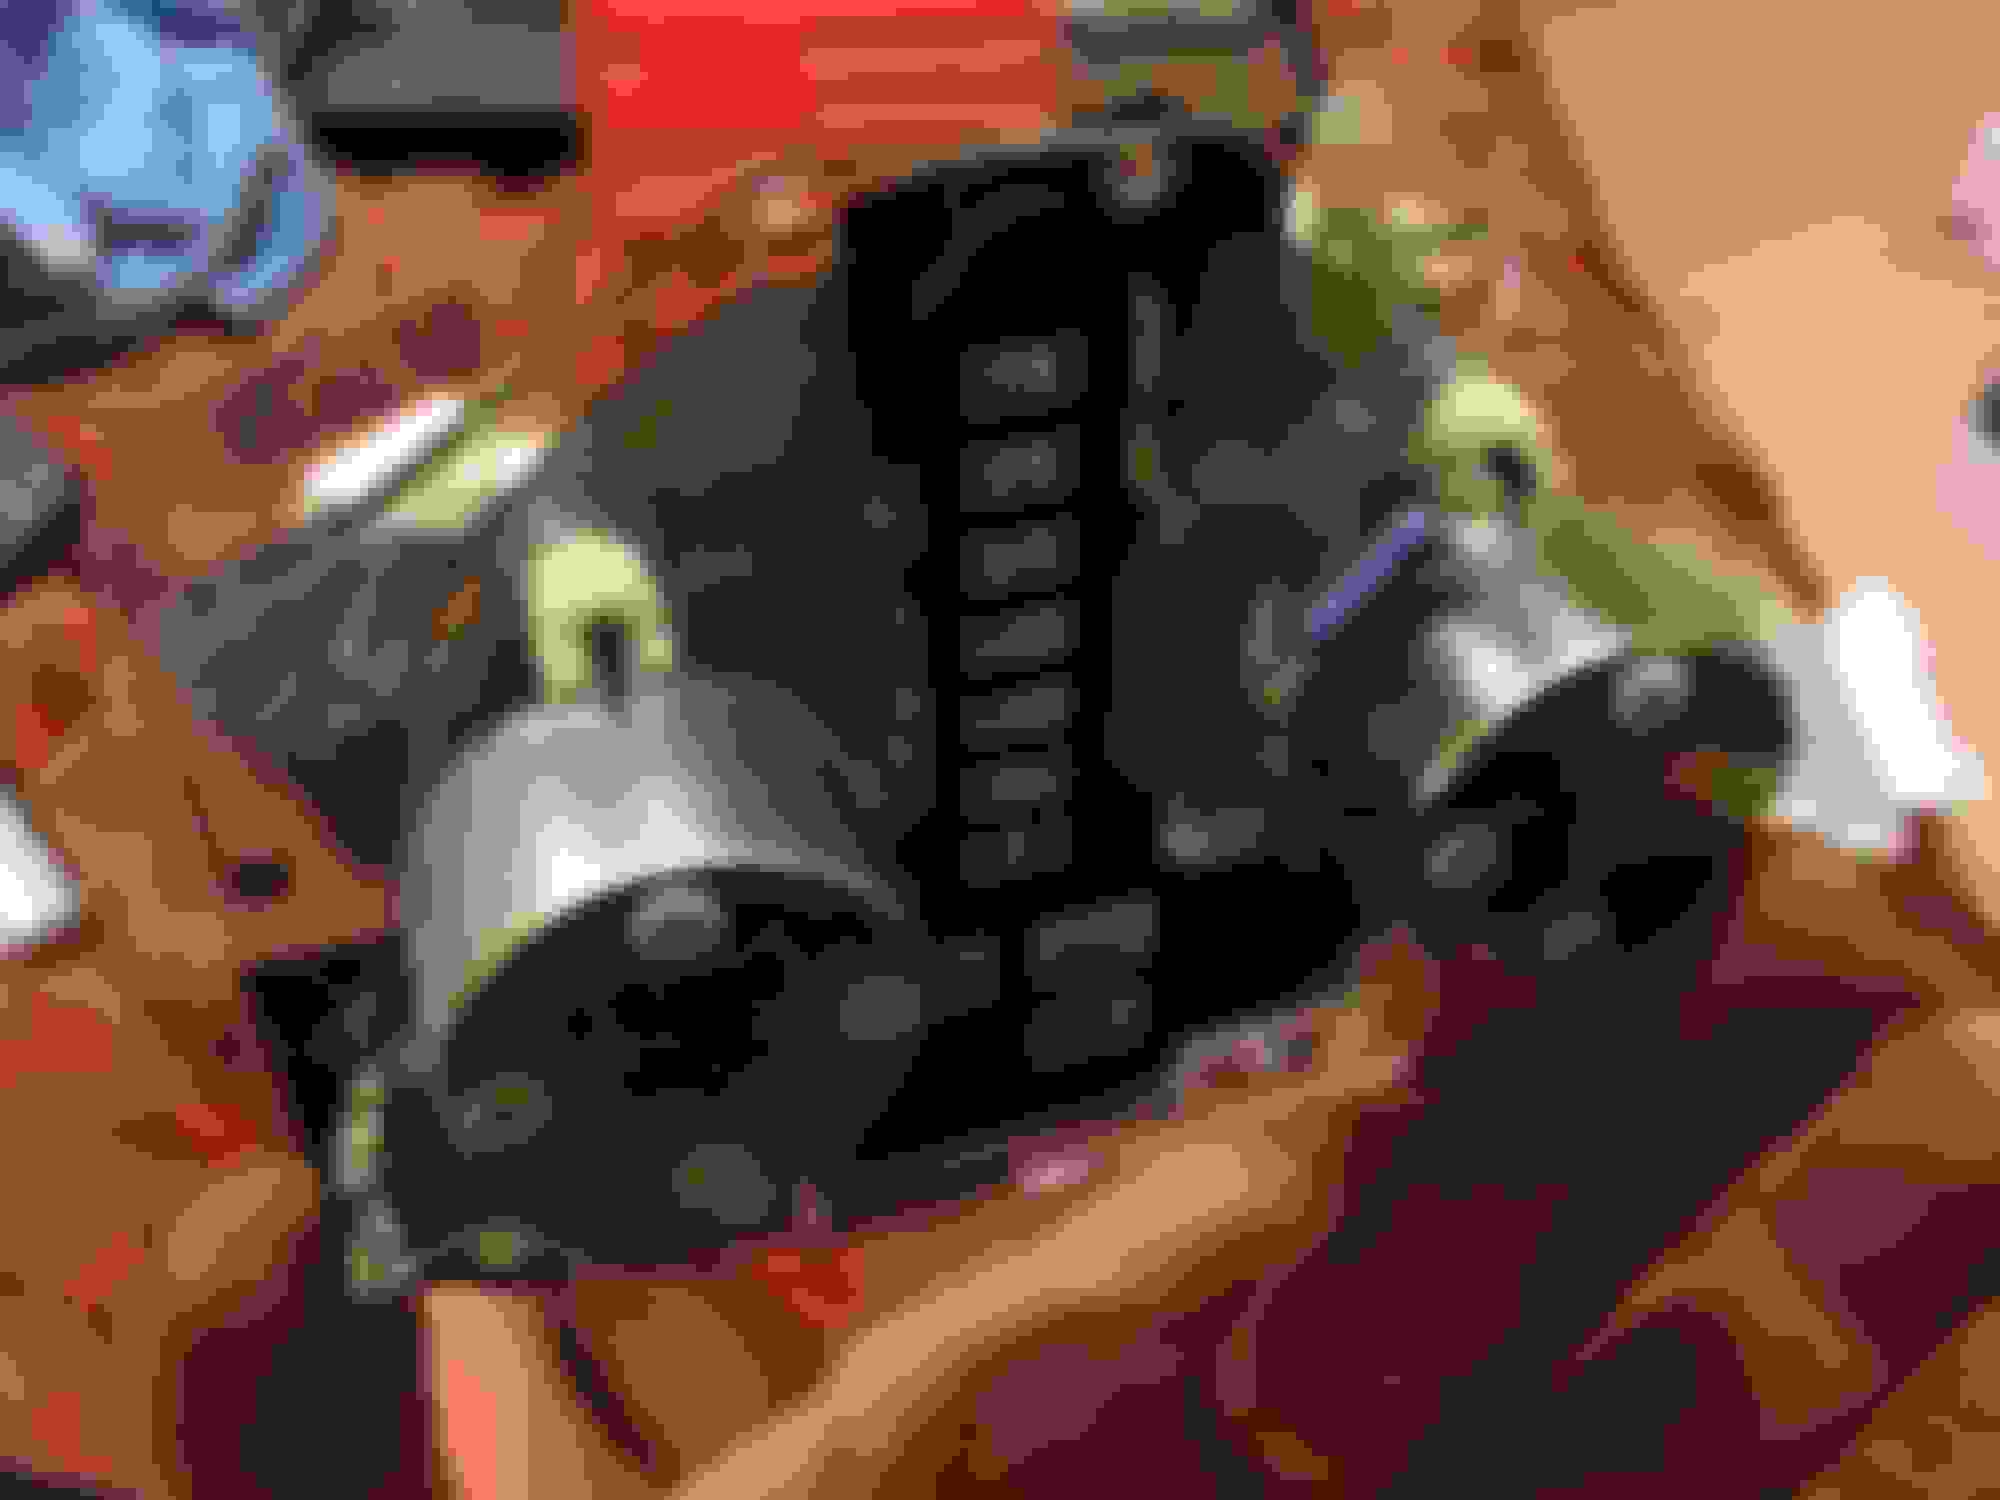
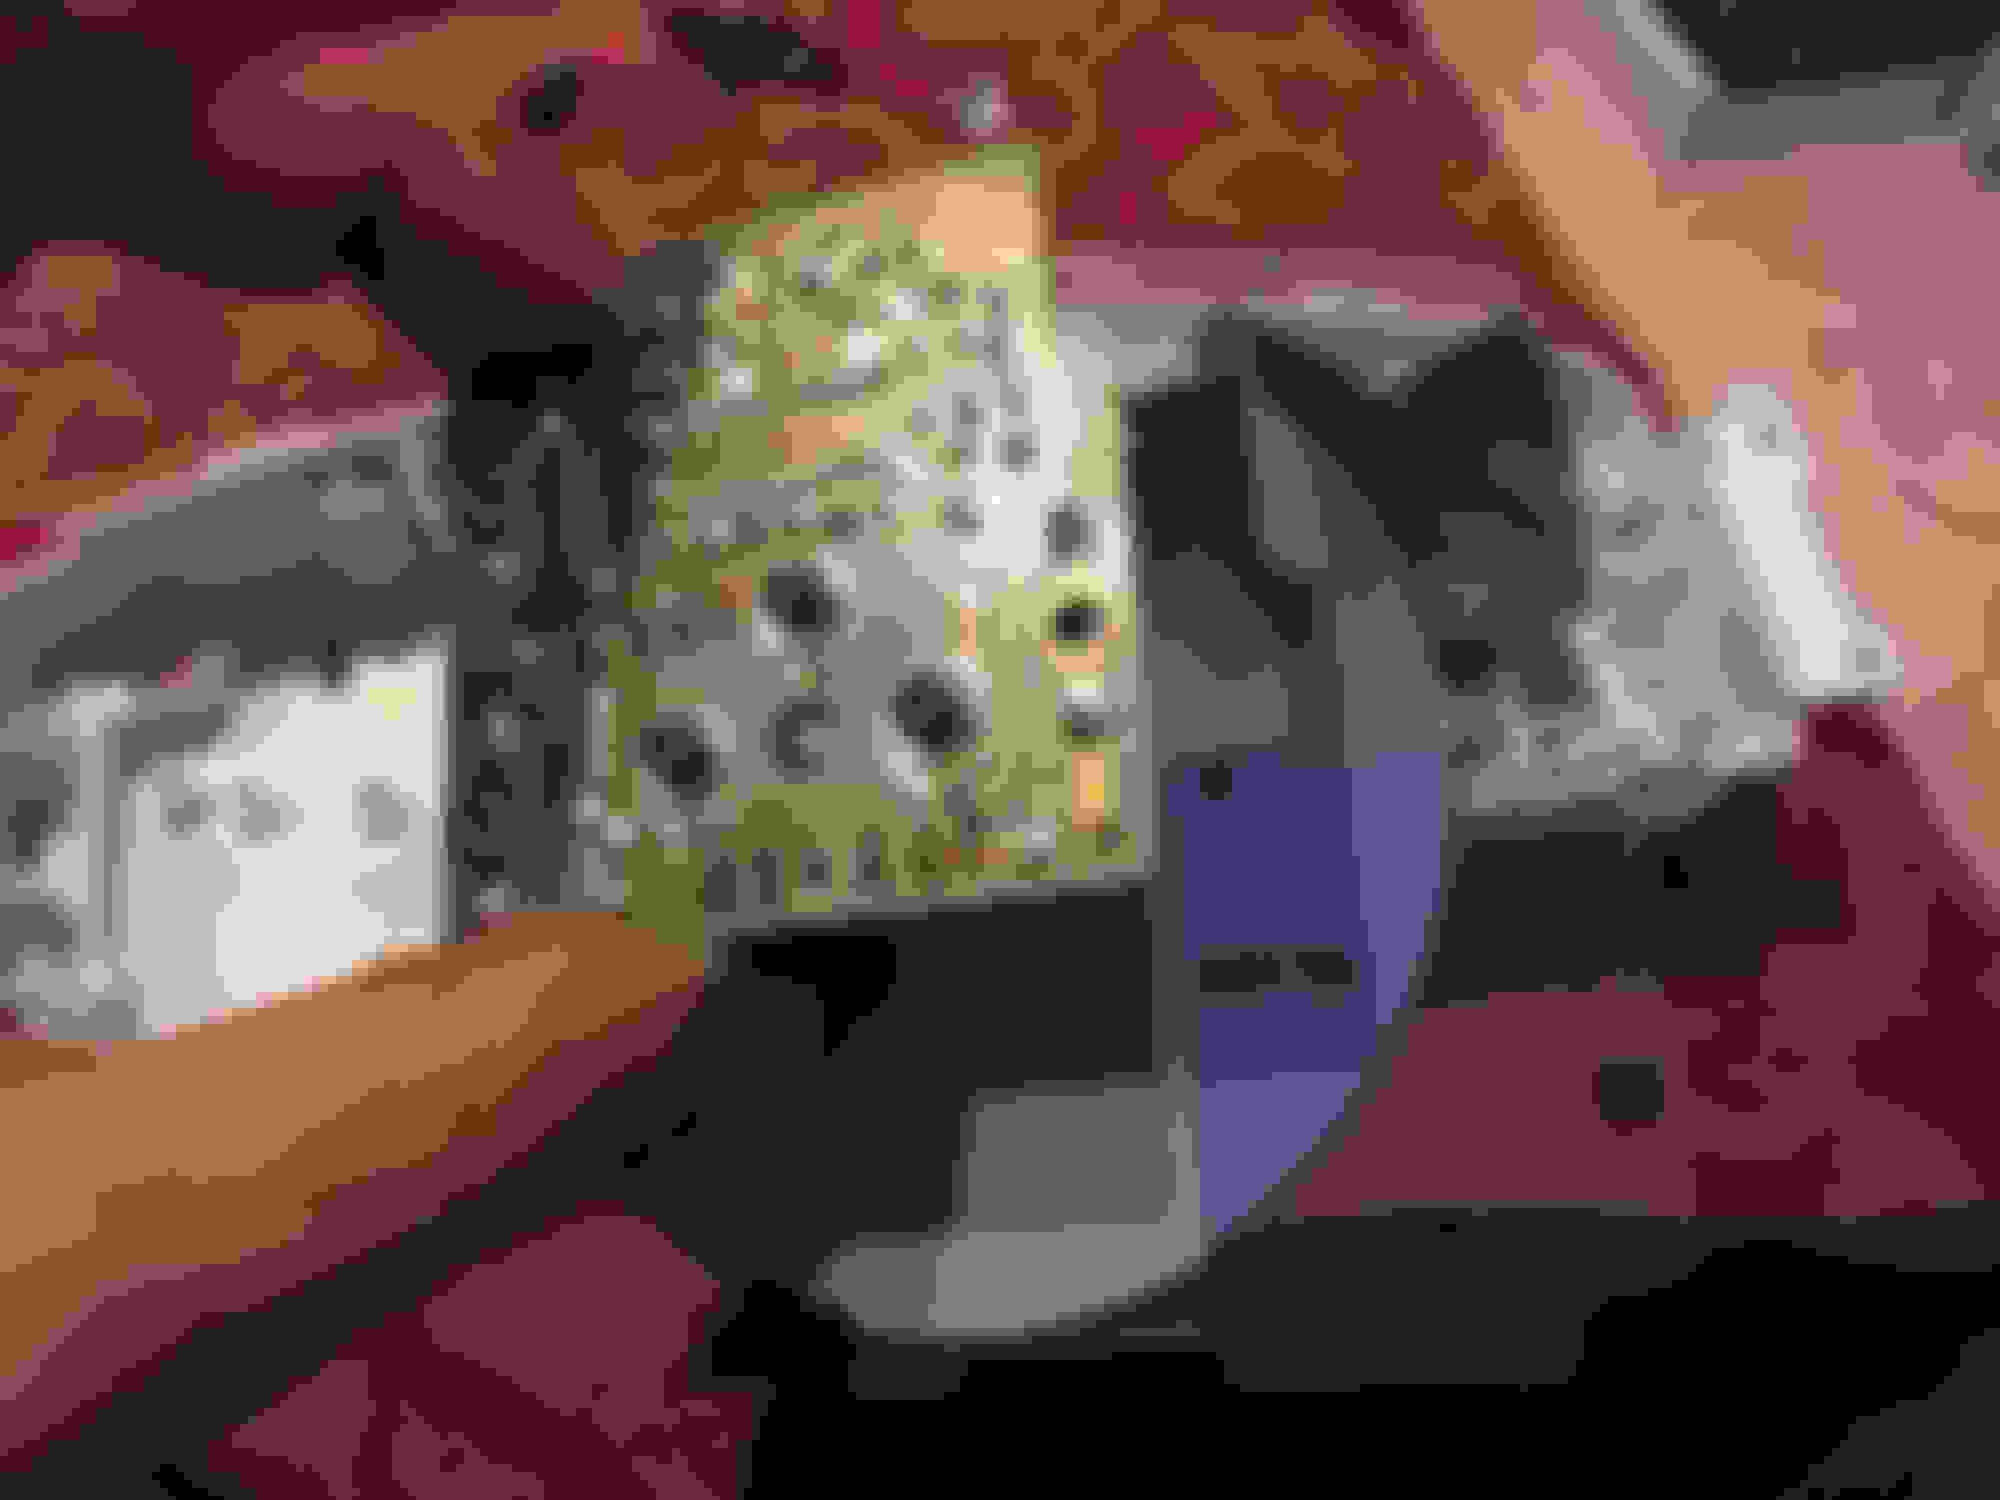
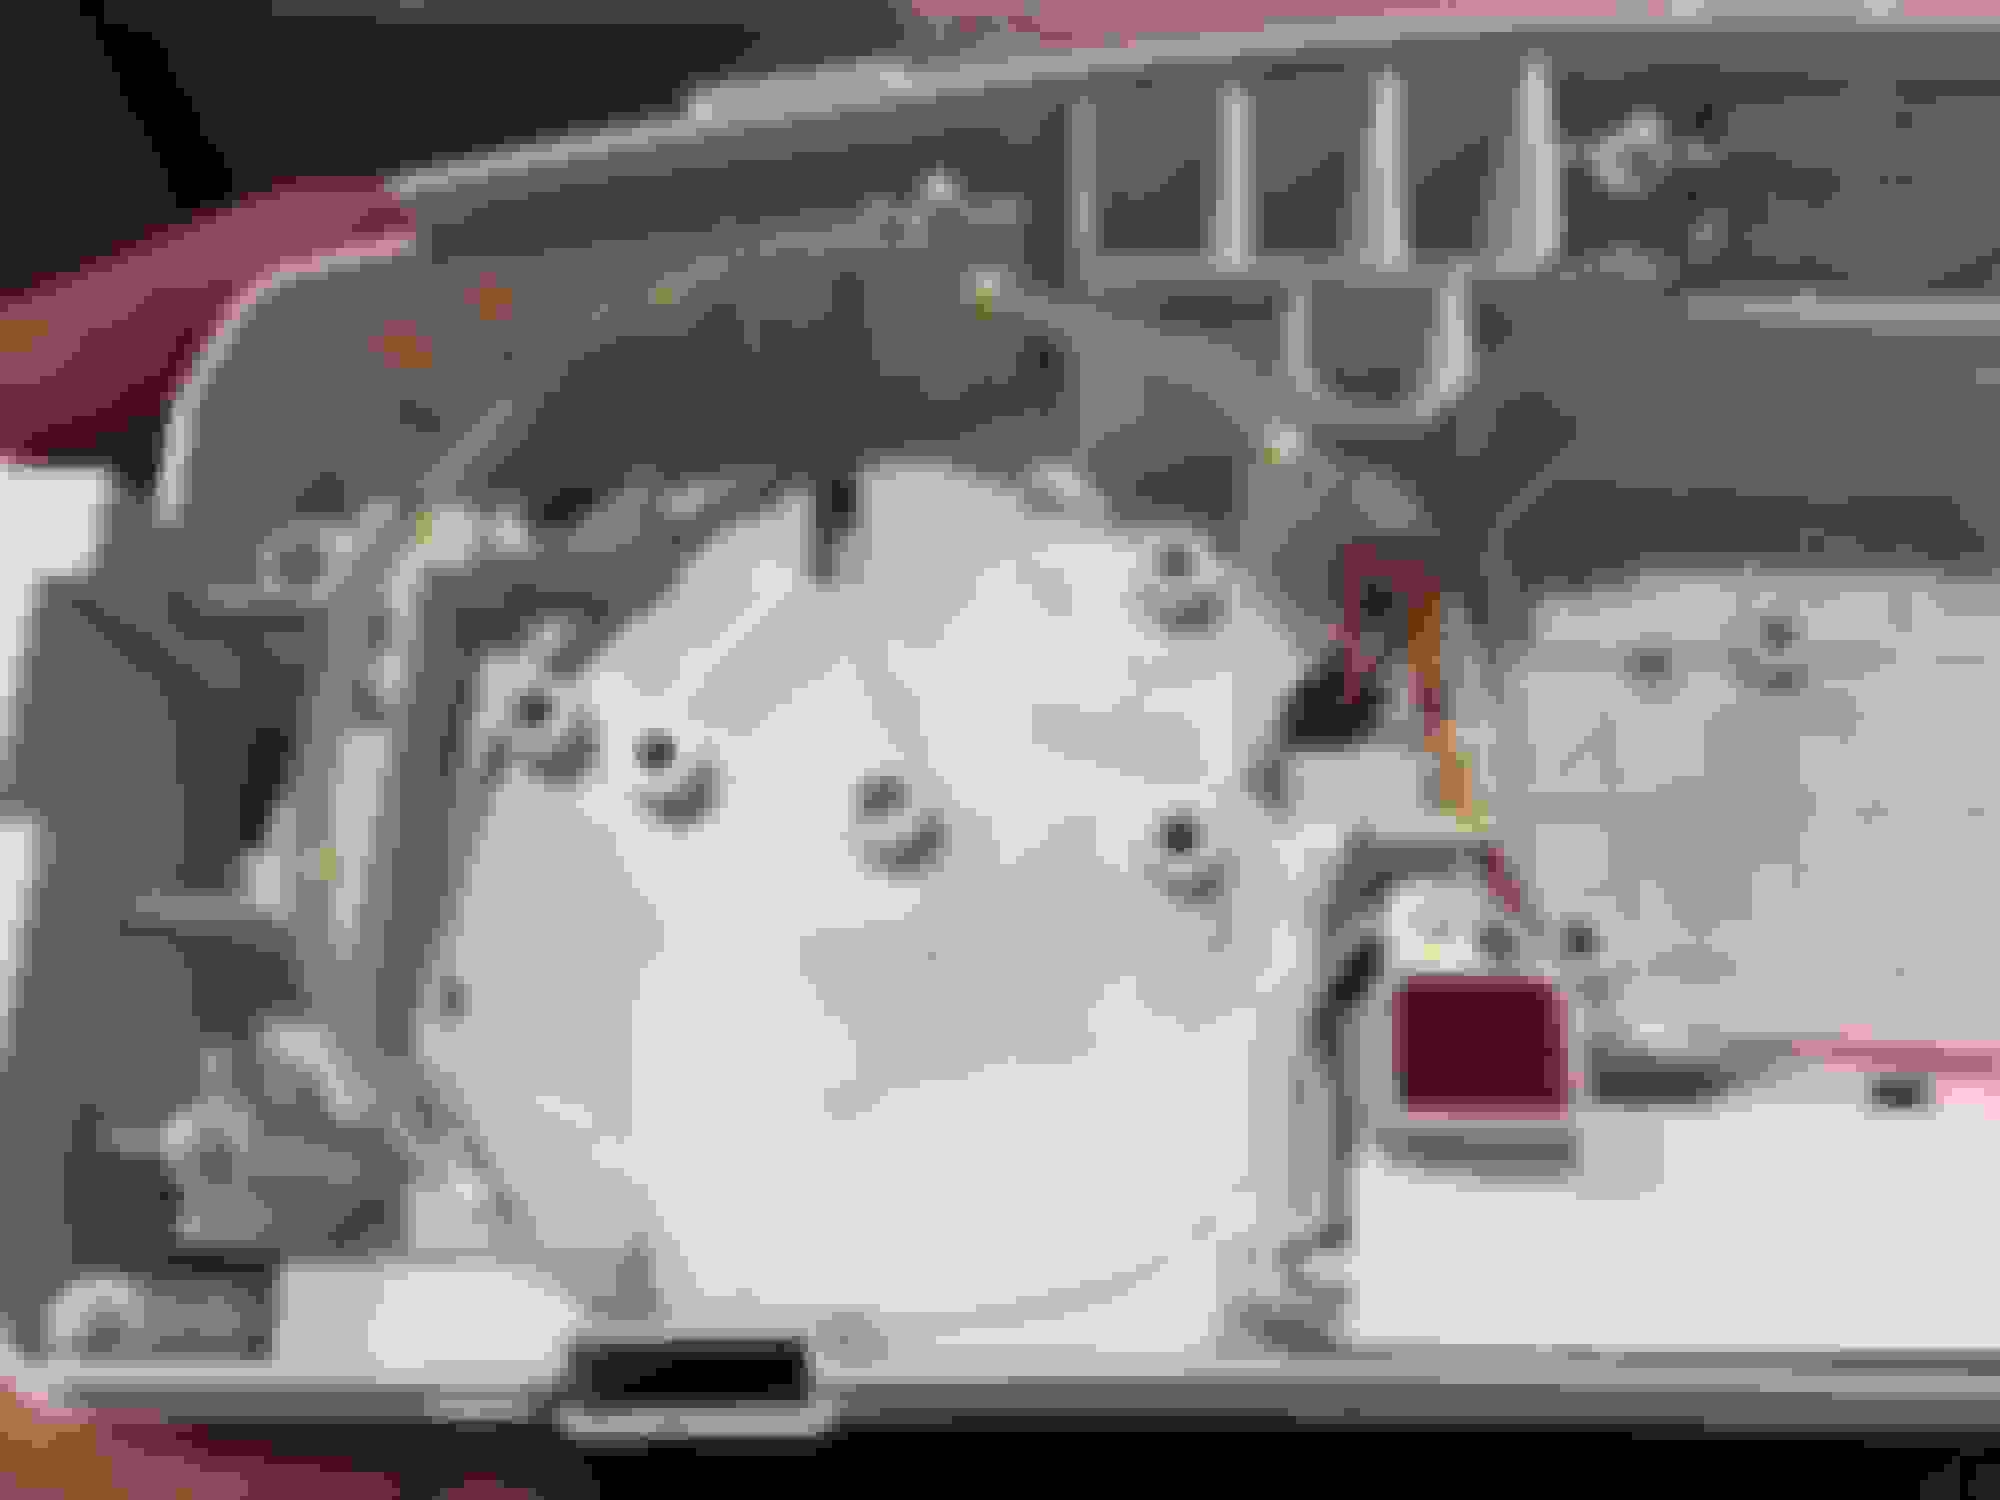
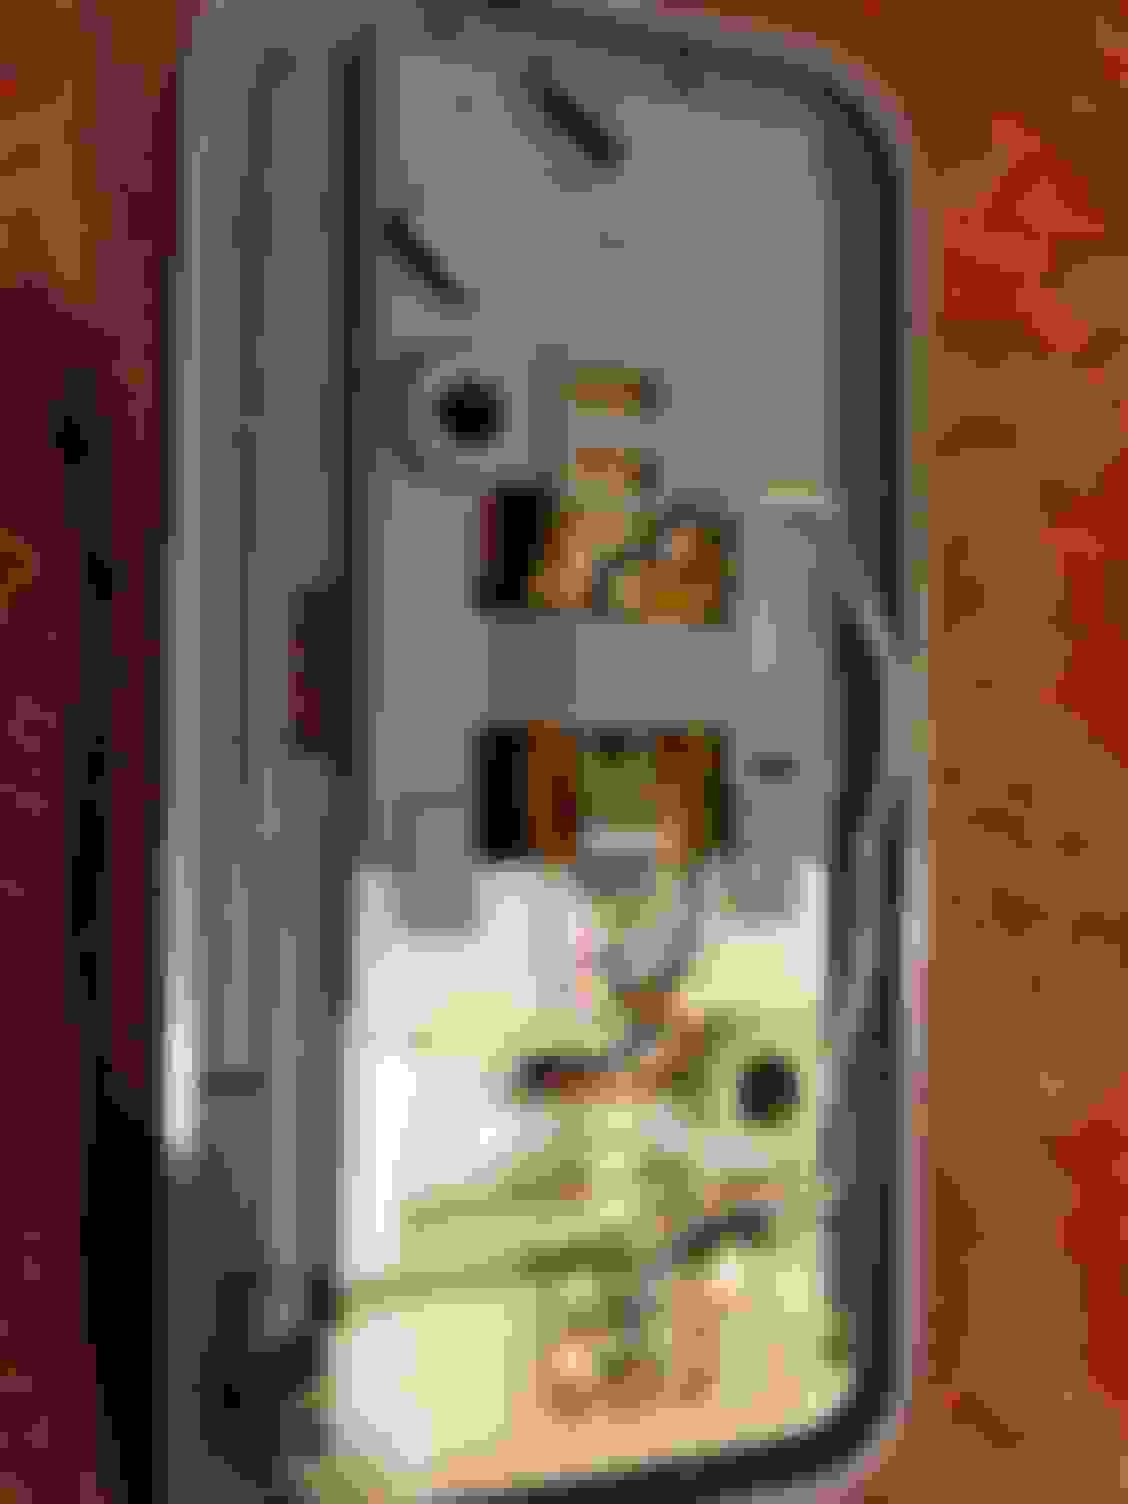
The HVAC Controls.
(my favorite becasue of how much fun they are to remove)
Small Flathead and Phillips were used to break down the unit this far. If disassembly isn't covered elsewhere please let me know ill pull mine back out to take pics.
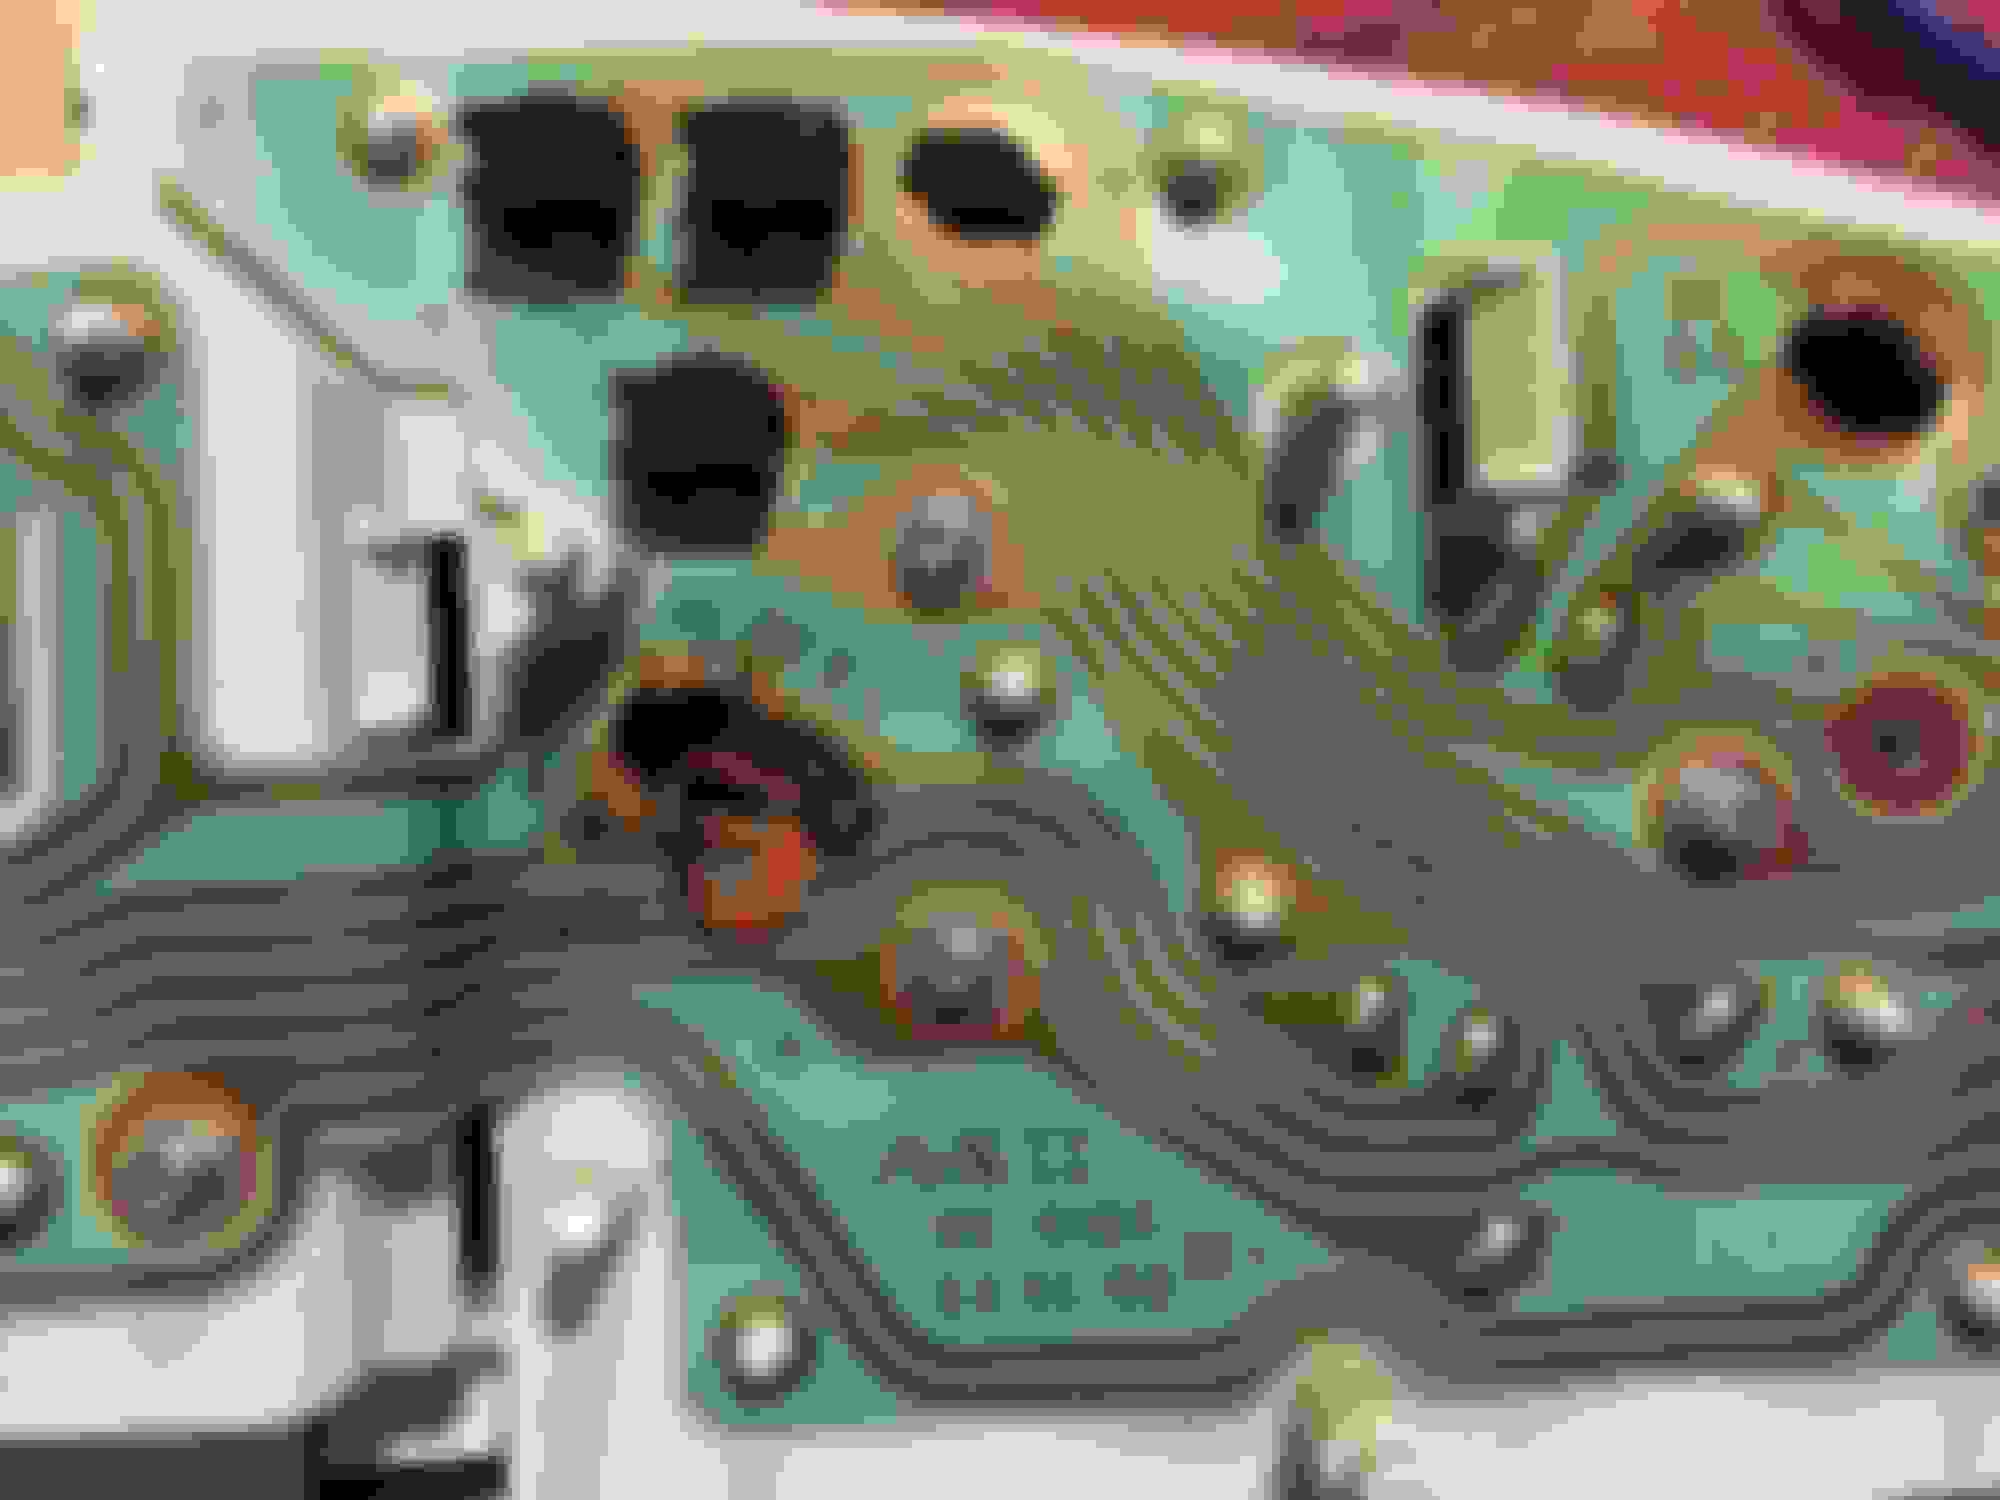
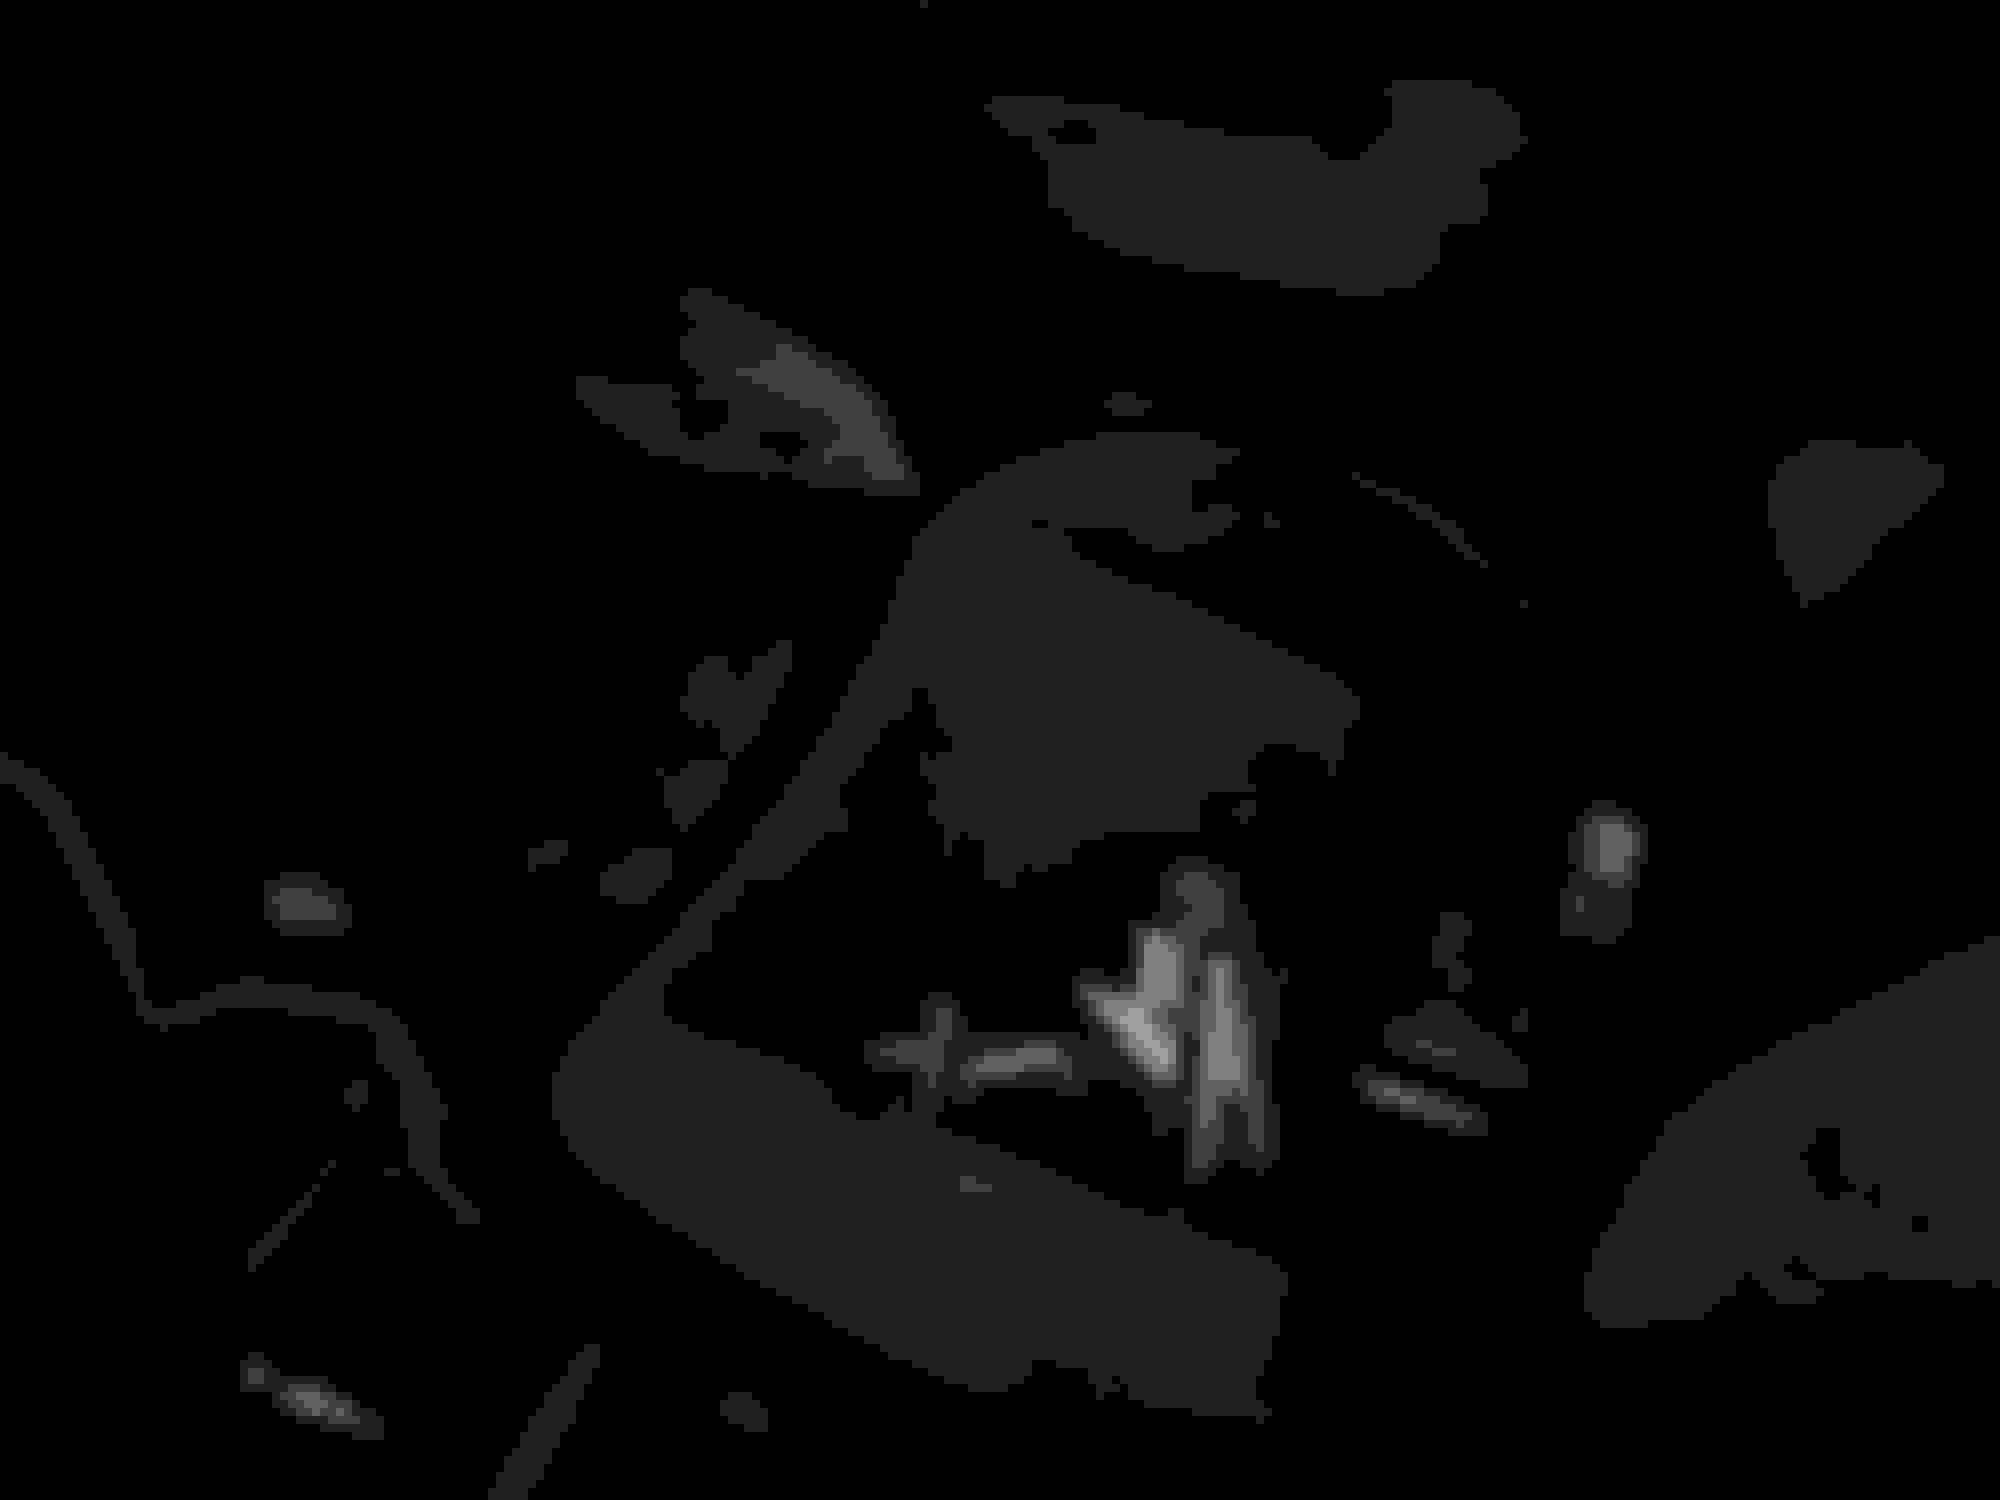
I Personally use Strip Led's for these applications i do have SMD's and Bulbs but still prefer the Strips.
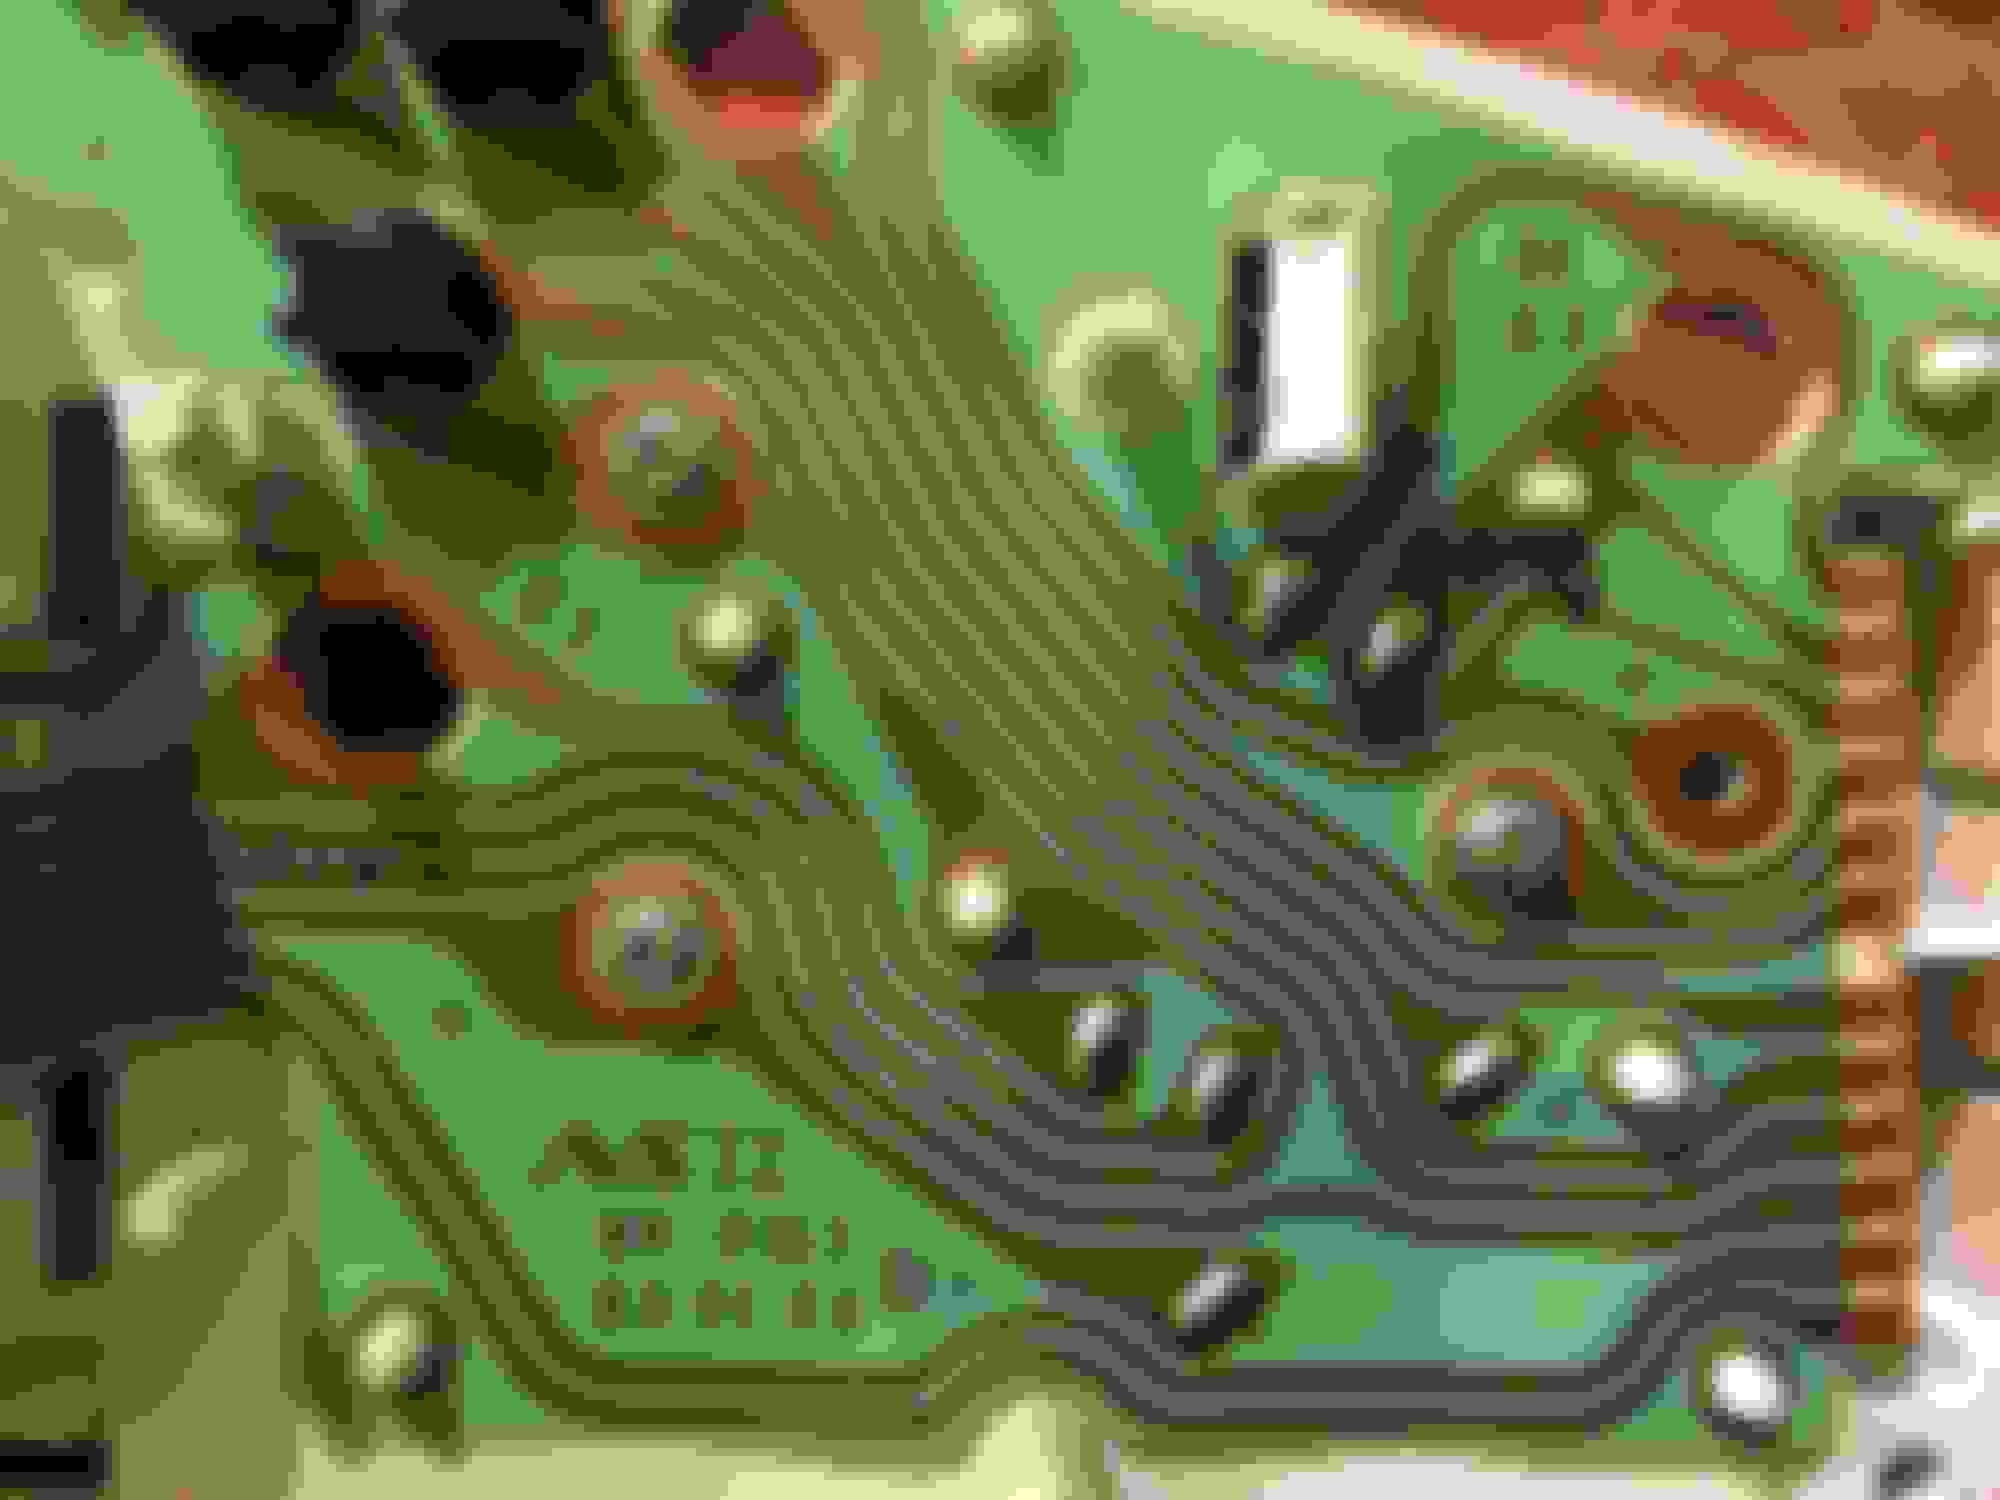
I always figure out how many i can use and how i will fit them. i usually try to follow stock bulbs locations. I also pay as much attention to how the original light was distributed and try to improve.
the best coverage i found is by having bulbs facing up as close to edge as possible. my strips require a min length so i fold edges to fit.
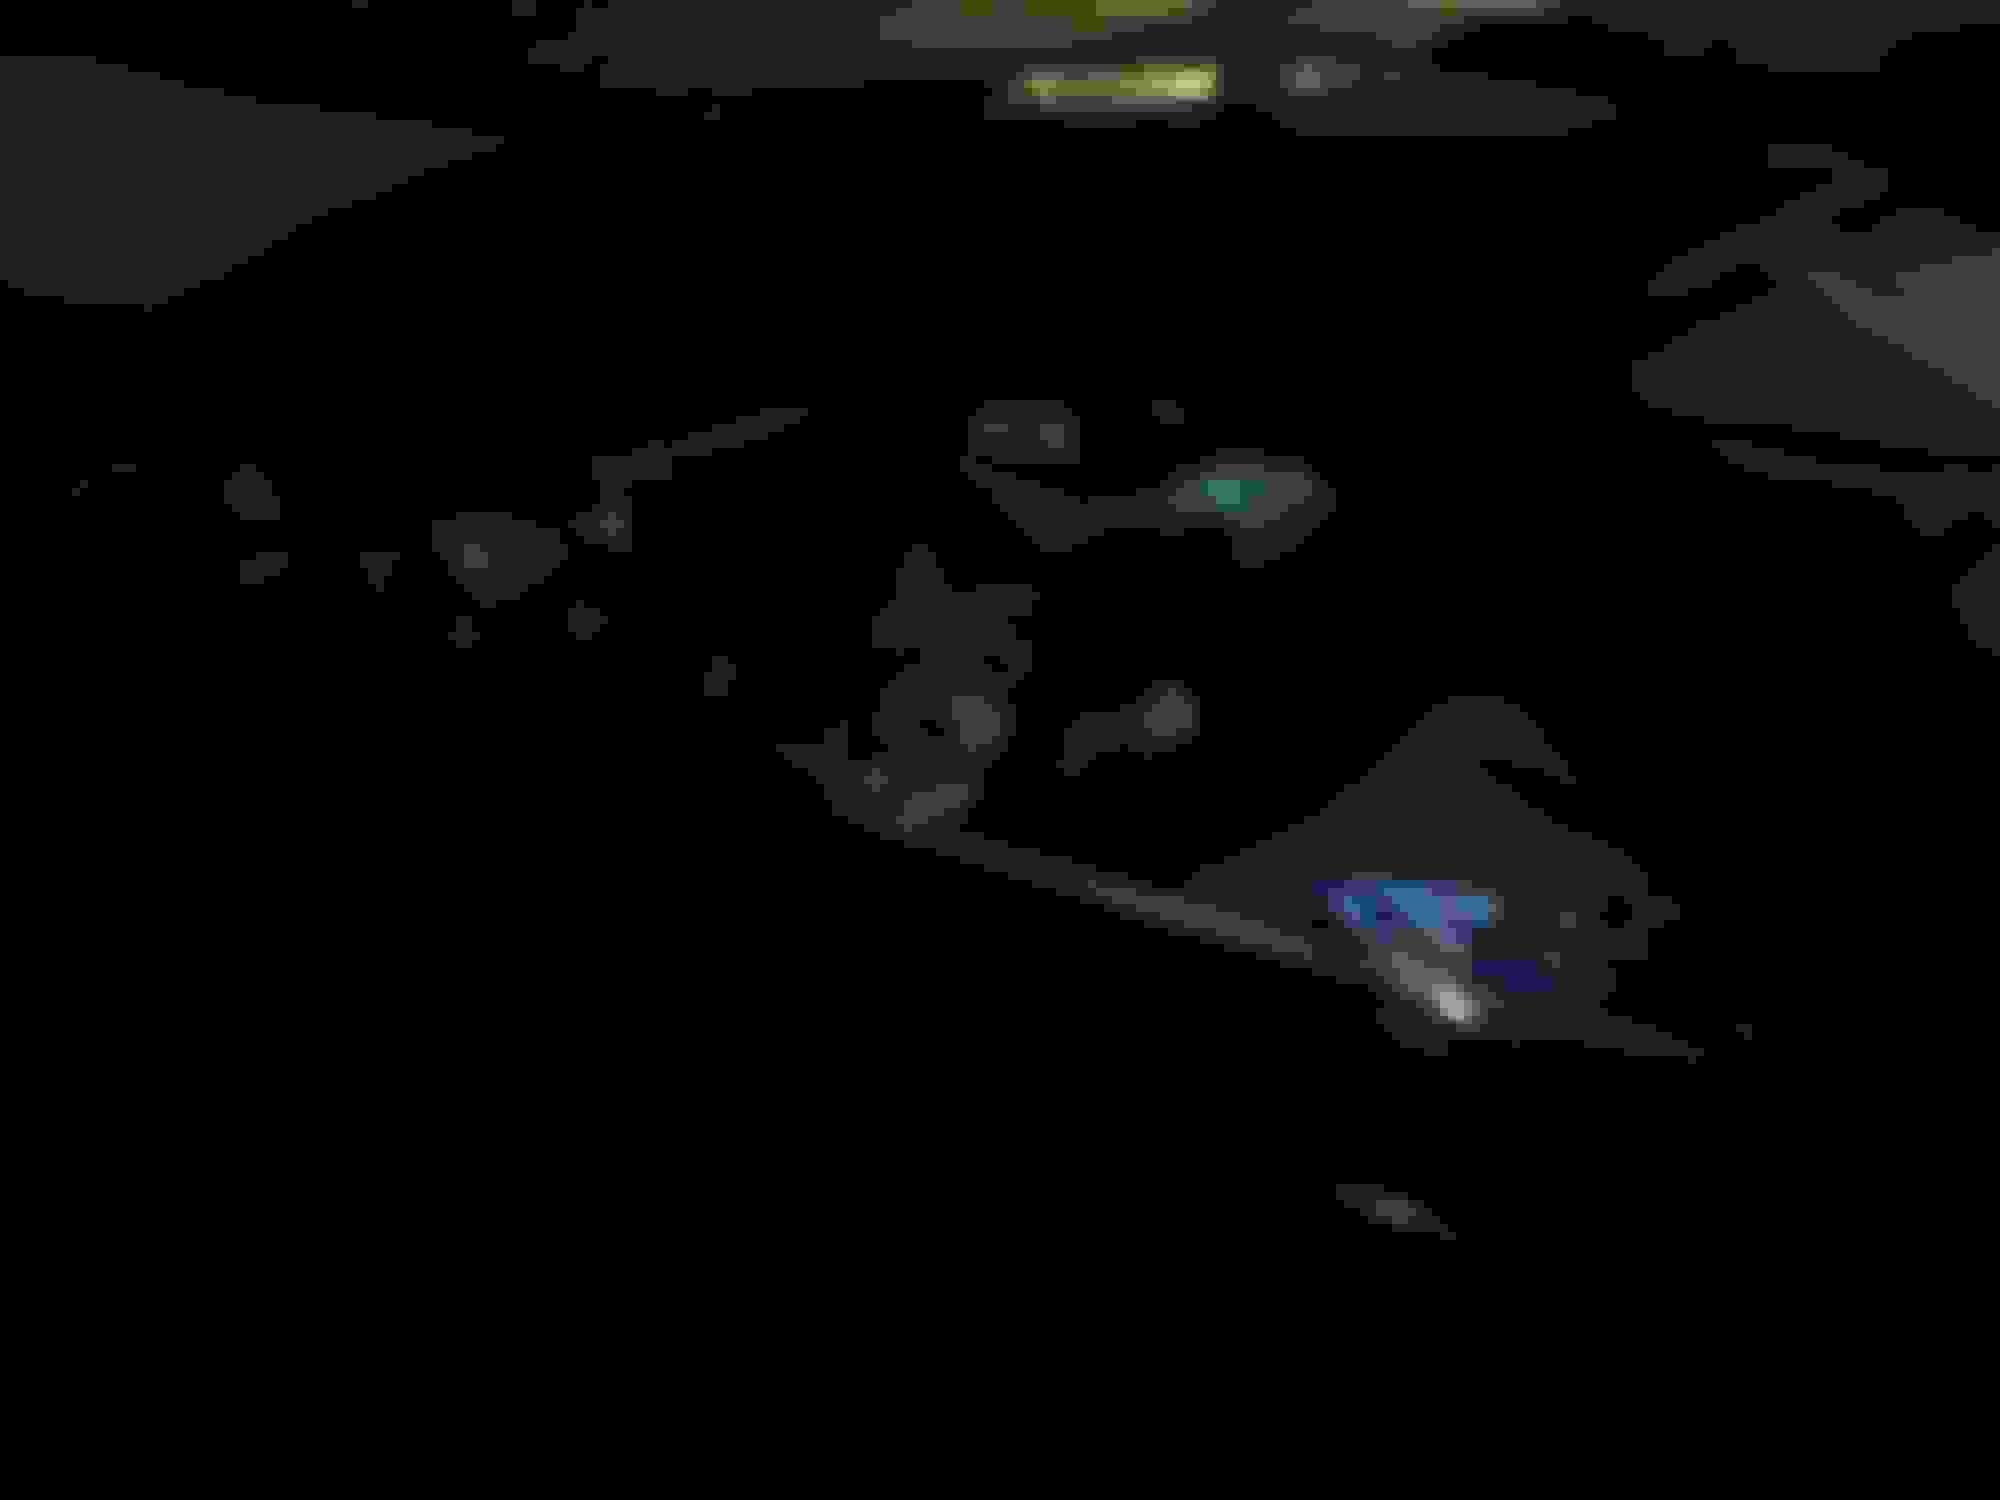
soldered wires to strip and for S***'s and Giggles I put foil insulation behind to see if it made it brighter. (no it didnt)
Also hot glued the strip as close to front facing edge as possible. this is my personal car when i do customers units i use Black Glue and CY Glue When needed.
but i have done three cars with clear and 4 years going on the first two no issues.
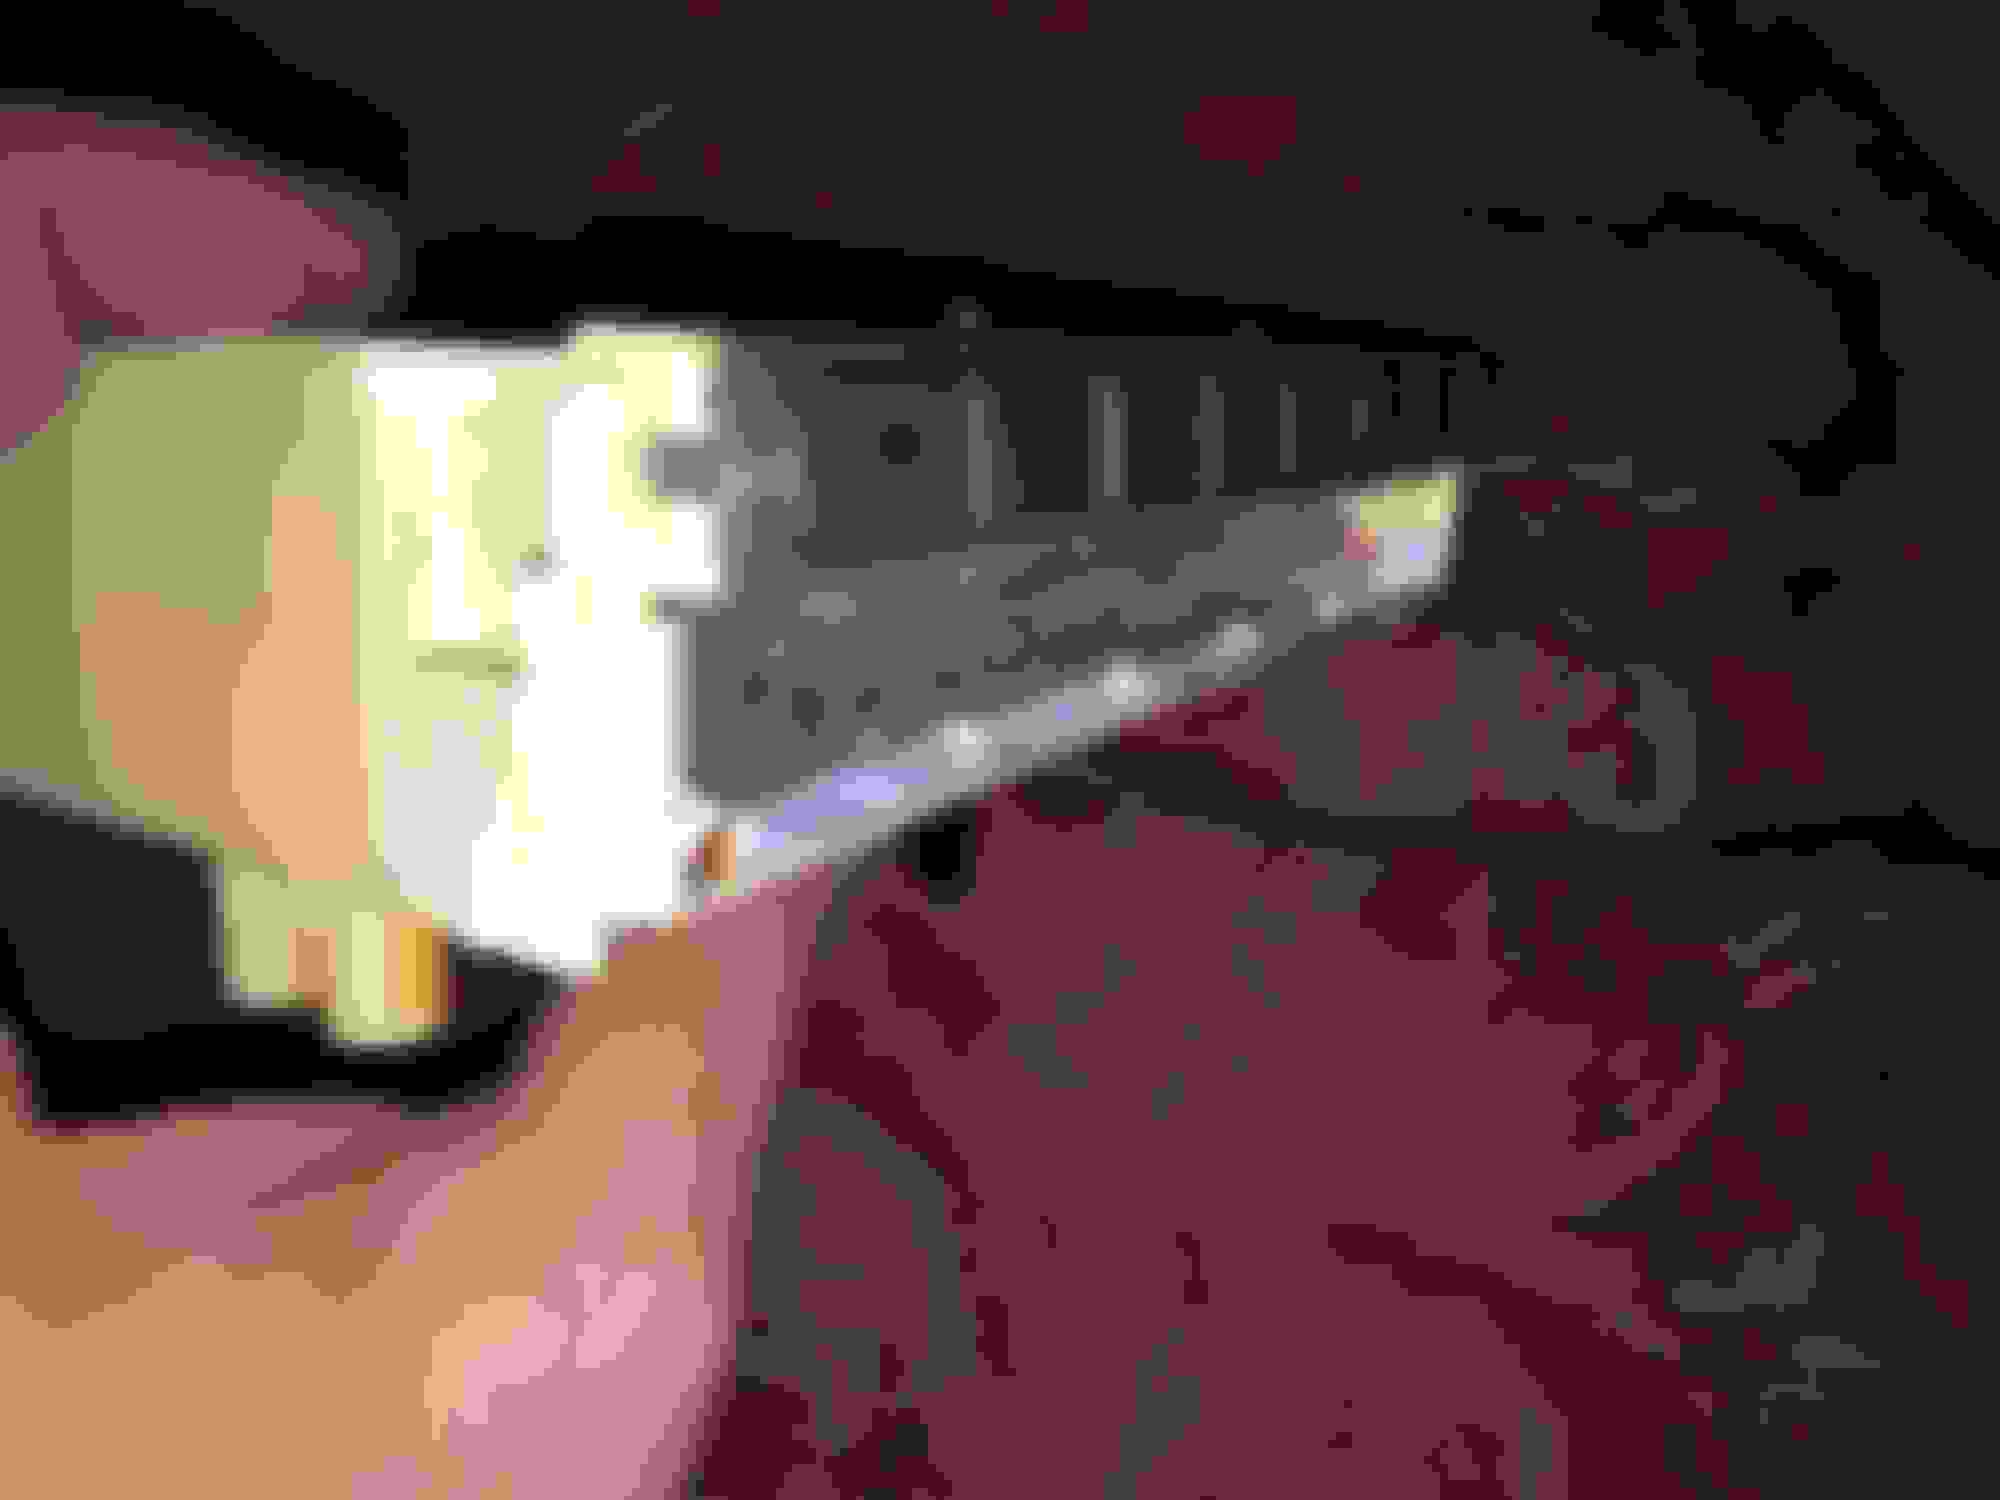
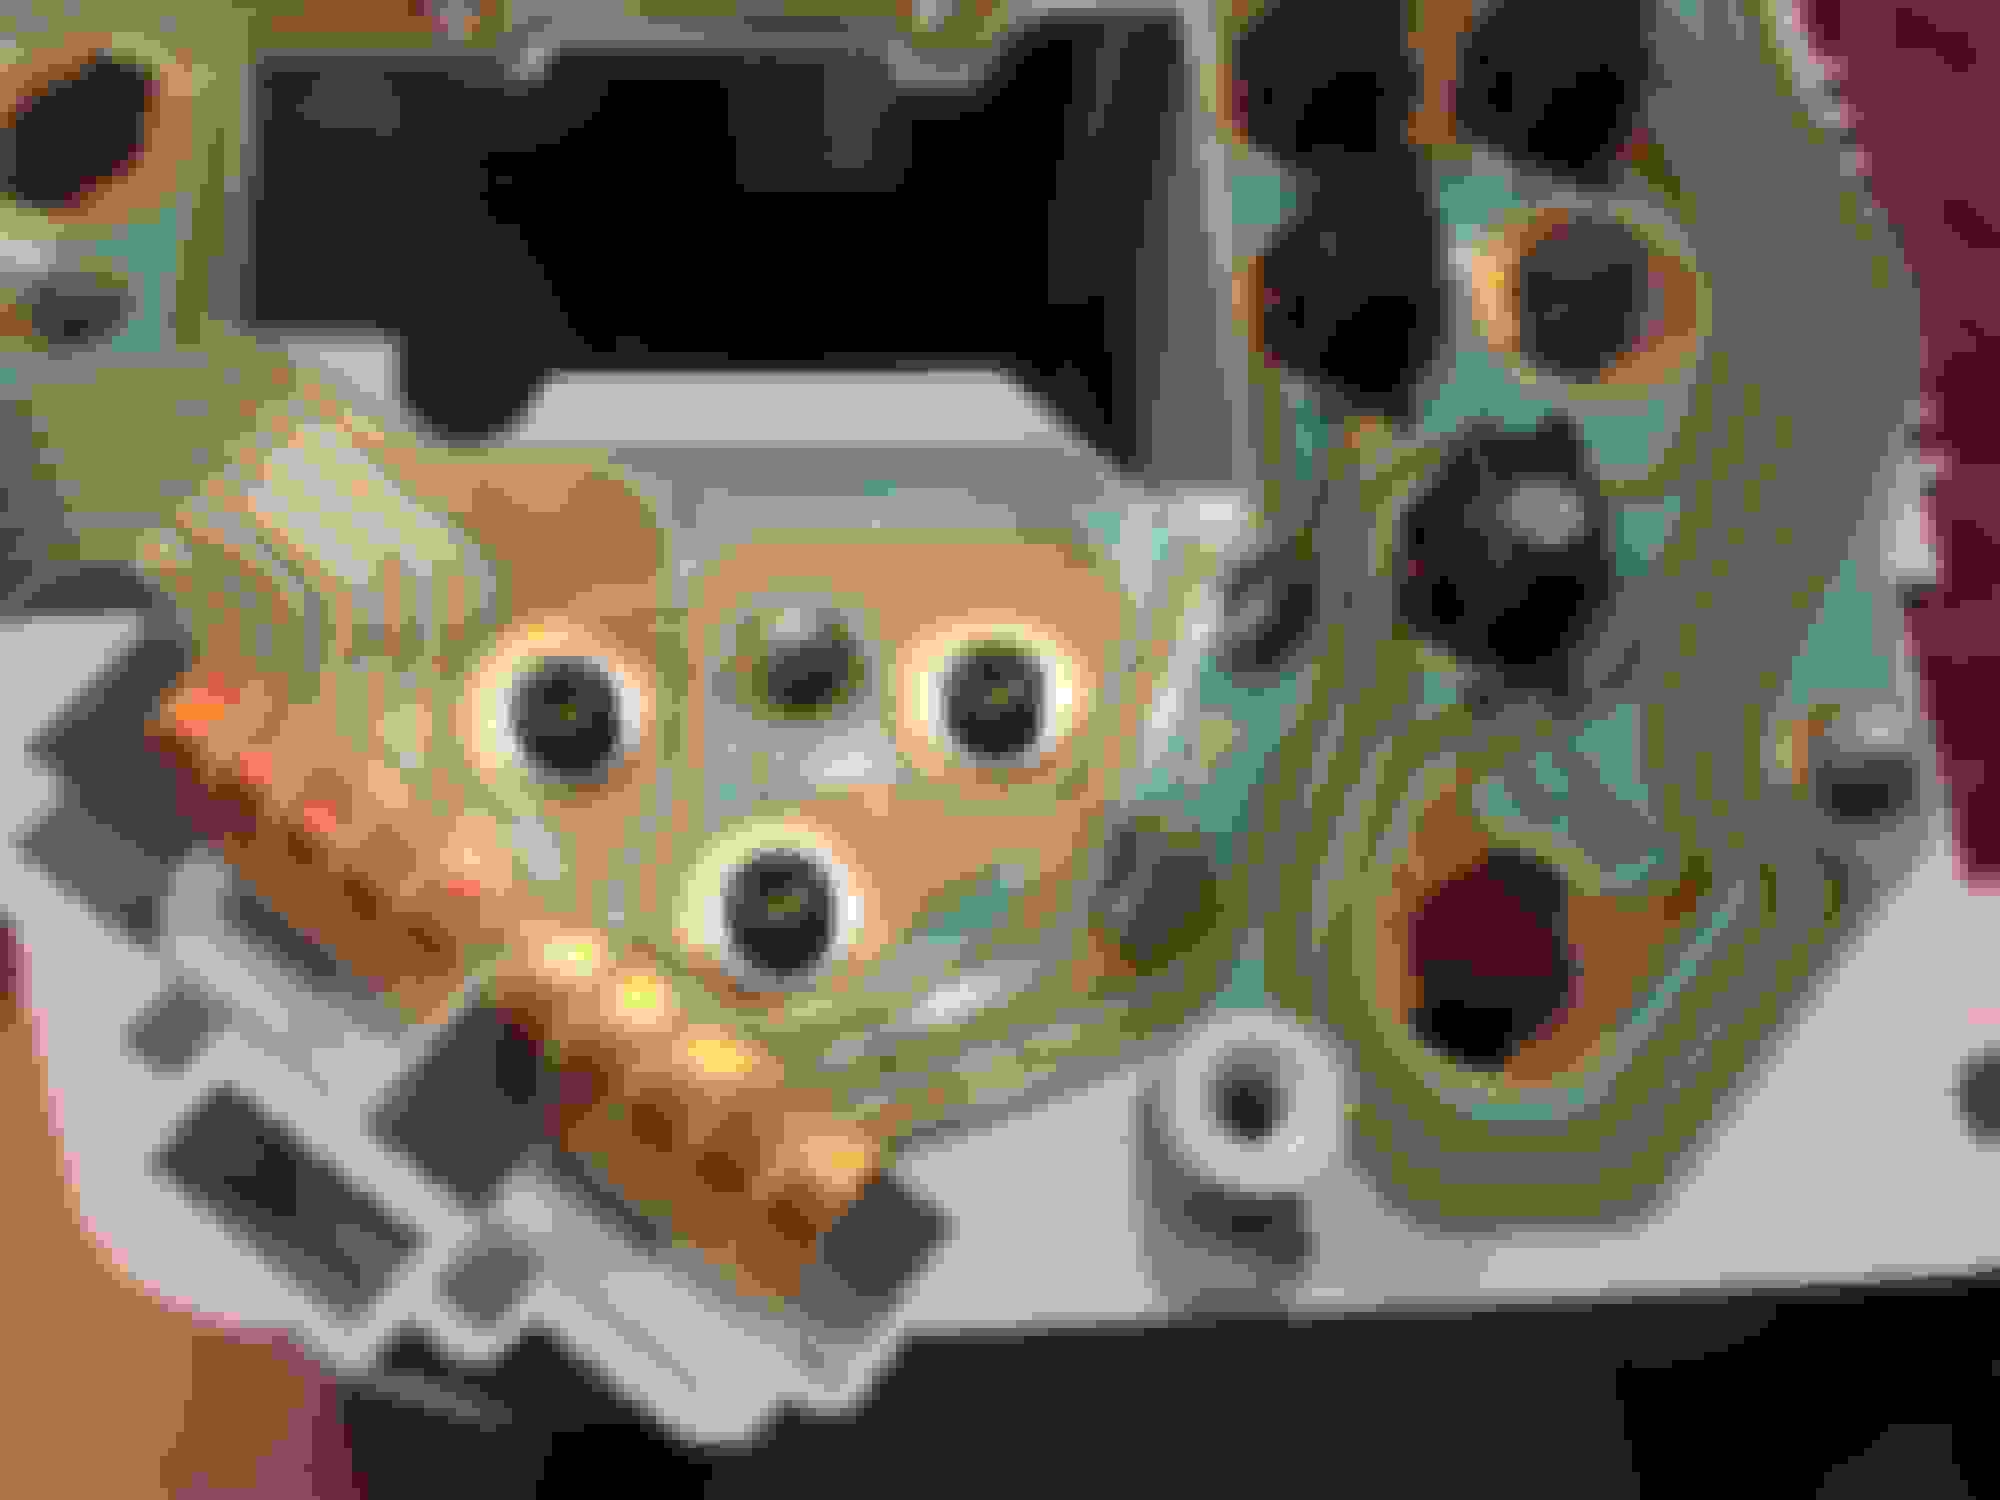
De-solder original Bulb leads and solder led in.
Reassemble and enjoy
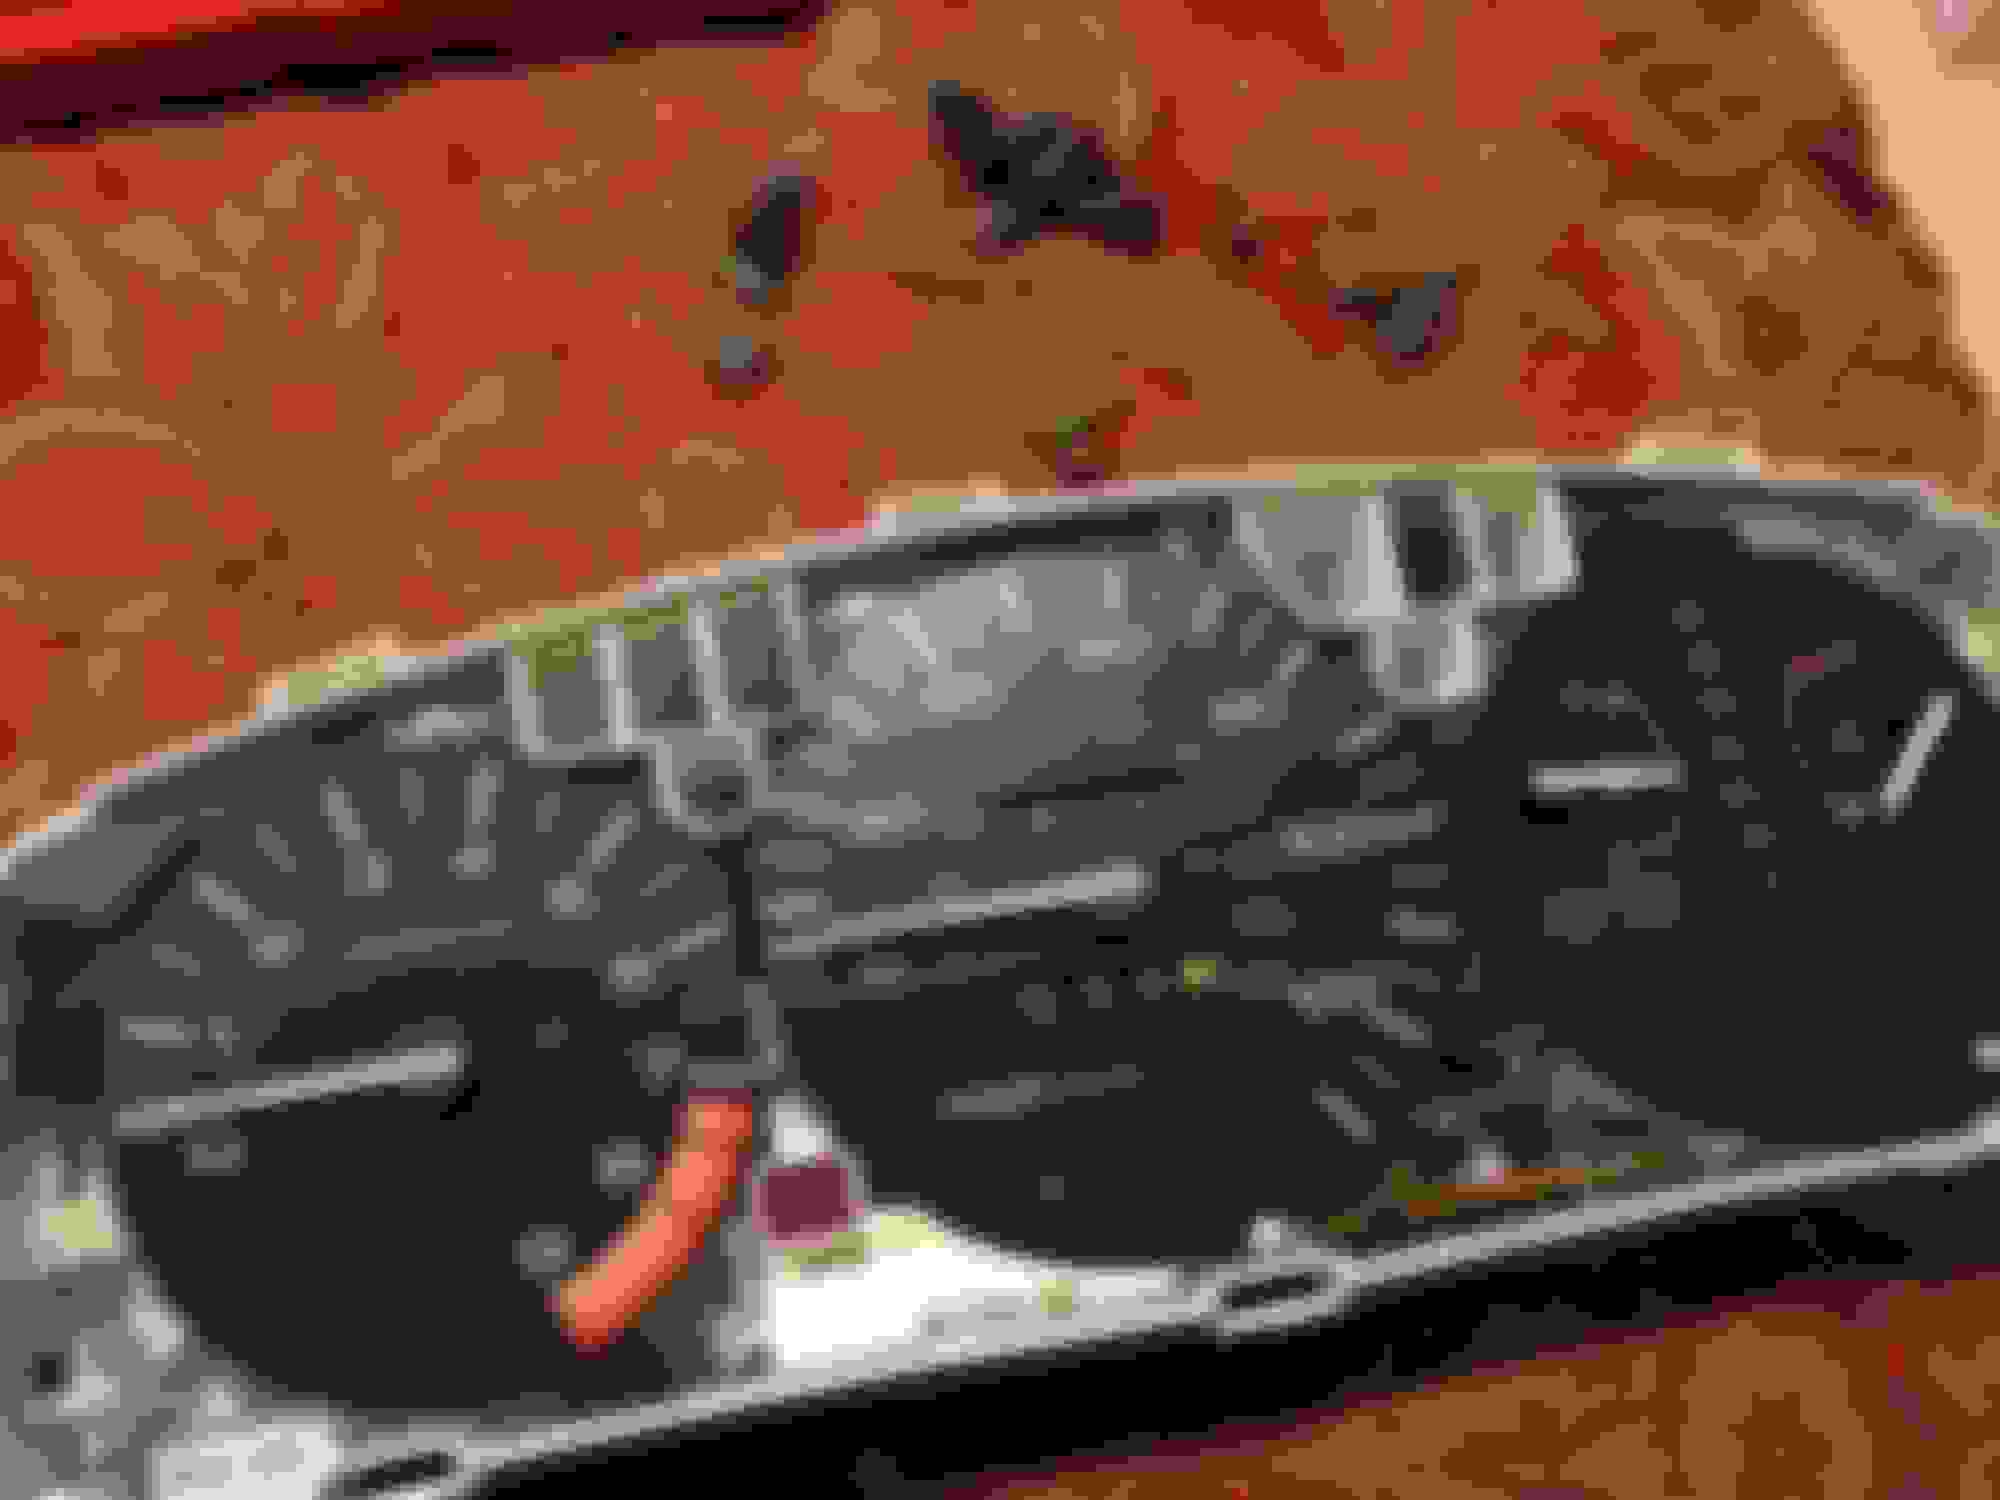
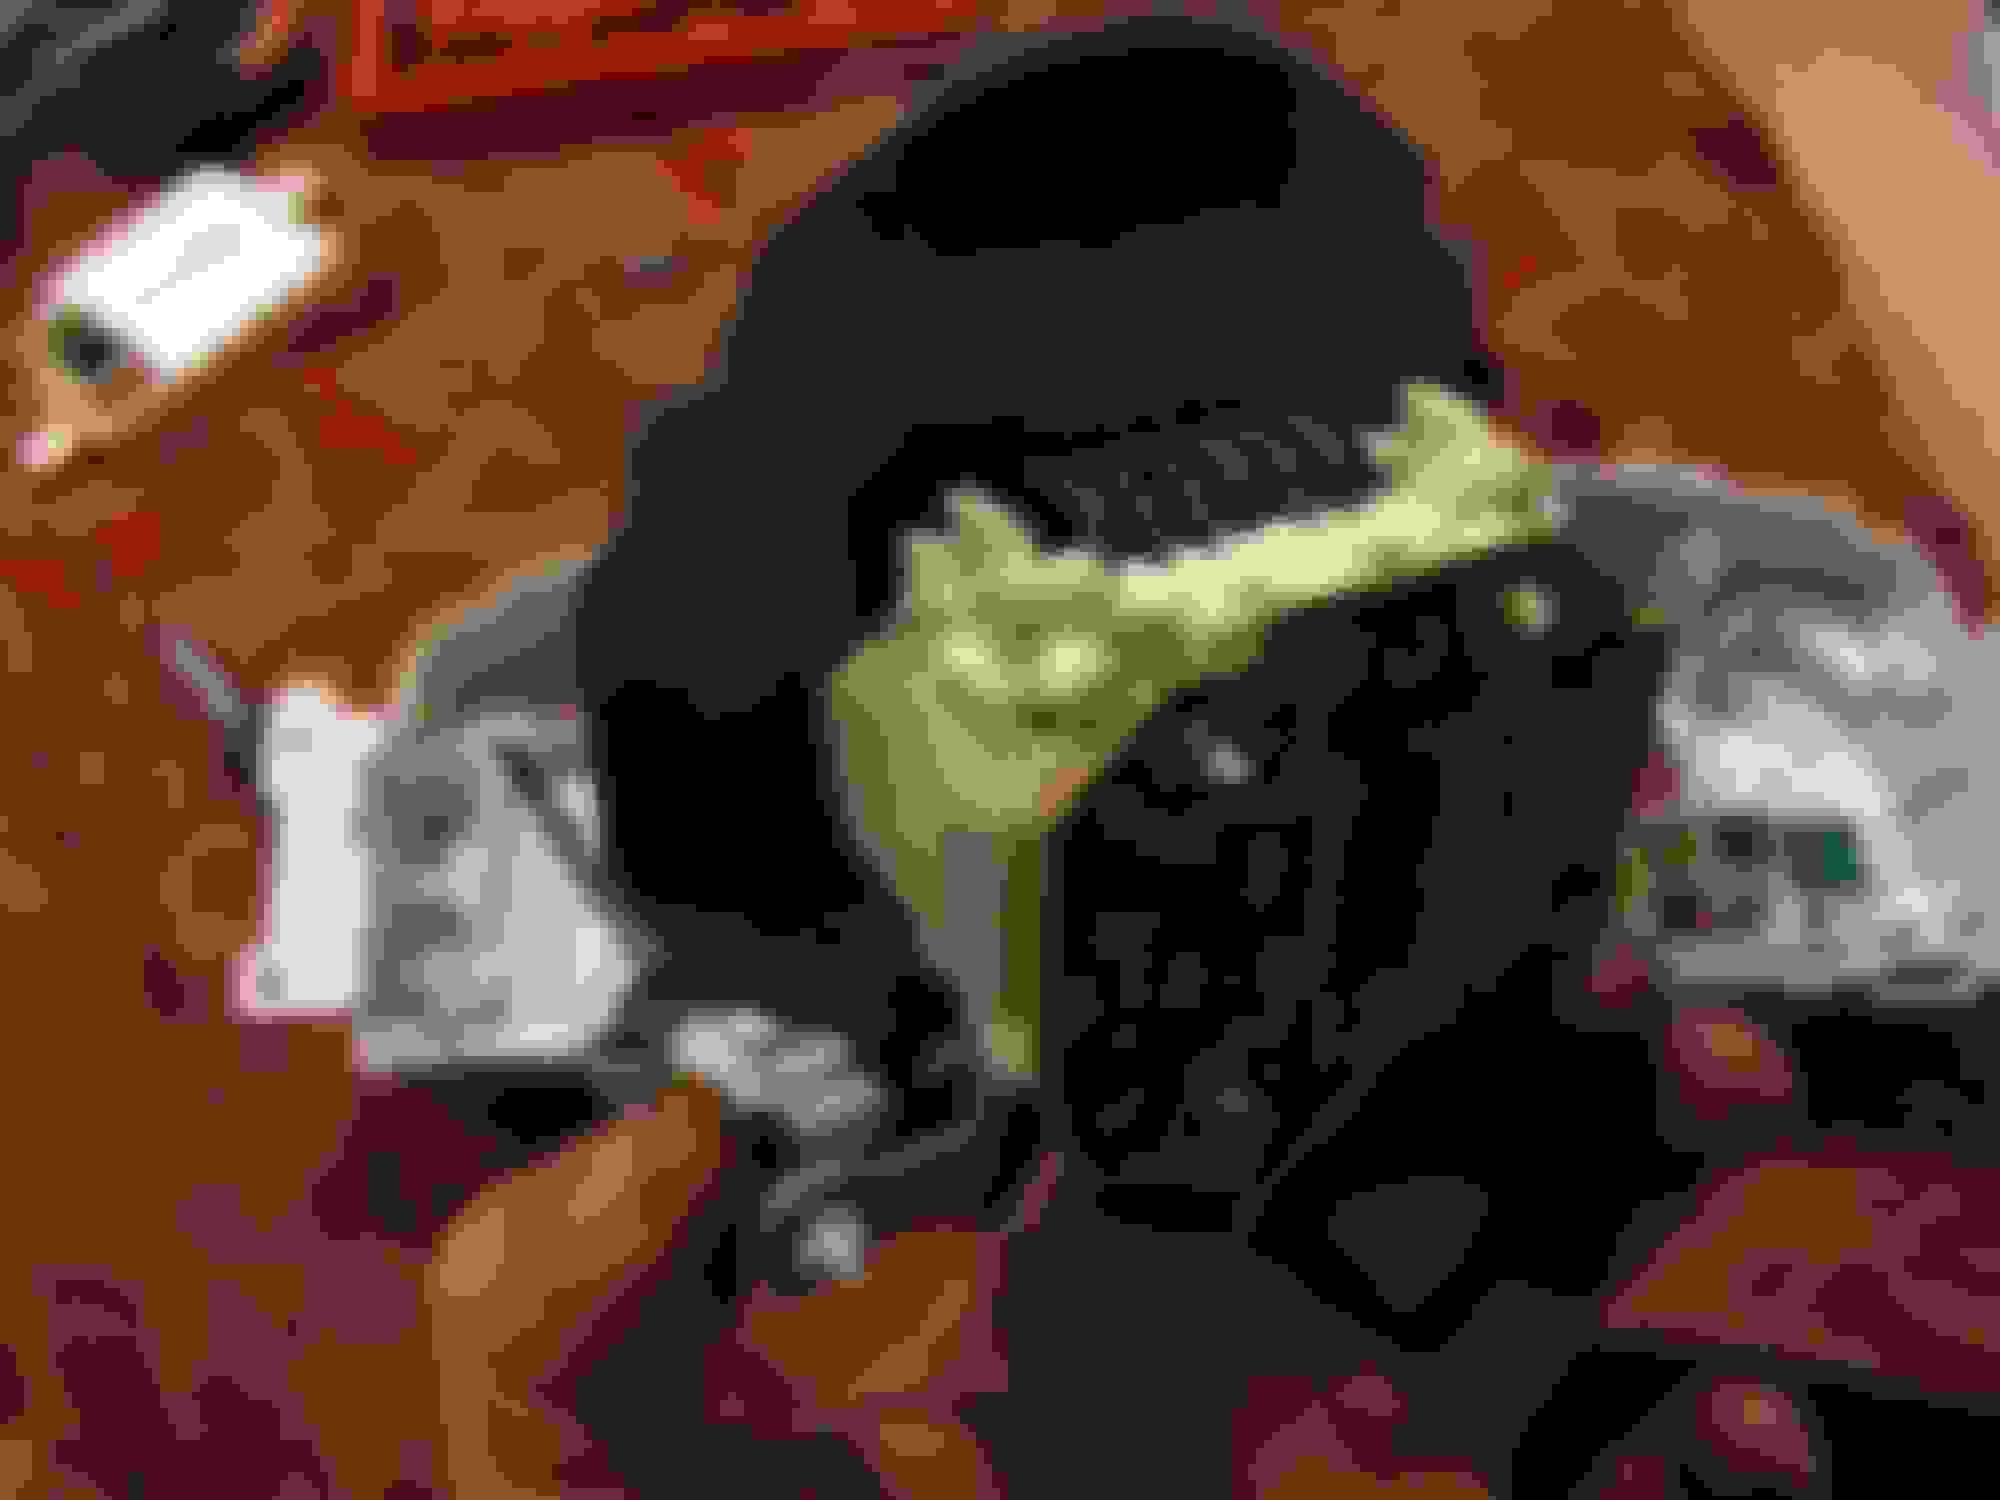
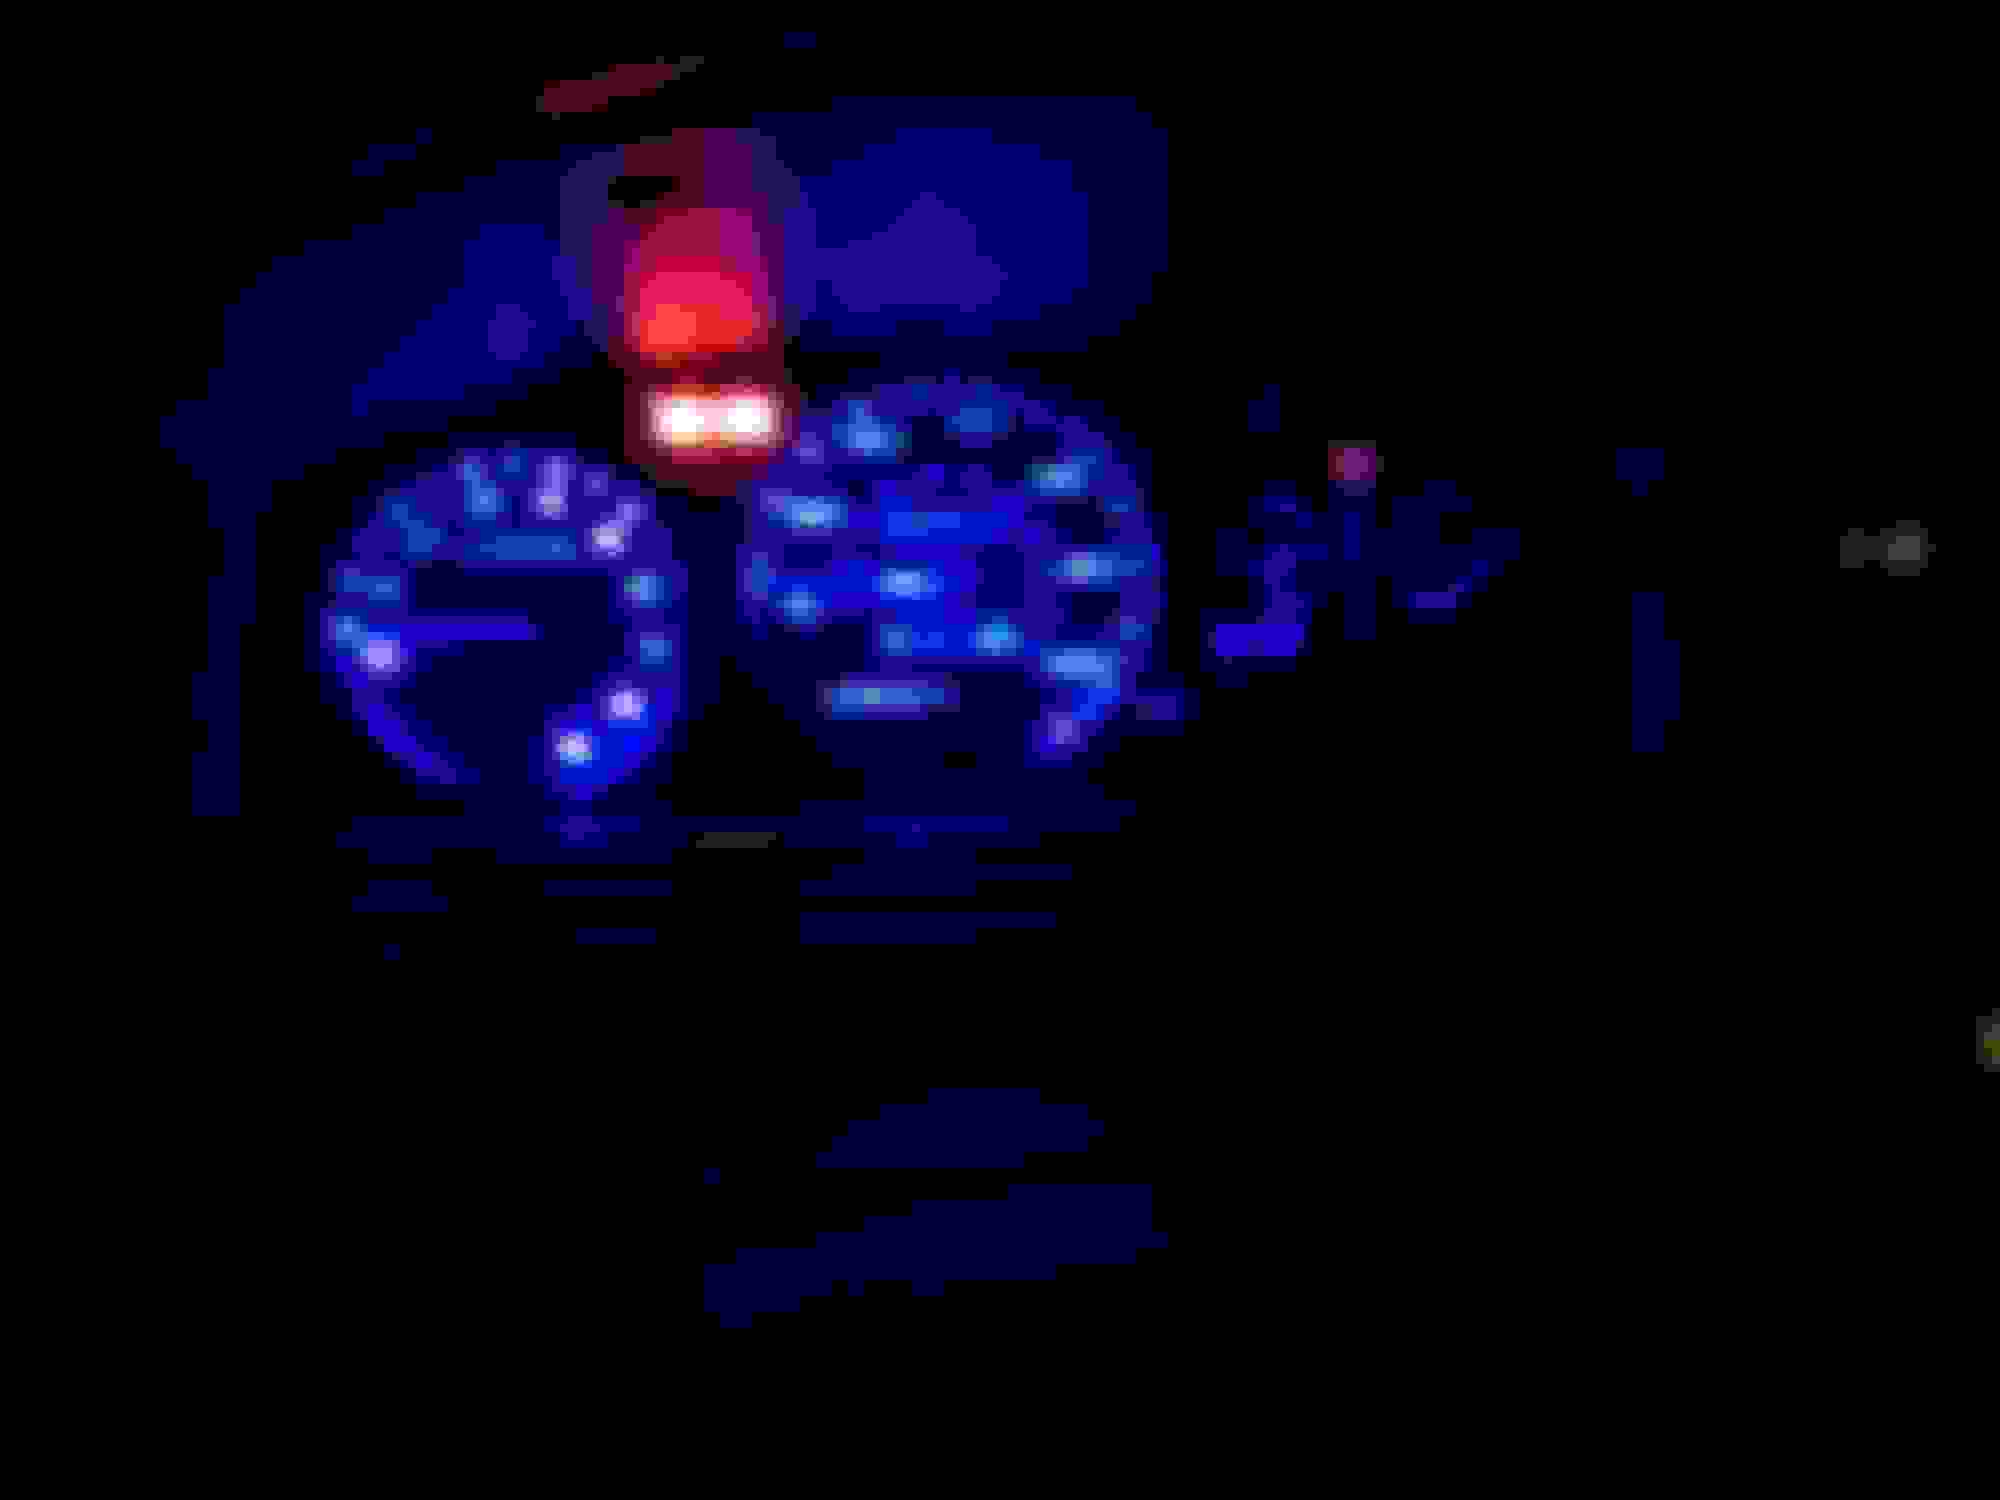
Cluster Lights
NEVER EVER PULL NEEDLES OFF A CLUSTER UNLESS YOU HAVE SOFTWARE HARNESS AND RIGS TO RE CALIBRATE THE NEEDLES TO PROPER POSITION.
There is a handful of cluster types we have to mark, remove, repair and reassemble according to marks.
some we cant remove and set at all. A few require vehichle to calibrate and the other 80% we have rigs with harness's and proprietary software to re calibrate needles at 30, 60 and 90mph.
If you pull needles chances are putting them back on properly are very very low.
BLACK APPLIQUE ON CLUSTER SHOULD NEVER BE TOUCHED! YOU WILL DAMAGE APPLIQUE IF YOU TOUCH. WEAR GLOVES!
As above i will pull cluster and take photos if there isn't material online showing how to remove lens.
KEEP CLUSTER LAYING FLAT OR VERTICAL SOME MAY BE OIL FILLED AND WILL LEAK OUT IF LEFT SITTING FACE DOWN
The goal is to put strips inside cluster and not obstruct anything while getting best coverage.
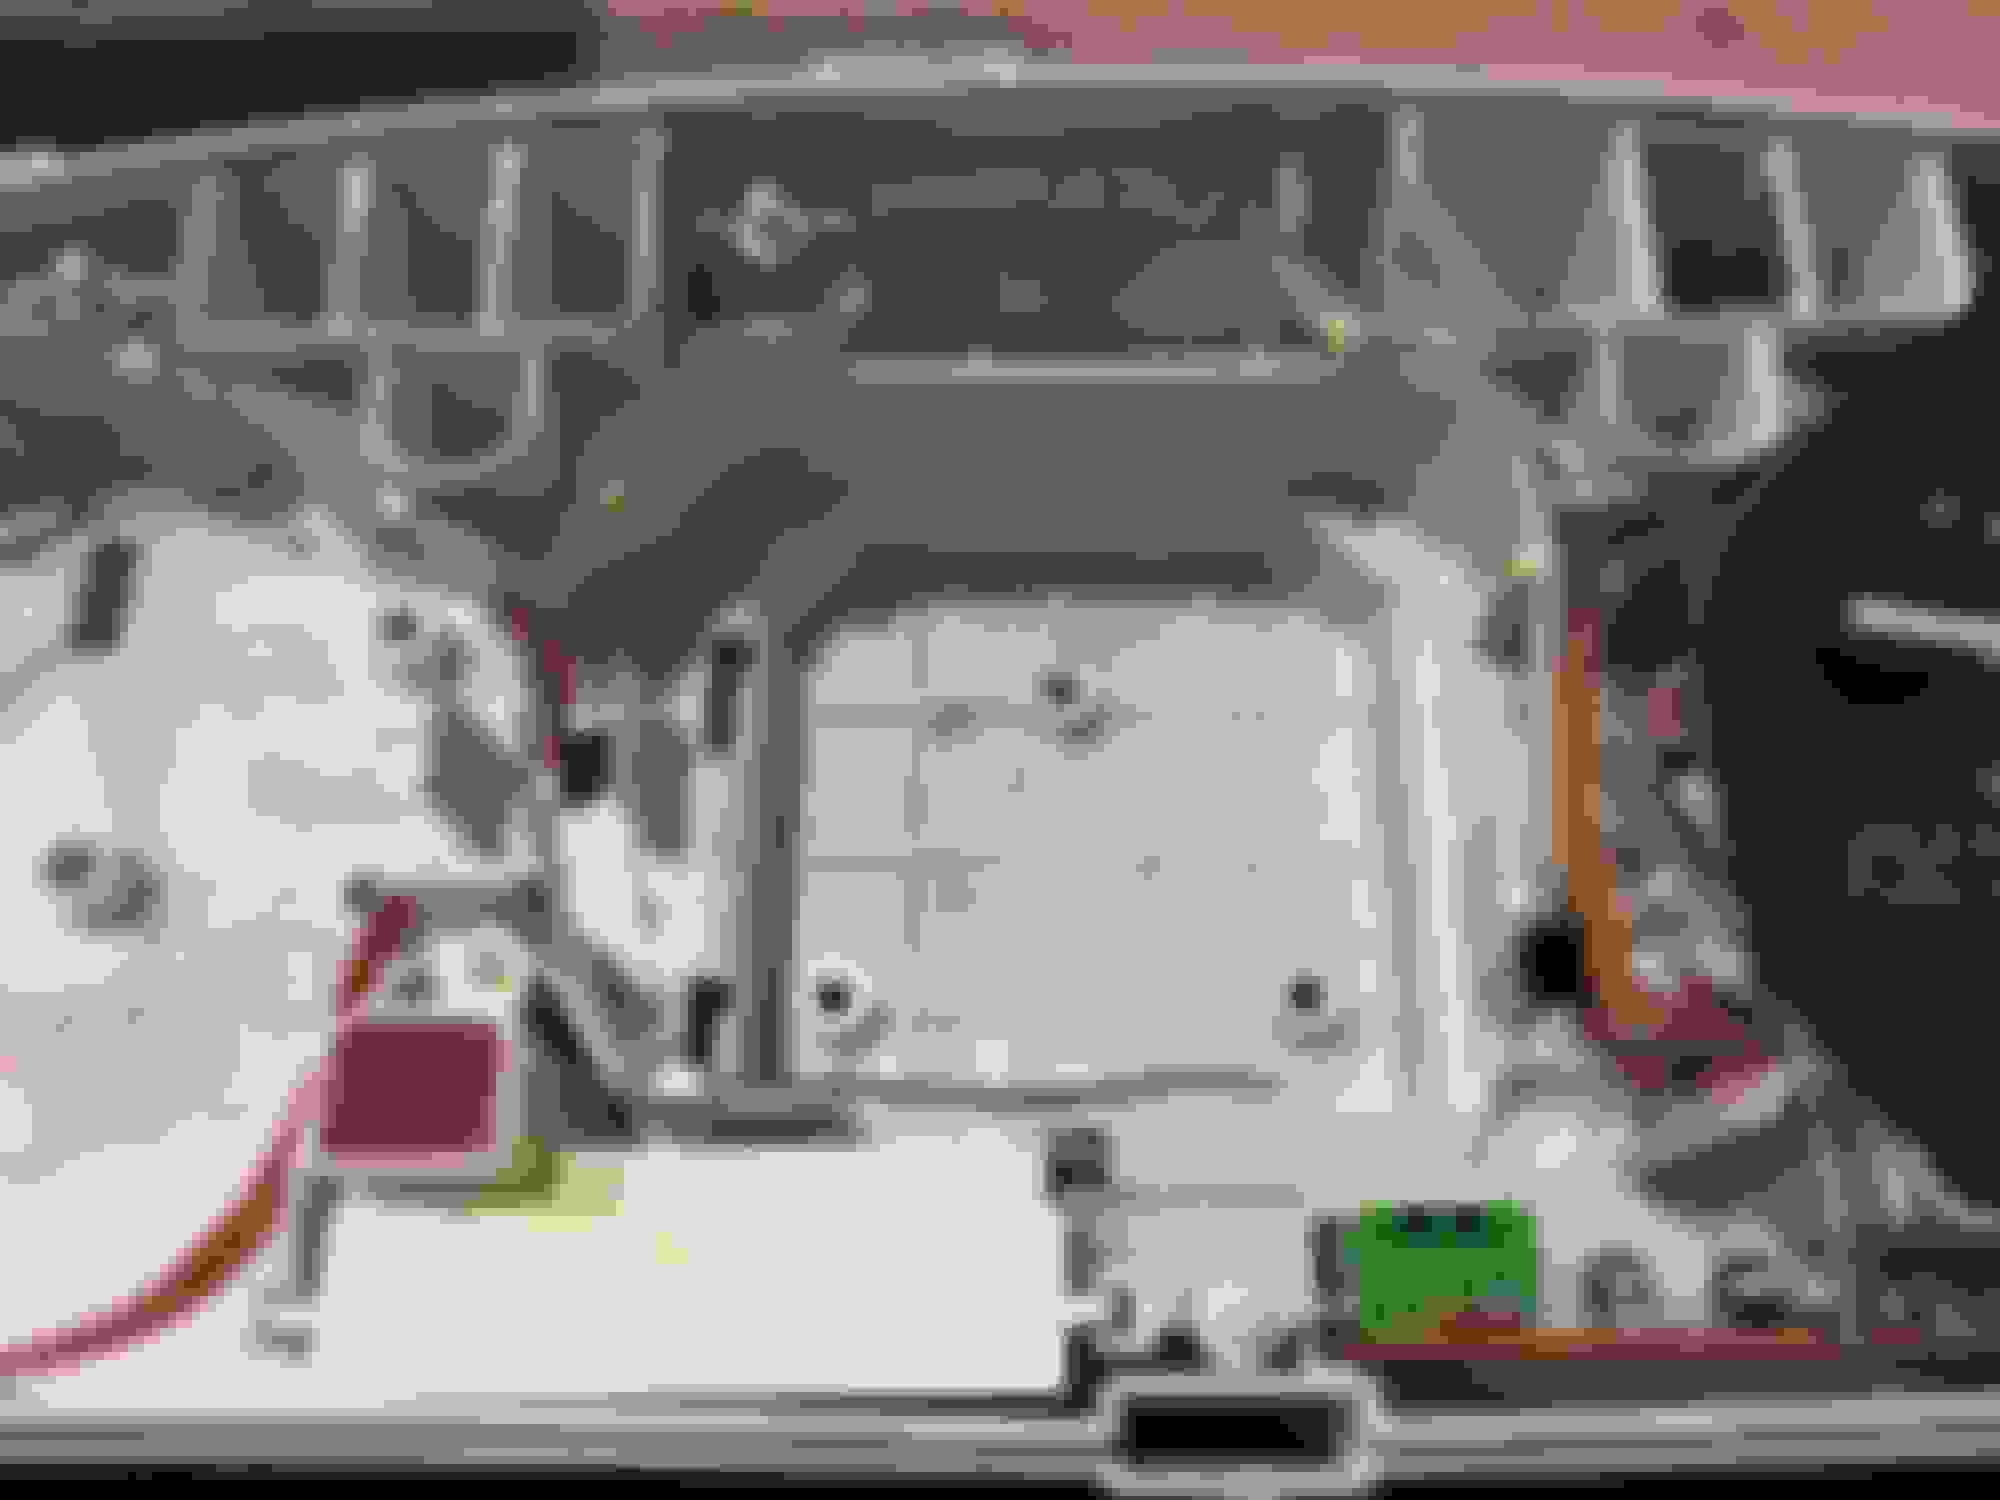
Remove screws in the following four pictures.
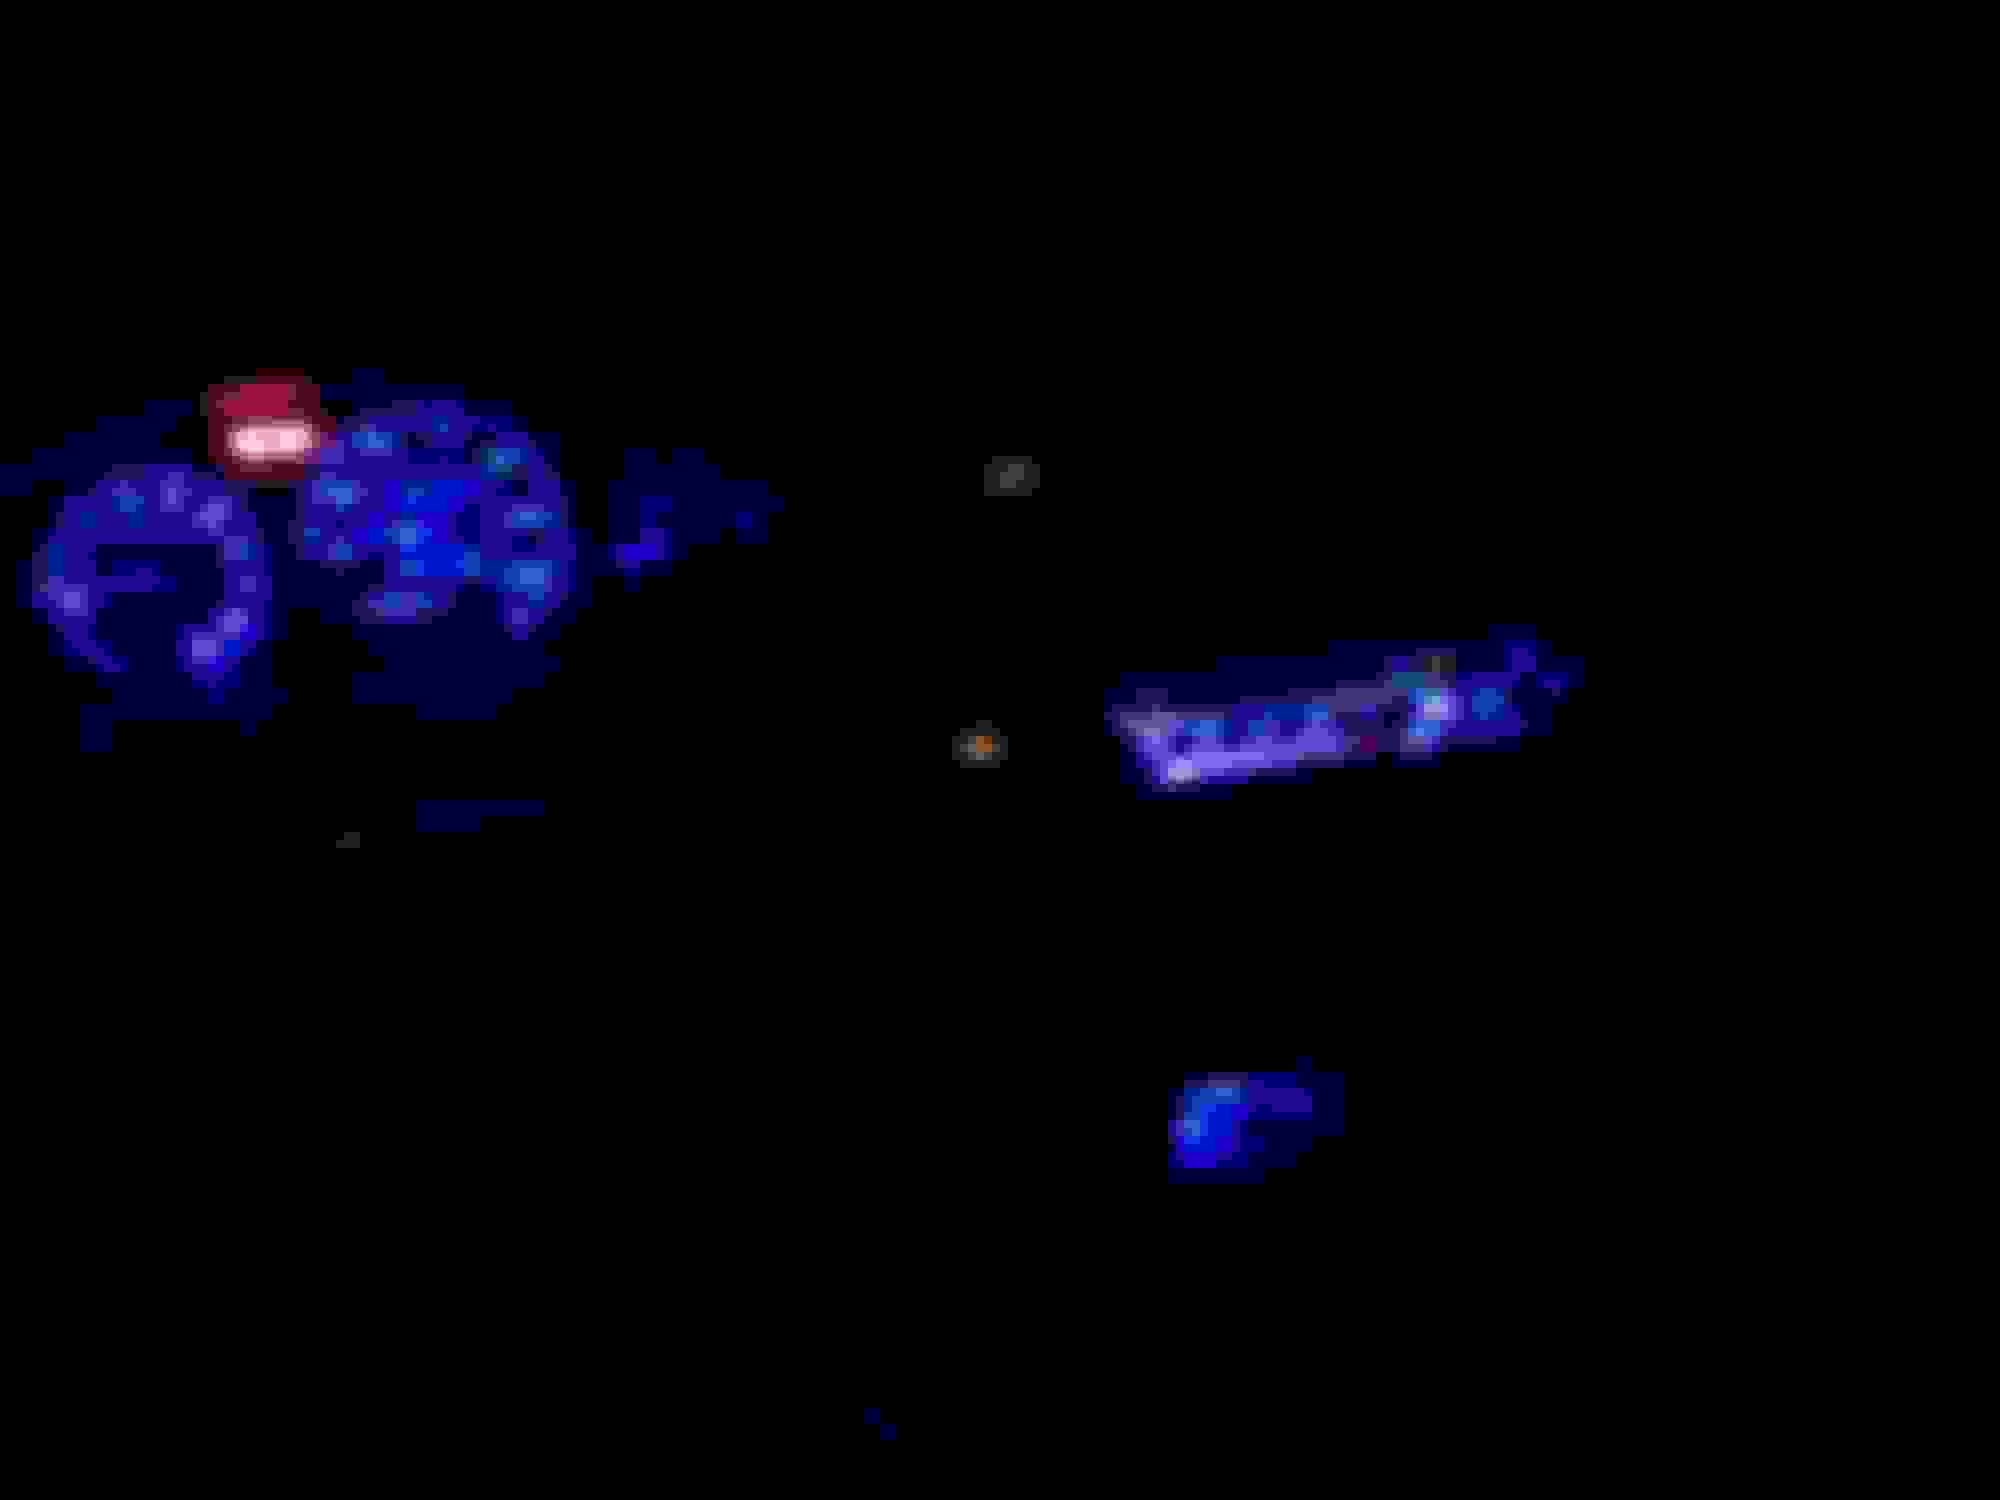
Notice shading on the Applique that was meant to make lighting even.
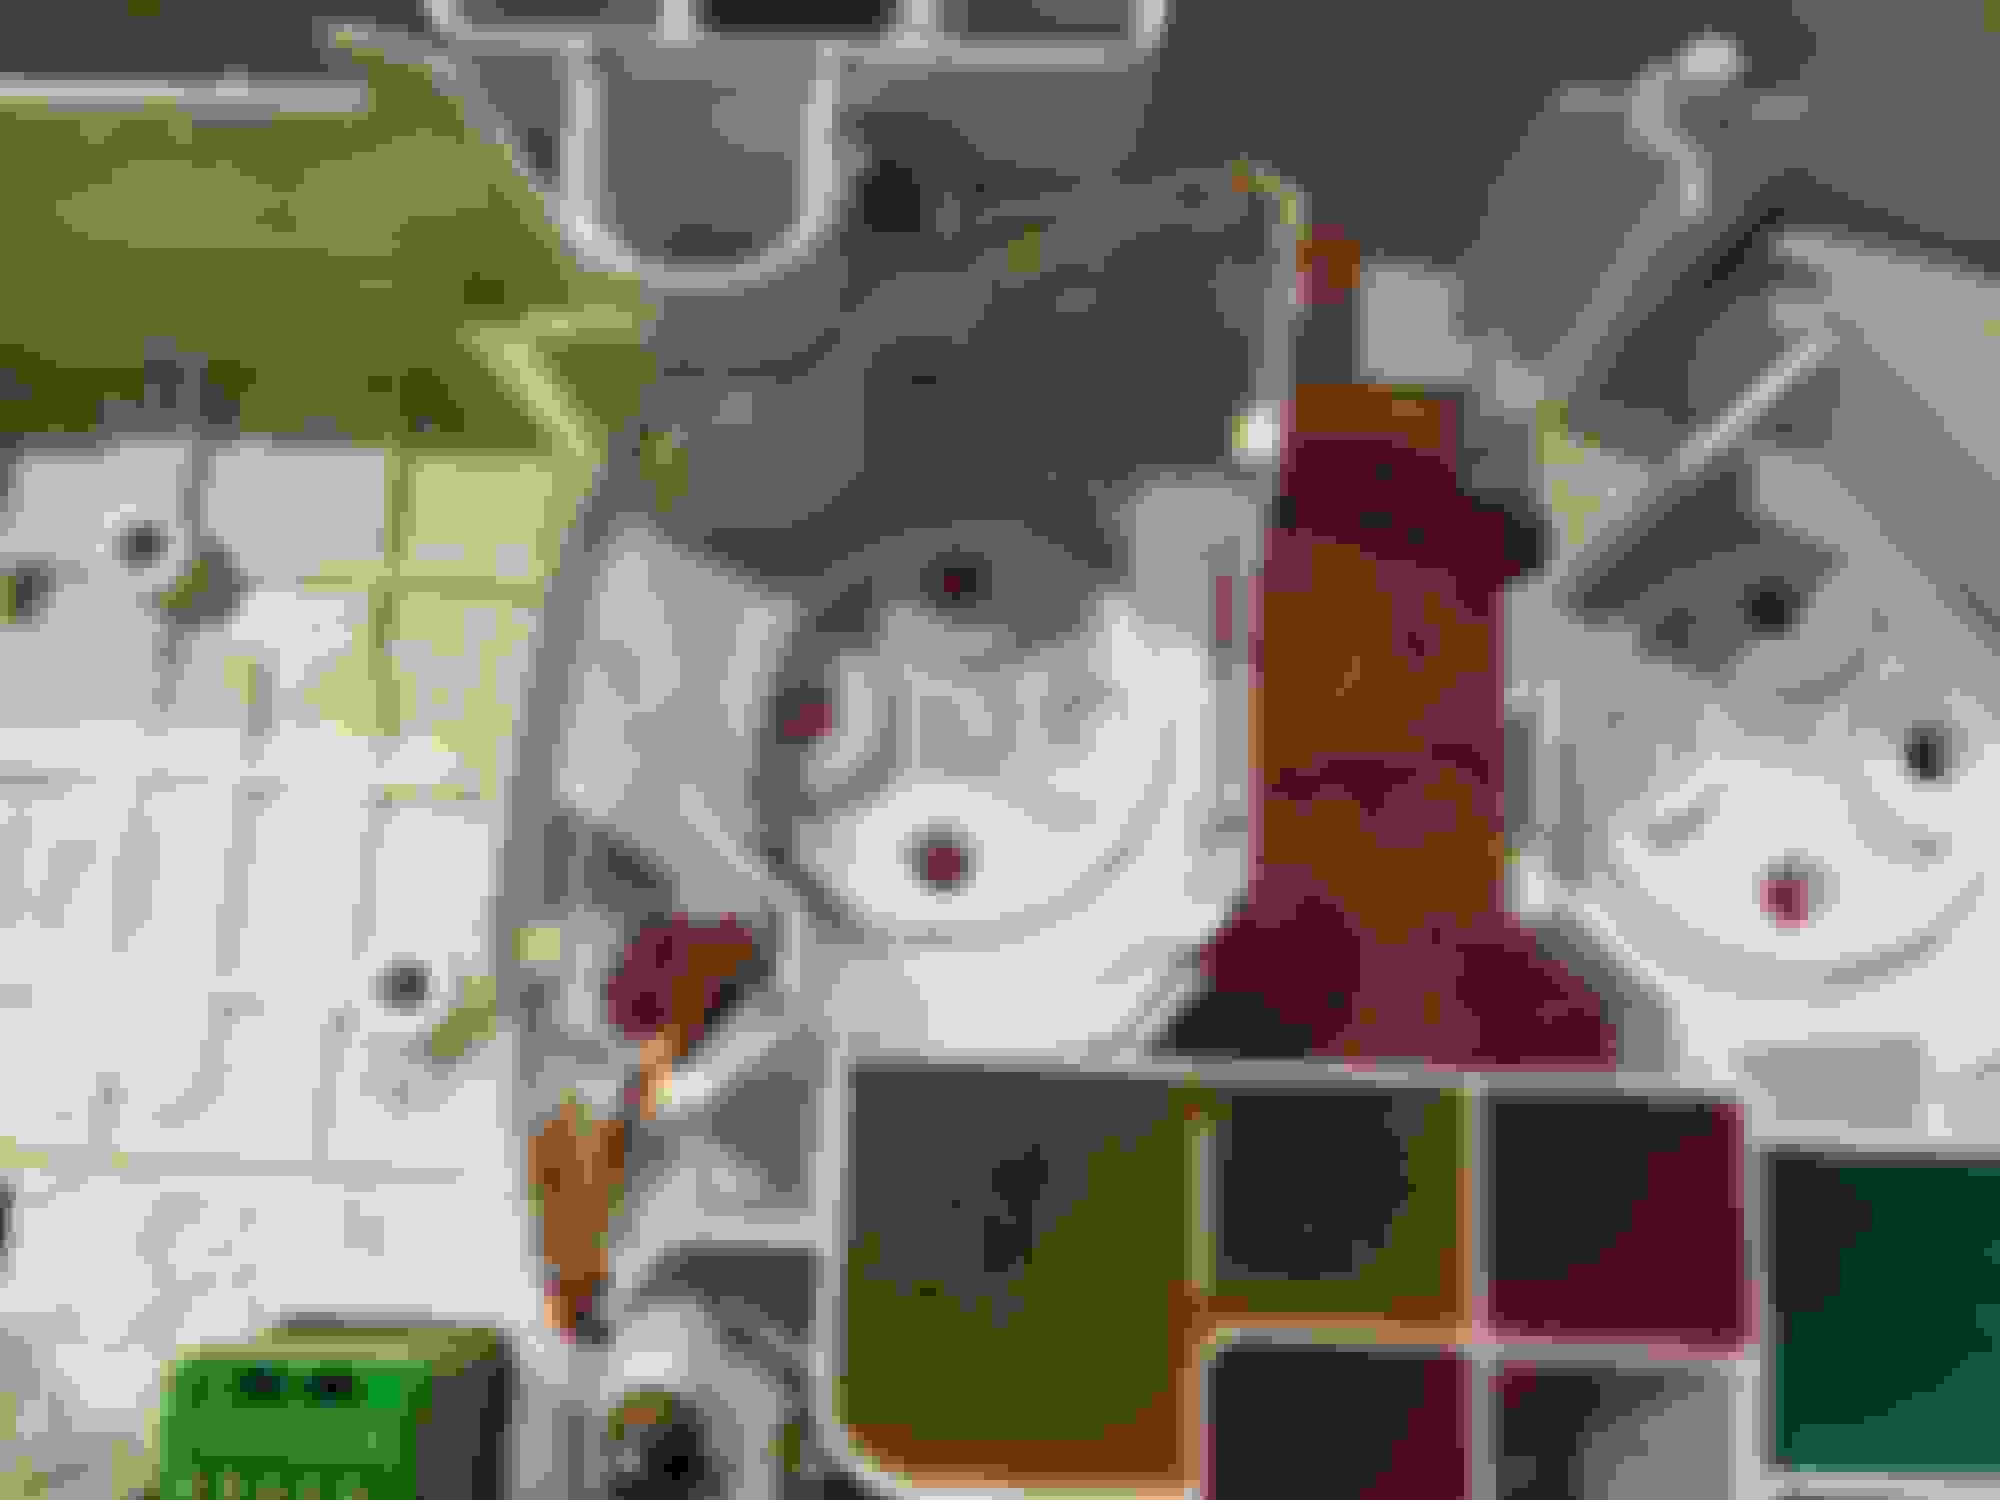
The hardest to evenly light is the temp and gas gauge. This is what i have come up with over the past few years.
Lighting each gauge specifically placing leds lighting from original bulb locations and trying to outline the edge of the gauge as well has the best result.
Make sure to keep away from gear selector box and always test fit gauge back in before making permanent.
The speedo uses the top bulb location and left. I chose to center my strip with top bulb and make sure to trace around the gauge.
Tach is easiest make a big circle!
Polarity does matter the positive stays constant and the negative voltage changes to dim. so please be sure to test and meter your connections first.
Reassemble, Install and enjoy.
also keep in mind the dimmer switch still works and you probably will use it!
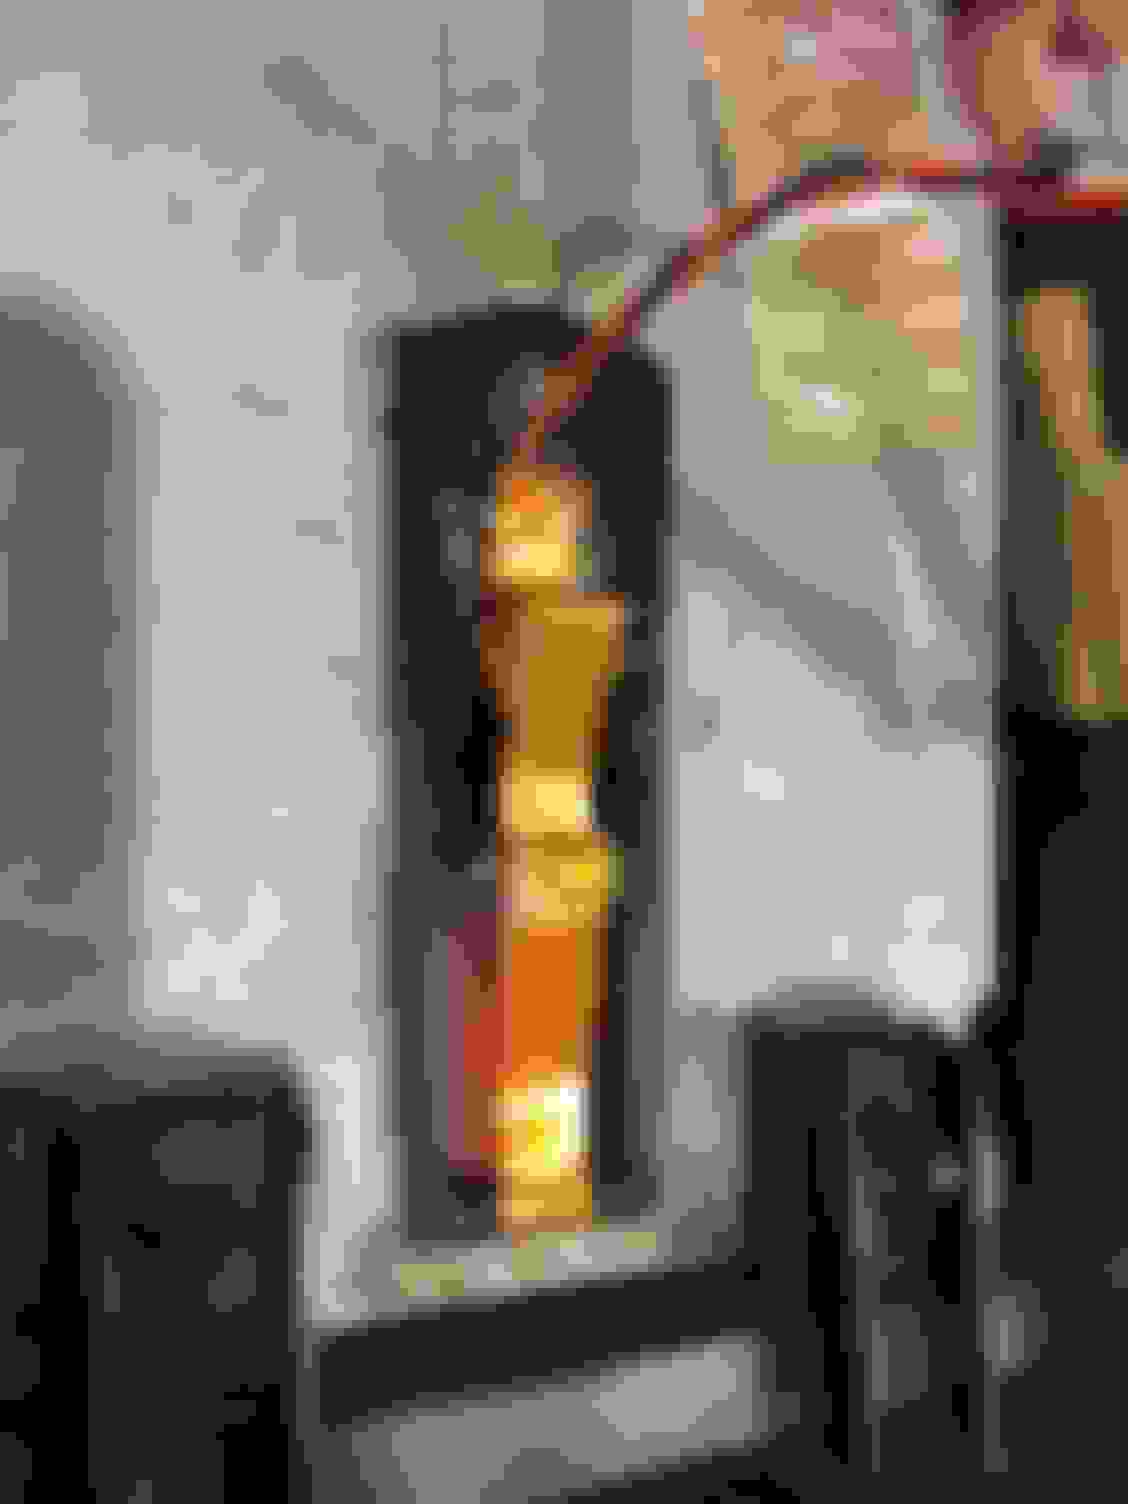
Ash Tray Light
this one requires a little cutting into the bulb housing but i think its worth it to make the lights all uniform.
I cut two squares out of the bulb housing and mounted a strip of three. Hot glue and folding is all that was needed.
Dome Light
The switch changes ground. Constant is always there.
wire to positive pin from plug and the wire coming from negative side of bulb.
I left my bulb brackets in just in case i wanted to go back to the original bulb or found a brighter led plug and play option.
This car is 7 days new to me. paid next to nothing and threw timing belt and water pump on and have been slowly doing what i can here and there.
some lighting was out so i figured I'd try to take photos of my process.
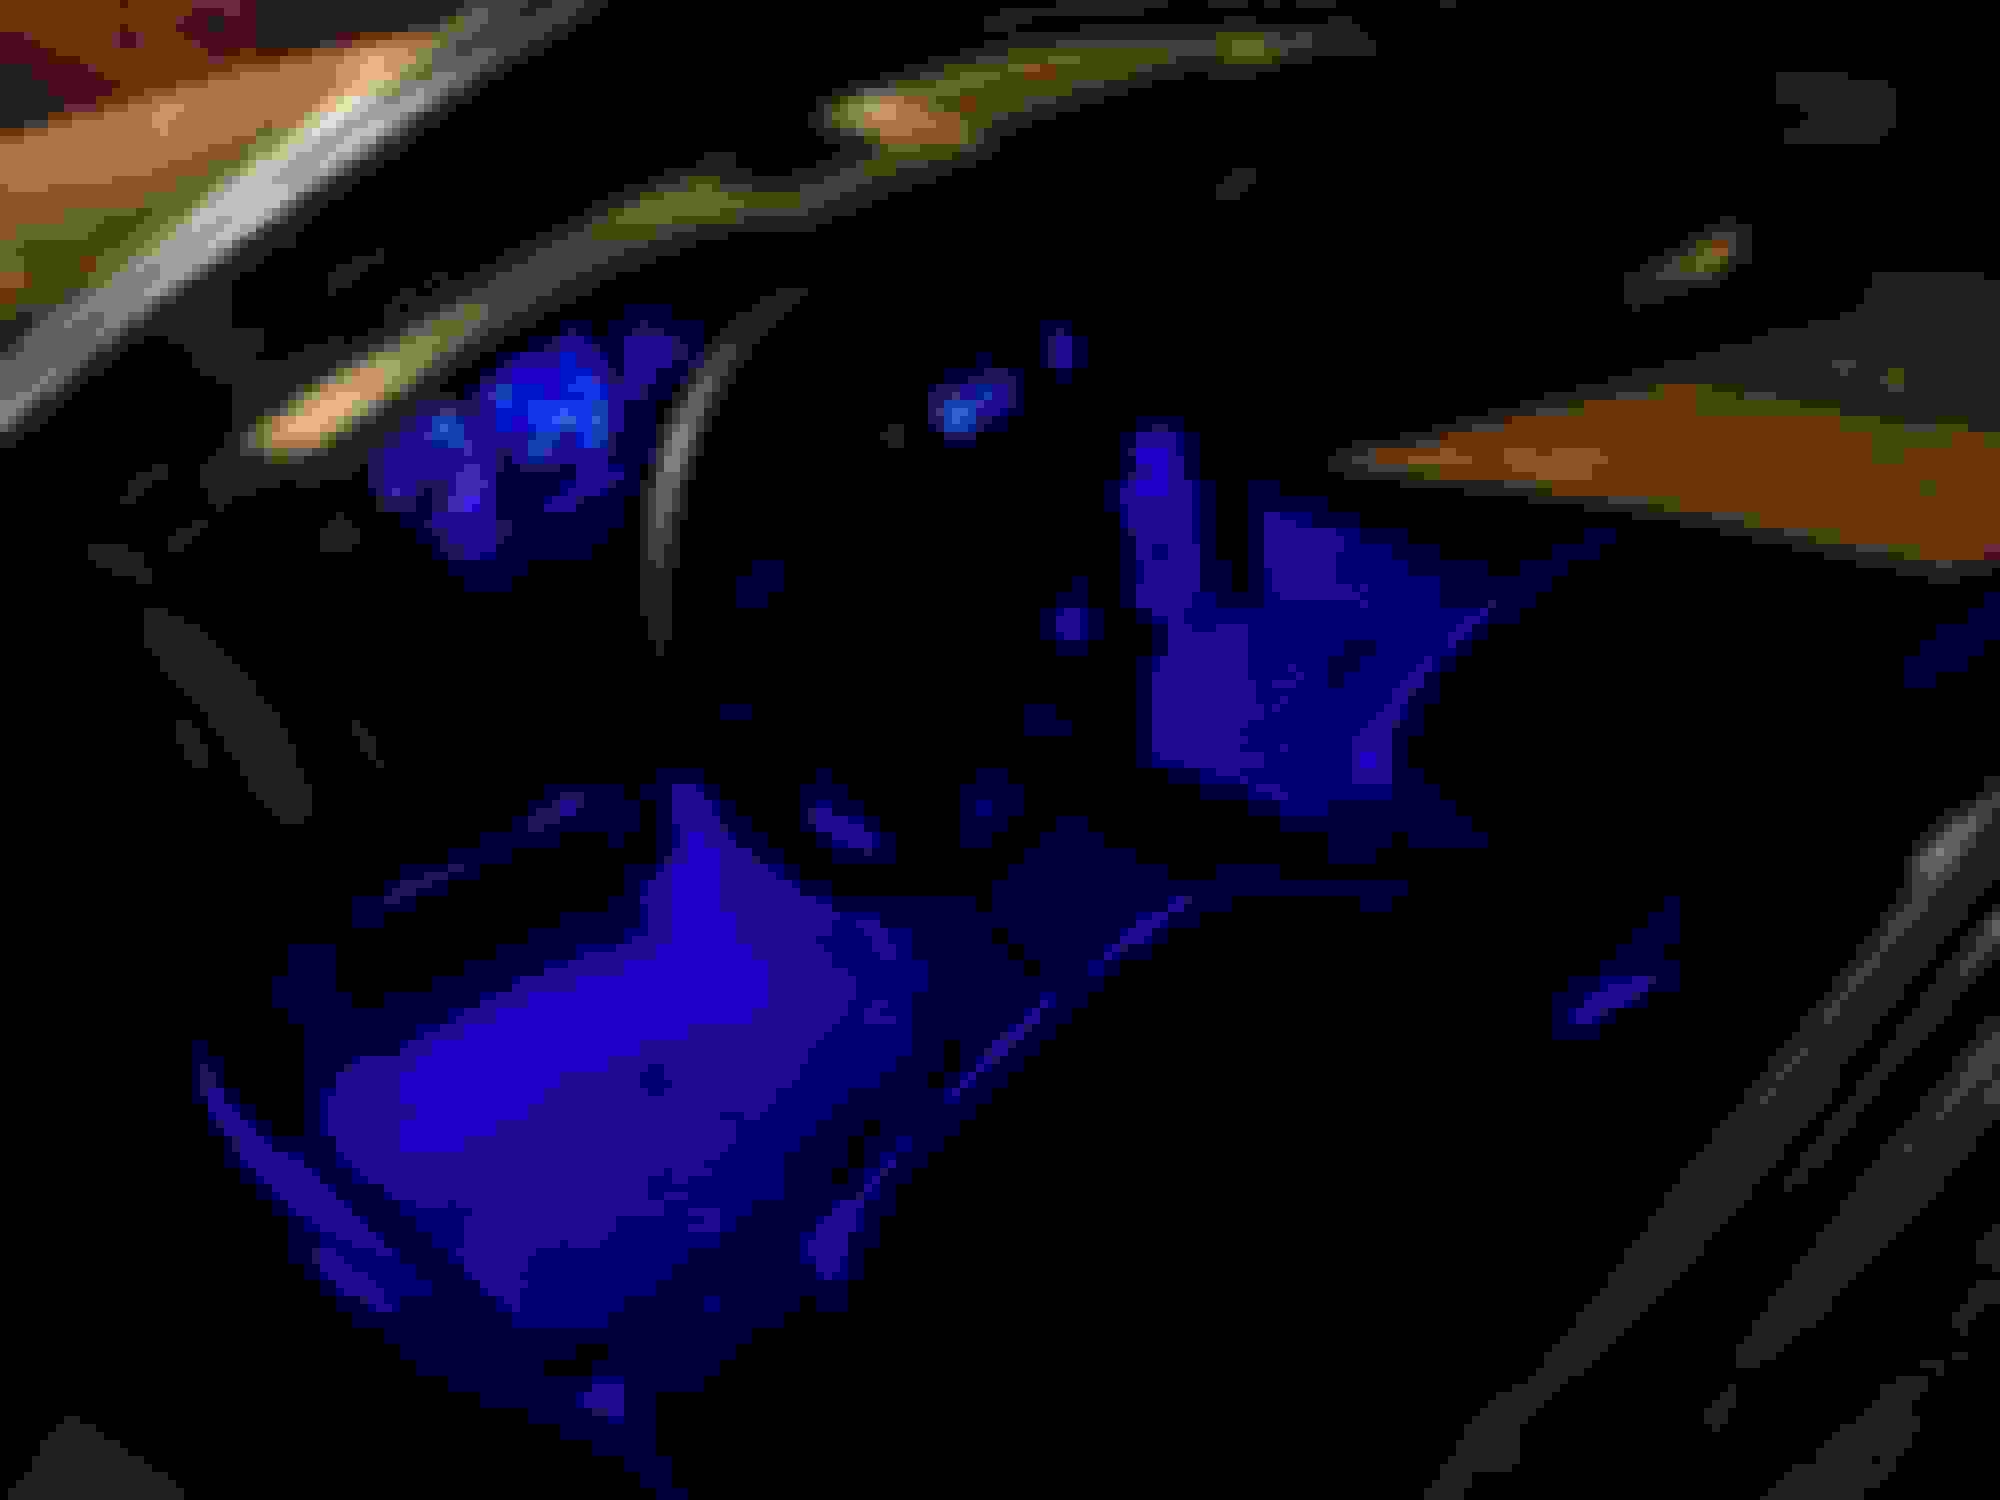
Also including older photos of my sedan. it was done blue.
Take note of the inconsistency with how bright some areas are on the cluster and hvac. this was my first attempt years ago.
if the above photos are followed you wont have brighter areas than others.
Im Still going to add to this for the trunk and hood lights. When i get around to doing them.
also debating doing floor or door lighting to light up down there a little more not feeling the way i did the blue one. we will see what comes of it.

 02-05-2017, 12:09 PM