
Honda Civic EK4 VTI Project
 06-06-2015, 04:40 PM
#1
Honda-Tech Member
Thread Starter

Join Date: May 2015
Posts: 14
Likes: 0
Received 0 Likes
on
0 Posts
Hi everyone :D
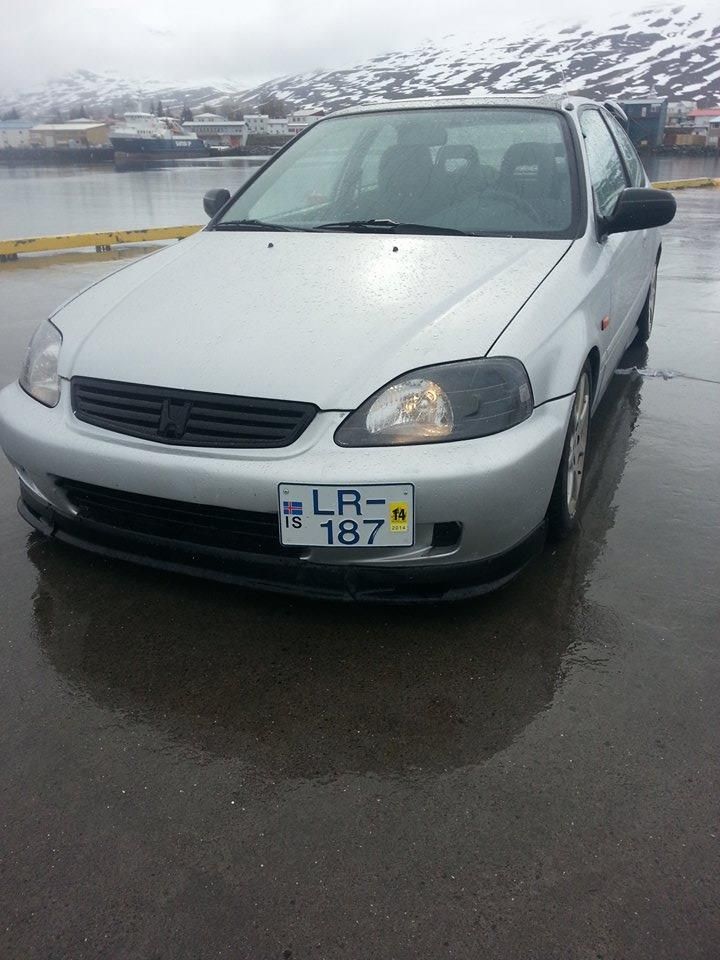
So this my project that started all the way back to September 2014. I first bought the car 16th May 2014 and only started working on it in September because I first had to get the money to rent a garage and some tools and what not... anyways my main goal is to make it rust free and change the colour to Championship White (The Type-R Colour (NH-0)) and have a clean, fresh look to it. Since September I've come a long way, as I'm a student and have a Part-Time job to feed my passion .
.
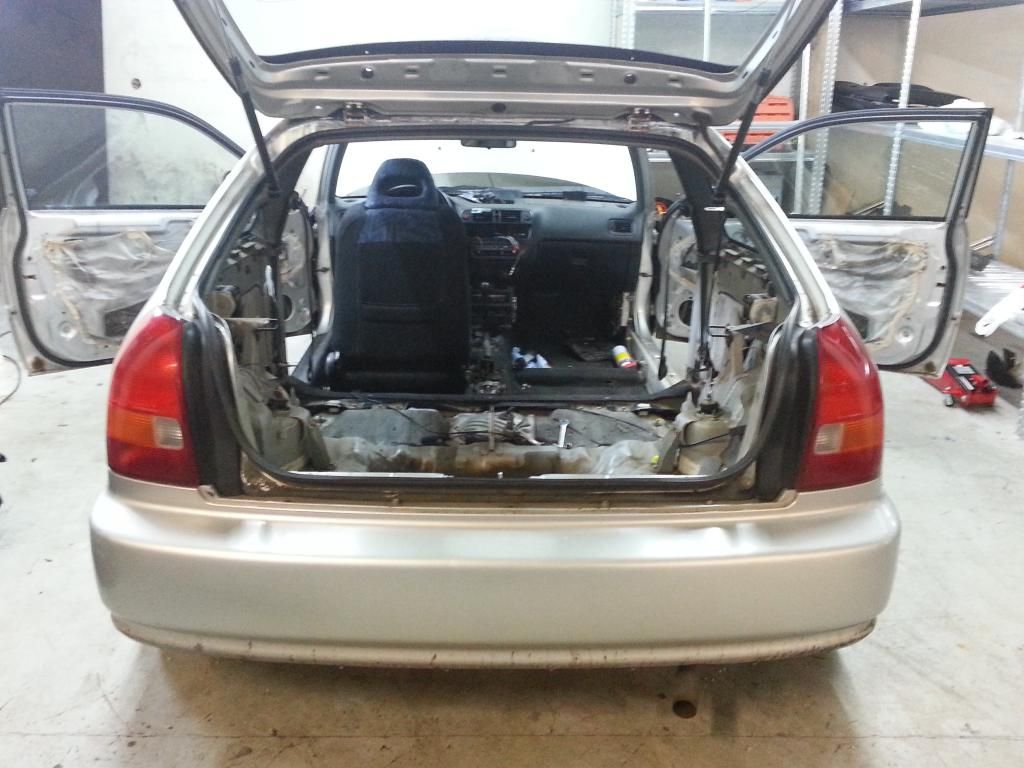
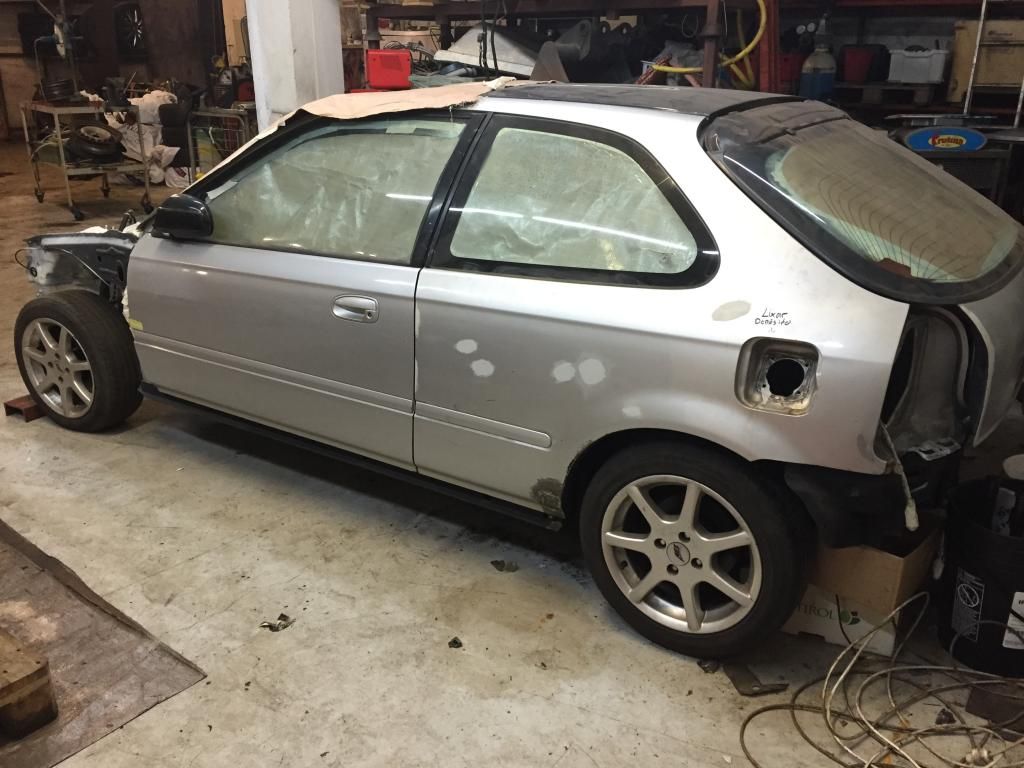
The car looked like this when I first bought it.
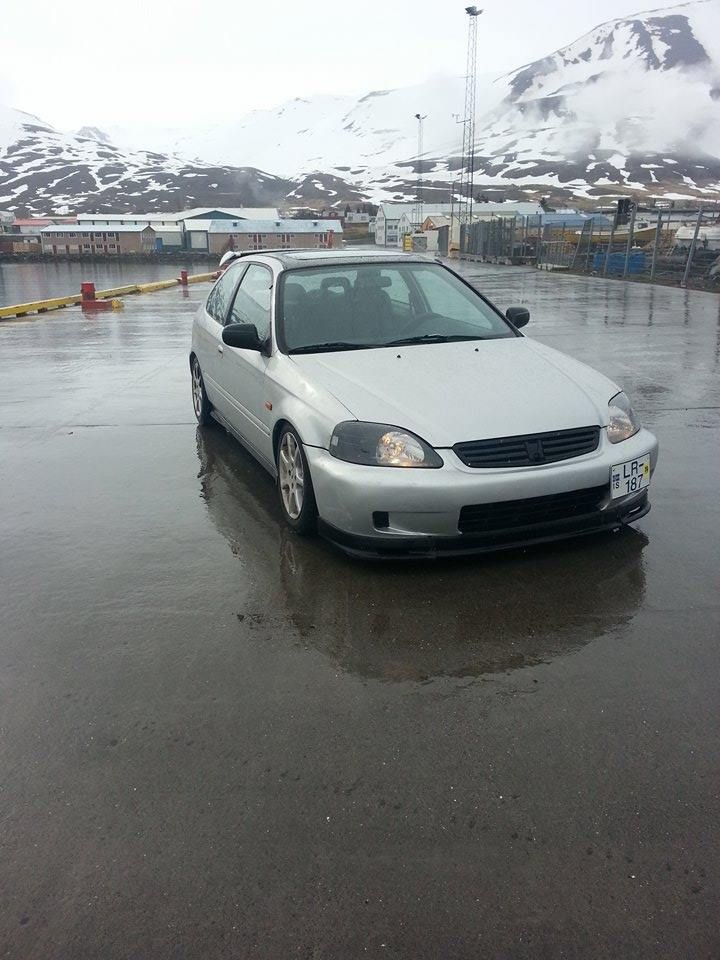
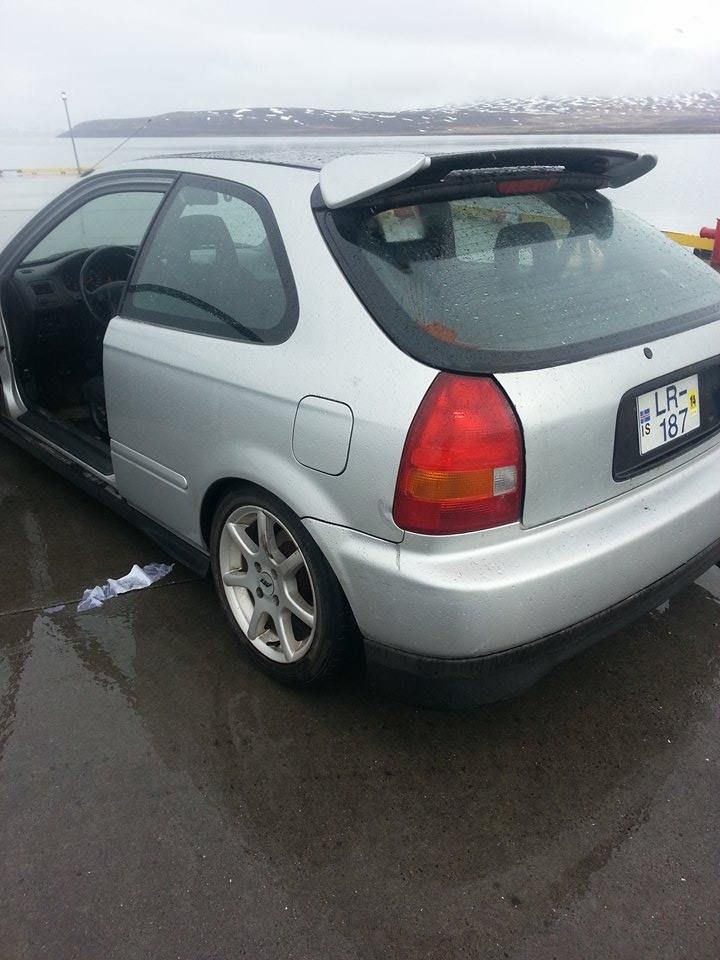
Seeing the car every single day while it waited outside until I had the money to start working on it had me going impatient so I started removing some things and fixing some rust spots on the outside.
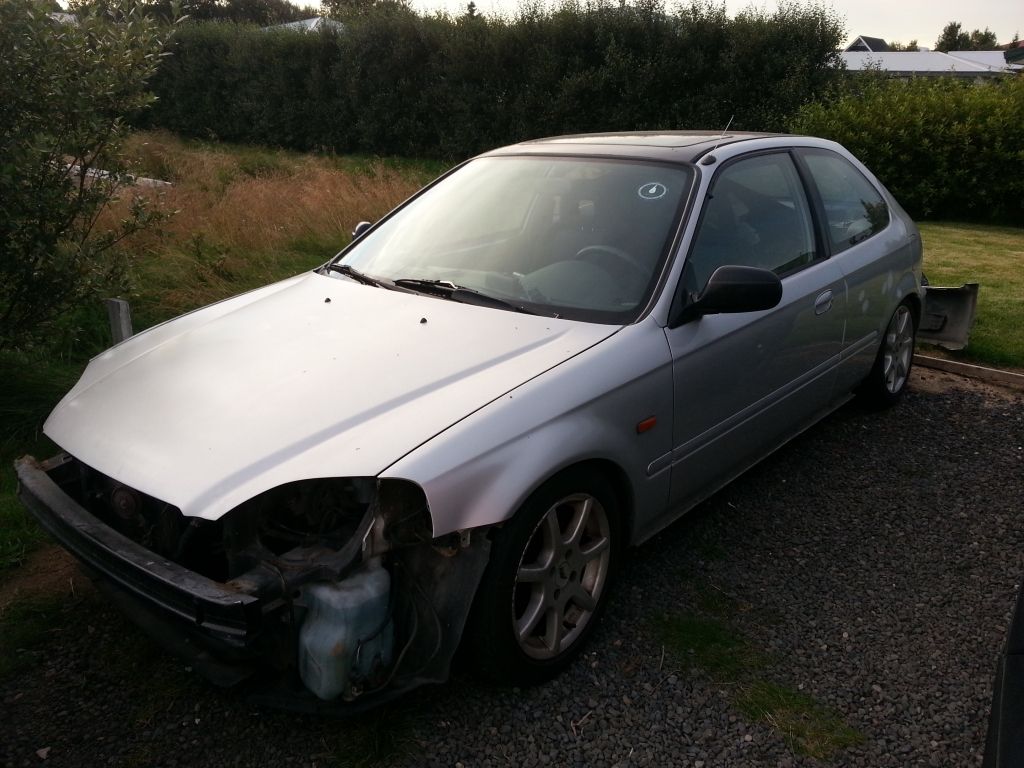
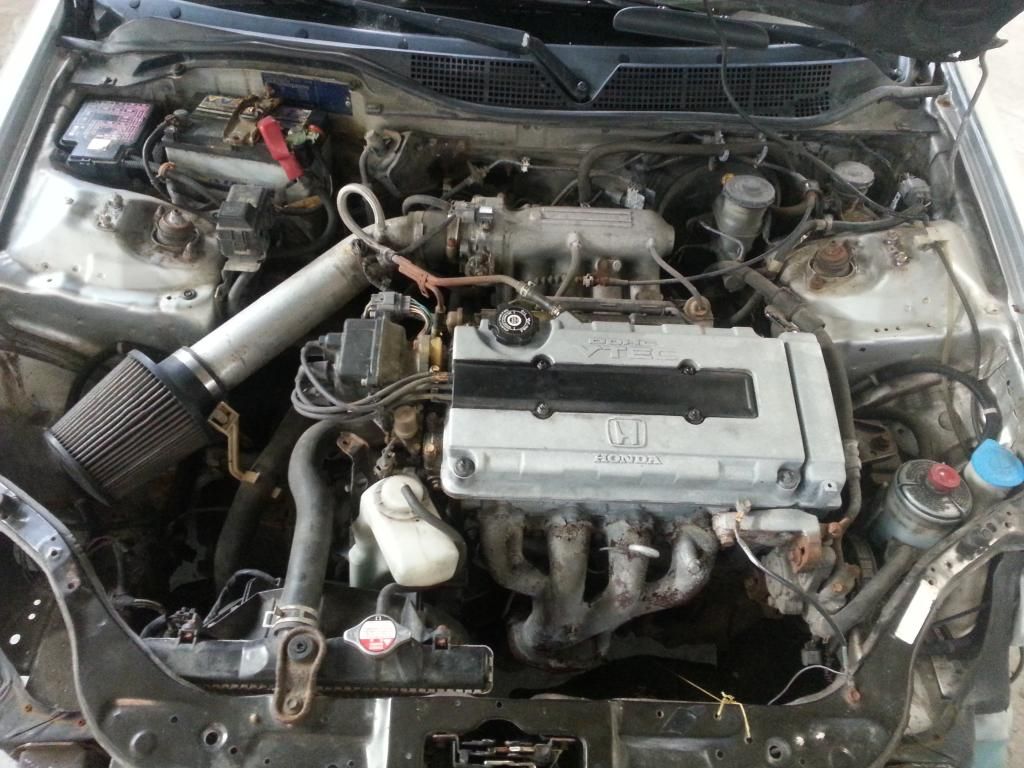
By here I already had rented a garage and started to work on the car right away.
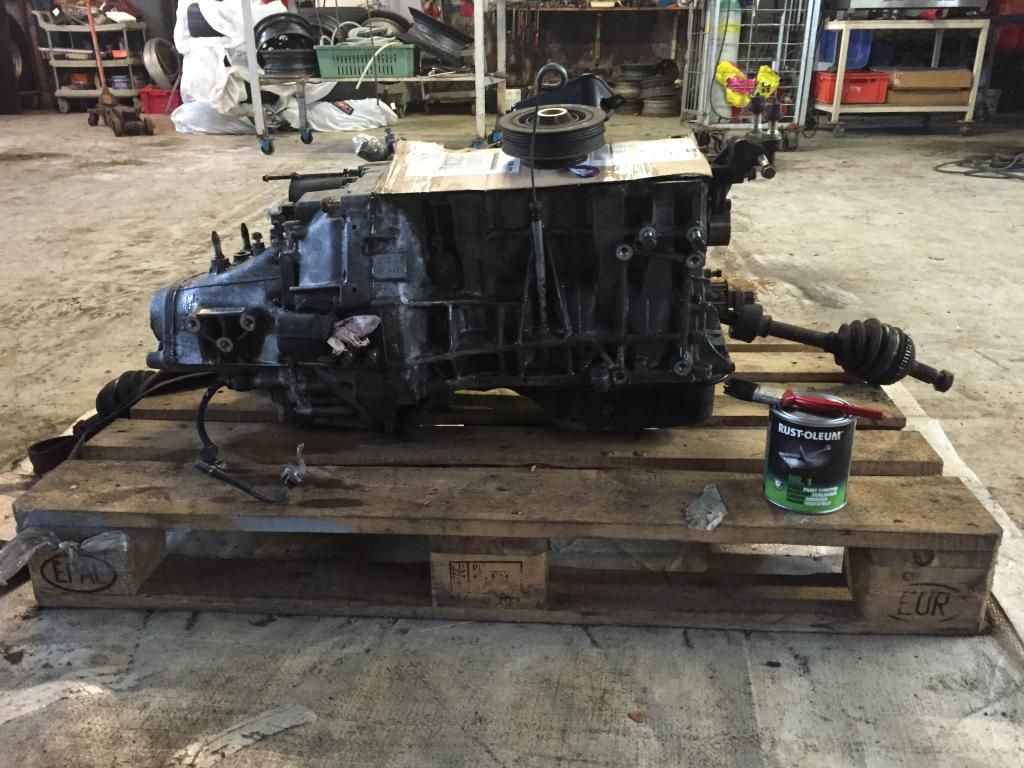
Then me, my father and his best friend (A incredible good mechanic) started to remove the engine.
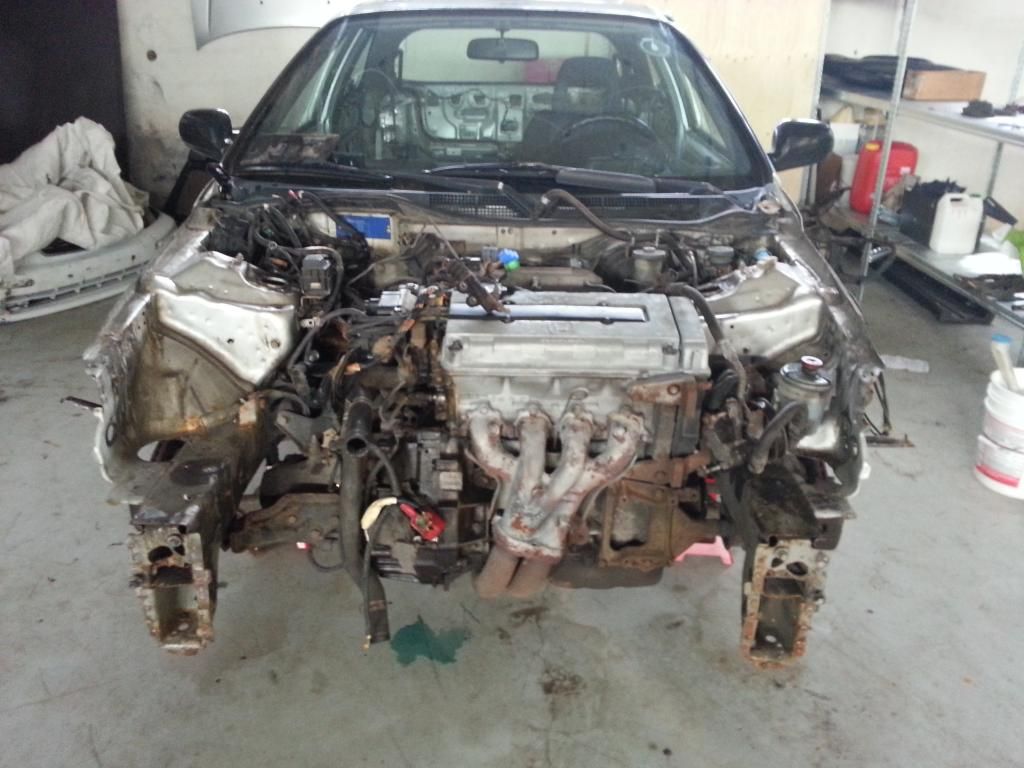
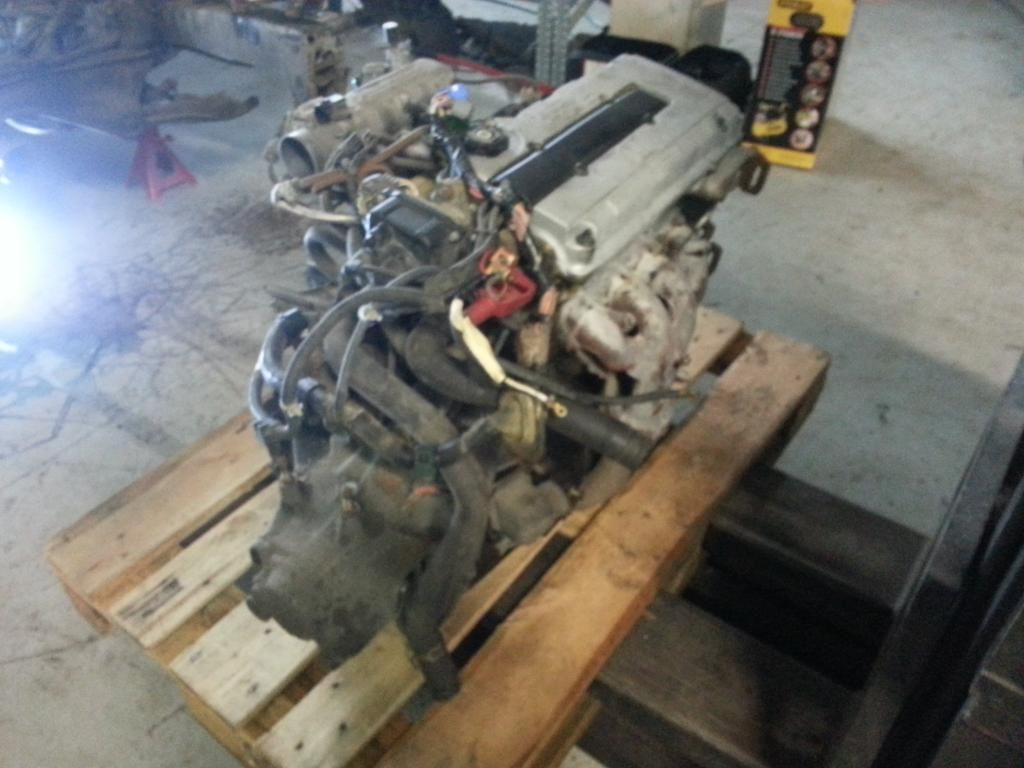
And finally after one days work with great help the engine was out! :D
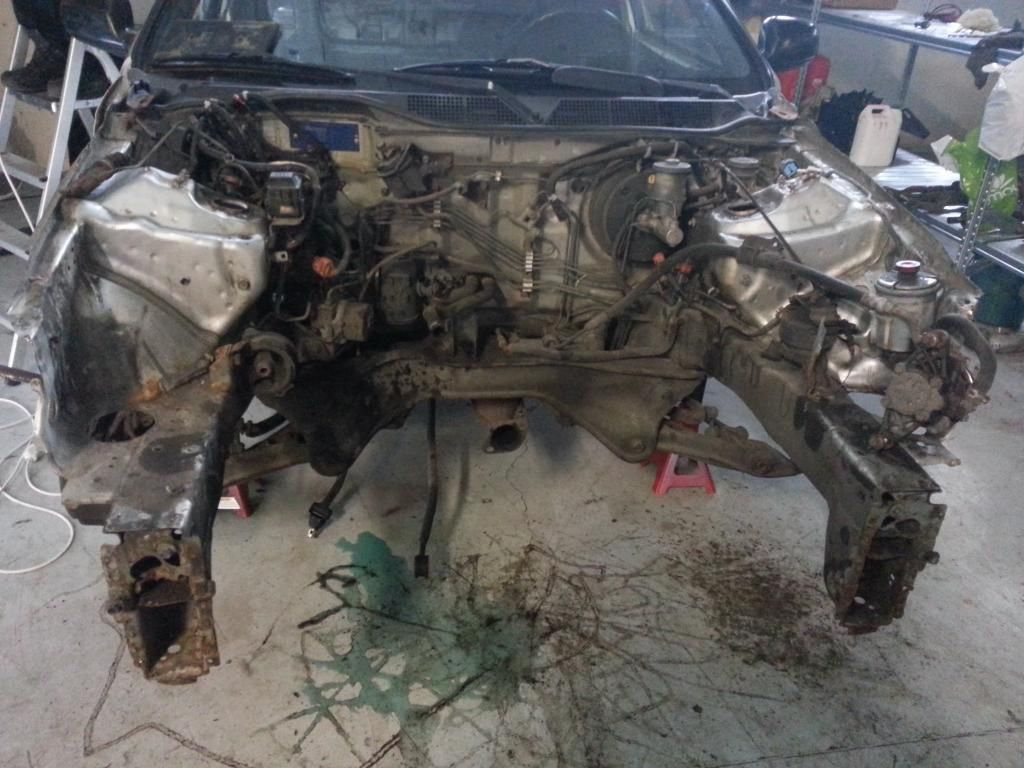
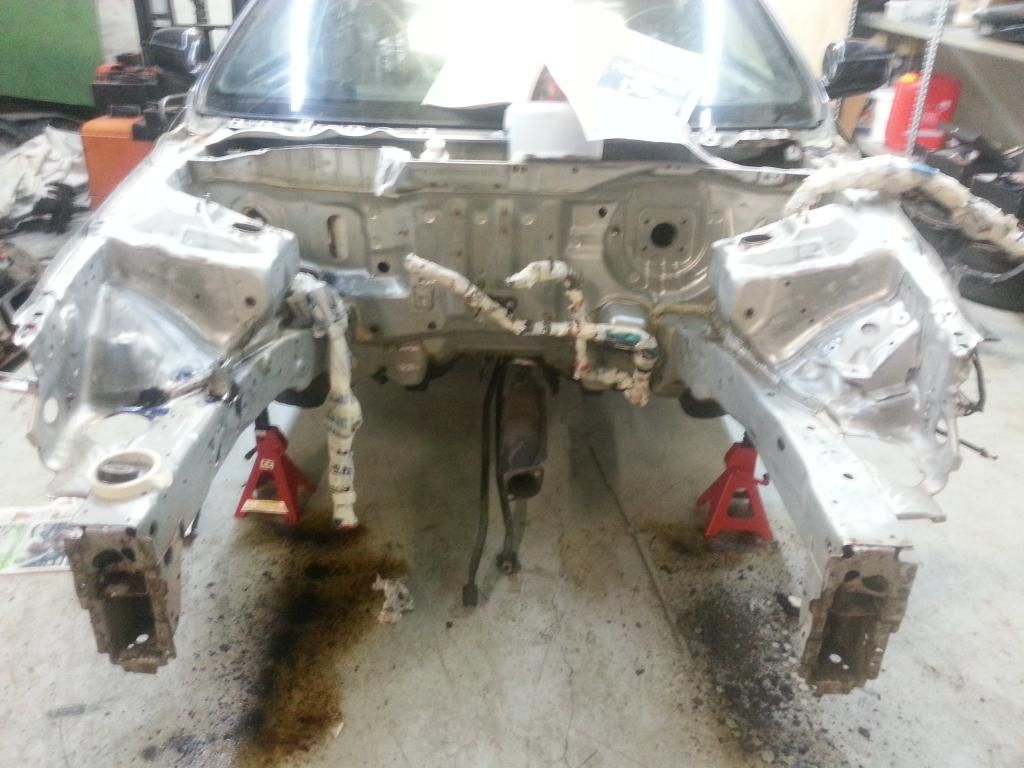
I then cleaned the engine bay and wrapped the wires and the brake lines for the future painting.
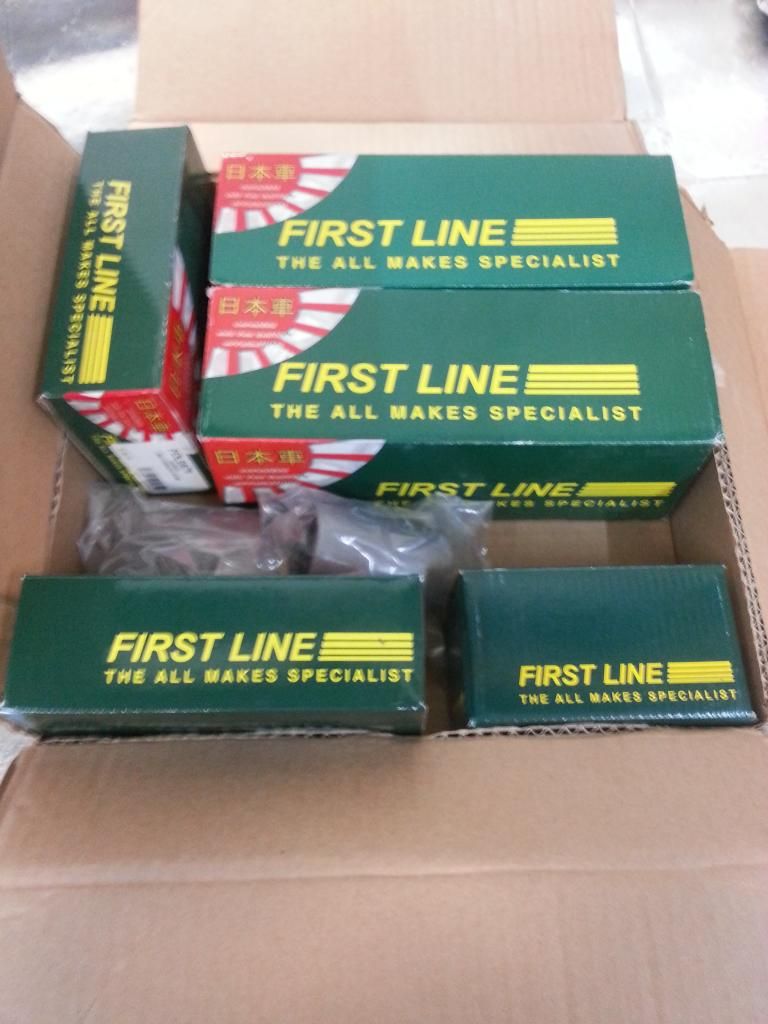
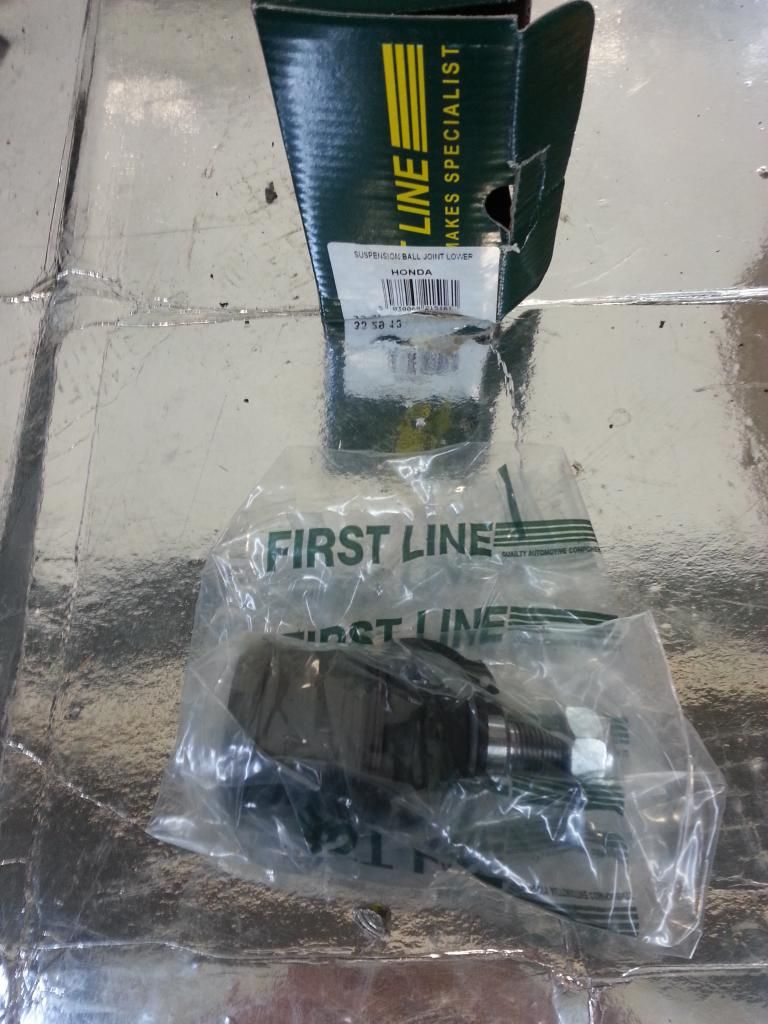
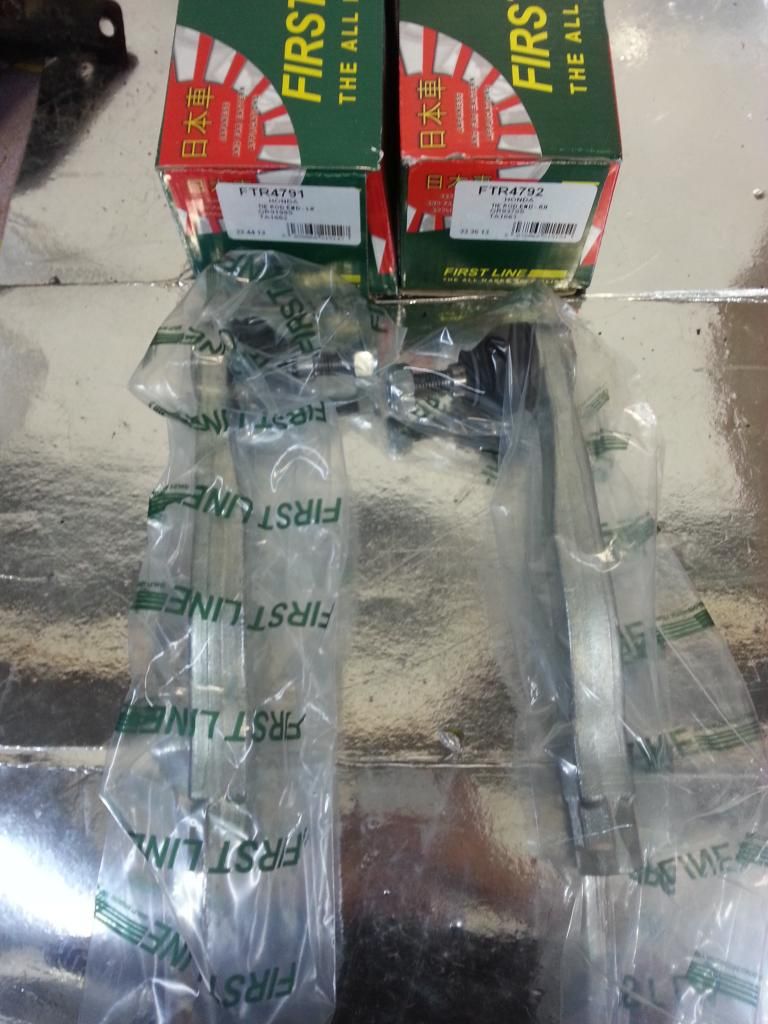
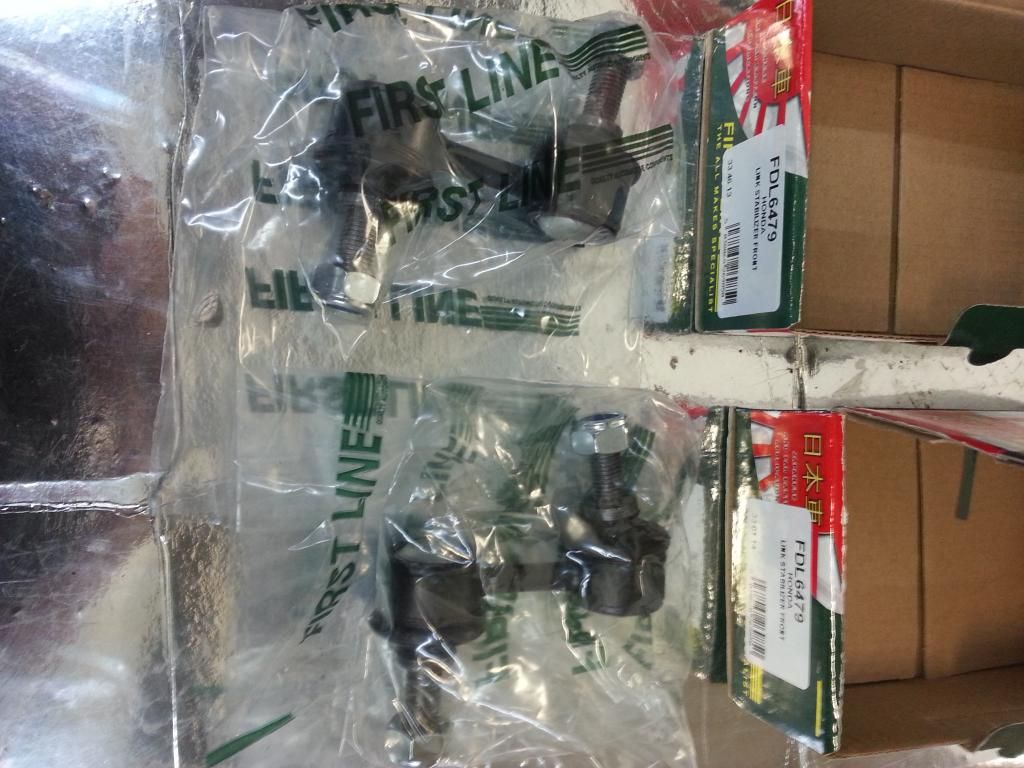
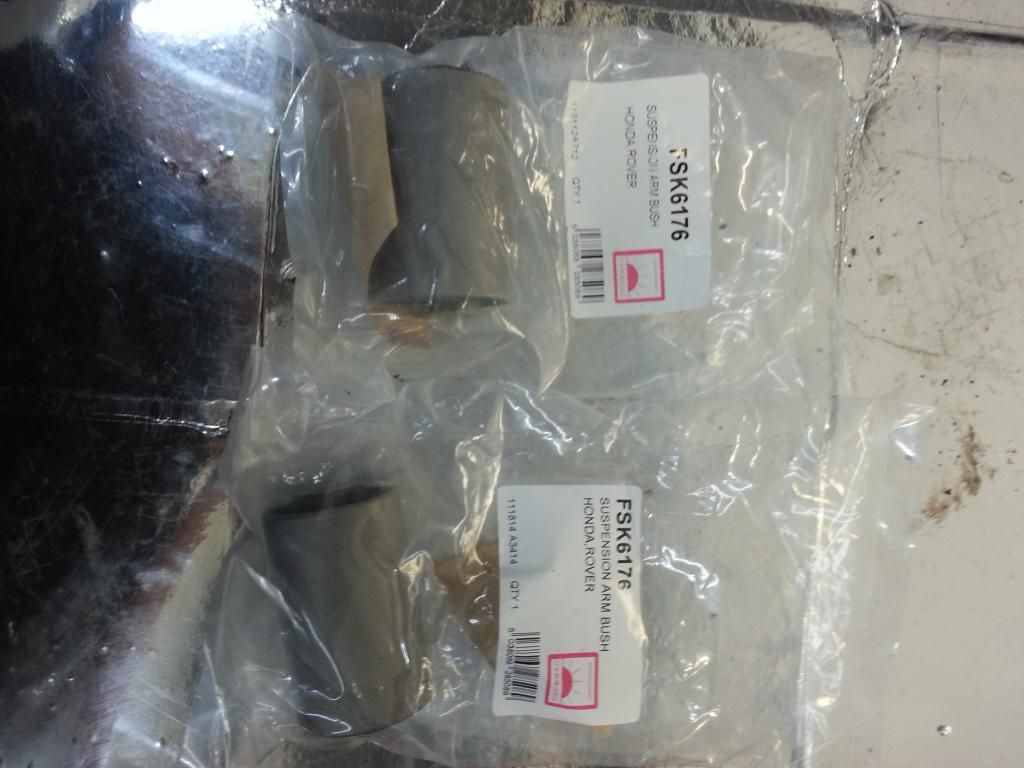
I then ordered some parts as of 2x Tie Rods, 1x Ball Joint (only 1 because when I bought the car a new one was in the glove box). Also bought 2x front wheel bearings and 2x Suspension Arm Bushes.
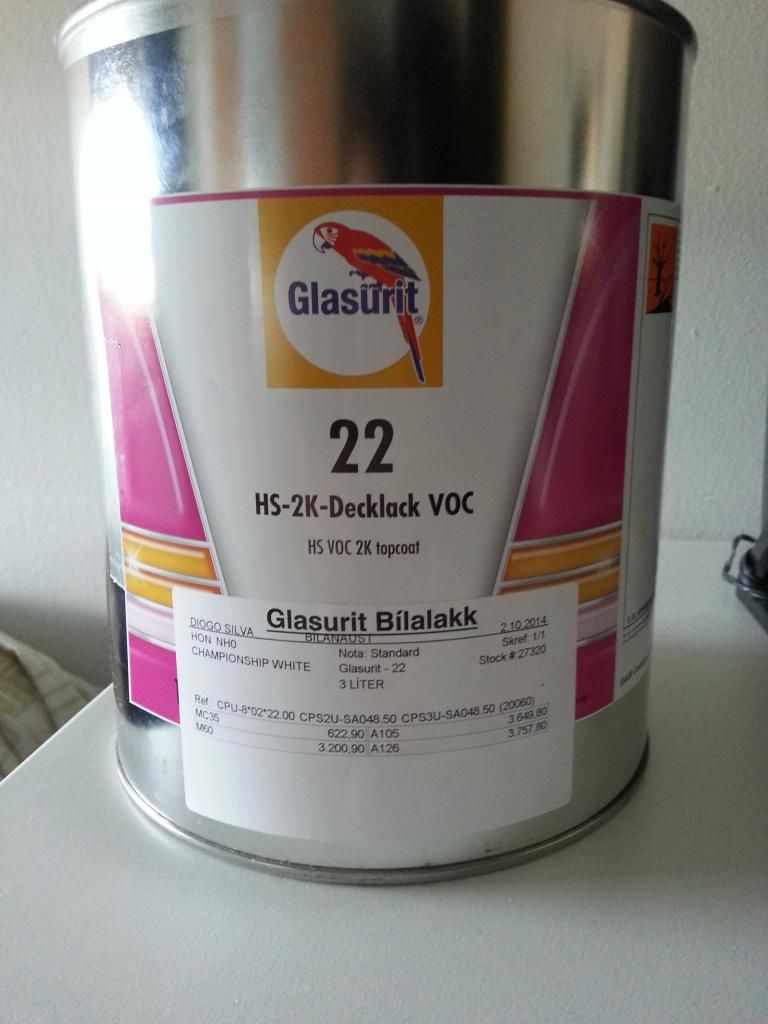
Few days after I bought the paint, 3 litres of paint, hardener and thinner
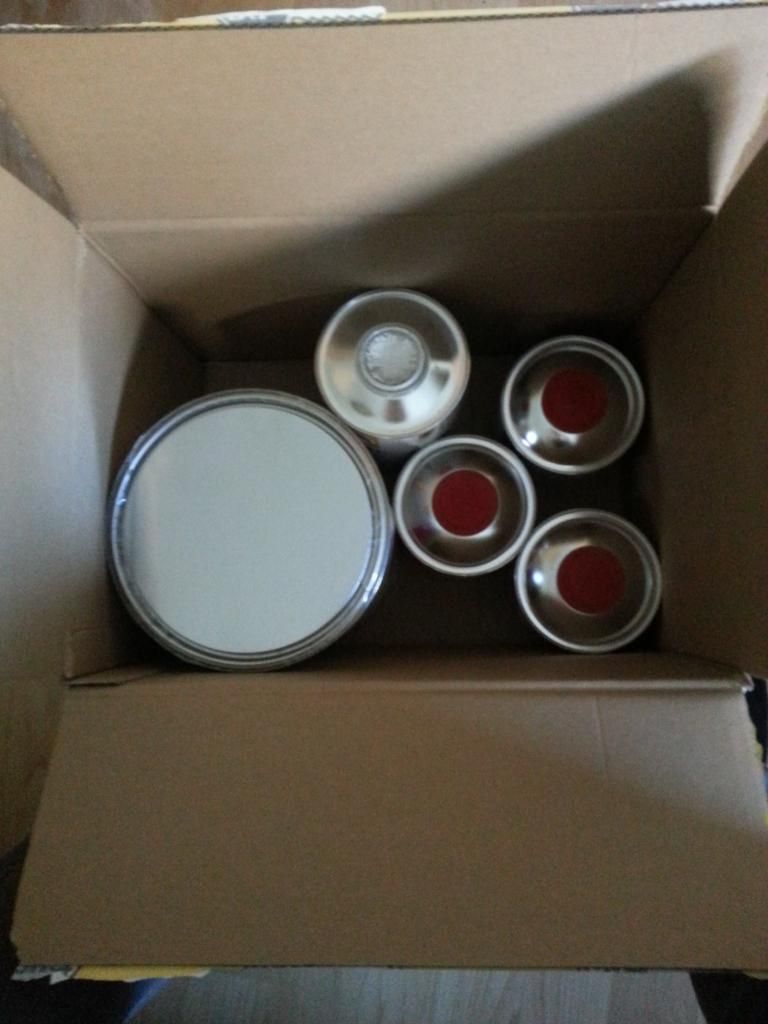
Championship White
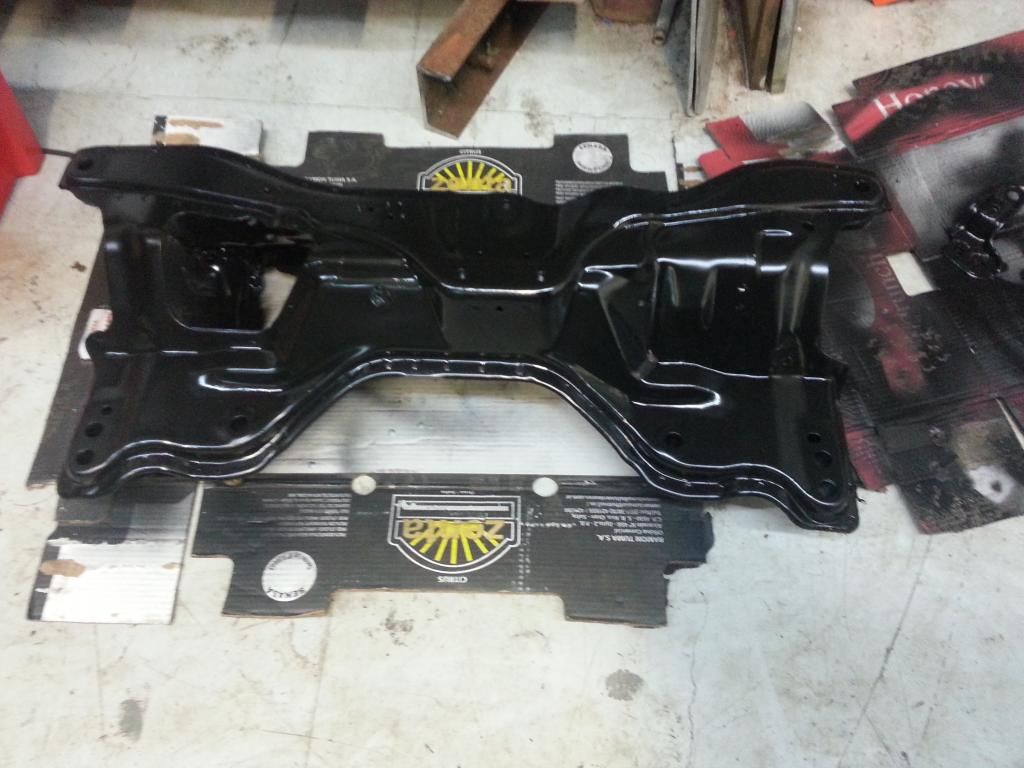
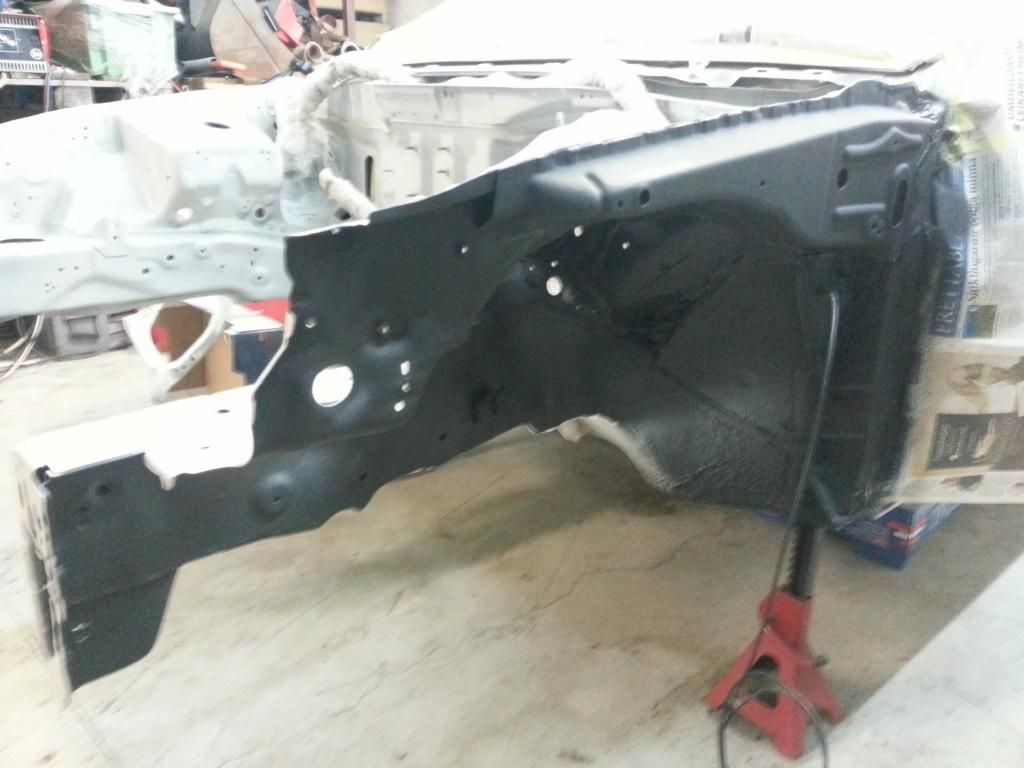
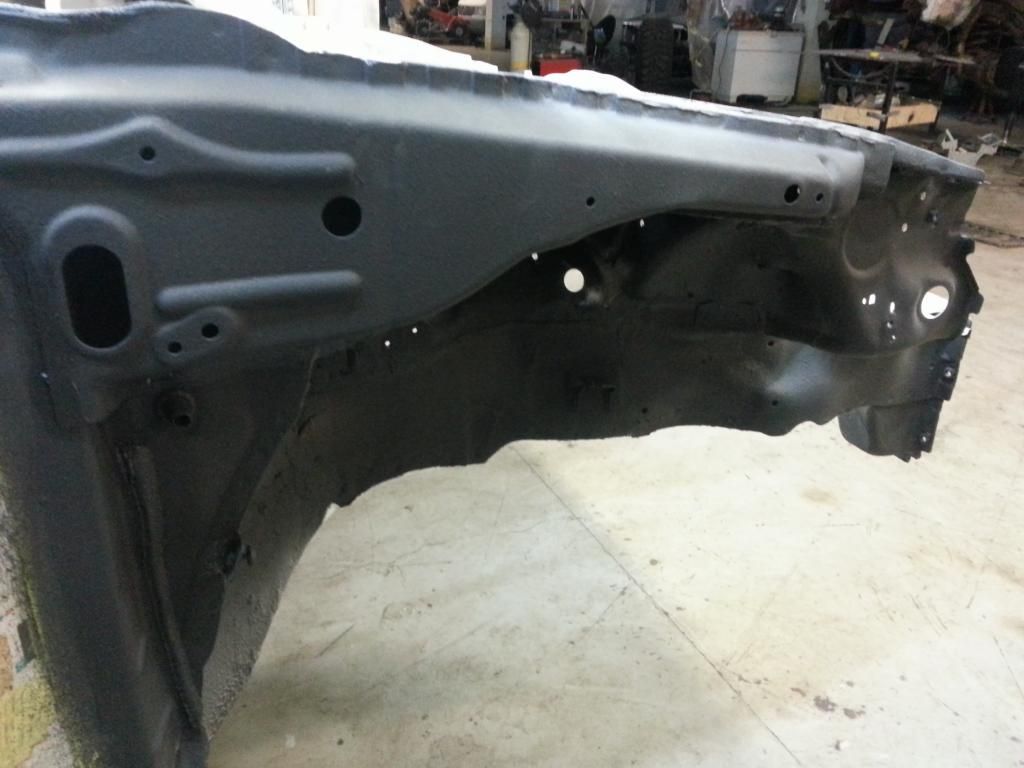
Here I took all the rust that was in it, it wasn't much. Put primer and sprayed it black
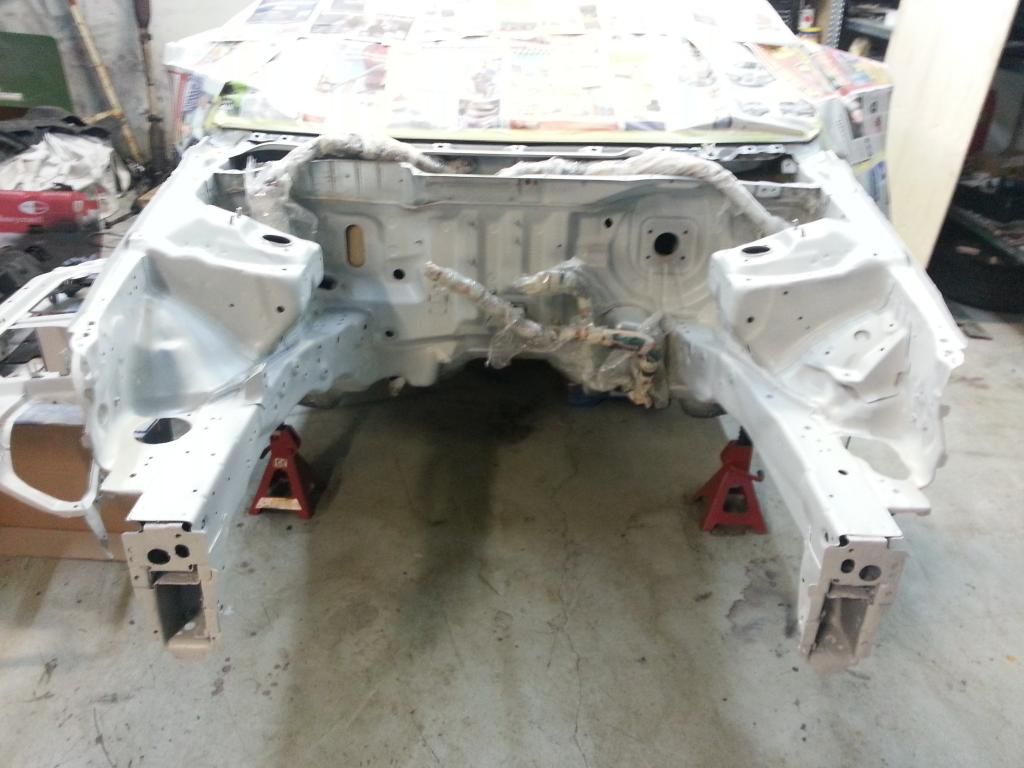
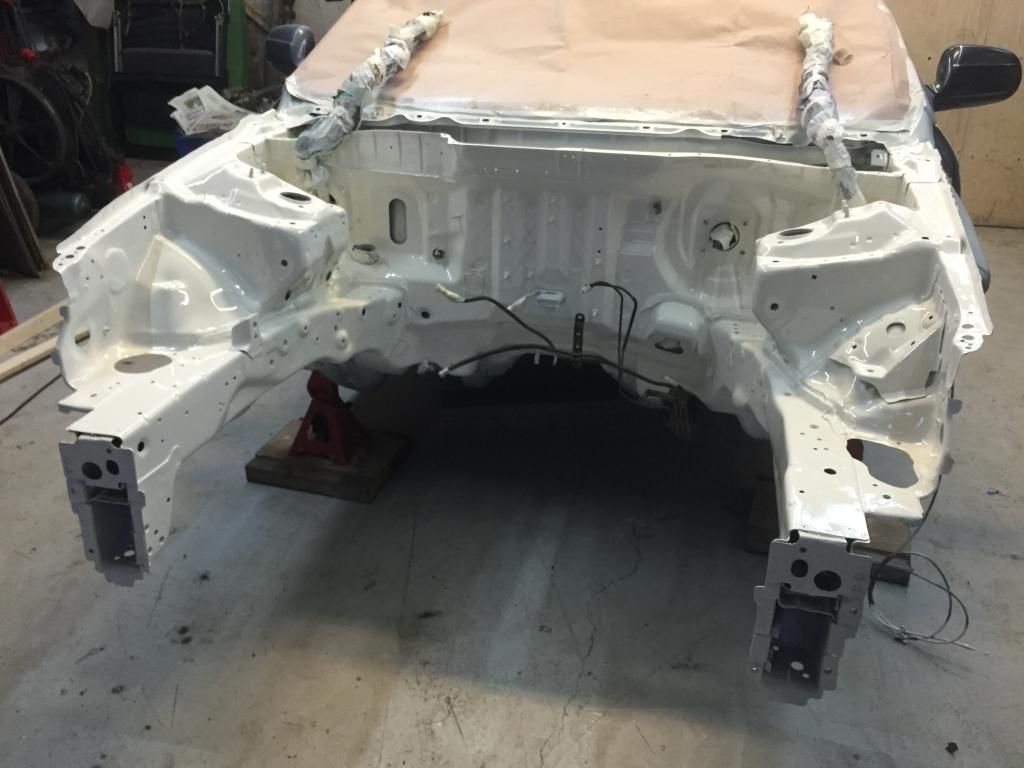
Here is the engine bay already primed.
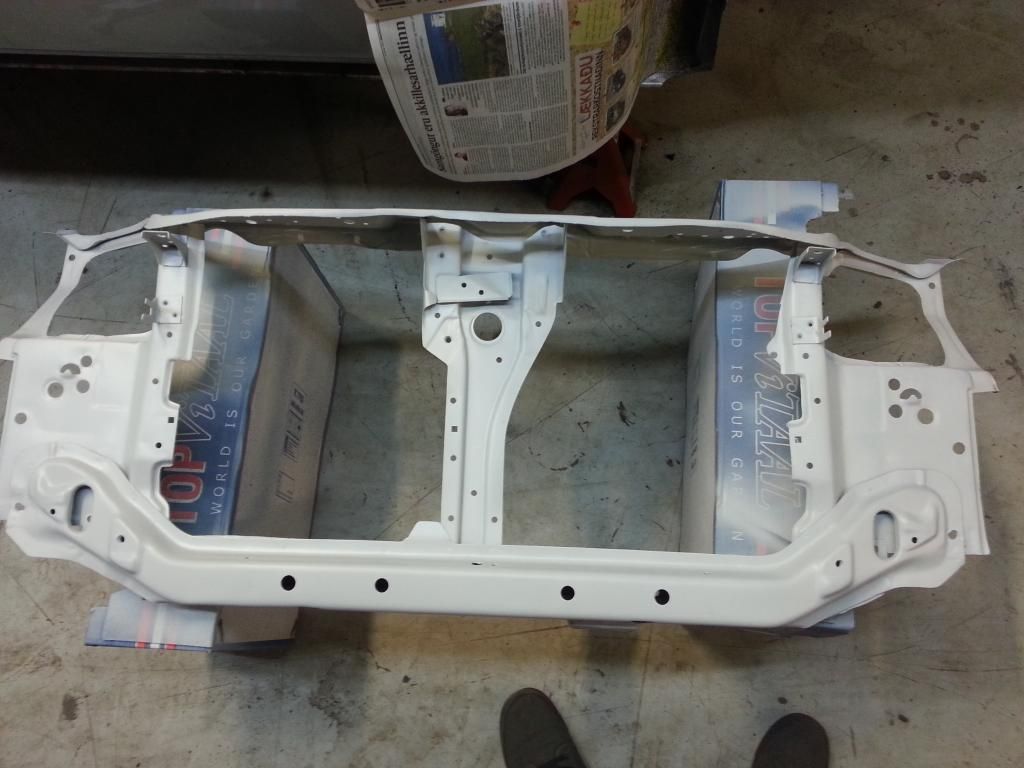
Also primed the front support
The black that is seen in the photo below is Undercoat Protection
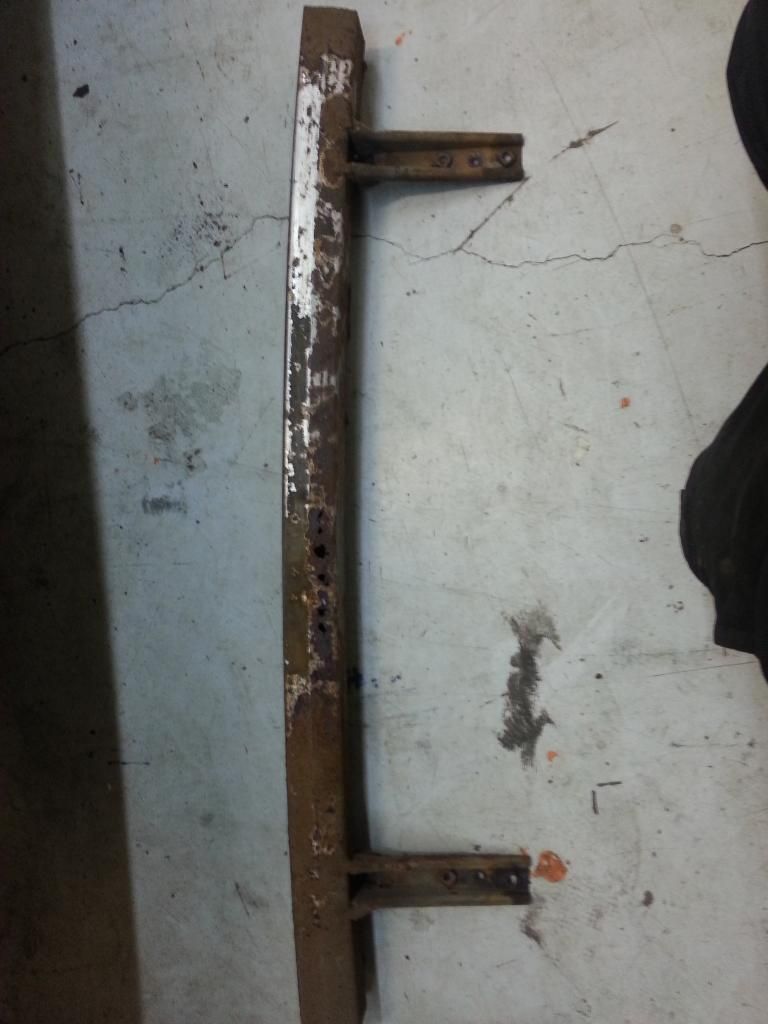
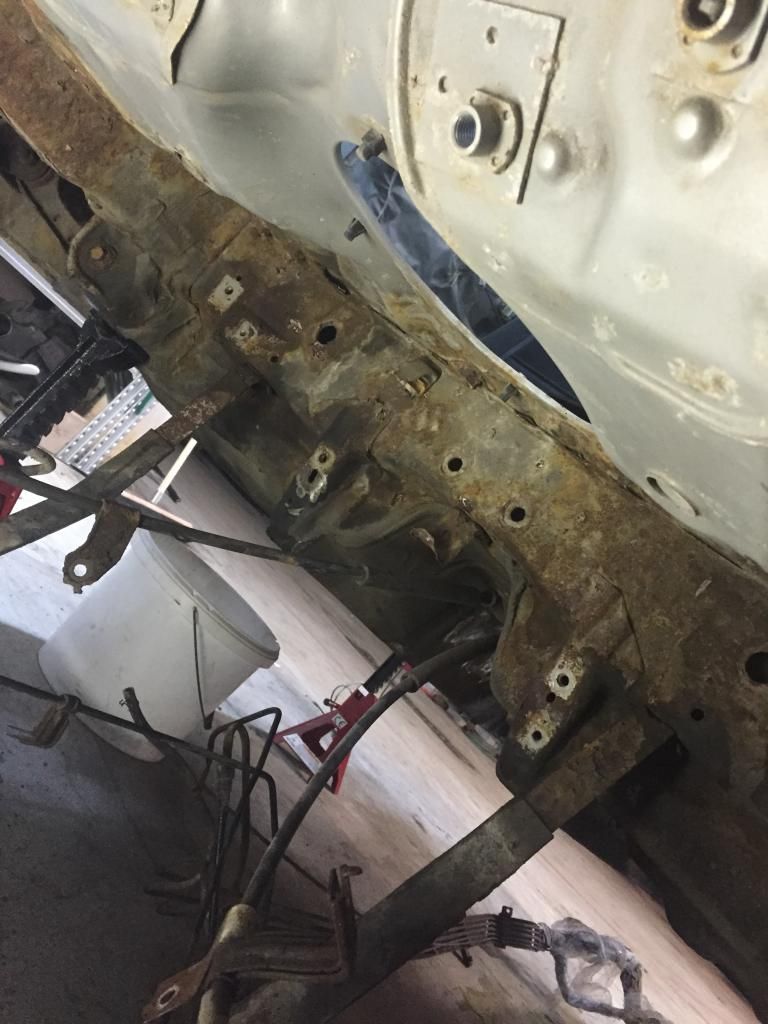
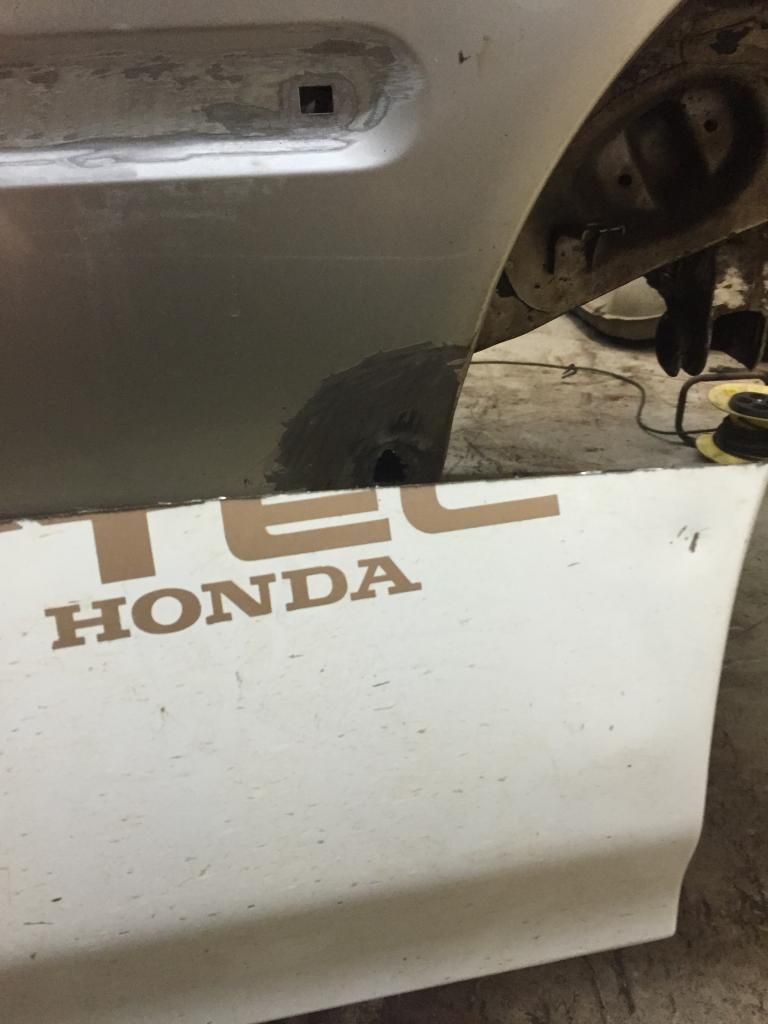
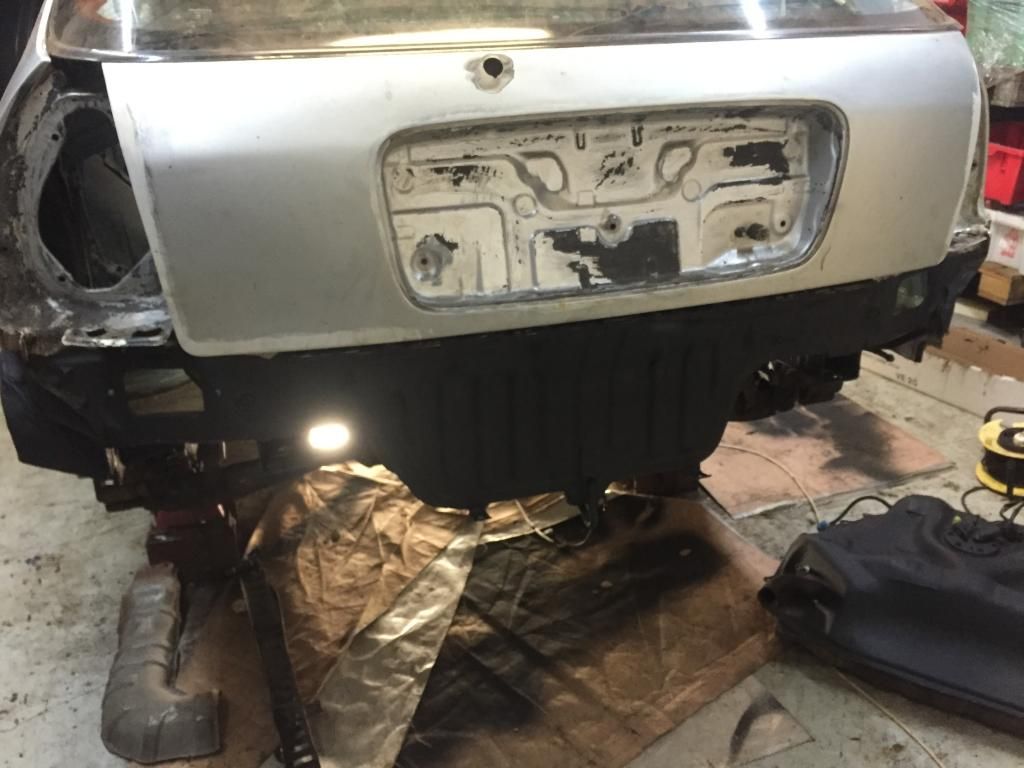
The rear bumper support is completely rusted, as I sanded it a few holes appeared... Gotta get a new one but until then I'll have to use this one.
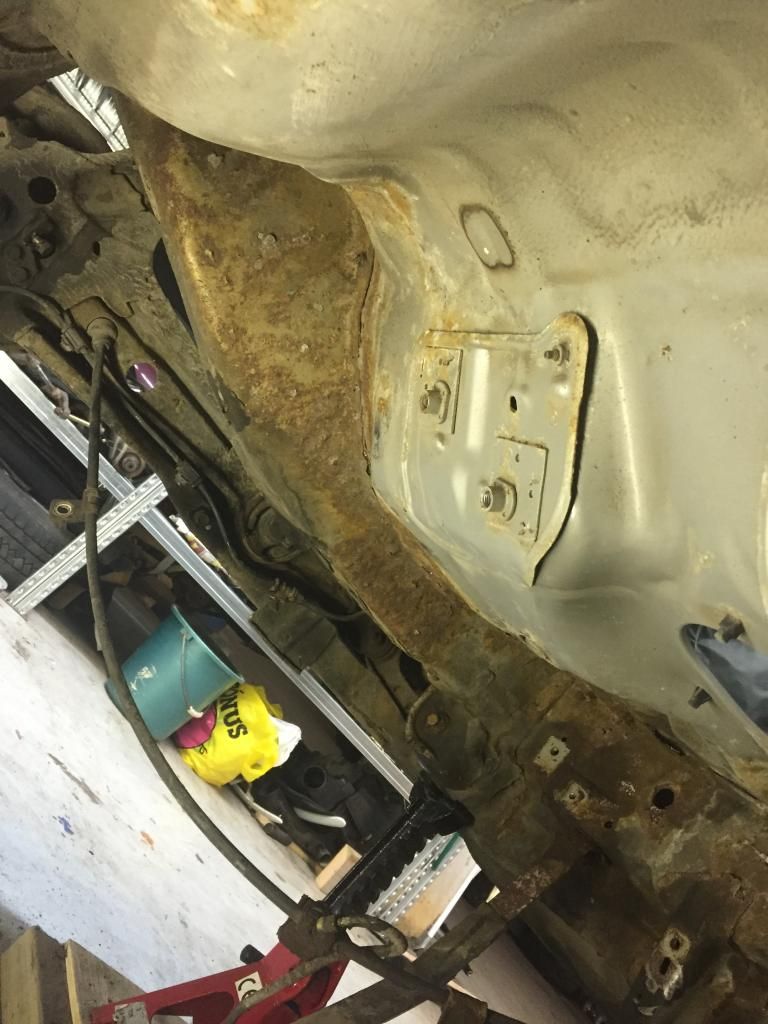
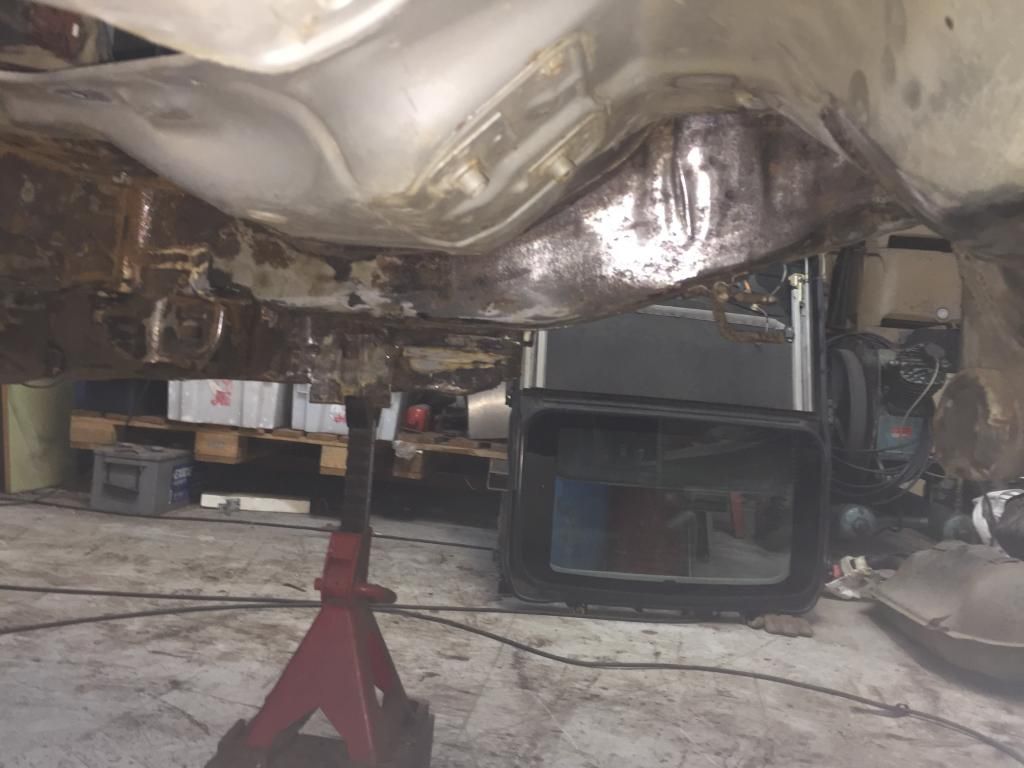
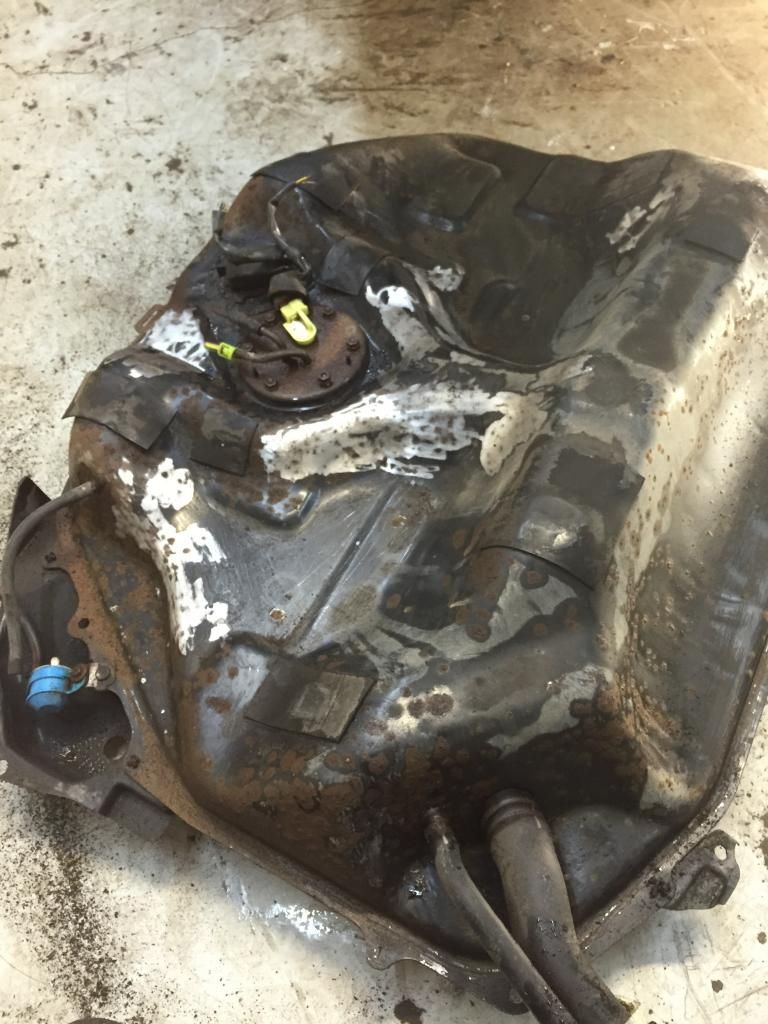
Here is where all the fun is... As I took the fuel tank out I saw lots of rust, not cool -_-
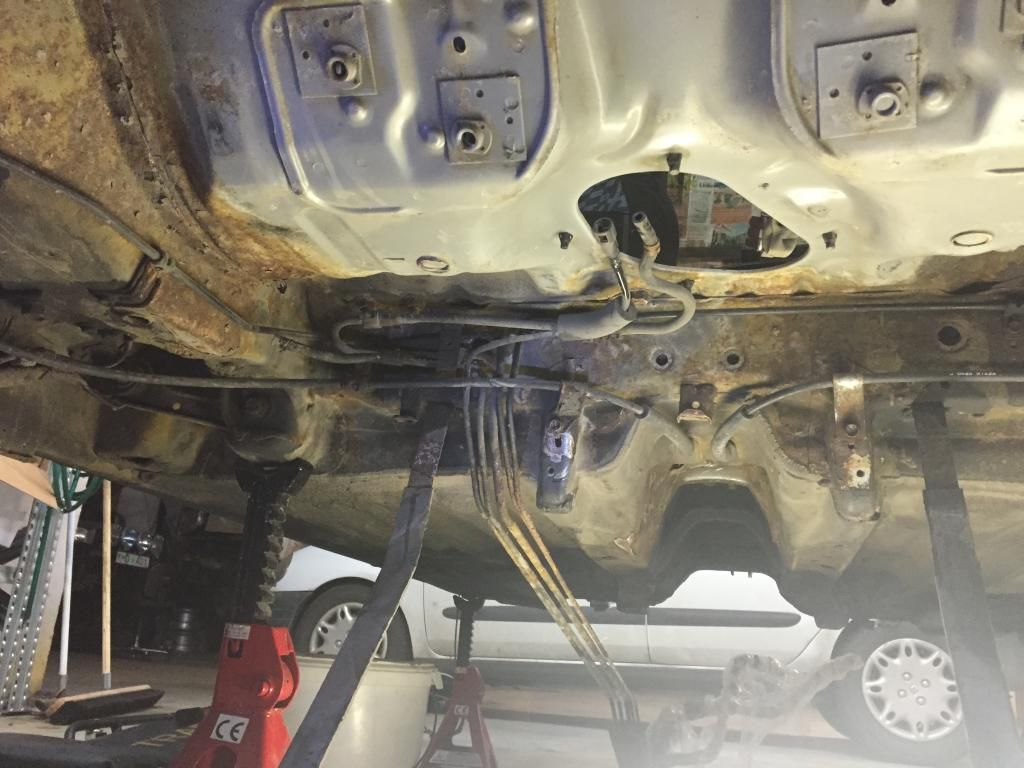
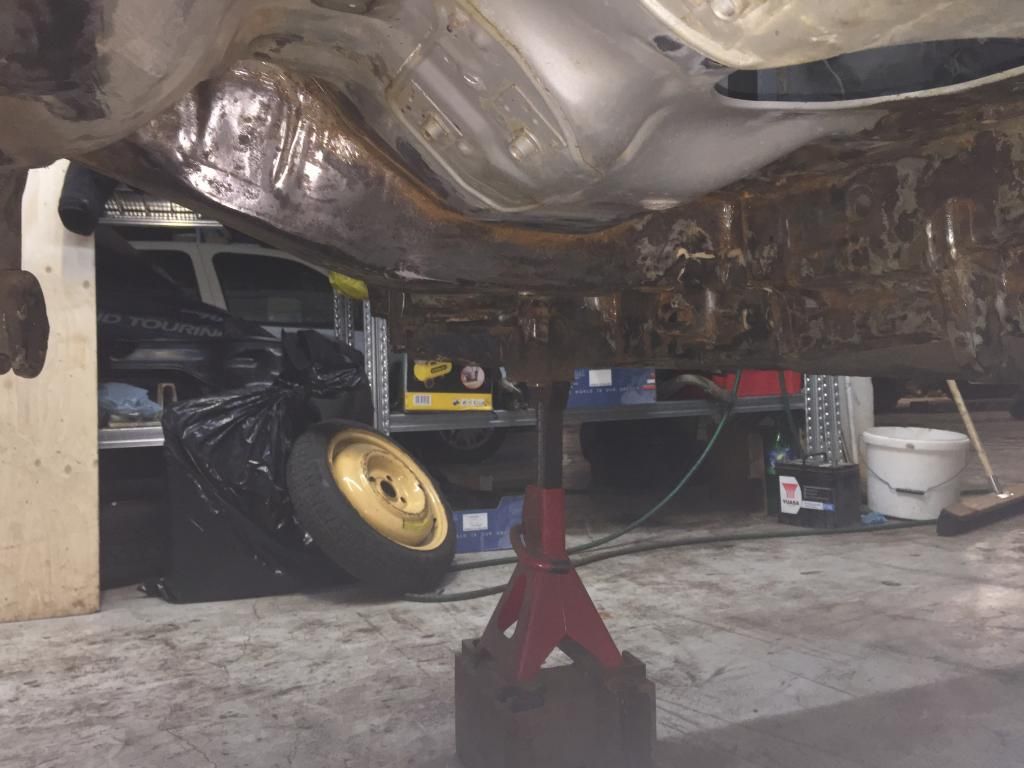
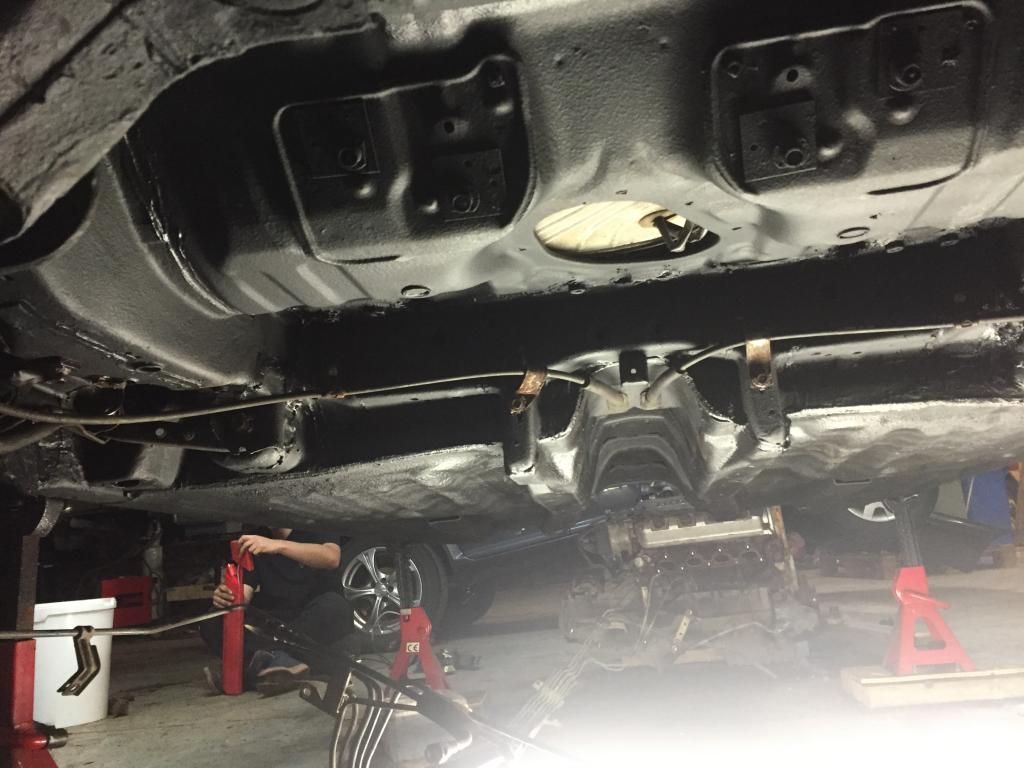
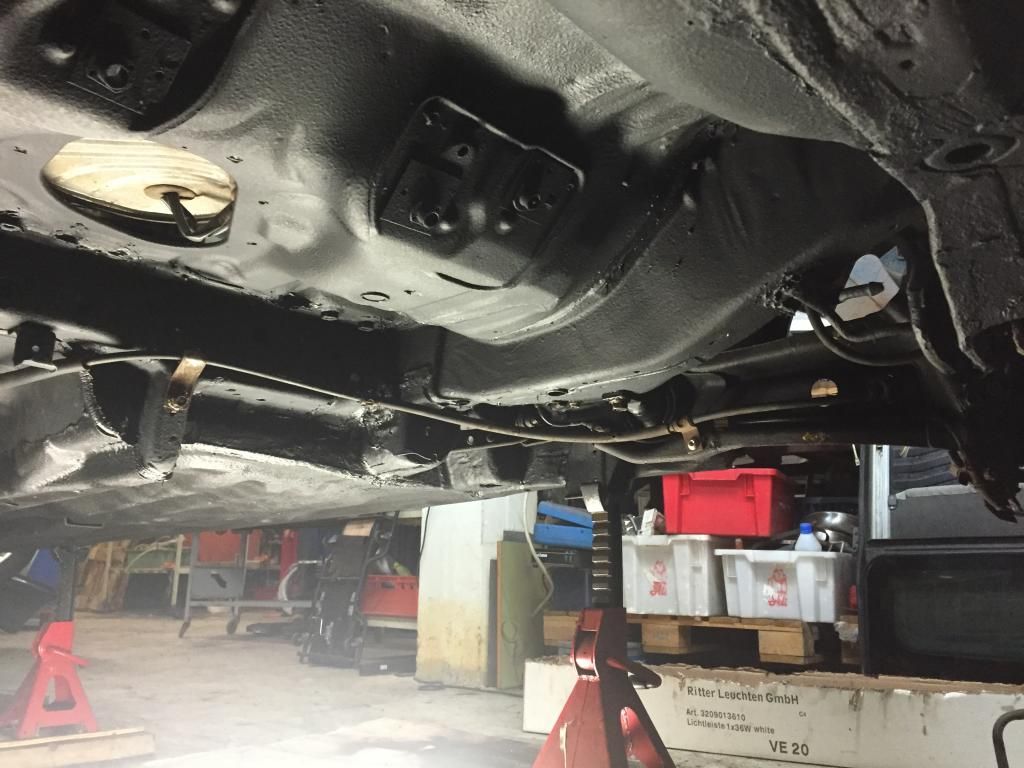
Here I had already taken care of some rust
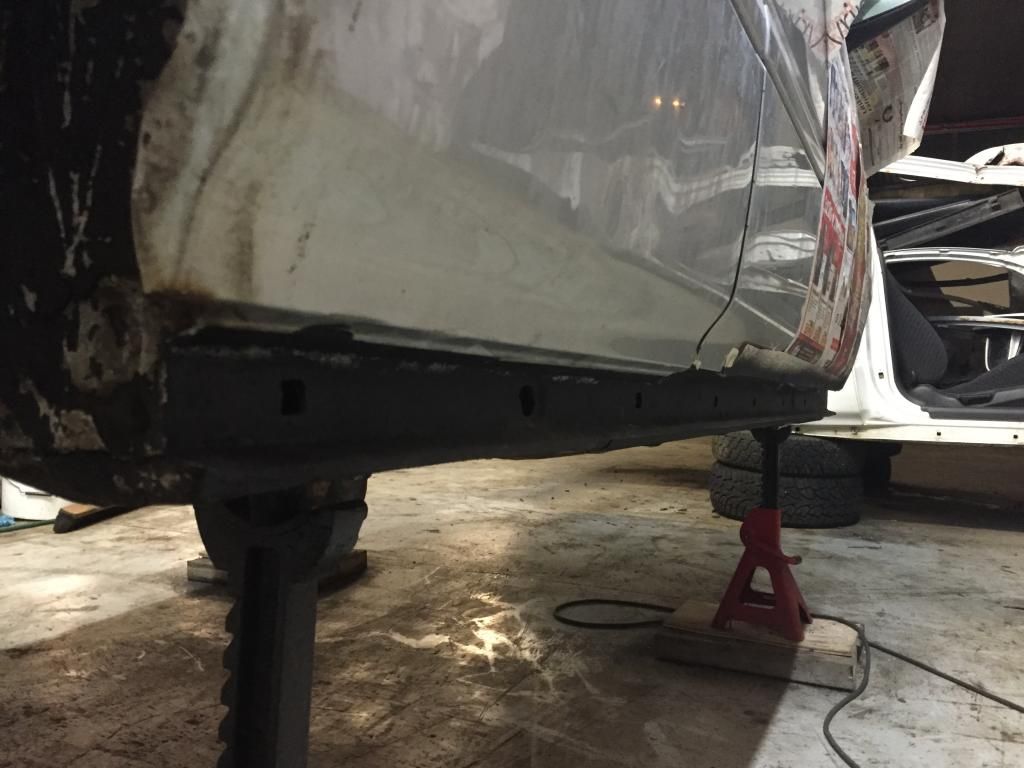
Also painted with Undercoat Protection where the side skirts go.
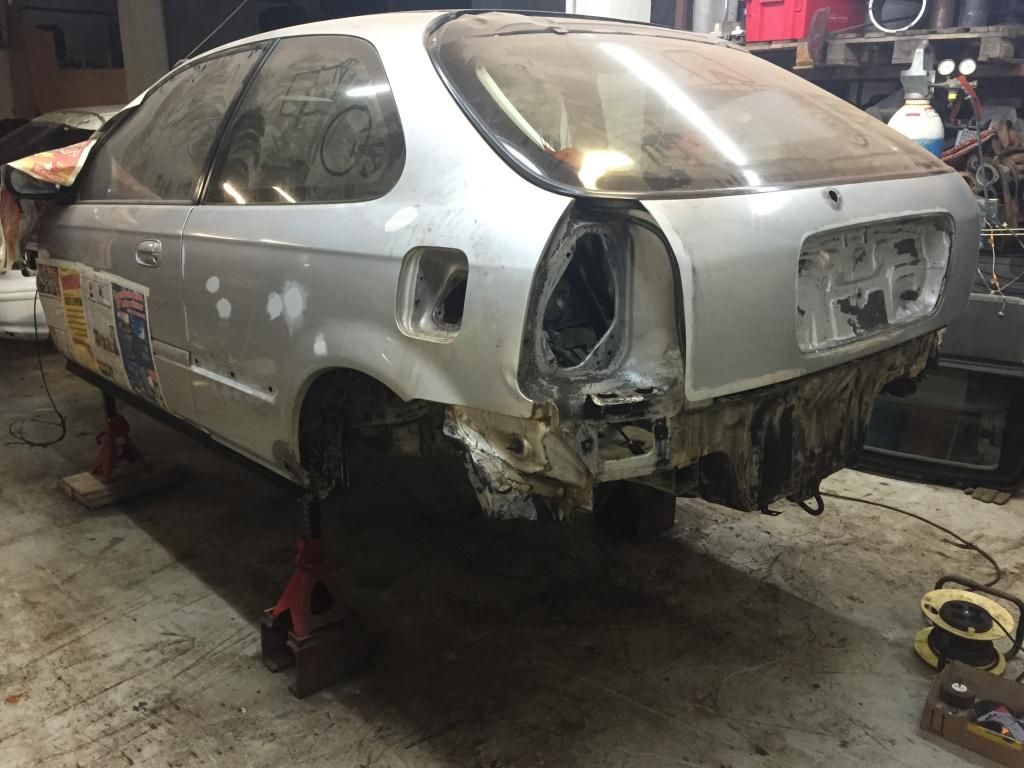
Got sick of eating rust unwillingly, so I took a picture of the car :D
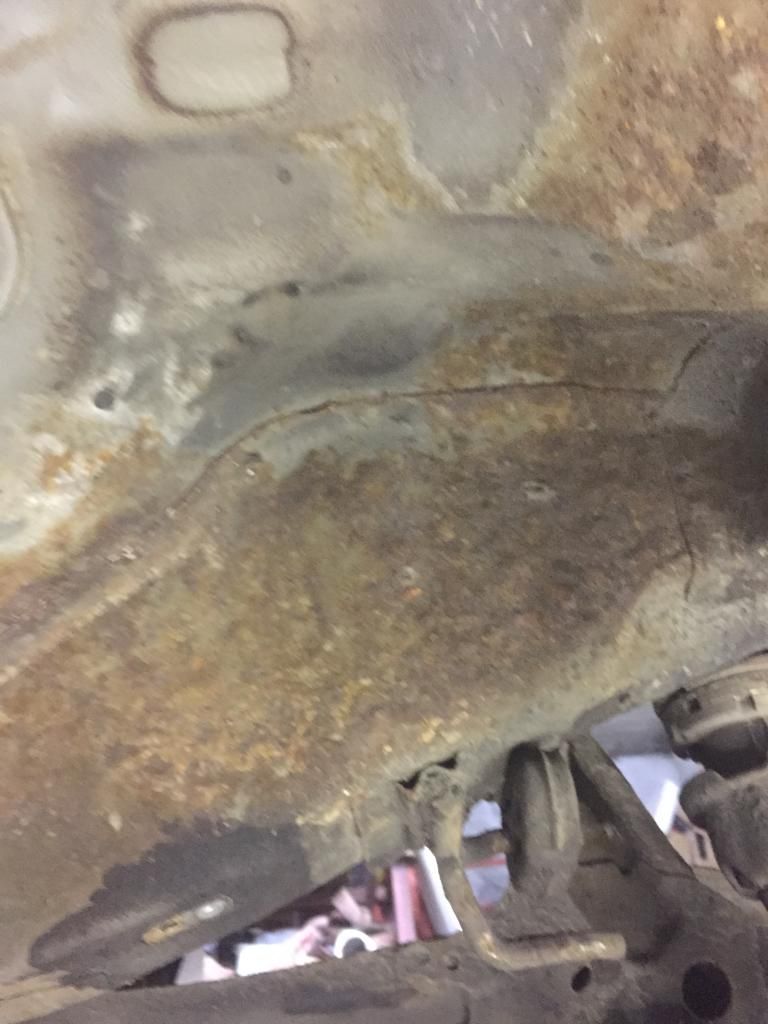
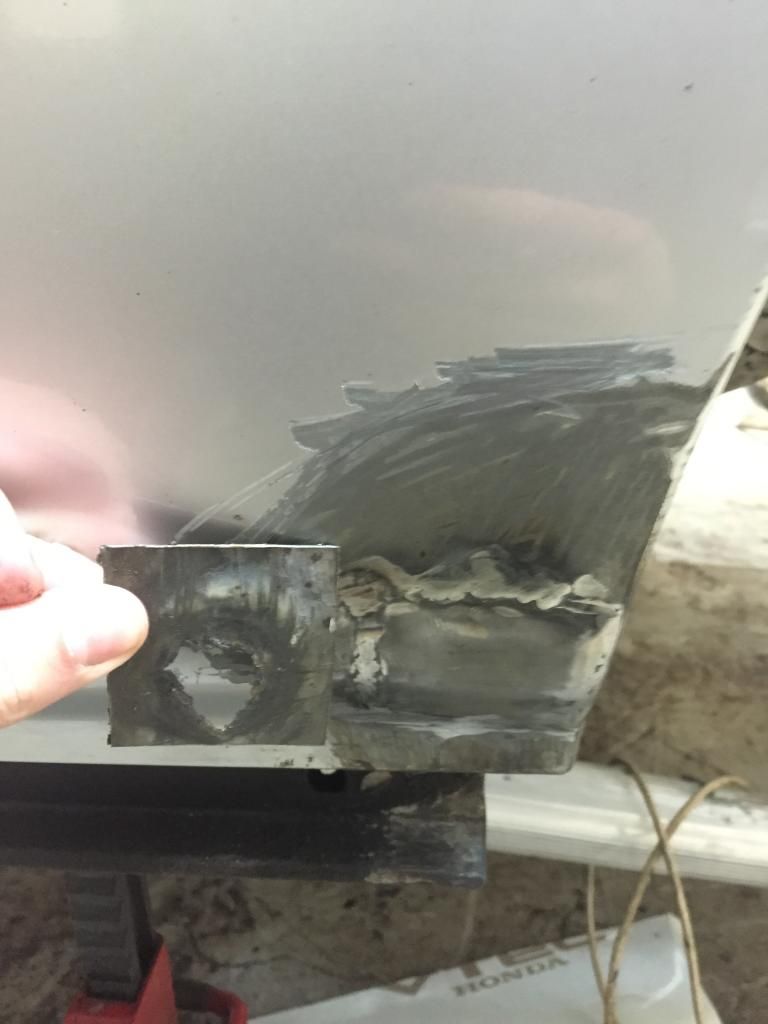
So here, while the care of the good ol' rust [smilie=puking.gif] this freaking hole began to get bigger and bigger but I got my dad to weld a piece of metal to that hole. Like New!
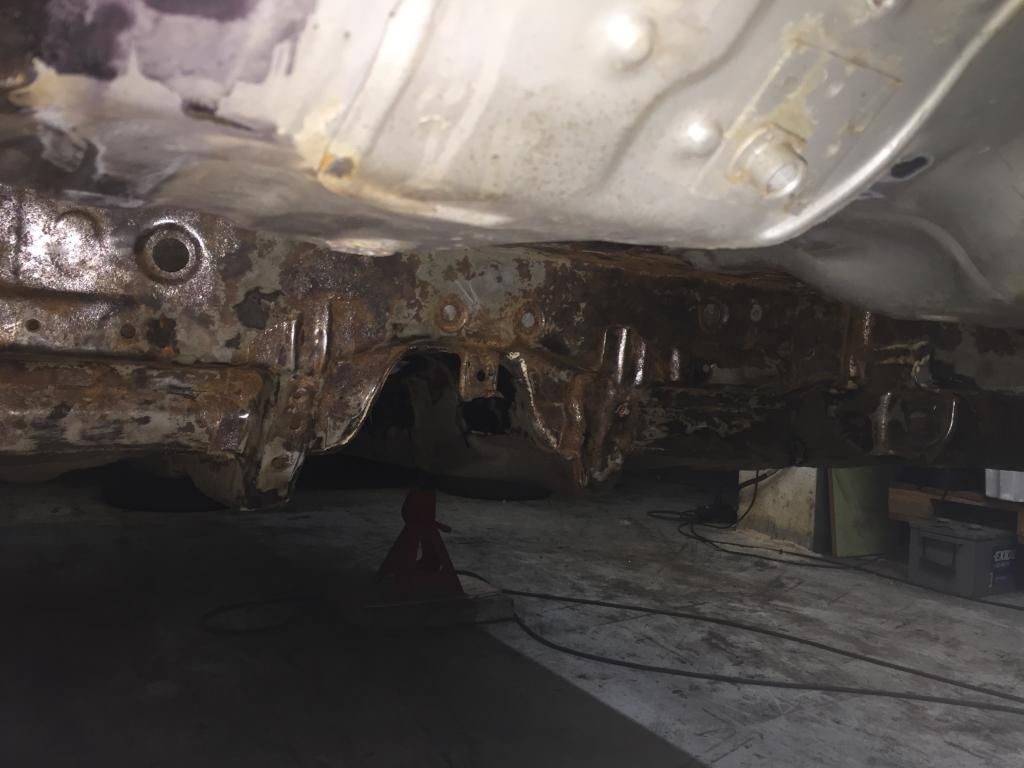
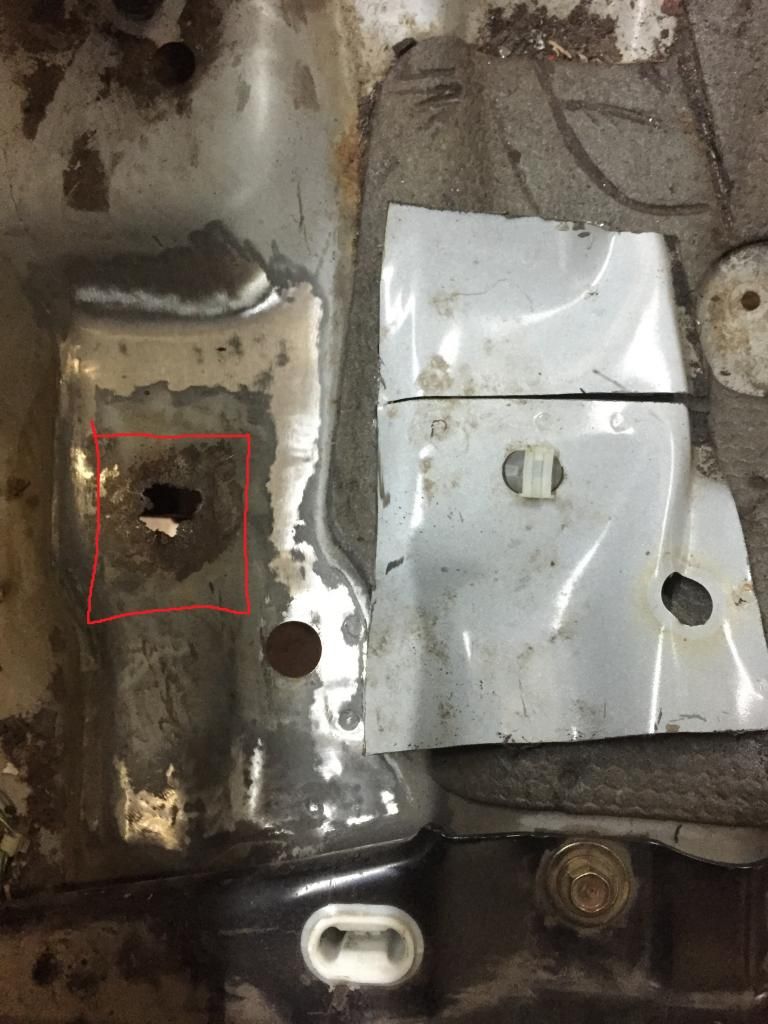
Ahh those common rust problem... stuck bolts. The bolt was stuck and my father helped me by using a angle grinder and took the part where the red lines in the picture are and he welded a new one piece from a wrecked Civic. Didn't took pictures after he welded it but it came out great :D
Another rust hole was born.... and my father once again used a angle grinder and cut around the hole and welded and exact piece of metal from the other wrecked Civic.
The aftermath.
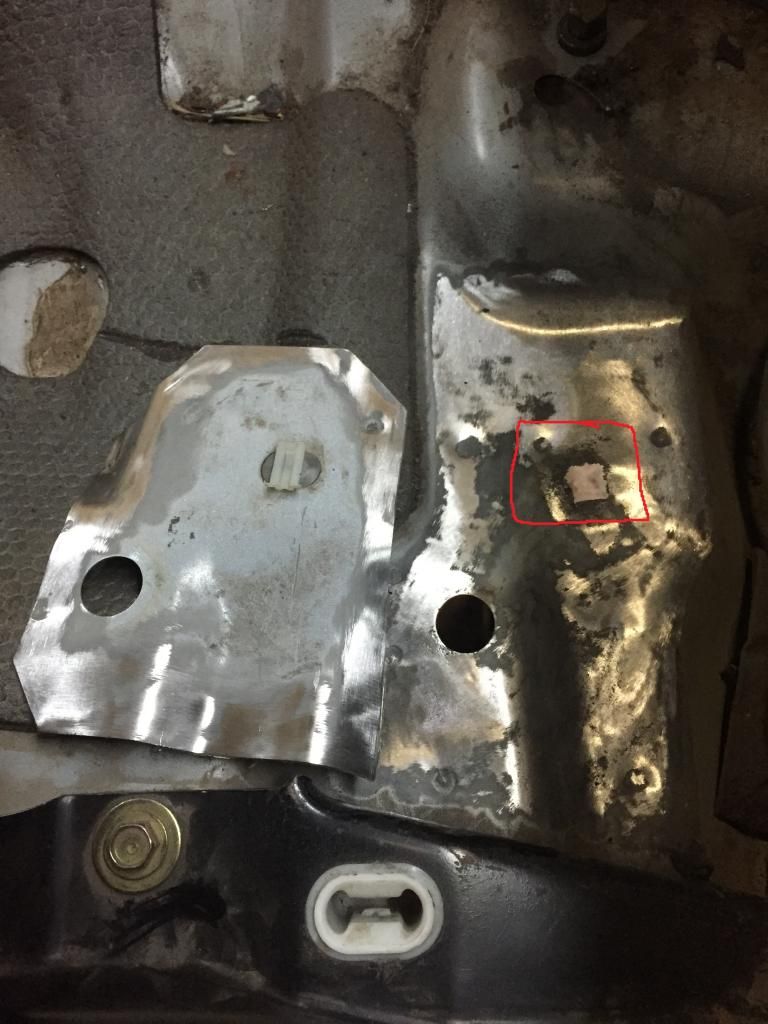
Now inside the car. The ABS holes were gone... so same old story different day, my father once again cut around these holes and welded the new one from the wrecked Civic. Came out great :D
I then started working on the fuel tank, It had a few rust spots in it so I took care of the rust and sprayed the Undercoat Protection on it.
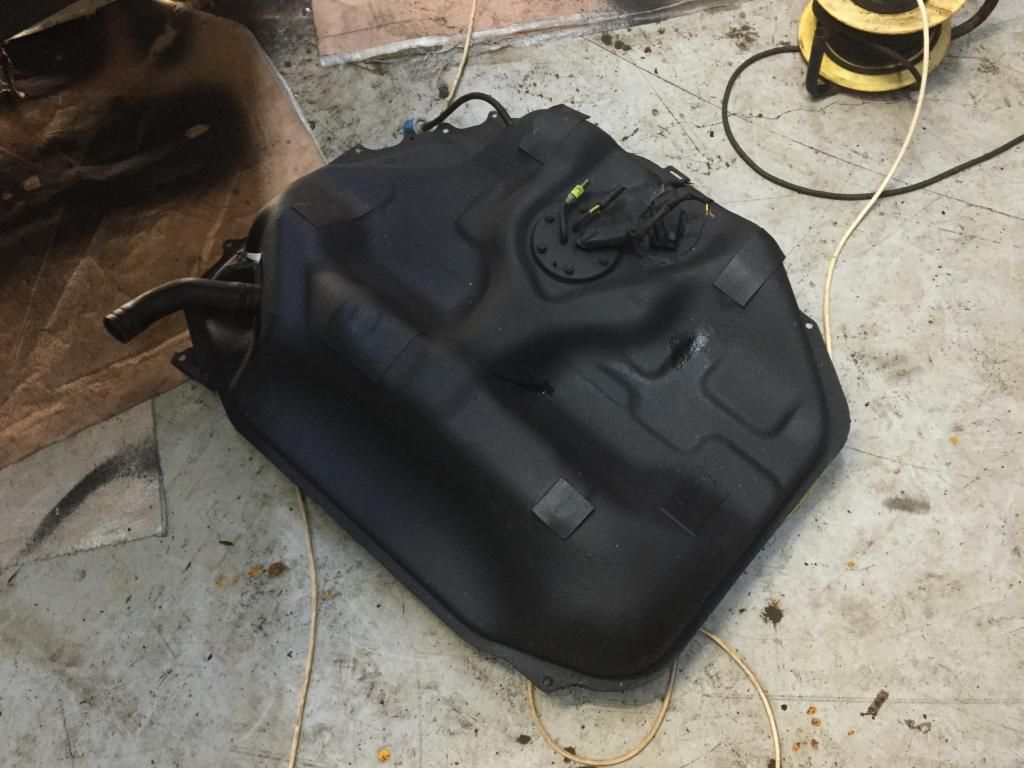
When I completely took all the rust I gave 2-3 coats of primer and sprayed 2 coats of Undercoat Protection.
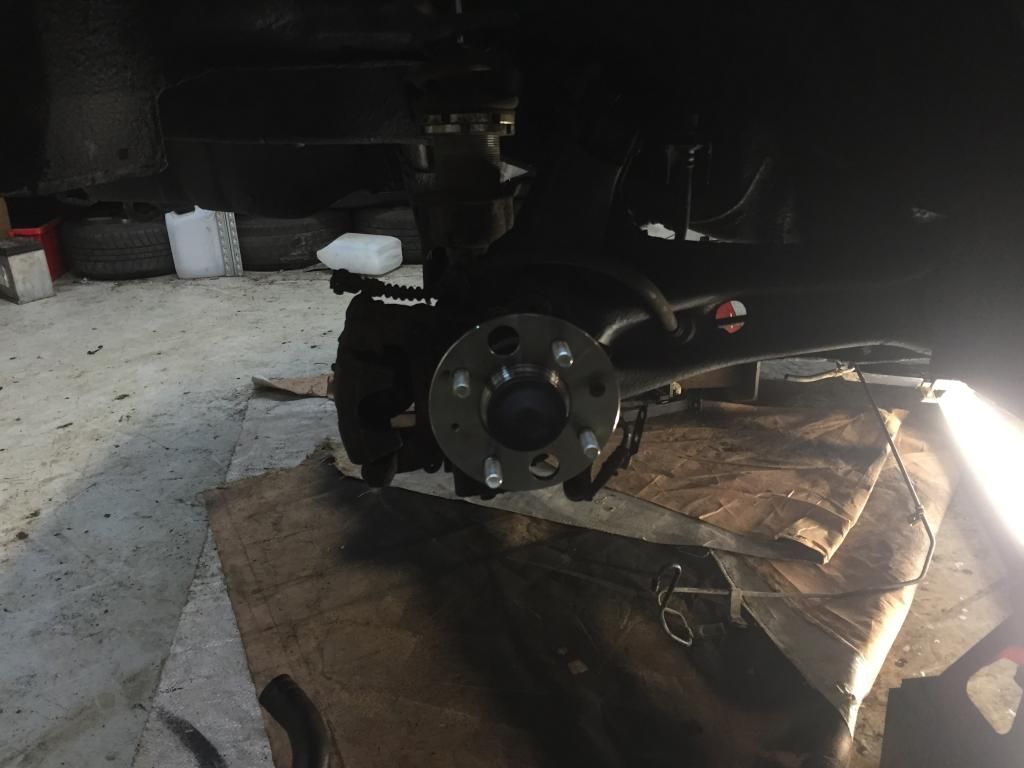
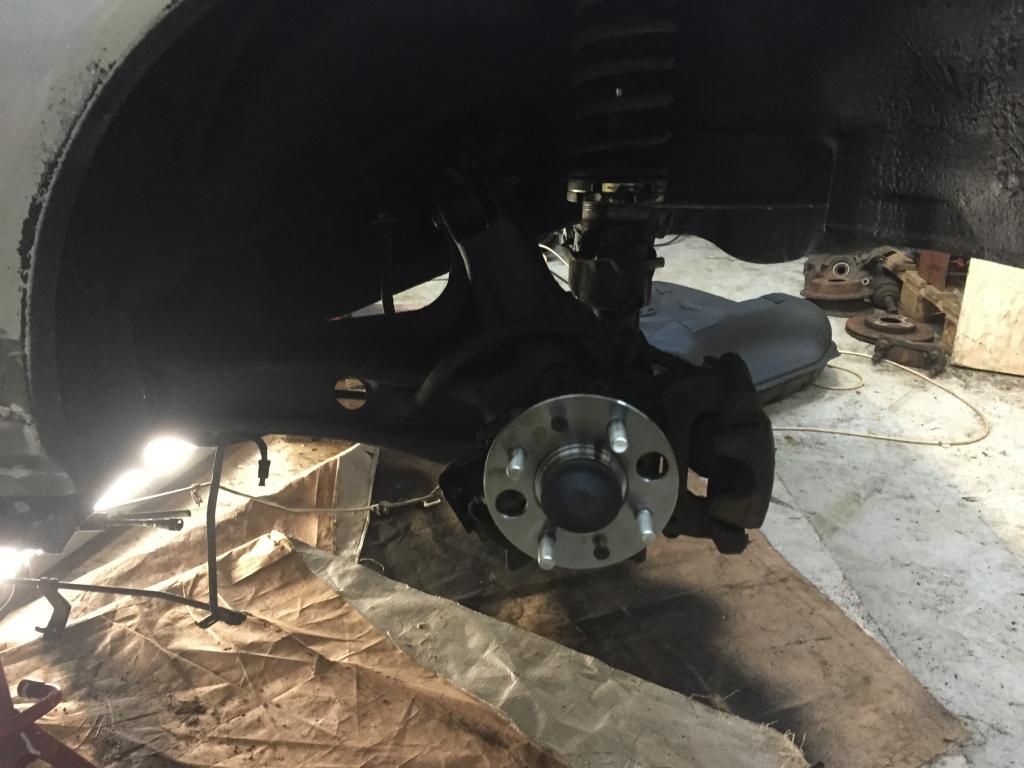
Then bought 2 rear wheel bearing where the others that were in the car could win a singing contest.
I then bought
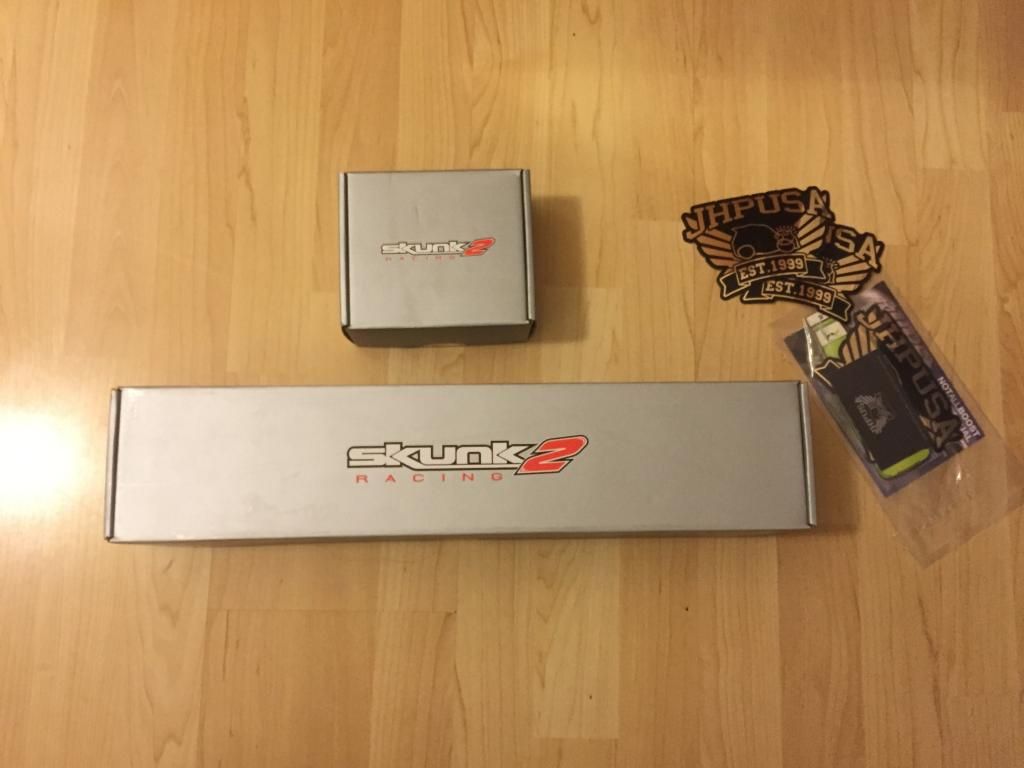
Skunk2 Limited Edition Black Series Rear Lower Control Arms , Skunk2 Magnetic Drain Plug Set , ASR Rear Subframe Brace - 88-00 Civic / 90-01 Integra , B16A / B18C5 Top End Gasket Replacement Kit , Hamp Oil Filter
Here are some pictures

So this my project that started all the way back to September 2014. I first bought the car 16th May 2014 and only started working on it in September because I first had to get the money to rent a garage and some tools and what not... anyways my main goal is to make it rust free and change the colour to Championship White (The Type-R Colour (NH-0)) and have a clean, fresh look to it. Since September I've come a long way, as I'm a student and have a Part-Time job to feed my passion
. The car looked like this when I first bought it.


Seeing the car every single day while it waited outside until I had the money to start working on it had me going impatient so I started removing some things and fixing some rust spots on the outside.

By here I already had rented a garage and started to work on the car right away.

Then me, my father and his best friend (A incredible good mechanic) started to remove the engine.


And finally after one days work with great help the engine was out! :D


I then cleaned the engine bay and wrapped the wires and the brake lines for the future painting.

I then ordered some parts as of 2x Tie Rods, 1x Ball Joint (only 1 because when I bought the car a new one was in the glove box
). Also bought 2x front wheel bearings and 2x Suspension Arm Bushes.


Few days after I bought the paint, 3 litres of paint, hardener and thinner

Championship White

Here I took all the rust that was in it, it wasn't much. Put primer and sprayed it black

Here is the engine bay already primed.

Also primed the front support

The black that is seen in the photo below is Undercoat Protection


The rear bumper support is completely rusted, as I sanded it a few holes appeared... Gotta get a new one but until then I'll have to use this one.

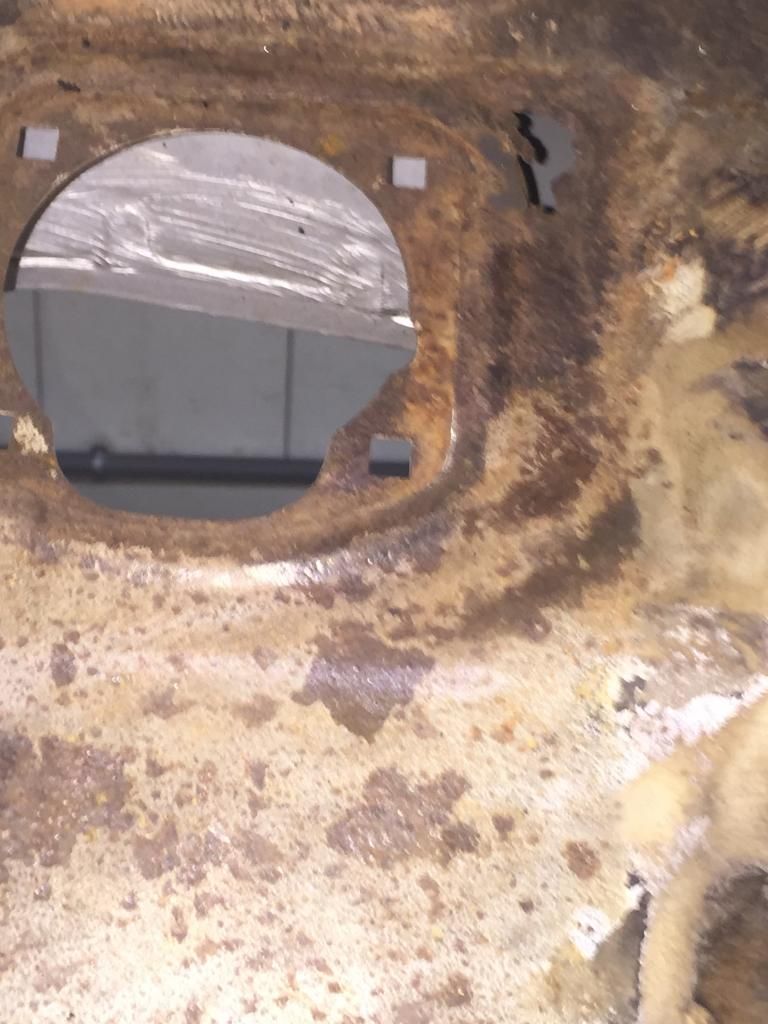
Here is where all the fun is... As I took the fuel tank out I saw lots of rust, not cool -_-


Here I had already taken care of some rust


Also painted with Undercoat Protection where the side skirts go.

Got sick of eating rust unwillingly, so I took a picture of the car :D

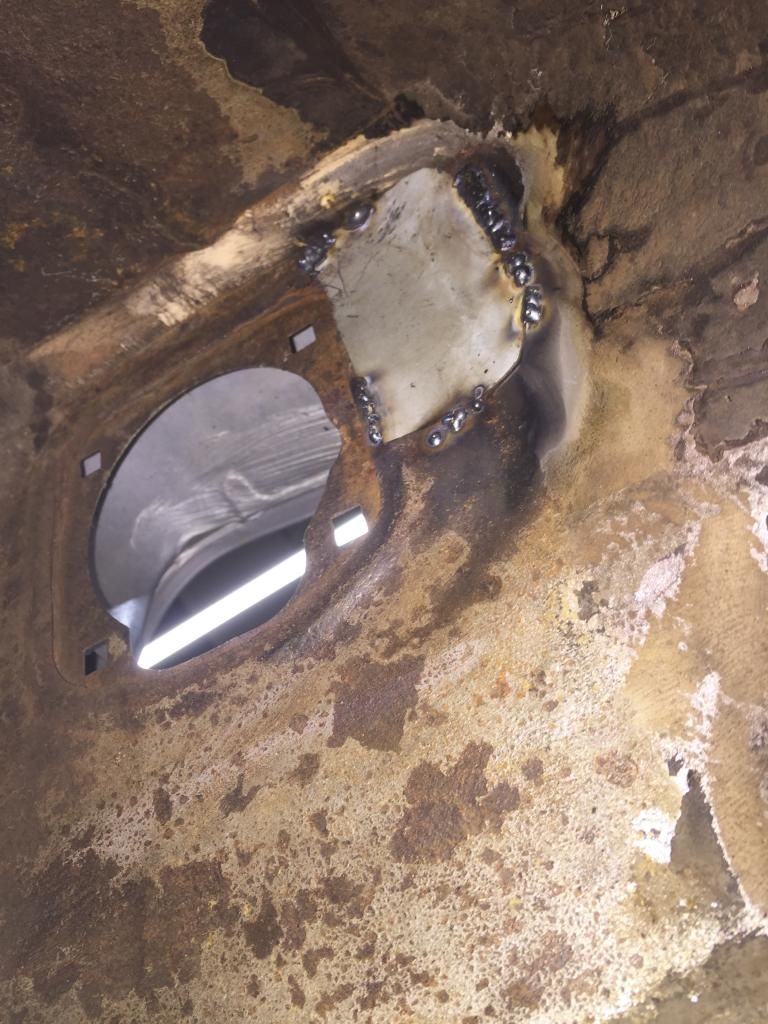
So here, while the care of the good ol' rust [smilie=puking.gif] this freaking hole began to get bigger and bigger but I got my dad to weld a piece of metal to that hole. Like New!


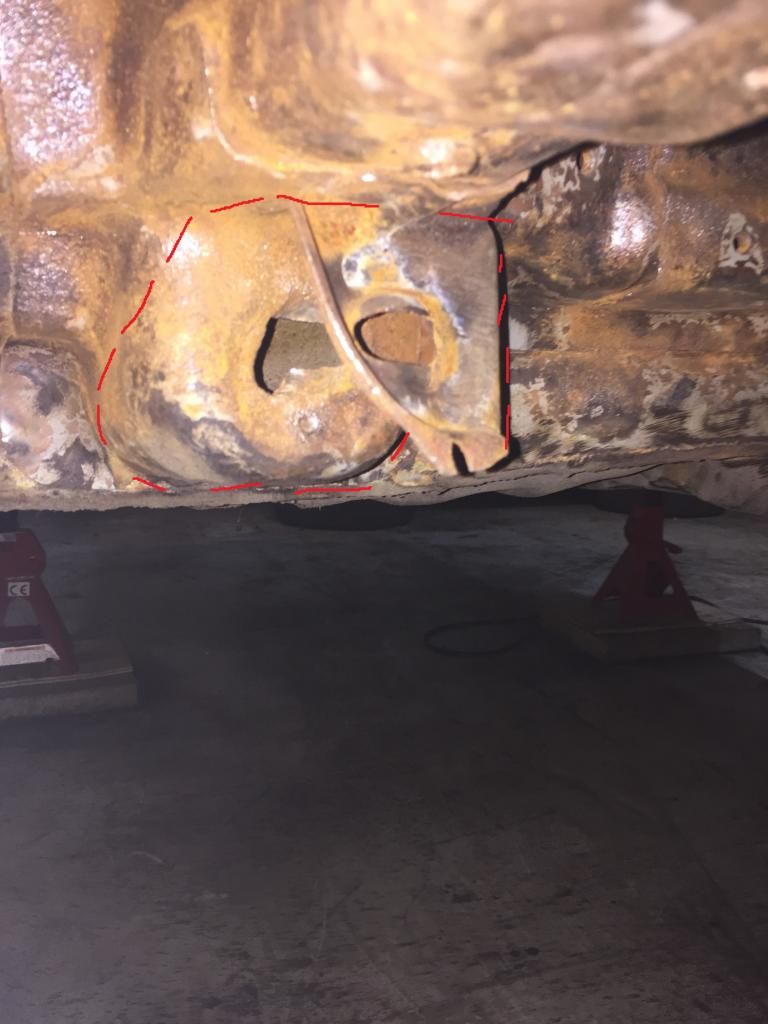
Ahh those common rust problem... stuck bolts. The bolt was stuck and my father helped me by using a angle grinder and took the part where the red lines in the picture are and he welded a new one piece from a wrecked Civic. Didn't took pictures after he welded it but it came out great :D

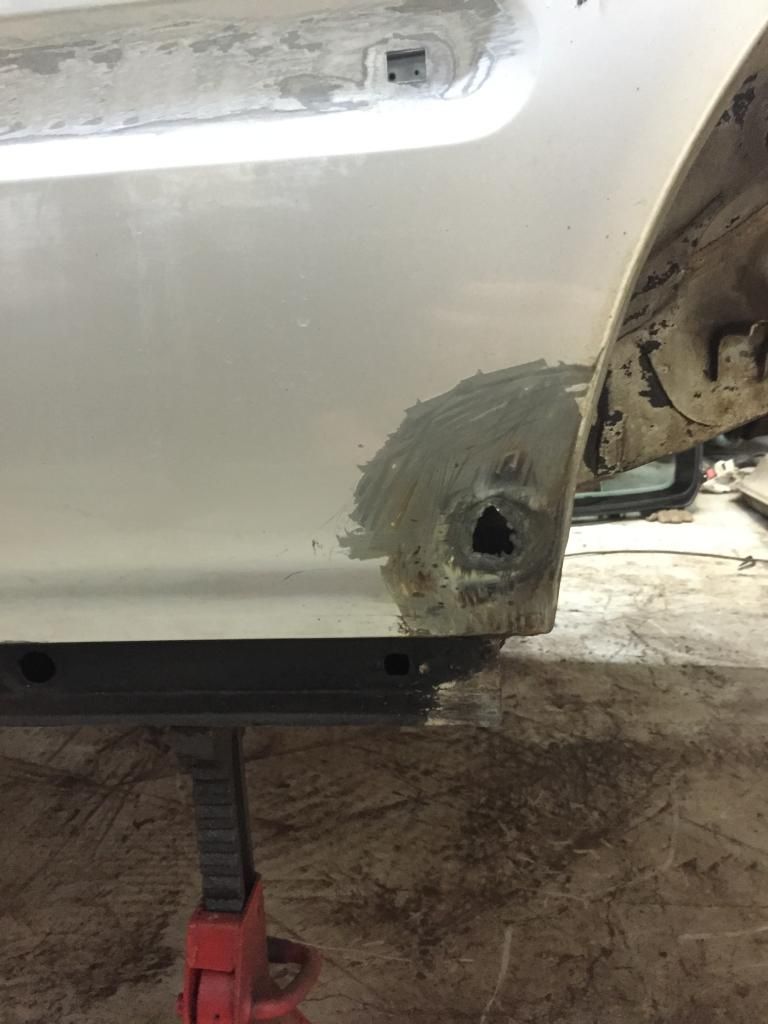
Another rust hole was born.... and my father once again used a angle grinder and cut around the hole and welded and exact piece of metal from the other wrecked Civic.


The aftermath.

Now inside the car. The ABS holes were gone... so same old story different day, my father once again cut around these holes and welded the new one from the wrecked Civic. Came out great :D


I then started working on the fuel tank, It had a few rust spots in it so I took care of the rust and sprayed the Undercoat Protection on it.


When I completely took all the rust I gave 2-3 coats of primer and sprayed 2 coats of Undercoat Protection.


Then bought 2 rear wheel bearing where the others that were in the car could win a singing contest.


I then bought
Skunk2 Limited Edition Black Series Rear Lower Control Arms , Skunk2 Magnetic Drain Plug Set , ASR Rear Subframe Brace - 88-00 Civic / 90-01 Integra , B16A / B18C5 Top End Gasket Replacement Kit , Hamp Oil Filter
Here are some pictures


 06-06-2015, 04:42 PM
#2
Honda-Tech Member
Thread Starter
Join Date: May 2015
Posts: 14
Likes: 0
Received 0 Likes
on
0 Posts
Time to continue showing you the process.
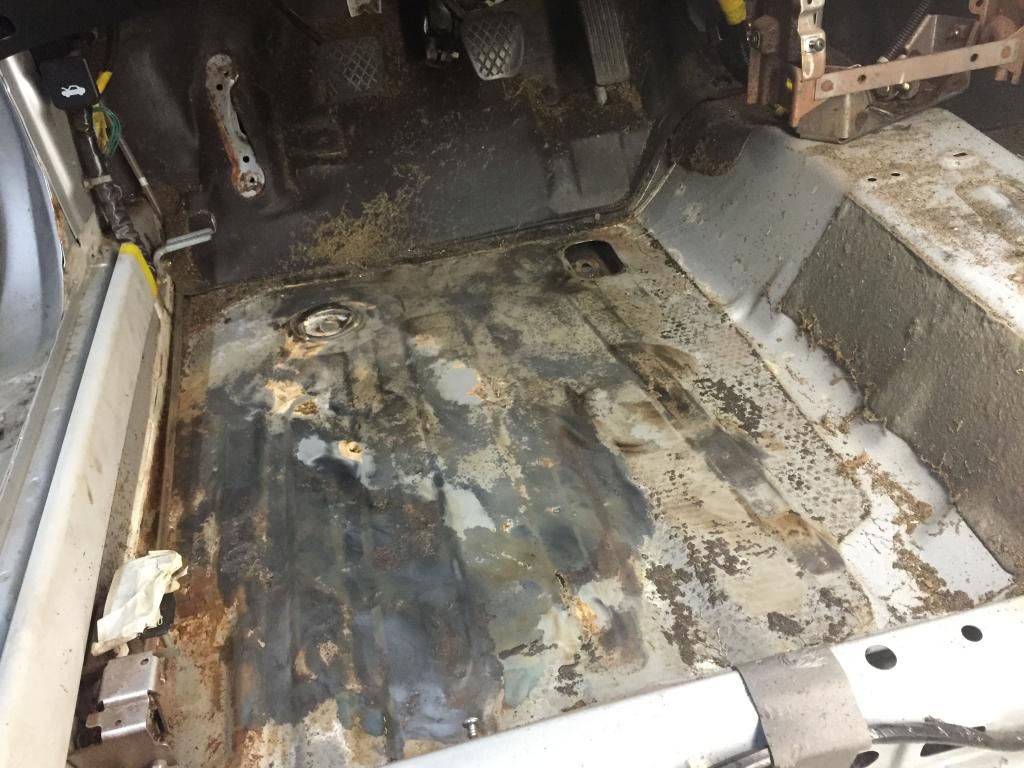
I took a look at the driver's side floor and saw some rust coming from down under the tar carpet so I remove the tar carpet and removed the rust. I then primed the floor and put a thinner undercoat protection on the floor.
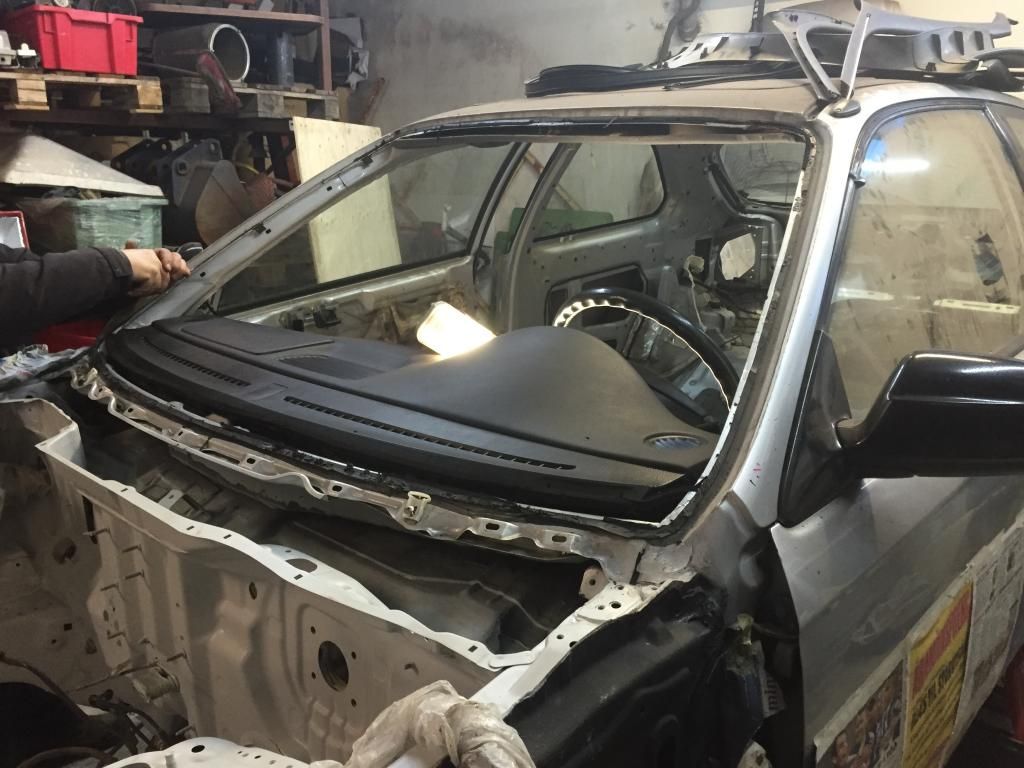
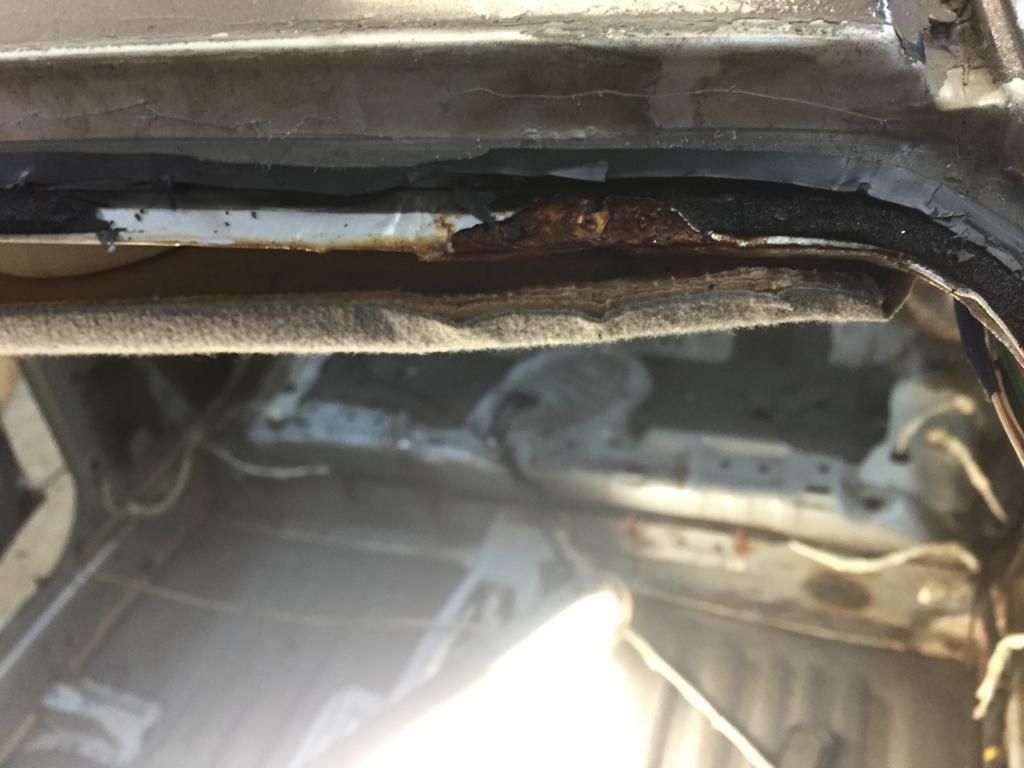
We then took the windshield to remove some rust that usually grows between the chassis and the windshield and for painting ofcourse.
A rust spot in the roof/top.

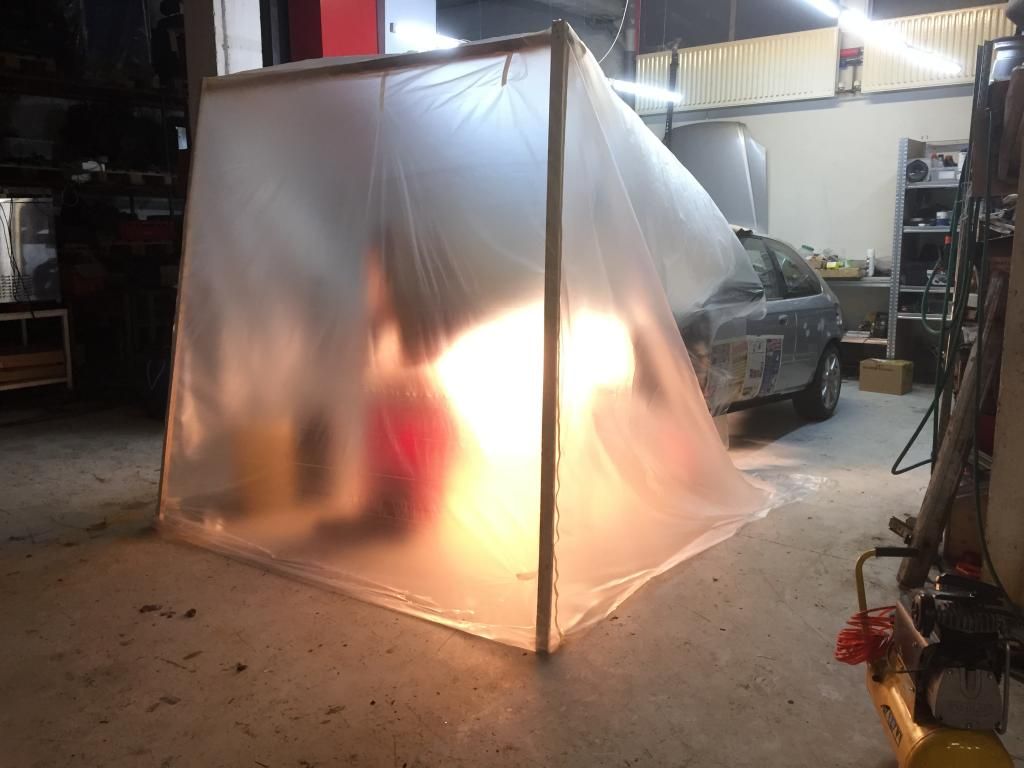
My father has a some know how on how to paint so he helped me by spraying the engine bay in the garage we rented. It would be more practical than driving the Civic 75Km to a paint shop and let them spray the engine bay and then drive the Civic back to garage. The paint came out great since it was done with few resources and an amateur. The light in seen the picture is a very powerful light bulb we used to heat the engine bay.
Here we have the awesome colour, Championship White
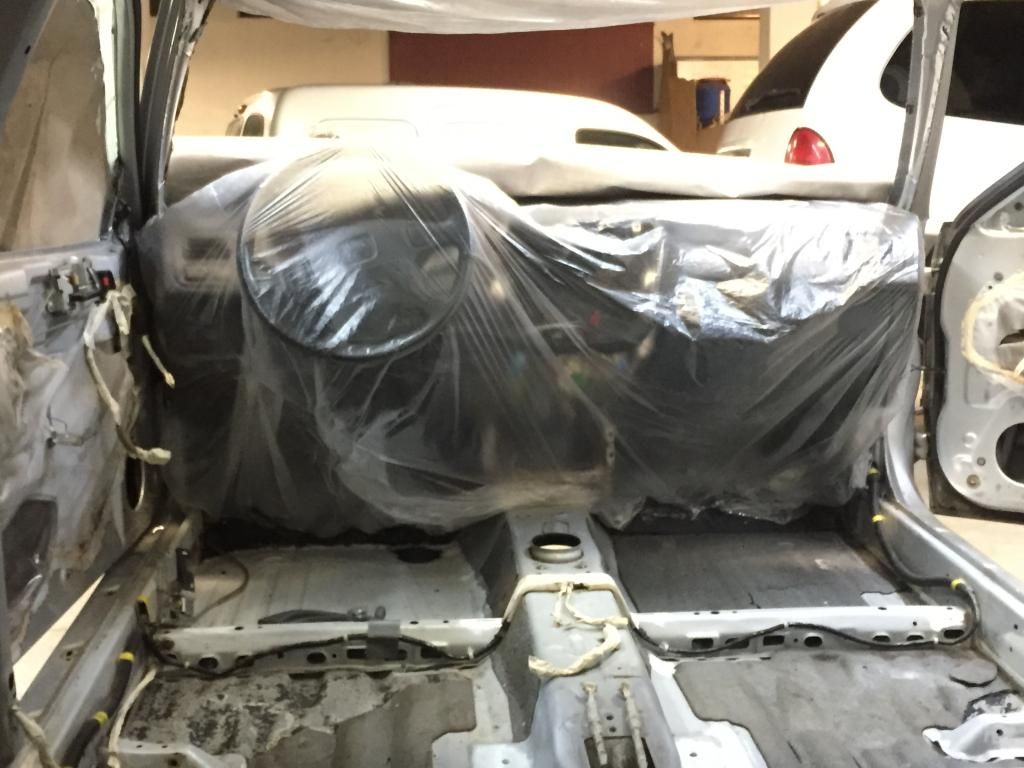
I also painted the interior, by my self and it came out quite bad which I was kinda of disappointed but hey it was my first spraying and since its the inside and the car will have the plastics and whatever covering the paint I won't be too big of a deal. I am seriously thinking about later, much later, take the car to a Auto Body Shop and let them paint the interior. BTW I don't have photos of the aftermath.
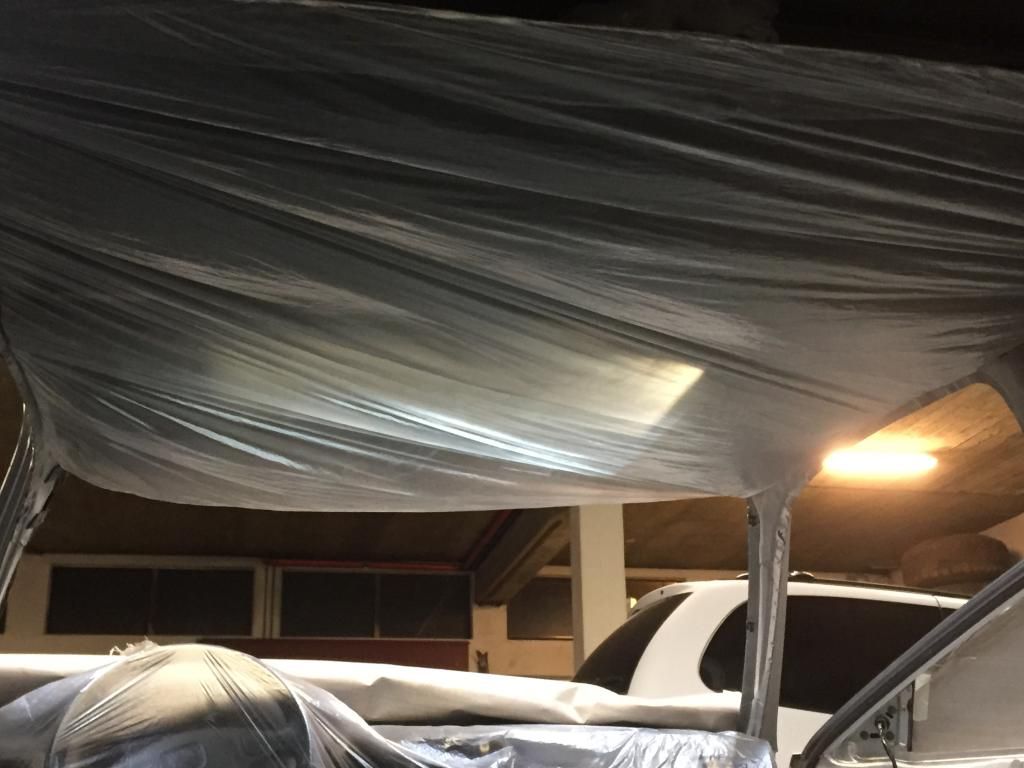
Obviously covered the dashboard and the roof, and the windows. Everything was intact of paint after I had painted.
Here my our friend, since he is a mechanic and works as one he took the brakes and installed a repair kit for the four brakes in his workplace and I sandblasted them also.
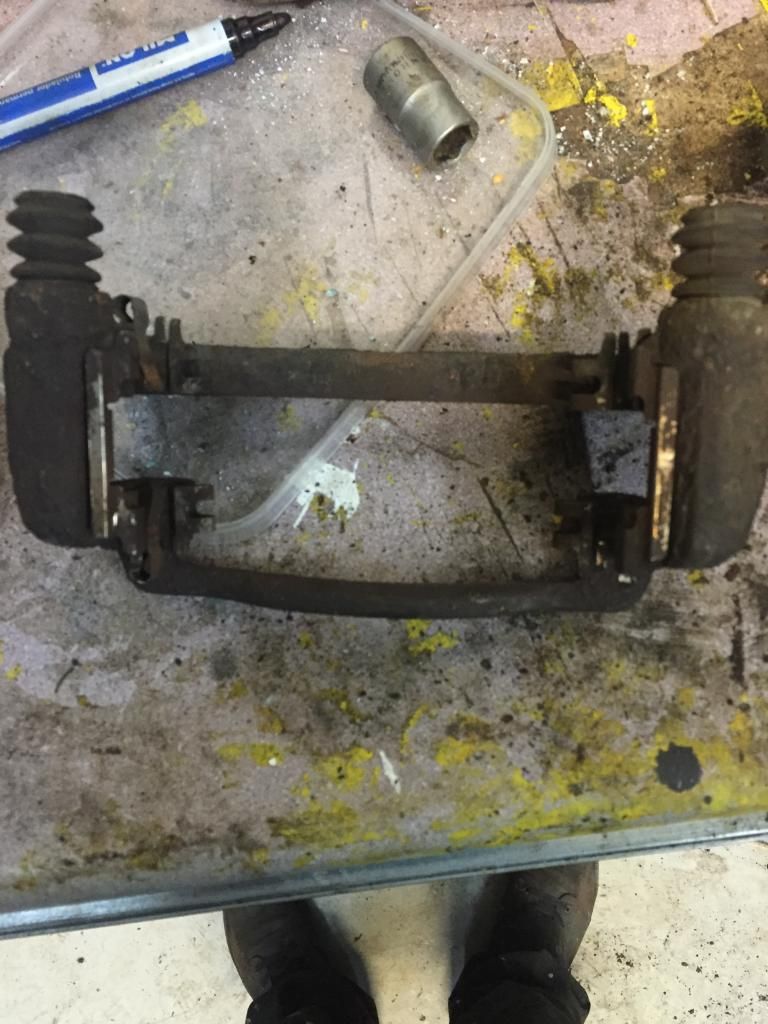
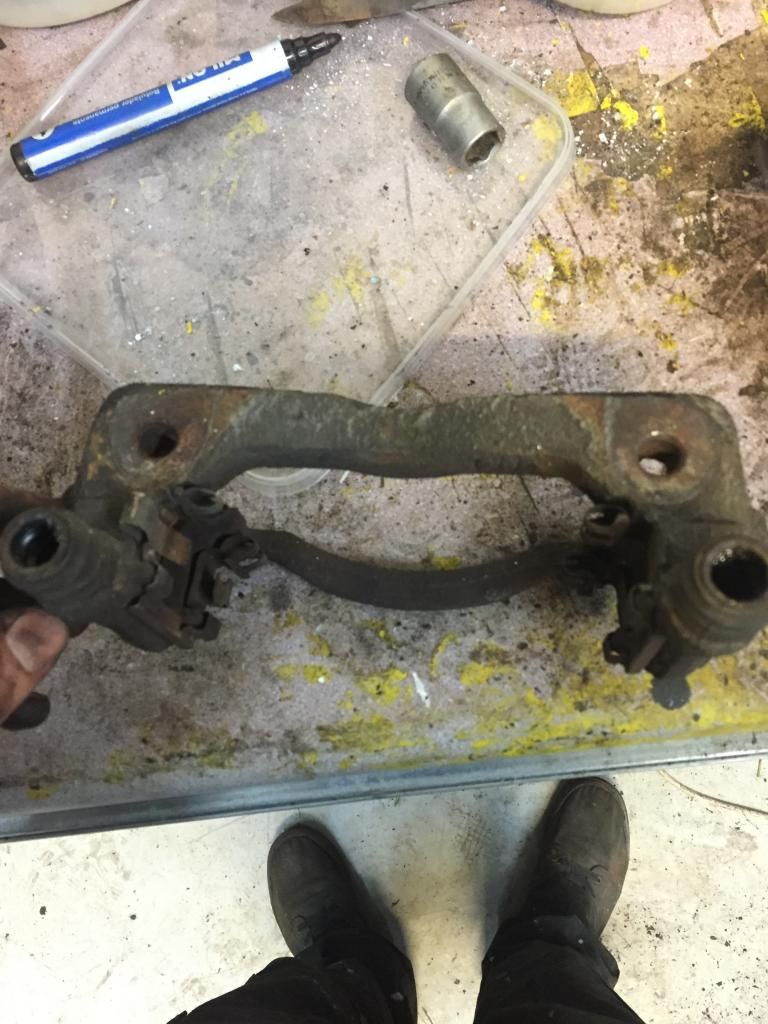
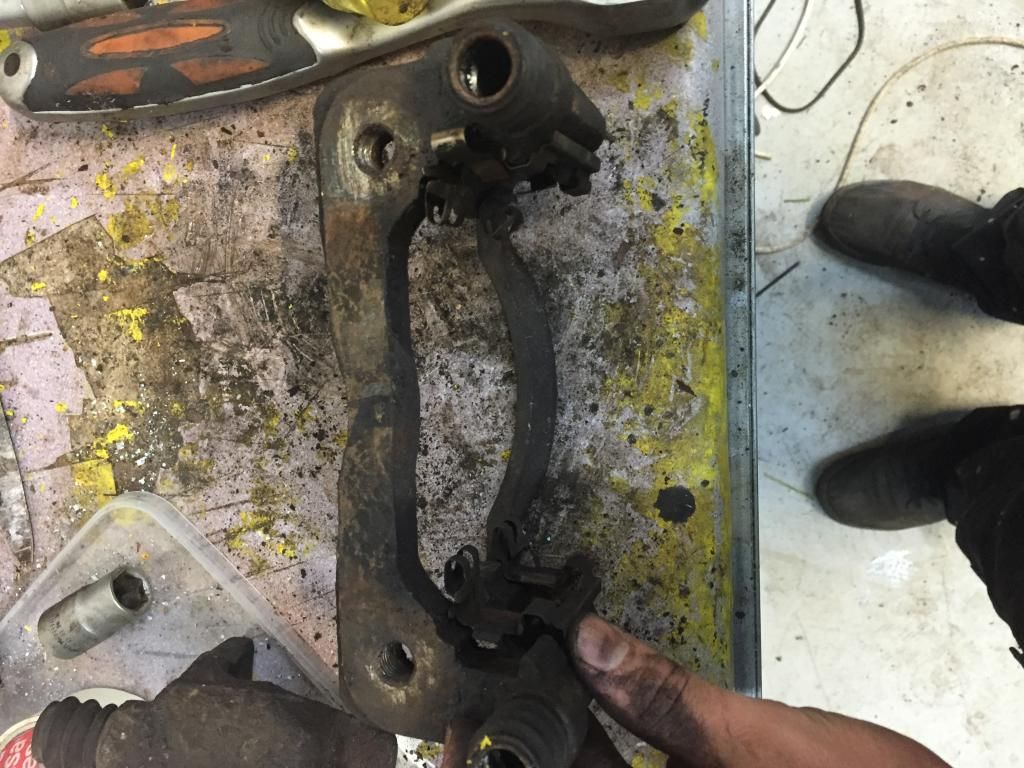
The brakes will make a return later on this thread haha. Now I'm off to showing you what I did to the engine.
I took a look at the driver's side floor and saw some rust coming from down under the tar carpet so I remove the tar carpet and removed the rust. I then primed the floor and put a thinner undercoat protection on the floor.

We then took the windshield to remove some rust that usually grows between the chassis and the windshield and for painting ofcourse.

A rust spot in the roof/top.


My father has a some know how on how to paint so he helped me by spraying the engine bay in the garage we rented. It would be more practical than driving the Civic 75Km to a paint shop and let them spray the engine bay and then drive the Civic back to garage. The paint came out great since it was done with few resources and an amateur. The light in seen the picture is a very powerful light bulb we used to heat the engine bay.

Here we have the awesome colour, Championship White

I also painted the interior, by my self and it came out quite bad which I was kinda of disappointed but hey it was my first spraying and since its the inside and the car will have the plastics and whatever covering the paint I won't be too big of a deal. I am seriously thinking about later, much later, take the car to a Auto Body Shop and let them paint the interior. BTW I don't have photos of the aftermath.
Obviously covered the dashboard and the roof, and the windows. Everything was intact of paint after I had painted.


Here my our friend, since he is a mechanic and works as one he took the brakes and installed a repair kit for the four brakes in his workplace and I sandblasted them also.


The brakes will make a return later on this thread haha. Now I'm off to showing you what I did to the engine.
06-06-2015, 04:48 PM
#3
Honda-Tech Member
Thread Starter
Join Date: May 2015
Posts: 14
Likes: 0
Received 0 Likes
on
0 Posts
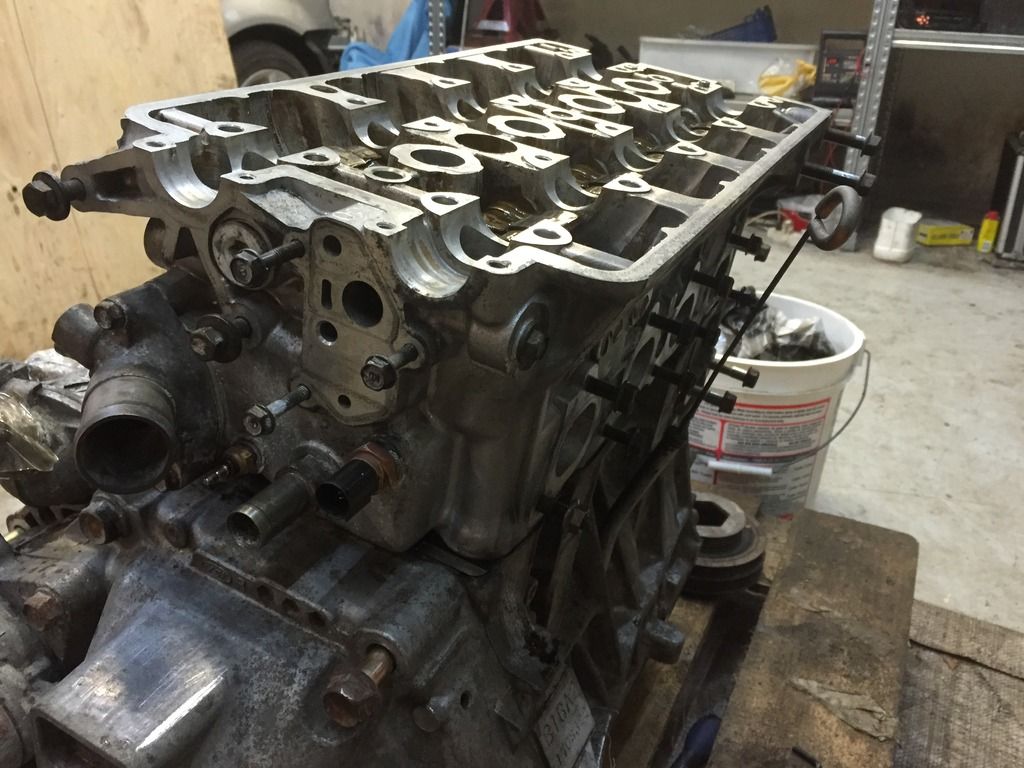
So has you already saw I bought a Top End Gasket Replacement Kit ? for my B16A2. I also had in mind to do a valve job so I did. But I'll get there in a moment. So I took the valve cover and used Green Paint Stripper to remove the paint.
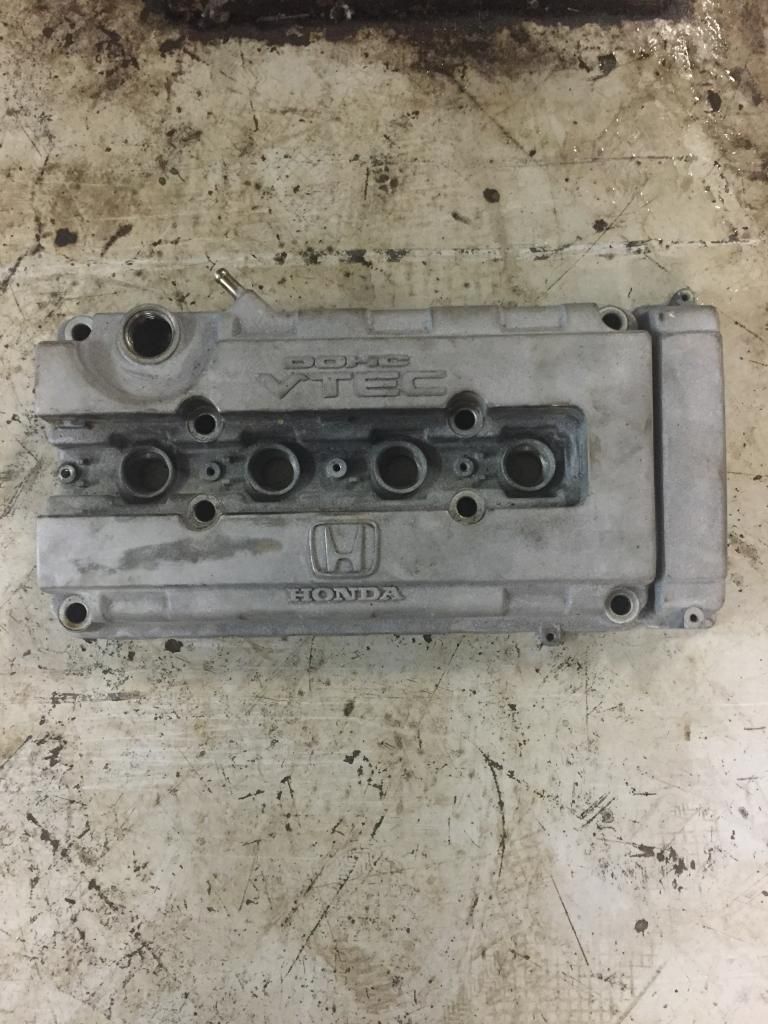
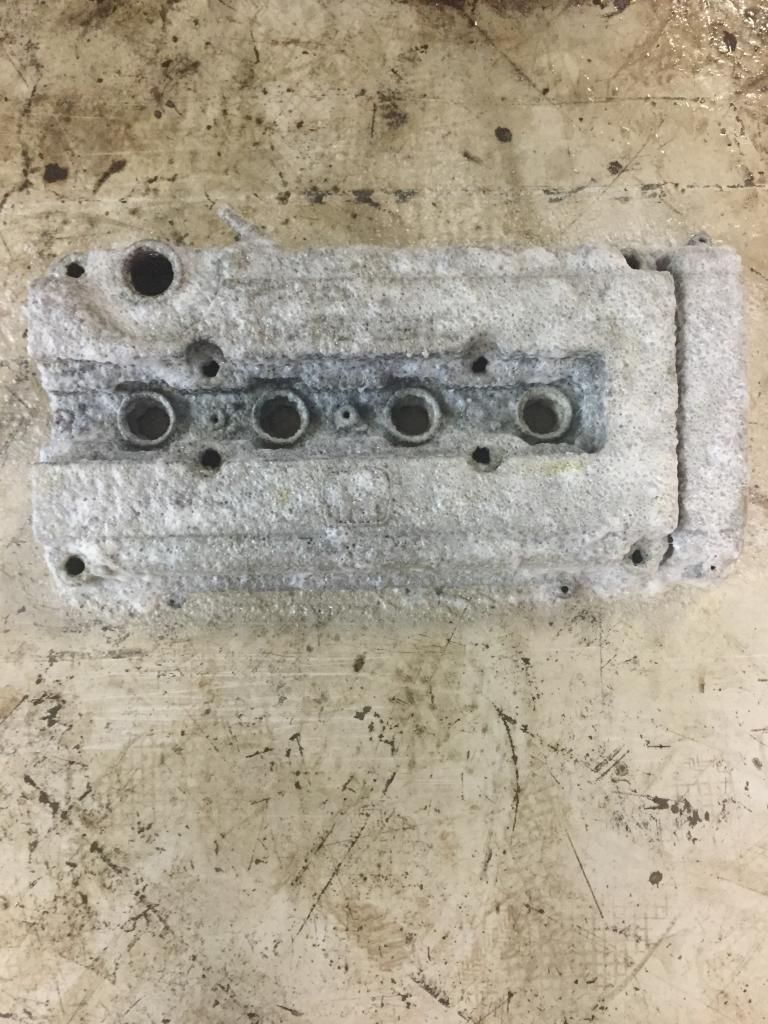
Here is the result of the stripper, came out meh. I then took the valve cover and let it be powder coated. I'll show you the colour later. Now let's go to take a look at the engine block and then the engine's head.
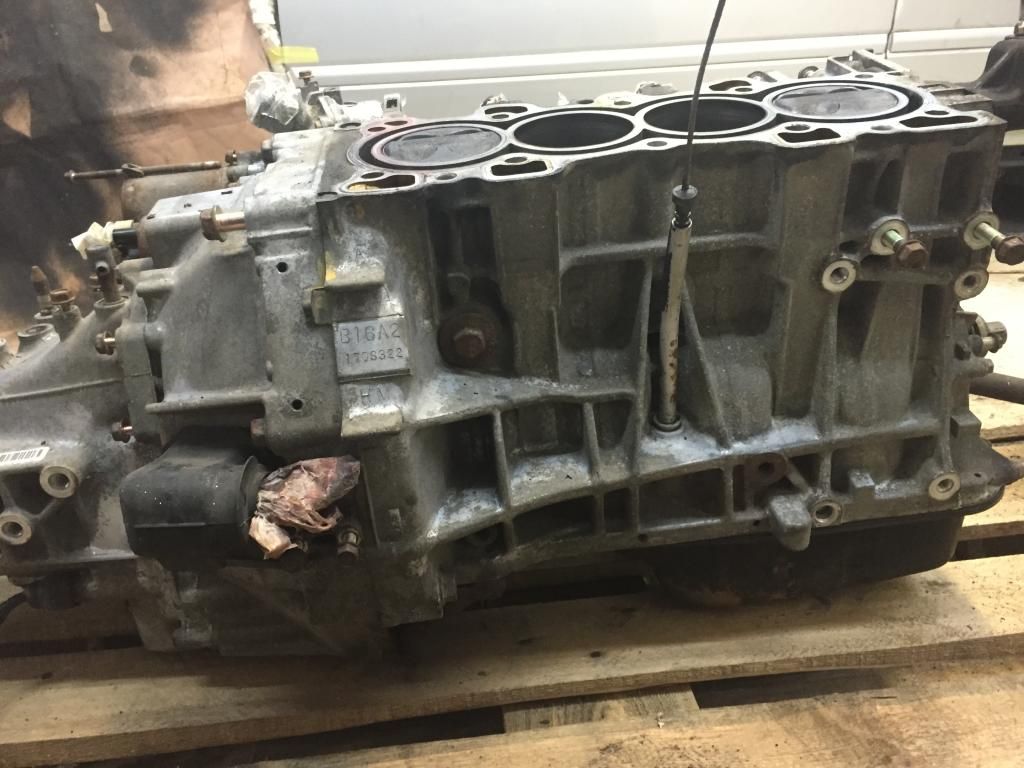
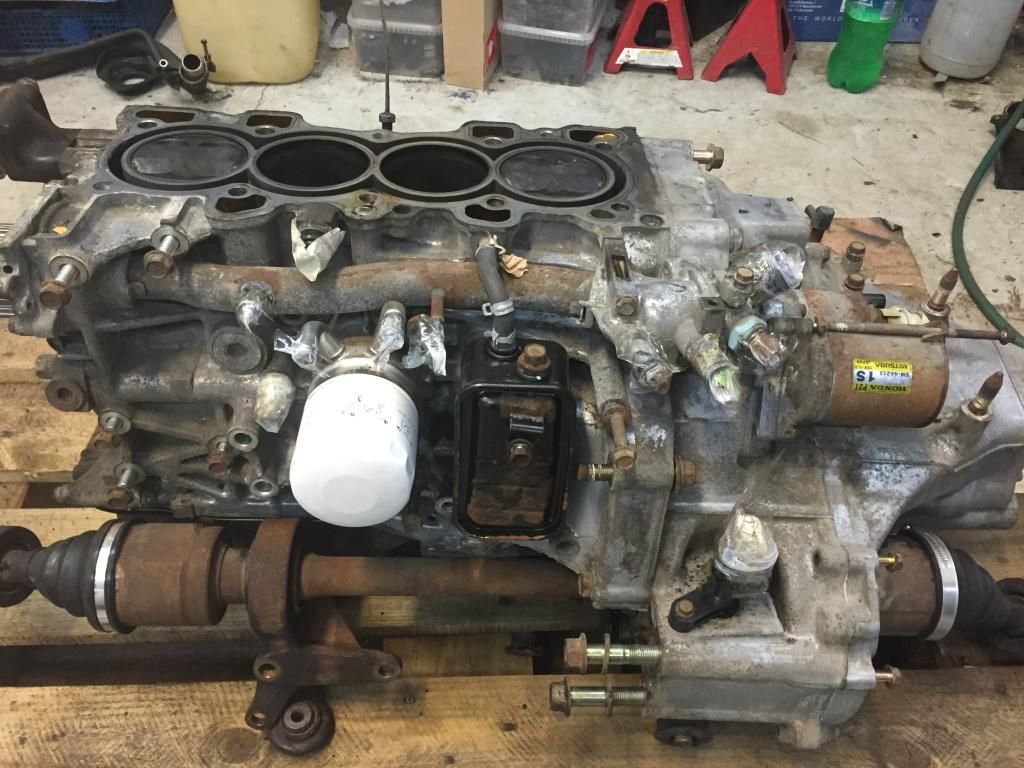
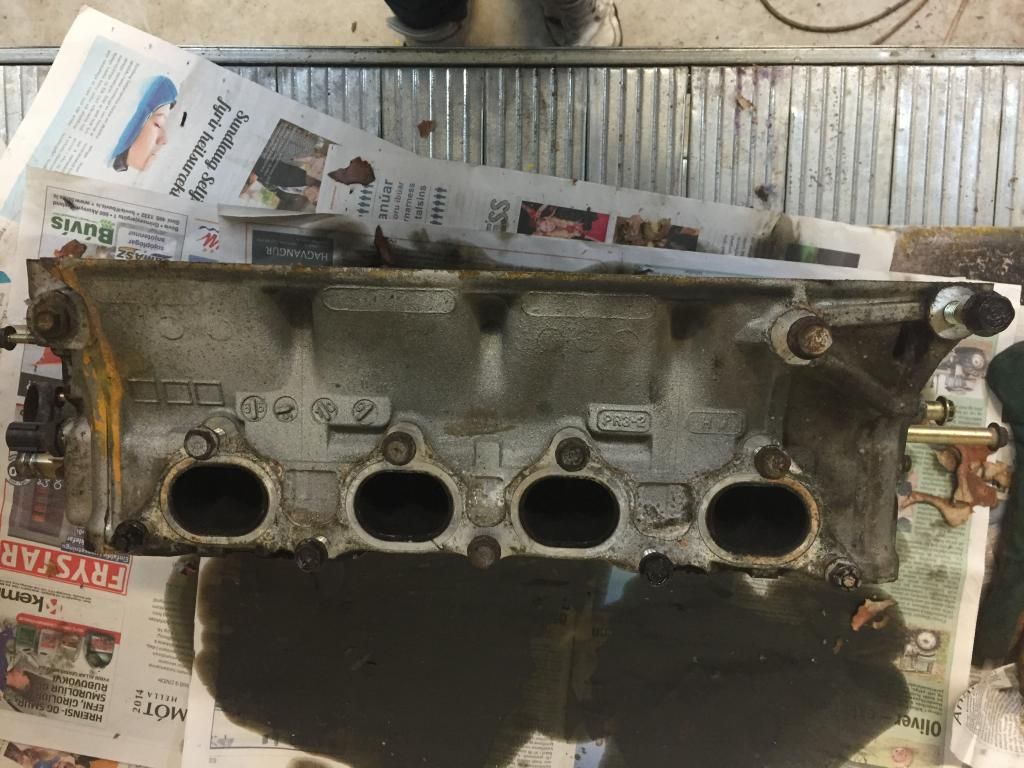
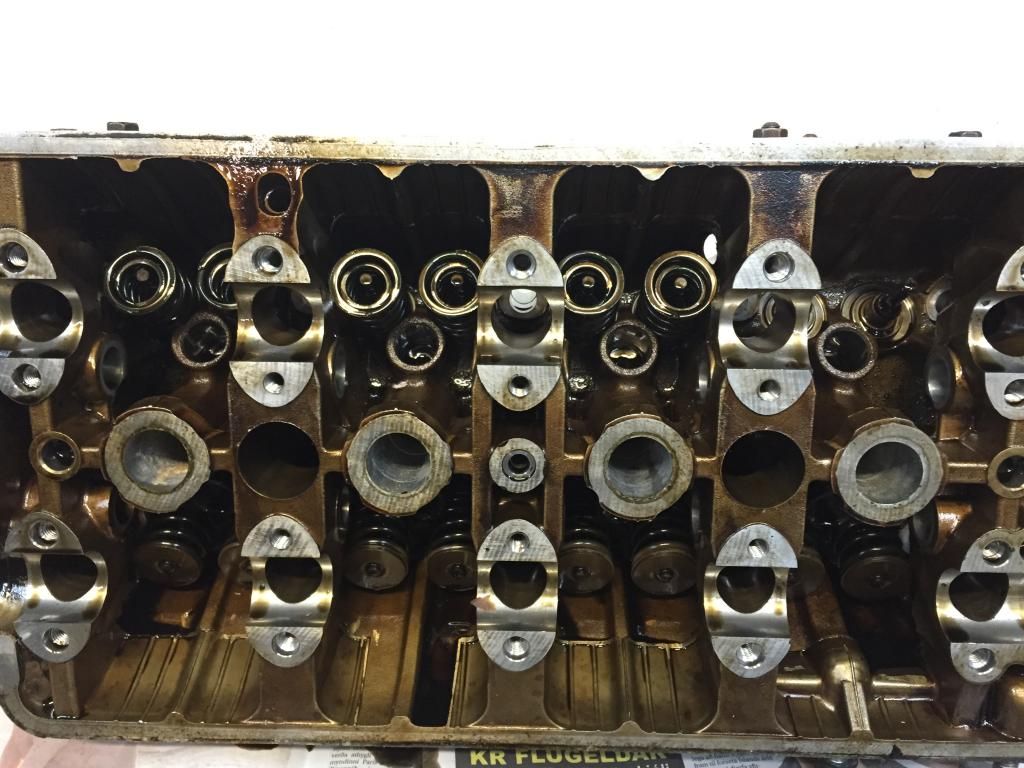
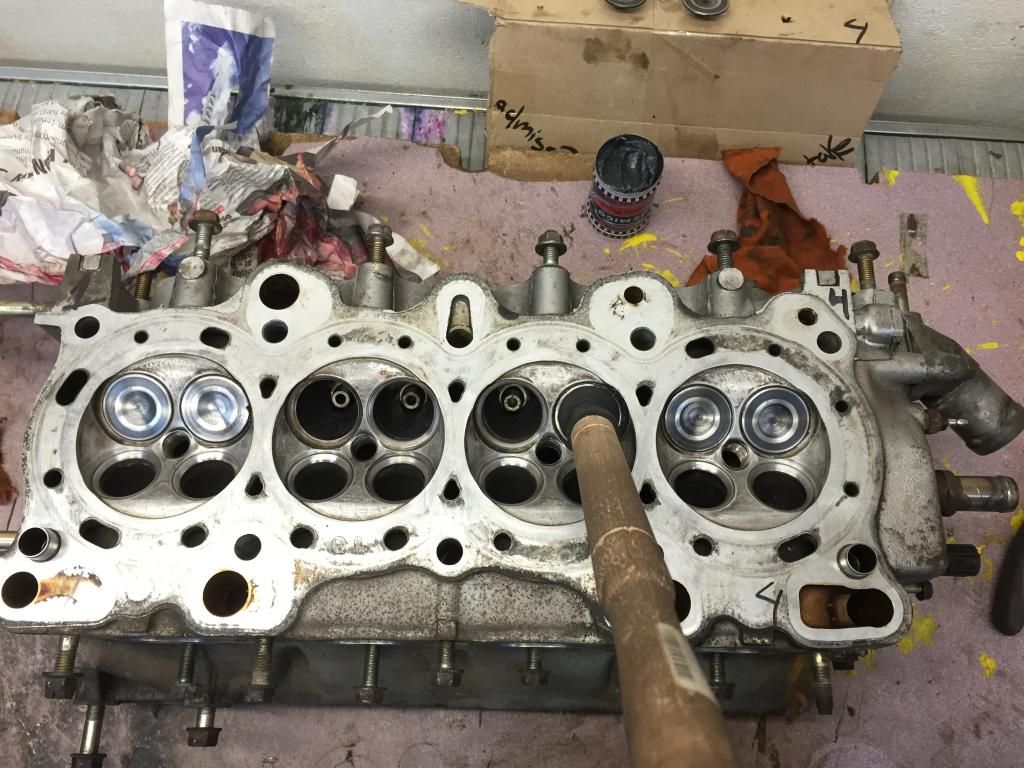
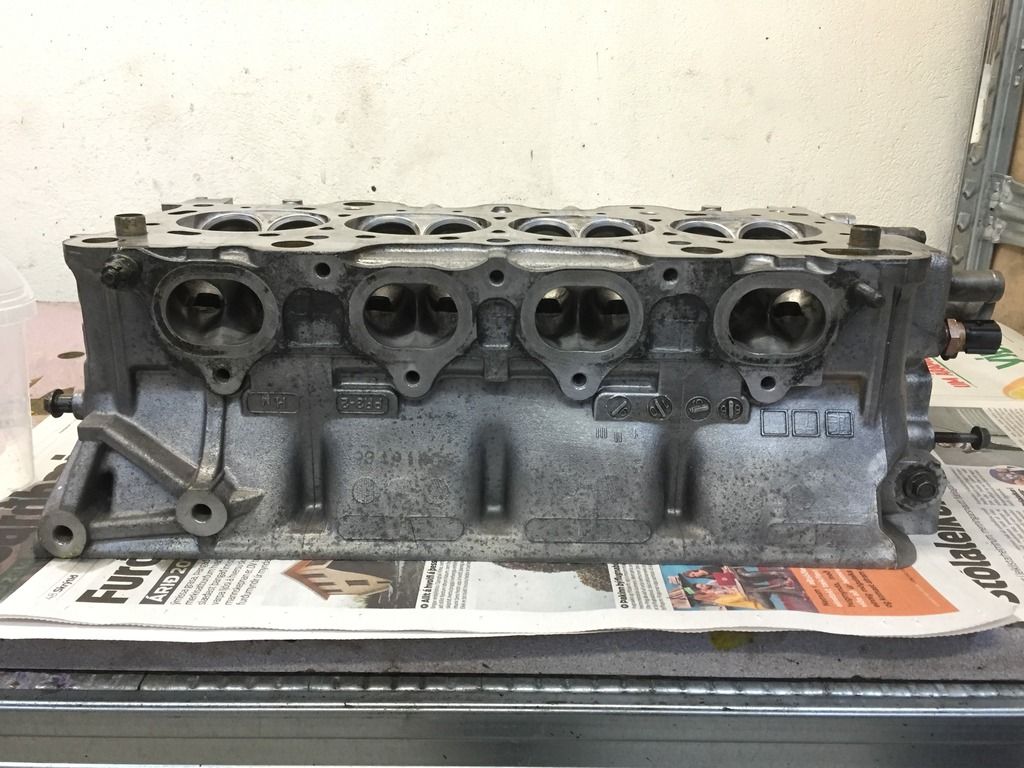
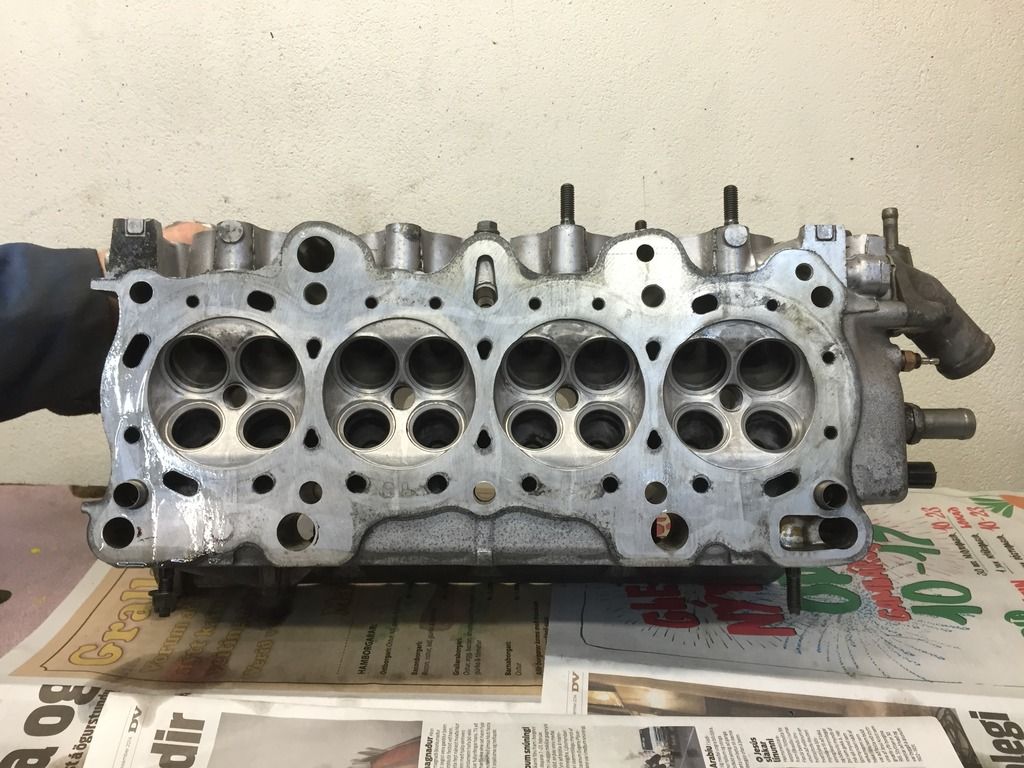
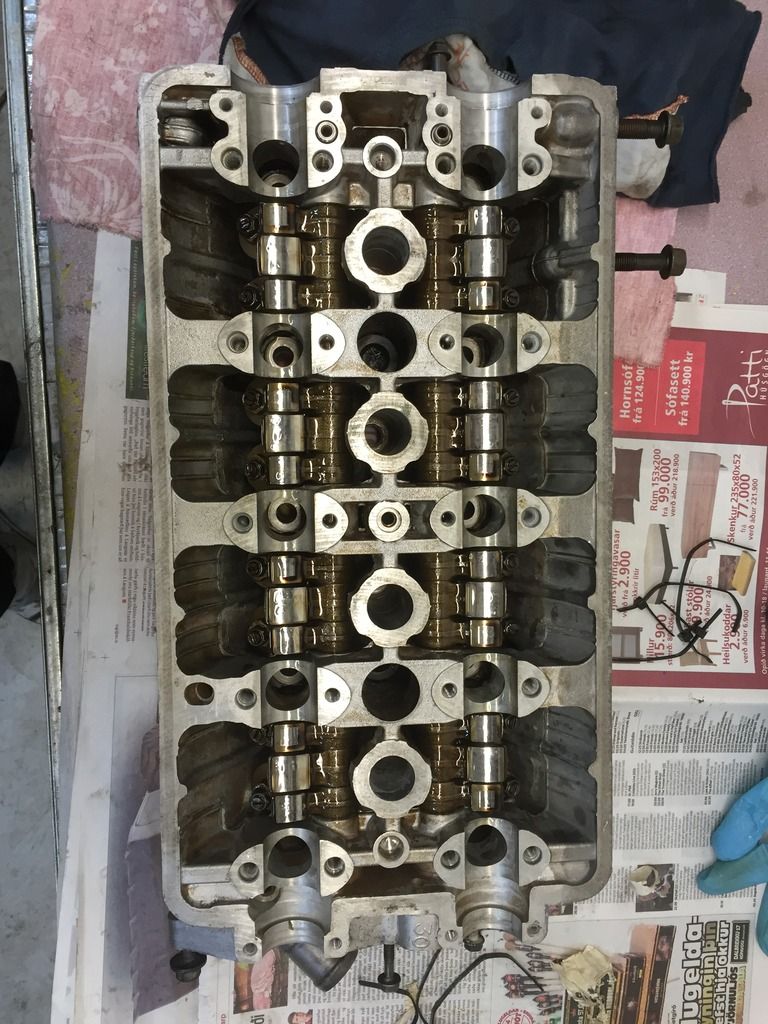
The head was in a good state. But it's in greater condition now
I removed these blacks from the exhaust and intake holes
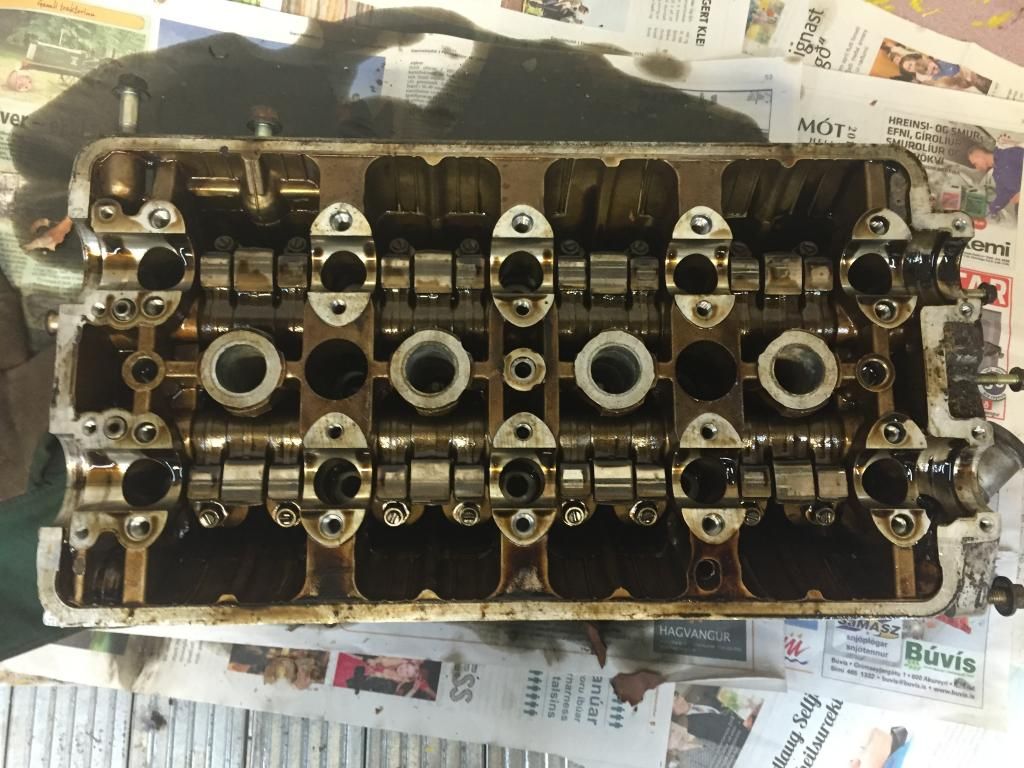
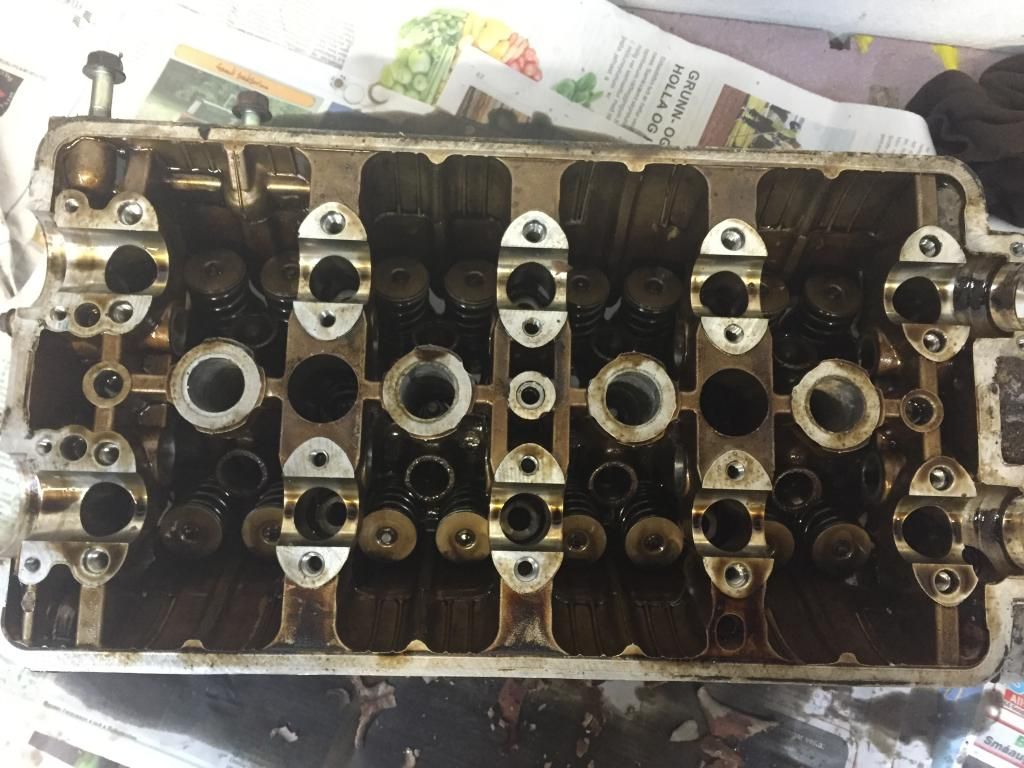
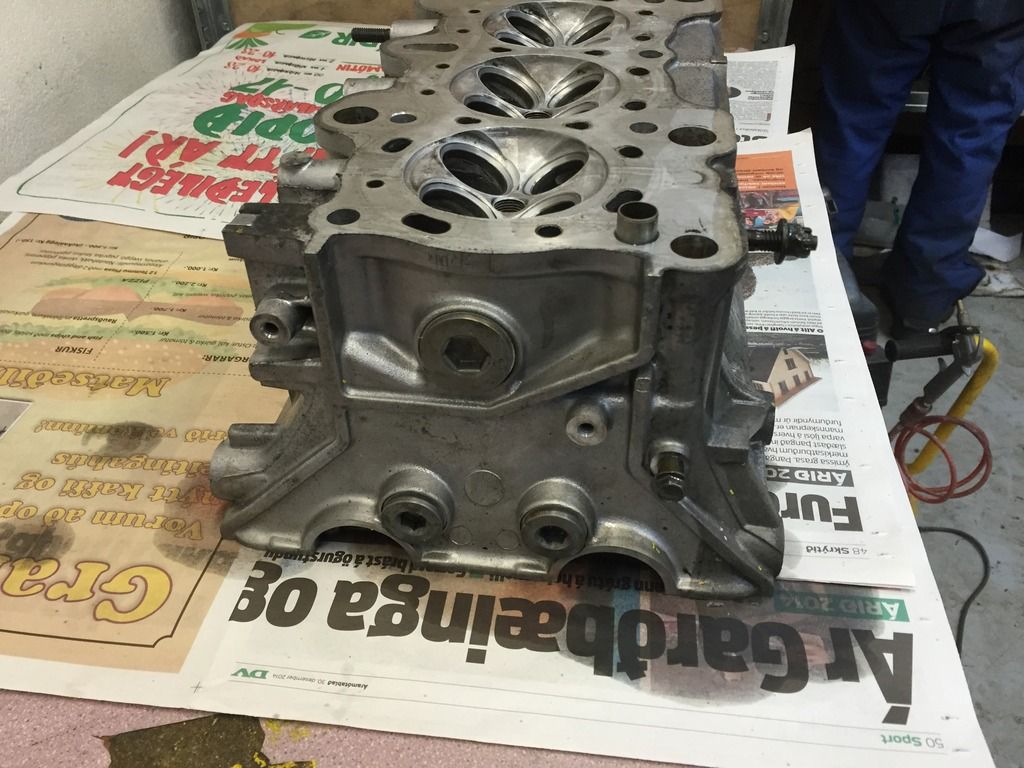
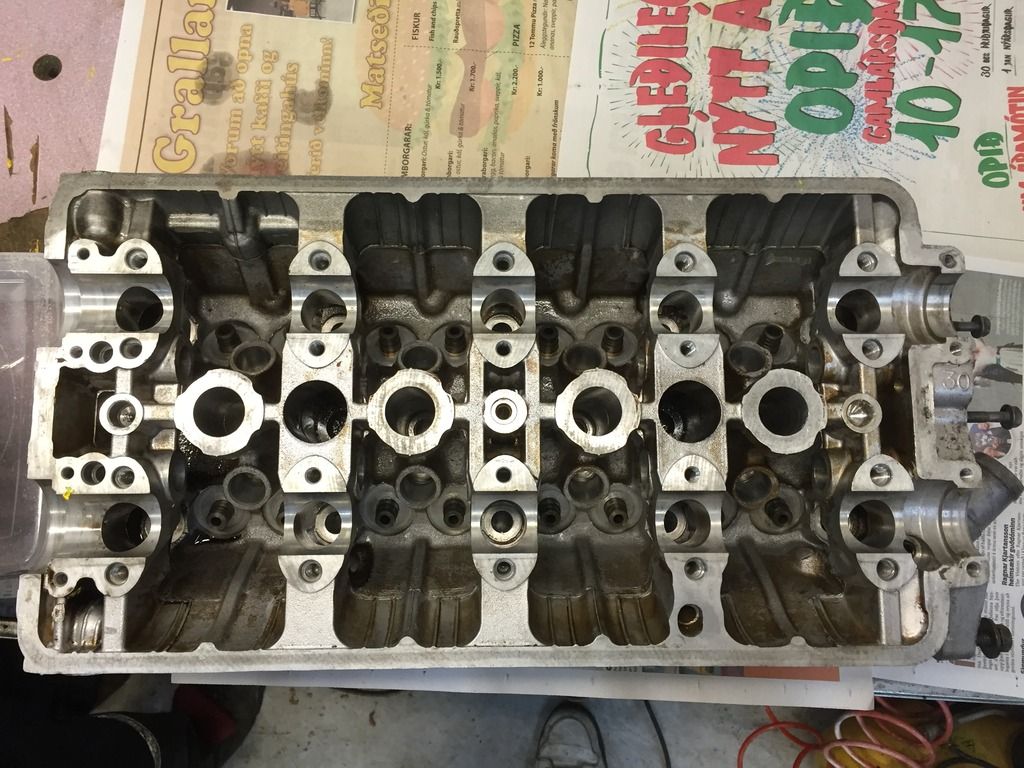
I proceeded to disassemble the head. Started by removing the camshafts, rocker arms and remove the 16 springs, valve retainers valve gaskets and valves, you know, haha.
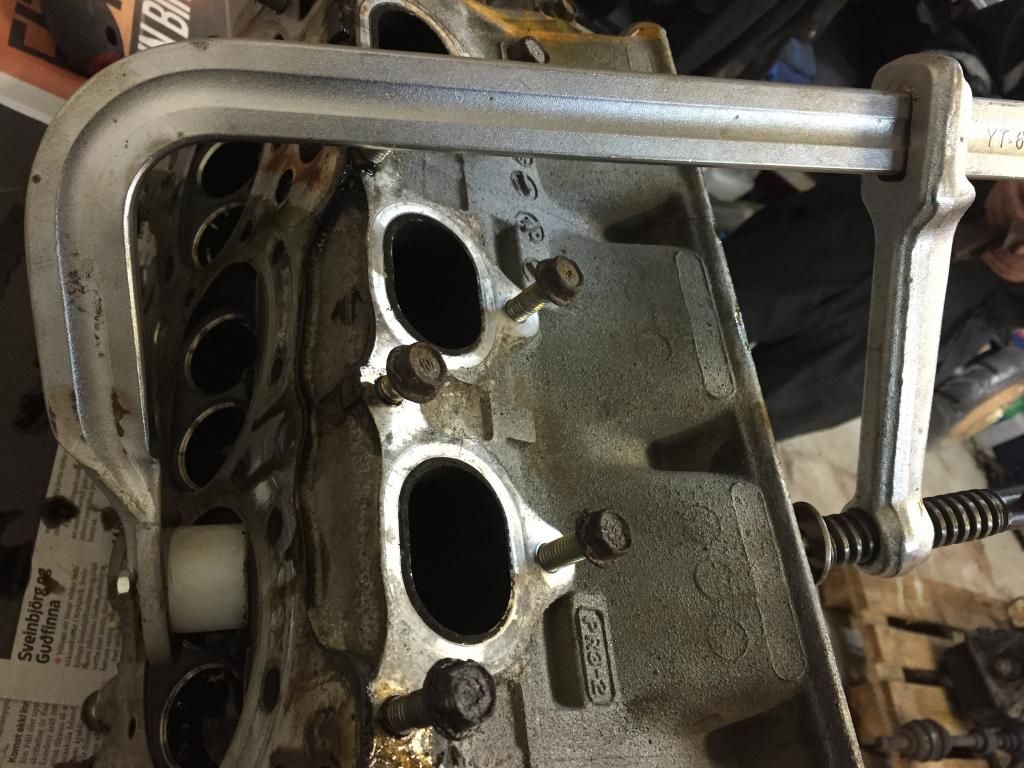
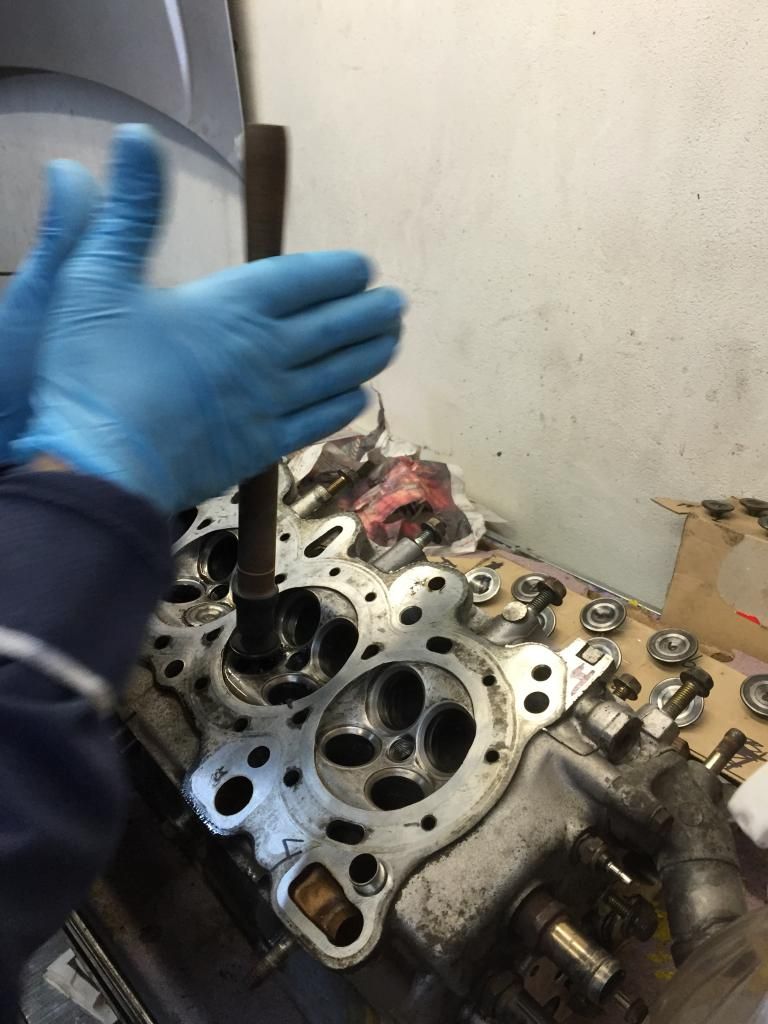
My father modified a clamp tool for us to be able to remove the valves
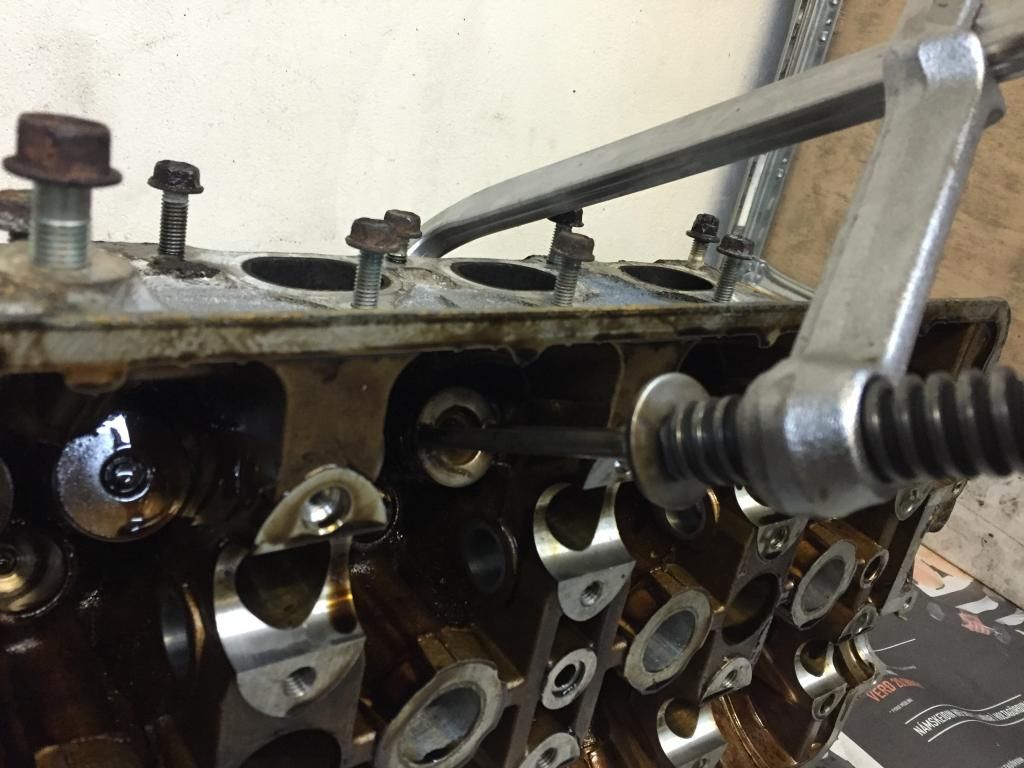
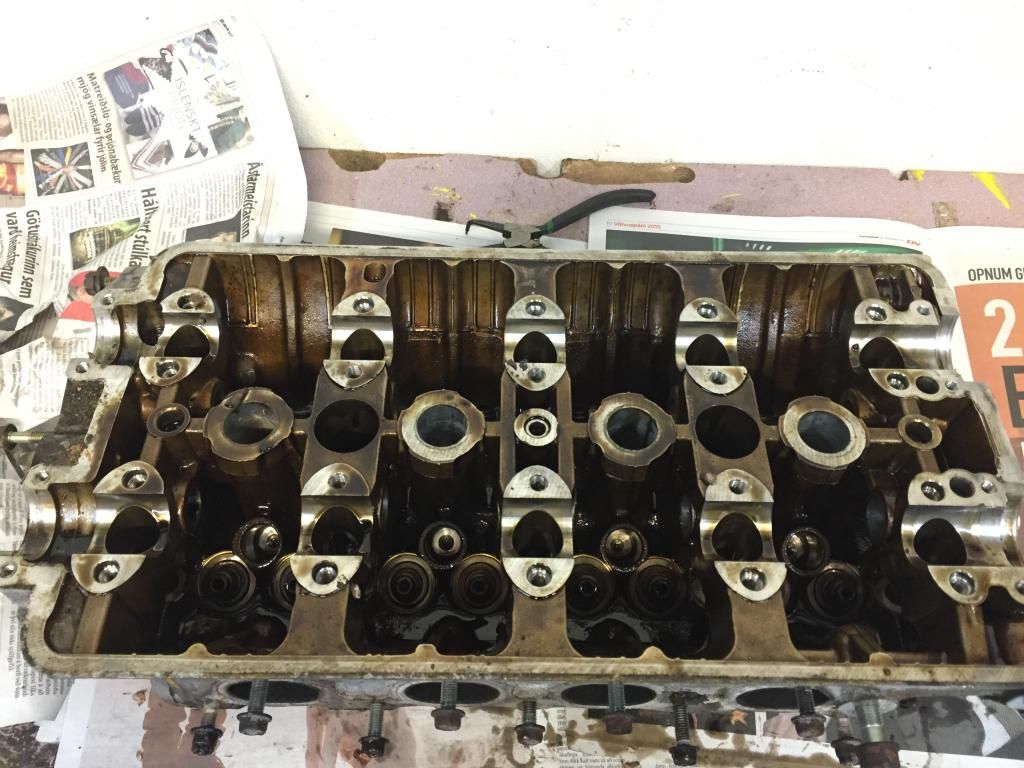
Halfway done
Here we had already removed the valves but couldn't remove the valve seals (I don't remember why), we ended up removing them later.


Here is the result of the stripper, came out meh. I then took the valve cover and let it be powder coated. I'll show you the colour later. Now let's go to take a look at the engine block and then the engine's head.


The head was in a good state. But it's in greater condition now

I removed these blacks from the exhaust and intake holes


I proceeded to disassemble the head. Started by removing the camshafts, rocker arms and remove the 16 springs, valve retainers valve gaskets and valves, you know, haha.


My father modified a clamp tool for us to be able to remove the valves


Halfway done

Here we had already removed the valves but couldn't remove the valve seals (I don't remember why), we ended up removing them later.
 06-06-2015, 04:49 PM
#4
Honda-Tech Member
Thread Starter
Join Date: May 2015
Posts: 14
Likes: 0
Received 0 Likes
on
0 Posts
I wanted the engine block to shine as much as possible so I put Green Paint Stripper on the engine since the out come of the Valve Cover was not too bad. It worked but didn't work that well so I went to a chemical shop to buy a "Powerful Acid". The clerk showed me one of the acids and told me to be very careful with it because it was so powerful and dangerous... I ended up buying it. Went to the garage and do all the steps the store clerk told me to do. He also told me a few times to wear protection glasses and gloves because the acid was so dangerous, he got me **** scared with the acid so I did everything he told me to and I was extra careful and the acid ended up being a piece of **** of an acid. Didn't do much. [smilie=mad.gif]
These are photos with the Green Paint Stripper, I didn't took photos after trying the acid.
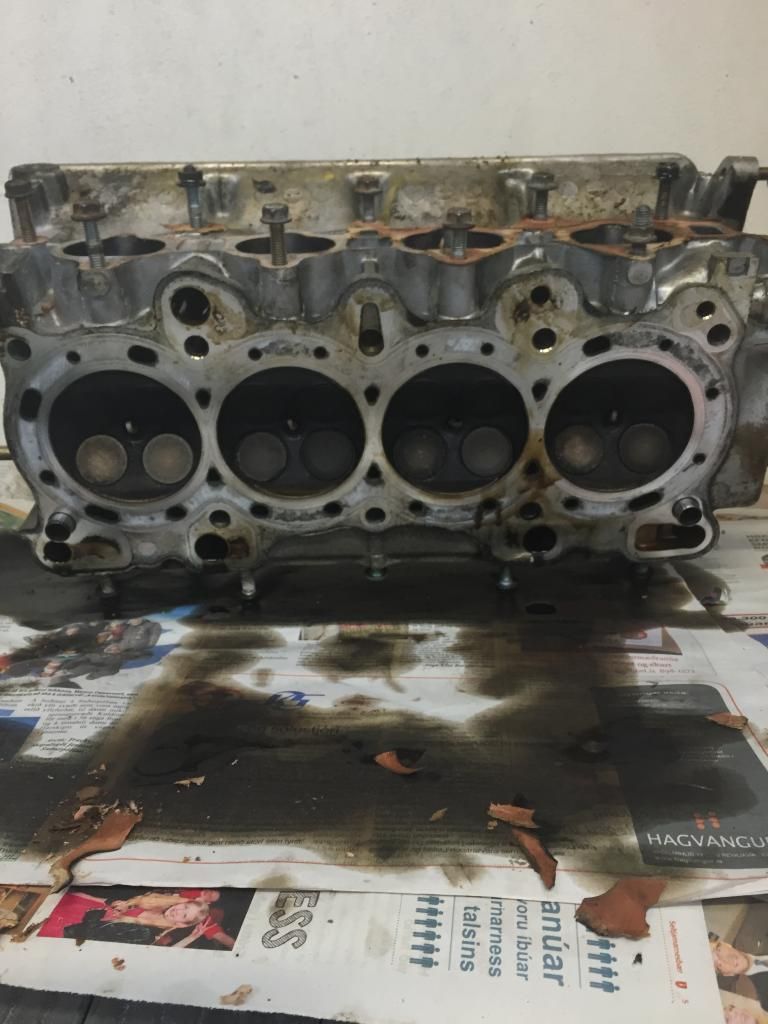
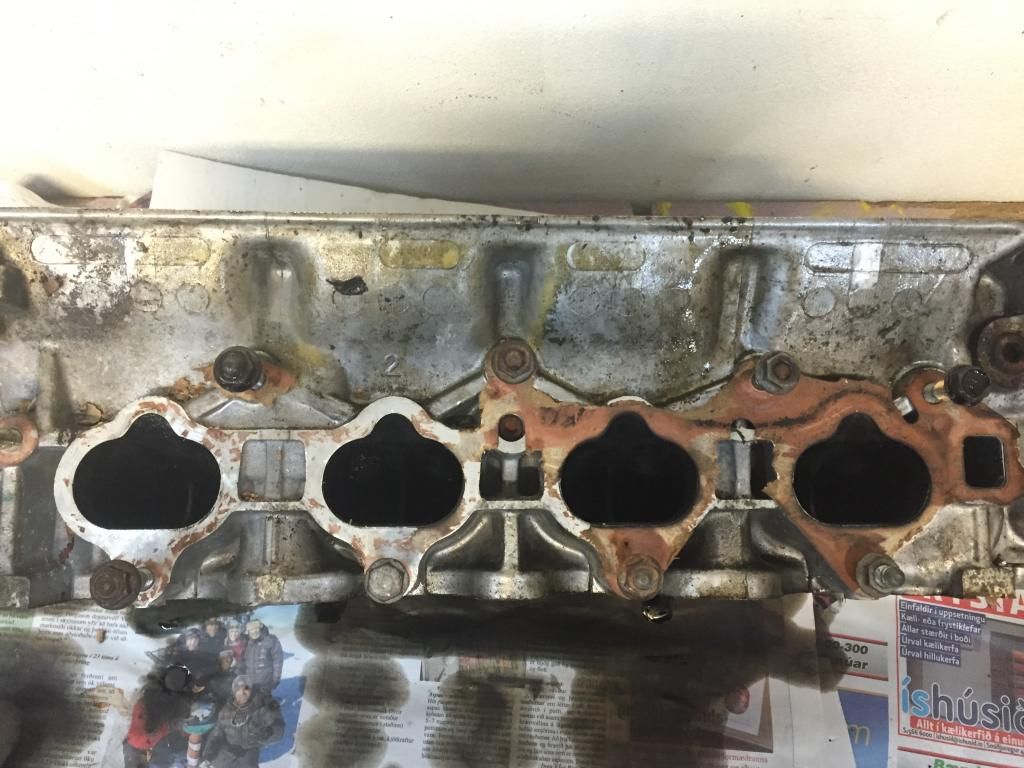
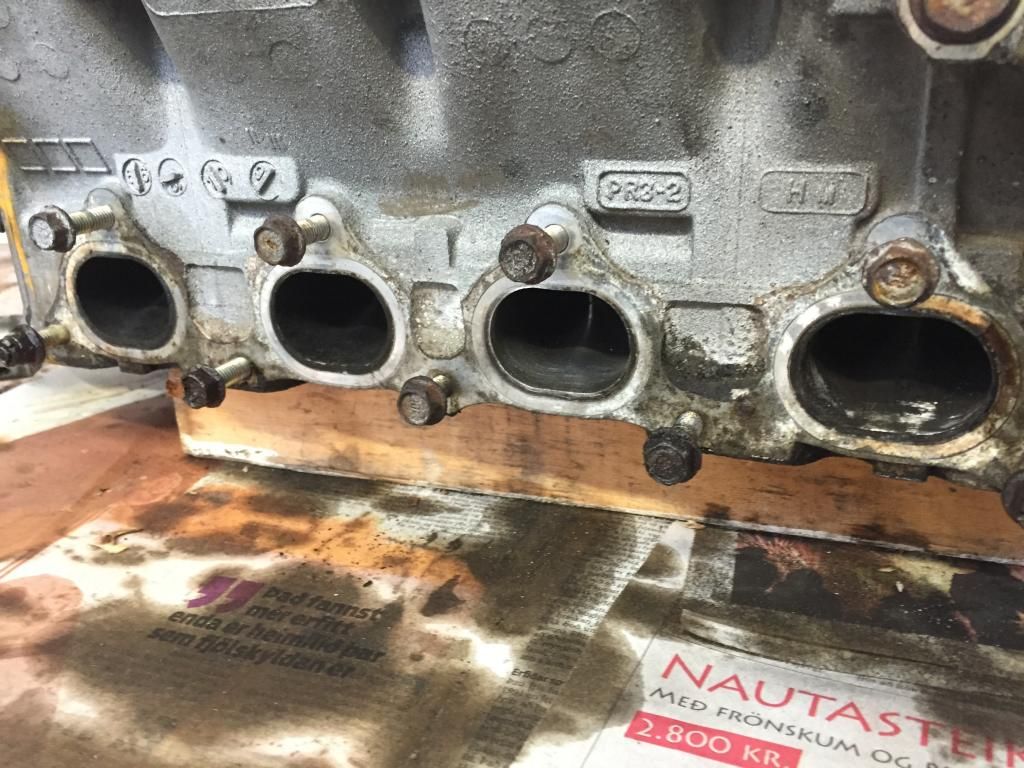
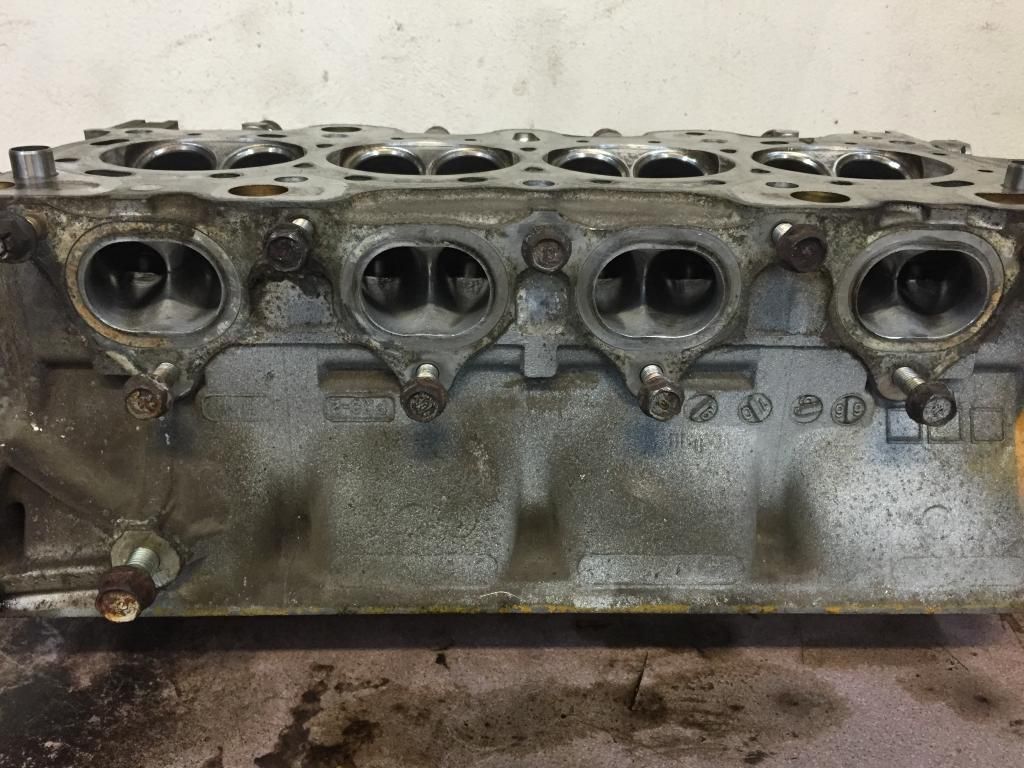
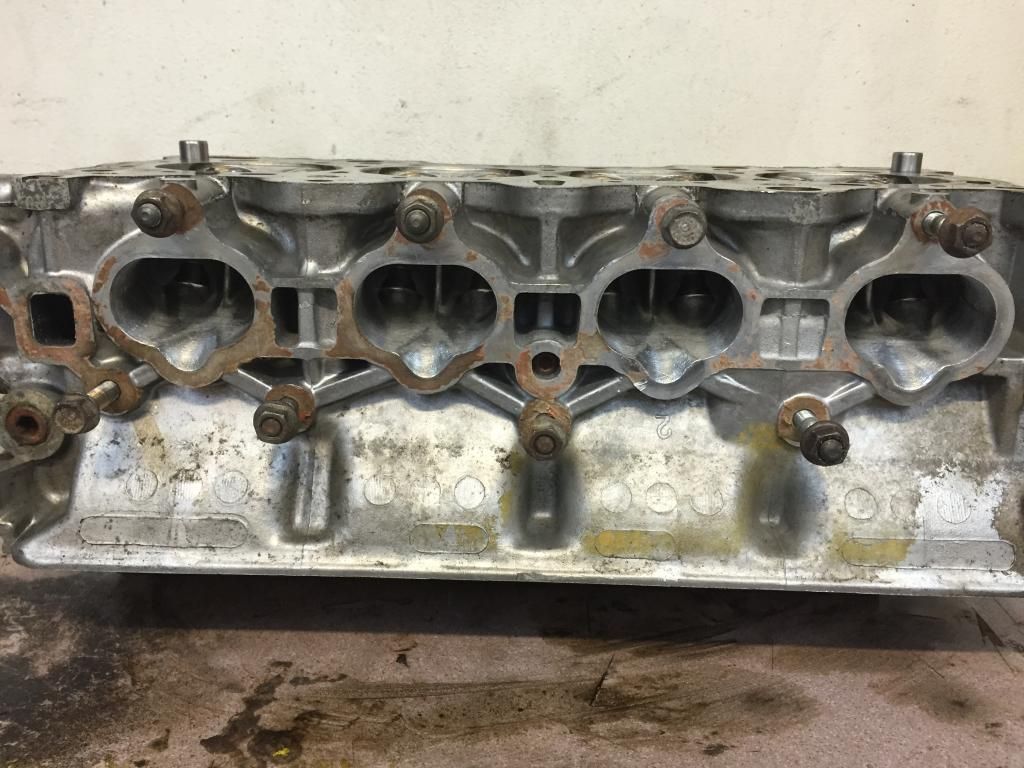
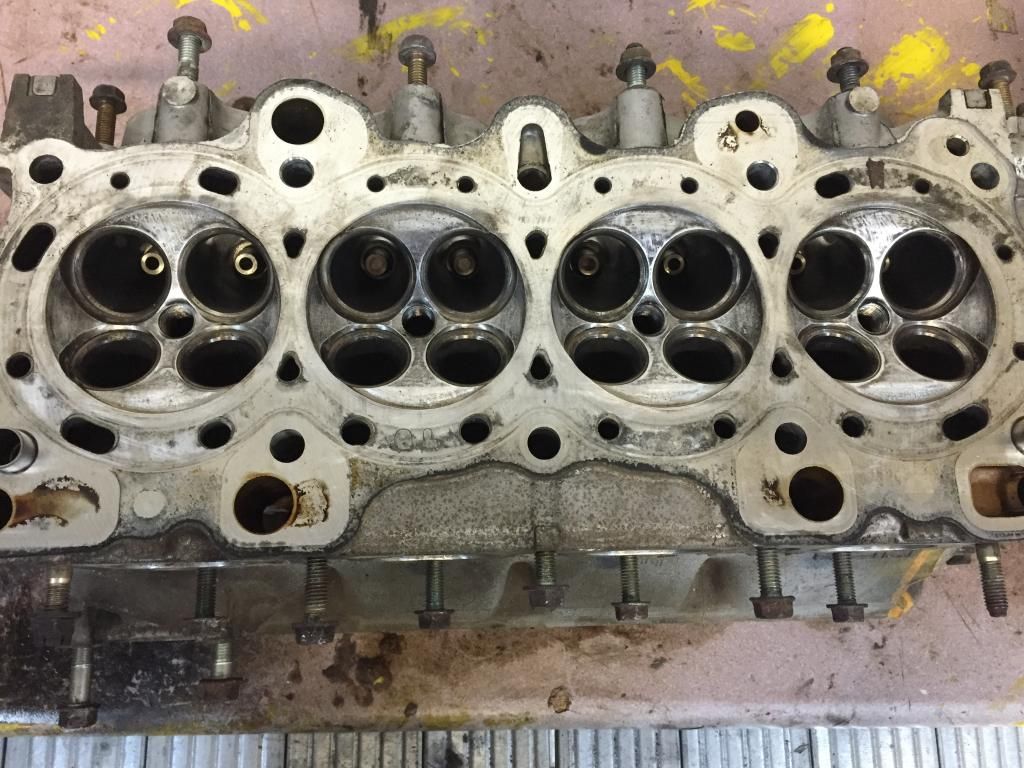
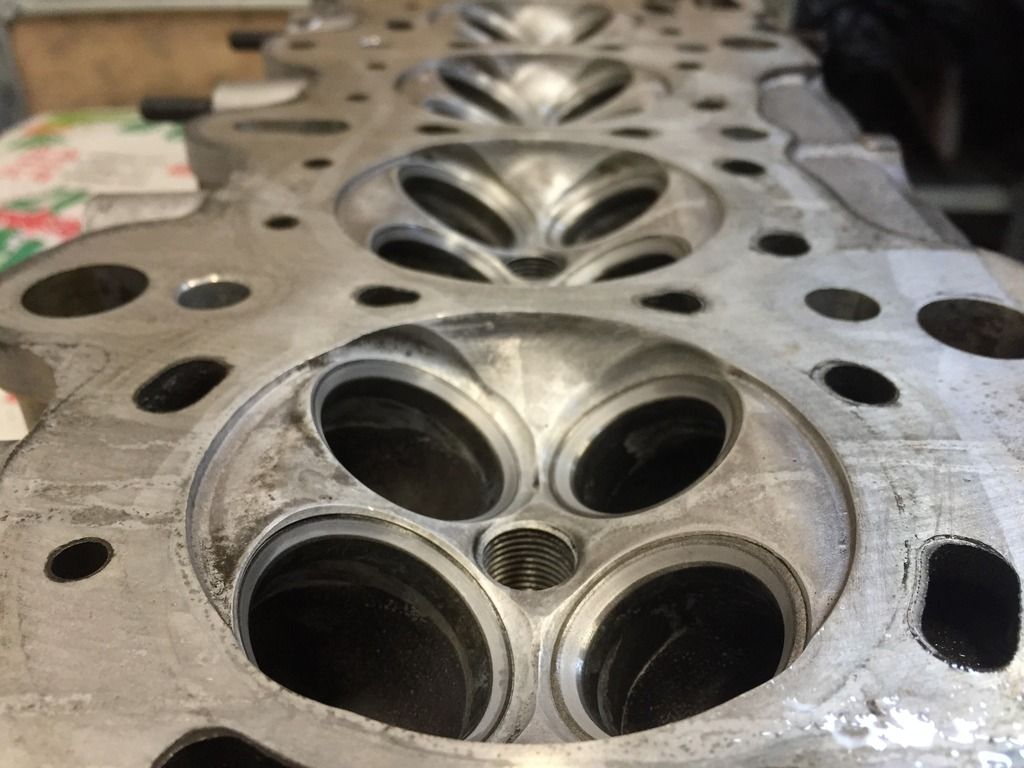
So on to the engine's head again... Here's a before and after of the intake and exhaust holes.
The Intake Holes. before
after
The Exhaust Holes. before
after
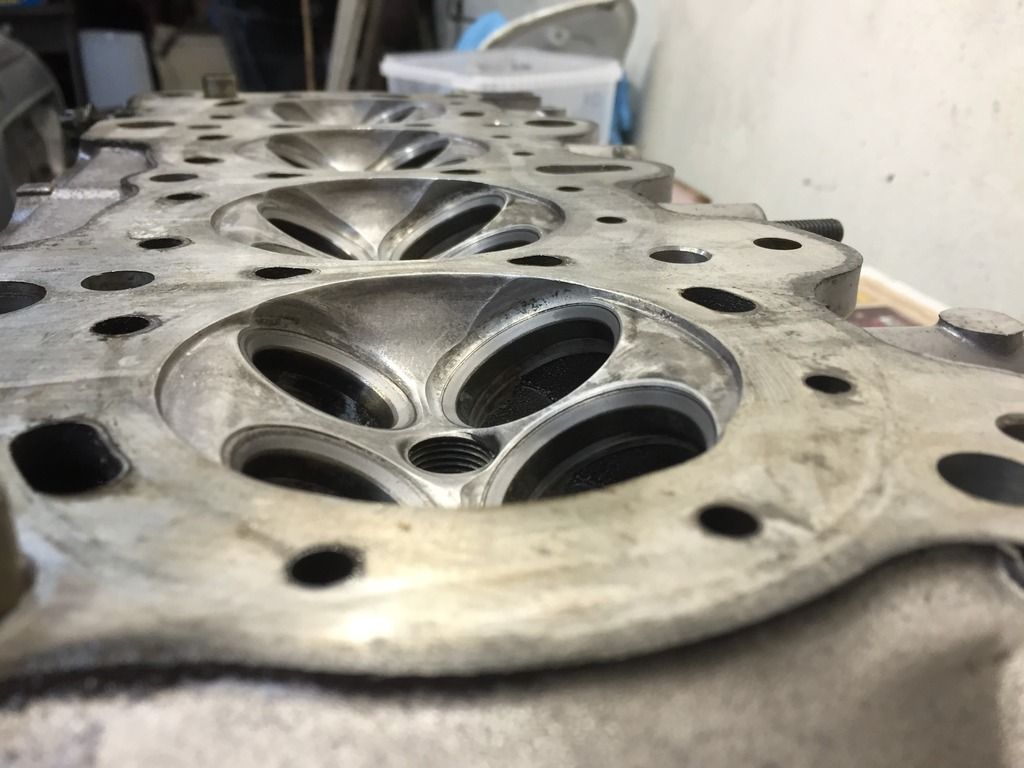
Here's also the before and after of the top end of the combustion chamber.
Before
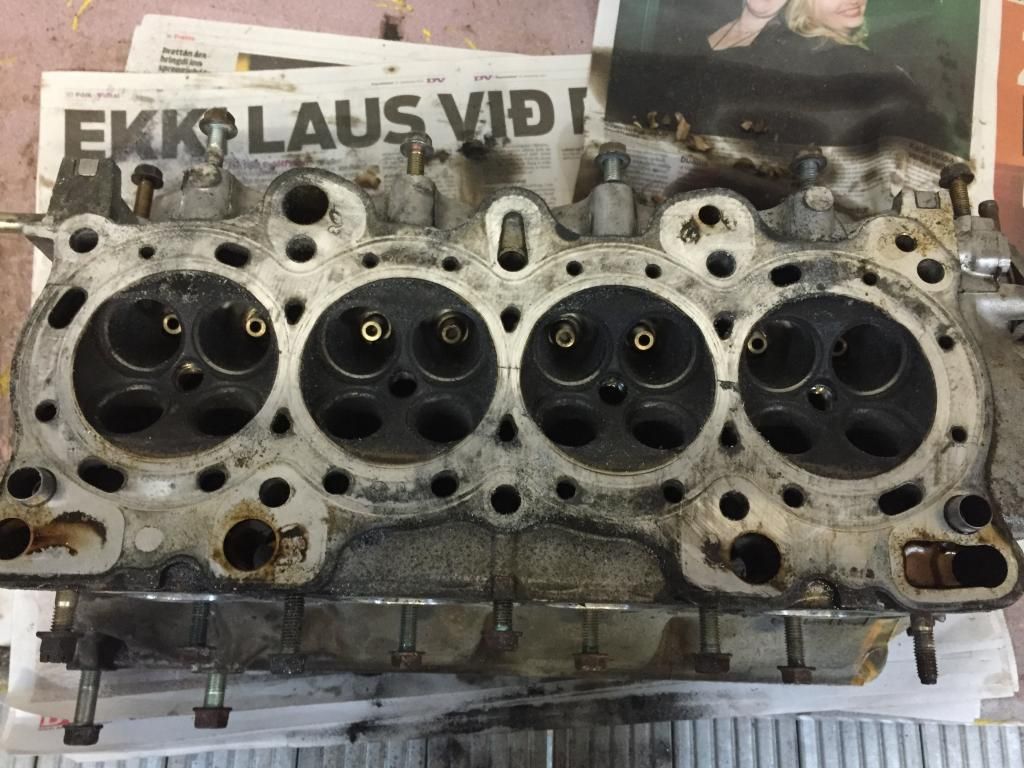
After
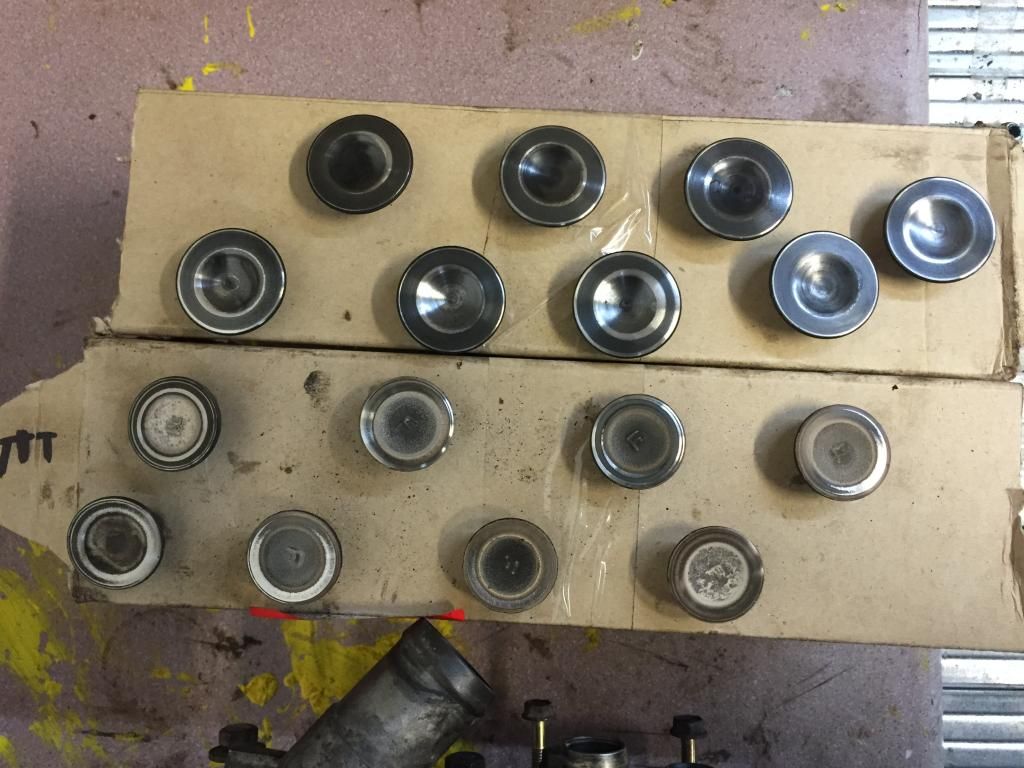
I then sanded the top of the valves with 180 sandpaper with an air gun

Here is the result. I couldn't completely remove the coal from the exhaust valves.
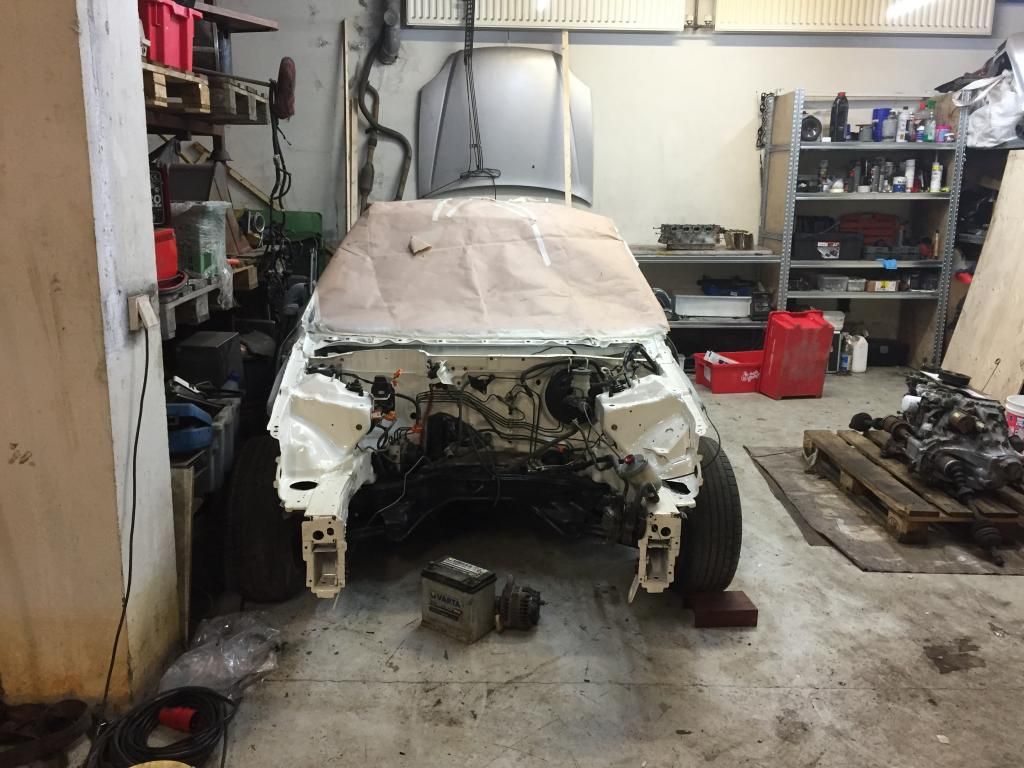
Here is two photos of the car during the moment I was doing the valve job.


These are photos with the Green Paint Stripper, I didn't took photos after trying the acid.
So on to the engine's head again... Here's a before and after of the intake and exhaust holes.
The Intake Holes. before

after

The Exhaust Holes. before
after

Here's also the before and after of the top end of the combustion chamber.
Before

After

I then sanded the top of the valves with 180 sandpaper with an air gun

Here is the result. I couldn't completely remove the coal from the exhaust valves.

Here is two photos of the car during the moment I was doing the valve job.

 06-06-2015, 04:50 PM
#5
Honda-Tech Member
Thread Starter
Join Date: May 2015
Posts: 14
Likes: 0
Received 0 Likes
on
0 Posts
So let's get back at it again, haha. Thank you all for the nice words.
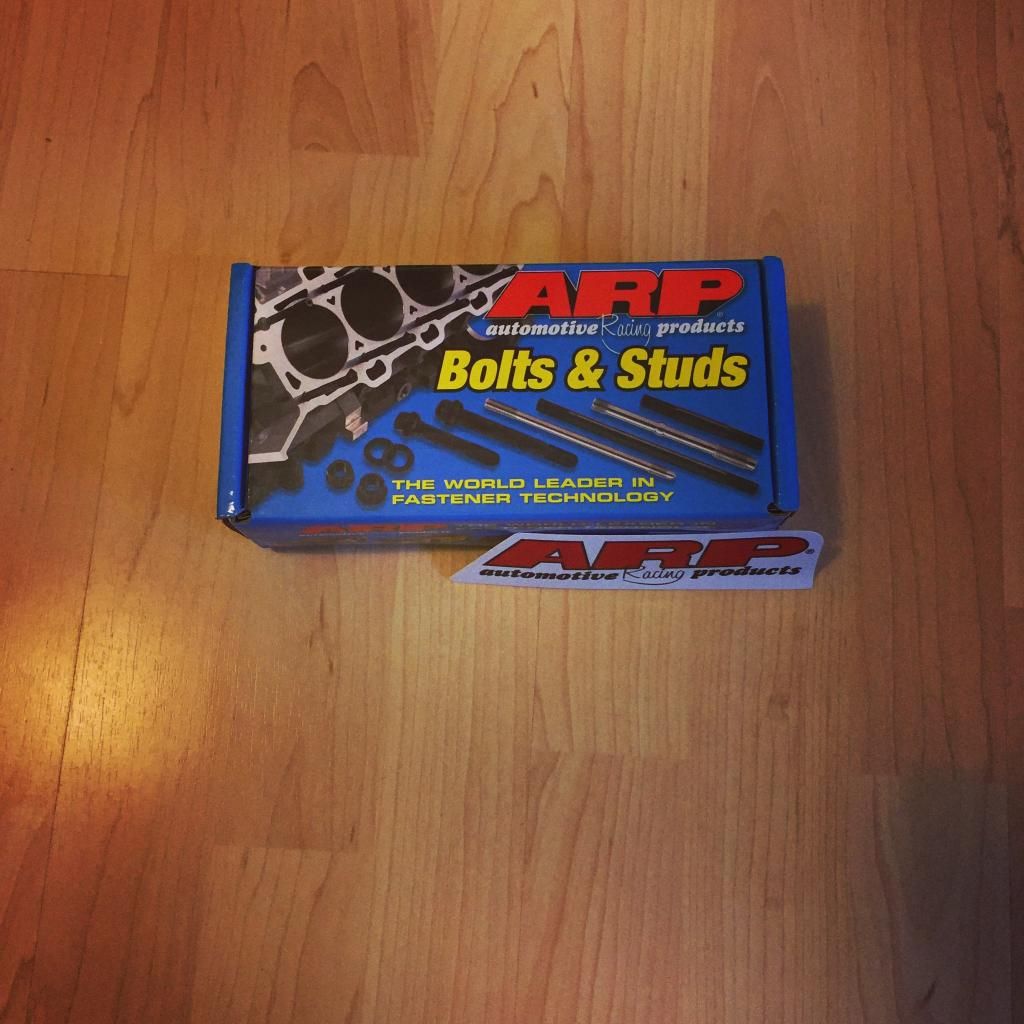
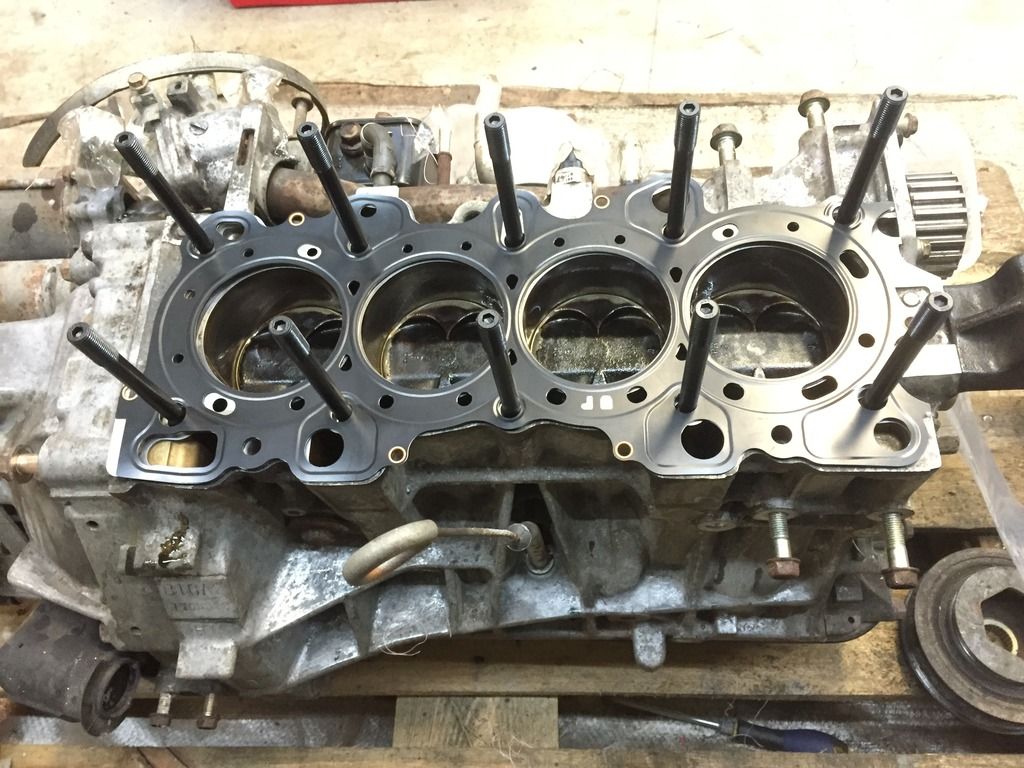
I bought and installed ARP Head Studs for later if I decide to turbo my B16A2. I also started to do the valve job that took me a lot of elbow grease and a weekend...
But then I got my father to help me a bit. He did 2 valves haha.
The ARP Head Studs
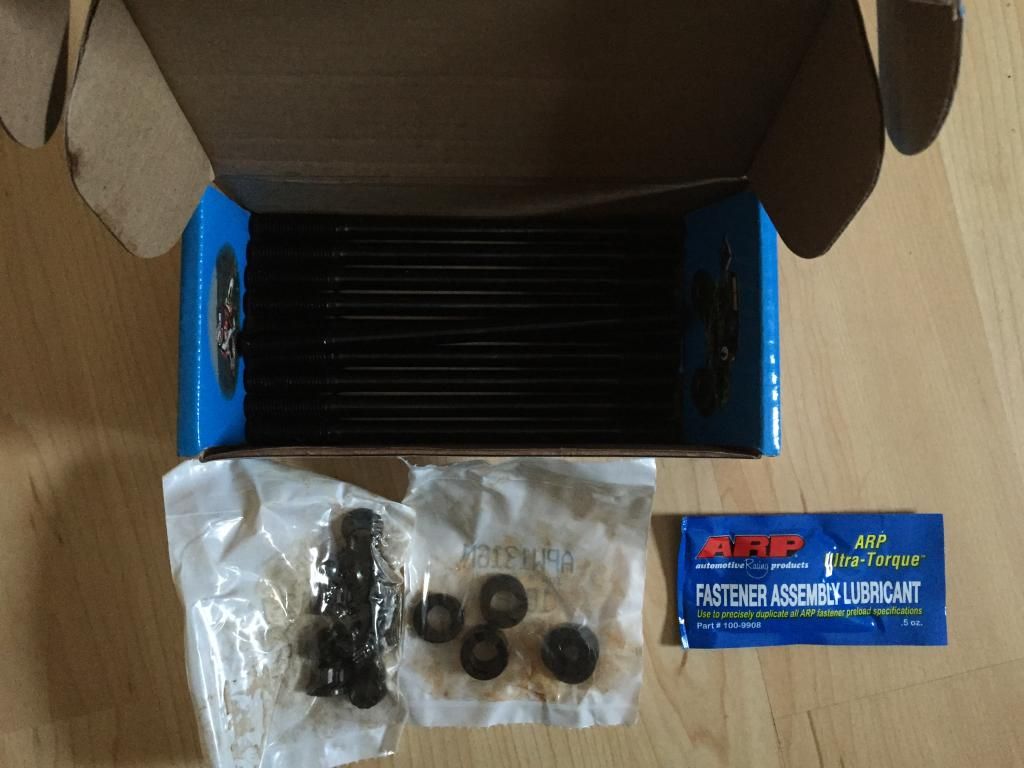
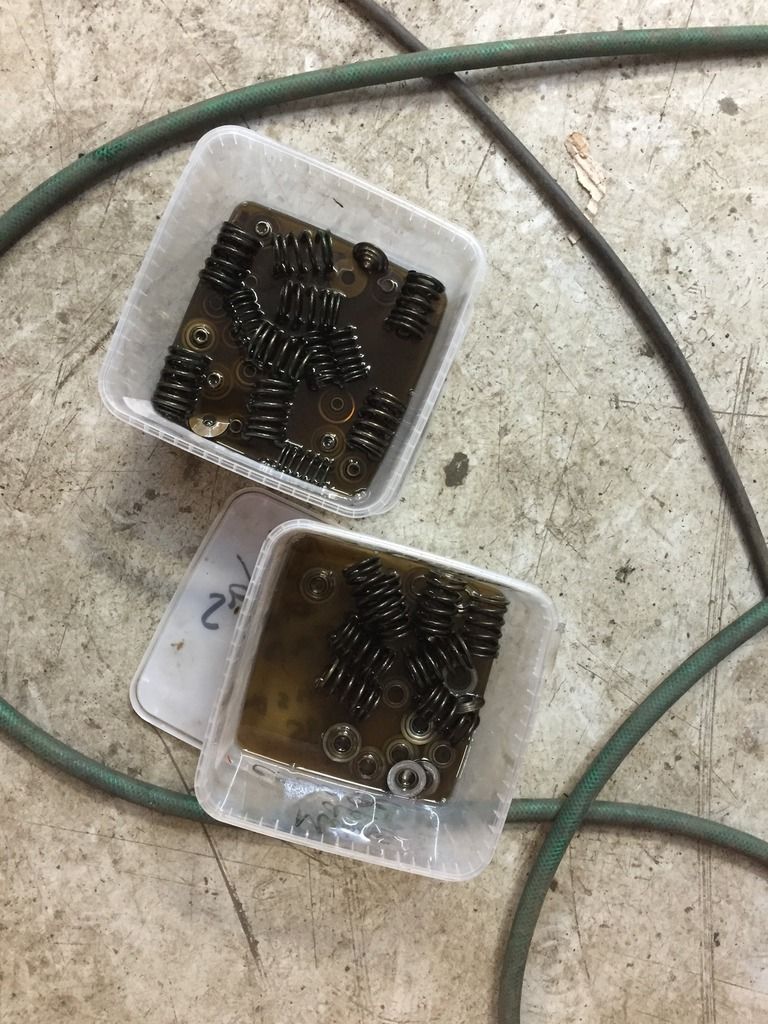
While I dismantled the head I immediately put the springs and the retainers from the intake in one box and the exhaust springs and retainers in another box and let them marinate for a day or so in gasoline. Got really clean [smilie=superkewl.g:
I made all that I could to make it look good on the outside, I cleaned it alot with acid and it actually worked. Didn't come out too bad

These black spots seen in the picture below were just impossible to remove.
Also cleaned it on the inside with gasoline.
The results from the valve job were great. Pictures can't really show much, but it's something.
Yeah... also cleaned the camshafts with gasoline
Cleaned the area where the head gasket goes and my father also did a test for about 5 days where on the he put motor oil on all of the 4 pistons and let the oil sit there for those 5 days and waited to see if the oil would disappear between the piston and the sleeves. Over those 5 days it was very very little oil that disappeared so that's good :D
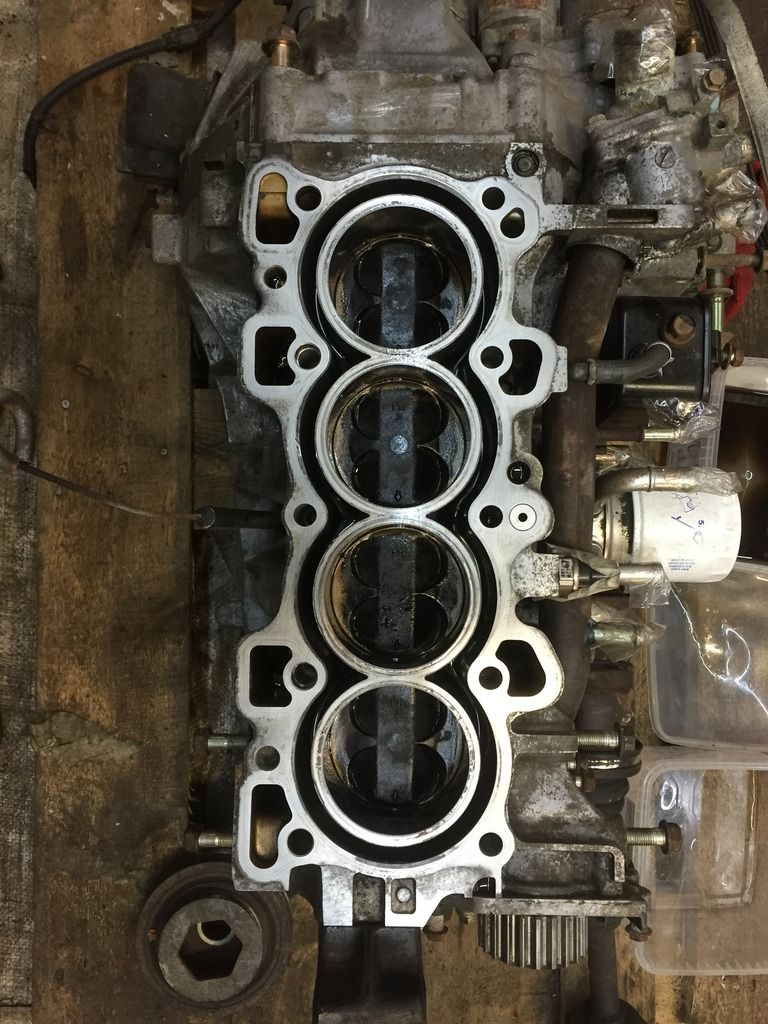
The new ARP Studs and the head gasket in place.
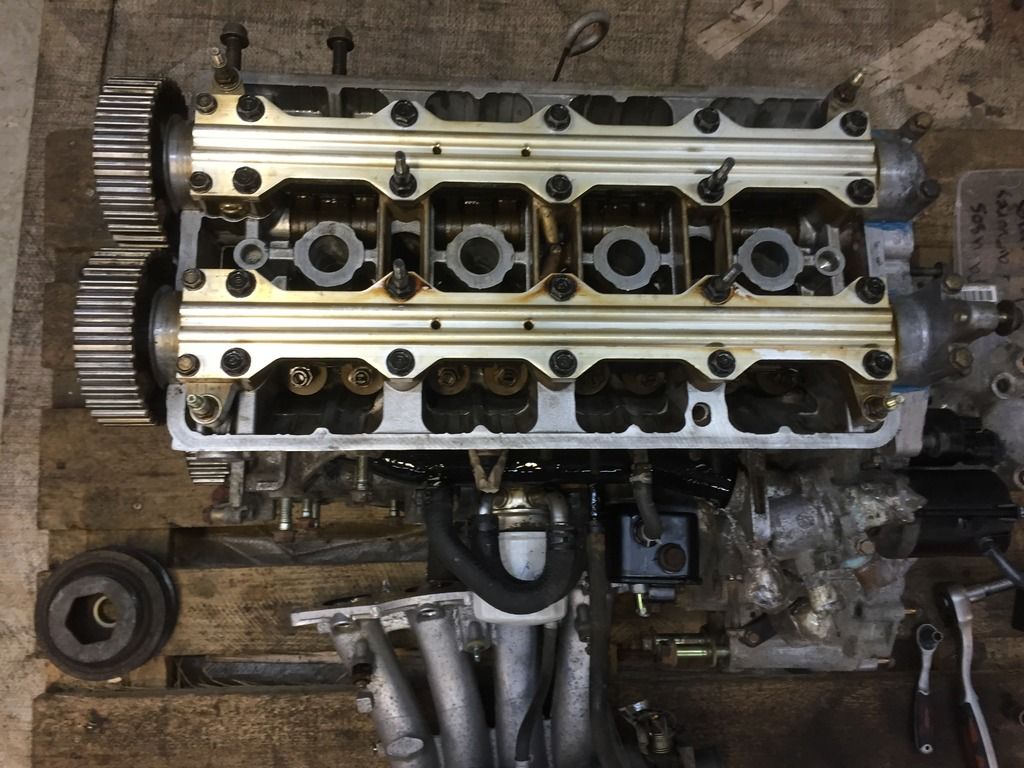
And soon we had the head in place.
New intake gasket.

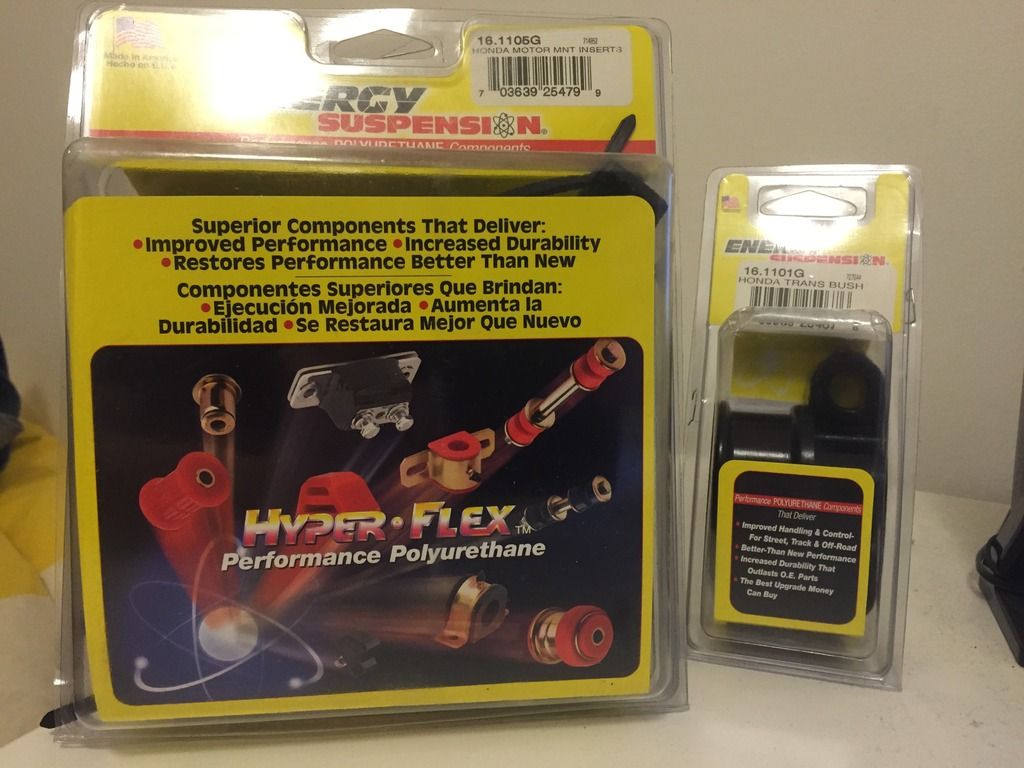
And I let the engine sit like that for a week until I finished it and installed it in the car. In the mean time I received two packages, both from Energy Suspension. Motor Mount Insert and the Shift Linkage Bushings, all polyurethane. All from :tegiwa: :D
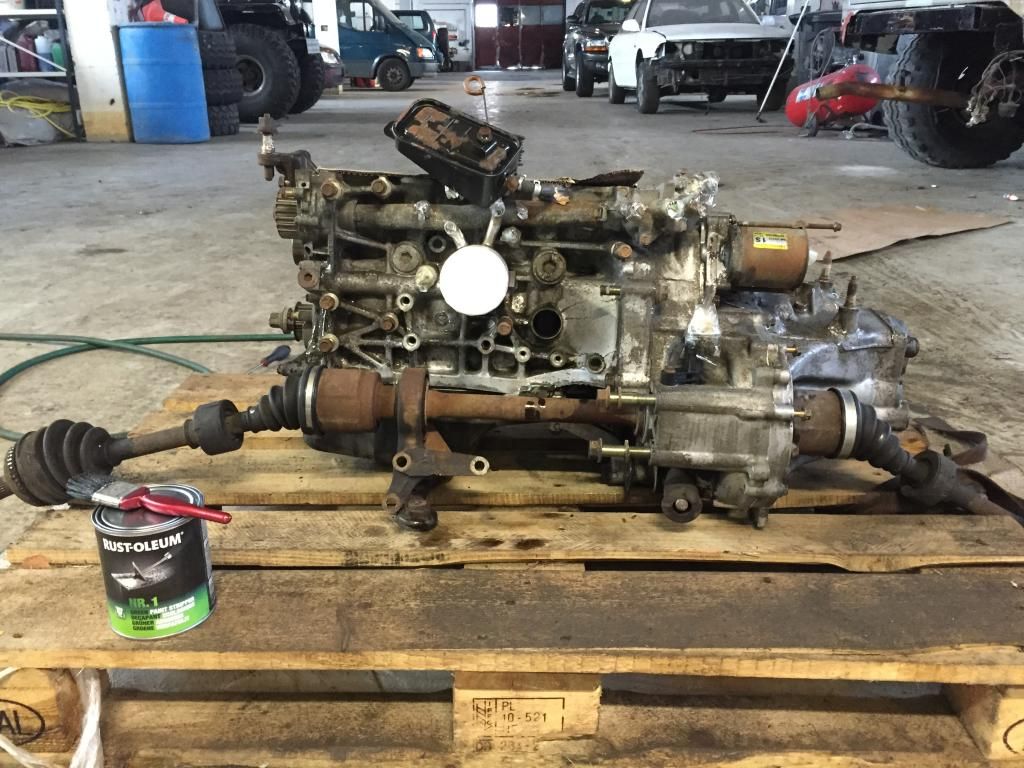
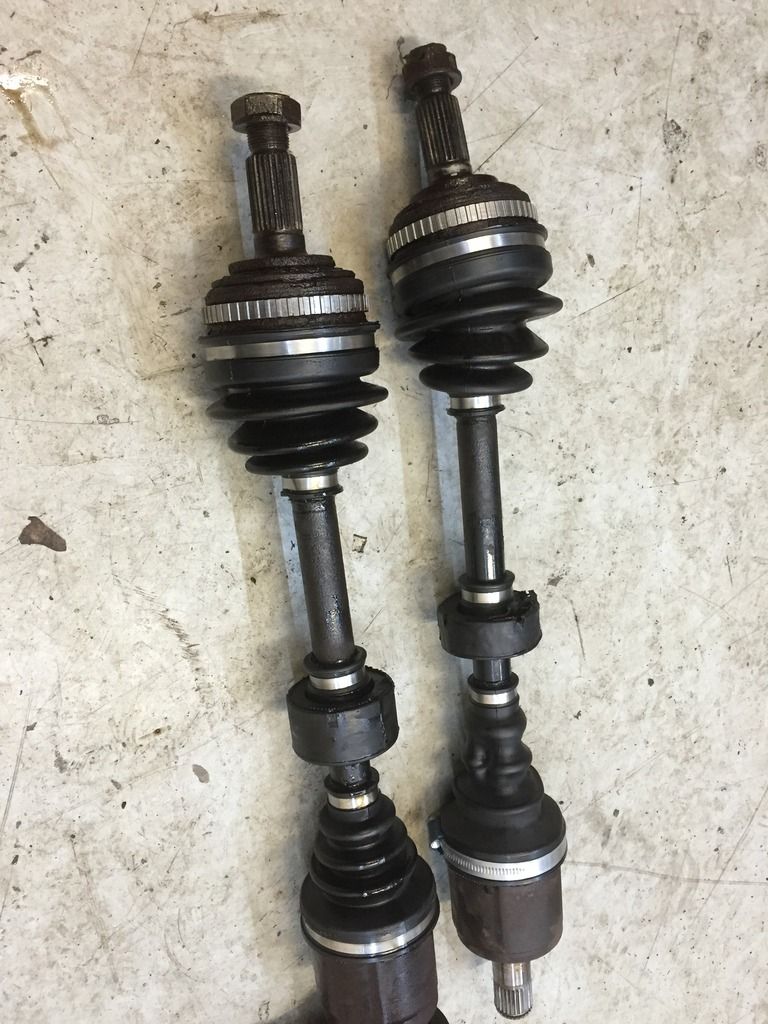
I too started cleaning the axles and give them a paint. I'll let the pictures do the talk for the axles.
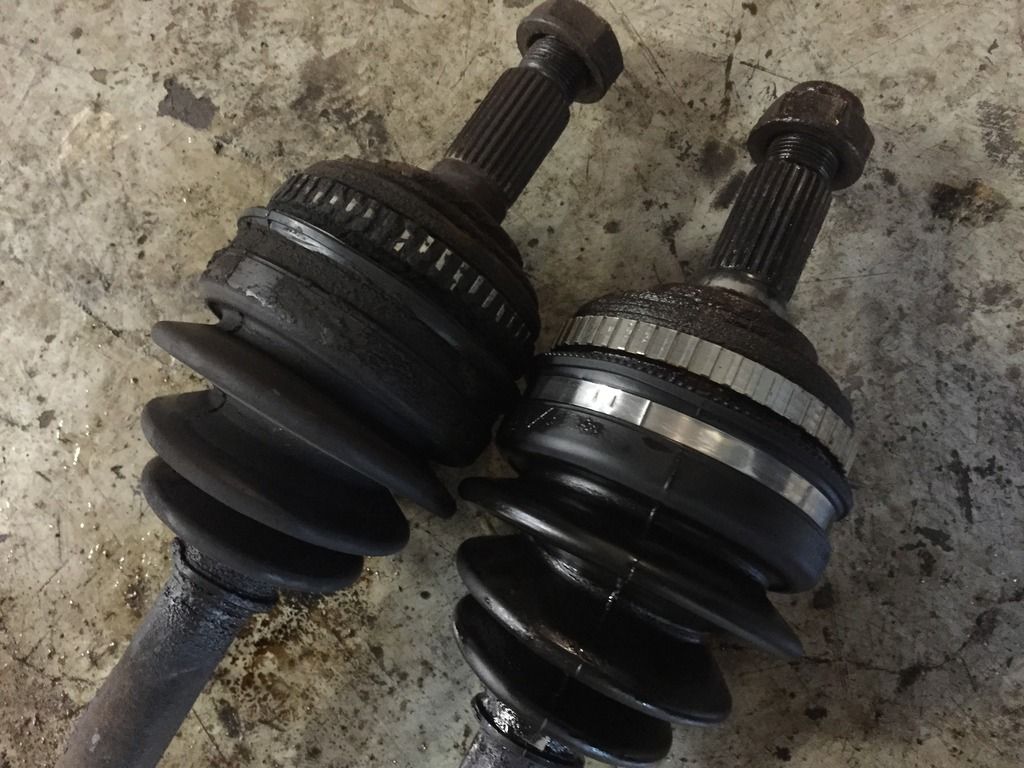
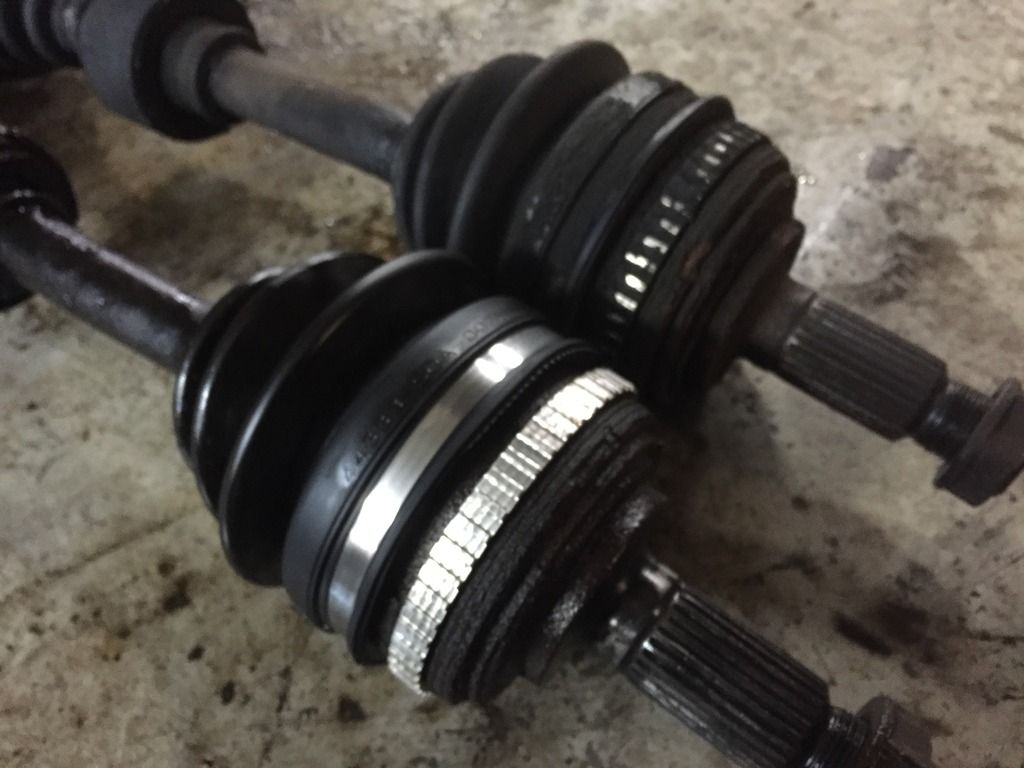
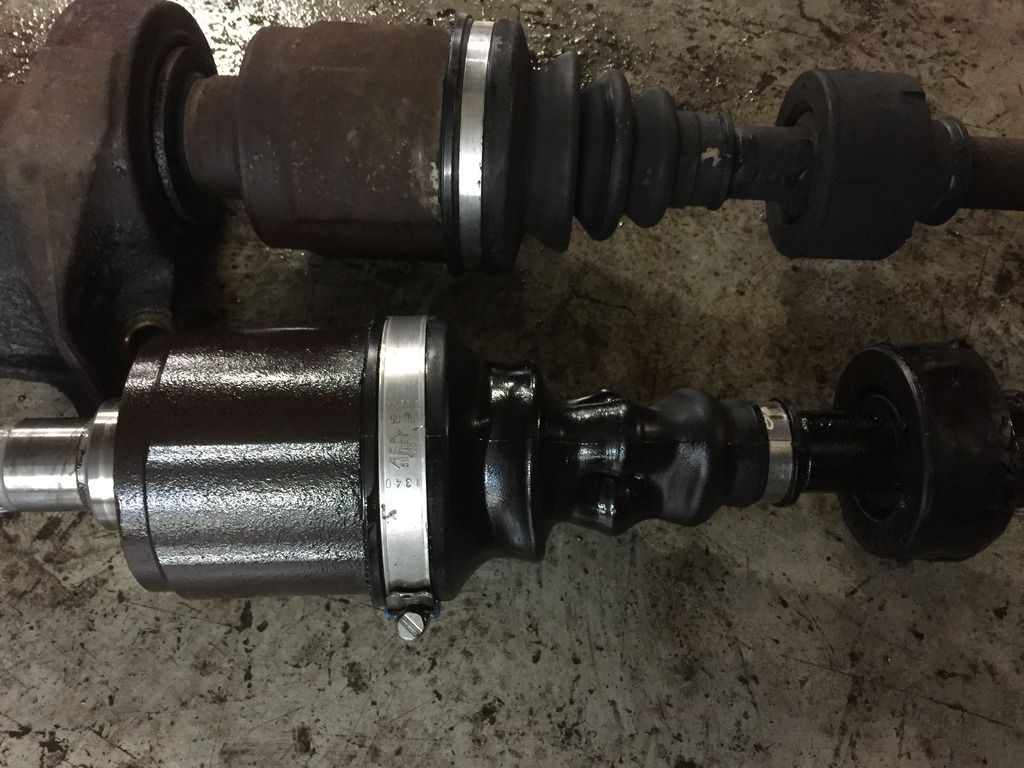
Here I forgot to take pictures of them after being painted...
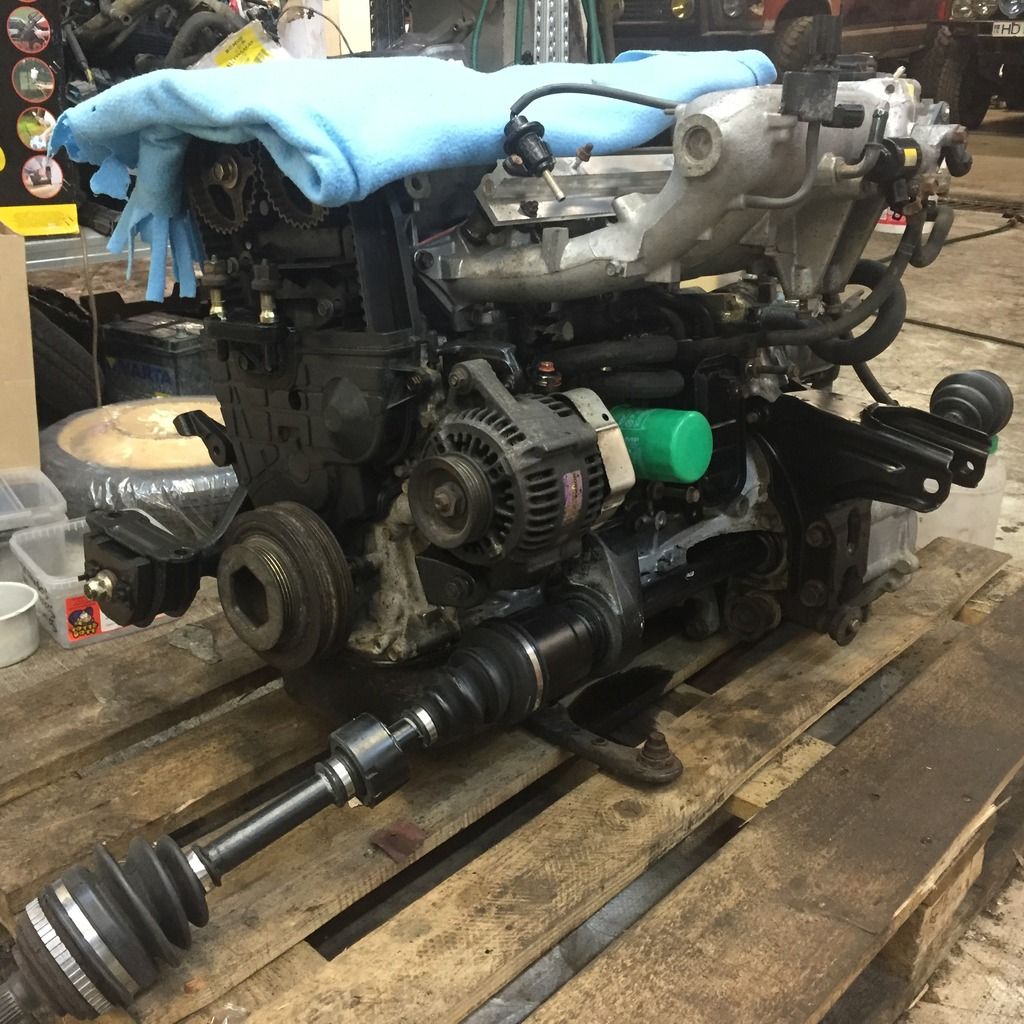
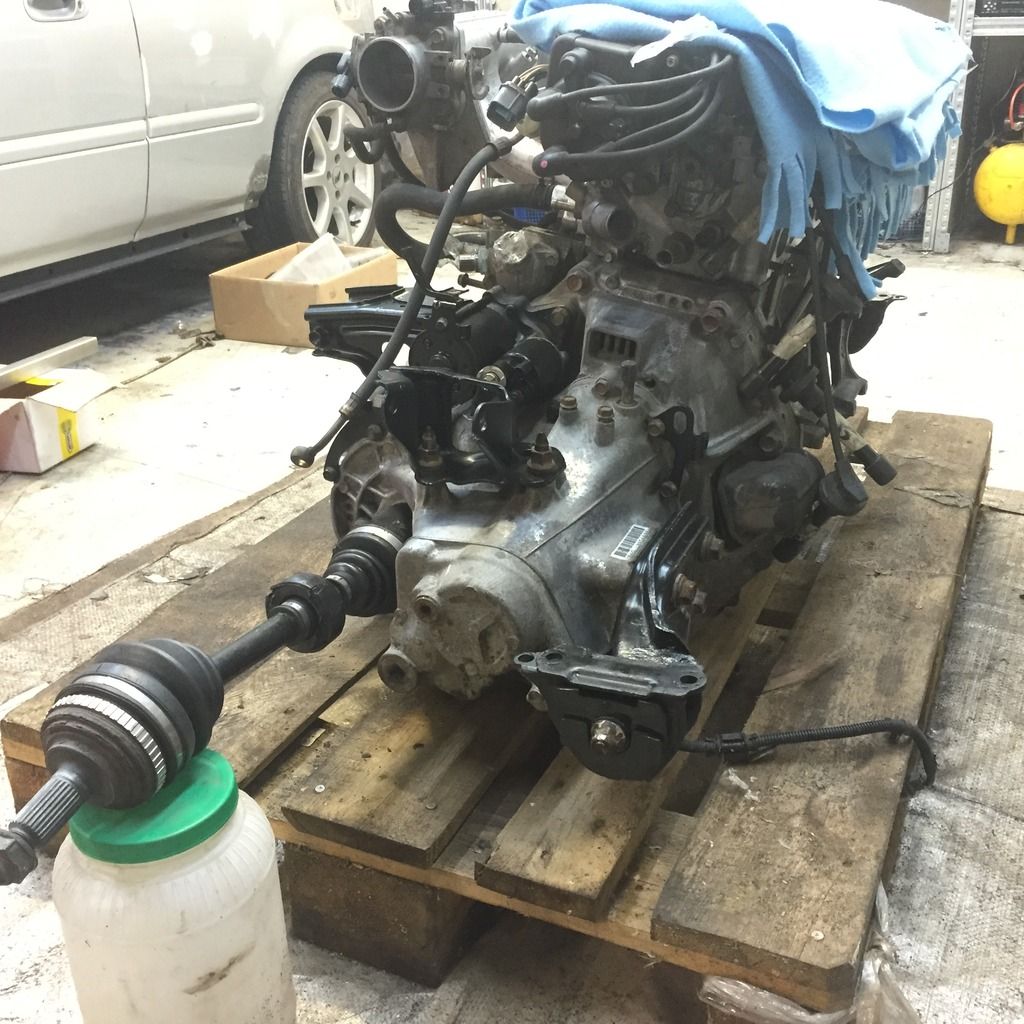
... but here you can see them already mounted and painted :D and also the new oil filter haha.
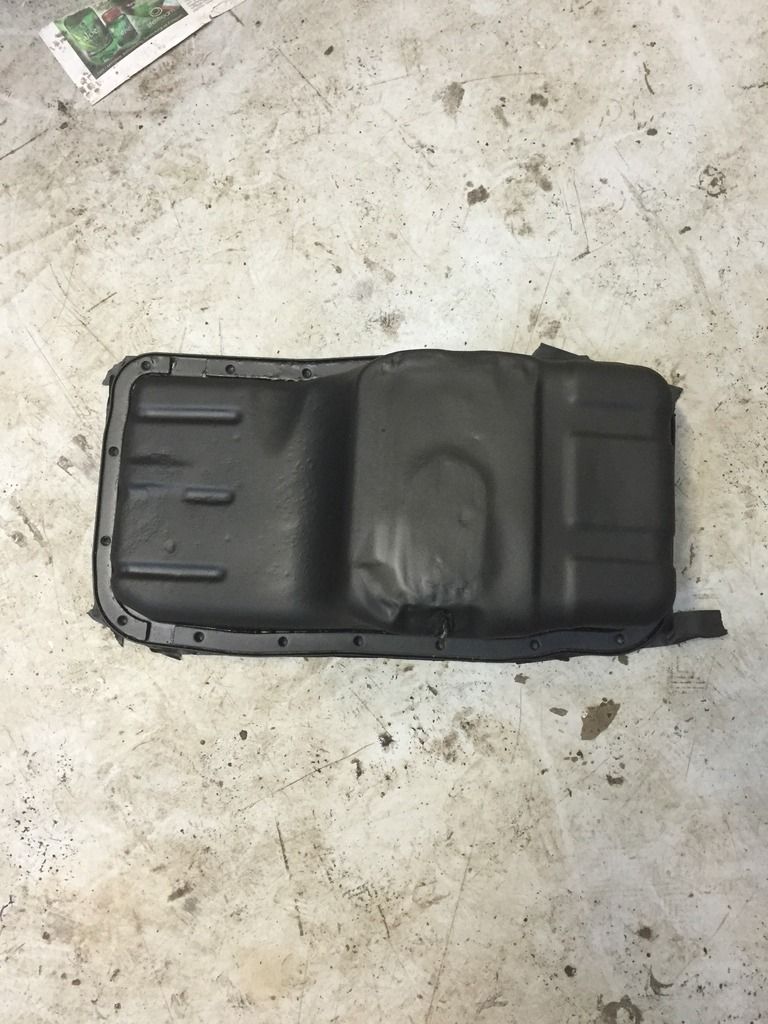
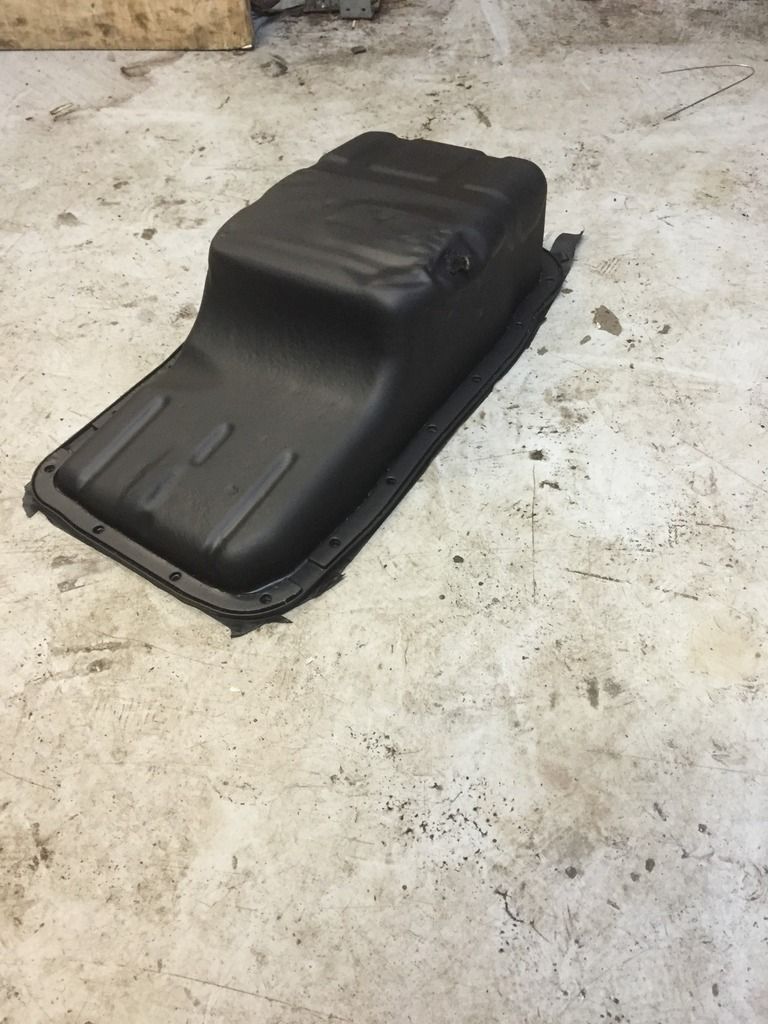
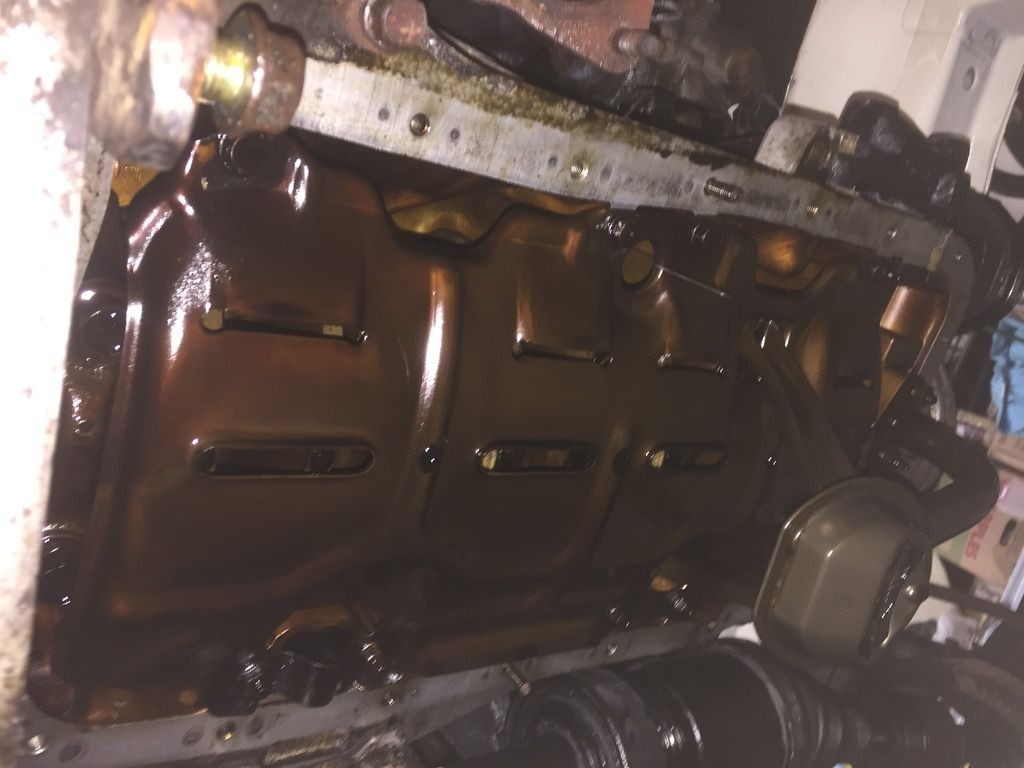
From here on out the motor was already in place with the great help of my father and his awesome mechanic friend, also a great friend of mine. I'm lucky for them helping me. So I wanted to replace the screw on the oil pan for a Skunk2 Magnetic screw but the OEM screw was stuck. It just spinned. It was my fault because when I drove the car to the garage, one of the first things I did was to remove the oil and when I screwed the screw again I probably fastened it too much and destroyed the threads. So my father took the oil pan to his work and he removed the screw and after that I could finally replace the screws. But since the oil pan was out I also decided to remove the rust in it and spray primer over it and after that spray undercoat protection.
Here's pictures of the pan before I started removing the rust.
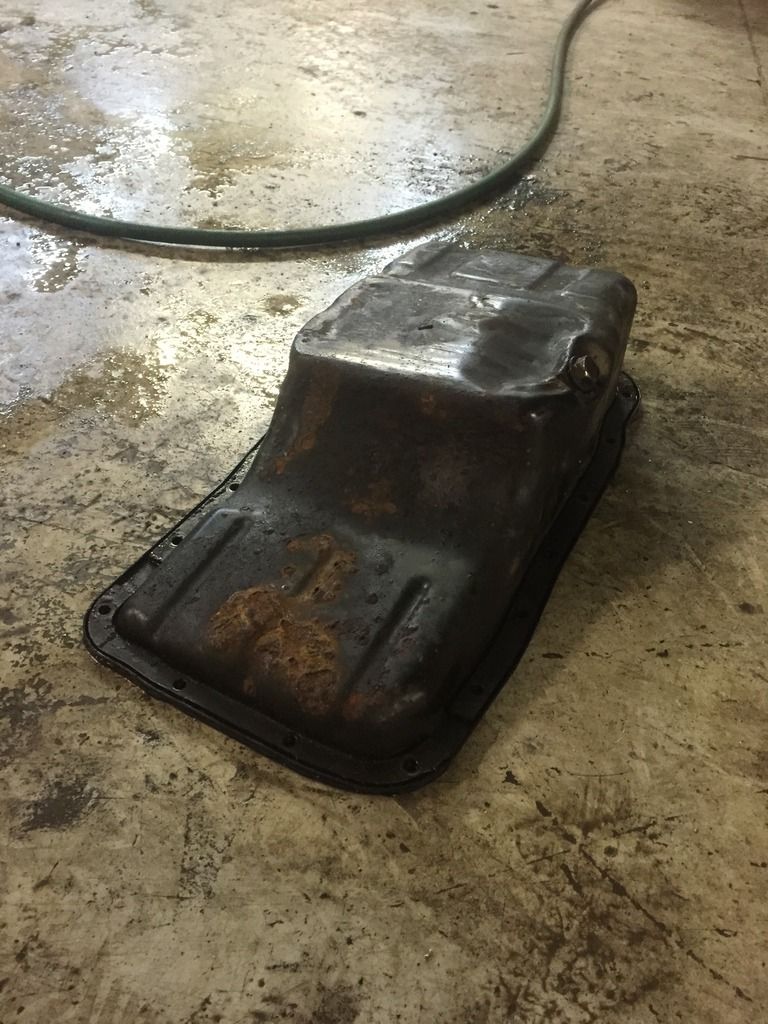
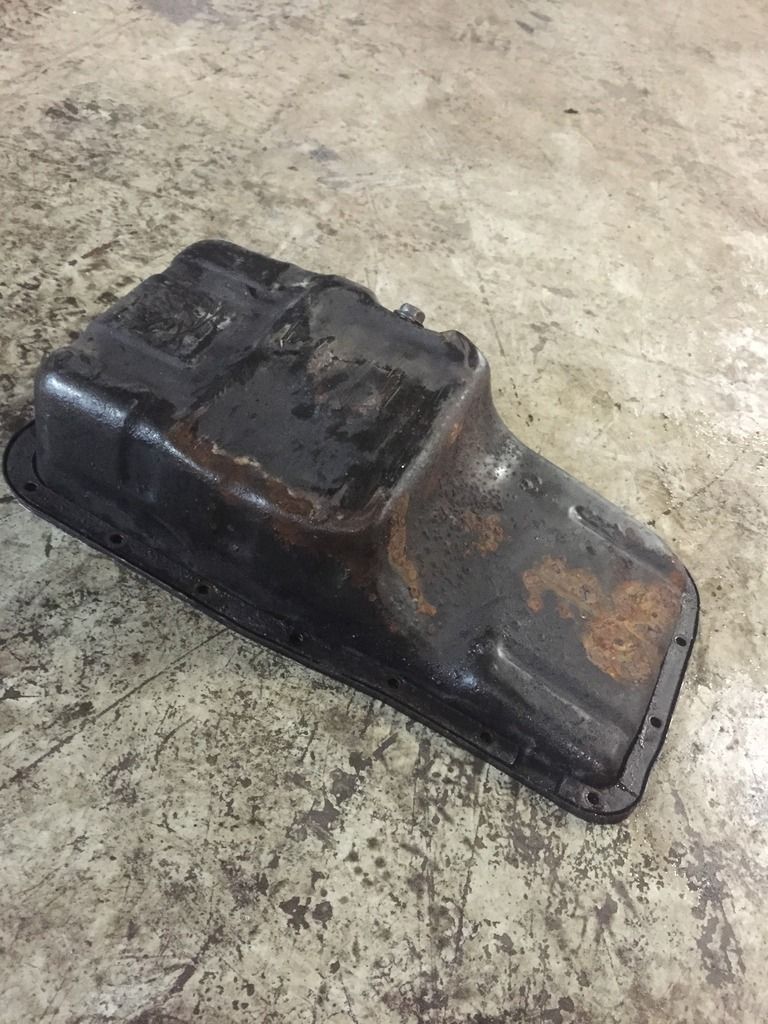
I cleaned the inside of the oil pan with gasoline so my father could take to his work place remove the screw with getting oil all over his hands.

It was night and I didn't take photos of the rust removal, but took photos of it primed.
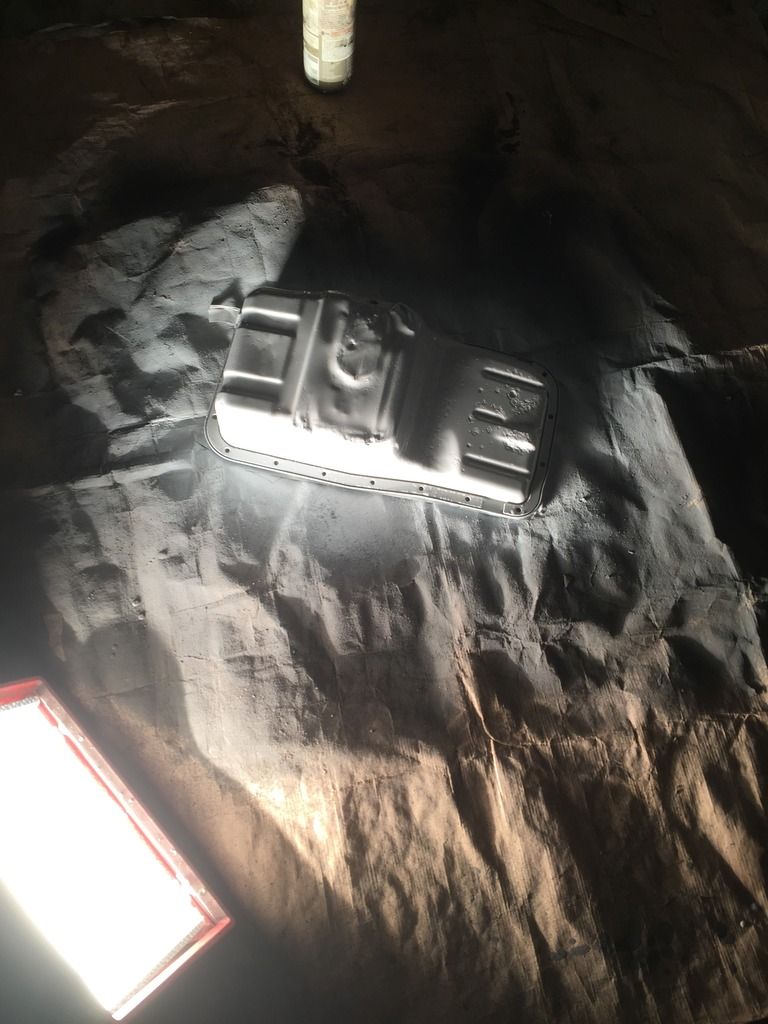
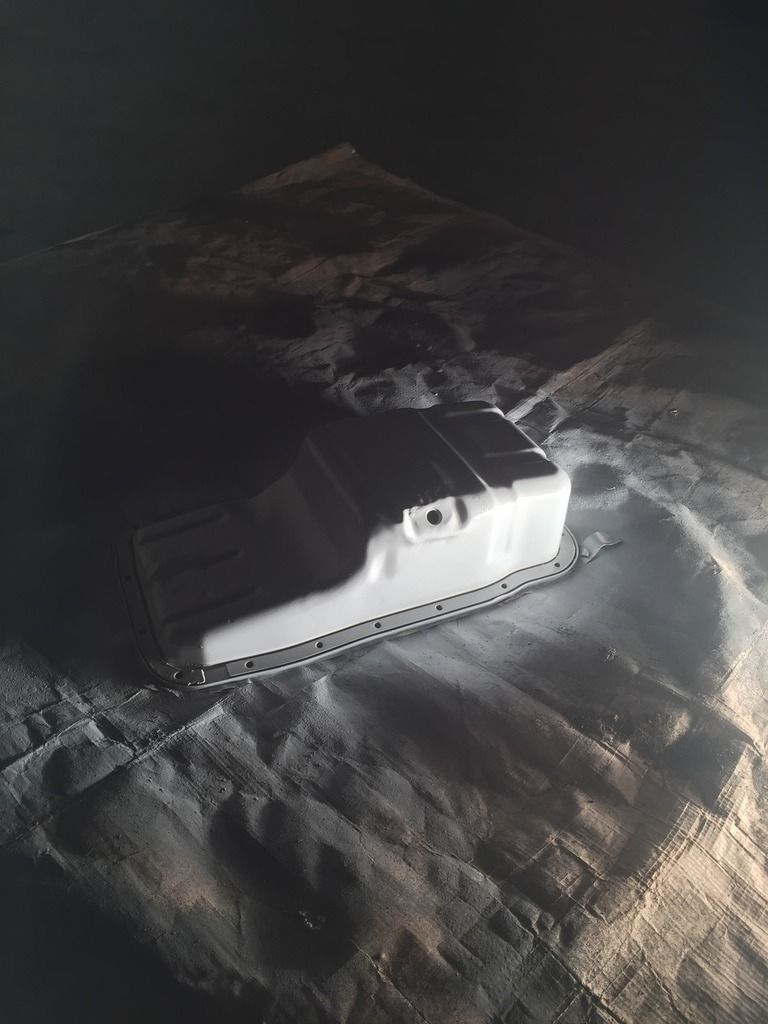
And here it was already with the undercoat protection.
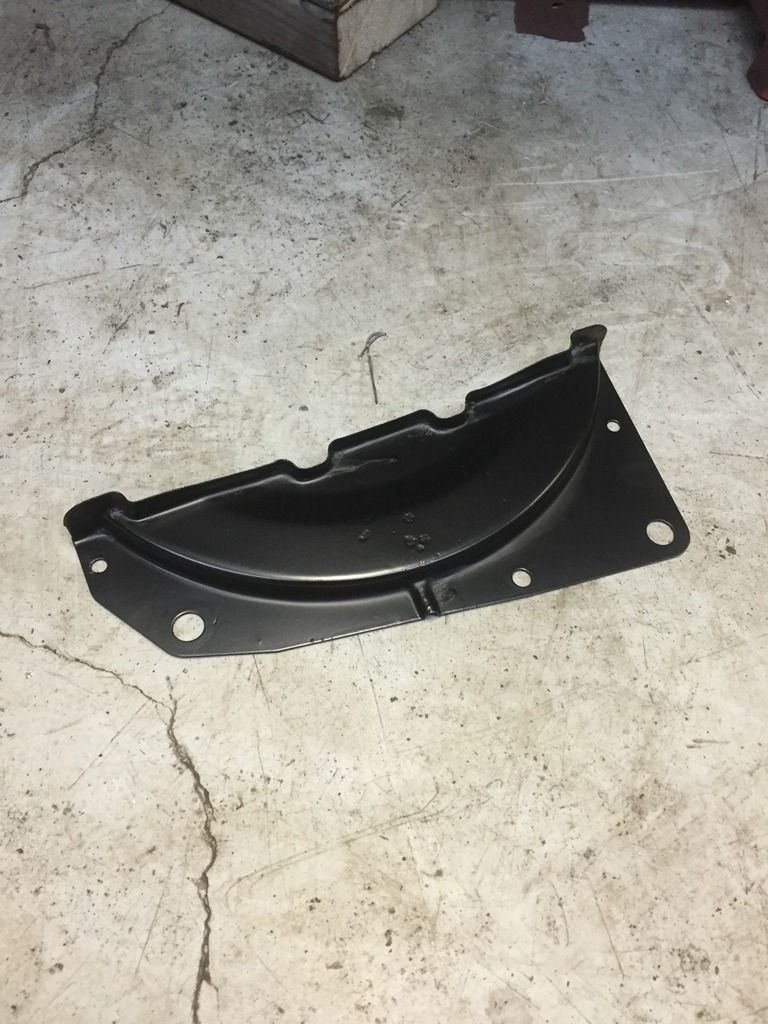
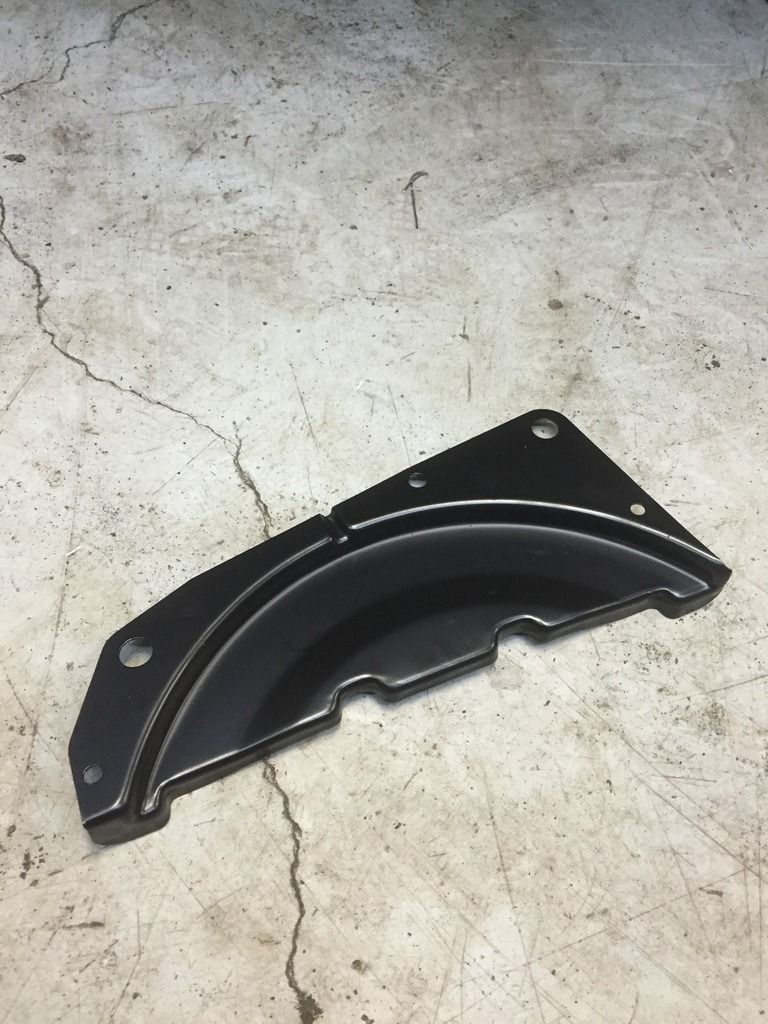
When I took the oil pan out of the engine I had to remove the flywheel cover to access 2 screws (I think) to be able to remove the oil pan. Since this cover was out I remove the rust in it, primed it and sprayed it black.
I never had seen a motor without the oil pan haha.
I screwed the oil pan to the motor again and called it a day, since it was already night.
Here is the Valve Cover powder coated with a "Chrome" look to it.
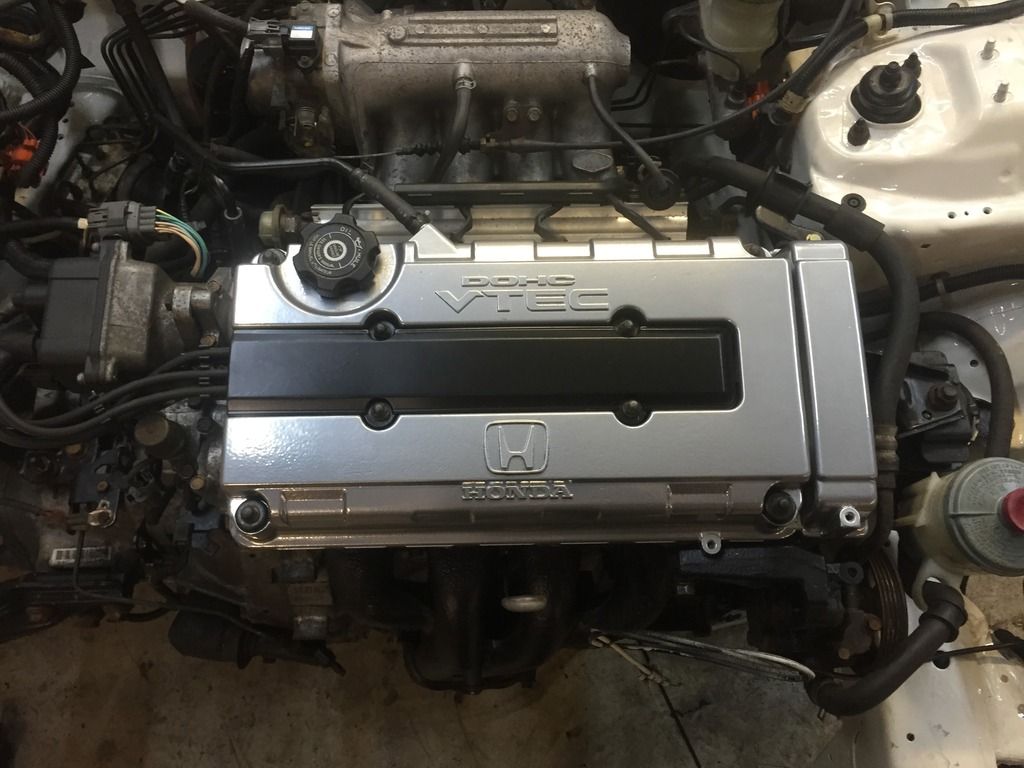
And here is the very first start after the rebuild I did, it was running on headers. I have yet to install the exhaust.
It was such an awesome feeling to hear the engine work again. :D

I bought and installed ARP Head Studs for later if I decide to turbo my B16A2. I also started to do the valve job that took me a lot of elbow grease and a weekend...

But then I got my father to help me a bit. He did 2 valves haha.

The ARP Head Studs


While I dismantled the head I immediately put the springs and the retainers from the intake in one box and the exhaust springs and retainers in another box and let them marinate for a day or so in gasoline. Got really clean [smilie=superkewl.g:

I made all that I could to make it look good on the outside, I cleaned it alot with acid and it actually worked. Didn't come out too bad

These black spots seen in the picture below were just impossible to remove.


Also cleaned it on the inside with gasoline.

The results from the valve job were great. Pictures can't really show much, but it's something.


Yeah... also cleaned the camshafts with gasoline

Cleaned the area where the head gasket goes and my father also did a test for about 5 days where on the he put motor oil on all of the 4 pistons and let the oil sit there for those 5 days and waited to see if the oil would disappear between the piston and the sleeves. Over those 5 days it was very very little oil that disappeared so that's good :D

The new ARP Studs and the head gasket in place.

And soon we had the head in place.


New intake gasket.

And I let the engine sit like that for a week until I finished it and installed it in the car. In the mean time I received two packages, both from Energy Suspension. Motor Mount Insert and the Shift Linkage Bushings, all polyurethane. All from :tegiwa: :D

I too started cleaning the axles and give them a paint. I'll let the pictures do the talk for the axles.


Here I forgot to take pictures of them after being painted...

... but here you can see them already mounted and painted :D and also the new oil filter haha.


From here on out the motor was already in place with the great help of my father and his awesome mechanic friend, also a great friend of mine. I'm lucky for them helping me. So I wanted to replace the screw on the oil pan for a Skunk2 Magnetic screw but the OEM screw was stuck. It just spinned. It was my fault because when I drove the car to the garage, one of the first things I did was to remove the oil and when I screwed the screw again I probably fastened it too much and destroyed the threads. So my father took the oil pan to his work and he removed the screw and after that I could finally replace the screws. But since the oil pan was out I also decided to remove the rust in it and spray primer over it and after that spray undercoat protection.
Here's pictures of the pan before I started removing the rust.


I cleaned the inside of the oil pan with gasoline so my father could take to his work place remove the screw with getting oil all over his hands.

It was night and I didn't take photos of the rust removal, but took photos of it primed.


And here it was already with the undercoat protection.


When I took the oil pan out of the engine I had to remove the flywheel cover to access 2 screws (I think) to be able to remove the oil pan. Since this cover was out I remove the rust in it, primed it and sprayed it black.


I never had seen a motor without the oil pan haha.

I screwed the oil pan to the motor again and called it a day, since it was already night.
Here is the Valve Cover powder coated with a "Chrome" look to it.

And here is the very first start after the rebuild I did, it was running on headers. I have yet to install the exhaust.
It was such an awesome feeling to hear the engine work again. :D

Thread
Thread Starter
Forum
Replies
Last Post