When you click on links to various merchants on this site and make a purchase, this can result in this site earning a commission. Affiliate programs and affiliations include, but are not limited to, the eBay Partner Network.
FactionR's Hatch Build - For Posterity and Inspiration
Well ive decide this was the time to put together a thread of my honda happenings since i took a break from the scene years ago. So i am going to share my story which is like most of us, continuing on day after day.
My story started, as i am afraid to admit, during the first Fast and Furious movie. I thought the scene looked cool, the cars looked cool, it all just looked awesome. As an avid BMX racer for many year into my early driving years i took to the speed side of things out of the box. Being a young 17 and wanting a sports car, my mom asked for a list fo cars and said the limiting factor was the insurance rating - sports car or not. You can guess what ones were off the list. ALL of them expect a civic.
With $1000 in hand from my parents (didn't just buy me a car, something here later i much very much appreciate), i bought a 94 ex coupe, 5spd for $4k. Being 2002 the honda scene was just picking up and i was swept right into it.
That 94' saw my first son sit in it in 2009. My second in 2014. I wont get into its long history, but i was never going to seel or get rid of that car, it was going to become a future project car to work on with the boys when they became of age.
December 26th, 2014. About to start a long drive from florida up to the Poconos for vacation and to show the boys some snow. Decide i had not driven the civic in a few weeks and id take it up to the ATM to get a some cash for the trip. Leaving the ATM driving down a parking isle and:
Took a Chevy1500 driving perpendicular to the lanes right in the passenger rear quarter. I new right away this was going to a long journey now starting a fight with some guys car insurance. And this is where my hatch dreams begin.
Re: FactionR's Hatch Build - For Posterity and Inspiration
Upon the return to the house. My parents, wife and kids were all as taken back as i first was. I explained the hit was certainly fatal to a 20 year old car. I immediately explained to my wife that i picked up very shortly after that civic in high school, that it was time to get a 92-95 hatch. I had always regretted getting a coupe after really getting into the scene and always, say circa 2004, wanted a hatch but never actively search saved or otherwise put effort into it knowing it was a bit of a goofy move when i had what i needed already.
The whole long drive was spent on CL, auto trader, anywhere including HT that used hatches where peddled. I was going after a shell. I had most everything on the coupe that i could swap right over. I explained, very very clearly to the family that this new car, this new project would take a solid year, mark my words. And it did.
After the search of the current offerings on the market, i found my beauty. I'll keep the story simple, but its a '92 CX.
I though it was awesome right out the gate as seeing the guy had no idea what he had. Got it dropped off at the house for $440. It just happened to have a minty hydro GSR tranny sitting in the gutted interior, os i figured i was buying a tranny and a slightly below market rate with a free shell. Oh yeah and a roll cage.
Story goes that the shell sat for 6-7 years. Yes a long time. Luckily it survived well in terms of rust. Other things as i later found, dont do so well with age. Here she is in all her glory
BTW, yes that is ice in Florida! very exciting to about 5 or 6 of you fellow Floridians.
Wasnt a whole to do other than play a game pull the bolt and see what comes off
No rust, but a few holes dings and otherwise use on her. The windshield was a victim of my not being so ginger with the removal, something ive tried since with little, ok, no success.
The goal was simple. The new car, nick named cindy for obvious reasons, was to have a full body message. Now i have done basically little to no body work in my history other then some shoddy bondo work and a re-spray on the old civic that i now know was more than half assed. So off to the world wide web i went.
I do fancy myself a research nut. Id rather read and lean through others failures, then attempt myself, knowing in the end i'd be happy for a B at the end of the day. Hell a B is how i got all of my post HS degrees
Having the basic tools, budget for a few more i went to work. A little welding ($90 harbor freight special flux cored, which made clean up a blast) filled the holes and allowed access to others via strategic cuts. She was stripped to the bone.
I used some left over rattle can to protect any exposed surfaces since this is a backyard B build. The rear glass had been held down with some stainless sparco springs/hooks. Pretty neat, but the springs had been pulled all out of tension and was not otherwise worth keeping. Also i didnt care for the easy access for others since the rear hatch had been cut down to nothing but skin as a basic veneer. I was going to put it back with a functioning hatch.
Cutting, grinding, welding, all the macro body work was moving along smoothly until the roof skin issue became around. See some had broken in the car while in storage and as i was told, decided to kick up into the roof skin, between the support ribs, from inside the car. That is just a flat out *ick head move. But none the less I was now the owner of what appeared to be some size 11 jordan dents on the wrong side of fixable. No simple way around this one. Now this is where a bit of need came in with perfect timing, I bought a second hatch.
Now in the interest of time, i will spare the pictures of that one, but i needed hatch parts, as well as a bunch of parts like an engine, tranny, suspension etc. etc. for the old civic that was being given back to the insurance company for next to nothing. No way was $1,850 going to see 12 years of my civic life flush away. If the insurance company wanted to play crap, they got crap. A car that hated to start, and did not want to run, but it did right out of my driveway and onto the to truck. Suckers. Wasn't my favorite way to say bye to a JDM D15B, but i was confident it would find someone out there through a junk yard or some recycled source.
Research and spare in hand, it was time to do a roof skin for the first time. Has no experience with spot welds until this point. I feel I know them well enough now to go out for drink or two with them.
Anyone picked up on the cindy reference name earlier? Wife felt that was appropriate in her given state. To be continued....
Re: FactionR's Hatch Build - For Posterity and Inspiration
Originally Posted by ShinsenTuner
All great builds start with "I've never done this before but after a few beers..."
Good luck with it. Sucks to hear about your coupe, but she could continue to live on as parts on the hatch.
That about sums up most the experiences on this one. Just glad it didnt start with "hey watch this, here hold my beer...." Those are famous last words.
Re: FactionR's Hatch Build - For Posterity and Inspiration
For those who are more concerned on the means and methods, i figured tonight woudl be the more how it was done side up to this point.
The holes were from screws that had once held bumpers and from the cleat that attached to the sparco springs for the rear glass. To fill them i ground down the paint and primer down to bare metal. From there i used my little plug in flux cored welder to fill in the holes. However if anyone has tried this before it is messy and often not right the first go around. So after each little fill i used a dremel with a cutting blade running perpendicular to the surface to grind off the extra metal in fine amounts as to not damage the existing body sheet metal. I continued this until i could no longer see any light or pin holes. Didn't take to long, but it was an evenings task.
Any larger dents were attacked from the inside if possible to bump out with a rubber mallet first, then a rounded body work hammer i had from year ago (bondo brand wouldn't you know). Tapping only enough to get some movement up till i was close enough for the macro. The smaller fills and fine tuning will come later.
Spot weld drilling is a bit of an art you come to appropriate over time. There are some neat tools made for this purpose, but the local harbor fright had one of the drill types for a couple bucks and man did i get my money out of that. They can be a bit tough to spot through the seam sealer (the caulk/sealant that goes on all of the, you guessed it, seams) but i ground most of that of with a wire wheel. I also got past the paint and made sure the primer/surface left over was dull as you could better spot the indentions left by the spot welds.
You drill just enough with the spot weld remover tool as to cut the top panel and separate it from the panel underneath it was welded to. These things were at random intervals and not in a linear fashion either. They went left and right of center and sometime were almost doubled up on each other. This meant you just took you time plugging along all four edges of the roof. I started in the rain gutter on the passenger side and worked clockwise until i got to the windshield area.
Here of course the glass has to be out. There is no seam sealer, but the urethane glue left from the glass that melts and goes everywhere while attacking it with the trusty wire wheel. I took all of the remaining urethane off as i was going to painting and changing the color of the car and i wanted all surfaces exposed. This meant a ran down the sides and firewall area to get it all off. After all the welds were cut, i used a Japanese saw (seems fitting doesn't it) to cut the seam sealer that holds the ribs to the bottom of the roof skin. These were easy to cut until you go to either end. These took a bit of time and patience, but once it was cut, the skin popped right off.
Re: FactionR's Hatch Build - For Posterity and Inspiration
So its prime time. By this point ive filled holes banged out the dents to get metal surfaces to within a close enough stage. Now from my understanding Honda has some of the factory applied sealing primer so i only did some light sanding around the car to remove what little was left of the clearcoat and expose the base color a little primer in some areas.
For the primer, i used a 2K epoxy primer from Nason. The epoxy is also a sealer like the factory primer so that no water will penetrate the surface meaning long life to protect against rust. There are plenty of write ups on the stuff. Nason, as i did not know, is the older formula or the hand me downs from Dupont which is now Axalta. So as was explained to me, it is the few years ago Dupont epoxy primer. You mix it as spec'd and let it set-up for about 30 minutes before spraying.
Now i am using a 30 gallon craftsman compressor and an older (i have read, the better vs whats around now) harbor freight spray gun with a 1.8mm tip.
Came out looking pretty nice i must say.
So the next step was to go and find all the imperfections and bumps that need to be worked out. So i started applying body putty in areas of concern. I would then use a 17" long plane sander to knock down the putty. Id apply a light coat of spray paint as to create a contrast against the grey and show the low spots. So as i sanded it down further the paint would be ground off, but if any paint remained, it meant a low spot was still present. Time to add putty and get it level.
This took some time to get all the spots worked out. After the spots were worked out, id apply another coat of primer. I worked out the whole shell till i got to the front end. And that will be the back end of this post. To be continued.
Re: FactionR's Hatch Build - For Posterity and Inspiration
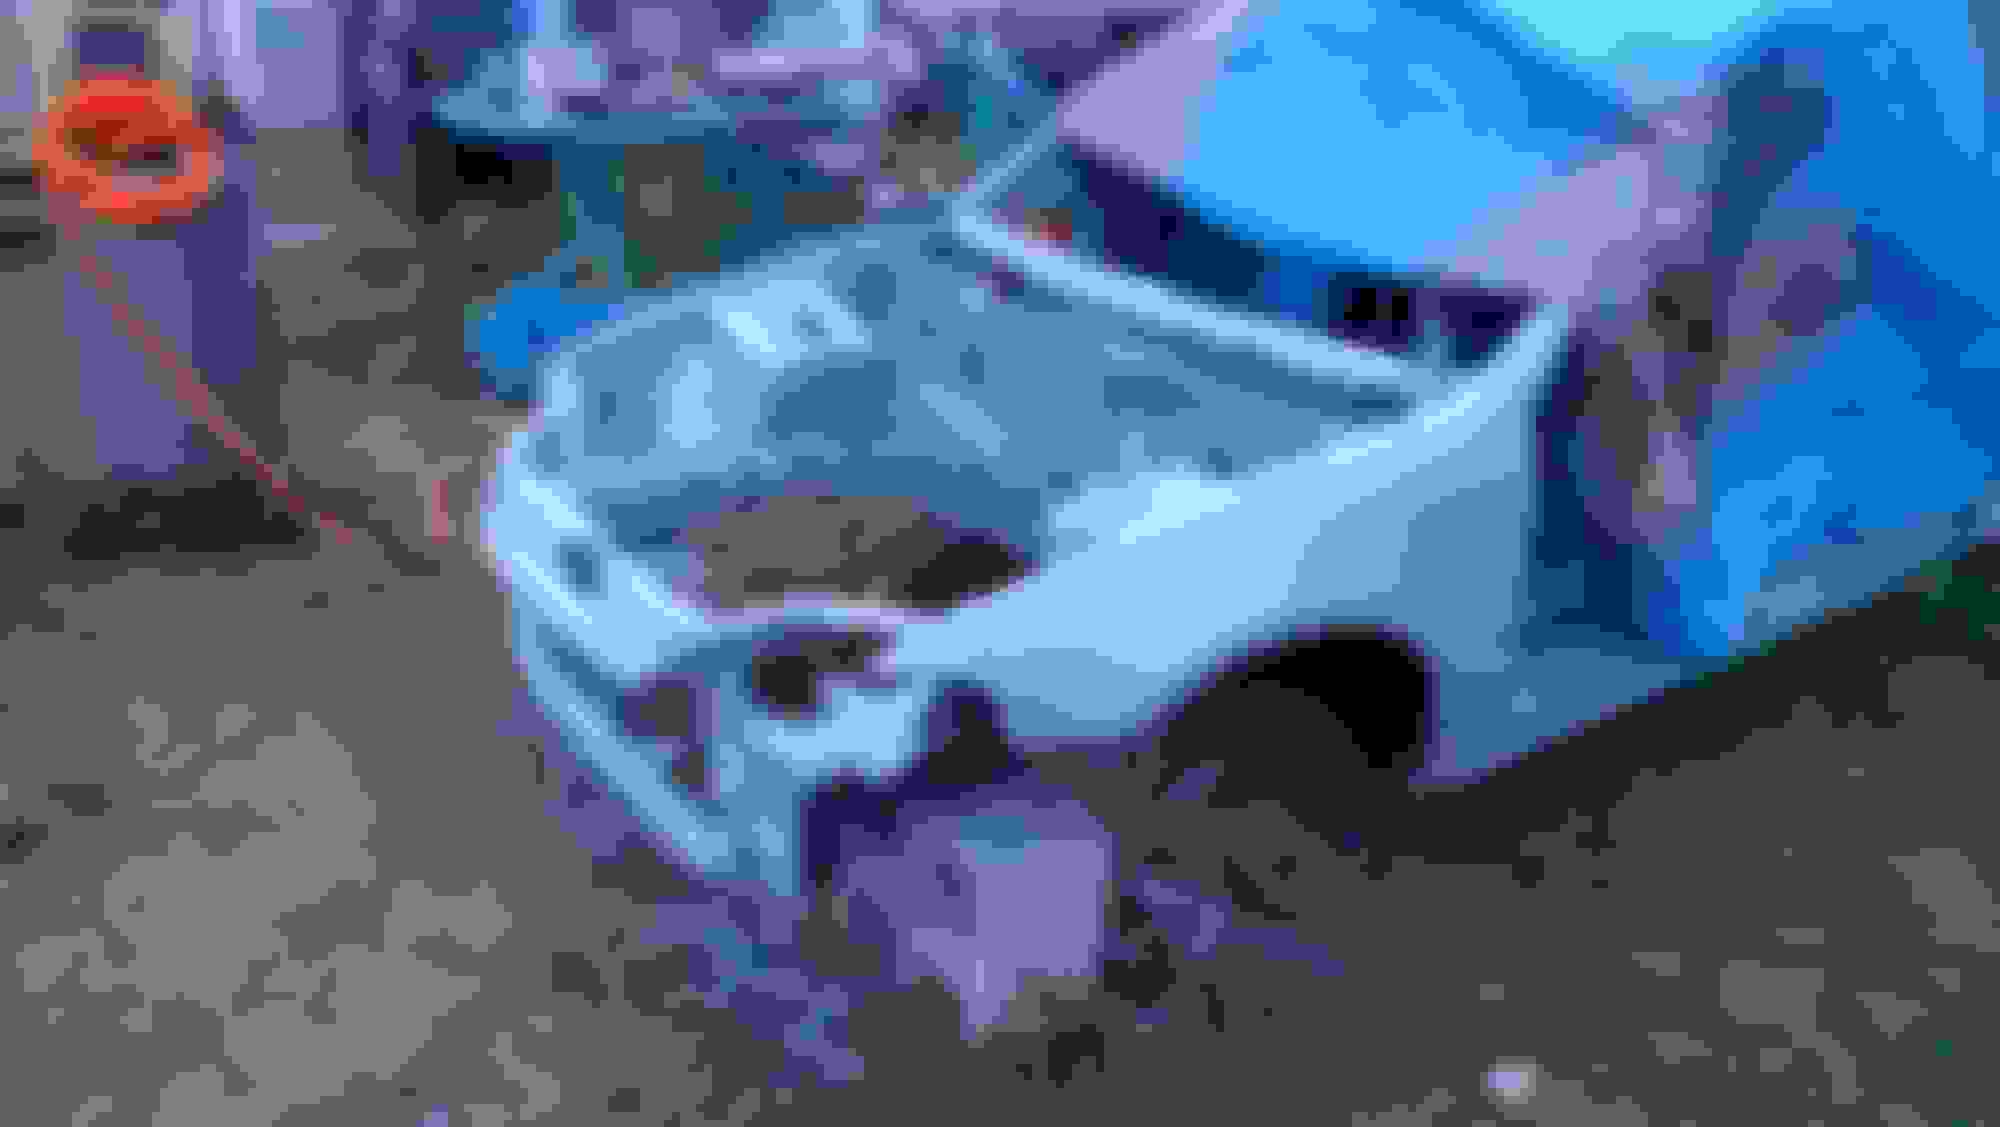
So after working my way around the shell i got back to the front end which seemed a bit out of line when i got the car. After trying a little bending and banging to get things back into an acceptable position, research netted the best idea, replacing the upper and lower core support assembly. So a new core support was procured from the world wide web and showed up within a few day. Using my newly acquired spot weld drilling skills off to work i went.
Pretty amazing how easy it was to pull off. Easier than the roof really. Note you can see the main frame rails, i would call them, are nice and clean and not damaged. The carfax did not mention any body damage over the history of the car, but that didn't mean the car didnt see a few solid concrete parking stops and curbs to the lower support.
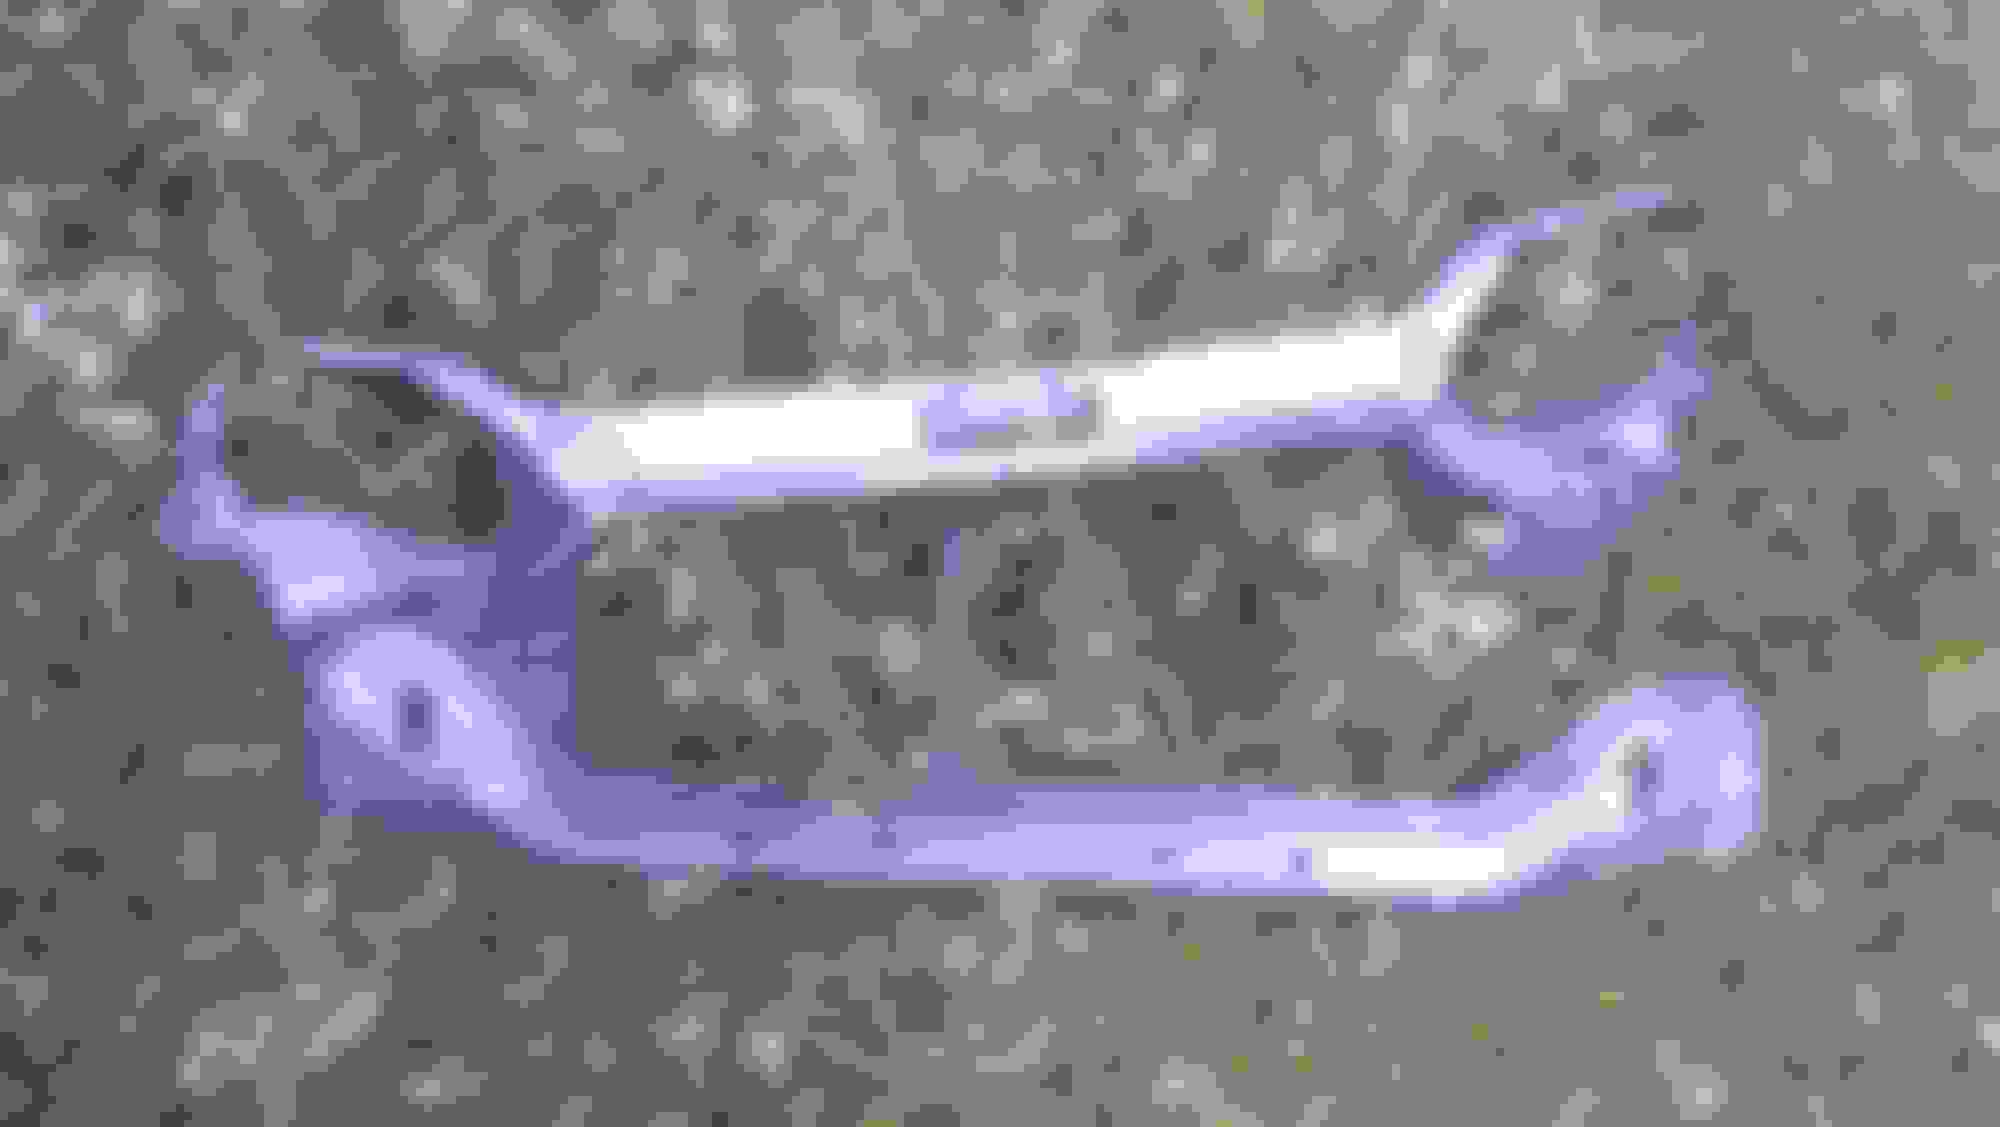
Nice piece of scrap there.
All ready for the mock up and fitting of the new front end.
You can see here that the bolt holes line up so you can mock/fit up the front end before getting to the welding. But since the rails i was bolting up to were in great shape i was able to get right to it. Using my trusty bird sh*t welder i filled the spot weld holes and added a few little tacks around to make sure it was on and going no where.
After some wire wheel, it was prime time again.
Oh so clean.
I had also pulled the subframe, rack, hardlines, etc. so i could catch the rest of the engine bay with a good coat. Im the same order a fresh set of fenders came along, so they got a good coating as well.
As a note, though i did not get a picture, i also threw some rubberized under coating on areas that either already had undercoating prior to the work or areas that would not see base coat and were covered up by fresh primer. No factory coating was removed if i could help it as that stuff is amazing at least here in our climate.
Wheel wells, inside of fenders, some of the frame etc. all saw a few coats. By this point i was just waiting for a good full day with the right conditions to start on the base and clear. The body work was done and it was time to toss some color on this party.

 08-22-2016, 05:16 PM