
DIY: Krylon Wrinkle Red SOHC Valve Cover.....
 03-30-2007, 01:07 PM
#1
Honda-Tech Member
Thread Starter
Join Date: Apr 2005
Location: 1,2,3,4 United States Marine Corps!
Posts: 3,465
Likes: 0
Received 1 Like
on
1 Post
Well I have quite a few friends with Type R's and i even impressed them a little bit lol... To start off with, I was bored of looking at my chipping black paint valve cover, so I decided instead of being riced out an doin some Mugen valve cover swappage "no TRUE mugen SOHC valve covers BTW" that i'd do my own lil paint job, an since i've never done it before i thought i'd take pictures. Again, I've never painted anything before and, well to my suprise it actually came out really good so i decided to make a lil write up for maybe some with questions or whatever, feedback welcome... Even if its flameage i'll take it in but consider i've never done this before and gathered as much info as i could prior to starting..
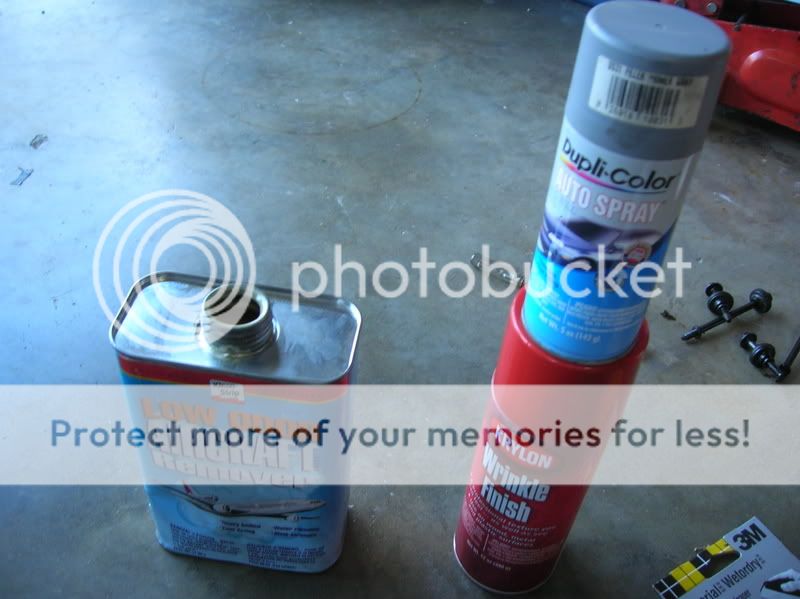
Supplies..
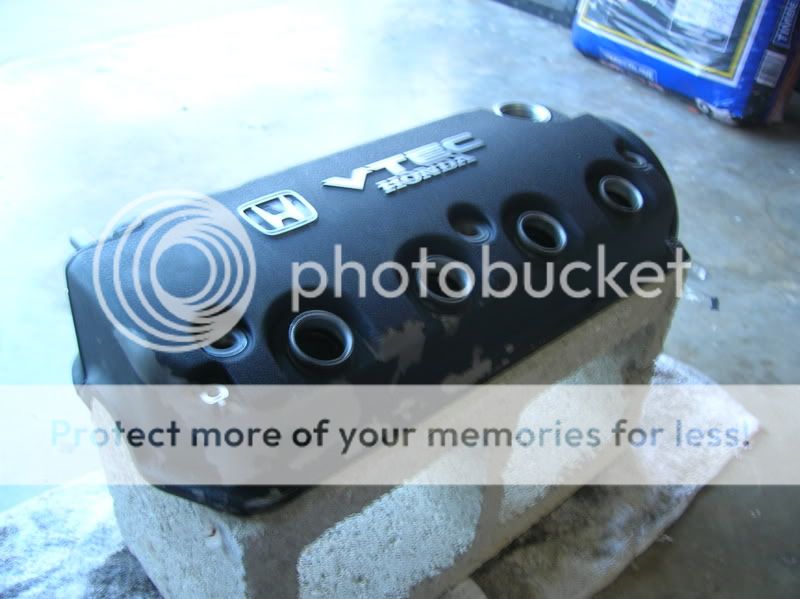
1. This is my chipping *** valve cover before.
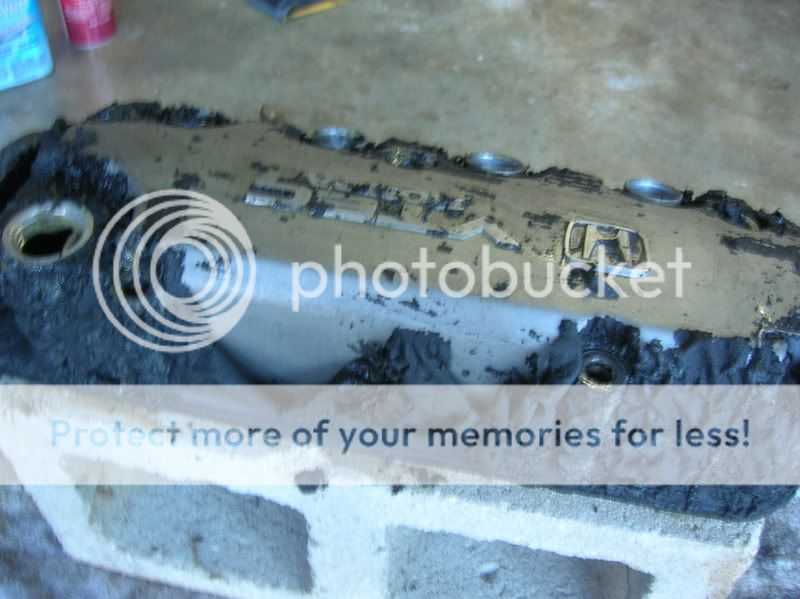
2. I used a small paint brush an brushed on Aircraft Paint remover then waited about 10 minutes an it literally was falling off with little help.
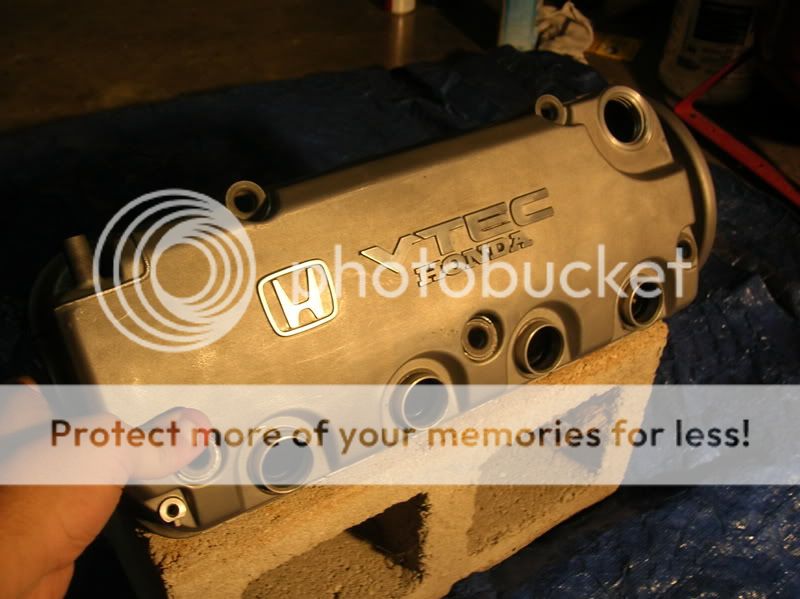
3. After I got all the old paint off i washed off valve cover with water an soap than rinsed completely off an dried. Looks shiny huh ;-)
4. Now its time for first coat of primer, it was late and all the stores were closed but i was determined so after a ravage through my garage i found a small can of primer that never was used.. Talk about luck huh
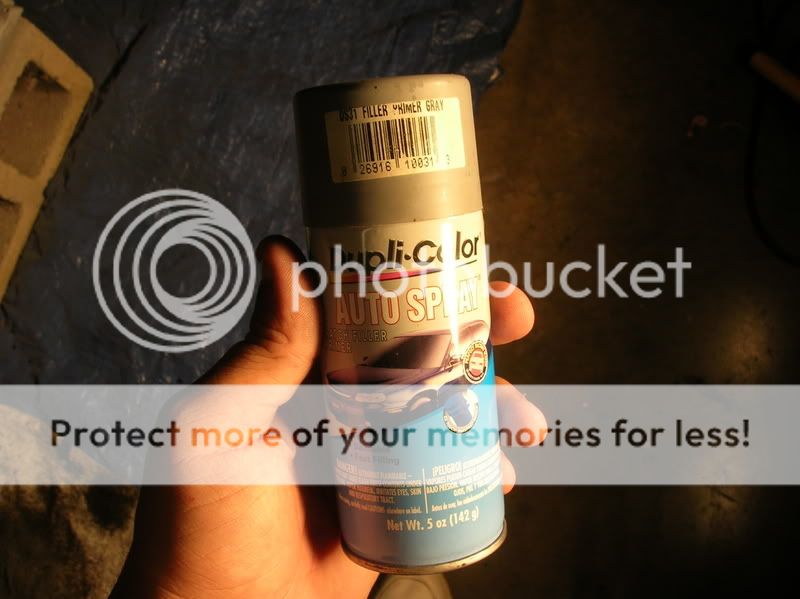
And what it looks like out of the can..
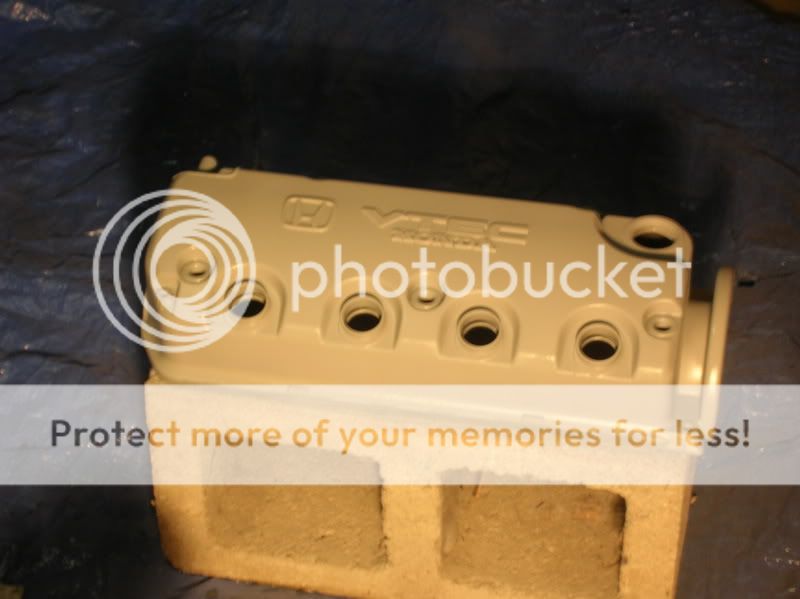
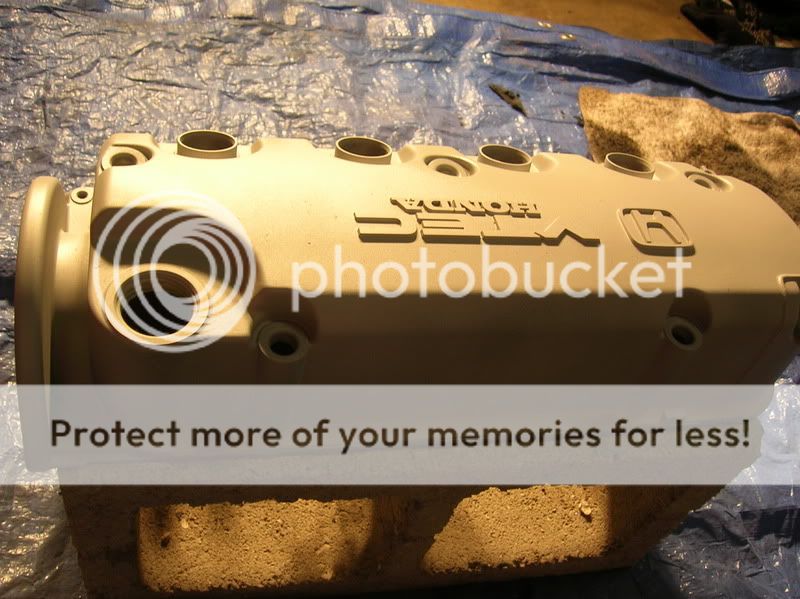
5. 2nd coat of primer..
6. Luckily after I read a post on here of this paint being only .01 cent at Autozone i checked into it an my local store had 1 can left at 1 cent lol, so needless to say "IT WAS MINE...!!'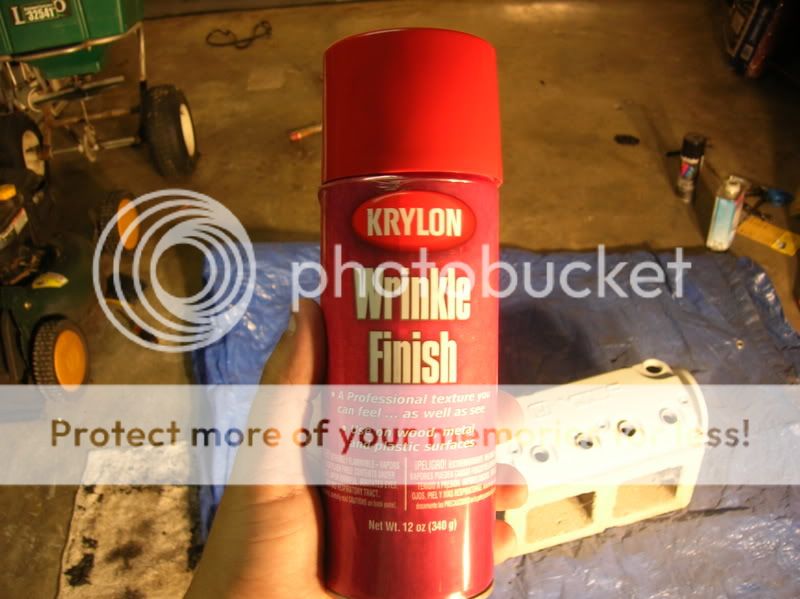
7. Yes you will sweat during this mission, pretty boys BEWARE..!!

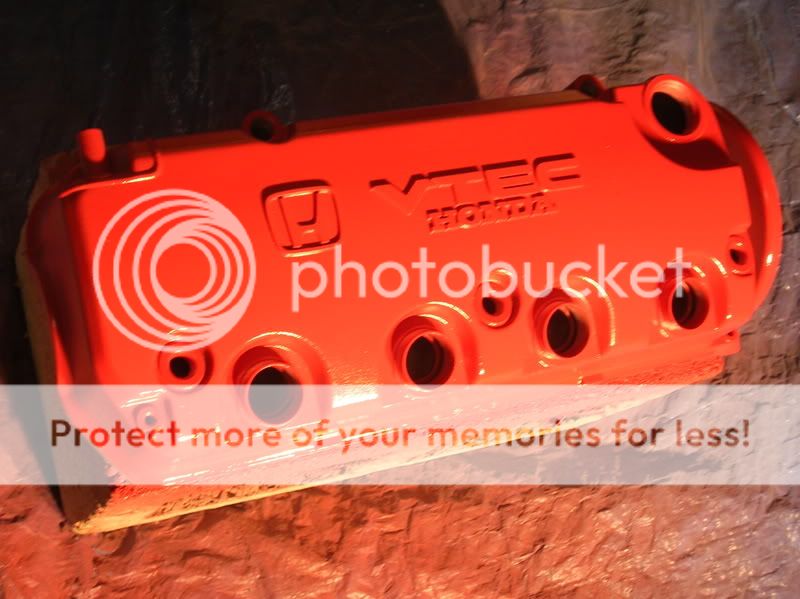
8. Time for 1st coat of red paint..
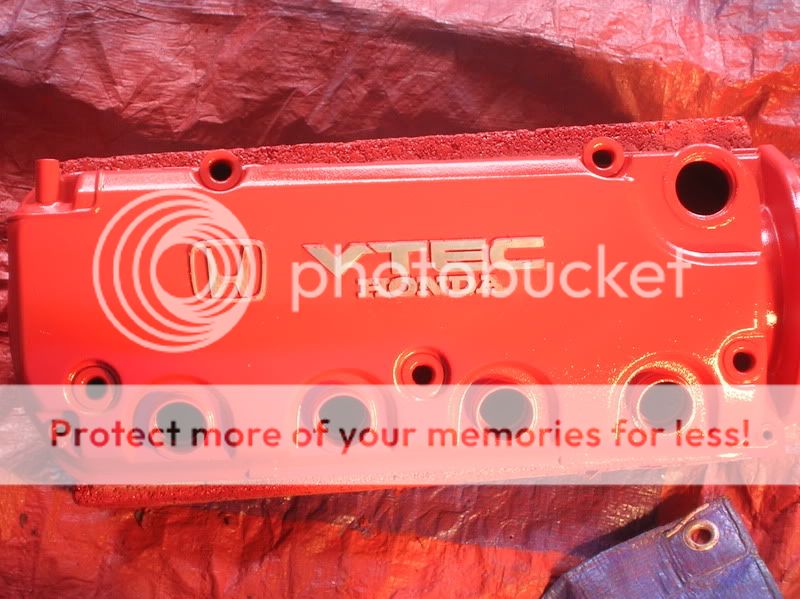
9. After i started putting on the second coat i forgot to cover the stamped letters so looks like im bustin out the nailpolish remover.. ::didnt take pics but any will work id assume"
10. After cleaning the letters i placed a peice of blue painters tape over the letters thinking that since I had 4 coats on already that you wouldnt notice the next coat being applied around the tape but ummm, yeah i was wrong so dont do that..
11. The Culprit..!!!!
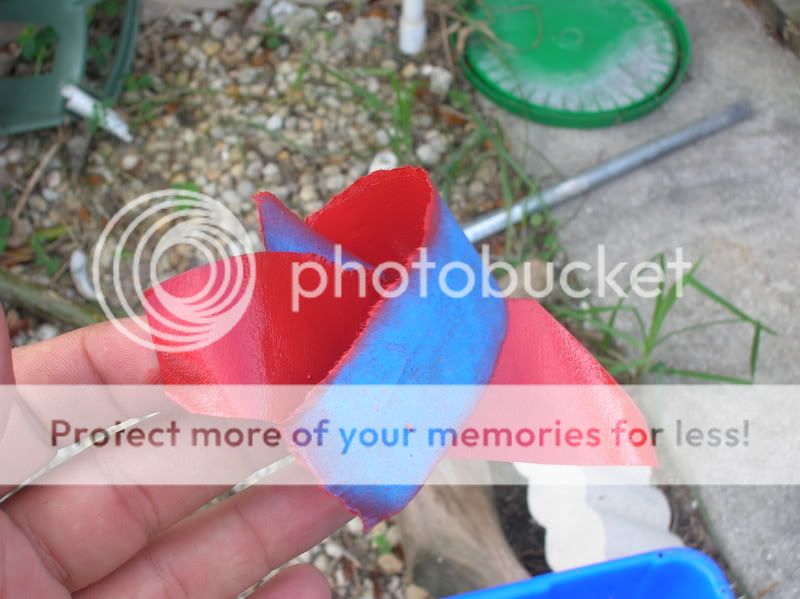
12. Yeah you can definitely tell huh...?
13. Ok so after carefully applying some chapstick to my fingertip "with latex gloves on" i coated all the raised lettering with about 1 to 2 coats of chapstick, applied 2 more coats of the Wrinkle Red "6 total so far" an than wiped the letters off clean. Than after about 15 minutes I placed the valve cover in the oven on 215 degrees for about 10-15 minutes..
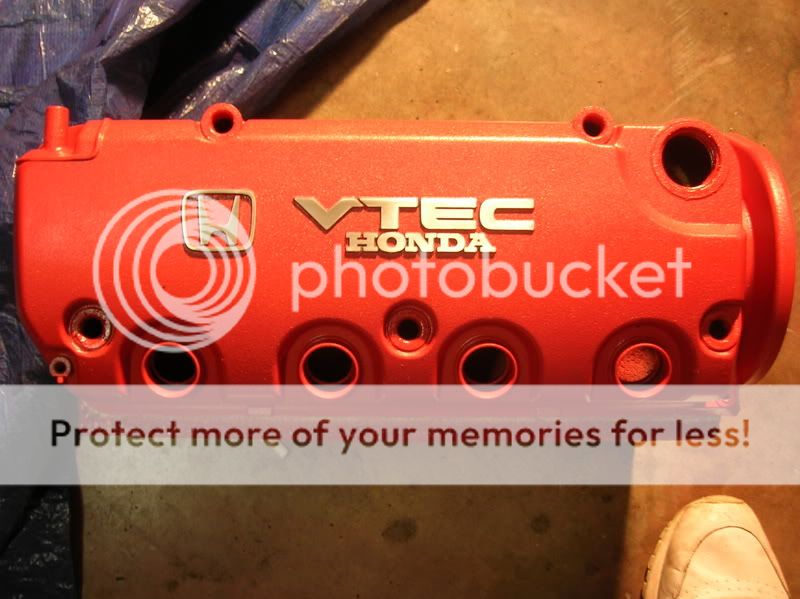
14. Using 1000 grit sandpaper i went over all the raised lettering a couple dozen times, oh yeah shes shinin now..!!

15. Well I got bored of my strutbar being the same for 2 years, so with the extra paint did it along with my intake.. Intake pictures coming soon but trust me it came out really good..
16. So after all night of sweatin my *** off in anticipation, Robbie decides to show up an show off his fully built b20/vtec turbo pushin around 480hp..
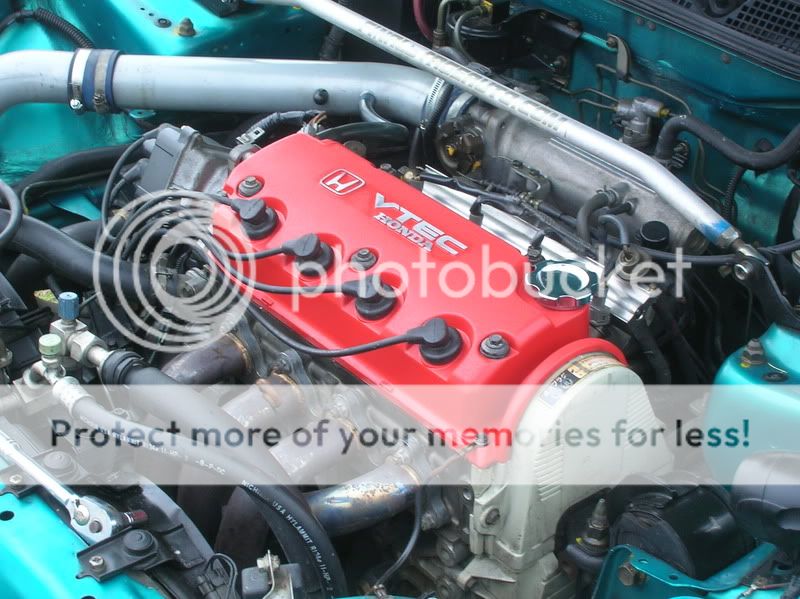
17. Yeah my ***** wayyyy cleaner..
Ok so after all was said and done, I spent around 12 bucks lol... Call me cheap if you'd like but I feel like I learned a lot on this little project an plus it kept me busy for a little while lol... I kno some say the wrinkle red is played out and all that blabla, but around here i've never seen a SOHC with that paint job on the VC.. Matching the intake and strut bar was actually a good idea because once I get my Championship White paint job, red is gonna be my 2nd color... CTR style is what im going for, maybe just not as extreme but as close as I can get... The brackets for strut bar, couplers for intake, and bolts for valve cover were all cleaned, dried, and painted semi-gloss black so everything now looks super clean... Well, thats it
Modified by JDM_SOHC at 11:46 AM 3/31/2007
Modified by JDM_SOHC at 2:25 PM 7/21/2008
Supplies..
1. This is my chipping *** valve cover before.
2. I used a small paint brush an brushed on Aircraft Paint remover then waited about 10 minutes an it literally was falling off with little help.
3. After I got all the old paint off i washed off valve cover with water an soap than rinsed completely off an dried. Looks shiny huh ;-)
4. Now its time for first coat of primer, it was late and all the stores were closed but i was determined so after a ravage through my garage i found a small can of primer that never was used.. Talk about luck huh
And what it looks like out of the can..
5. 2nd coat of primer..
6. Luckily after I read a post on here of this paint being only .01 cent at Autozone i checked into it an my local store had 1 can left at 1 cent lol, so needless to say "IT WAS MINE...!!'
7. Yes you will sweat during this mission, pretty boys BEWARE..!!
8. Time for 1st coat of red paint..
9. After i started putting on the second coat i forgot to cover the stamped letters so looks like im bustin out the nailpolish remover.. ::didnt take pics but any will work id assume"
10. After cleaning the letters i placed a peice of blue painters tape over the letters thinking that since I had 4 coats on already that you wouldnt notice the next coat being applied around the tape but ummm, yeah i was wrong so dont do that..
11. The Culprit..!!!!
12. Yeah you can definitely tell huh...?
13. Ok so after carefully applying some chapstick to my fingertip "with latex gloves on" i coated all the raised lettering with about 1 to 2 coats of chapstick, applied 2 more coats of the Wrinkle Red "6 total so far" an than wiped the letters off clean. Than after about 15 minutes I placed the valve cover in the oven on 215 degrees for about 10-15 minutes..
14. Using 1000 grit sandpaper i went over all the raised lettering a couple dozen times, oh yeah shes shinin now..!!
15. Well I got bored of my strutbar being the same for 2 years, so with the extra paint did it along with my intake.. Intake pictures coming soon but trust me it came out really good..
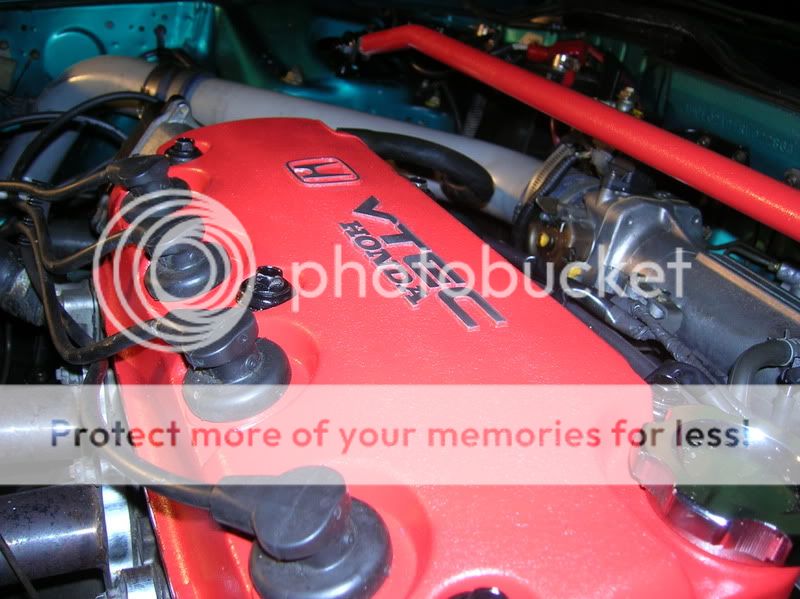
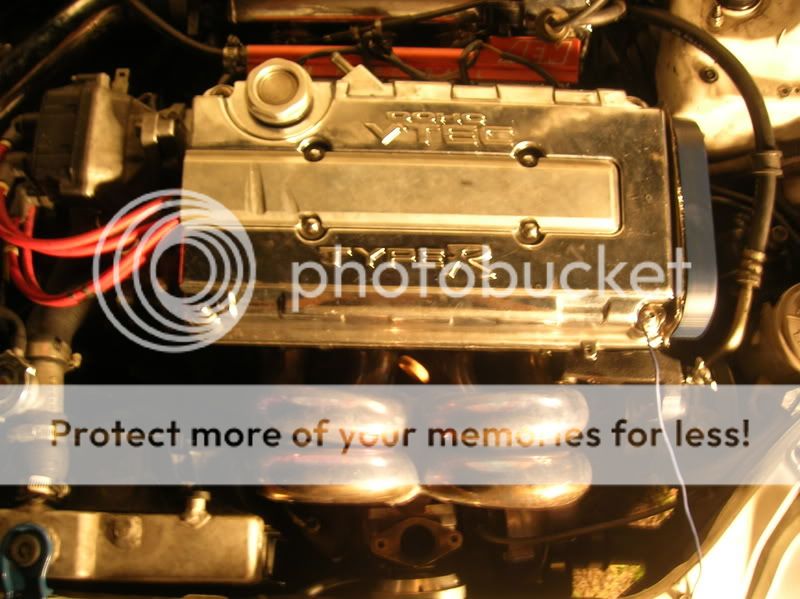
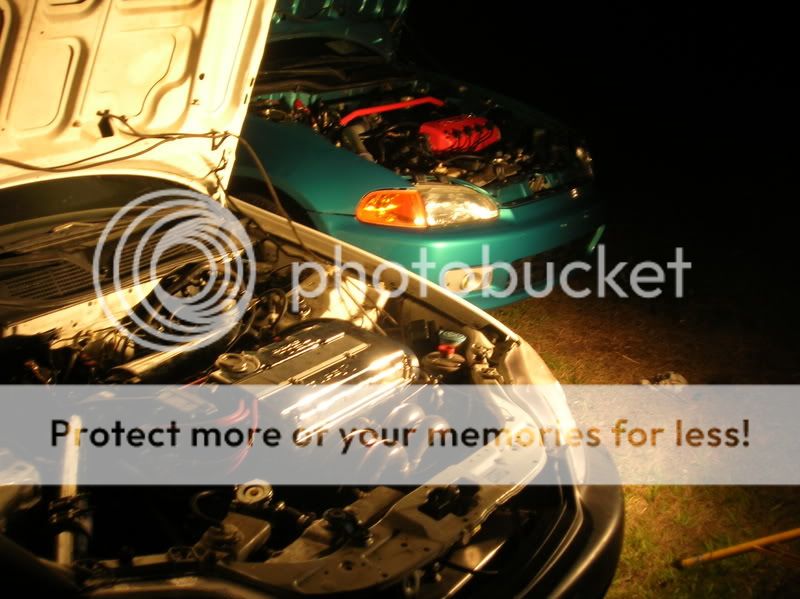
16. So after all night of sweatin my *** off in anticipation, Robbie decides to show up an show off his fully built b20/vtec turbo pushin around 480hp..
17. Yeah my ***** wayyyy cleaner..
Ok so after all was said and done, I spent around 12 bucks lol... Call me cheap if you'd like but I feel like I learned a lot on this little project an plus it kept me busy for a little while lol... I kno some say the wrinkle red is played out and all that blabla, but around here i've never seen a SOHC with that paint job on the VC.. Matching the intake and strut bar was actually a good idea because once I get my Championship White paint job, red is gonna be my 2nd color... CTR style is what im going for, maybe just not as extreme but as close as I can get... The brackets for strut bar, couplers for intake, and bolts for valve cover were all cleaned, dried, and painted semi-gloss black so everything now looks super clean... Well, thats it
Modified by JDM_SOHC at 11:46 AM 3/31/2007
Modified by JDM_SOHC at 2:25 PM 7/21/2008
 03-30-2007, 01:35 PM
#3
Honda-Tech Member
Thread Starter
Join Date: Apr 2005
Location: 1,2,3,4 United States Marine Corps!
Posts: 3,465
Likes: 0
Received 1 Like
on
1 Post
Thanks dude.. doesnt actually look that bad right.. I got tons of criticism at first for even thinking of doing it, than afterwards all my friends who were talkin **** were askin how it came out so clean lol... Oh well was just a project that I started expecting to fail at, but gradually came together as it got closer to being done... Thanks again
03-30-2007, 01:38 PM
#5


 03-30-2007, 01:41 PM
#6
Honda-Tech Member
Thread Starter
Join Date: Apr 2005
Location: 1,2,3,4 United States Marine Corps!
Posts: 3,465
Likes: 0
Received 1 Like
on
1 Post
Good **** dude..!! Yeah I was gonna re-do it in black, but i figured if i fubarred the red than i'd just try black out... smart choice IMO, but im definitely not hatin on the black..
Trending Topics
 03-30-2007, 03:30 PM
#13
HT White Ops
iTrader: (1)

Join Date: Mar 2006
Location: I see what you did there.
Posts: 16,222
Likes: 0
Received 3 Likes
on
3 Posts
<TABLE WIDTH="90%" CELLSPACING=0 CELLPADDING=0 ALIGN=CENTER><TR><TD>Quote, originally posted by progEKt: »</TD></TR><TR><TD CLASS="quote">looks nice... sticky in A/C maybe?</TD></TR></TABLE>
Not even close. I can add it to my link sticky thread, though.
Not even close. I can add it to my link sticky thread, though.
03-30-2007, 09:47 PM
#14
Honda-Tech Member
Thread Starter
Join Date: Apr 2005
Location: 1,2,3,4 United States Marine Corps!
Posts: 3,465
Likes: 0
Received 1 Like
on
1 Post
hey guys thanks a lot for your feedback, an thanks for the comments.. i get TONS of help from you guys on here so when i saw an opportunity to return the favor i took it...
03-31-2007, 06:52 AM
#21
Honda-Tech Member
Thread Starter
Join Date: Apr 2005
Location: 1,2,3,4 United States Marine Corps!
Posts: 3,465
Likes: 0
Received 1 Like
on
1 Post
haha keep the love comin guys..!!! im suprised, i thought for sure there would be at least 1 flamer out there but so far nothing but good news..!!! an yeah as far as my homeboys car goes, i think he's in the negatives when it comes to gas mileage lmao.... during runs at the track you can watch his gas gauge just bounce around like its havin severe power issues lol... but thanks again guys, i appreciate all your comments and feedback...
an yeah as far as my homeboys car goes, i think he's in the negatives when it comes to gas mileage lmao.... during runs at the track you can watch his gas gauge just bounce around like its havin severe power issues lol... but thanks again guys, i appreciate all your comments and feedback...
03-31-2007, 06:53 AM
#22
Go Tigers!
<TABLE WIDTH="90%" CELLSPACING=0 CELLPADDING=0 ALIGN=CENTER><TR><TD>Quote, originally posted by JDM_SOHC »</TD></TR><TR><TD CLASS="quote">hey guys thanks a lot for your feedback, an thanks for the comments.. i get TONS of help from you guys on here so when i saw an opportunity to return the favor i took it... </TD></TR></TABLE>
that's the ideal mentality to have
</TD></TR></TABLE>that's the ideal mentality to have
03-31-2007, 06:59 AM
#23
Honda-Tech Member
Thread Starter
Join Date: Apr 2005
Location: 1,2,3,4 United States Marine Corps!
Posts: 3,465
Likes: 0
Received 1 Like
on
1 Post
<TABLE WIDTH="90%" CELLSPACING=0 CELLPADDING=0 ALIGN=CENTER><TR><TD>Quote, originally posted by Bense »</TD></TR><TR><TD CLASS="quote">
that's the ideal mentality to have </TD></TR></TABLE>
dude i feel priveleged just having you even leave a comment on my writeup lol... your one of the ones whos helped me out the most "even though u prolly didnt kno it" lol... anytime i see a topic created by "Bense" I make sure to check it out... And yeah man as far as havin the right attitude an mentality, to me it only makes sense to try and help as much as I can because when I need help I dont wanna get stiffed ya know... I appreciate the help that I've gotten from everyone on here, so once I got my hands on a digital camera I started showin love back.. Look soon for my DIY IS300 Foglight Retrofit into an EG, an DIY Rear Main Seal Replacement on D15B.... Thanks again 
that's the ideal mentality to have
</TD></TR></TABLE>dude i feel priveleged just having you even leave a comment on my writeup lol... your one of the ones whos helped me out the most "even though u prolly didnt kno it" lol... anytime i see a topic created by "Bense" I make sure to check it out... And yeah man as far as havin the right attitude an mentality, to me it only makes sense to try and help as much as I can because when I need help I dont wanna get stiffed ya know... I appreciate the help that I've gotten from everyone on here, so once I got my hands on a digital camera I started showin love back.. Look soon for my DIY IS300 Foglight Retrofit into an EG, an DIY Rear Main Seal Replacement on D15B....
Thanks again
03-31-2007, 07:04 AM
#25
Honda-Tech Member
Thread Starter
Join Date: Apr 2005
Location: 1,2,3,4 United States Marine Corps!
Posts: 3,465
Likes: 0
Received 1 Like
on
1 Post
<TABLE WIDTH="90%" CELLSPACING=0 CELLPADDING=0 ALIGN=CENTER><TR><TD>Quote, originally posted by VegaS10 »</TD></TR><TR><TD CLASS="quote">Looks really nice.
I used a heatgun to do my friends valve cover. My wife would not let me put it in the oven...lol.</TD></TR></TABLE>
Yeah I got some blank stares when I mentioned putting mine in the oven also, but it doesnt drip or leak or anything, actually was prolly the brightest idea I could remember reading about on how to "treat" the paint so later on it wouldnt chip or anything... But If the heatgun trick worked Whatever gets the job done right..
I used a heatgun to do my friends valve cover. My wife would not let me put it in the oven...lol.</TD></TR></TABLE>
Yeah I got some blank stares when I mentioned putting mine in the oven also, but it doesnt drip or leak or anything, actually was prolly the brightest idea I could remember reading about on how to "treat" the paint so later on it wouldnt chip or anything... But If the heatgun trick worked
Whatever gets the job done right..

