
DIY. How to install LED radiator fan indicator light on EG. (For Diagnostic purpose)
 06-28-2013, 10:24 PM
#1
Honda-Tech Member
Thread Starter

Hey guys. I would like to share this little DIY I did for my car when I was having problems with cooling system, to see if the fan is working on not while driving. What this basically do is to have an LED indicator light inside the car dash to check if the radiator fan turned on (also if thermostat open or not in most cases). The LED comes on when the fan comes on.
Here's what you need to begin with.
You can use soldering tool to solder the wires but since I only hooked this up as temporary, I didn't solder the wires. Instead, I just taped them securely. Also, you don't need a bag of resistors like me. I just have those for my lab.
Let's begin.
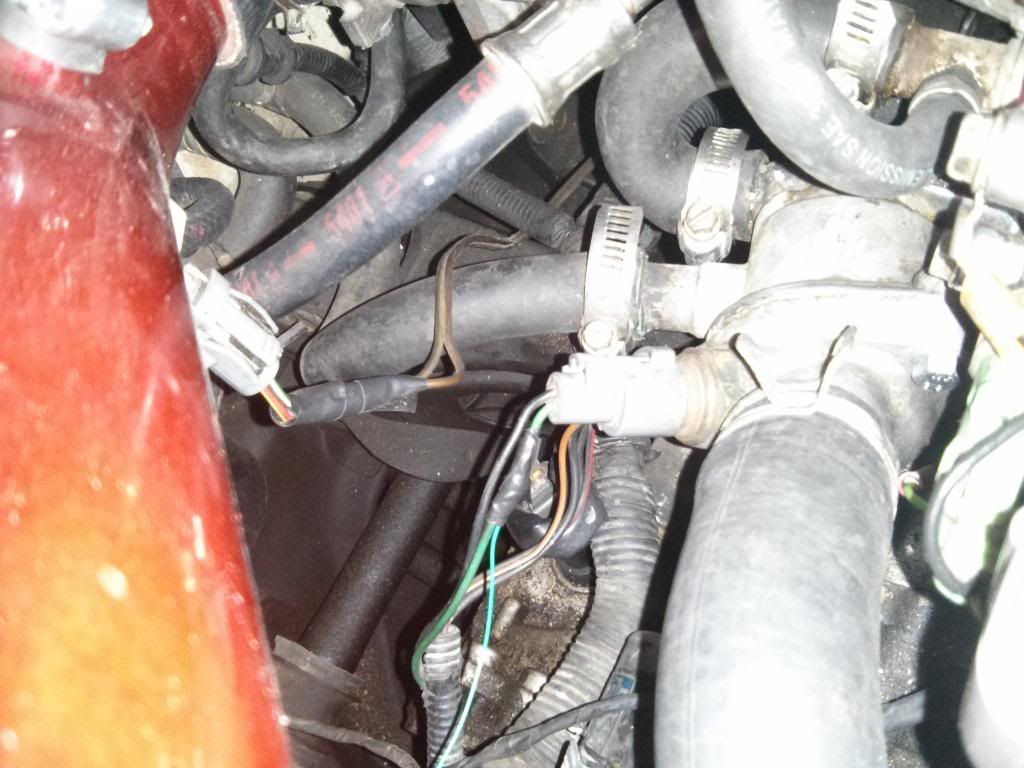
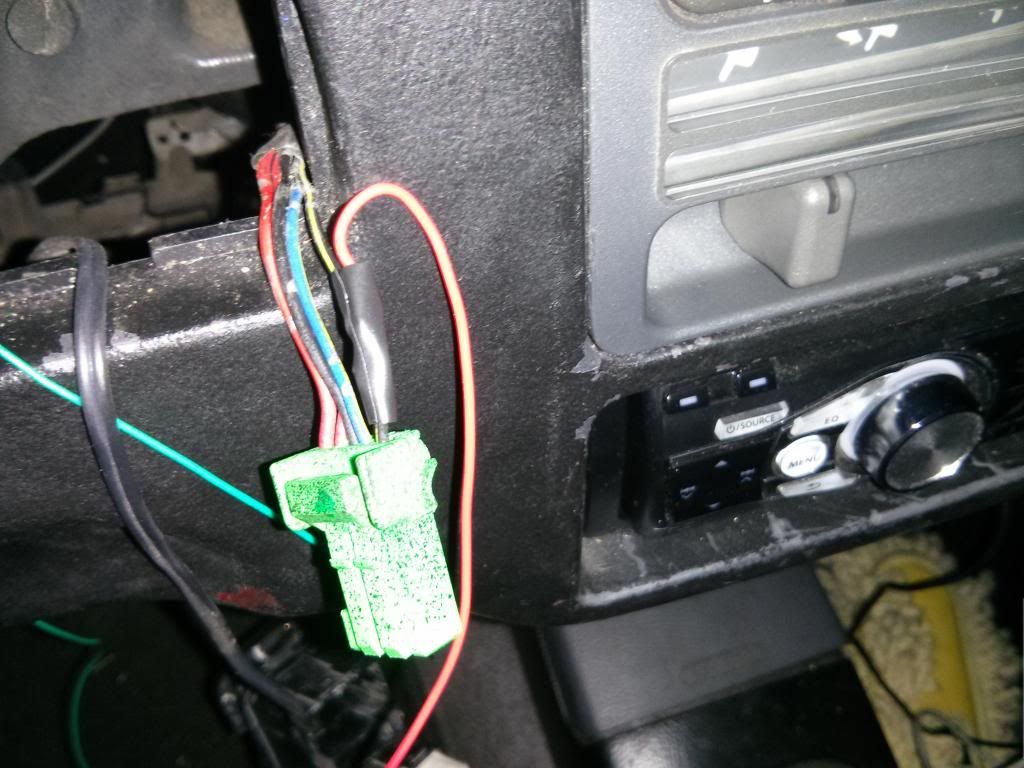
First, you will need to find the radiator fan. It is located right above the thermostat housing. It is the black and green wire relay in the picture.
Unplug the relay and using the multimeter, test the continuity of the two wires to the ground. For the obvious reasons, the black wire is the ground wire and the green wire is connected to the radiator fan. Radiator fan switch is a ground wire and the wire from negative terminal of radiator fan connected together. When the set temperature is reached, these two wires get shorted and the negative terminal wire from radiator is connected to the ground and the fan turned on. Anyways.
Splice open the green wire or the wire that is not connected to the ground and attach a wire that will go to LED. I didn't cut it because I didn't want to change the gauge of the wire and also, I was not planning to leave this on forever.
Ok. Now, find a way to get the wire that is attached to the switch to inside the car through firewall. There's a hole near the driver side behind the intake manifold. underneath the battery. Whichever is easier for you. Make sure the wire is not dangling in the engine bay.
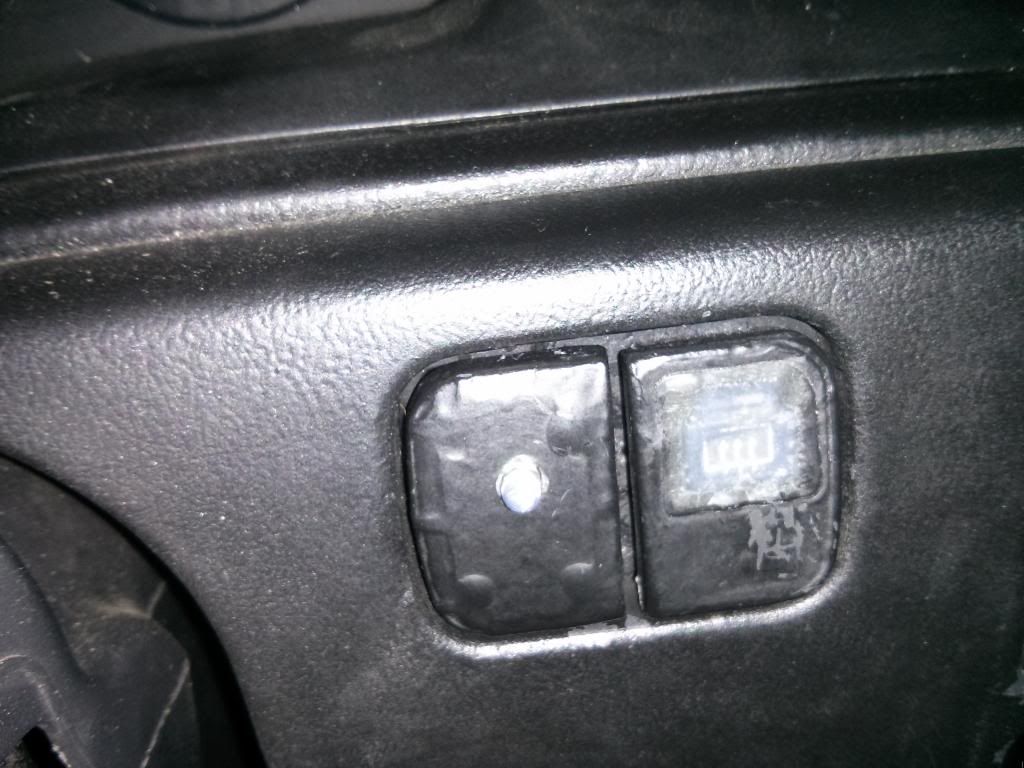
Now, inside the car, route the wire to where you want to place LED. I chose the spot next to rear window defog switch because defogger has a power cable that becomes hot when the key is ON, which is perfect for this.
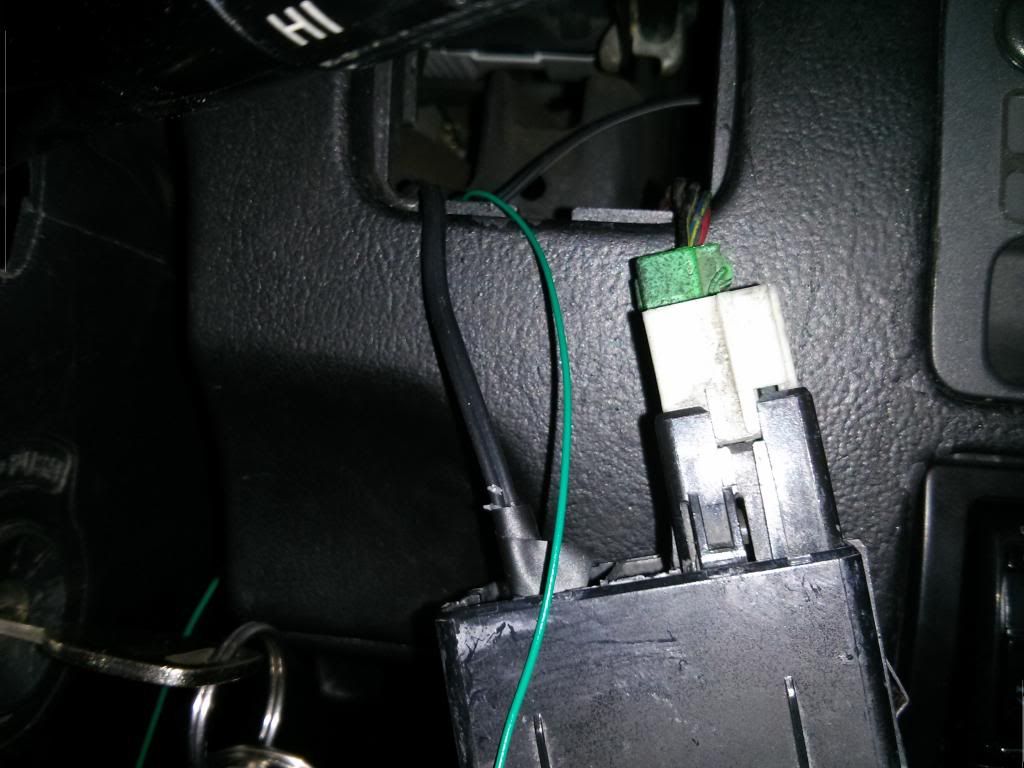
Unplug the defogger and turn the key to ON position. Then using the multimeter, find the power cable that is hot. In my car, it is the black/yellow cable at the left most position.
Sorry for the green wire confusion. The green wire attacked to the relay is connected to the multimeter.
Splice it and attach a wire. I used red wire for positive terminal. Again, I used tape for temporary purpose.
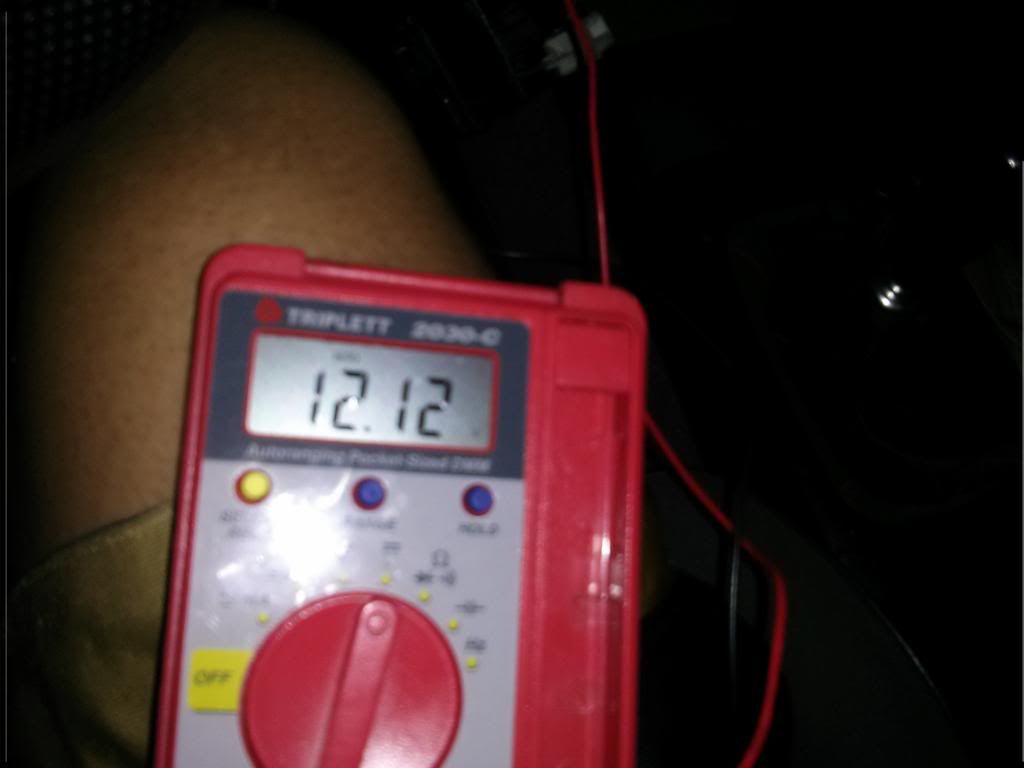
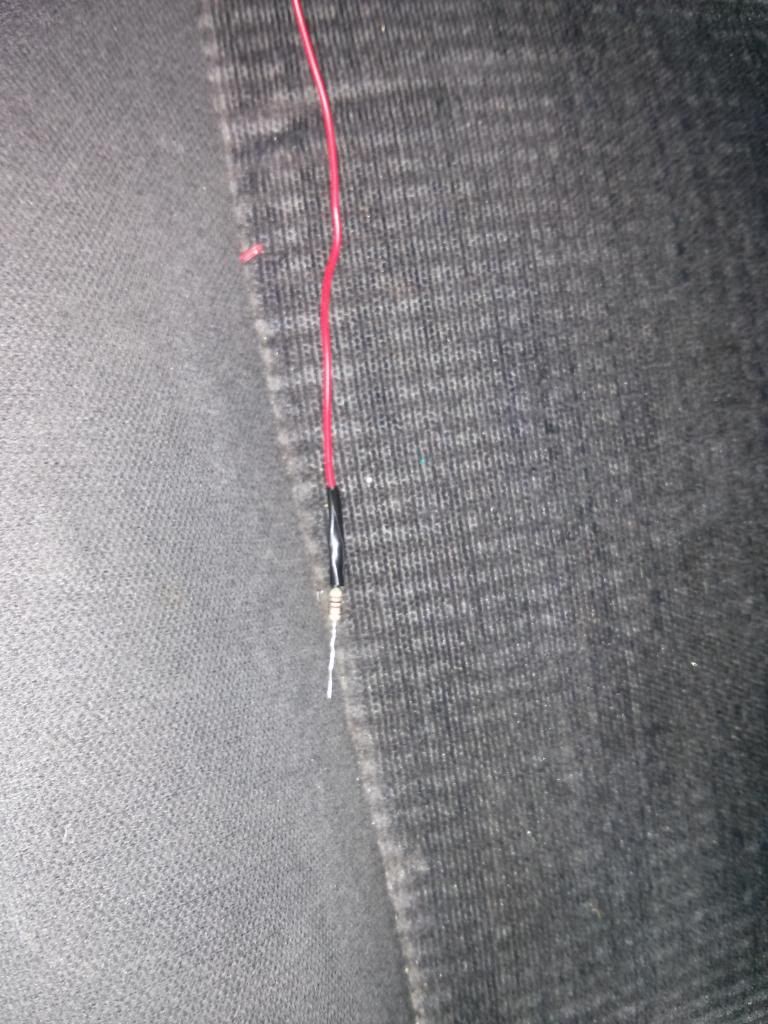
Now, LED will burn instantly if you apply high current that this power line has. We need a resistor. So, we will need to find out the current rating on the LED. The LED I use is 25mA rating. Using the equation, V = IR, we can find out the resistor value. R = V/I. V is voltage of the source, 12.12 V for me. I is 25mA or 0.025 A. That gives me R to be 484.8, close to 500 ohm. That is the lowest resistor we can use. To be safe, I am using a 1K resistor in this project as 500 ohm higher resistor than calculated value for safety purpose. (Using the calculated resistor value will give me the brightest light of the LED but it won't last very long as it will get hot).
Attach this resistor to the other end of the red wire. (Make sure the key is off now).
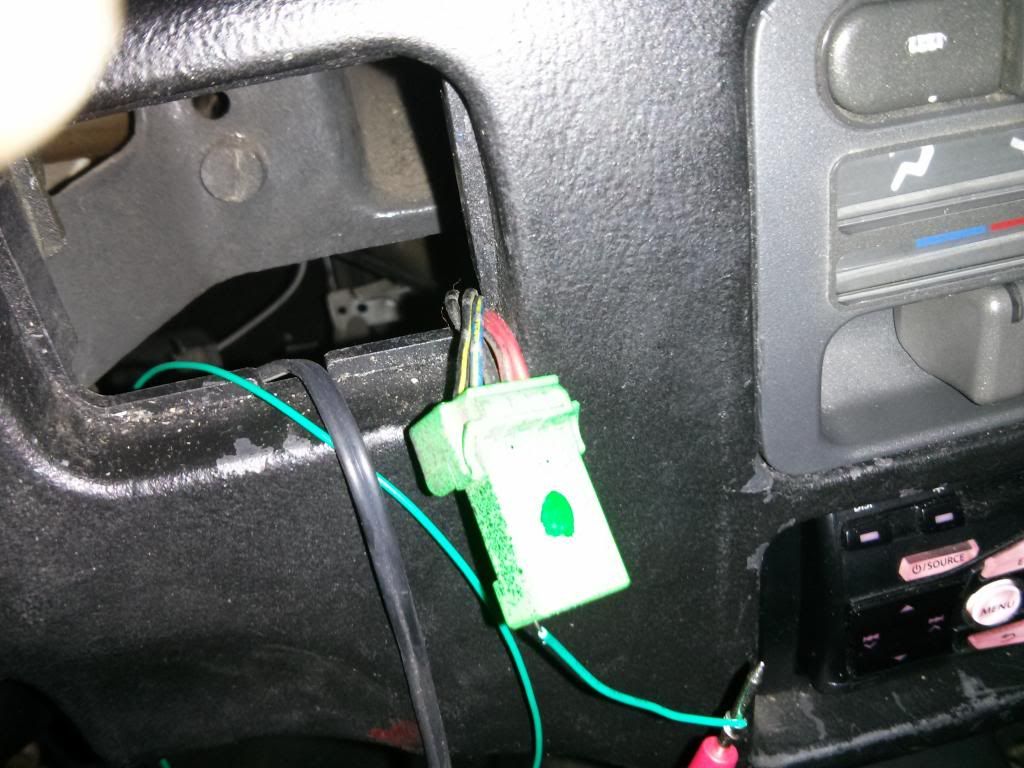
Now, you will have red and green (or whatever color you chose) two wires. The wire that comes from thermostat switch is the negative (ground) wire and the wire from the defogger switch is the positive wire. Attach them to the LED with the resistor in the line. (Again, I taped it for temporary purpose).
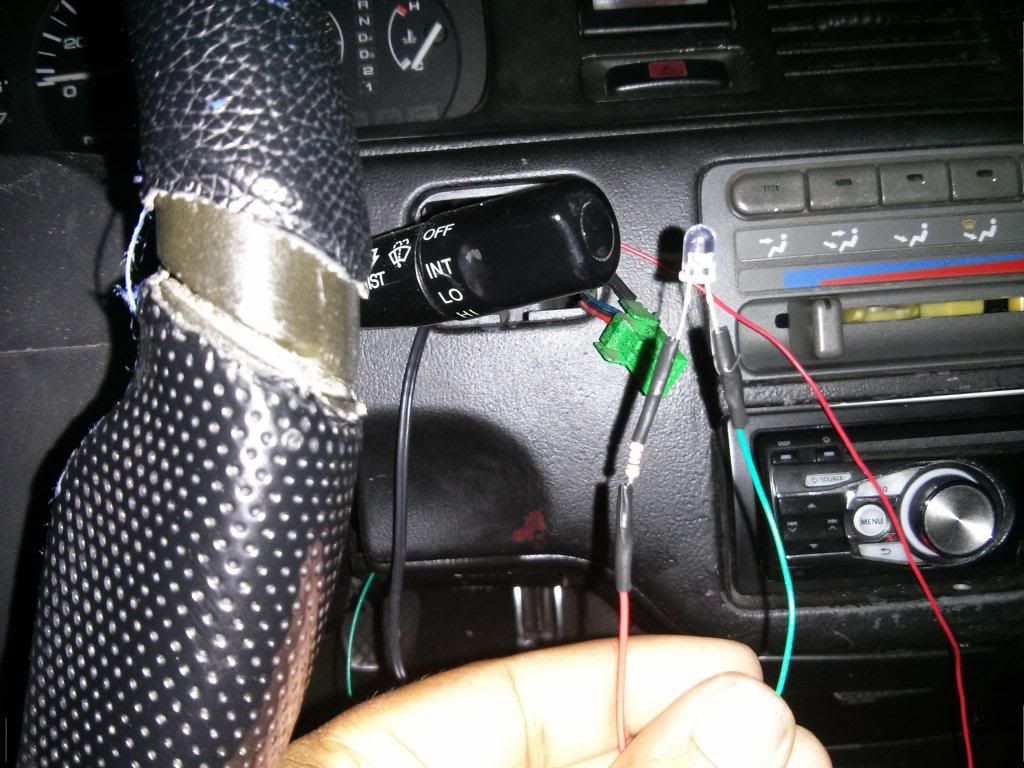
Now, Secure the wires and put the LED into the dash. (Sorry about the messed up button and paint. The old owner messed it up).
That's it. You can test this working or not by either jumping the switch or let it idle and wait for the fan to come on.
You don't have to worry about frying the fan because LED is a diode. It will burn before you fry the fan if there's a shot.
Disclaimer: If you don't put the resistor, your LED will burn instantly. Also, if you put the positive wire directly to the wire that comes off of the switch, it'll cause electric shock or sparks. It can potentially start a fire. I am not responsible for any of that. So, be extremely careful.
Here's what you need to begin with.
You can use soldering tool to solder the wires but since I only hooked this up as temporary, I didn't solder the wires. Instead, I just taped them securely. Also, you don't need a bag of resistors like me. I just have those for my lab.
Let's begin.
First, you will need to find the radiator fan. It is located right above the thermostat housing. It is the black and green wire relay in the picture.
Unplug the relay and using the multimeter, test the continuity of the two wires to the ground. For the obvious reasons, the black wire is the ground wire and the green wire is connected to the radiator fan. Radiator fan switch is a ground wire and the wire from negative terminal of radiator fan connected together. When the set temperature is reached, these two wires get shorted and the negative terminal wire from radiator is connected to the ground and the fan turned on. Anyways.
Splice open the green wire or the wire that is not connected to the ground and attach a wire that will go to LED. I didn't cut it because I didn't want to change the gauge of the wire and also, I was not planning to leave this on forever.
Ok. Now, find a way to get the wire that is attached to the switch to inside the car through firewall. There's a hole near the driver side behind the intake manifold. underneath the battery. Whichever is easier for you. Make sure the wire is not dangling in the engine bay.
Now, inside the car, route the wire to where you want to place LED. I chose the spot next to rear window defog switch because defogger has a power cable that becomes hot when the key is ON, which is perfect for this.
Unplug the defogger and turn the key to ON position. Then using the multimeter, find the power cable that is hot. In my car, it is the black/yellow cable at the left most position.
Sorry for the green wire confusion. The green wire attacked to the relay is connected to the multimeter.
Splice it and attach a wire. I used red wire for positive terminal. Again, I used tape for temporary purpose.
Now, LED will burn instantly if you apply high current that this power line has. We need a resistor. So, we will need to find out the current rating on the LED. The LED I use is 25mA rating. Using the equation, V = IR, we can find out the resistor value. R = V/I. V is voltage of the source, 12.12 V for me. I is 25mA or 0.025 A. That gives me R to be 484.8, close to 500 ohm. That is the lowest resistor we can use. To be safe, I am using a 1K resistor in this project as 500 ohm higher resistor than calculated value for safety purpose. (Using the calculated resistor value will give me the brightest light of the LED but it won't last very long as it will get hot).
Attach this resistor to the other end of the red wire. (Make sure the key is off now).
Now, you will have red and green (or whatever color you chose) two wires. The wire that comes from thermostat switch is the negative (ground) wire and the wire from the defogger switch is the positive wire. Attach them to the LED with the resistor in the line. (Again, I taped it for temporary purpose).
Now, Secure the wires and put the LED into the dash. (Sorry about the messed up button and paint. The old owner messed it up).
That's it. You can test this working or not by either jumping the switch or let it idle and wait for the fan to come on.
You don't have to worry about frying the fan because LED is a diode. It will burn before you fry the fan if there's a shot.
Disclaimer: If you don't put the resistor, your LED will burn instantly. Also, if you put the positive wire directly to the wire that comes off of the switch, it'll cause electric shock or sparks. It can potentially start a fire. I am not responsible for any of that. So, be extremely careful.
 05-10-2014, 09:05 PM
#2
Honda-Tech Member
You've actually spliced into the temperature sensor, which sends a signal to the coolant relay, not the fan. I did almost the same thing but connected to the relay in the box by the battery, and ran a wire to under the edge of the hood where it's visible from inside of the car. It works great, but in retrospect, only shows that the relay has been triggered, not that the fan is actually on. I'm not sure, but think at that point the ecu takes over the fan operation. Thus the relay light can be on all the time, but the fan running only intermittently due to the ecu control.
Because of this, I'm looking for a way to connect the led directly to the fan.
If anyone knows how to do this, other than splicing directly to the fan wires, let me know.
Because of this, I'm looking for a way to connect the led directly to the fan.
If anyone knows how to do this, other than splicing directly to the fan wires, let me know.

Thread
Thread Starter
Forum
Replies
Last Post
AgentJam
Tech / Misc
4
07-01-2005 05:23 AM