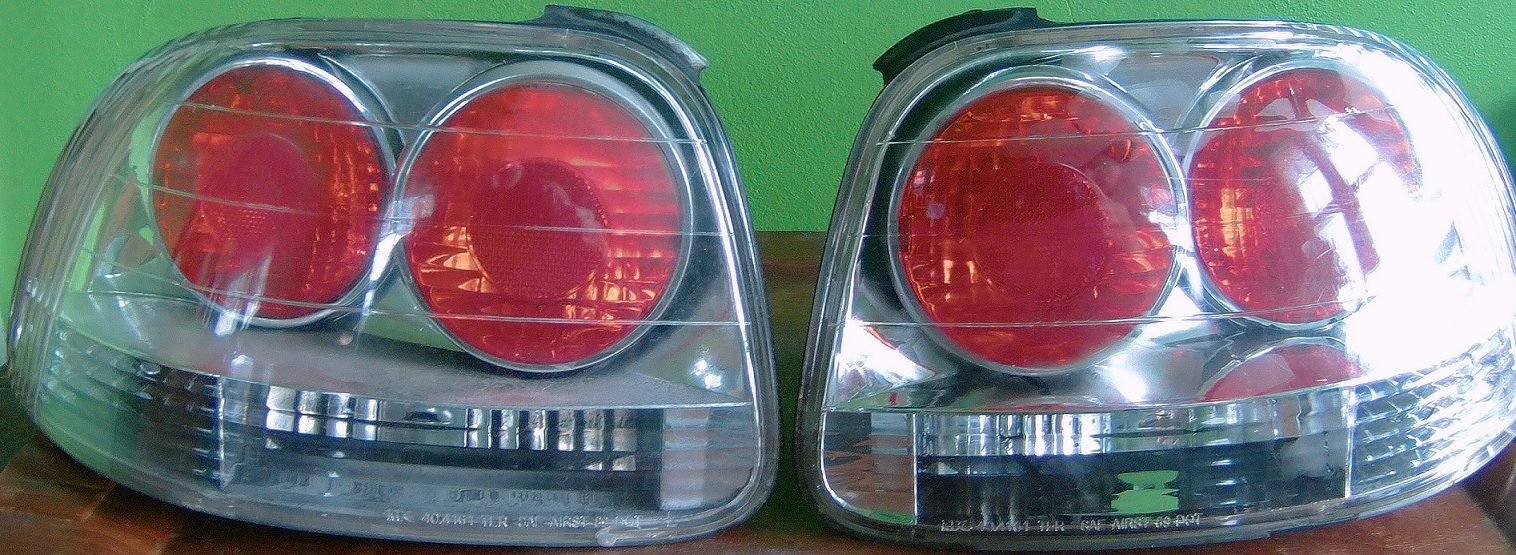
Del Sol Custom altezza taillight DIY write-up
#1
Honda-Tech Member
Thread Starter

Del Sol Custom altezza taillight DIY write-up
::Concept::
Altezza taillights in 2kXX look a bit dated. My goal was to bring them into the current era and tone down the "bling" while keeping them legal. Here is a small write-up for anyone else hoping to do the same on a budget.
::Tools::
Trim pry tools
Soldering iron
Household oven
Caulk gun
Razor blade
::Materials::
Altezza Taillights
Painters tape
Rubbing alcohol
Lint-free towels
Stick down vinyl mesh
Primer
Black spray paint
White spray paint
Window cleaner
Clear Silicone / Butyl strips
Varying grits of sandpaper
Step #1 - Clean
Once all the bulb sockets are removed there is nothing inside that water can harm. Take the altezzas and thoroughly rinse then inside and out. Use car-wash soap if it helps, just be sure to rinse well. Give it adequate time to dry before proceeding.
Step #2 - Soldering iron
Take your soldering iron and let it get nice and hot. Now locate the small plastic tabs that attach the lens to the shell around the edge of the light. Use the iron to melt out these tabs, be careful to not go to deep or set the plastic on fire.

Step #3 - The Oven
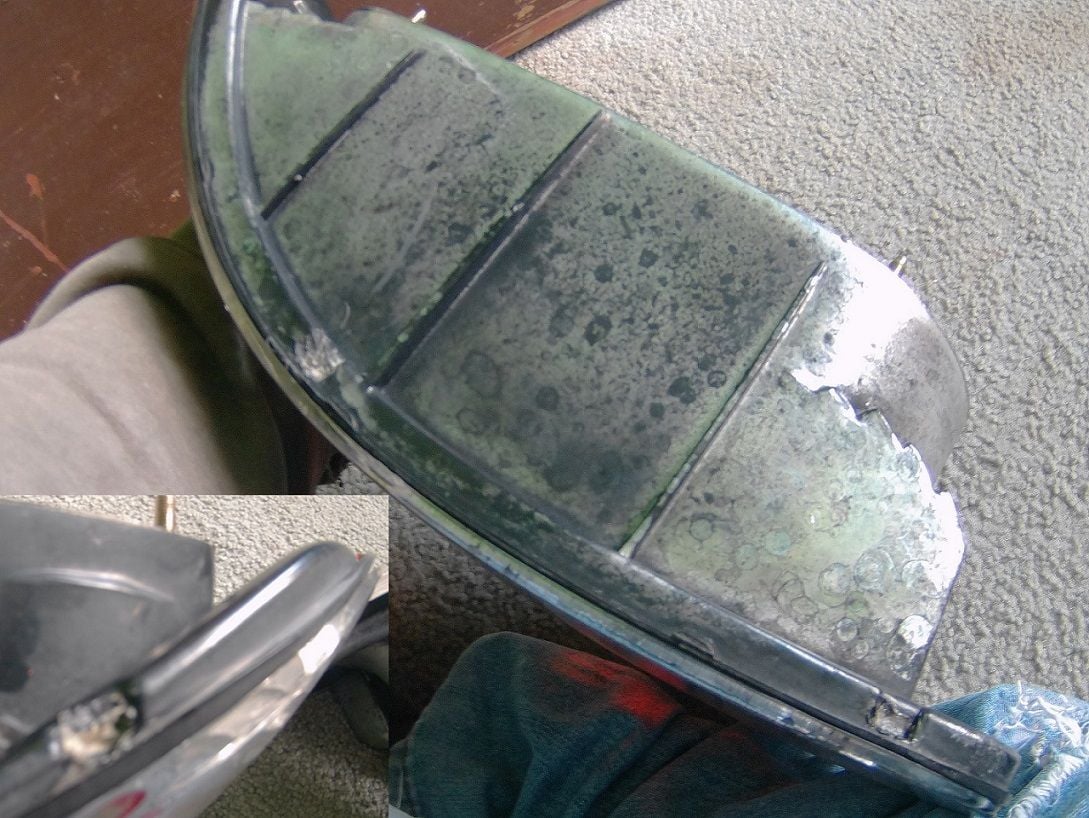
The tabs are sadly only the first layer. The light is sealed around the edge with a perpetually gummy sealent (butyl). So nows the time to preheat your oven to its lowest setting. I recomend using a piece of wood ex. to keep the shell of the light off the oven grates.
Now this part will vary depending on oven but warm the light as much as your comfortable with. Quickly remove it from the oven and go straight to work with your pry tools carfully around the edge. Go slow and dont force it or you will stress crack the lens.
You may have to repeat this step many times, but eventually that lens will come off and you are left with this!

Step #4 - Tape and sand
Tape off your red lens / reflectors so that you dont scratch them. I find triming the edge with a razor to be the easiest method of getting a clean circle. Now sand, and sand some more. Make sure you scuff every surface if you miss a spot chances are the paint will show your lapse.

Step #5 - Prime
Wipe down all your freshly sanded plastic with rubbing alcohol. making sure to remove all that fine dust left behind from sanding the fake chrome. Now lay down a coat of primer. Any imperfections showing now will show in the end so go back to step 4 if your not satisfied.

Step #6 - Paint
I chose black and white for my taillights but i suppose you could paint them however you like. I sprayed the lower section on my lights white then waited overnight for them to dry. Taped them off and proceeded to do the top 2/3 black.

Step #7 - Peal that tape
Do the thing.
Step #8 - Reverse / parking light mesh
I purchased my vinyl mesh wrap from eBay for just a few dollars. Make sure to clean the inside of the lens extremely well before trying to stick it down. Your on the inside of a curve so any tension you put on it will make it want to peal. A lot of patience and a few razor cuts later you should be left with a nice clean line. It may take a few tries so don't get frustrated and just be patient. A heat gun can help things along if your really having trouble.
https://www.ebay.com/itm/Tinting-Per...item1c914d3aa9
Step #9 - Seal it up
Now if everything looks as it should and the inside of the light is prestinely clean, you can seal them back up. I used clear silicone caulk around the inner lip where the lens fits into the shell and ended up with a small leak in one of them. You can also use butyl sealant strips and seal it up as it was before, this is the proper way to do it.
Step #10 - Install
Your done, and here is the finished product. After all this i decide to go to OEM after all 0 w 0

#5
Honda-Tech Member
Thread Starter
These are actually S2000 inspired, that is why i added the mesh to blend in the lower section of the light, and white section in the corner. Early in the planning stages i wanted to make the turn signal light orange but just couldn't find a way that would look decent.
Trending Topics
The following users liked this post:
#11
Honda-Tech Member
Join Date: Feb 2003
Location: Rancho Relacso, CA, USA
Posts: 9,648
Likes: 0
Received 88 Likes
on
75 Posts
I saw someone use some red taillight film or paint to paint over the top half with the red circles. You don't notice the circles until they're lit and during the day it looks like a typical half red half clear taillight.
Thread
Thread Starter
Forum
Replies
Last Post
del_sol
Honda Civic / Del Sol (1992 - 2000)
2
12-02-2002 05:23 PM


