
D16Z6 Engine Rebuild (pictures)
 10-07-2013, 11:44 AM
#76
Honda-Tech Member
I plan on doing this exact job for my D15 here in the next couple of months sometime. This write up is ******* amazing. Excellent job, bud.
A couple minor questions, since this will be my first time doing this to a Honda...
1) If i wanted to forego plastigauges and use similar tools that a machine shop would to gauge my bearing clearances, what might I need to pick up? High resolution digital micrometer for sure, but what else?
2) Can I use Ultra Gray RTV/Hondabond on the oil pump instead of Black RTV? The gray stuff seems just about as resistant to oil and puts up with vibration better, from my experience.
3) Is the assembly lube required up on reassembly, or can I simply use fresh motor oil?
4) Where did you pick up that valve adjustment tool? I want one! :D

 10-07-2013, 03:11 PM
#78
PHANTOM MENACE
iTrader: (2)
Join Date: May 2005
Location: SYCUAN NINE, CA, USA
Posts: 6,042
Likes: 0
Received 3 Likes
on
3 Posts
1) C Micrometers
2) Yes, and I believe that is what is called out in the FSM
3) Can't say yes or no, but I've used just plain oil myself. If you can get assembly lube then I'd say use that.
4) Google
2) Yes, and I believe that is what is called out in the FSM
3) Can't say yes or no, but I've used just plain oil myself. If you can get assembly lube then I'd say use that.
4) Google
01-26-2014, 06:03 AM
#79
No Big Whoop
Join Date: Jul 2001
Location: A little closer to the Ecuator
Posts: 2,120
Likes: 0
Received 3 Likes
on
3 Posts
I have one recommendation for the bearing's installation. Do not use gloves. Wash your hands often and use your fingers w/o gloves. Wipe the bearing surfaces with your fingers to feel for any debris before seating the bearings. You cannot feel with gloves on and you can actually put stuff there without knowing it. Don't use gloves when installing the bearings.
Particles embeded in the bearing's surface is the leading cause for bearing related engine failure.
Particles embeded in the bearing's surface is the leading cause for bearing related engine failure.
01-26-2014, 07:12 AM
#80
Honda-Tech Member
Hey great pics�Im putting a z6 or y8 head on my D16Y7 block�its a 98 Civic DX so OBD-2�.but if i put the Z6 on�.its OBD-1 ECU�so my question is�when i do the swap�and use the z6�the only thing I will need is an OBD conversion harness for my ECU? If someone could clarify this for me I would appreciate it.
 03-19-2014, 08:25 AM
#82
Honda-Tech Member
Join Date: Nov 2012
Location: St. Louis, Missouri
Posts: 13
Likes: 0
Received 0 Likes
on
0 Posts
I'm struggling to find how to replace the lower pcv hose. The one that goes through the intake itself. It broke and was removed in order to hot tank the intake. Now, I can't find anywhere to explain the proper way to install a new one.
It's #4 in the picture linked below

It's #4 in the picture linked below
Last edited by deschlong; 03-19-2014 at 08:42 AM. Reason: Edited to show the image :)
03-19-2014, 08:47 AM
#83
I broke mine too, though that was due to my own stupidity.
Anyway, to replace it, it was just a press-fit. The tube plus the grommet part are all one piece (this is what confused me initially). I believe I pushed the square head down through the hole in the intake to remove it from a donor car. Though I can't recall if to install it was the reverse, or whether I put the whole tube through the hole then pressed it down in place. Anyway, one way or the other will work, you'll figure it out.
Anyway, to replace it, it was just a press-fit. The tube plus the grommet part are all one piece (this is what confused me initially). I believe I pushed the square head down through the hole in the intake to remove it from a donor car. Though I can't recall if to install it was the reverse, or whether I put the whole tube through the hole then pressed it down in place. Anyway, one way or the other will work, you'll figure it out.
03-19-2014, 08:58 AM
#84
Honda-Tech Member
Join Date: Nov 2012
Location: St. Louis, Missouri
Posts: 13
Likes: 0
Received 0 Likes
on
0 Posts
Awesome. Thank you. Yeah, I destroyed mine further trying to remove it. I literally cut a notch into each corner to get a "square to fit through a round hole".
Now, this is no excuse, but being a girl, I sometimes don't use enough force to install and remove parts. More than half the time when I feel stuck it just because I'm not giving it enough. Gotta get over the fear of breaking more.
Now, this is no excuse, but being a girl, I sometimes don't use enough force to install and remove parts. More than half the time when I feel stuck it just because I'm not giving it enough. Gotta get over the fear of breaking more.

 06-16-2014, 03:41 PM
#88
Honda-Tech Member

Join Date: Jul 2011
Posts: 239
Likes: 0
Received 0 Likes
on
0 Posts
I would double check the head torque specs online because he said the head is to be torqued 1st sequence 32ft lbs second sequence 53ft lbs. It's supposed to be 22ft lbs then 53ft lbs.
Also double check the torque specs for the rocker assembley, as they were incorrect too.
Nice thread though
Also double check the torque specs for the rocker assembley, as they were incorrect too.
Nice thread though

 12-19-2014, 10:42 PM
#91
Honda-Tech Member
Join Date: Jun 2014
Posts: 173
Likes: 0
Received 0 Likes
on
0 Posts
I have to say a big thanks to CaliforniaDad. This tutorial has been amazing. As a near total newb, it helped give me the confidence to rebuild my Z6. I used this to study from and follow step by step.
I've just completed the rebuild, and will "get that bad boy stuffed back in the car" over the next few days.
Thank you!! I'm also a fan of your integra build. I'm hopeful that my Z6 is successful, as careful as I was I am not terribly confident. But after this is out of the way I'll be starting on a B18... Just a normal build, but perhaps after more experience I will delve into the forced induction realm as well.
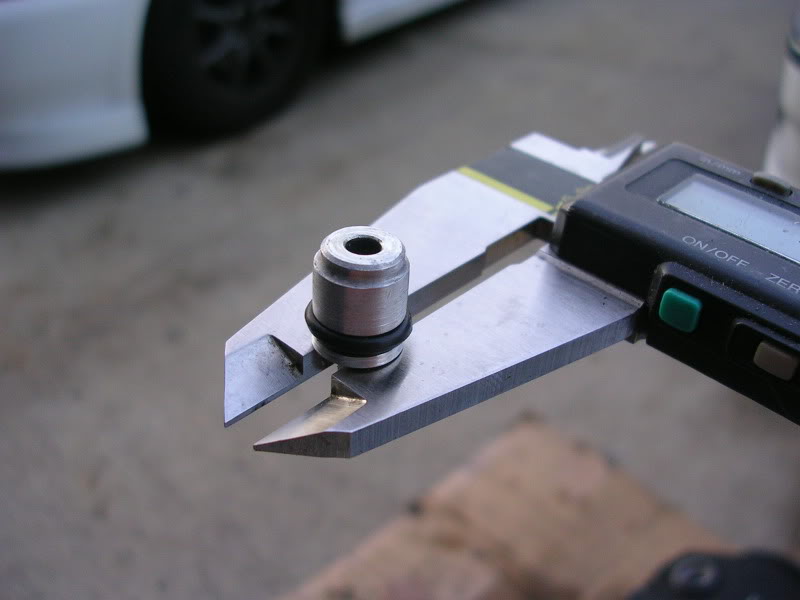
My only addition, (possibly) is that I don't believe the O-ring goes on top of the oil control orifice. I'm relatively sure the only O-ring there is the one that goes around the lower part of the orifice itself. I couldn't find this in the manual, but the spec photo at the parts counter at Honda only shows the one lower ring and the orifice.
I find it interesting how some of the posts above try to discredit your tutorial. This really is excellent. The torque suggestion on one of the earlier photos is incorrect, but anybody doing this themselves should be cross referencing the manual anyway. As a visual learner myself, the manual is great, but seeing pictures like the ones you took the time to make and post are really helpful.
I am interested to know more about what the problem was after you got it going, and how you sorted it out!
I've just completed the rebuild, and will "get that bad boy stuffed back in the car" over the next few days.
Thank you!! I'm also a fan of your integra build. I'm hopeful that my Z6 is successful, as careful as I was I am not terribly confident. But after this is out of the way I'll be starting on a B18... Just a normal build, but perhaps after more experience I will delve into the forced induction realm as well.
My only addition, (possibly) is that I don't believe the O-ring goes on top of the oil control orifice. I'm relatively sure the only O-ring there is the one that goes around the lower part of the orifice itself. I couldn't find this in the manual, but the spec photo at the parts counter at Honda only shows the one lower ring and the orifice.
I find it interesting how some of the posts above try to discredit your tutorial. This really is excellent. The torque suggestion on one of the earlier photos is incorrect, but anybody doing this themselves should be cross referencing the manual anyway. As a visual learner myself, the manual is great, but seeing pictures like the ones you took the time to make and post are really helpful.
I am interested to know more about what the problem was after you got it going, and how you sorted it out!
 03-23-2015, 06:29 PM
#93
Honda-Tech Member

Join Date: May 2014
Posts: 4
Likes: 0
Received 0 Likes
on
0 Posts
Nice job I'm doing my 97 HX using too much oil and compression dropping, I only have 470,500 miles doing clutch at same time,bore job new pistons wisco, Honda not available and no ship date either. still original clutch going strong. I'm also replacing front wheel bearings. keep it running strong.
 03-29-2015, 08:23 PM
#95
Honda-Tech Member

This was an Amazing read ! I am still debating if I should rebuild my z6 engine since I broke some Rod bearings 
This helped a lot & I learned a lot aswell
This helped a lot & I learned a lot aswell
06-30-2016, 08:48 PM
#96
Honda-Tech Member

Join Date: Jun 2016
Location: Huntsville, AL
Posts: 21
Likes: 0
Received 0 Likes
on
0 Posts
Awesome thread. Longtime lurker here and just bought a 2000 civic coupe and got another engine laying around. Bookmarked for life bro
08-01-2016, 03:03 PM
#97
Honda-Tech Member
Join Date: Dec 2001
Location: Huntington Beach, CA, USA
Posts: 803
Likes: 0
Received 0 Likes
on
0 Posts
My only addition, (possibly) is that I don't believe the O-ring goes on top of the oil control orifice. I'm relatively sure the only O-ring there is the one that goes around the lower part of the orifice itself. I couldn't find this in the manual, but the spec photo at the parts counter at Honda only shows the one lower ring and the orifice.
i've been checking all the sources that i can (shop manual, pictures/videos on internet, parts catalogs) and I can't find any reference to the o-ring being sandwiched under the cam caps. pretty sure it's on the oil jet itself...
Can anyone confirm? Again, great thread!


Thread
Thread Starter
Forum
Replies
Last Post
biga27110
Honda Civic / Del Sol (1992 - 2000)
17
03-04-2014 12:38 PM
bunnyx
Honda Civic / Del Sol (1992 - 2000)
6
07-30-2008 12:27 AM