When you click on links to various merchants on this site and make a purchase, this can result in this site earning a commission. Affiliate programs and affiliations include, but are not limited to, the eBay Partner Network.
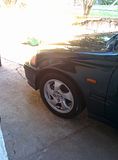
Well, finally i made to start a thread to introduce my Civic.
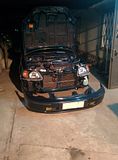
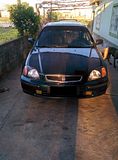
This is a '98 Civic VTi EK4, 100% Japan, B16A2 inside.
I got it the last year, and it's in very good conditions except for the paint, it has burns and dents all over the place, the idea is that over time it will get a full paint job, but not for the moment.
There are many things in the TO-DO list for it, but I started doing the timing belt service, all the fluids, water pump (60k miles) and so on, also replacing some damaged parts.
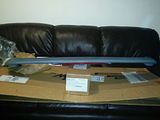
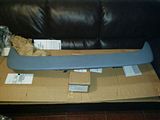
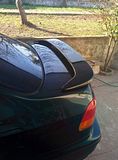
Made a few of orders already from bernardiparts.com and for the exterior i already give him a Rear OEM Spoiler and Foglights that were missing from factory.
Here are some general pictures from over the last year, next will start more seriously about changing some engine components and update the thread with the work.
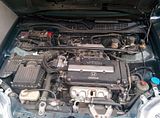
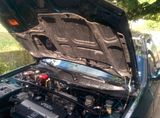
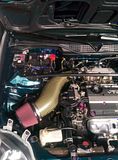
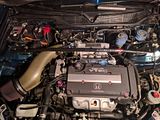
First Shot ever, and a dirty Engine Bay
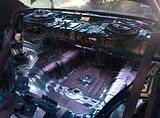
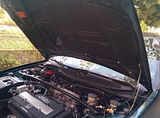
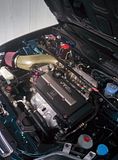
First things firsts, lets show some pictures of the much needed clean, and how it turned out.
This last one is not actually from the first clean of the engine bay, it took more than one to leave it this way, but still worth...
Last edited by creizlein; 03-21-2016 at 08:38 PM.
Reason: Finally made the thumbnails to work...
As i mentioned before, the car definitively needs a complete paint job, but as for now I did focus on minor parts...
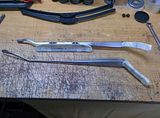
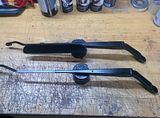
I went ahead and painted the hood insulator as well as the windshield wiper arms
For the Hood Insulator i just removed it and sprayed it with solid black, at least it looks a lot better.
For the wiper arms, I removed the old paint, primered them and then used semi-gloss black paint, it did make a huge difference.
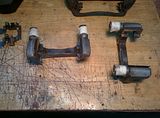
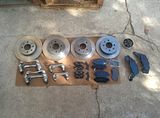
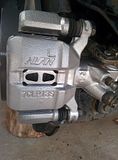
It was time for the Brakes, I bought a new set of OEM brake pads, which wasn't easy to find the right part # for the nissin ones, the brake disc still the original ones, they didn't need replace at this time so I just sent them to maintenance.
I also painted the calipers and the discs, I didn't want to remove the whole calipers to avoid bleeding the system, so it wasn't easy, specially to clean and sand the calipers, but it turned out great and they still look perfect after 20k miles
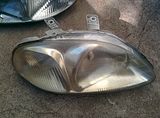
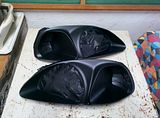
When I bought the car, It had depo replaced front headlight, I asked the owner why and he mention that they were all faded and yellow-ish so they replaced them, and that they still had the original set stored, which was perfect for my next project.
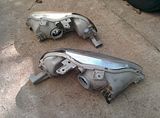
Thankfully, it a set of original Stanley front headlight, and they were in pretty bad shape, specially the right side one, and since I wasn't in a rush to restore them I used several different approaches to do exactly what I wanted.
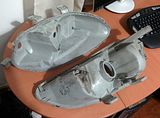
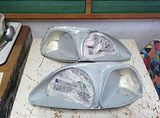
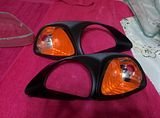
Besides sanding the lenses, I did painted the housing in black and also used some 3M refractive orange tape to make the side corner orange, which was what I was looking for.
Also one of the electrical regulators wasn't working so i had to find a replacement motor for it and changed, now both regulators are working properly.
This is how they were...
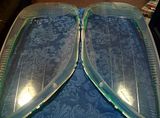
And this is what happens after a 600grit sand paper, really scary to be honest...
Clean and Restoration
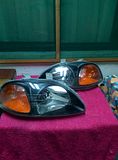
Final Result
I also went ahead and used Meguiar's PlastX on the rear ones, it did make a huge difference as well and they look brand new
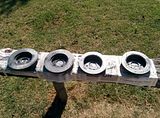
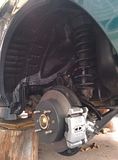
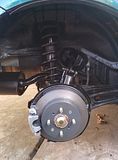
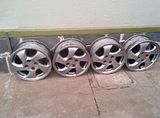
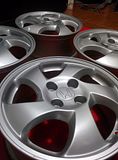
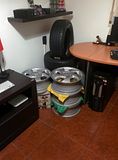
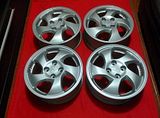
Now it was time to change the shoes, so I also decided to restore the rims, they were in bad shape, had lot of dents and scratches, so a repaint was needed.
For the tyres, I got a set of Dunlop Direzza DZ102, to be honest, very happy on how they handle so far.
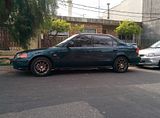
This is how they were, and a set of rims from a friend for the meantime, It did look good, but i'd rather stick with the OEM original wheels for now...
Some more updates on what has been going on over the past months...
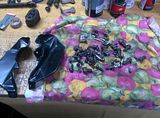
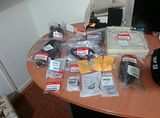
Orders as they come, i got a bounch of parts, distribution belt, water pump, gaskets, oil seals, windshield wiper rods that were broken, air cabin filter, toon of clips and bolts, fuel filter, brake pads, as well as distributor rotor and cap.
OEM Style Rear Wing
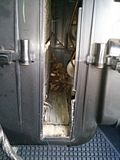
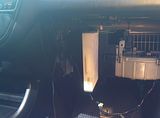
Cabin Air Filter
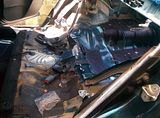
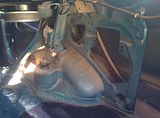
For some reasson this model didnt enter the country with filter so i decided to buy one from the Honda CRv, I found here it fits perfectly and in fact it did.
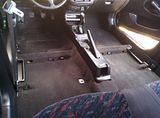
The only problem was to clean out the hole, that wasnt easy even with the help of the vacuum, but finally made it happen.
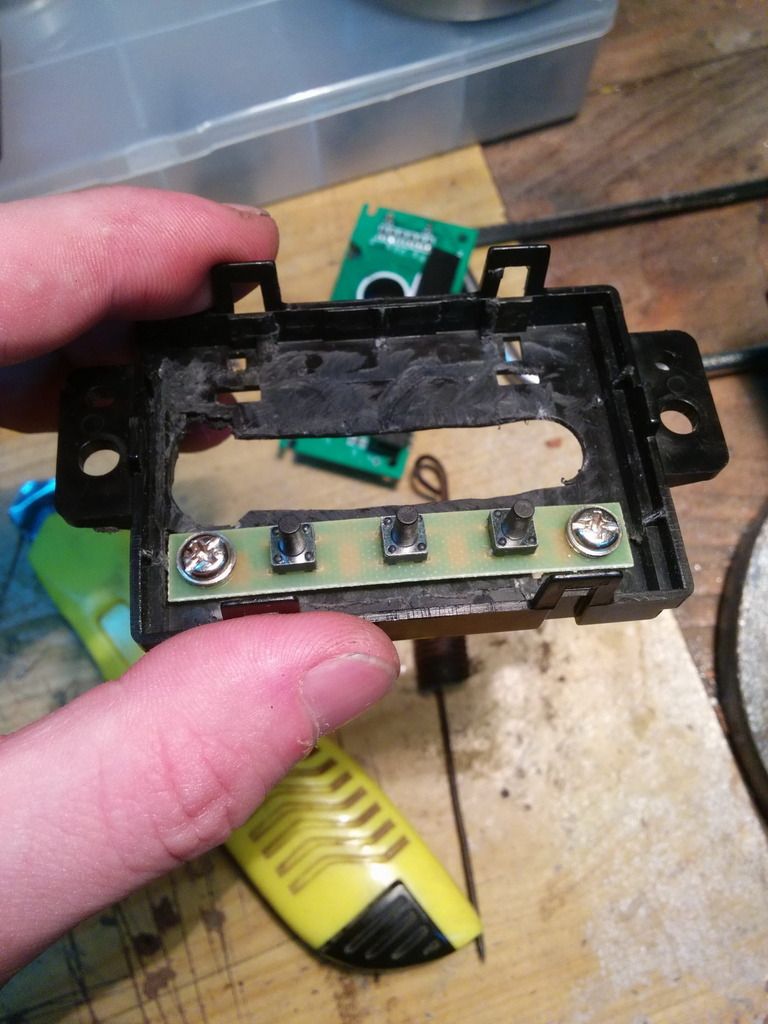
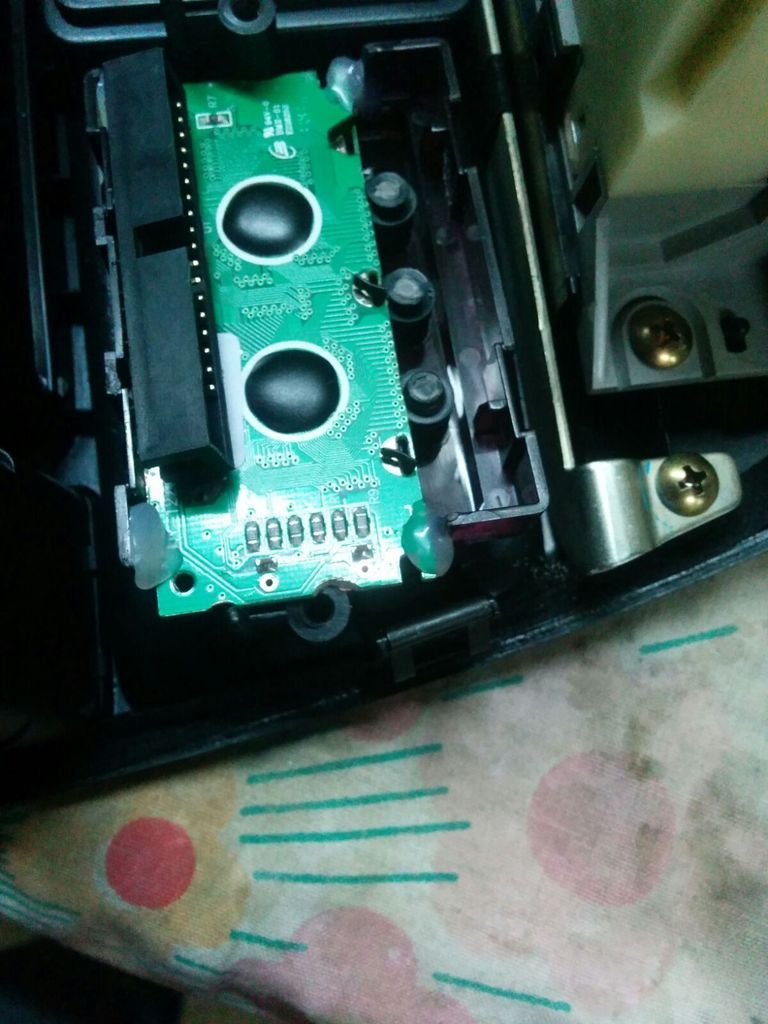
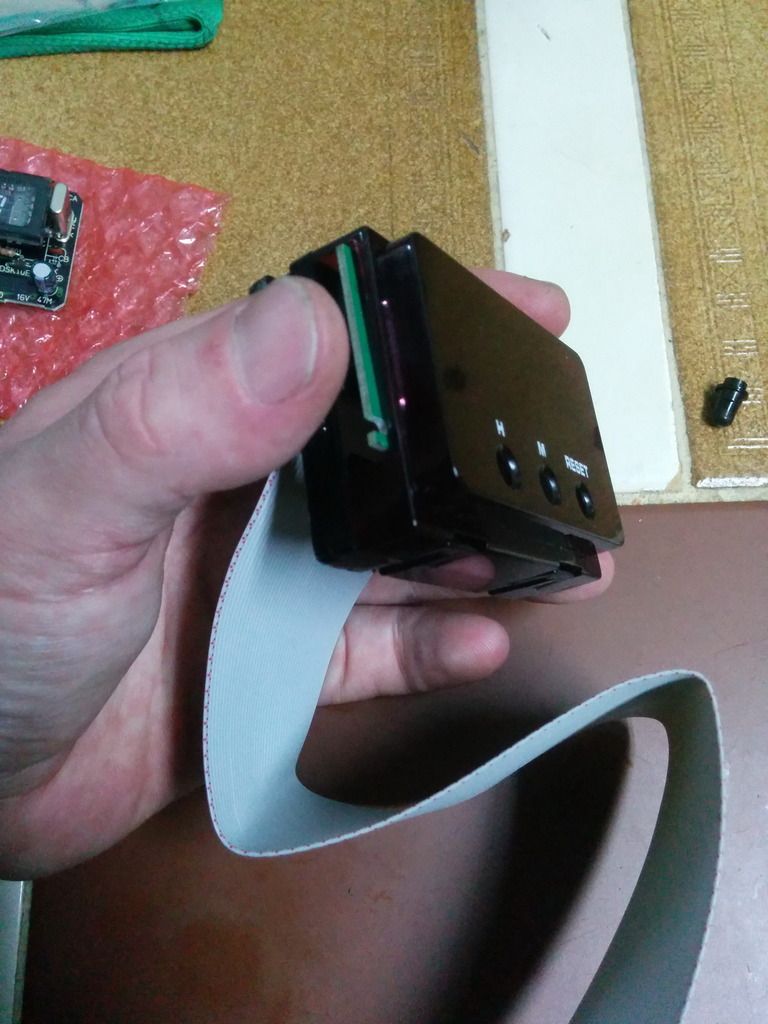
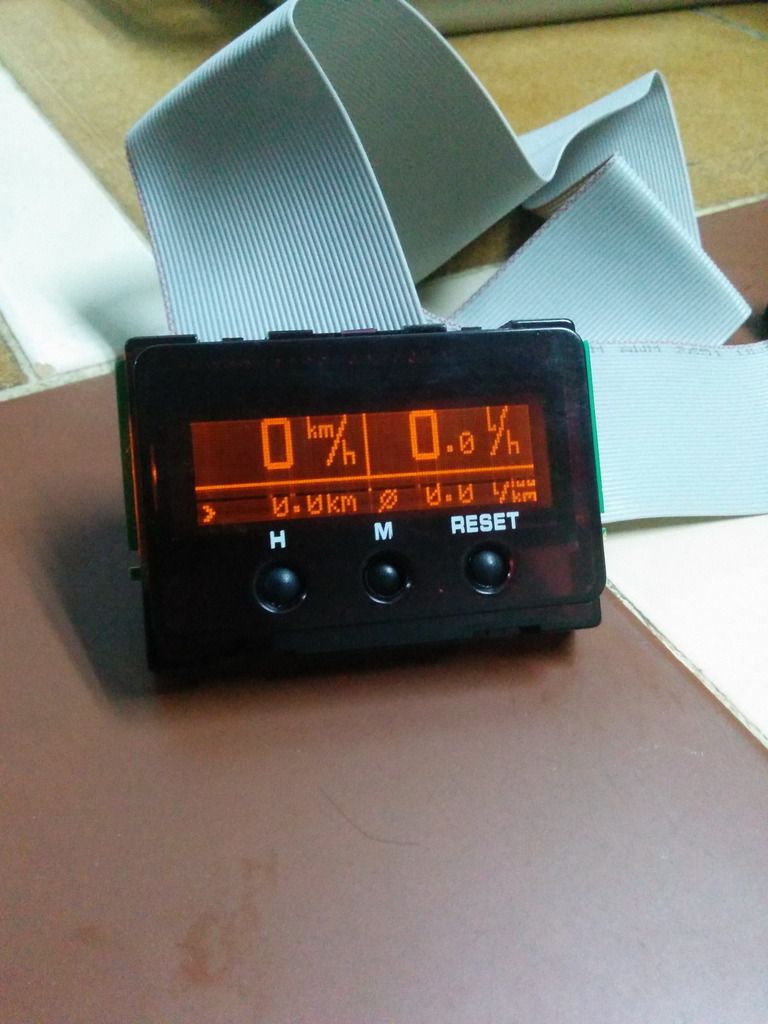
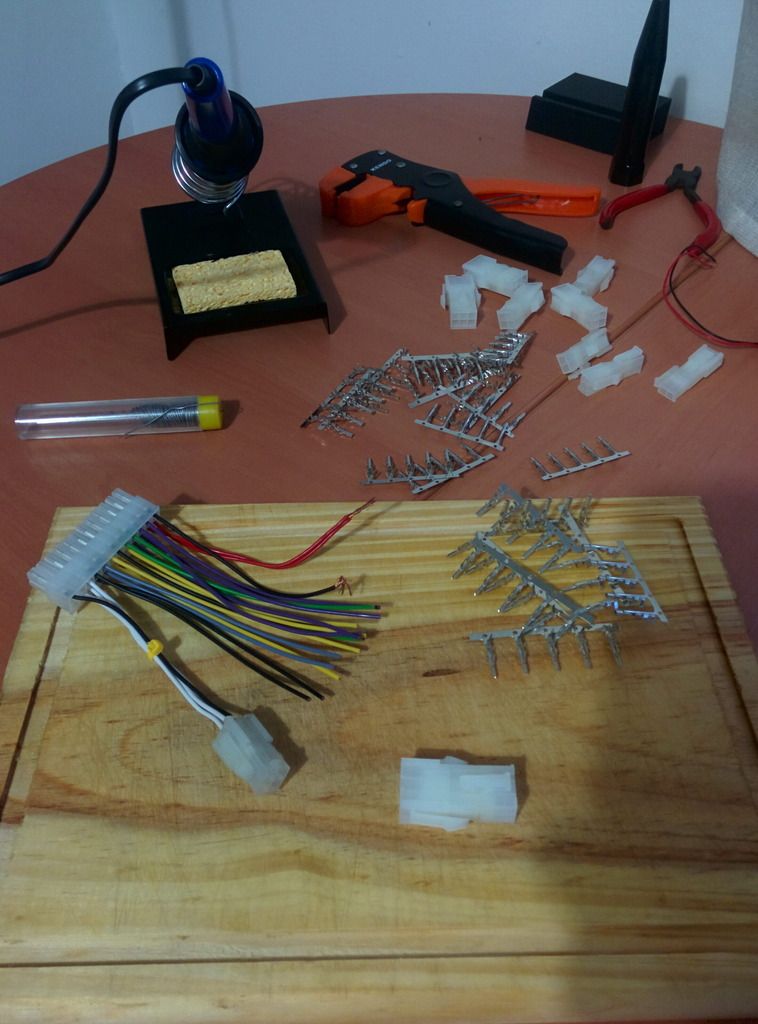
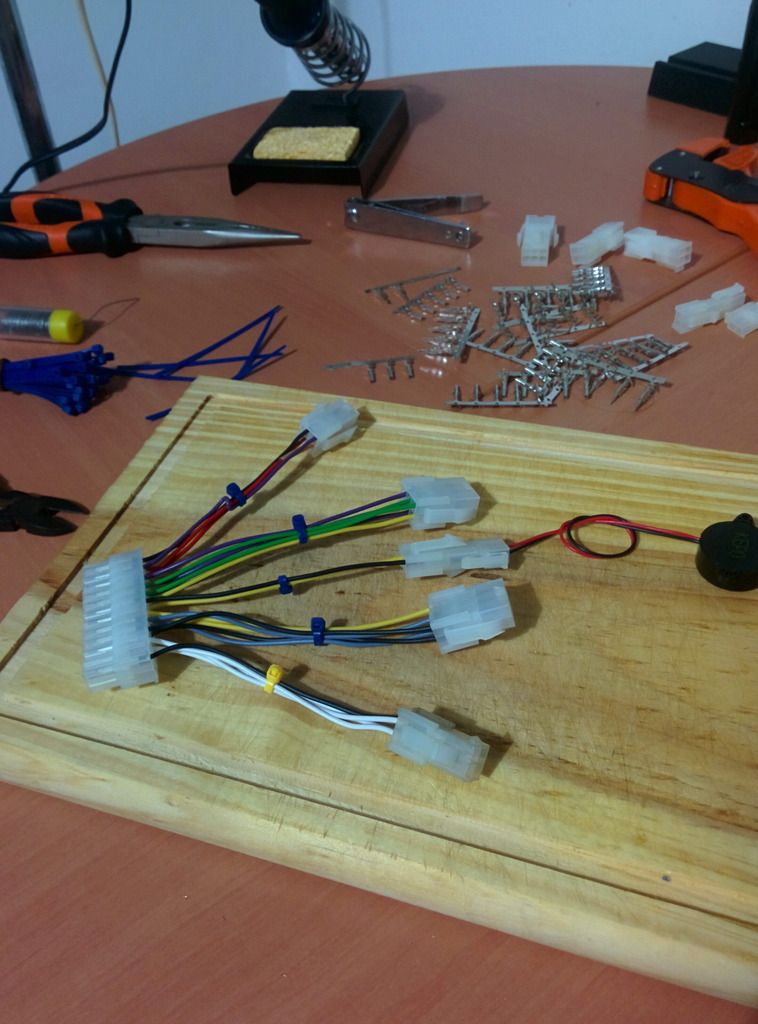
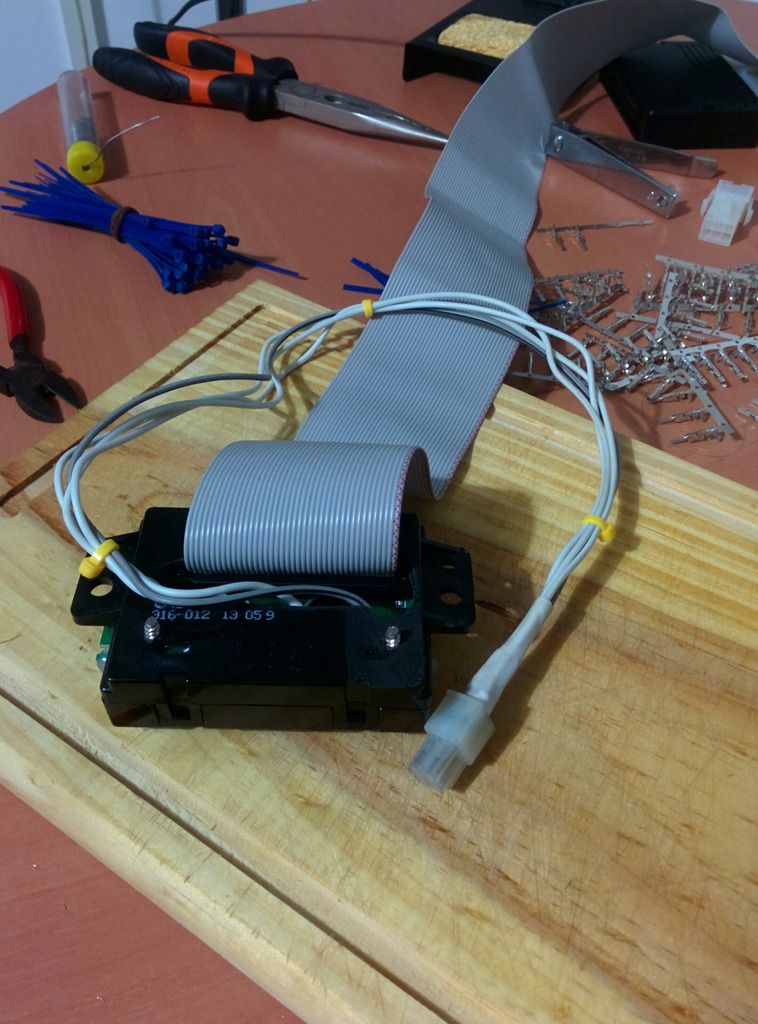
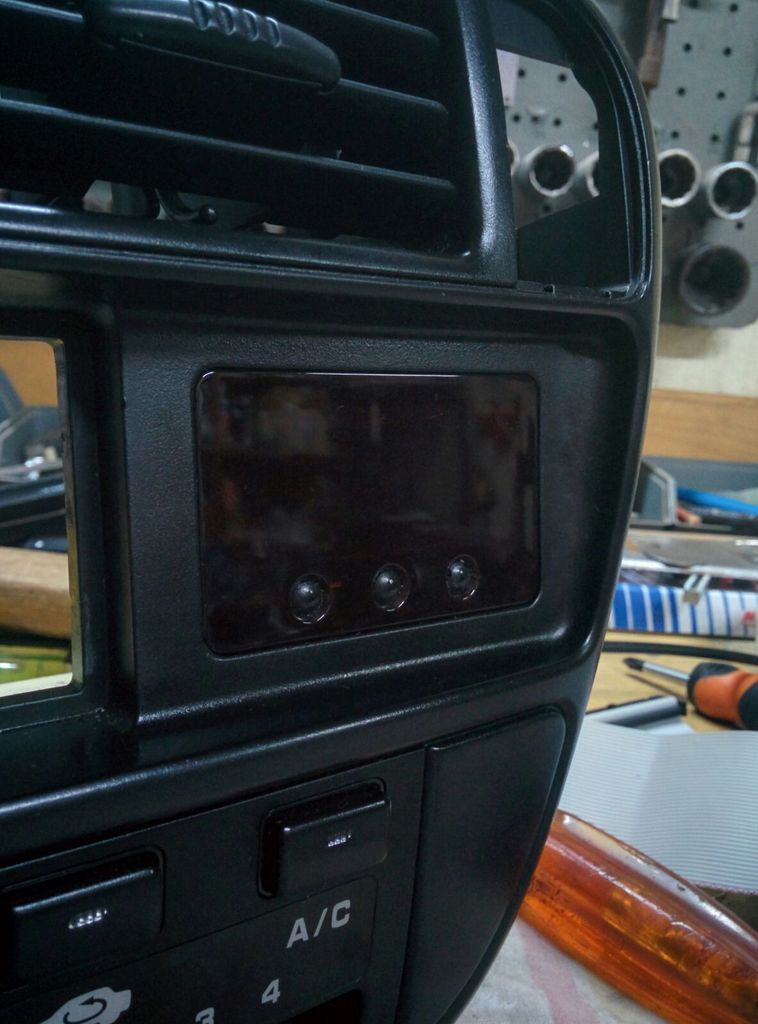
Two more updates for now, first I got hands on a Universal Trip Computer which honestly liked it very much and do recommend it, UTcomp, many of your guys may know or heard of it, installing on a EK cluster is perfect as it does fit on the OEM clock bezel and i could even managed to save the whole case of it to use the original screws to support.
I just realize that I do not have images of the final product running, but your guys can get an idea on how it went, Again, its a usefull piece of toy that can easily replace the boring factory clock.
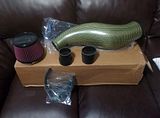
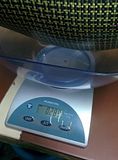
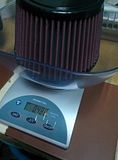
And now we finally get to the important parts. the PWJDM PowerChamber finally arrived and it was time to install it, I am still impressed on how light this intake is and how quiet it gets when you are not heavy on the gas, the performance increase is yet to be discovered, but I expect to have a dyno runs after the intake manifold, tb and exhaust is done.
That is yet to come, expect some updates soon.
Just an FYI, but a good 2 1/2" aluminum tube with a velocity stack will almost certainly make more power than the whale ***** intake. I've always liked the look of the intake that you have and would gladly swap it out if it made even the same power, but after doing tons of research, all things being equal, aluminum tubing with velocity stack will likely make around 3-5 more HP.
Just an FYI, but a good 2 1/2" aluminum tube with a velocity stack will almost certainly make more power than the whale ***** intake. I've always liked the look of the intake that you have and would gladly swap it out if it made even the same power, but after doing tons of research, all things being equal, aluminum tubing with velocity stack will likely make around 3-5 more HP.
Thank you Ryd, I was reading a lot about it as well, and i have it in mind, i believe that im going to get a VS for that powerchamber, which i think is the same as tube, the key factor is the VS right? But i will see
If I have to change the whale ***** I believe I will switch to a CAI system.
Lets see how it works after the 70mm TB and Intake is installed, thank you for your feedback !!!!
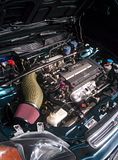
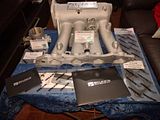
Finally some more updates !!, Managed to get hands on the sk2 Pro Intake Series, a 70mm alpha TB, as well as the thermal gaskets and a few other bits.
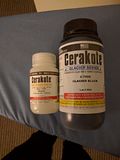
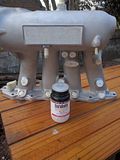
Also I purchased two Cerakote products to protect the Intake manifold, this one is a ceramic clear coat, heat resistant, which should help to keep the temperature a bit cooler as well as prevent dust and preserve it as clean as possible. I also got another one, the black black one to Ceramic Coat the exhaust manifold, which is coming up in a few days.
Below are some pictures of the overall process.
First off, the new toys and the ceramic coating process...
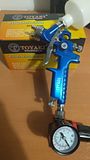
I did had to buy a HVLP gun, but since it was going to be used only for this product I got the cheapest one I could find, it did a nice job.
After 48 hours it was time to remove the old one and change the intake.
And now it was ready to be installed, sorry for the lack of pictures afte the process was done..
So far I am pretty happy with the results, still didn't have the chance to measure changes in the Dyno, but I plan expect to do so before changing the exhaust system and header, so I can have a good point of reference.
I wont say that I noticed much of a performance gain, specially considering I still have the stock header, exhaust and catalyst converter, but it does feels a bit more responsive at high RPMs, and it sounds a bit more louder.
What I did NOT like was the feel of the gas pedal, looks like the sk2 Throttle spring is really really soft and I noticed a huge change on the pedal. I am trying to see if I can use the old spring back in this new TB... Did anyone had this same experience with swapping TBs?
not speaking from experience, but in looking at buying a skunk2 throttle body myself i've found that lots of people report that the throttle occasionally sticks partially open. this certainly wouldnt be helped by having a weak spring pulling it closed when the pedal is lifted as you described.
if you can reach the spring without disassembling the tb first i'd try to stretch it out a bit so that it holds the plate closed with a bit more force
Yeah, i started to dig a bit further on the topic and found that lot of ppl complains about that, spring sticks open, not my case for now but i will see if i can find some workaround or even replace the spring with the oem one, as far as i saw it is possible to change them.

 03-21-2016, 03:45 PM