
97 Hatch drivers side lower engine mount
 04-13-2011, 04:59 AM
#1
Honda-Tech Member
Thread Starter
Join Date: Jul 2005
Location: Portsmouth, RI, US
Posts: 101
Likes: 0
Received 0 Likes
on
0 Posts
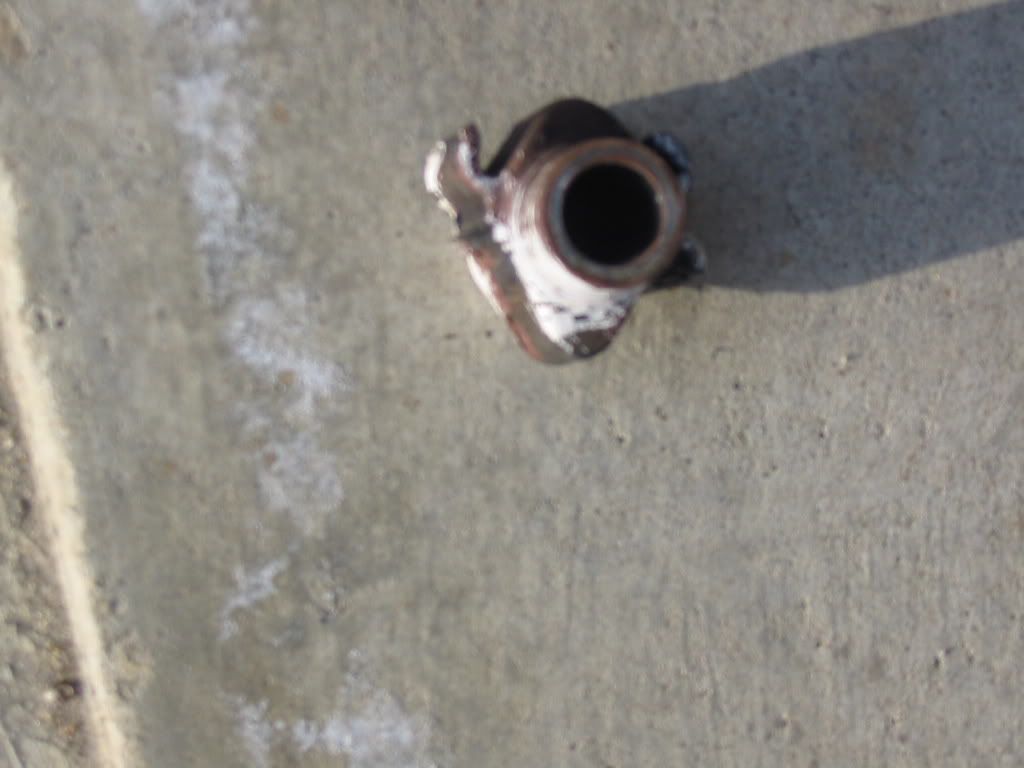
I was just trying to change the A/C belt! One of the 14mm mount bolts is half removed and is spinning freely. The welded nut inside the frame broke loose. I have 2 issues where I need help.
1) The mount rubber body has (2) rubber "wings", thin rubber on both sides that are broke. Is this an issue? The body of the rubber mount otherwise looks fine.
2) My plan is to: Cut out the old 14mm bolt. Cut a hole in the side of the frame. Insert a carriage bolt leader "lock" plate into the frame through the cut hole. Insert a carriage bolt through the leader "lock" plate from the inside to create a stud for the mount. Does this sound correct or does anybody have a better idea?
Last edited by LeonardDB; 04-15-2011 at 06:13 AM. Reason: edit unclear test
 04-15-2011, 04:43 AM
#3
Honda-Tech Member

Thats a pretty good idea. You could always use a unibit to make a big enough hole right above the bolt hole on the side of the frame and insert and/or remove the old nut that way the install is still clean. Then you would have to paint and use a grommet plug to fill the hole that you drilled!!
05-10-2011, 05:34 AM
#4
Honda-Tech Member
Thread Starter
Join Date: Jul 2005
Location: Portsmouth, RI, US
Posts: 101
Likes: 0
Received 0 Likes
on
0 Posts
Torque Mount replacement:
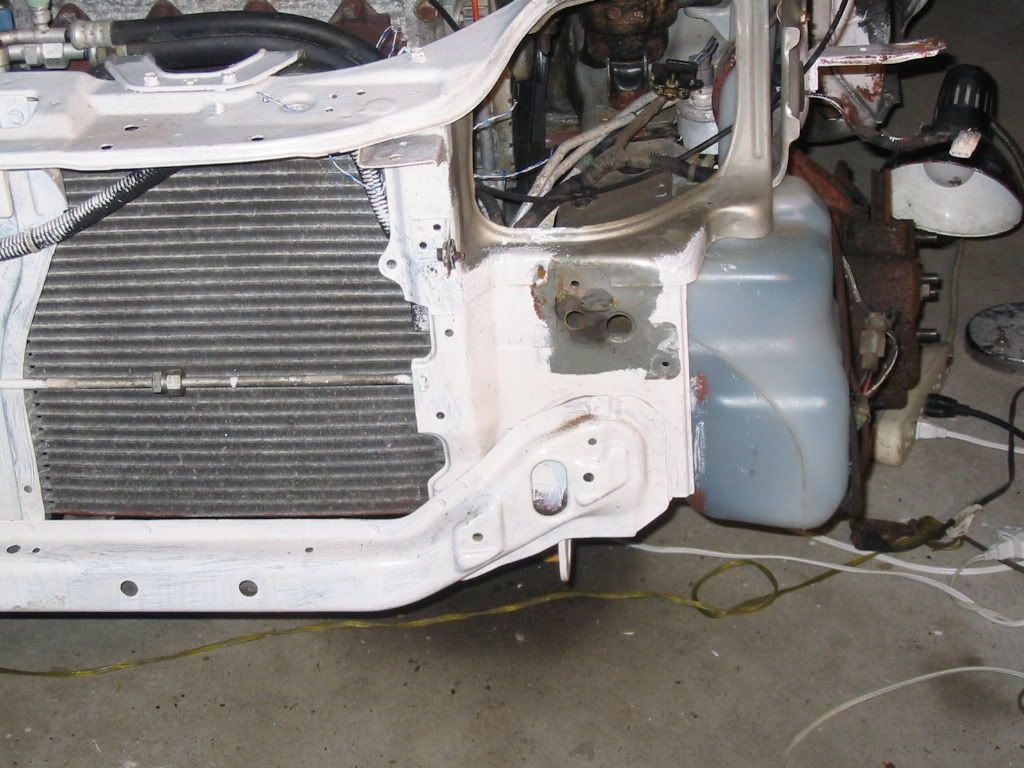
Strip the front end. Behind the bumper, drivers side are (2) holes. Cut out the metal between the (2)holes. I used a sawzall with a steel cutting blade. Below the 2 holes on the inside of the frame is some metal back bracing/framing. I used an angle grinder to enlarge the hole at bottom to about 1/2" above the metal back bracing/framing. I then used a hack saw tool to reach inside and cut off the "spinning" bolt inside the frame.
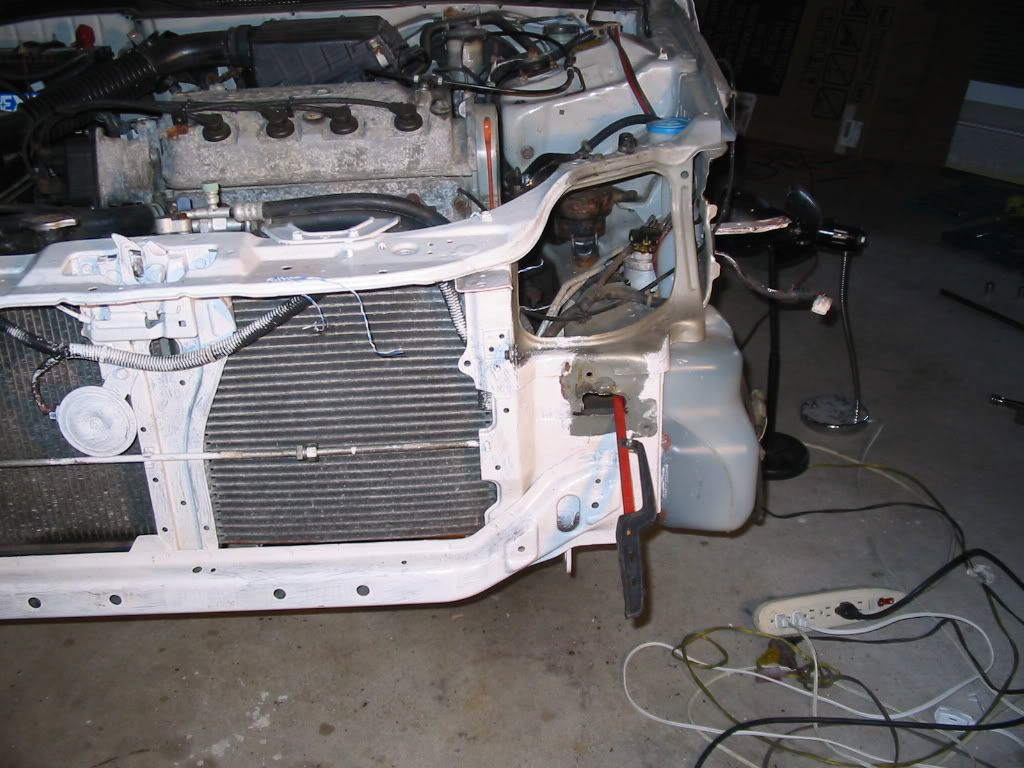
My plan was to use "trailer install hardware" - Insert a carriage bolt leader "lock" plate into the frame. However, I was not able to find a carriage bolt leader "lock" plate in any size smaller than 1/2". I ended up just bolting on the new torque mount.
If I ever have to install a new A/C belt or replace the torque mount, I will have to strip off the bumper to get to the opening. If I ever have to do this I WILL find a 3/8" carriage bolt leader "lock" plate to create a drop in place stud from the inside of the frame.
Strip the front end. Behind the bumper, drivers side are (2) holes. Cut out the metal between the (2)holes. I used a sawzall with a steel cutting blade. Below the 2 holes on the inside of the frame is some metal back bracing/framing. I used an angle grinder to enlarge the hole at bottom to about 1/2" above the metal back bracing/framing. I then used a hack saw tool to reach inside and cut off the "spinning" bolt inside the frame.
My plan was to use "trailer install hardware" - Insert a carriage bolt leader "lock" plate into the frame. However, I was not able to find a carriage bolt leader "lock" plate in any size smaller than 1/2". I ended up just bolting on the new torque mount.
If I ever have to install a new A/C belt or replace the torque mount, I will have to strip off the bumper to get to the opening. If I ever have to do this I WILL find a 3/8" carriage bolt leader "lock" plate to create a drop in place stud from the inside of the frame.
Last edited by LeonardDB; 05-10-2011 at 05:37 AM. Reason: pix code

Thread
Thread Starter
Forum
Replies
Last Post