When you click on links to various merchants on this site and make a purchase, this can result in this site earning a commission. Affiliate programs and affiliations include, but are not limited to, the eBay Partner Network.
Unfortunately, all the links in this are dead now because tinypic stopped working the website hardly worked before it eventually shut down so I was only able to recover a fraction of the photos. As the car has come a good way since the last update I figure this build thread deserved an update. When I get time I'll go through and delete/fix the dead links I can.
Even though the links are dead I'm picking up where I left off 1.5 years ago with finishing up the battery box. For reference, the car is now maybe a month or two away from running
Autozone axles, basically fuses for the transmission. Doubt they'll last long but we'll see
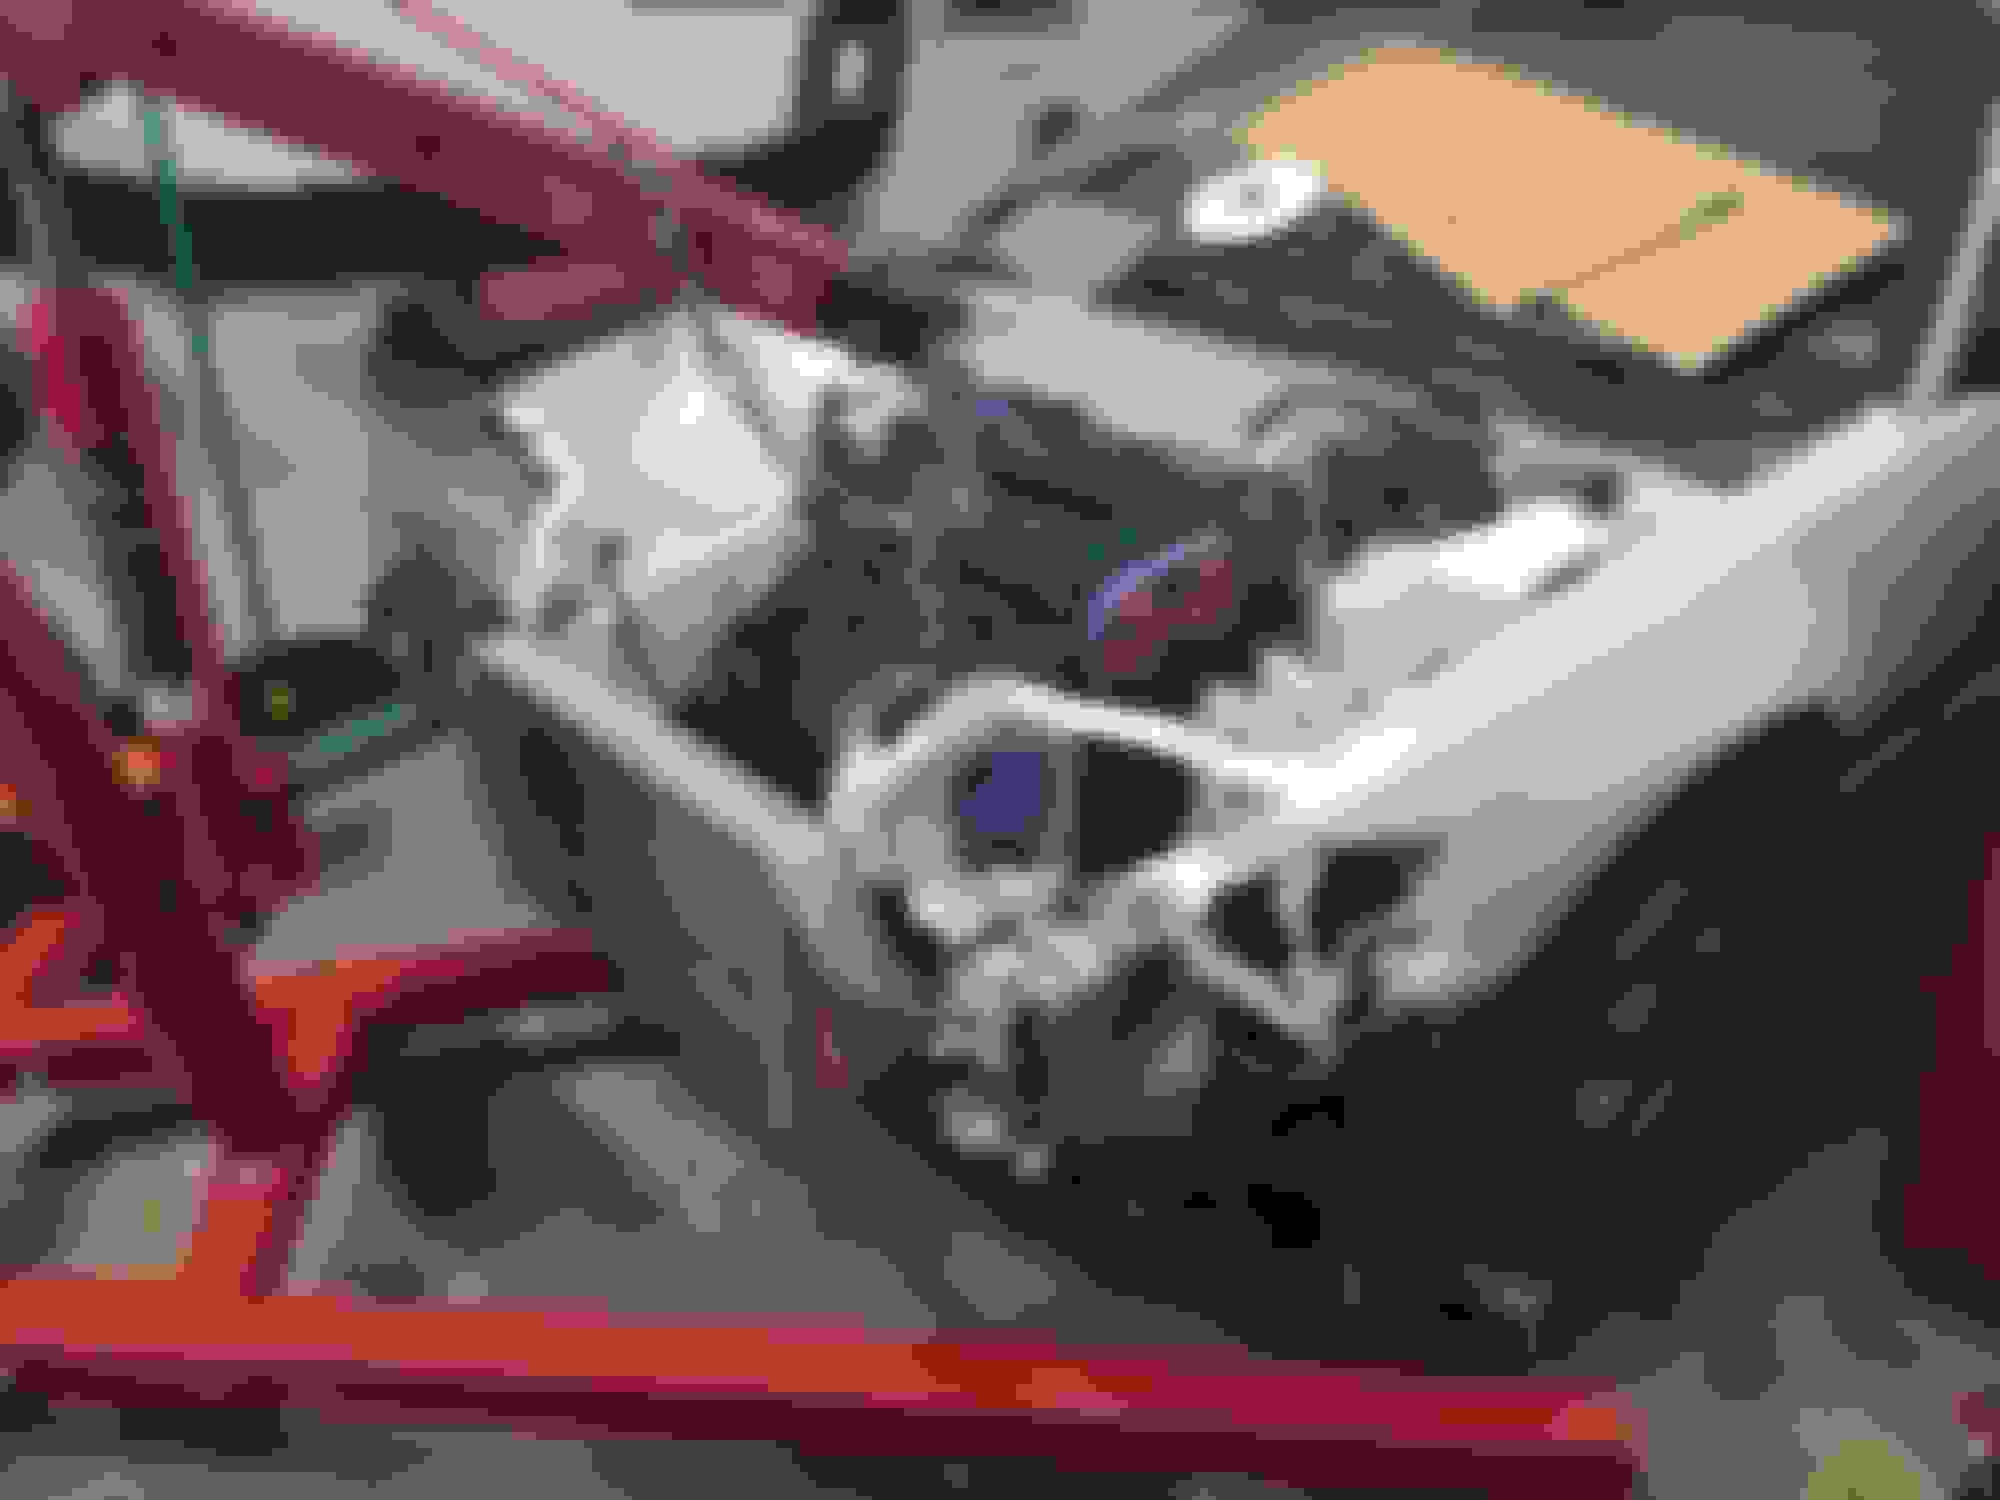
Here's the room we're working with for the front end
I did end up going with the CSF King Cooler radiator
It comes with a spal fan and shroud welded to the back of it
I must have forgot it came with these brackets because I just used some flat bar laying around. It does come with traditional hose ends and the 16 an ends so if the o-rings on the 16 an fittings leak, I'll just weld them on
Radiator cap & flange for the swirl pot
Random shot of some wiring
Apparently this felpro oil pan gasket is reusable, we'll see
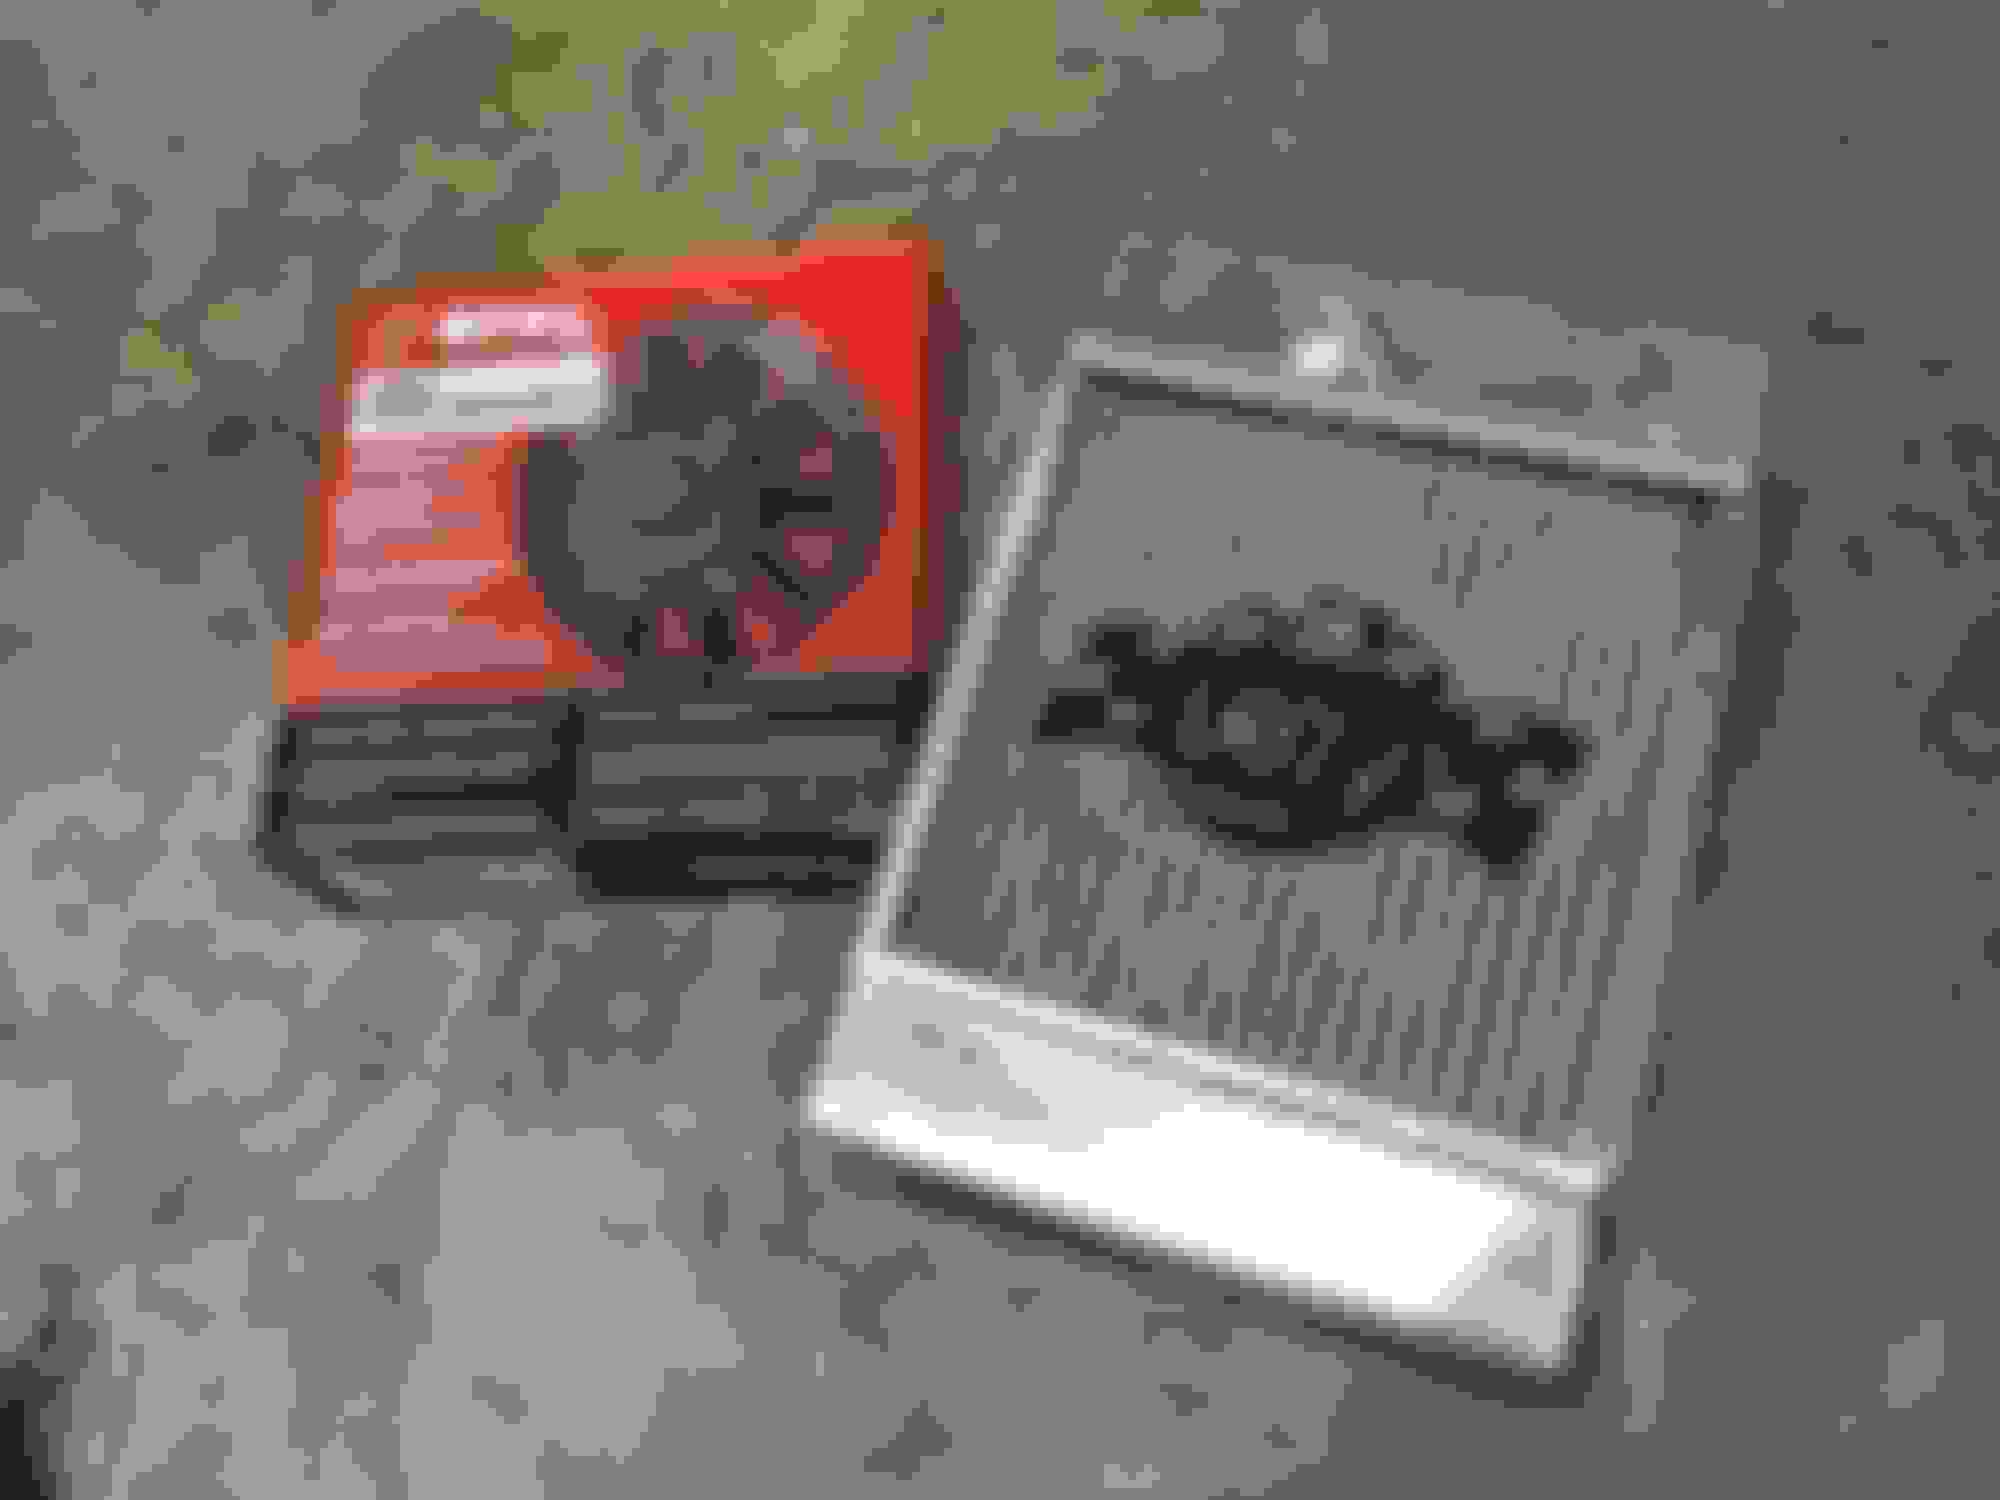
Flywheel cover
The shift linkage was a little rough so sanded it down and painted it. It has a hasport stamp on it so I believe it's from way back when and a few inches shorter than normal b series shifter linkage. It came with the car when I got it in 2009
New bushings, a good while ago I bought solid bushings but I have no idea how people run those. I could hardly even get it bolted up with those solid aluminum bushings in it
Got this for Christmas
Roughly where things will sit
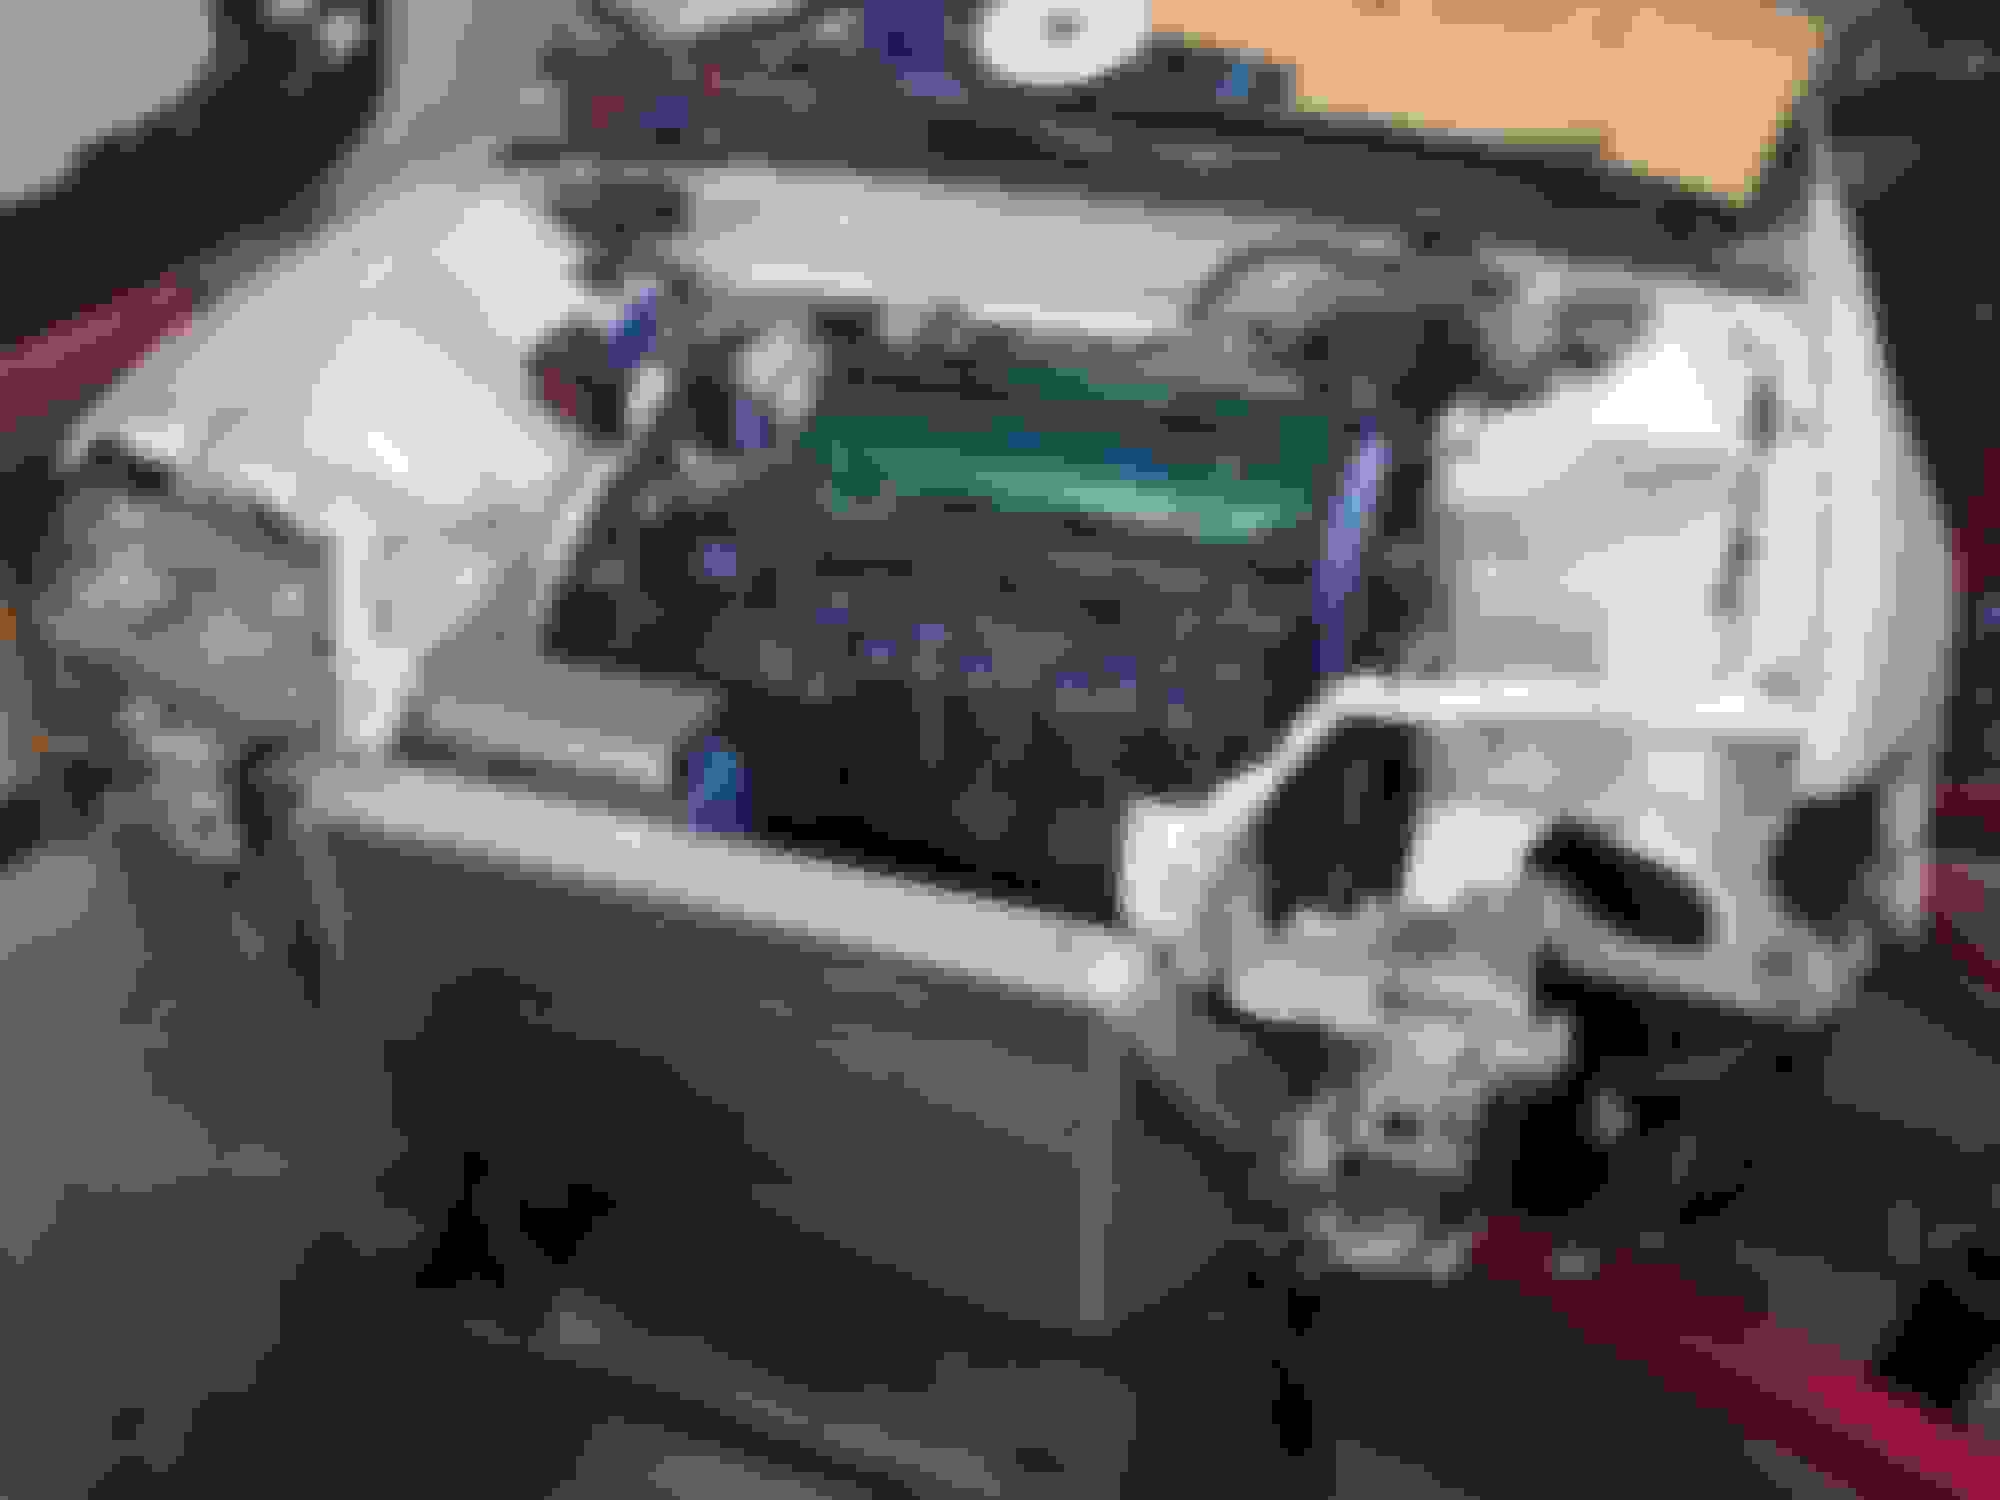
Intercooler mounted up
Radiator mounts, I initially played with putting a bushing on it but I think this will be ok
Getting an idea of where the turbo will sit
2.75" Cold side piping
70mm skunk 2 throttle body
Not too bad
The left tab is for the top of the radiator, the right is to support the t bar piece with the hood latch
Wiring underneath the intake manifold
Template for the catch can & overflow combo, more on that later
There wasn't going to be room for a second wastegate, so I sold the divided s366 housing and bought an open exhaust hosing for it
Making the collector, it's all treadstone piping. This was using the LPS fab collector tool
Runner 2 & 3, the other piece of metal was there to keep the turbo flange where it needed to be as these runners were tacked on
Runner 4
Idea of how it'll look, you can see it has the open scroll housing on it now
All tacked up
Ready for lots of filler rod
Cutting the wastegate hole out
All welded up, the sharpie in the back is where I had to hammer it in a little bit to clear the turbo exhaust housing. It did clear when we started but things must have shifted a little
Mounted up
This is up through July 2020. I'll make a few posts until I get to where it is today
It looks good. You might make more than 700hp.
The charge pipe might be a little on the small side. If you don’t reach your goal, you might want to go 3” mandrel bent.
It looks good. You might make more than 700hp.
The charge pipe might be a little on the small side. If you don’t reach your goal, you might want to go 3” mandrel bent.
Thanks & if I end up using a bigger throttle body I might go 3", but I don't really see the point right now as the 70mm throttle body is 2.75". I can't go much bigger on this intake manifold without running into issues with the ports for the fast idle valve and idle air control valve. I have seen people just cut off the flange and weld on larger ones like a 90mm but I don't really plan on doing that unless I need to. If it makes more than 700hp that'd be awesome
Originally Posted by DaX
Looking good. Glad to see you're still at it.
Thanks man, yea it's slowly getting there
Originally Posted by Txdragon
The means to build your own turbo hot parts is the ultimate in bragging rights! Looking good!
Appreciate the kind words! Definitely a learning experience, this was my brother's third turbo manifold but I couldn't be happier with it
After confirming everything fit as it should I used a carbide bit to clean up the inside, specifically the wastegate transition
Here's the turbo drain, 10an ptfe with a heat sleeve over it
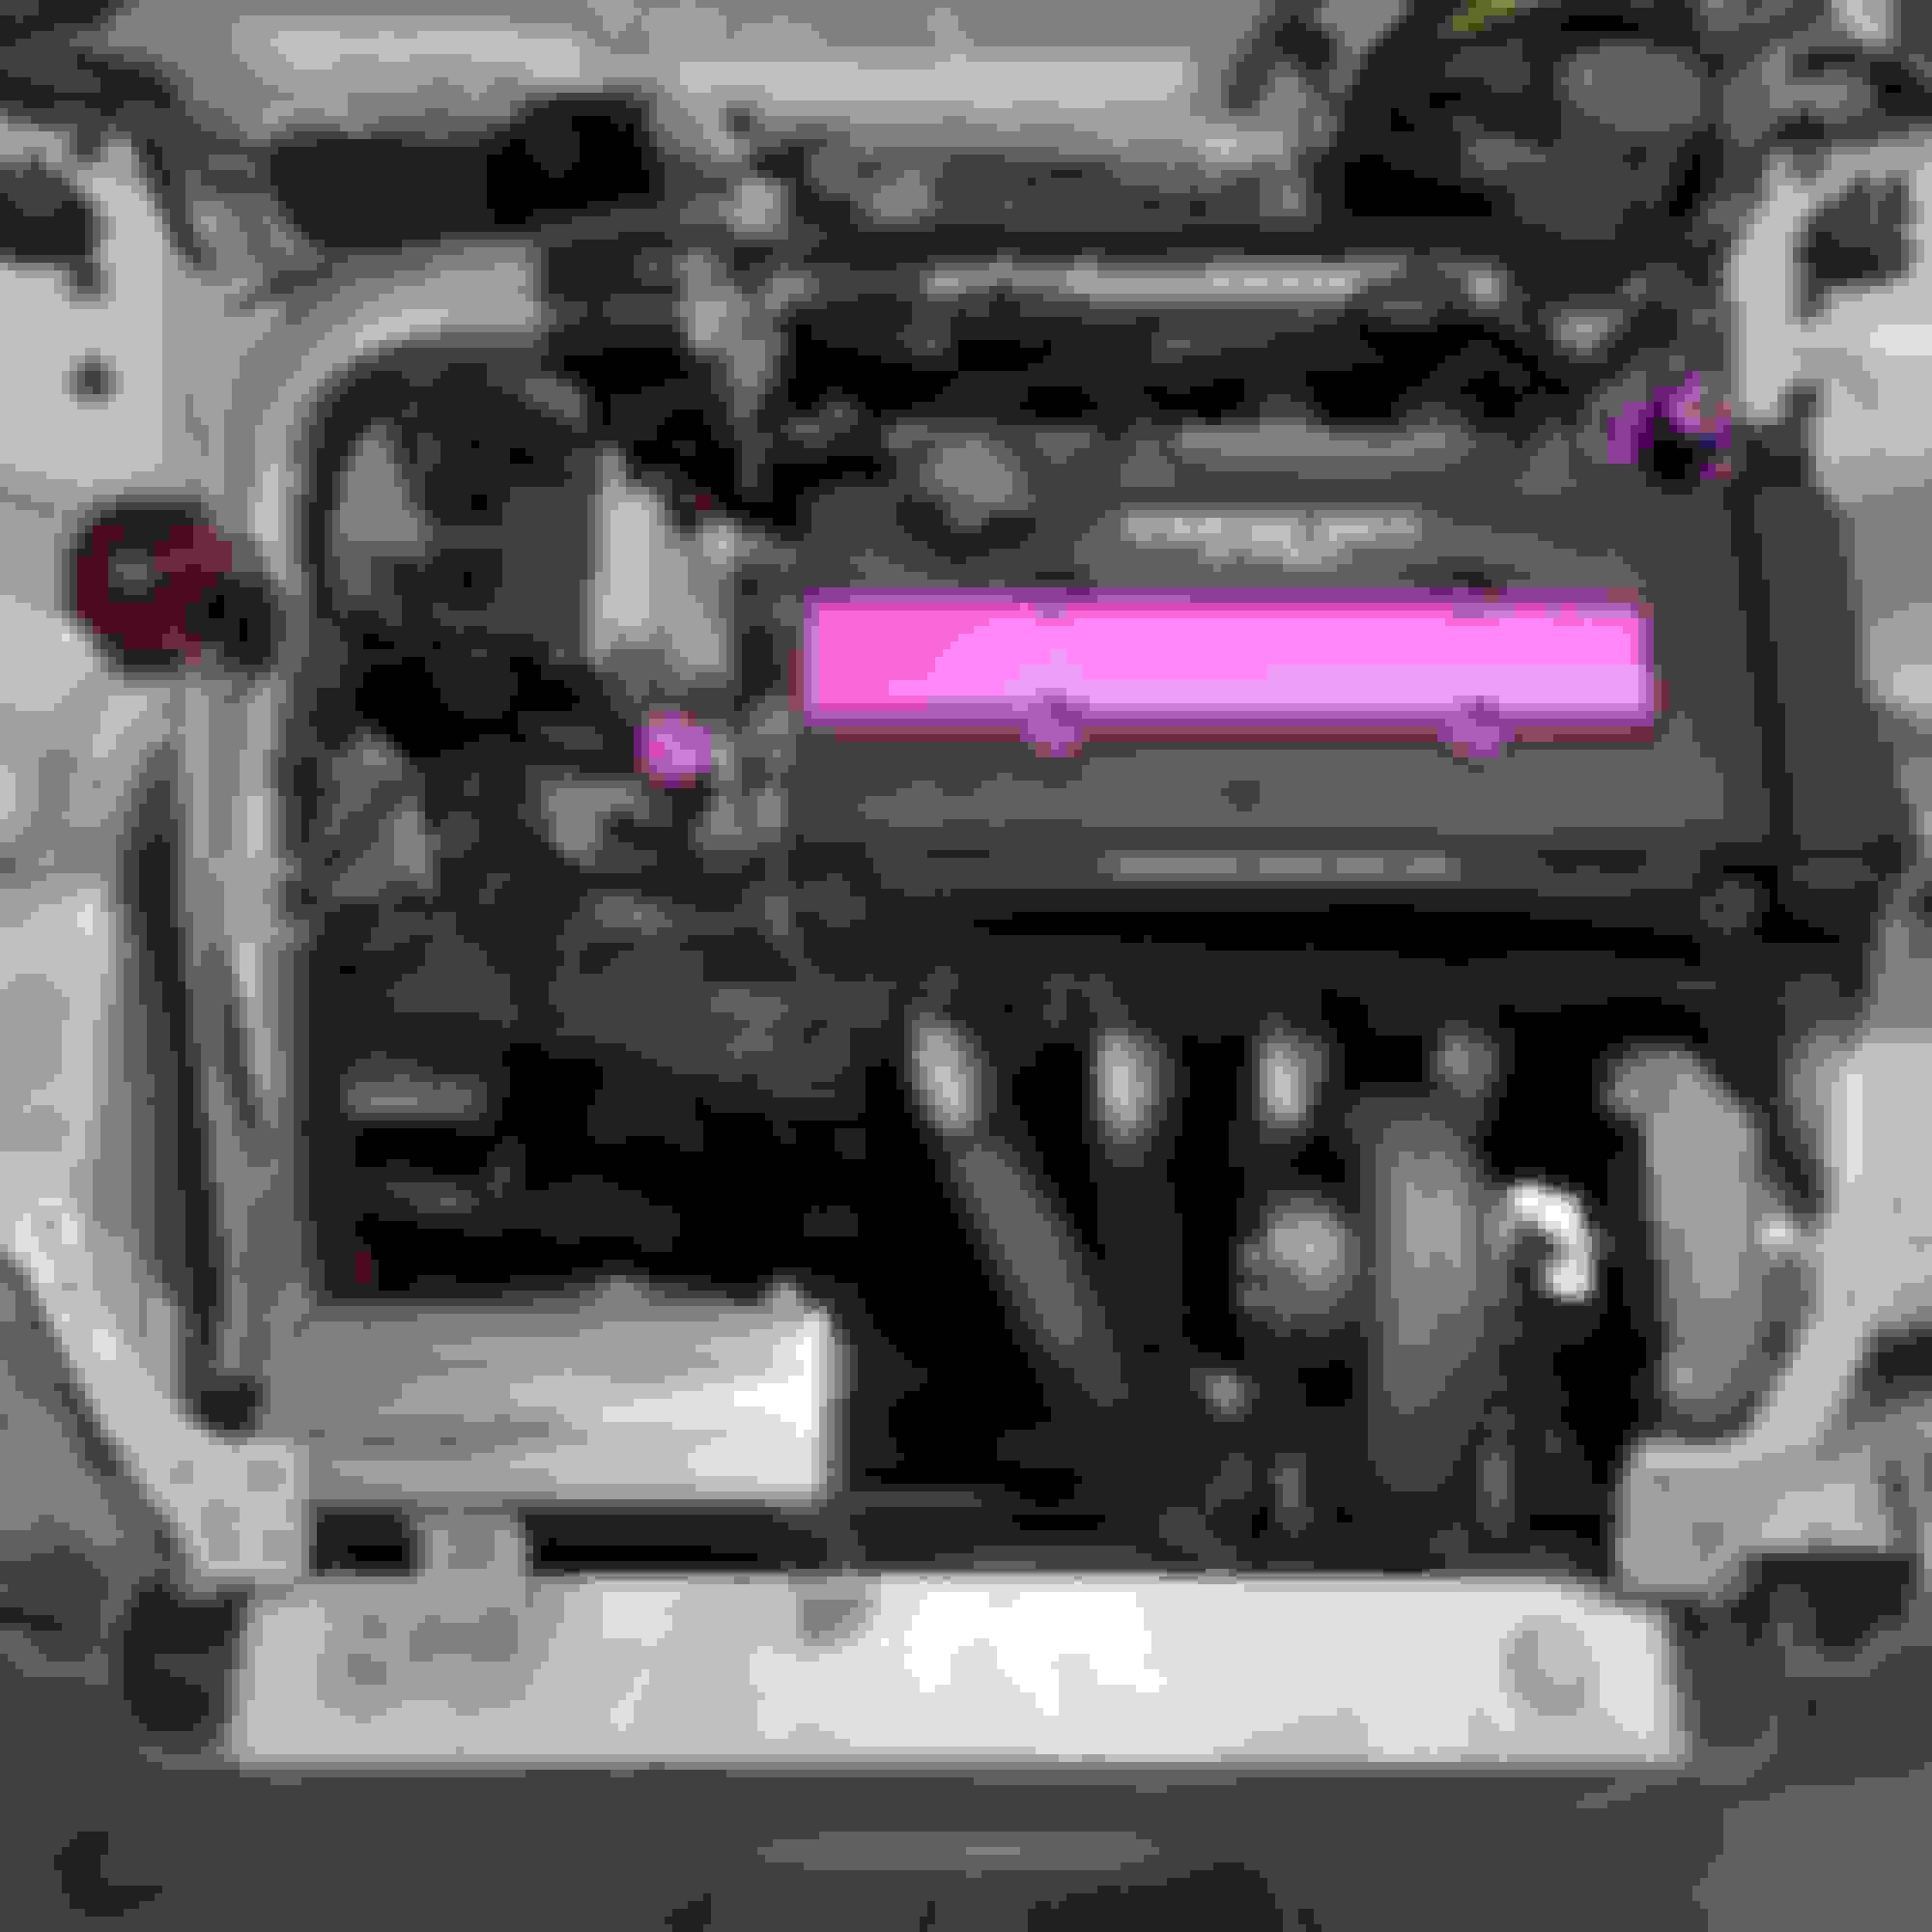
I'm pretty happy with how this end came out
Rounded off the radiator mounts and painted them black
This is how the ECU wiring looks but I also wired in a coolant pressure sensor as input #4
I tried to order plain black hood spacers and they sent me counterfeit mugen ones -.- I just painted them flat black. Not trying to be extra jdm, but needed these for the hood to clear the catch can & overflow combo
Tacking up the up pipe. Trust me, if there was room I wouldn't have gone out the hood. With the radiator being where it is, there's no way it was fitting in between that, the transmission, and runner #4
Welded up
Up pipe & the dump tube finished
Put a 16an bung on the thermostat housing
Used 4" diameter aluminum, about 6" tall for the swirl pot
Welding her up
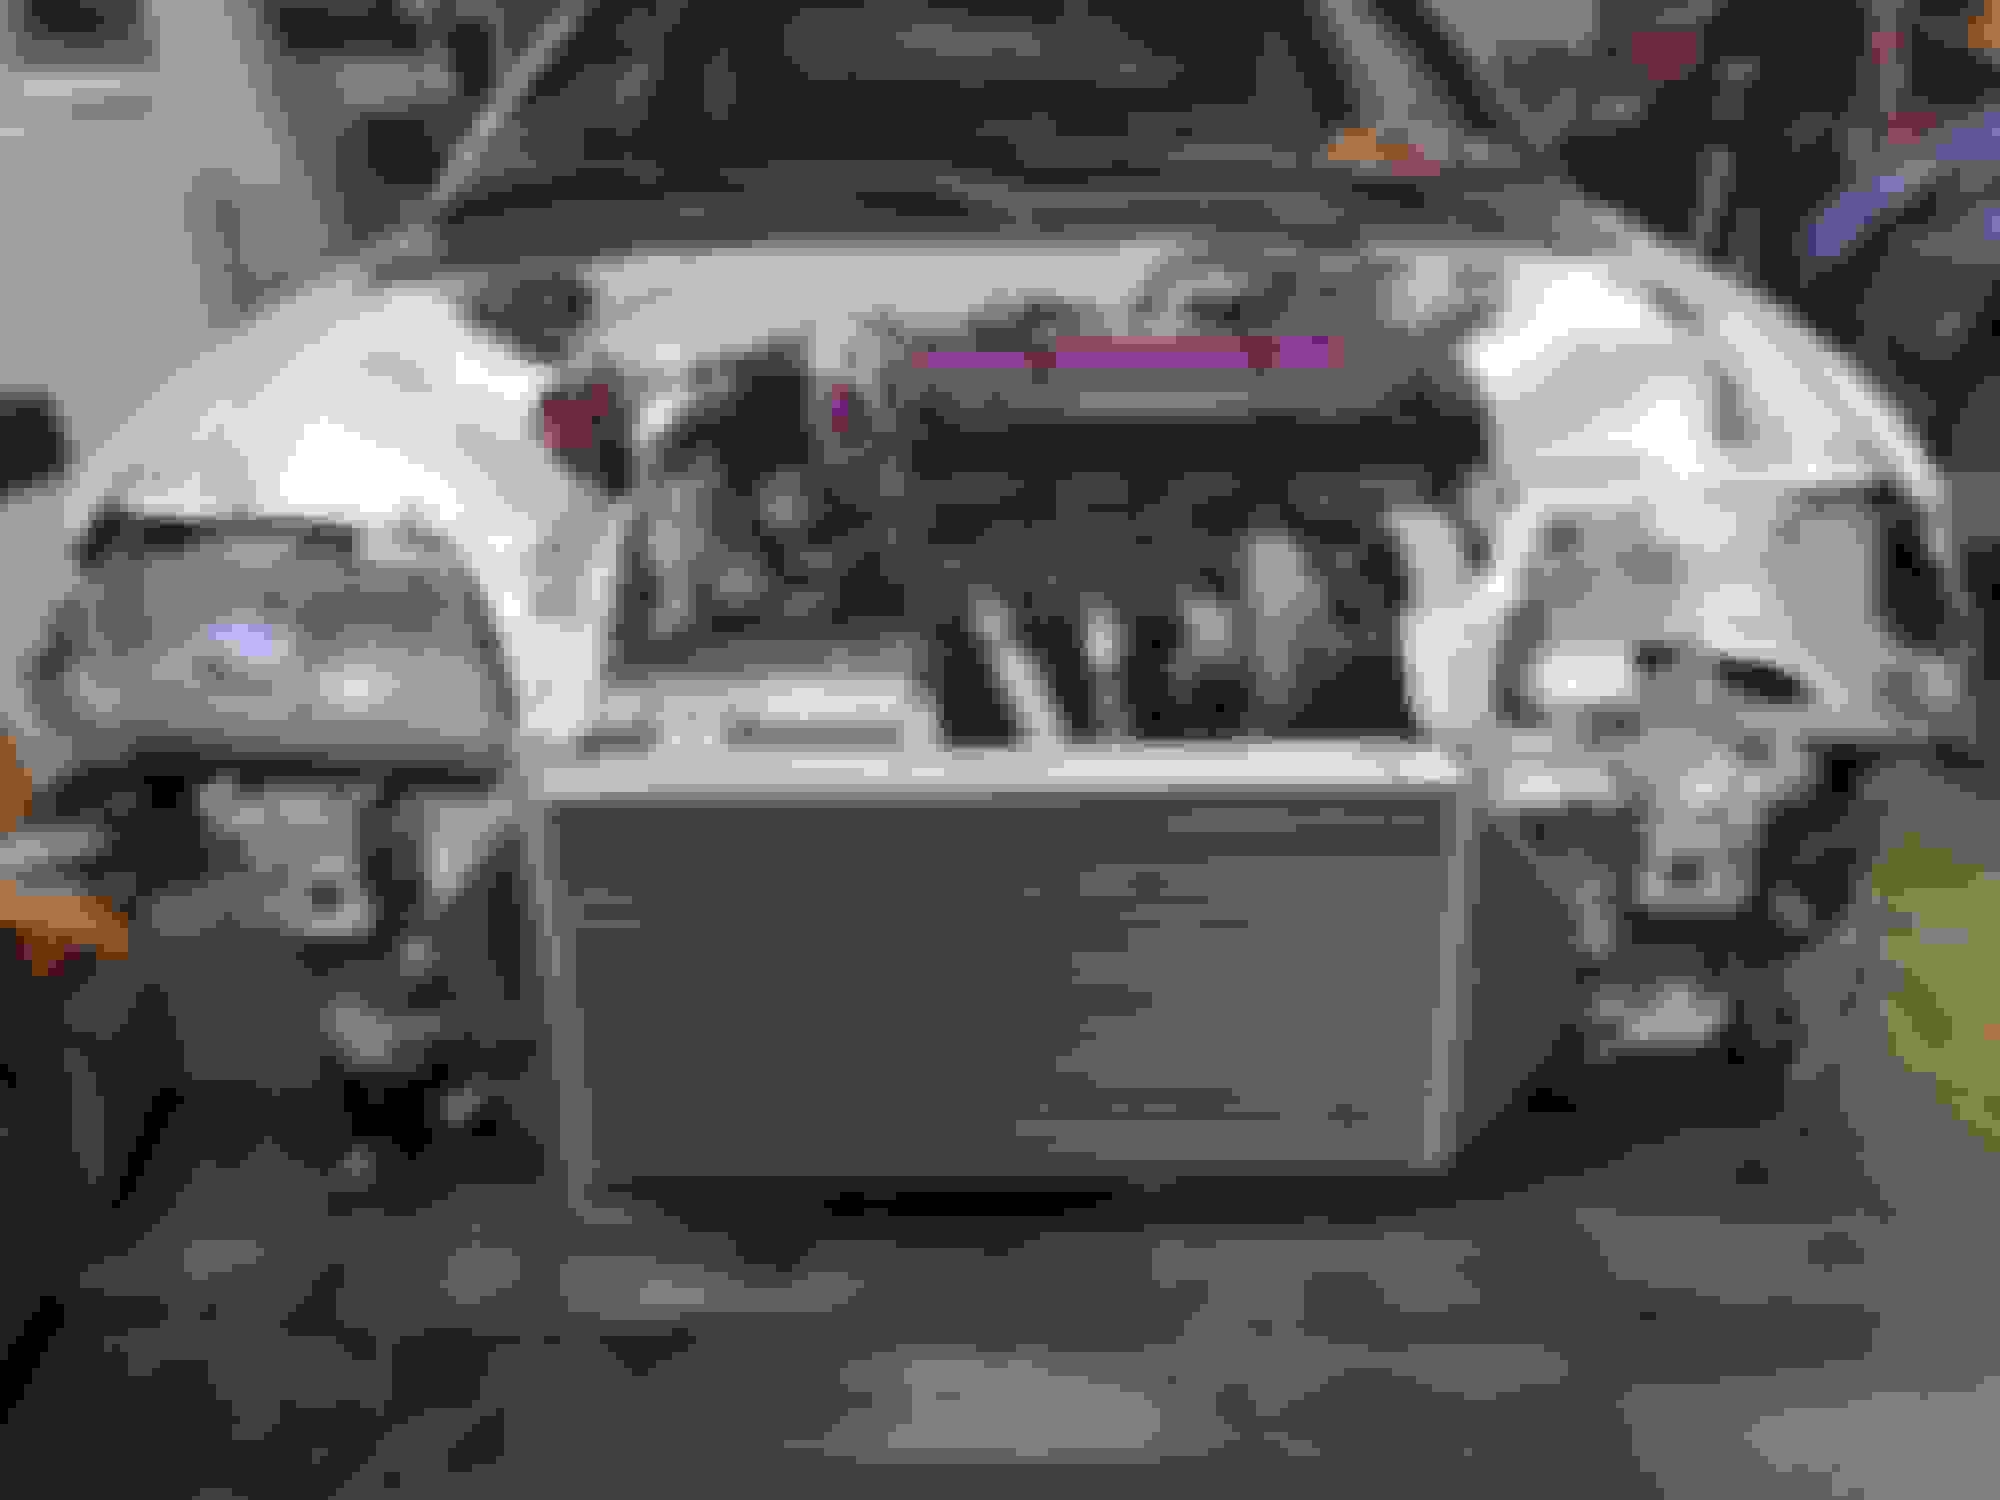
Given the limited space we had, I'm happy with how it came out
Starting to look more complete
Polished using a scotch brite pad with wd40, then medium polish & lastly finishing metal polish
Here's the catch can & overflow combo, took a while to get to this point. The catch can filter piece is sold by wef_shitup on instagram and uses a k&n 33-2238 filter
All finished up. The 1/8" npt bungs are for the vent, line from the swirl pot, and a level indicator. The catch can is baffled with scotch brite stainless steel scrubbing pads and the lines are 12an
It's a tight fit but I like how it turned out. I'm well aware the up pipe is closer than ideal to the radiator, if it ends up being an issue it's easy enough to make another one. I was trying to avoid having an extremely short up pipe in hopes that the wideband would get more accurate readings. That's also why I put the wideband on the top as opposed to the underside of the pipe
Friendly reminder to stop using those harbor freight jackstands
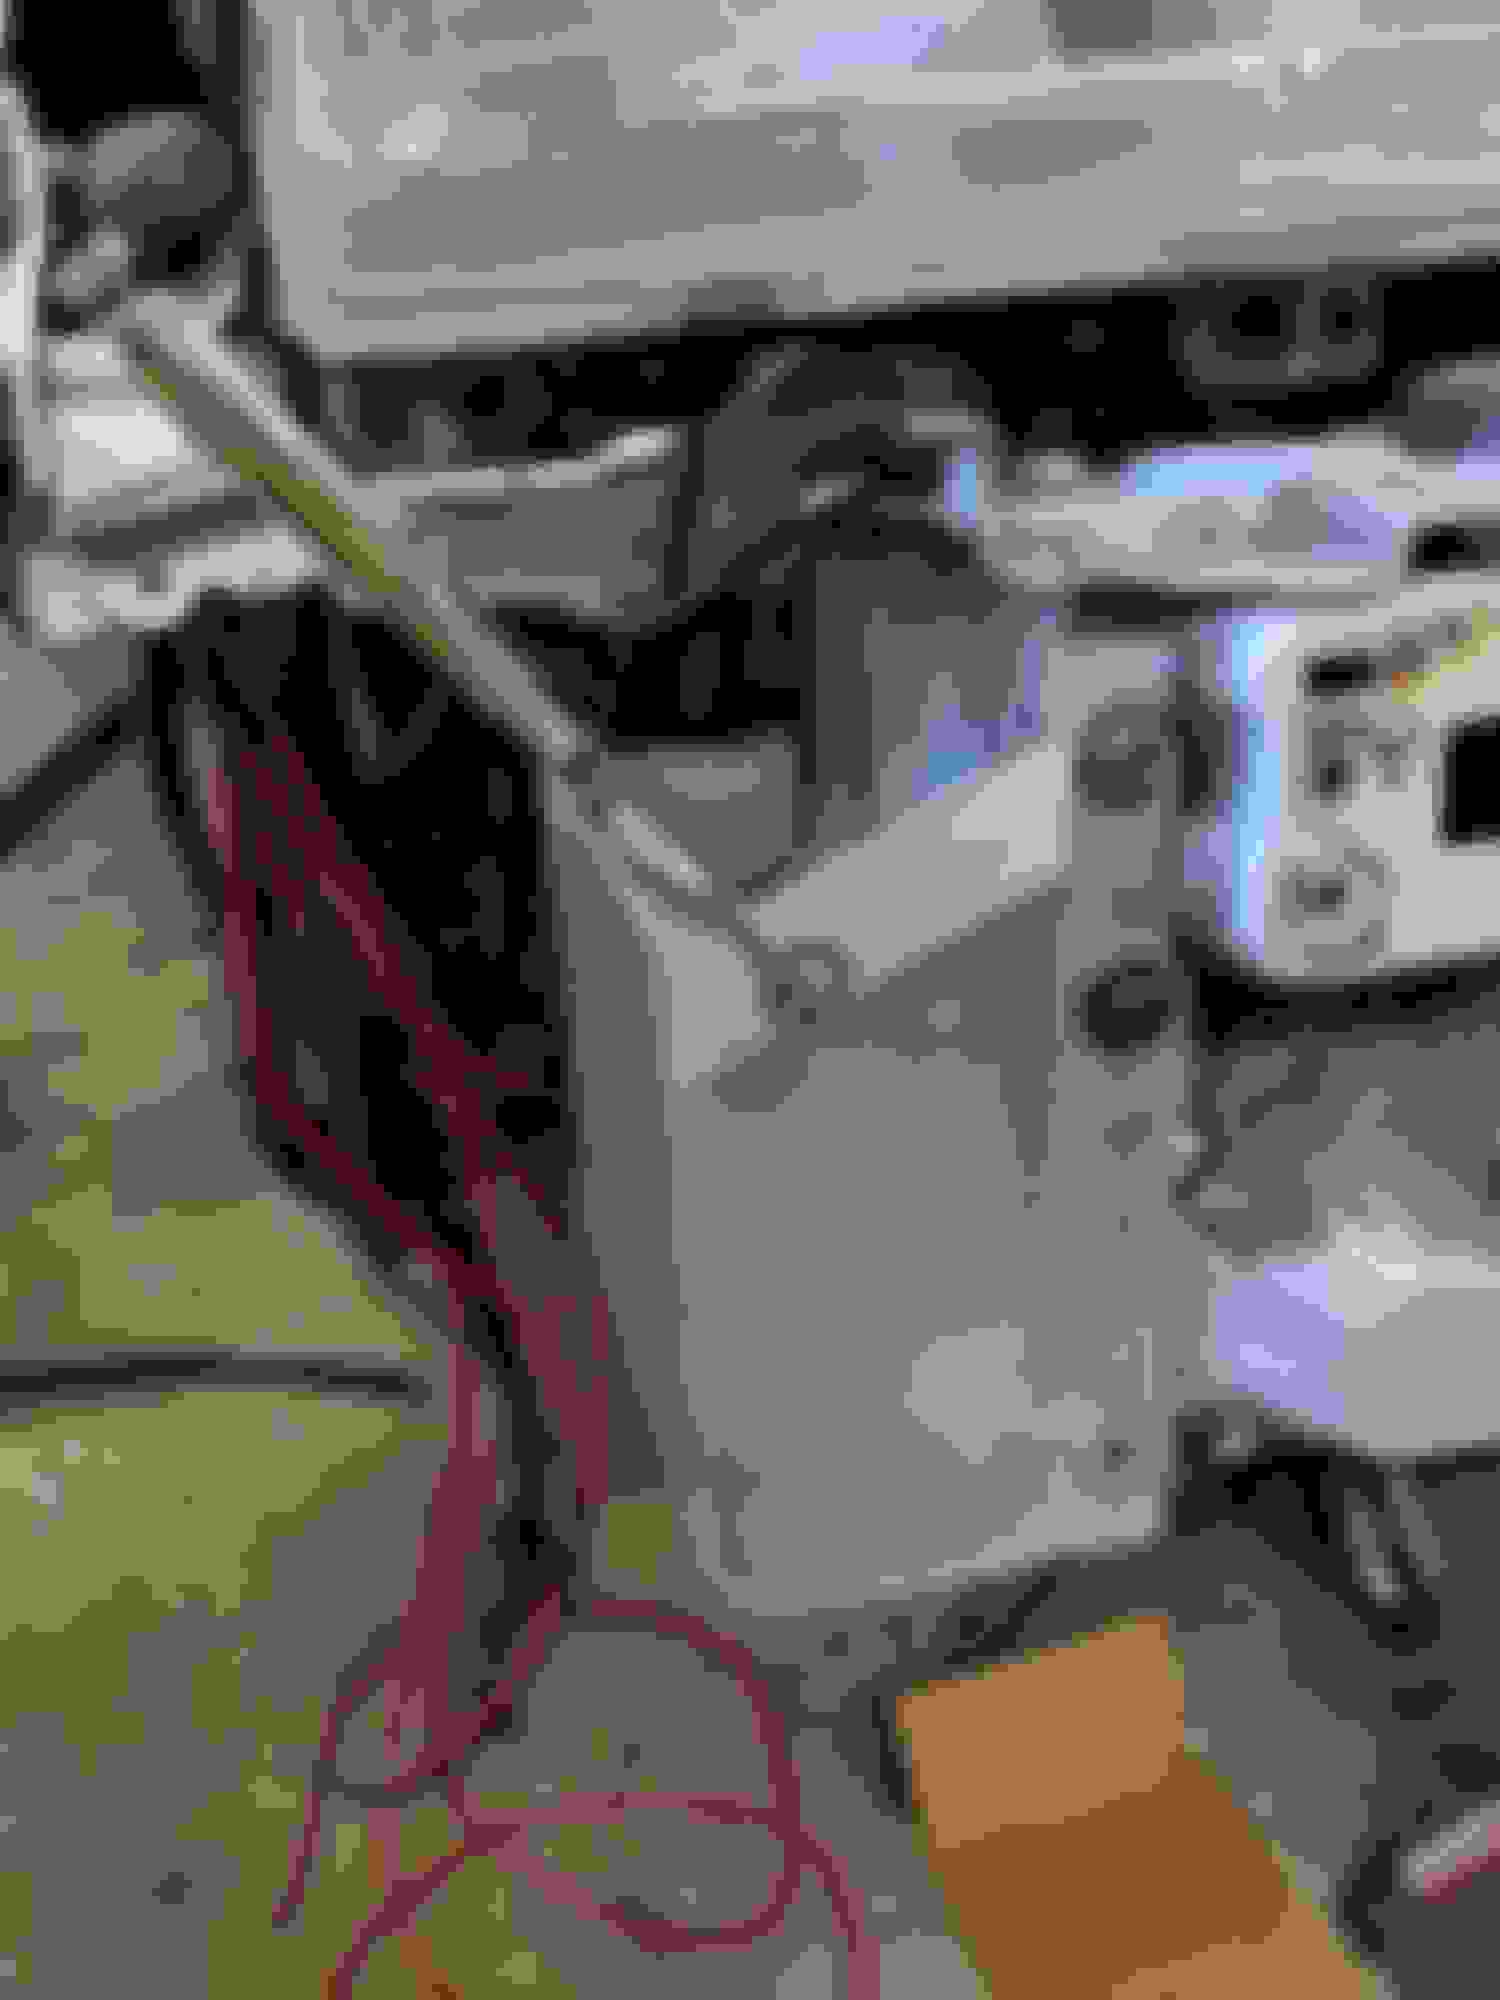
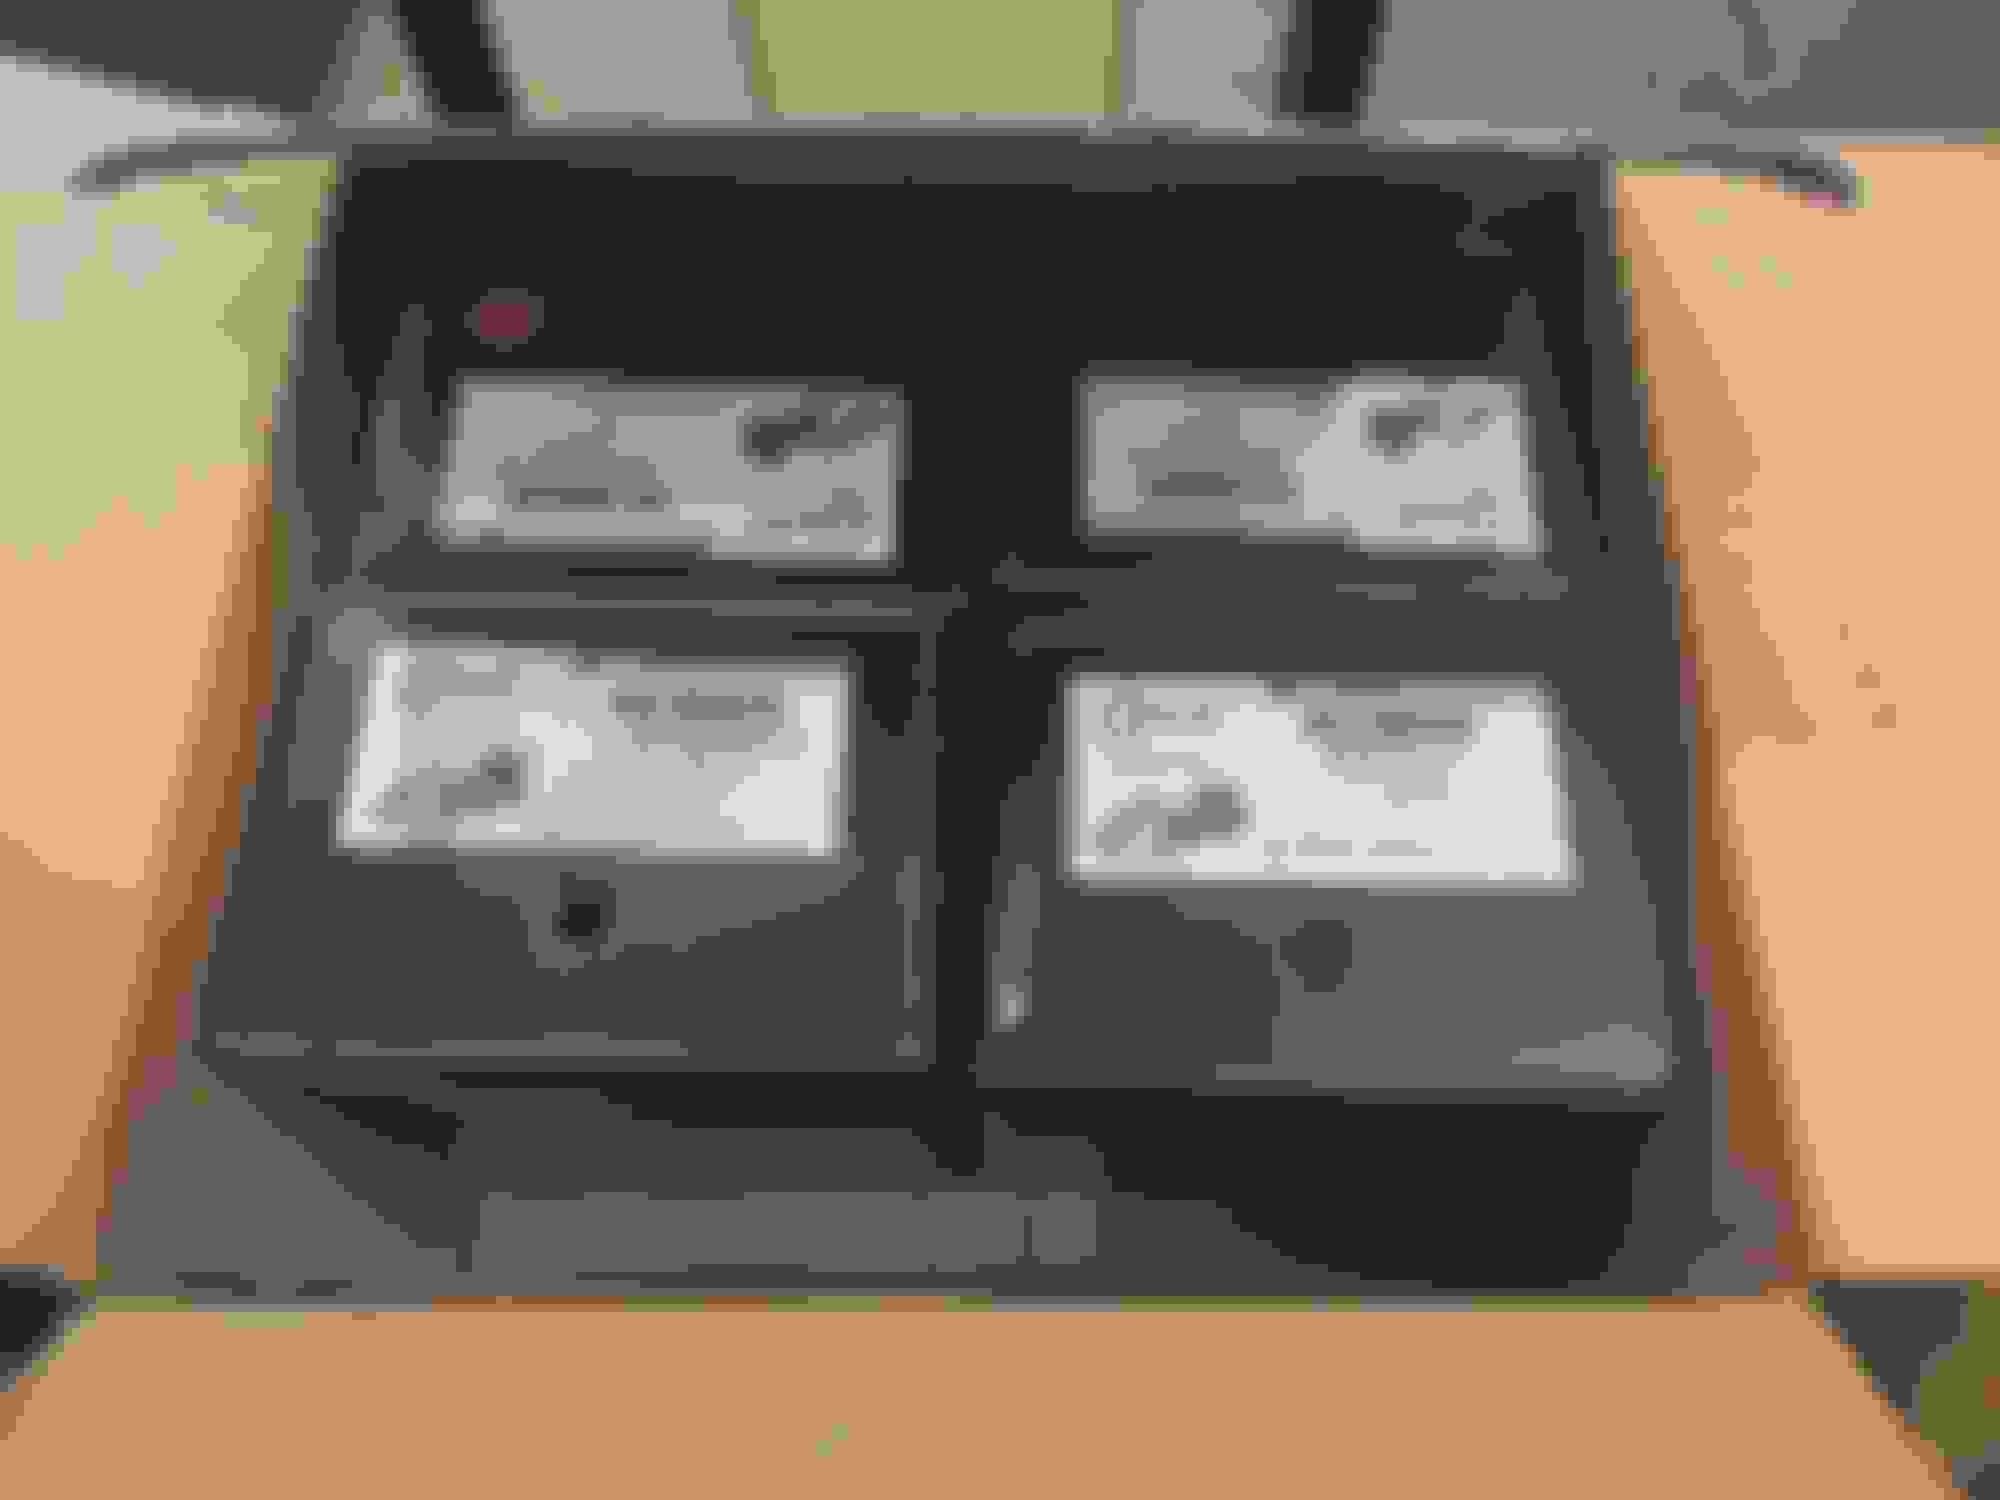
Went with this pc680 sized battery, this one is designed for car audio but should be fine
Lots going on here but power wires are for the alternator, fuse box, MSD box, fuel pumps, and radiator fan. Grounds are the body ground you can see in the picture, engine ground, MSD box ground, and radiator fan ground. There's also a CTEK 7002 battery charged hooked up as this is an AGM battery. Even when the car is up & running I plan on just leaving this charger plugged in
I decided to freshen up some things:
Skunk 2 upper control arms (front camber kit)
Handful of Moog parts
Inner & outer tie rods
Lower ball joints
Rear hub & wheel bearings
Shock bellows
Rear camber kit (rebranded SPT)
Durago front hubs (doesn't appear to be any higher quality new front hubs available)
Timken front wheel bearings
Falcon tie rod boots
Goodridge stainless steel brake lines
Centric brake calipers
I replaced the skunk 2 camber kit bushings with hardrace bushings
Also replaced the ball joint boots with OEM honda boots as I've read that the skunk 2 ones tend to rip
Finally got the seats mounted, I tried mounting them to the stock rails at first but that ended up being more involved than I anticipated. The brackets the seats use now don't allow for any adjustment so I just put the driver's seat where I like it. It'll be using stock seat belts for now so the buckles are also mounted to the new brackets. I'll have to take pictures of how I mounted the seat to the bracket but just used 4 carriage bolts on the bottom
New calipers
For whatever reason, the front hubs did not clear the brake rotors. I found another comment saying the same thing about these specific hubs, so I just used an angle grinder and took down the outside of the hubs until they would allow the rotors to fit. You can see the one on the right is before and the left is after. Certainly not ideal but I didn't really have another option as I already threw away my old hubs
I couldn't find any OEM or aftermarket brake dust shields in stock so just freshened up the ones that were on it
When I put the new bellows on the shocks I also cleaned them up a little. For now I'm keeping the racelands, I know everyone uses the blox drag coilovers but haven't decided what I want yet
Everything bolted up minus the caliper & rotor
The car already had blank brembo rotors and hawk hps pads all around, but the rotors were rusty from sitting for a couple of years. I filled the bottom of a 5 gallon bucket with white vinegar and let the rotors sit in there for a day, certainly cleaned up the majority of the rust on them. The pads have plenty of life so I just scuffed them up
I bought some angle iron and steel square tube, will be making a weight bar similar to this below. If anyone knows of a weight bar that's contoured for a stock CRX front end let me know but I wasn't having luck finding one.
New shoes, Enkei rpf1 15x8 +28 in the front with 235/60r15 m&h drag radials and 15x7 +35 with 195/50r15 r888. I tried finding a different set of 15x8 and 15x7 or 15x6.5 rims but wasn't having a whole lot of luck, and actually had my order canceled on more than one different set because things were out of stock or discontinued. I also didn't want 15x8 +20 rims for the front since I knew these weren't going to fit under the fender
The front tires stick out a good inch or two, I ordered some fender flares and will probably use rivet nuts to attach them. If I get adventurous I might do some diy fender cutouts like the track life composites cutouts. I also need to fold/hammer over the fender pinch welds as these are 26" tires
I'd like to eventually do a dx/hf roof swap but for now, decided to plug the sunroof. Started with a 24"x48" sheet of 16 gauge aluminum that I had the seller cut down to this size, I forget the exact dimensions. Traced my sunroof hole
Masked off the overhang so there's room to rivet it on
Measured where the rivets will be
Drilled the rivets and also trimmed some material off of the shorter sides as there isn't as much room for overhang on those sides
Lined it up where I wanted it and drilled the holes in the roof
Primer
After I painted it, test fitting the rivets. I used 3/16" waterproof rivets
This is up through a couple of weeks ago so the next update should get us to the current status
Are you going to use 116 octane gas?
Are you looking for any certain quarter mile times? It should be able to go 9 seconds right?
It'll be on pump e85, so closer to e70 if I end up getting it tuned sooner than later. I'm not looking for any specific times but it'd be cool to be able to get into the 9s eventually on this engine & turbo setup
Originally Posted by digital sol
Amazing progress, it looks like such a tidy package!
How did that HF jack stand break? Ive got two holding my car up right now, the other two are 'Husky' brand....
Id love to see some final pics once all the cooling lines/hoses are ran. I love the catchcan/coolant combo setup it fits perfect in there!
Awesome work!
Appreciate the kind words!
I had a different car up on two of the harbor freight jack stands in the front, finished what I was doing, and jacked the one side up to take the jack stand out. After taking that jack stand out I started letting down the jack (with the other side still having the jack stand) and all of sudden I hear a bang and the car drops. Instantly I thought I just put a hole in the floor of the car, but luckily the pinch weld landed on top of the jack stand base.
I ended up buying Esco (part #10498) jack stands to replace the harbor freight ones, they have a pin that sets the height instead of the ratcheting mechanism that most jack stands use. They're pricey (+$200 for 4) but well worth it to me, and they go significantly higher than the harbor freight jack stands. I'll still use the harbor freight jack stands in some cases (see pic below, the front of the car has the harbor freight jack stands because another car was using 2 of the Esco jack stands) but I'll also leave the jack under the traction bar or rear tow hook just in case.
Here's more pics of coolant lines & hoses, the hoses are normal 16an and the lines are 1/4" ptfe so they should be fine with the temperature of the coolant
I need to take more pictures of the recent progress I've made so to be continued
Very impressive! You’ve but a ton of work into this build.
Appreciate it! Trying my best & glad there's finally a light at the end of the tunnel
Originally Posted by Hasport
lots of awesome fab going on and liked reading through all the post
also i have that same chair just no chick fil a cup on it haha
Thanks for the kind words and I love that chair haha, it was part of a dining room set we had a while back but now its home is in the garage
Some overdue updates, but here I started folding over the front wheel well pinch-weld by cutting off the mud flap screw holes
Here's the pinch-weld before I started
Folded over with the persuasion of a few different size hammers. If you look closely you can see some of the spot welds 'tore' as it moved quite a bit
After cleaning it up with a wire wheel, I used the mig welder to weld the folded-over seam together. I'm not sure how much structural integrity it really lost but figured this couldn't hurt
After that I sprayed it with some primer
After the primer, I used seam sealer and put it everywhere around those welds. I don't have a picture of right after the seam sealer but this is after I used undercoating to paint over it
I also folded over the pinch weld on the top and painted it with undercoating, here's an after pic of that
I had to shift the wires behind the fender up a little bit to ensure it'll be safe if the tire rubs the top of the wheel well
Once I bolted the new wheels up it was pretty obvious that they stuck out a little too much, although it did look cool
I installed 45mm fender flares, this is before I put two smaller rivets at the end of the flares
And here's after those two smaller rivets were put on. I was going to use rivet nuts but figured I'd use rivets and if I didn't like them I could just drill the holes out larger for the rivet nuts. Luckily I ended up liking how the rivets look
This is after using seam sealer, I didn't really plan on using it on the fender flares but the gap you can see in the first picture with the flares was just too big to ignore. Here's how it turned out
After testing the clearance with the flares it was I realized that I still needed to trim more of the fender on the rear inside edge to clear the tire. I trimmed 3/4" of an inch off the inside edge here, which including cutting the fender trim and bottom rocker piece to fit. You can see the bottom rocker piece barely has enough metal for the one clip, that's how I ended with the 3/4" figure
Here's with the bottom rocker piece on, I like how it's subtle so I'll probably keep it this way for now instead of doing the fender cutouts I previously mentioned
For whatever reason Enkei doesn't include center caps in certain sizes of the rpf1s, and that includes the 15" sizes. I found some Honda center caps that fit the front wheels (p/n: 44732-T2A-A01) but they don't fit the rear as the center bore is a different size. I ended up just buying some axle dust caps for the front (the rear already had them) and treating those as an aesthetic alternative to center caps. After some flat black high temp paint they were good to go
Here's the moog (spc) rear camber kit
Speaking of, here's all the suspension related things I got from rockauto. I mentioned it earlier but this includes inner & outer tie rods, lower ball joints, rear hubs & wheel bearings, shock bellows, rear camber kit, front hubs, front wheel bearings, & tie rod boots
Moving on to the sunroof, here's the inside while applying the seam sealer
After the headliner is back in
On the outside, I ended up applying a few more coats of paint as the rivets chipped the paint and I also couldn't find any black waterproof rivets
Here it is all finished. It took way longer than I was planning on but I'm happy with how it came out
Close up of the seam sealer on the top
Since the dome light is in the rear it isn't that bright, so I used some foil tape to cover the inside of the assembly. I also ordered some led lights to replace the bulbs that go here and in the trunk interior, but those have yet to arrive
I noticed that I had a bunch of mismatched lug nuts so I splurged on some Gorilla 'racing' lug nuts
Of course I didn't take a picture but they look like this. I'm uncomfortable with running aluminum lug nuts so I'm glad these are offered in steel
After installing the new shift boot I ordered, I realized it must be for an integra or something else because it's taller than it should be (the one I ordered was supposed to be ef specific). I'm still not sure if I'll just try to make this one work or get another one, we'll see
After realizing that I kept stepping on the battery tender cord I bought this floor cord cover
I bought these $35 floor mats from eBay and while they're thin, I wasn't expecting much so they'll do the job
I don't have a picture of the old heel pad but it came off and since it was damaged, I decided to put a larger heel pad down to cover the glue marks from the old one. This heel pad is huge but it's the only size I could find that would cover the glue marks from the old one, so it is what it is. I'm sure 99% of the time I'll have the floor mats in so I'm not even really sure why I did this but alas, here we are. I cut the edge off as it was in the way of the dead pedal and used spray adhesive
I put a 50 pound thing of cat litter on there for a day while the glue cured
Here she is
I lost the rearview mirror cover with the seat belt warning lights, but since I no longer have the wiring for the warning lights I just ordered this blank version from Gregparts (https://3dprinted.bigcartel.com/). He 3d prints a handful of things for Hondas including the Crx. Here it is out of the bag
Initially I sanded it down with 150, 220 & 320 grit sandpaper
One of the first coats of filler primer
Ultimately I used maybe six or seven coats to get it to this point
I then wet sanded it with 600 grit and gave it three coats of paint. This was the closest color I could find, I think it'll look nice once it's finished. Right now I'm remaking the metal bracket that holds up this cover and the rearview mirror as I also lost that
Those are all the updates through today so we're finally caught up. Next on the list is probably installing a new master cylinder and bleeding the brakes, along the re-bleeding the clutch. I realized the line to the clutch master was leaking when I removed all the sunroof wiring, so I ended up messing with that the other day and I think it's finally not leaking anymore
Coming along very well indeed! I know there are lots of little things the EG chassis would benefit from. I may get to those one day. Lol! Your work here is certainly inspiring.
Coming along very well indeed! I know there are lots of little things the EG chassis would benefit from. I may get to those one day. Lol! Your work here is certainly inspiring.
Thanks man, appreciate it!
I received my new LEDs for the dome light and trunk light, I have yet to try them out but hopefully, they work well
From what I understand most boosters look like this just cause of the brake fluid - I guess other than the booster I've now replaced every part of the brake system aside from the oem hard lines and prop valve
Bleeding the new master cylinder - this fixed the issue I was originally having trying to bleed the brakes
Here's the finished bracket for the rearview mirror, although I did primer & paint it
Finished product
Here's the paint I used
Next, I need to mess with my oil pressure gauge since it stays on all the time instead of only when the ignition is turned on, along with some other random things. I also need to fill all the fluids including the engine, trans, coolant, & fuel, and then test for leaks as I've already had my fair share of those so far I also need to put back together the fuse panel and wiring under the steering column, as I had to remove that when I was uninstalling the sunroof wiring and messing with my clutch reservoir line leak - luckily the clutch reservoir line just had a tear in it
Appreciate it I underestimated how much work it takes to get a 3d printed part smooth like that but I'm really happy with how it turned out
Yesterday I was messing with the gauges and found out that the oil pressure gauge was staying on because it was being powered by the constant terminal on the fuse panel under the dash. I switched that to the ignition terminal and then tried to figure out why the wideband wasn't powering on as it was last time I tried the gauges. Turns out way back when I wired the wideband to ECU pin A25 for power and A24 for ground, even though I thought it was being powered by a wire similar to the oil pressure gauge under the dash. Initially, I didn't have the ECU plugged in so first I did that - then played with getting the wideband to power on for an hour or two last night, I'm getting 12v to the module from pin A25 so I need to finish testing the ground and everything else. I did tie up the wideband module a week or two ago so it's more under the dash so I'm not sure if I messed up something during that or what. Hopefully, I'll be able to figure that out today.
In other news, the clutch line isn't leaking anymore at the reservoir, but it was leaking inside the car at the firewall bulkhead. I tightened that fitting up a little bit and it seemed to be ok so we'll see if I'm finally in the clear
I ended up switching the ground for the wideband from pin A24 to A26 and that solved my problem - I'm not sure why A24 stopped working but I'll just accept that it works now at this point
I have a tunerview 2 screen (https://hrtuning.com/tunerview-ii-small/) which just plugged into the datalog header when I was on crome, but with Hondata, I need a module to interface with it. Apparently, that module is discontinued so I took it out and put a radio back in
The old radio adapter
Cleaned up with the new plug on it
When I was going to plug in the adapter I noticed some bare wiring, turns out this stray wire below was just twisted together with no solder, connector, or even tape on it
I fixed that wire but some of the butt connectors are too close to the plug for me to really do anything without depinning the connector. Hopefully, it doesn't give me any issues later on but we shall see. I'm assuming it was the previous owner that put these butt connectors here to begin with because I don't remember messing with this
Ready to go
We have power
After getting blisters on both of my hands from pulling it off, I have a new emergency brake handle from an eg. It was only $1 from a local junkyard
This dome light switch on the driver's side is broken so I ordered a new one
What's left on my list is mostly aesthetic things, with filling the fluids and checking for leaks being the main thing in the way of trying to start the car. I'm not really trying to get the car ready for a specific event anymore so I'll probably just finish the random things on my to-do list before trying to get it started
Pin A26 is a logic ground, so it's a regulated 0v signal for sensors. To be honest, I'm not sure what initially made me pick A24 (power ground), I'm assuming I was just following some write-up. Since I was already messing with the ground wire at pin A24 it was easy enough to just move it to A26 (in another write-up someone mentioned using A26). I didn't realize people ran the ground for things like this to the thermostat housing - I know the ecu grounds there so I figured this would suffice
Pin A26 is a logic ground, so it's a regulated 0v signal for sensors. To be honest, I'm not sure what initially made me pick A24 (power ground), I'm assuming I was just following some write-up. Since I was already messing with the ground wire at pin A24 it was easy enough to just move it to A26 (in another write-up someone mentioned using A26). I didn't realize people ran the ground for things like this to the thermostat housing - I know the ecu grounds there so I figured this would suffice
The first tuner I worked with; John Vega @Phearable had told me I should ground the O2 with the ECU ground at the T-stat housing. I remember I was grounded somewhere on a pin, may have been A26 as well but I don't remember.. Anywho, he mentioned some issues with interference that way and suggested I move it. I was just wondering though if I may have been on the *wrong* pin or what. Lol
Are you concerned about the CSS block trying reach 700hp, or do you think it should be able to handle 700hp with no issues?
Also, are you using the B18B block or the B20 block?
The first tuner I worked with; John Vega @Phearable had told me I should ground the O2 with the ECU ground at the T-stat housing. I remember I was grounded somewhere on a pin, may have been A26 as well but I don't remember.. Anywho, he mentioned some issues with interference that way and suggested I move it. I was just wondering though if I may have been on the *wrong* pin or what. Lol
That's interesting and I haven't heard of phearable in a long time, that reminds me of moates.net. Way back when I used to play around with crome and I had the burn2 with ostrich & hulog. I guess I'll see if I have any issues and if so consider what you mentioned about moving it to the thermostat housing
Originally Posted by highschooler
Are you concerned about the CSS block trying reach 700hp, or do you think it should be able to handle 700hp with no issues?
Also, are you using the B18B block or the B20 block?
I'm using a B18a1 block and if anything I'm concerned about the head gasket because I got my CSS done before they offered the o-ring option. I also don't have L19s just normal arp head studs so we'll see how that goes. But I've seen CSS blocks make 1000hp + so I'm not too concerned about the CSS itself
No big updates but I put 6.5" speakers in the doors. I needed some speaker rings because the magnet stuck out too far and wouldn't let the windows roll down the whole way. I was impatient and wanted to try out my new jigsaw so decided to make some. They turned out good enough & even if I ordered actual speaker rings I would've had to mess with them to make them fit as you can see from my notch and bevel on the back
I need to find a spot to mount these new horns because they're over twice as thick as the stock ones
I'm using a B18a1 block and if anything I'm concerned about the head gasket because I got my CSS done before they offered the o-ring option. I also don't have L19s just normal arp head studs so we'll see how that goes. But I've seen CSS blocks make 1000hp + so I'm not too concerned about the CSS itself
That’s good. I think the ARP head studs should be good enough. I’m interested to see how it holds the power.

 07-08-2019, 12:25 PM


 the website hardly worked before it eventually shut down so I was only able to recover a fraction of the photos. As the car has come a good way since the last update I figure this build thread deserved an update. When I get time I'll go through and delete/fix the dead links I can.


 I underestimated how much work it takes to get a 3d printed part smooth like that but I'm really happy with how it turned out