When you click on links to various merchants on this site and make a purchase, this can result in this site earning a commission. Affiliate programs and affiliations include, but are not limited to, the eBay Partner Network.
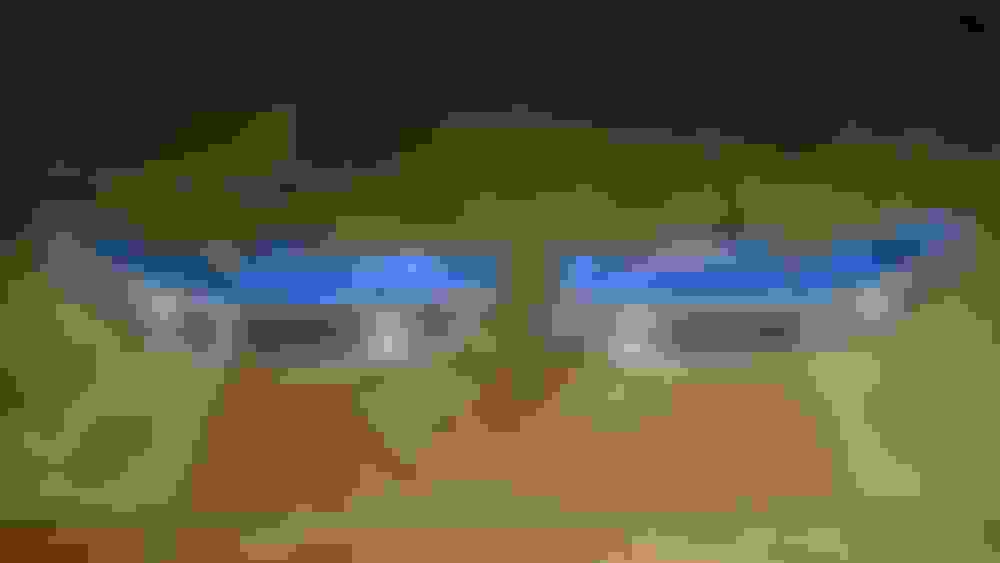
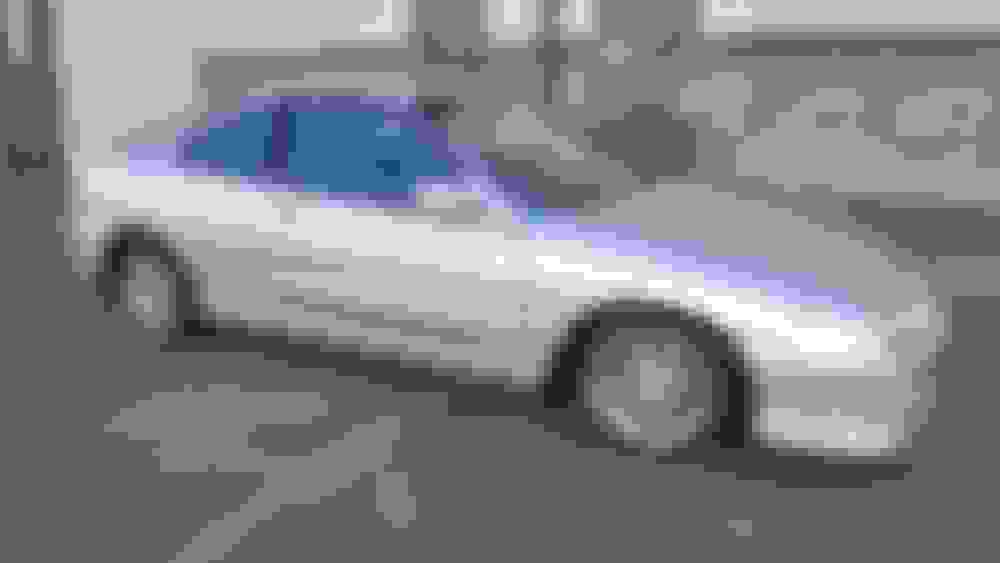
How it sat after we bled the brakes and a few laps around the neighborhood
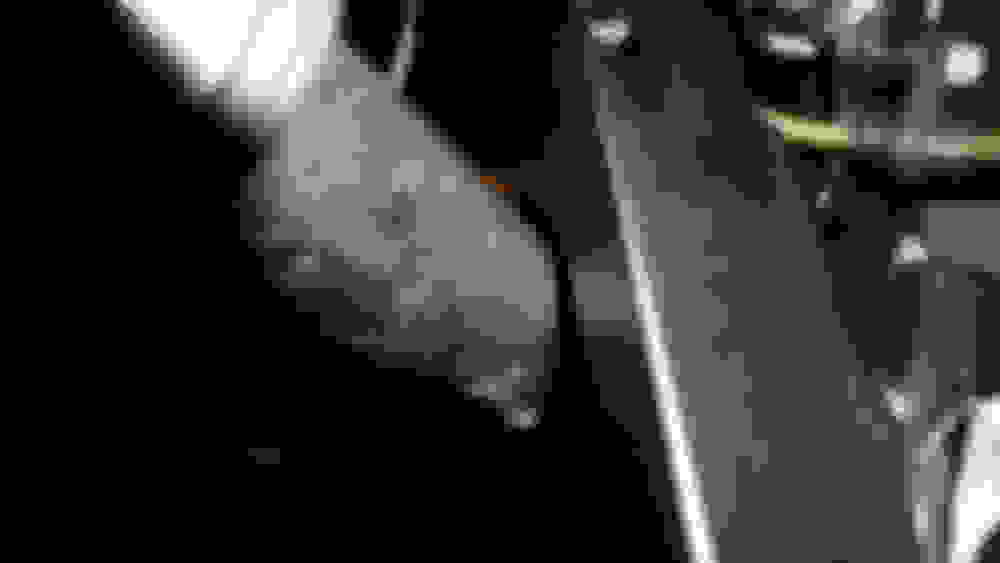
Picture speaks for itself . This is the passenger side
Driver side. You couldn't even fit a quarter between the axle and fork
We removed the fork and this is the damage made from it. We think the axle is still good. Imagine if my bro drove long distance or we didn't notice it. Yikes!
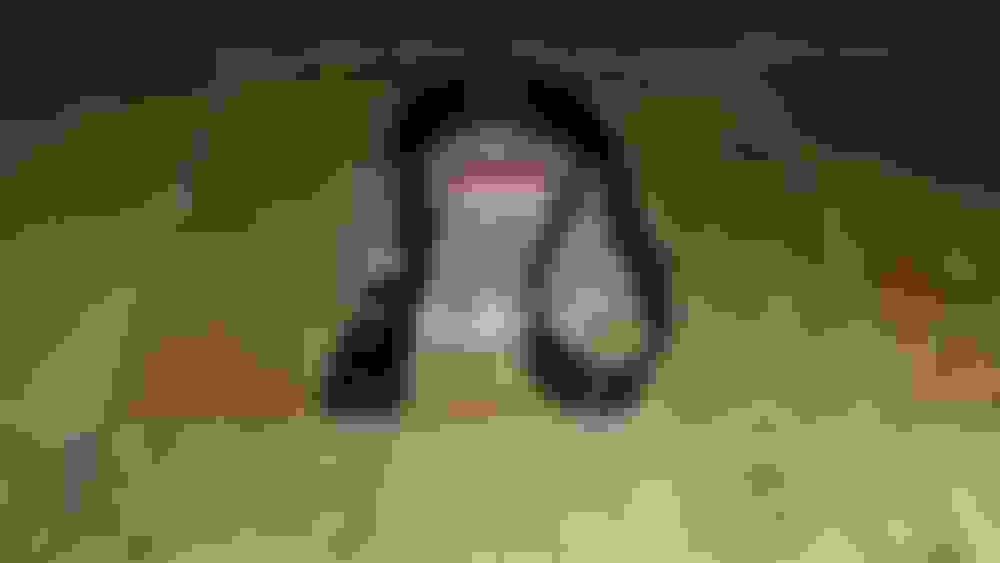
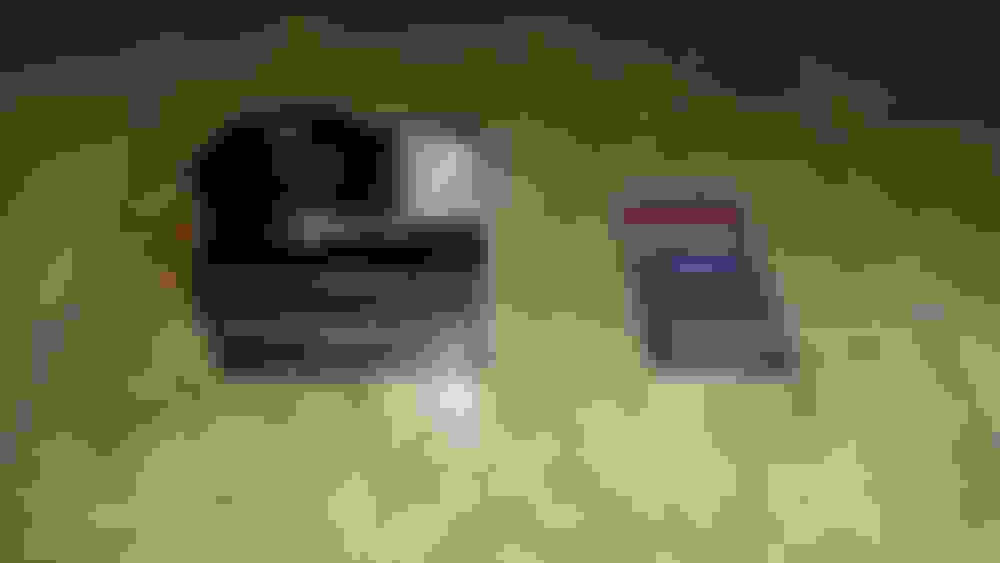
Package from Ground Control spanner wrench. We have 2 other spanner wrench but those slide easily off from the perch adjuster
Wiper, tow hooks, forks that we're going to paint
Oem forks that we're going to reuse since the drop forks didn't work out. We need to paint it before we install it back on
Painted. Front tow hooks and wiper
Got new oem caps and nuts for the wiper
Duck and Mick approves the new wiper look lol
Decided to paint the lower radiator support. Had a couple rust spots and we wanted a more cleaner look. In the future we will eventually paint the radiator support the same color as the car (VSM)
Prep: Sand with 800, primer, sand again, mask, and paint
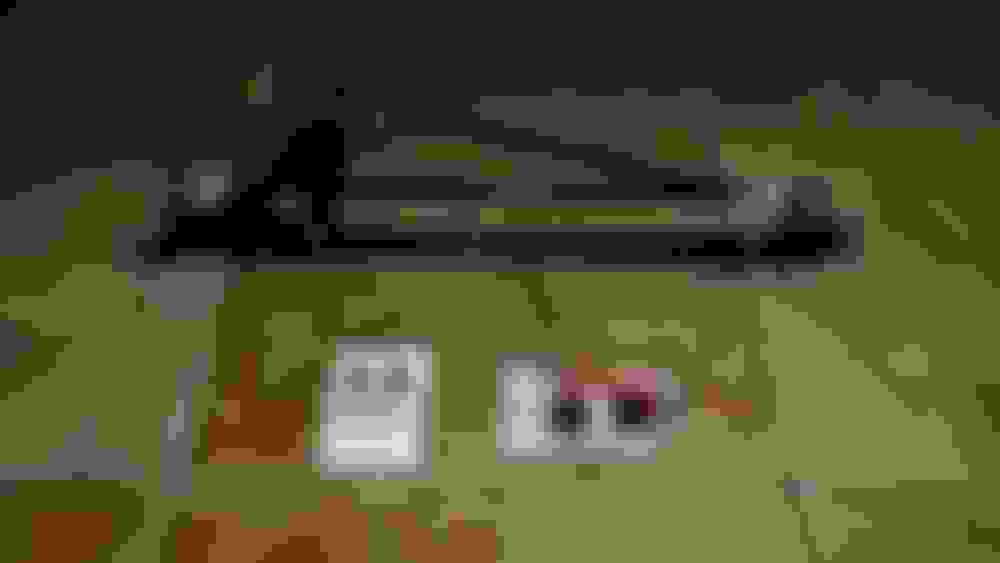
Oem forks curing process. Three layers. Aslo the bumper beam painted
Can't notice in the pictures the before and after but it looks way better now and it won't be an eye sore
Axles can breathe better with the oem forks. Gap much bigger
Bought screens for the condenser since it was an eye sore. You can paint it with a spray can but make sure to apply a thin layer or you can use radiator paint. Note: when buying a screen get the ones with the bigger holes in them for better air flow
Horn needs painting too
Got the horn on and dry fitting the screen
We use zipties to hold the screen in place. 4 corners. Looks cleaner
Close up picture of the horn installed
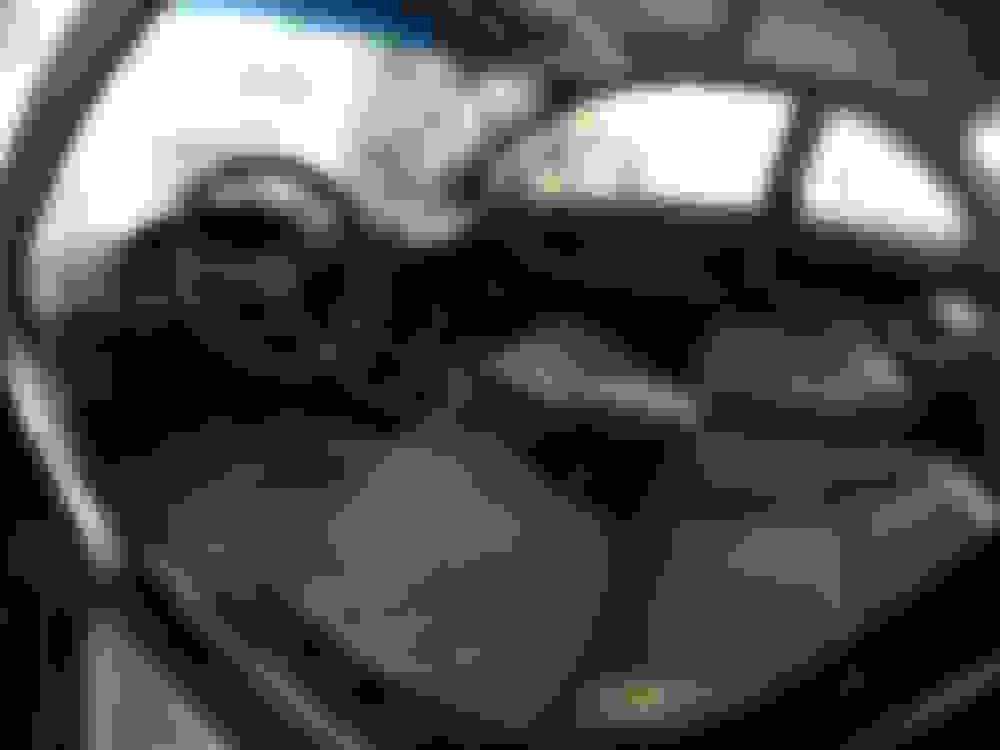
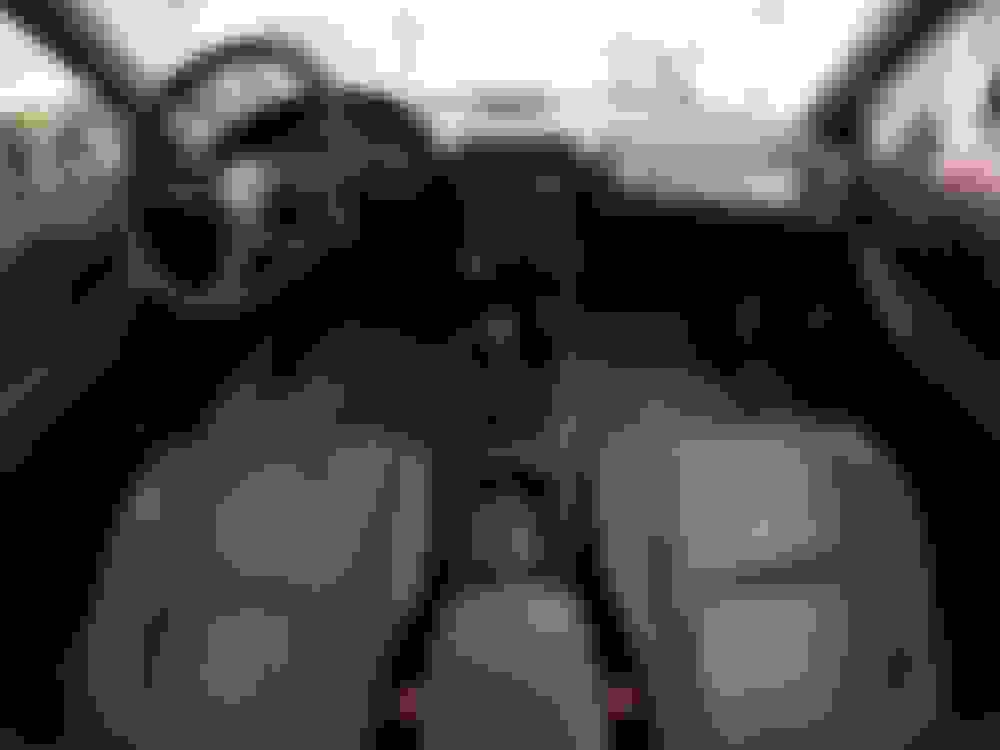
We weren't going to install the passenger seat but we wanted to make some room in the garage. So that's that. Driver and passenger seats are temporary until we decide what seats we're going with
Ziptie clips for the turn signals and horn wiring
Cleaned out the hood latch and cover. Reapply grease after
Engine splash shield with oem retainers and bolts. We also cleaned this out
Another package
Headlights and other misc
Headlights, turn signals, front bumper, front type r lip and the rest of the front parts
These OEM jdm turn signals are temporary. We bought them awhile back so that's why we have these. We're just waiting on the EDM turn signals ( clear version ) to arrive. That's what we're going to run. Just a cleaner look in are opinion
Time to put the front end together. We started with the headlights, foam support with gusset, side bumper bracket, then the front bumper, bumper beam, turn signals and last was the lip
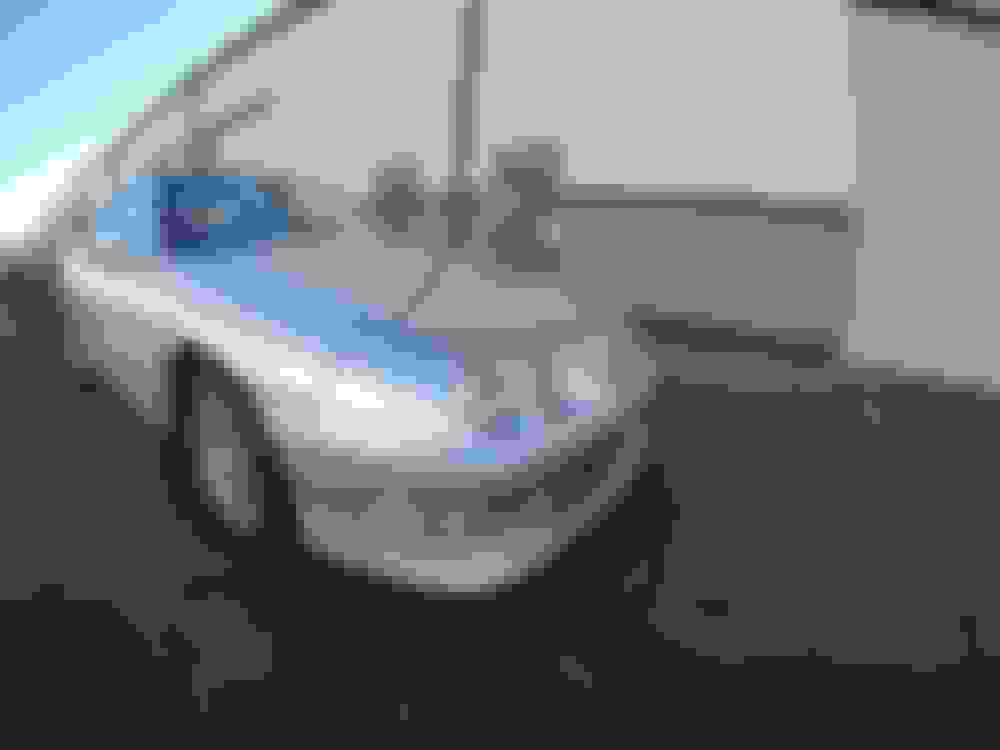
Front end done. We don't have the lip permanently installed yet but a picture below on how it will look
Hood seal. If you buy these it will come with clips
Cleaned out the area before installing
Snaps in place
Windshield screws and holders
Oem Cowl
These are the upper cowl clips
Well that's it for now. Notice the last picture that the rear tire has been removed and if you look closely the trailing arm is also out. We're working on the rear suspension at this time. So stay tune for that.
Well that's a little concerning to see with the MPC forks. Bummer I already bought mine.
Yeah man me and my bro was a little annoyed. When I get the time I will email them about this matter. Oh well build must go on. Just a little bump on the road
That perfectly straight front end, hnnnnnnnnnnnnnnnnnng
Love this build
Close enough. Still needs a little fine adjustment. Thanks for coming by
Originally Posted by LankorDie
LOVEING all the OEM parts, this build is wonderful
Thanks buddy
Originally Posted by Grifty
Looking clean!
Appreciate it. Your name looks familiar then I realize that you also have a build thread. Keep up the great work
Originally Posted by J4k3
Amazing progress, I'm sure you've spent tons to get to this point?
We try not to think of it as much but we knew going into this that it will break are bank and to answer your question yes we invested alot. To think of it we're not even done yet, ohh no lol! Stay tune for more updates and progress. Thanks for coming by
More updates for you guys/gals. We started to work on the rear suspension, brakes, lot's of prep and painting and the rest of the rear components . A bunch of headache's and fun progress all together. So sit back and enjoy. I might have miss some info on here but I'll make sure to put what I can remember since some of these pictures and some of the work done was a month ago
A picture before we took the rear suspension apart
Got all the stuff out. Exhaust was also taken out just not in the picture
Pictures with all the parts out of the way so we can easily access the fender well for under coating strip down
You guess it right. We're also going to paint the under chassis
Also painting the under rear section of the car
Bro took the trailing arms to work so he can take out the trailing bushings. Air hammer did the trick. Spindle was mounted with 4 Torx bolts ( T50 ) and if I can remember a 24mm nut
Rebuilding the rear calipers. We're going to reuse the rotors and pads which still has meat on them. Will be replacing them in the near future
Bringing these parts to the car wash to sand,brush, degrease, and pressure wash prior to painting
Started stripping the fender well undercoating. This took a very long process. We wanted a clean surface to work on so that it's easier to work with and better end results. Picture below was after 1 application of the aircraft remover. We did this process 5-6 times
Wow what a difference
We prep the under chassis also. Probably the most annoying process. You're upper body will take a beating especially your neck and arms. In back of are head we know it will be all worth it after it's all done
Masking the sections off
After 1 coat
After 3 coats and we removed the masking off. Exhaust, fuel line, and fuel tank is a bit of an eye sore. We will be painting that when we start working on the motor. All those parts will be coming off
Mean while we got a few packages. I know what's in it but still get excited opening up boxes. Maybe that's just me
Spoon trailing arm bushings, Ktuned rear toe, Rear upper mount, and honda parts
Package from honda. Got some free misc items to. That's really cool
We got the rear suspension parts in the trunk to get cleaned up
After we got it cleaned up. We will be painting these parts below
We finally got to paint the fender well and the under rear chassis. This is just 1 coat. We applied 3 layers
Next we worked on the trailing arm bushing and used the tool below. This special tool didn't work perfectly but we got it together after couple hours. You can use a hammer if you don't care in damaging the trailing arm bushing. A press will be the best option for this. At that time we didn't have access to one. Note: There's a way to put the trailing arm bushng in. Longer arm goes towards the fuel tank and shorter goes towards the tire. Also there is a upper and lower side to the bushing. The OEM ones have a thicker and thinner rubber which determines the upper and lower side of the bushing. Upper = thinner rubber and Lower = thicker rubber. Spoon actually has a mark on them which says "LWR". Didn't know this unit I did some research. Hope that made some sense
Another package. UKDM 98-01 turn signals. This part is almost becoming rare. They don't sell the Right side new anymore and as for the Left side you still can buy them new at a UK honda dealer. Which not all dealers in UK will have them. We got a pair of used right/left turn signals and a new left side for spare
We restored the turn signals as they weren't in the best condition. No cracks or anything like that. Just common scratches and rock chips
You know it's legit if you see this. Picture below
The process we did to restore the turn signals was wet sanding. Starting from 1000 grit all the way up to 5000 grit. Then we buff it out, then cleaned it again with meguairs cleaner, and finally laying 3 coats of clear
We removed 95% of the scratches off and most of the rock chips. Some of the rock chips was deep in the plastic. There's only so much you can do with sanding or you'll start burning through the plastic material which you can't restore if that happens. So take it easy
Picture of new and restored parts prior to going on the car. OEM and Aftermarket parts
Picture of the fender well with the masking tape off. I think this is where we start putting parts back together.
Here we're putting the spindle, hub bearing and other parts that comes with it together. A lot of you guys know how to do this but for the people that are curious I did a little write up below
So starting with these torx bolts ( T50 ) and nut that holds the spindle to the trailing arm. We applied anti seize to prevent corrosion and the next time around it will be easier to remove
Next bolts and shield
Next will be the hub bearing. We put some grease on the spindle and on the bearing. Just slide the hub bearing into the spindle. No need for a press. When removing you also don't need a press or a puller. It will come right off. Sometimes the inner race will get left behind on the spindle. Don't worry pry that out with a pry bar or flat head
Next washer/spacer
Next axle nut with a medium strength loctite and punch the axle nut in the spindle. Torque this down to 134 Foot Pounds
Next the dust cover
All set and done. Repeat on the other side
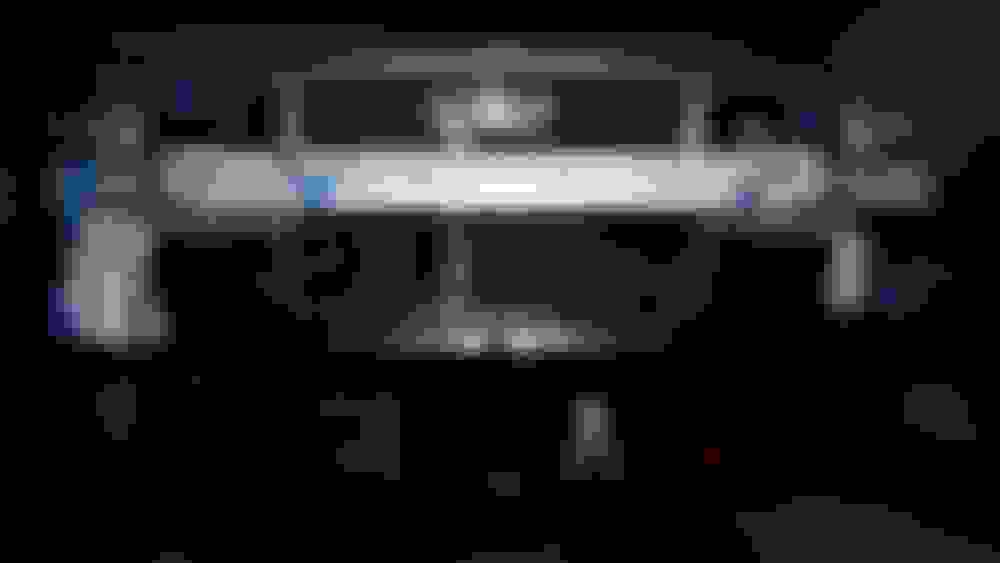
Rear suspension. Koni sport shocks, Ground control springs with custom spring rates, and Ground control upper mount. If you have this setup this is how it goes together
Getting the parts situated next to the car. Make's the job easier and faster
Parts installed. We torque most if not all bolts down. You don't have to just make sure they're tight in there
We also got the asr subframe installed at this point. There's a way to installing these so follow the instruction given to you if you bought them new if not asr website will have them
Rear brake calipers. After we got it installed we bled the brakes. We bled all 4
First time in a long time the car got driven a long distance and went to gas up. Don't mind the blue tape. It's just holding up the fender lining since we didn't bolted it up yet. Don't know if you guys can notice but the car is so dusty. Maybe you can see it on the windshield
We got more things to do with the car. One of them is to clean her up. Car is clean just full of dust all around. Other little things we need to do is put the front lip, mud guards, roof trims, fender well trims, and tires for the wheels. I'll post up the rims on the next update. Also seats, steering wheel, and shift ****
If you guys are wondering about the engine will get to that once we start working on it. As of now we got other stuff to take care of
I had a oem-gasm. Then i saw ur suspension. Oops.
leatherseats.com unless u want sparco or bride or whatever
great build
We got the suspension resolved. Good thing we saw it right away. As for the seats we we're looking at bride at first but we change are mind and going to get recaro's.
Thanks
Originally Posted by 94 accord typeR
Is it 1998? That thing is brand new!
Yes it's a 1998 and it will be a show car once we're done.
Thanks for stopping by
Ever hear about those MPC front forks? Curious what came of that thinking of putting mine on with my front brake kit once the car is back from paint.
I forgot about those drop forks. Just sitting dust now. I haven't contacted them yet but you just reminded me so when I get the time I'll bring up the issue. As of you installing them on your car just installed them and see how they go. Don't know why those forks came out that way. I've seen and read multiple cars running them and doesn't have any problems like ours did. Good luck with the build
Thank you I haven’t had the chance to install mine yet. Off getting painted hoping to get it back the first week in April. Then I’ll see how they work.
Thank you I haven�t had the chance to install mine yet. Off getting painted hoping to get it back the first week in April. Then I�ll see how they work.
Loving your build too
Cool I'm excited for you. April is just around the corner. Enjoy the build process. BTW I just messaged MPC about the drop forks. Waiting on there reply. I'll keep you posted
Update: Few little things that we got done on the car and we took some photo's of the car last weekend
Rear fender well rubber seals. These come a bit longer and it's pre- glued. Just cut to size
Roof trims Left an Right side
Got some mudguards. These are 94-97 mudguards ( 98-01 are discontinued ). Fronts are the same as 98-01 integra's but the rear's are different. You can get away with it with a little modifications which is some drilling and cutting. We got these guards for the hardware and the front guards. We ended up using the old one's since we had to cut the front's because the car was a bit low and we're planning on going even lower not slam though
We cut, sanded, and painted the old mudguards. I got most of the scratches out for a smooth finish but the front guards had deep damaged to them so I just I sanded what I can sand
Another package. Some of this parts will use in the near future. We're collecting parts
Honda license plate frame, mugen bolts and nut clips
Another one
Nrg universal adapter and lock license plate bolts
I guess another package
Nardi steering wheel and nardi hub. I took a picture with the nardi steering wheel and hub together so you guys can have an idea on how it will look. We went to re-use the nrg short hub. In the future we wiil use the nardi hub
A little write up on how to hook up the horn on the quick release and aftermarket steering wheel setup. This should be almost the same for different make and model of cars. A general idea if that's what you call it
This shoe horn comes in a female connector type but since we didn't have male connector to connect to the female shoe horn we did some cutting on the shoe horn to make it a male version. You don't have to use a shoe horn. I've seen people using paper clip or aluminum can which you have to cut in shape
Female connector and wire with one end splice
Crimp and mate the shoe horn and female connector together
We tape most of the shoe horn with just the tip exposing just incase for it grounding
This is a female connector on the other end of the shoe horn. I thought I needed a female end but actually we needed a male end. This plugs up the connector on the horn harness. I ended up splicing it
Now that you got the wire connections made it's time to look for the wire for the horn. Remove the steering panel and the panel underneath the steering column. For the integras your looking for the harness which is the one on the right side of the column.
Now that you found the harness. The wire for the horn is the blue and green wire which is the middle wire on this harness
Were checking to make sure that this is the horn wire. Paper clip did the trick. One end on the blue and green wire and ground the other end
Now look for a spot to mount the shoe horn in. You don't have to put it in the same spot that we put it in but this is where we got it mounted. Single screw to hold in place. We also ziptie the wire in place
The tip of the shoe horn should be touching the back end of the hub. Just like the pictures below
Now connect the other end of the wire to the blue and green wire of the horn harness and tape it in place so it doesn't come out of it's place.
And that's it. Just tuck the wire in and put the panels back
The horn button for the nardi has only one connector and the nrg quick release has 2 wires. So we took out the the black wire since it's not needed.
Once you put the horn in place it will ground itself out to the quick release
Panels back in and enjoy your horn. Any questions just LMK
We took some pictures over the weekend
Almost done with the car as far on how the car will look. We're waiting on the shift **** which is on backorder. We still need to order the seats and tires for the wheels. I'll update you guys soon

 01-30-2018, 08:57 AM

 . This is the passenger side