
Eli's Formula Red - 99 Civic Coupe - "resto-mod" *slow progress / quality parts*

 05-09-2016, 06:22 AM
#27
Honda-Tech Member
Thread Starter
Ask and you shall receive 
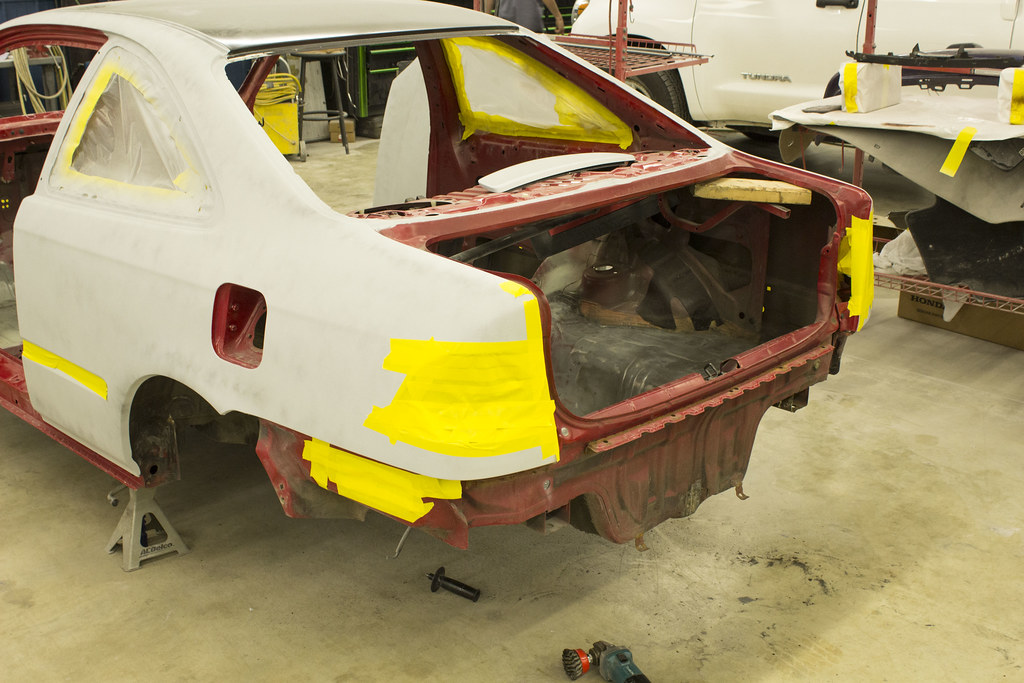
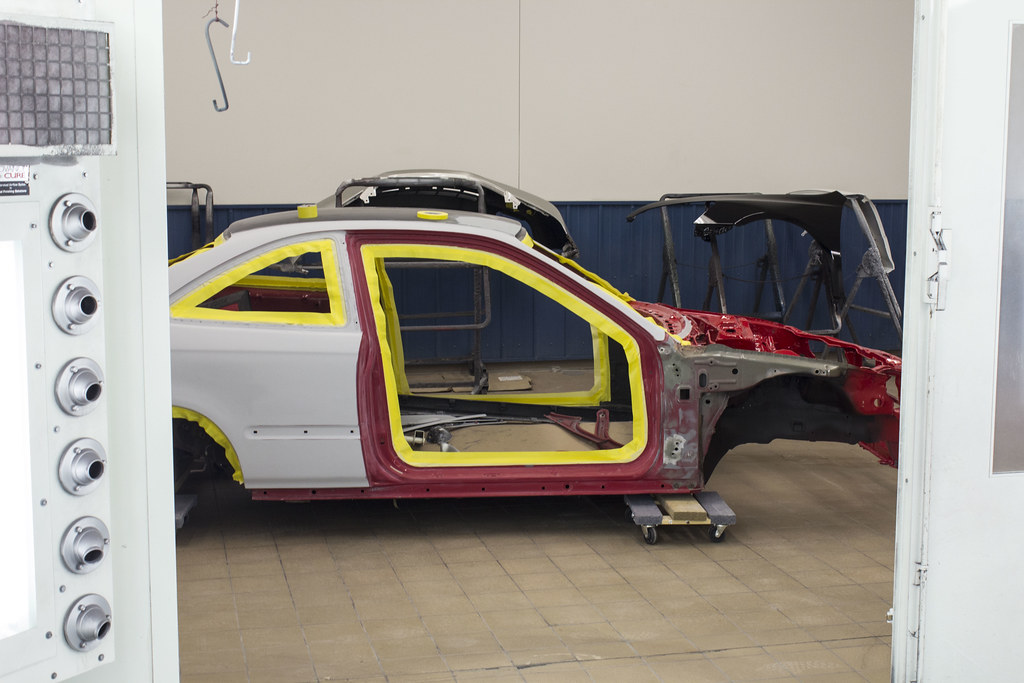
We made some more progress on the Civic this past week and weekend. Was able to get the doors broken down, the engine bay 98% prepped for paint as well as rust repair complete, quarter panels blocked and finish prepped before primer.. but how bout some pictures!
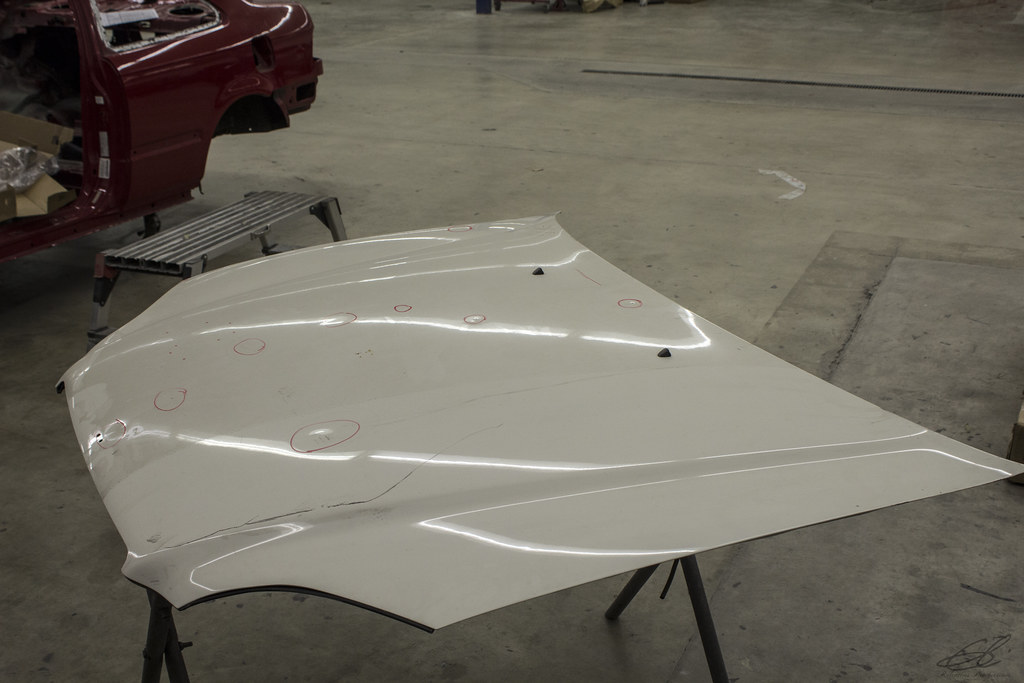
CTR Hood marked up for dent correction

Anyone that has had the privilege of working with this ****.. knows the pain I experienced this past week while removing it lol.. Ruined a pair of jeans and tee shirt in the process but they came out quite well when all complete
Not too shabby

Thanks to these two items lol
Engine bay scuffed and the 'new' left side radiator mounting point starting to look as pretty as it should.. errr.. resemble factory lol
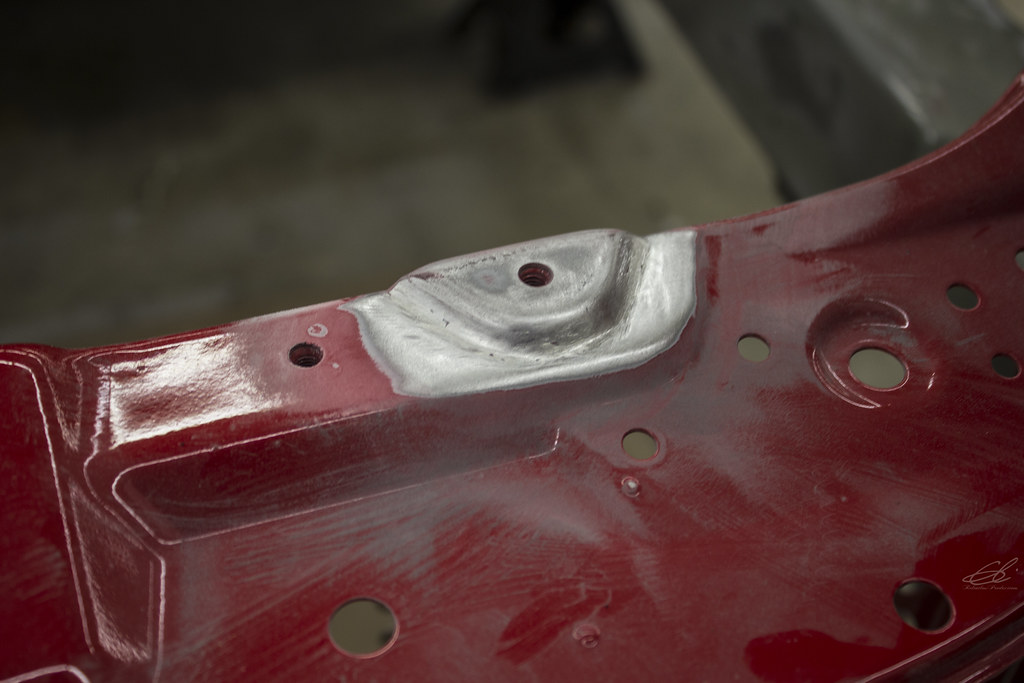
A little closer view of said mounting point
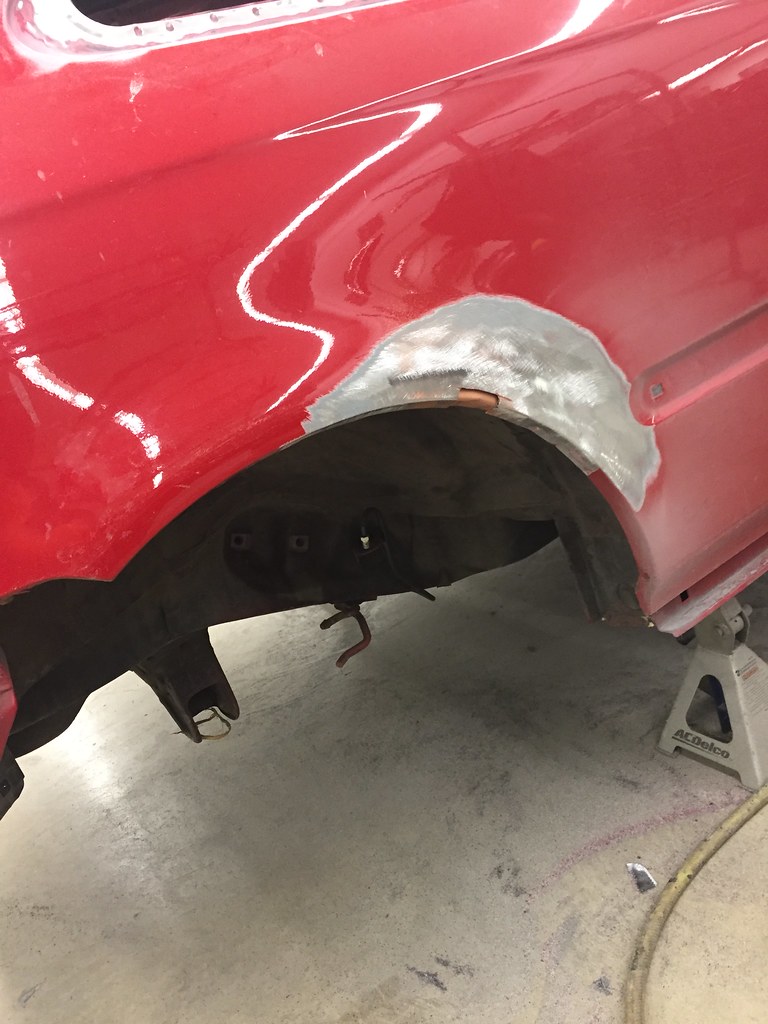
Picture courtesy of my Dad's iPhone of the rust repair he completed on the right side quarter panel
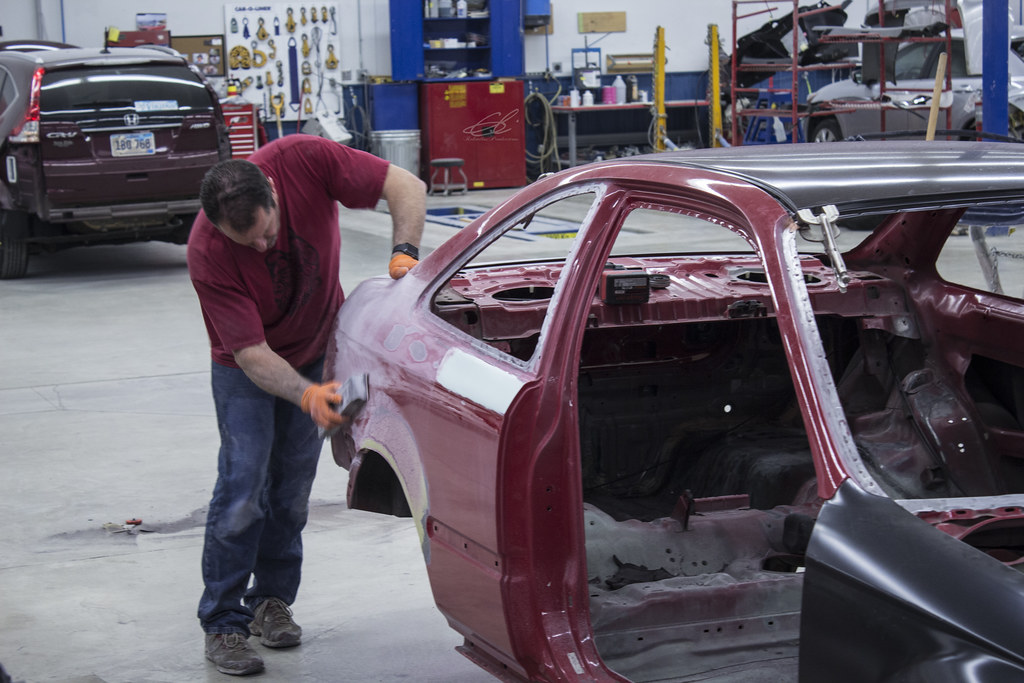
Pops doing some blocking after the rust repair, also ensuring panel is as or more straight than it came from Honda
Blocked and almost ready for primer!
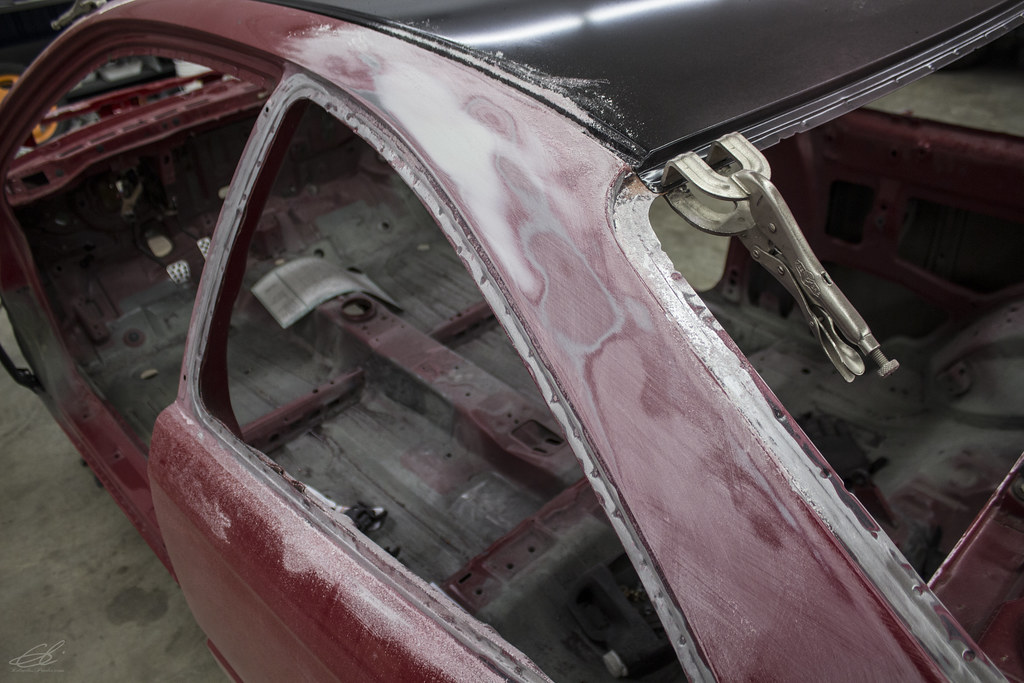
Right side pillar correction
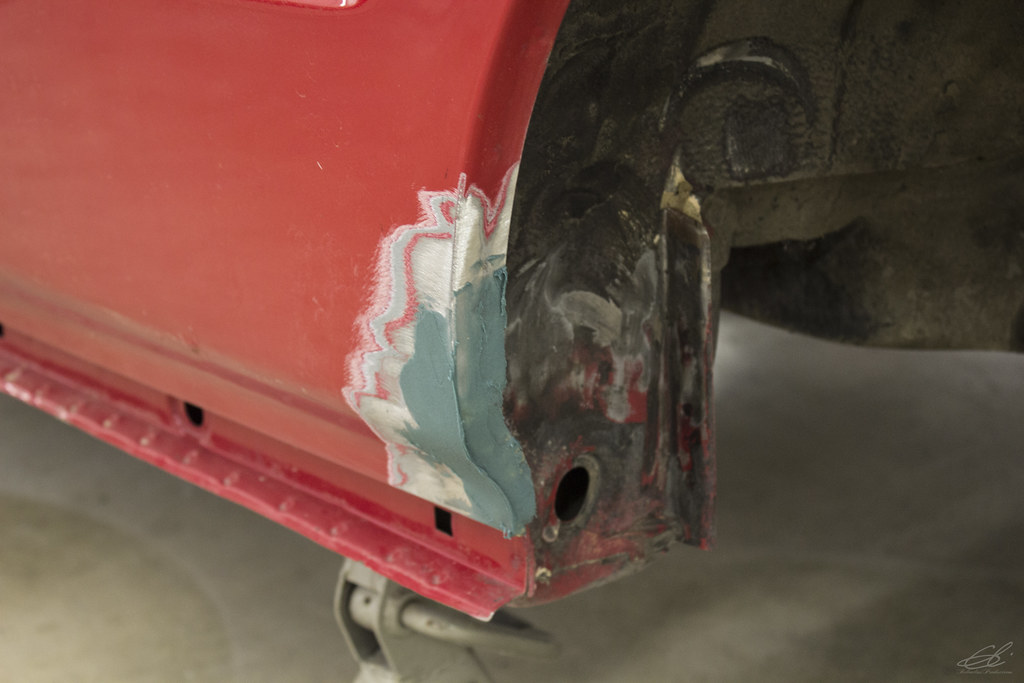
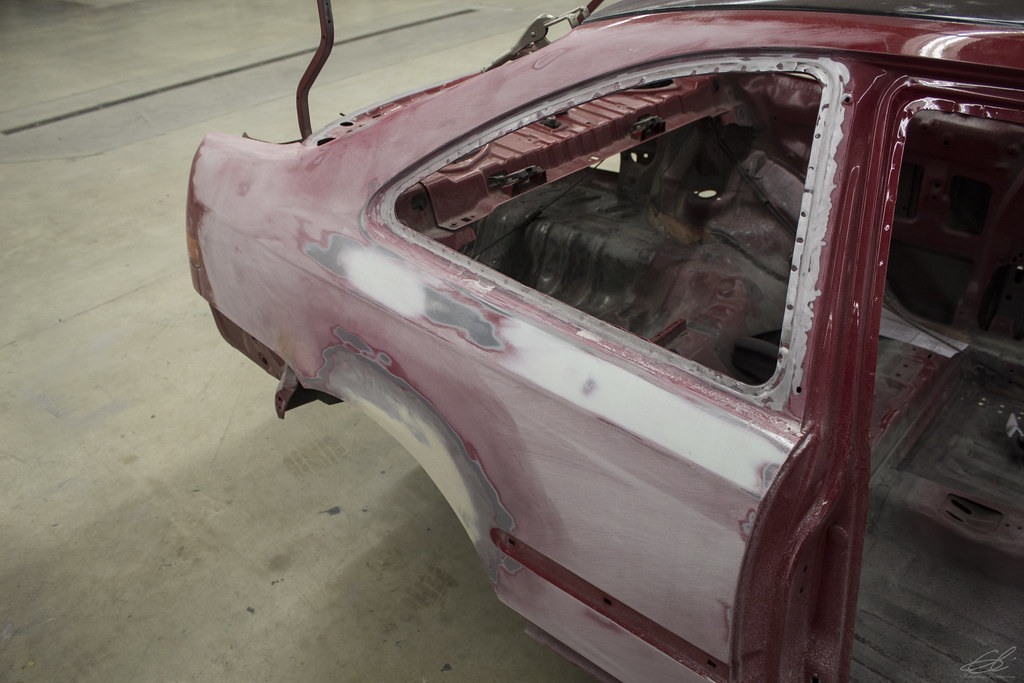
Left side quarter panel body filler after the rust repair.. trust that this has the majority of it sanded down so it's literally just a skimming of filler.. didn't grab after blocking pictures
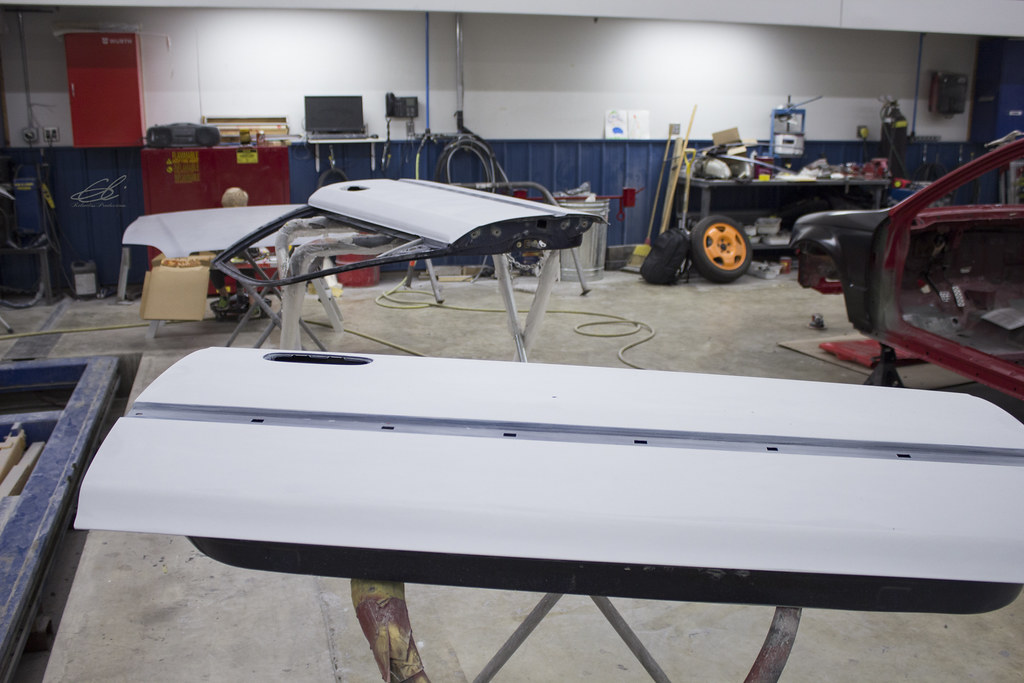
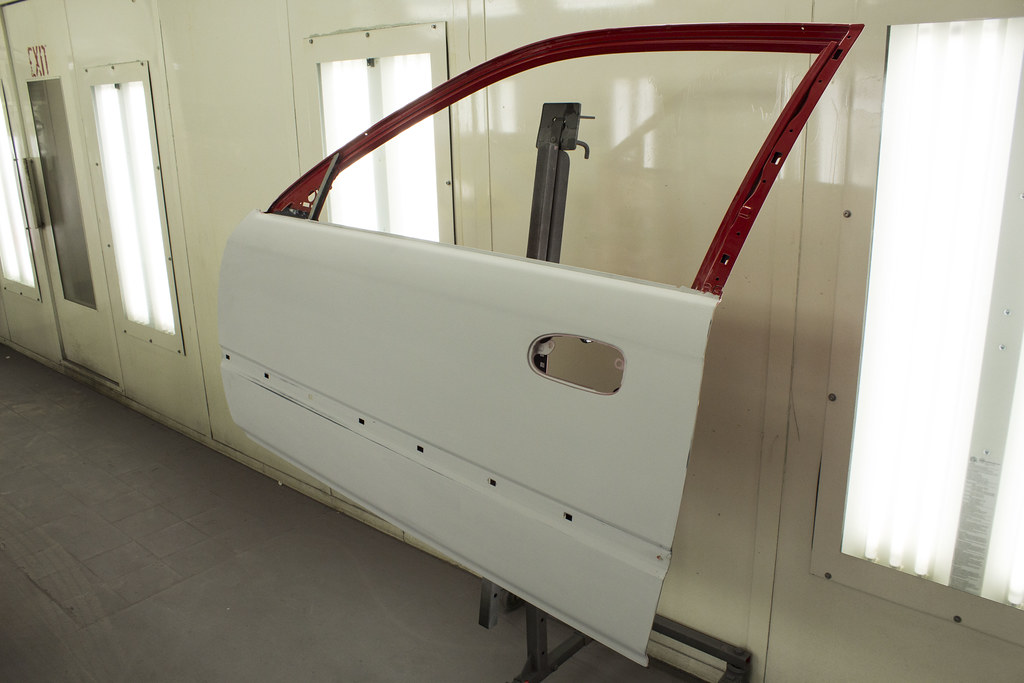
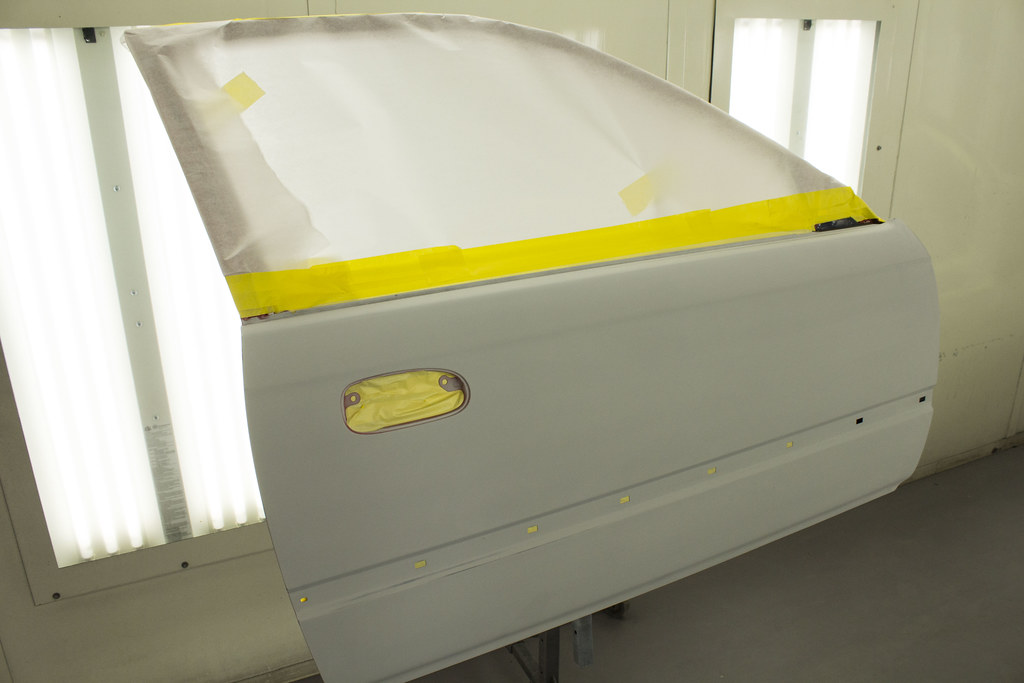
Doors ready for another coat of primer then waiting for paint
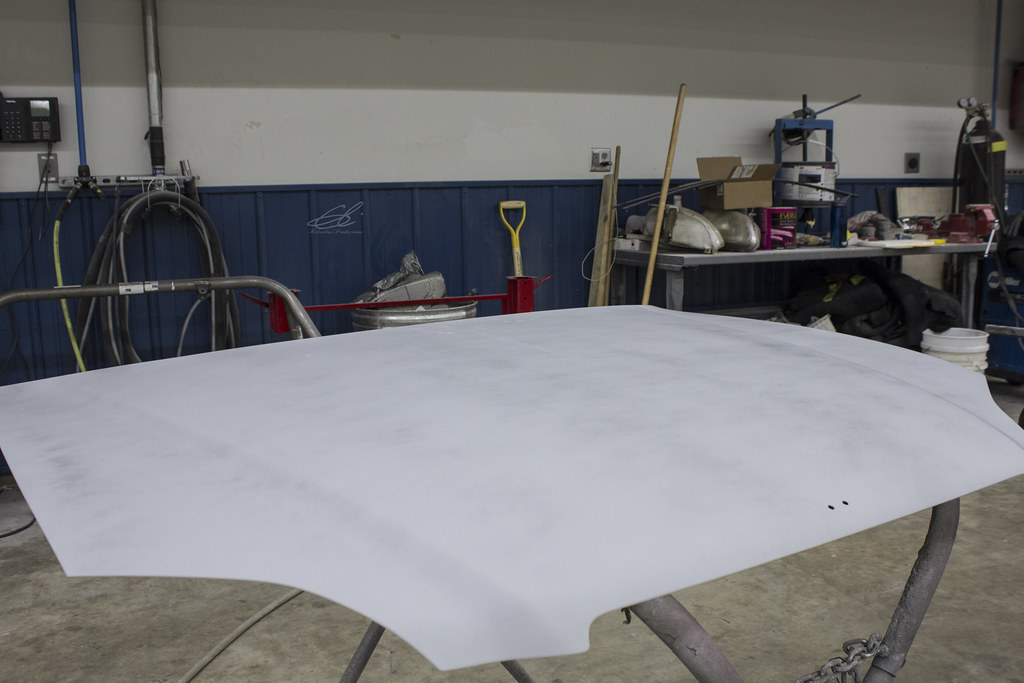
As is the EK9 hood
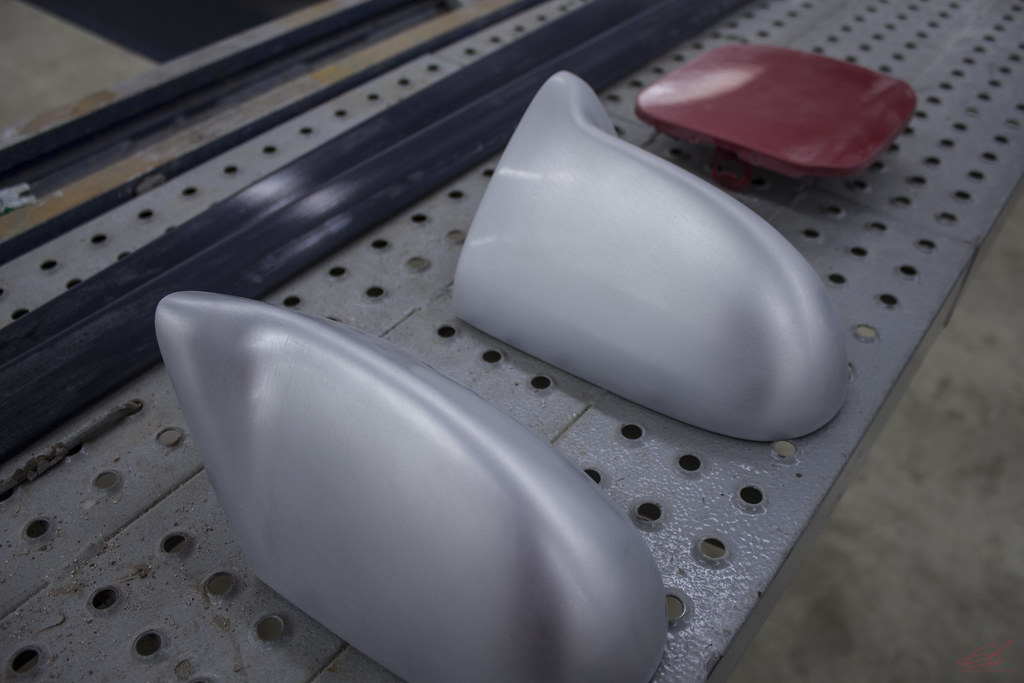
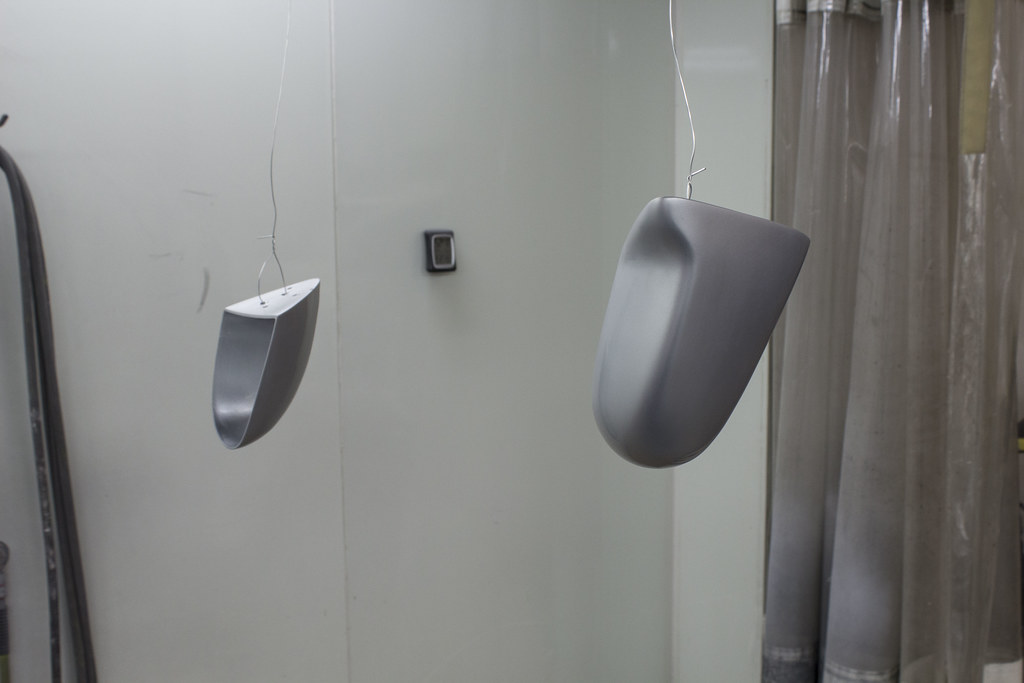
Spoon ABS plastic mirrors, fuel filler door and door thin mouldings scuffed and ready for primer and paint
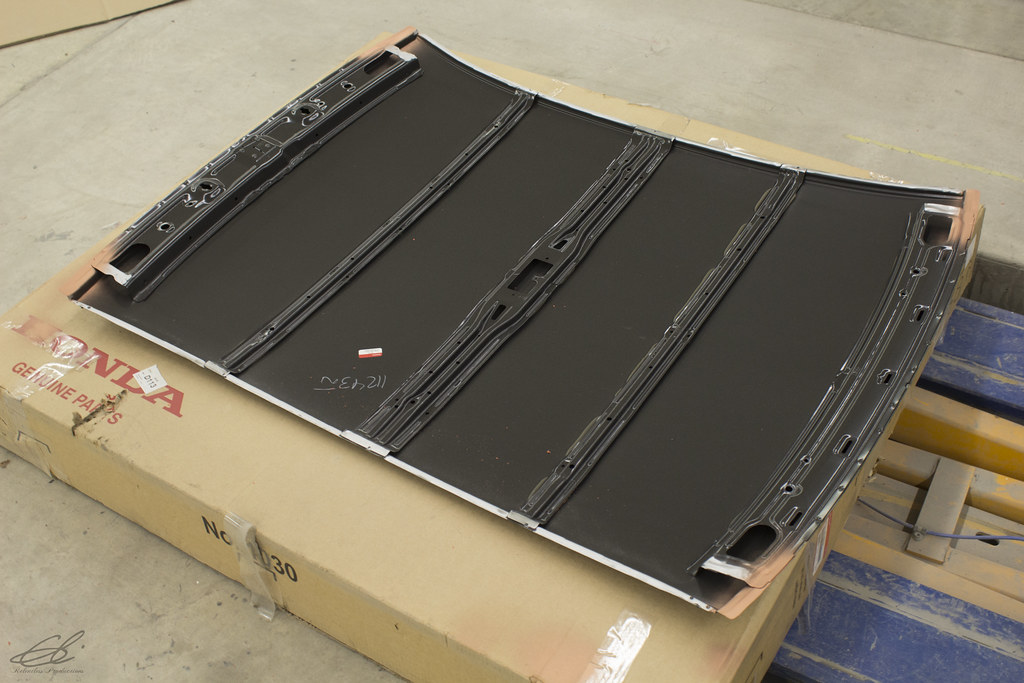
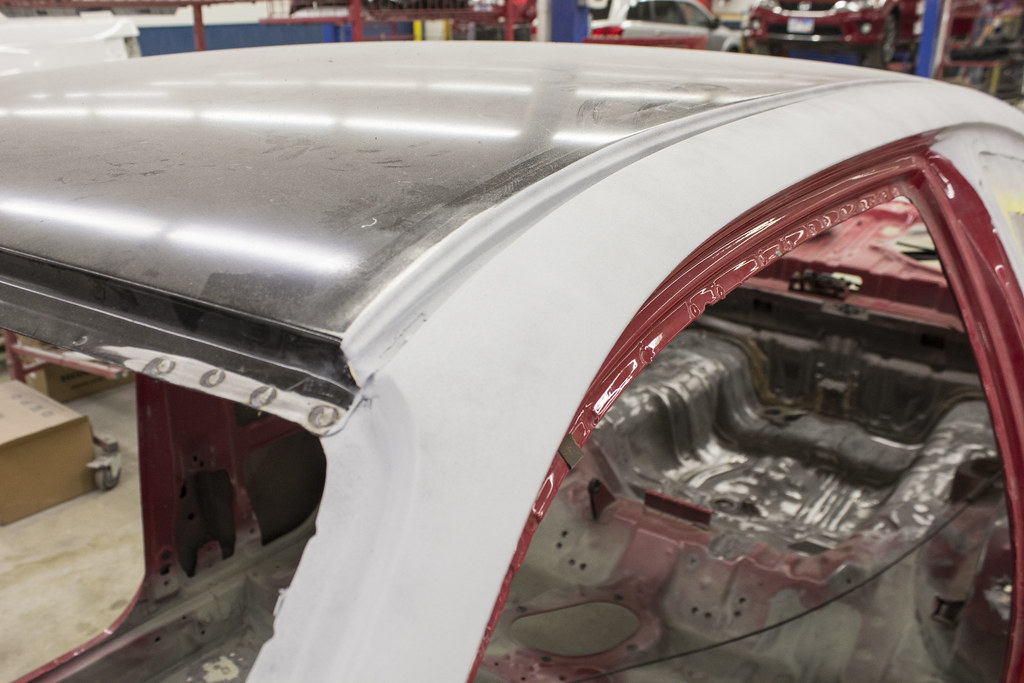
New DX roof skin.. one of the last in the states per our parts department here at work (Vern Eide Honda in Sioux Falls, SD).. had to order it from Vintage Parts Warehouse
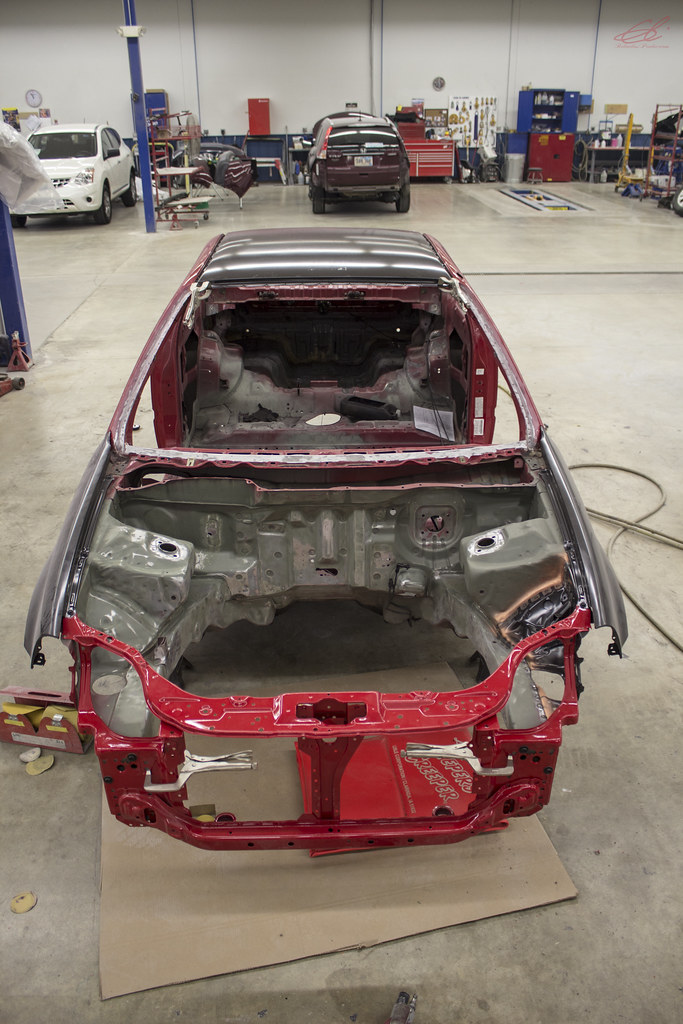
And.. as it sits right now.. was waiting for the glue to set up on the roof skin before welding in place this week.. radiator support, doors, etc should all be final fitted before taking apart again for primer and the rest of the finishing work... huge thanks to JR for doing the panel fitment stuff for me! and of course my Dad for all the after hours stuff and blessing the body panels with his skills
We made some more progress on the Civic this past week and weekend. Was able to get the doors broken down, the engine bay 98% prepped for paint as well as rust repair complete, quarter panels blocked and finish prepped before primer.. but how bout some pictures!
CTR Hood marked up for dent correction
Anyone that has had the privilege of working with this ****.. knows the pain I experienced this past week while removing it lol.. Ruined a pair of jeans and tee shirt in the process but they came out quite well when all complete
Not too shabby
Thanks to these two items lol
Engine bay scuffed and the 'new' left side radiator mounting point starting to look as pretty as it should.. errr.. resemble factory lol
A little closer view of said mounting point
Picture courtesy of my Dad's iPhone of the rust repair he completed on the right side quarter panel
Pops doing some blocking after the rust repair, also ensuring panel is as or more straight than it came from Honda
Blocked and almost ready for primer!
Right side pillar correction
Left side quarter panel body filler after the rust repair.. trust that this has the majority of it sanded down so it's literally just a skimming of filler.. didn't grab after blocking pictures
Doors ready for another coat of primer then waiting for paint
As is the EK9 hood
Spoon ABS plastic mirrors, fuel filler door and door thin mouldings scuffed and ready for primer and paint
New DX roof skin.. one of the last in the states per our parts department here at work (Vern Eide Honda in Sioux Falls, SD).. had to order it from Vintage Parts Warehouse
And.. as it sits right now.. was waiting for the glue to set up on the roof skin before welding in place this week.. radiator support, doors, etc should all be final fitted before taking apart again for primer and the rest of the finishing work... huge thanks to JR for doing the panel fitment stuff for me! and of course my Dad for all the after hours stuff and blessing the body panels with his skills
05-09-2016, 07:47 AM
#28
Honda-Tech Member
Now THATS what i like to see!
Good ****. Ive always wanted to learn auto paint and body, just never had the opportunity nor a place to do it. I envy all the paint and body guys like your dad who give life to tired looking/neglected cars
Good ****. Ive always wanted to learn auto paint and body, just never had the opportunity nor a place to do it. I envy all the paint and body guys like your dad who give life to tired looking/neglected cars

 05-09-2016, 10:21 AM
#30
Honda-Tech Member
Thread Starter
Amongst getting rid of a number of storage spots during this build that may be one of the items on my list in the future.. but yes I found myself using the sunroof less and less the older I got plus the weight savings from the very top of the car is a definite plus!
 09-06-2016, 05:05 PM
#36
Honda-Tech Member
Thread Starter
Allow me to apologize about the lack of traffic in here over the summer. I ended up leaving my job as a Service Advisor for Honda here locally and making a change in careers into Web Development so it's been a wickedly busy summer with all of that and trying to accomplish with the Civic.. but over the next few days this week I should have y'all up to speed with where I am today!
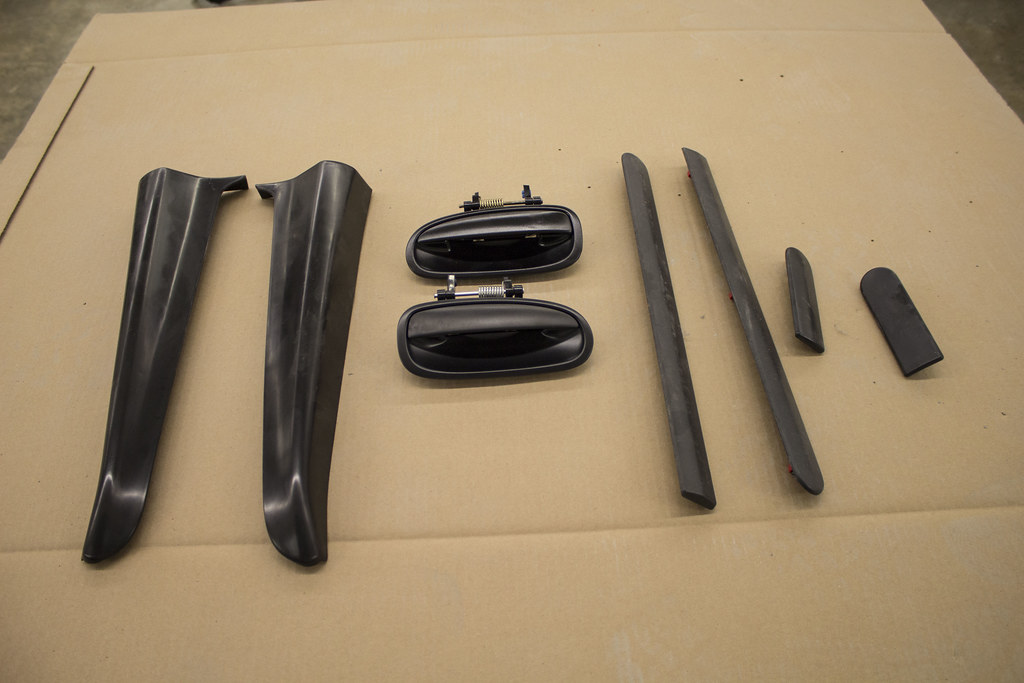
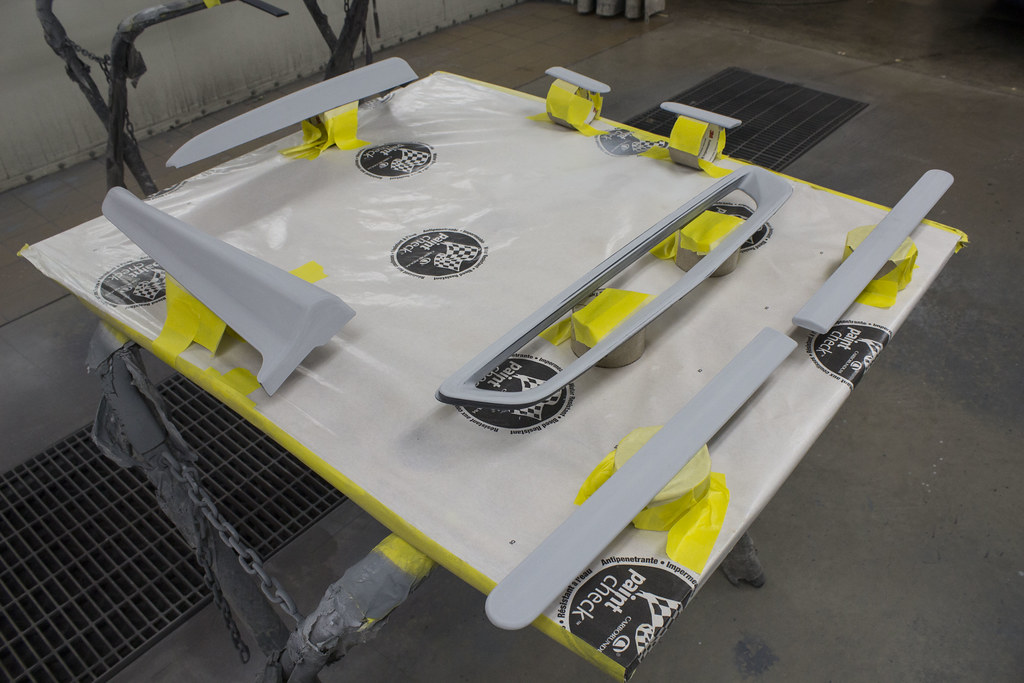
Rear spats for the 99 rear bumper, rear sedan door handles and some moldings that I scuffed and cleaned prior to paint
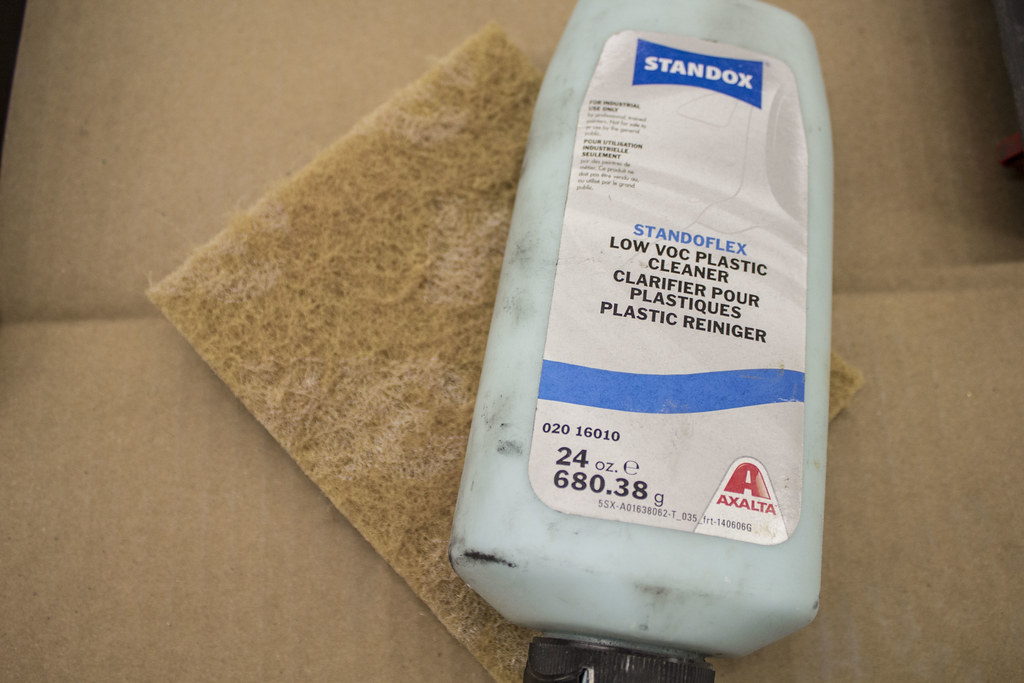
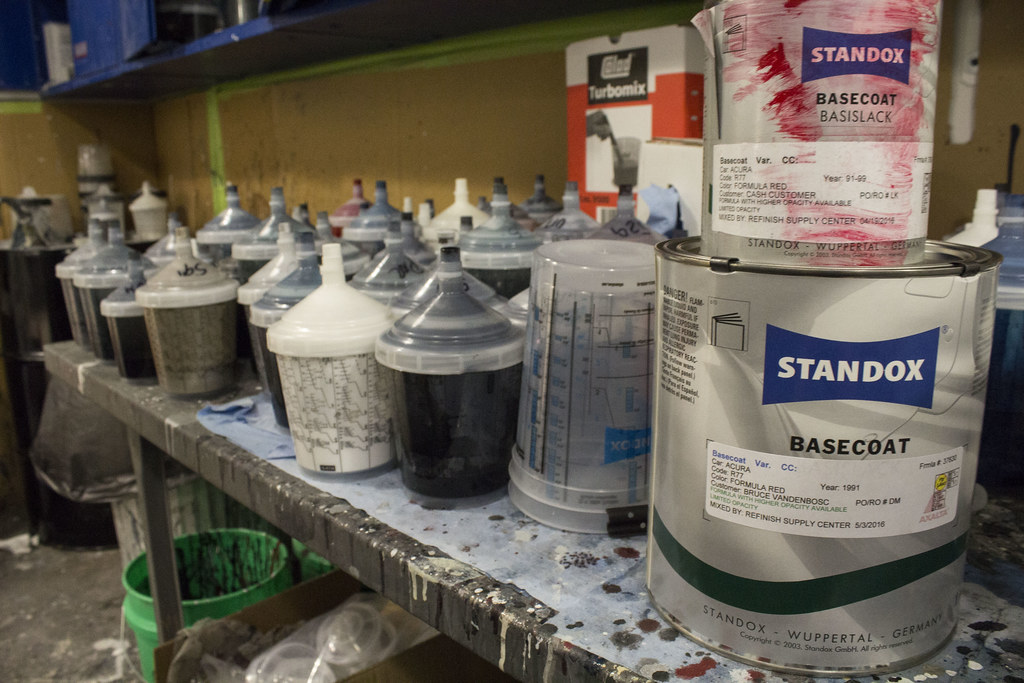
Love this Standox stuff the body shop started using a number of years ago... this is what was used to prepped the bare plastic along with the yellow scotchbrite pad and a little agua..
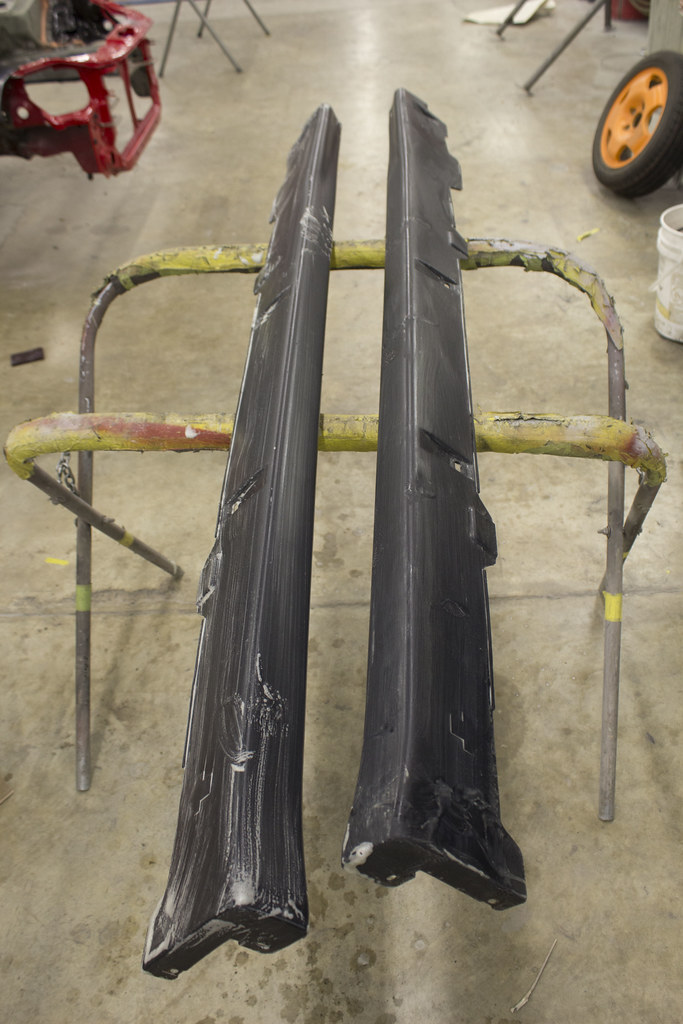
Same concept with the unpainted side skirts

Autopower Roll Cage cross bars.. just a green/grey scotchbrite and wax/grease remover for this
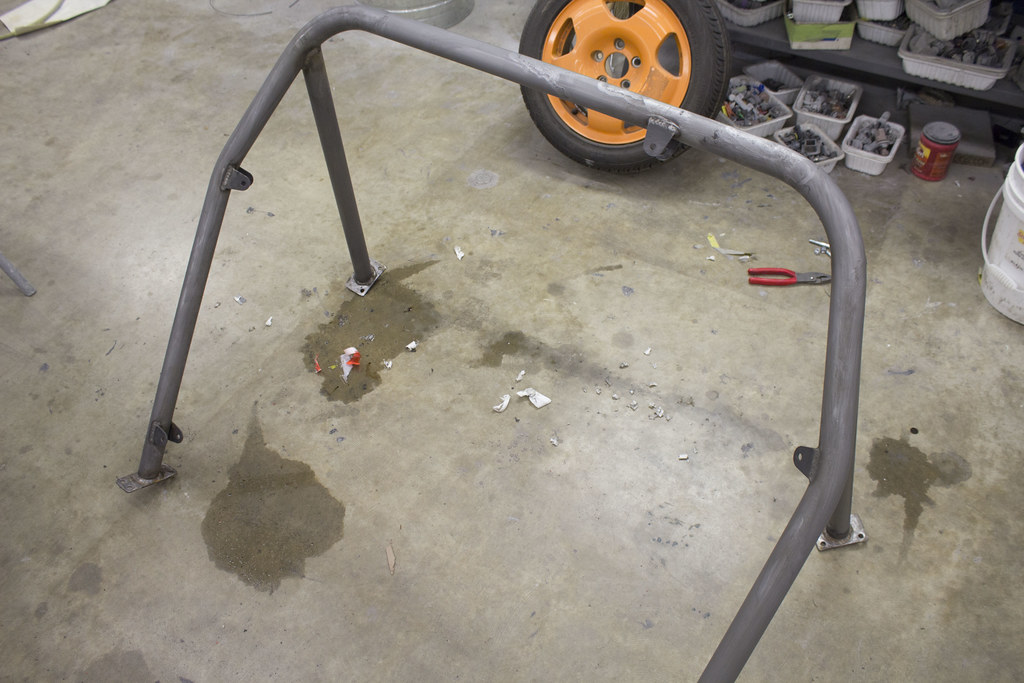
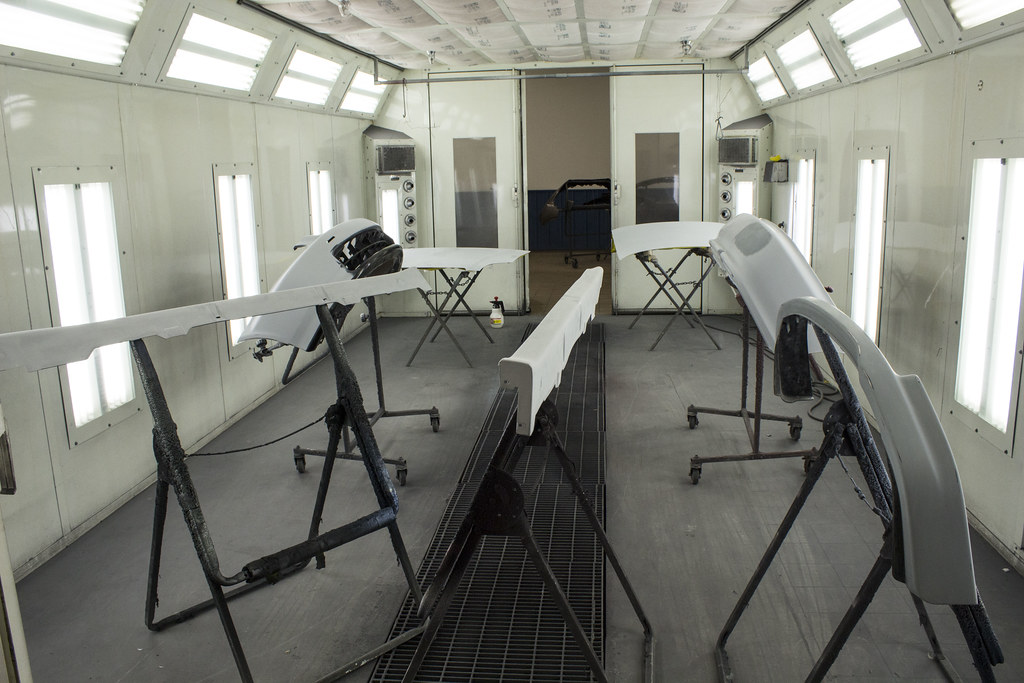
Main hoop w/ diagonal bars prepped *NSX spare photobomming the background*
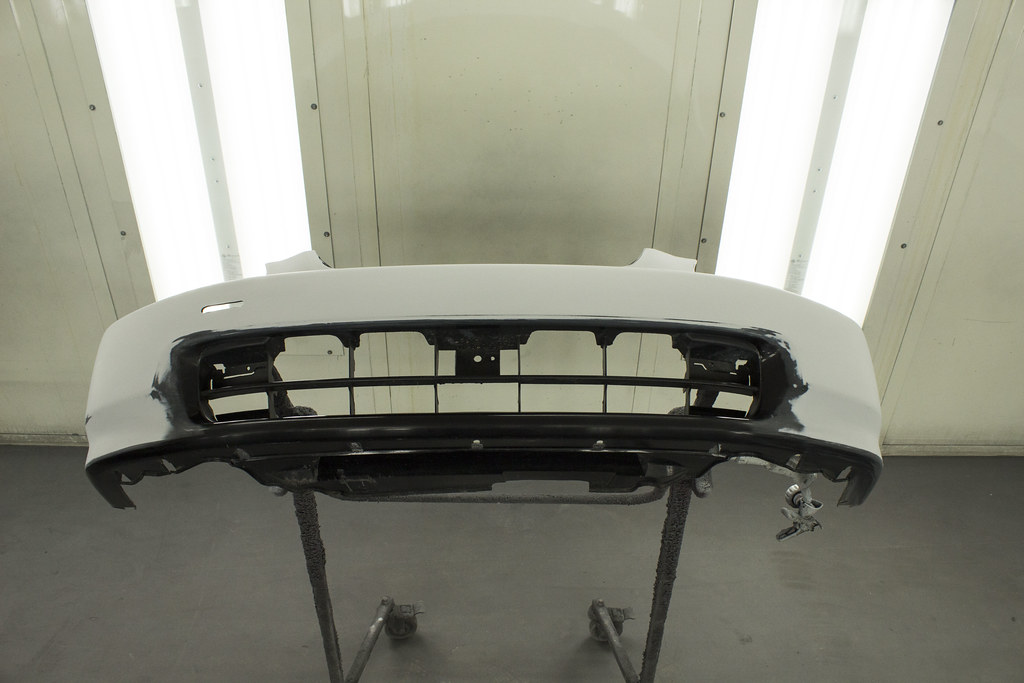
Rear bumper prepped for paint
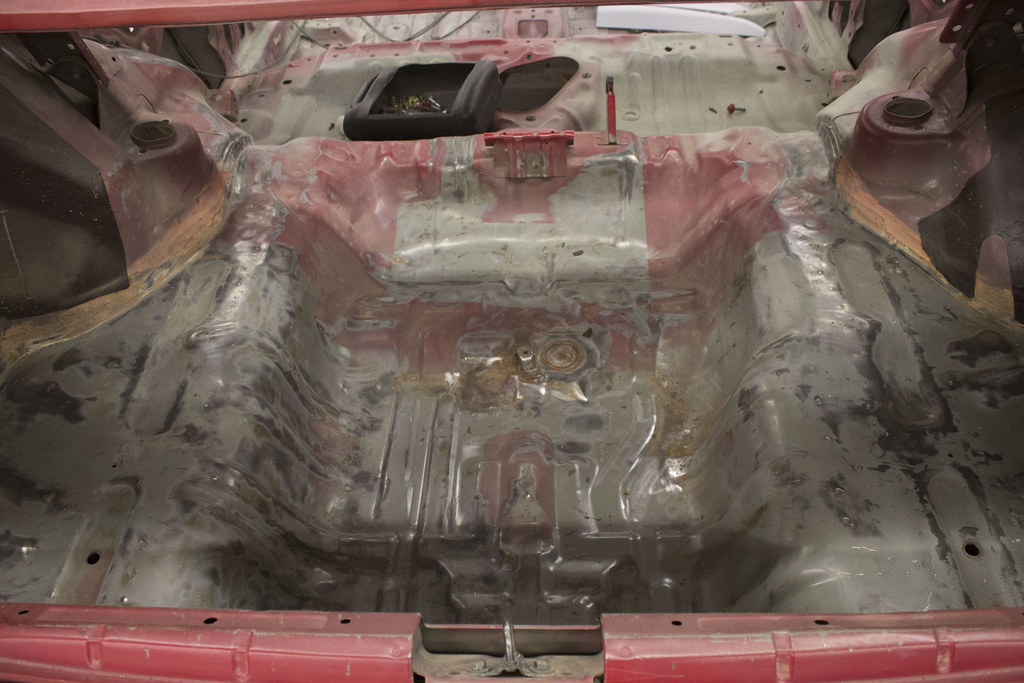
also prepped and cleaned the floor area which was to be Lizard Skin coated

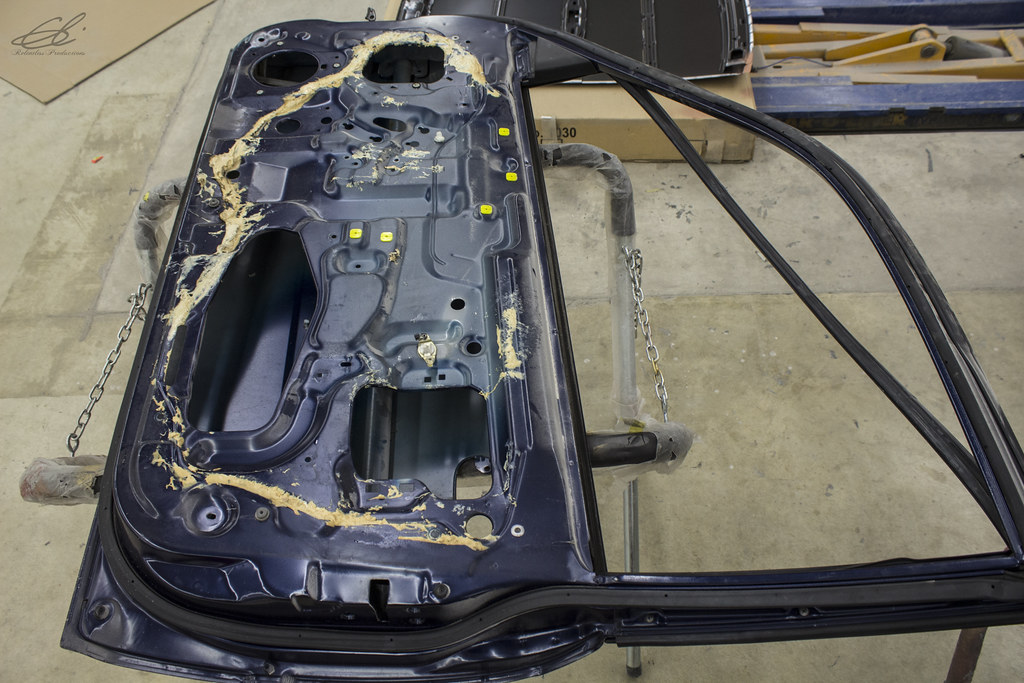
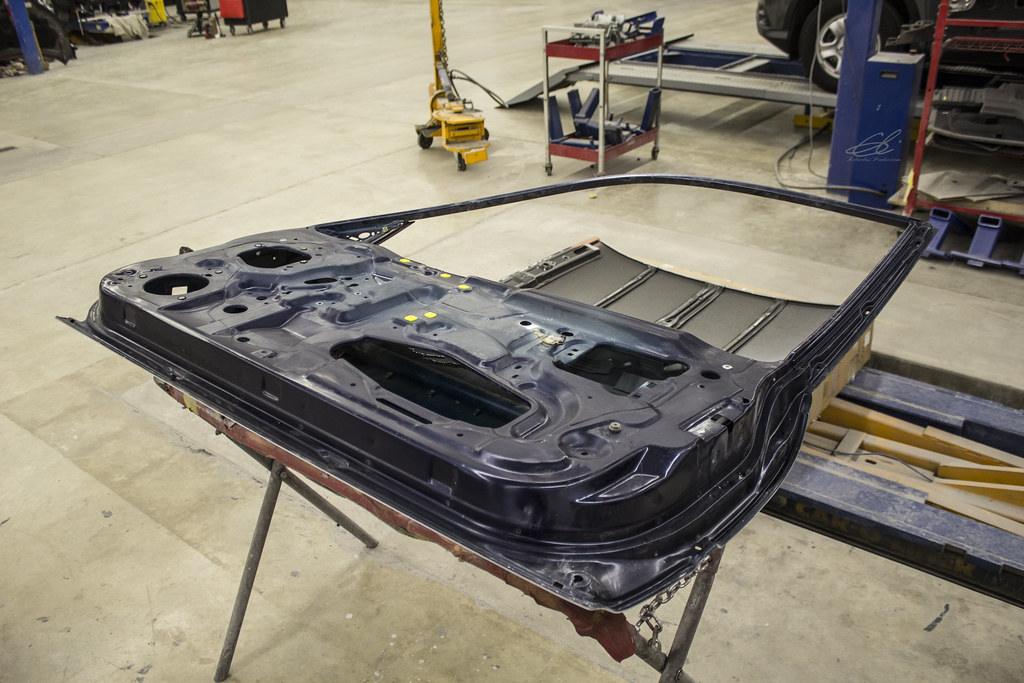
ultimately Dad and I decided that we should remove all of that OE glue on the back of the door.. good lord what a pain.. a little laquer thinner does wonders though!

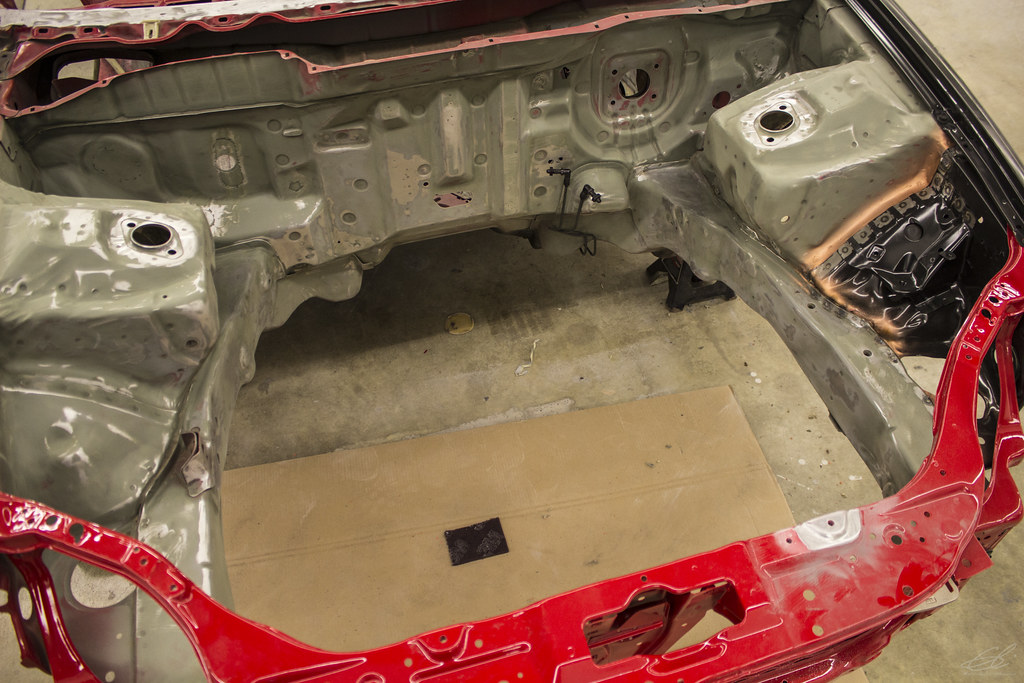
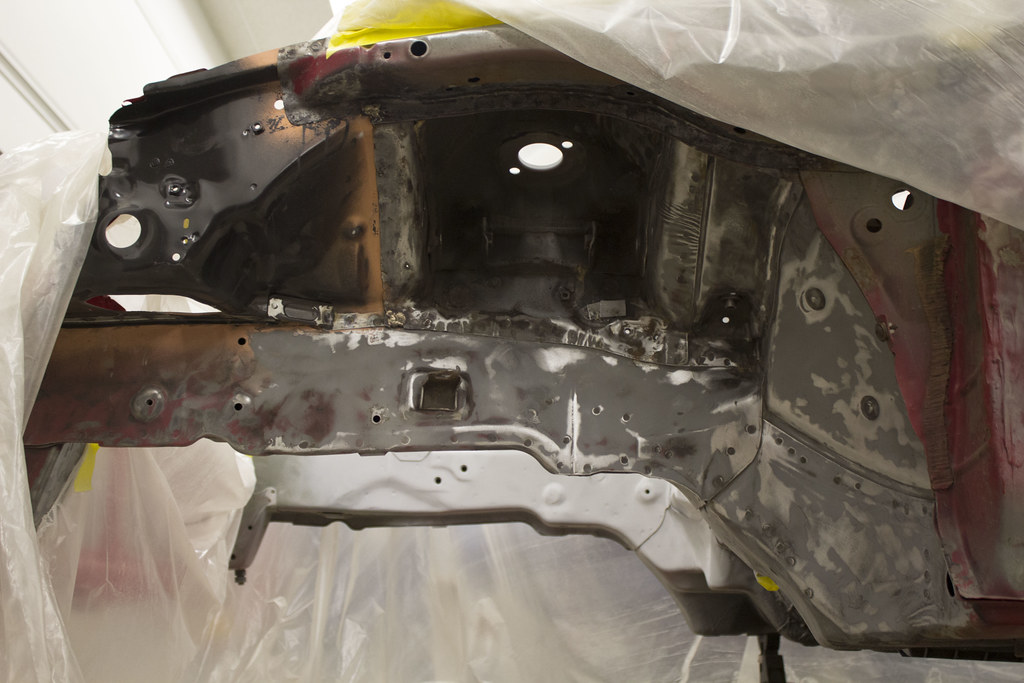
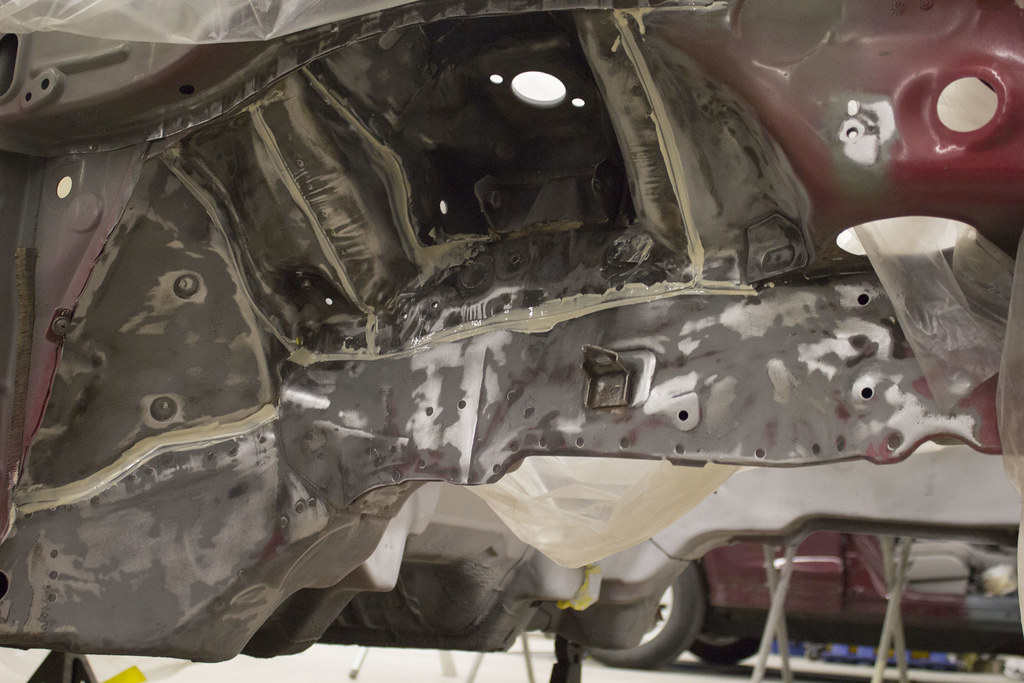
engine bay after sealer and reapplication of the flawed seam sealer

left quarter after a little modification, some rust repair and straigtening
right quarter with the same treatment
front fender wells stripped down to re-seamseal
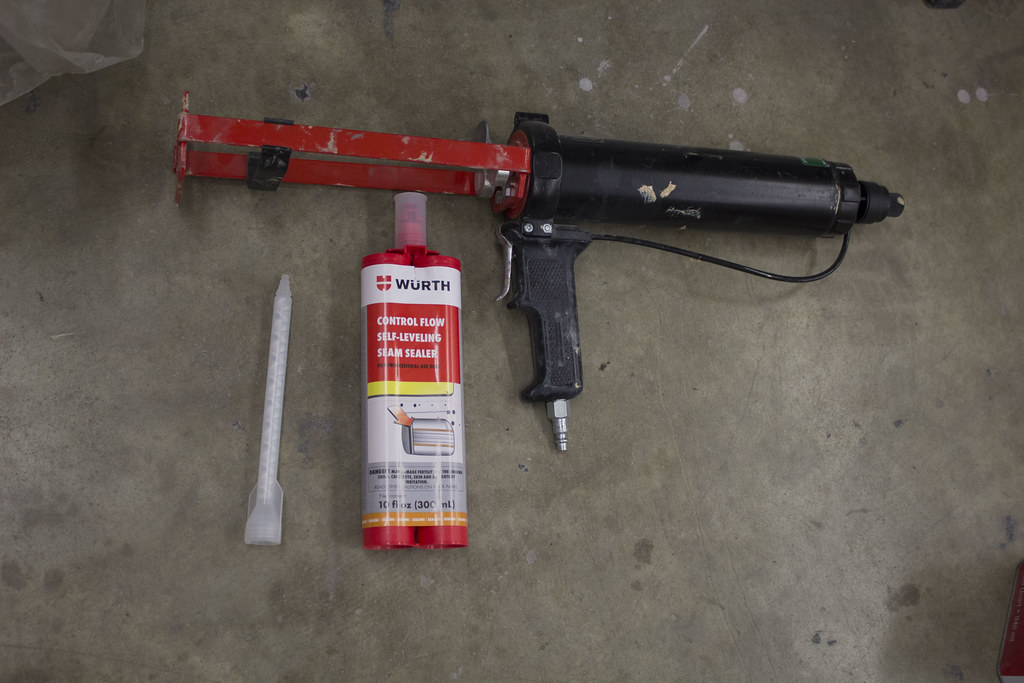
Wurth self-leveling seam sealer.. this worked pretty well in the wheel-wells.. haha.. (horrible pun).. in the engine bay though we must have gotten a bad bottle cause it did NOT cure
seam sealer applied and cured.. I didn't take a picture of the other side.. cause quite honestly it looked like a 5 year old did it.. haha.. I wasn't expecting it to be that runny!
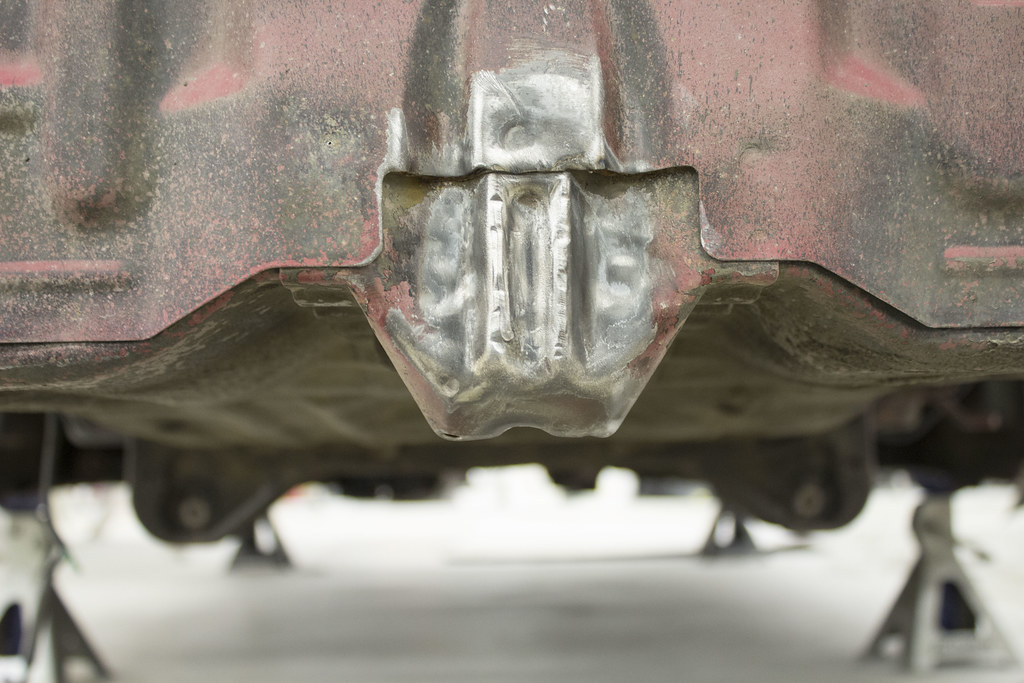
removed the factory rear tow hook in preparation for the SHG weld on hook

as shown here..

cut off these janky looking pieces of rust.. previous owner had these on to weld up an aftermarket muffler....
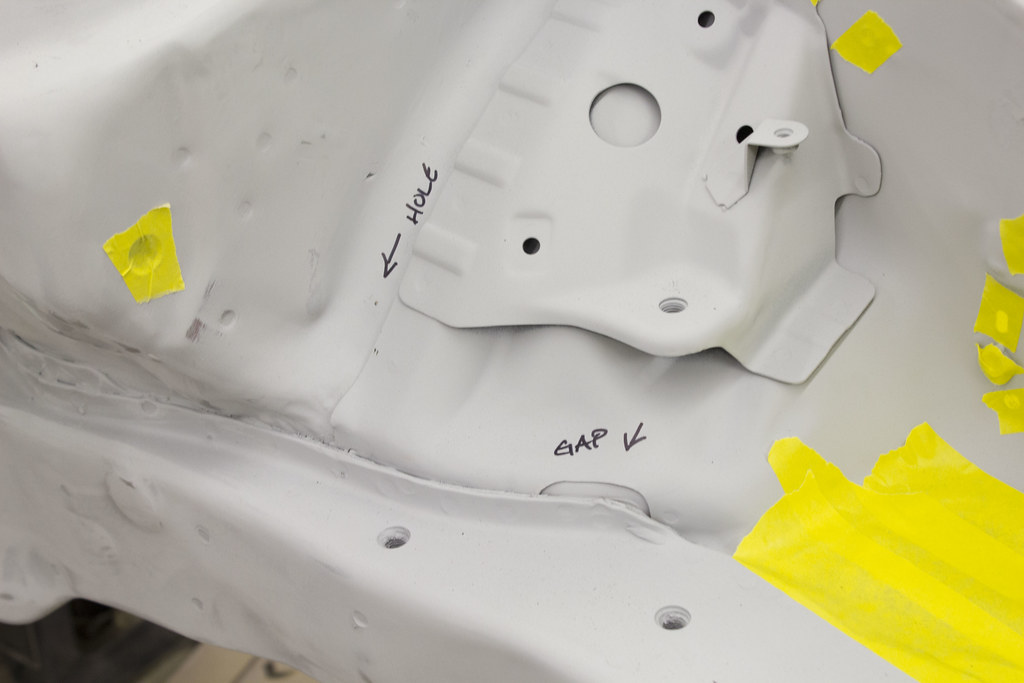
some notes to address before prime and paint
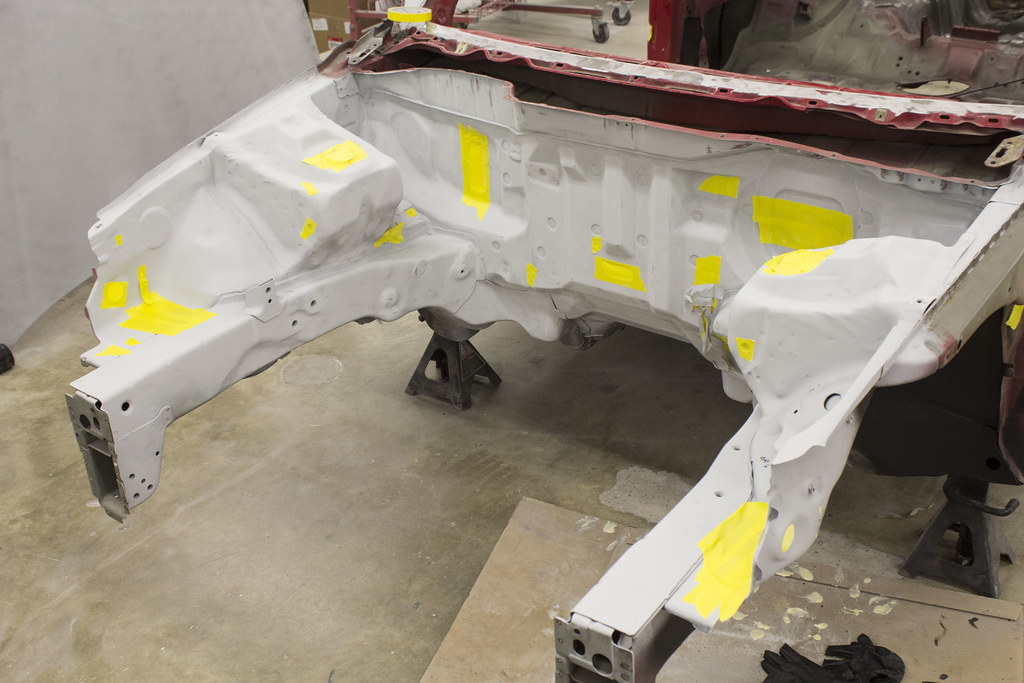
Taped up the holes leading into the engine bay to prevent overspray
also taped up the holes leading to the exterior prior to Lizard Skin application
shaved the antenna hole

right front wheel well post undercoat
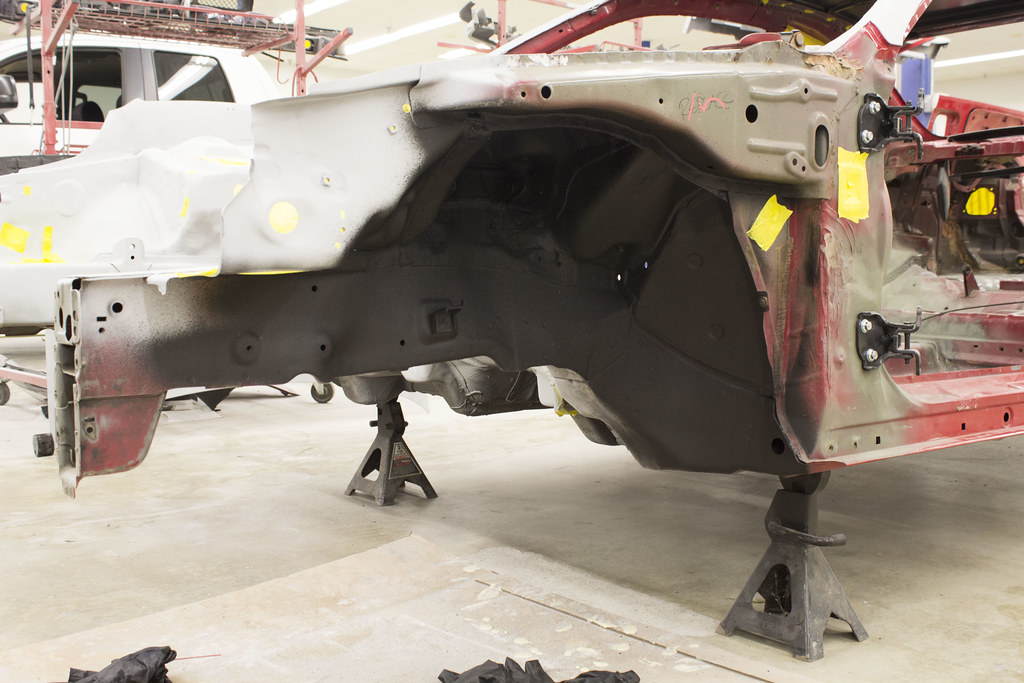
left front..
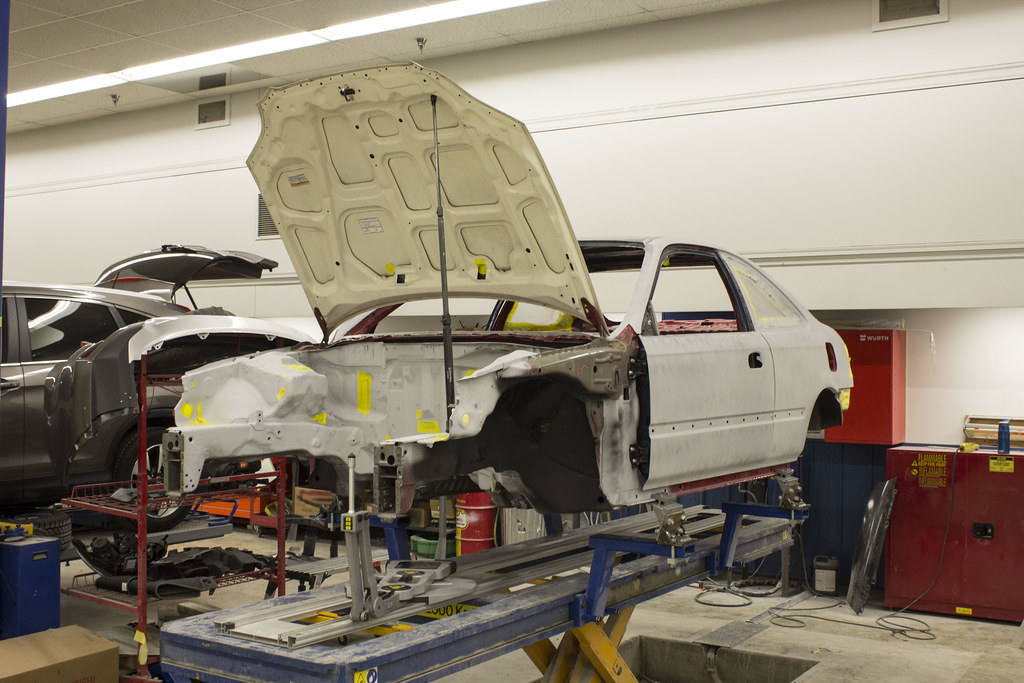
chassis up on the frame rack to correct the 1/4 inch difference side to side... yikes! but now is the time to correct it!

SHG rear tow hook welded in place and sealer sprayed
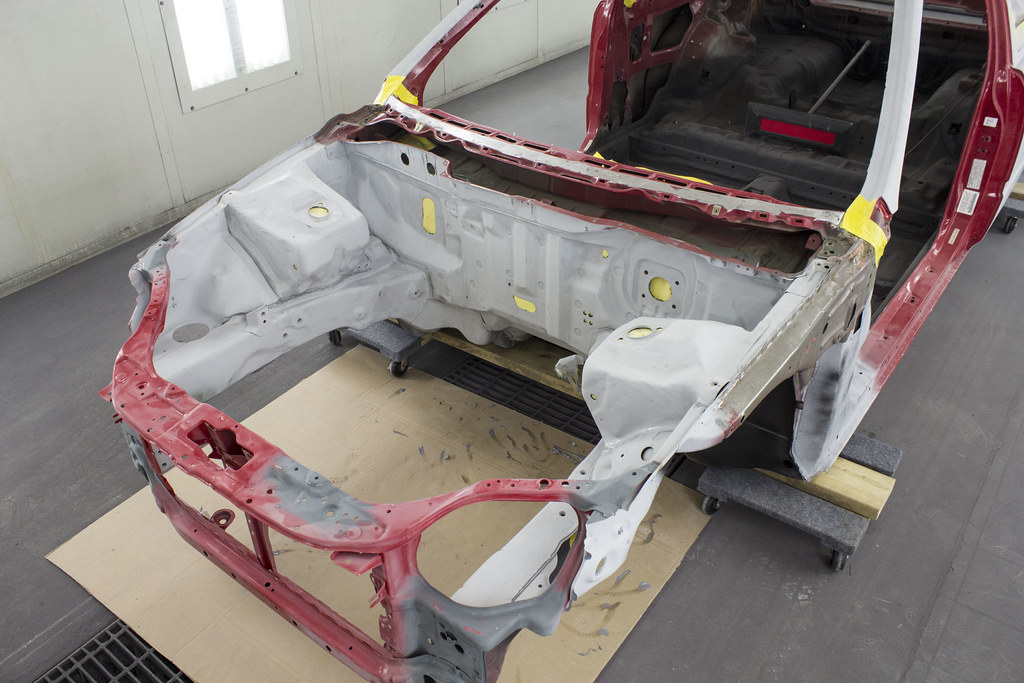
Radiator support welded in place after frame correction... sealed and prepped for primer
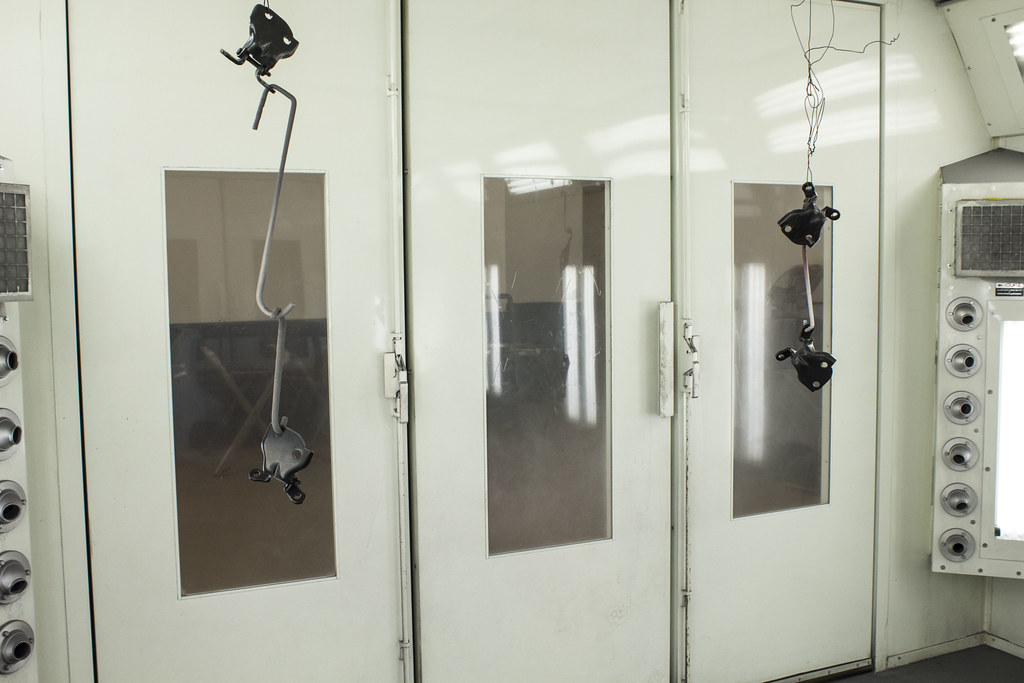
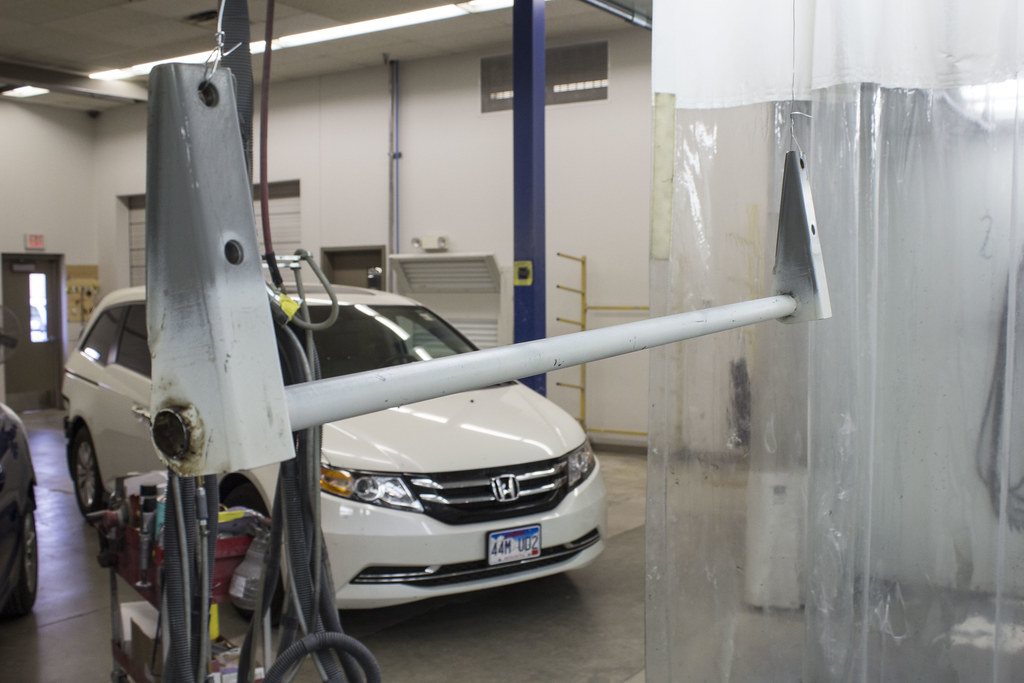
door hinges hanging to paint
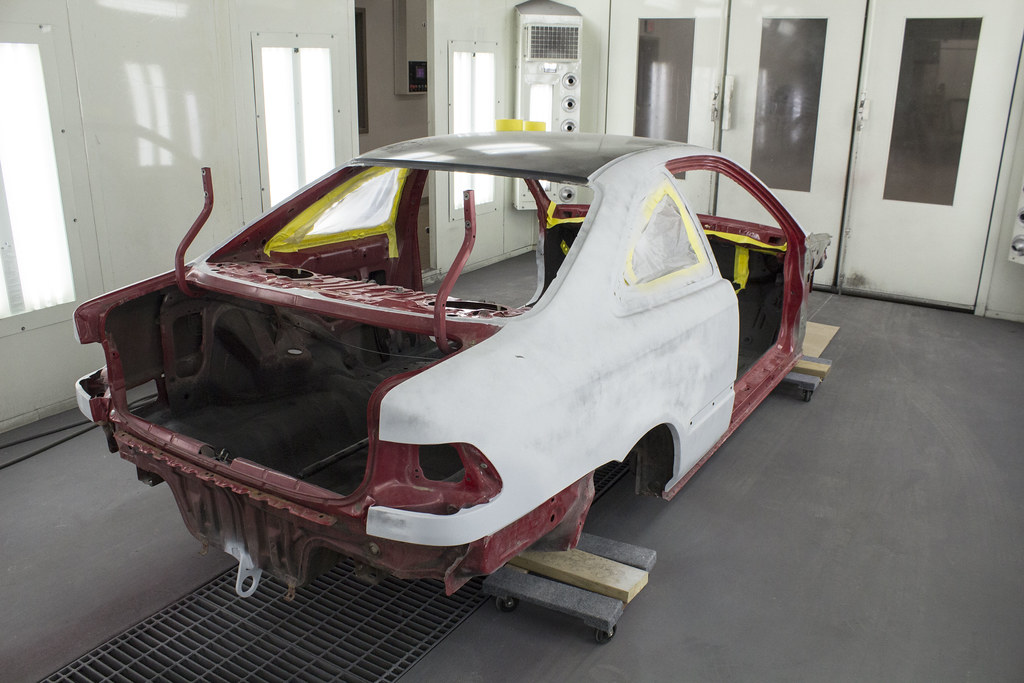
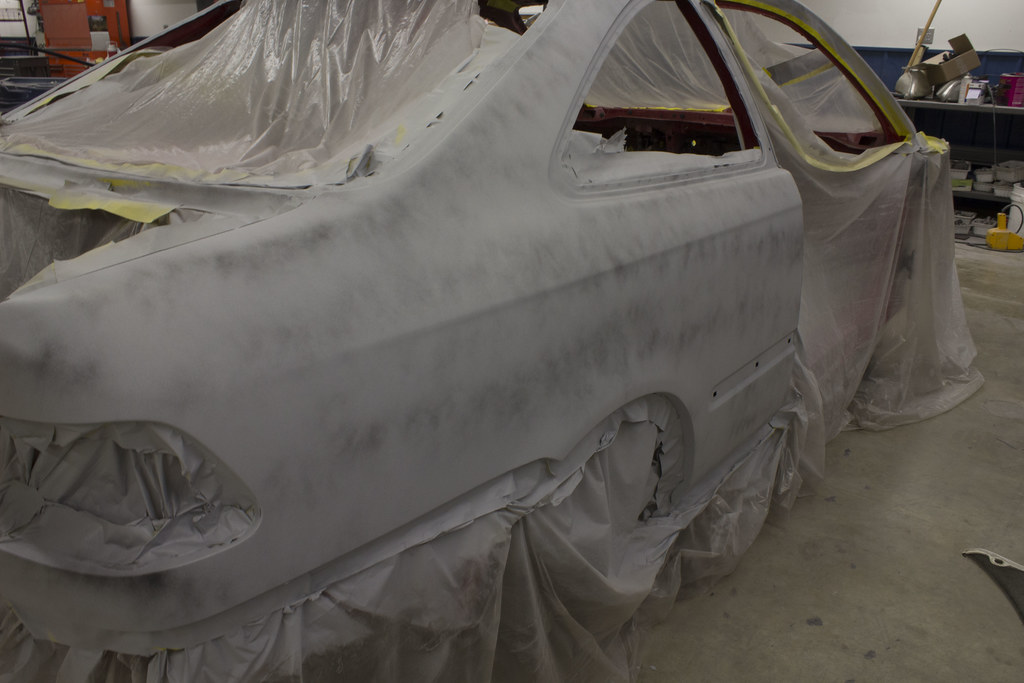
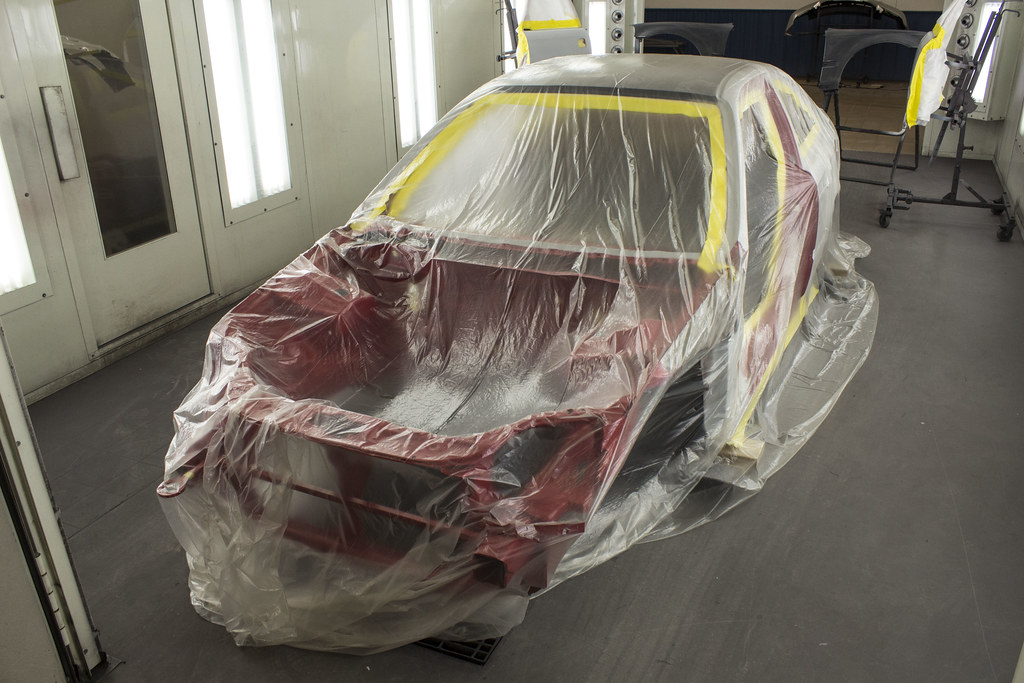
chassis waiting to get masked off prior to paint
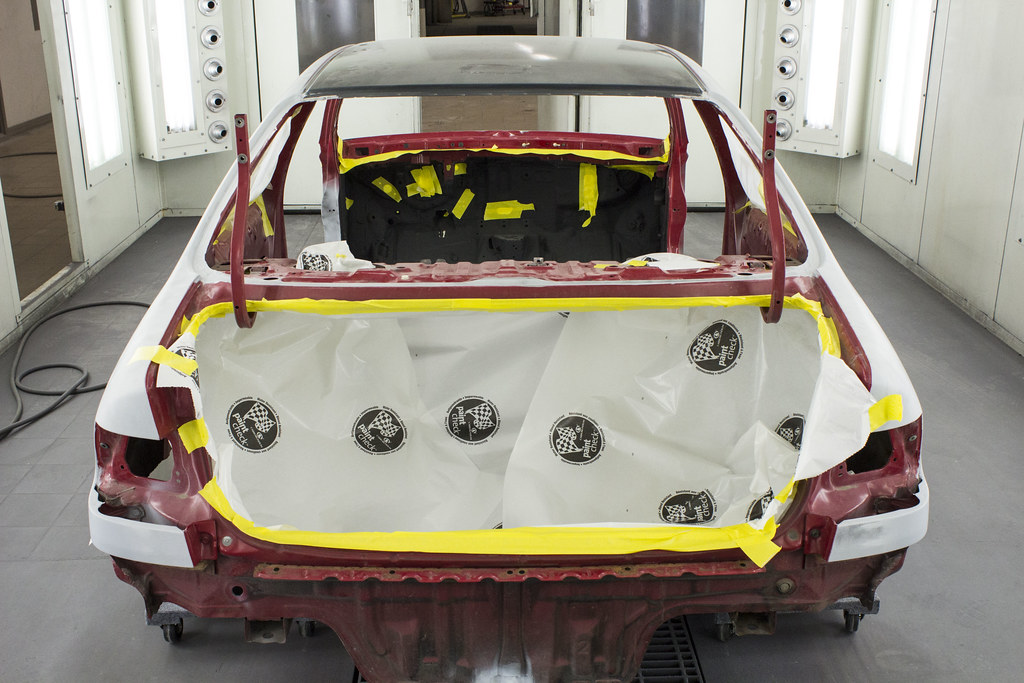
interior getting masked / papered off so no overspray gets on the interior / Lizard Skin
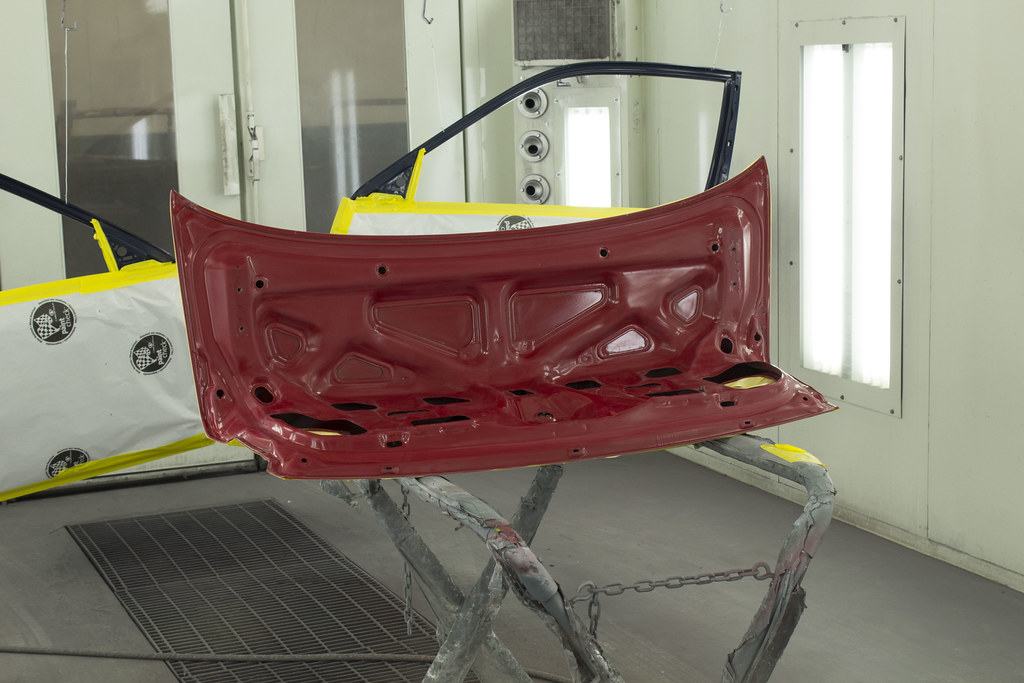
Trunk laid down ready for the interior of it to be sprayed...
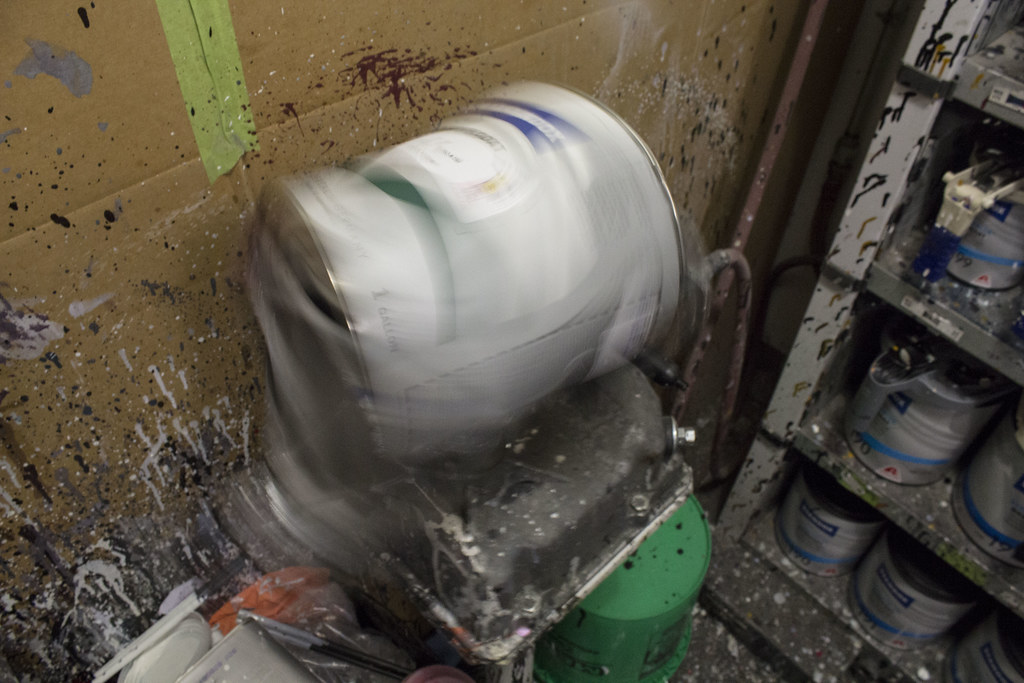
I don't know why I love watching these machines mix paint.. must be something linking back to my childhood spending time with my Dad in the body shop when he did body work/paint full time.. and this is where I'll leave you until Wednesday!
Rear spats for the 99 rear bumper, rear sedan door handles and some moldings that I scuffed and cleaned prior to paint
Love this Standox stuff the body shop started using a number of years ago... this is what was used to prepped the bare plastic along with the yellow scotchbrite pad and a little agua..
Same concept with the unpainted side skirts
Autopower Roll Cage cross bars.. just a green/grey scotchbrite and wax/grease remover for this
Main hoop w/ diagonal bars prepped *NSX spare photobomming the background*
Rear bumper prepped for paint
also prepped and cleaned the floor area which was to be Lizard Skin coated
ultimately Dad and I decided that we should remove all of that OE glue on the back of the door.. good lord what a pain.. a little laquer thinner does wonders though!
engine bay after sealer and reapplication of the flawed seam sealer
left quarter after a little modification, some rust repair and straigtening
right quarter with the same treatment
front fender wells stripped down to re-seamseal
Wurth self-leveling seam sealer.. this worked pretty well in the wheel-wells.. haha.. (horrible pun).. in the engine bay though we must have gotten a bad bottle cause it did NOT cure
seam sealer applied and cured.. I didn't take a picture of the other side.. cause quite honestly it looked like a 5 year old did it.. haha.. I wasn't expecting it to be that runny!
removed the factory rear tow hook in preparation for the SHG weld on hook
as shown here..
cut off these janky looking pieces of rust.. previous owner had these on to weld up an aftermarket muffler....
some notes to address before prime and paint
Taped up the holes leading into the engine bay to prevent overspray
also taped up the holes leading to the exterior prior to Lizard Skin application
shaved the antenna hole
right front wheel well post undercoat
left front..
chassis up on the frame rack to correct the 1/4 inch difference side to side... yikes! but now is the time to correct it!
SHG rear tow hook welded in place and sealer sprayed
Radiator support welded in place after frame correction... sealed and prepped for primer
door hinges hanging to paint
chassis waiting to get masked off prior to paint
interior getting masked / papered off so no overspray gets on the interior / Lizard Skin
Trunk laid down ready for the interior of it to be sprayed...
I don't know why I love watching these machines mix paint.. must be something linking back to my childhood spending time with my Dad in the body shop when he did body work/paint full time.. and this is where I'll leave you until Wednesday!
Last edited by ej8eli; 09-06-2016 at 05:37 PM.
09-23-2016, 12:20 PM
#38
Honda-Tech Member
Thread Starter
wheel wells are rubberized 3M undercoating 
Here's some more updates and as it sits now! More will come throughout the autumn and winter!
[img]https://c1.staticflickr.com/9/8181/29792687491_61fb14e50b_b.jpg9/img]
The weekend we painted it was spent in a 3 day format. My Dad really took over here and 'blessed' the jams and exterior of the car quite wonderfully. Friday night was for door jams, underhood, inner doors, some outer panels.. etc
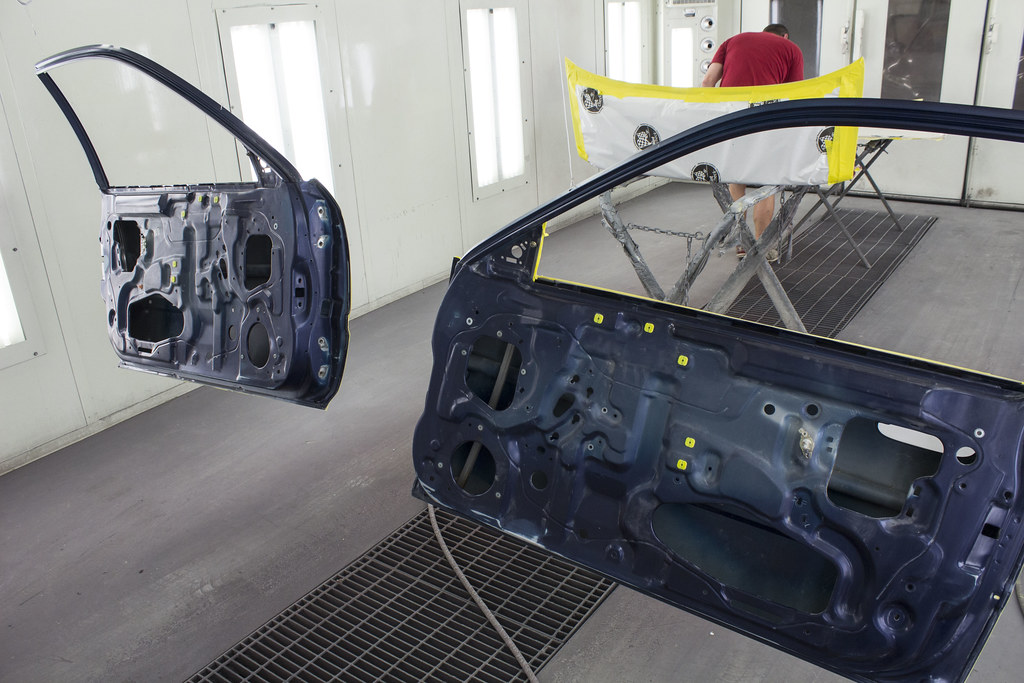
Doors hung up to spray the inner panel.. we went over everything with Wax and Grease remover one more time and started masking things off
Had to protect my JDM points

While we were rolling it into the booth.. before it went in.. Dad found an imperfection in the new roof skin so we had to correct that and make it look like a new OE panel (which it was lol) before paint.. the bondo is less than what it appears mind you..
Interior being already covered in Lizard Skin we masked that all off to prevent overspray
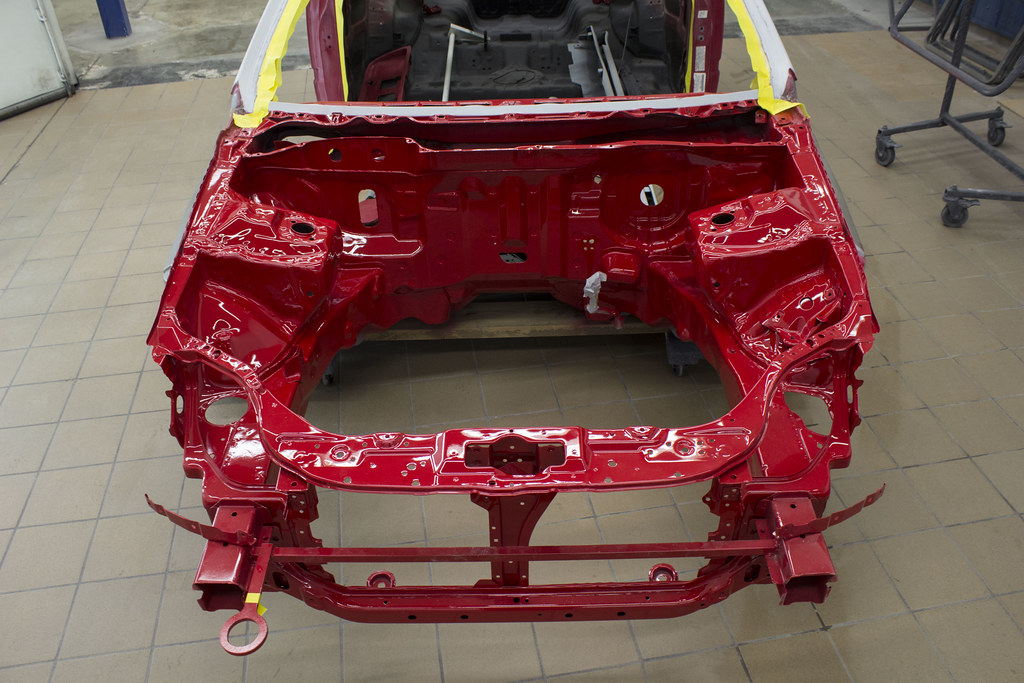
We (or he I should say) had already sprayed the engine bay the weekend before.. At this point I'm so elated I chose to switch away from Milano Red over to Formula Red.. the color is absolutely fantastic!
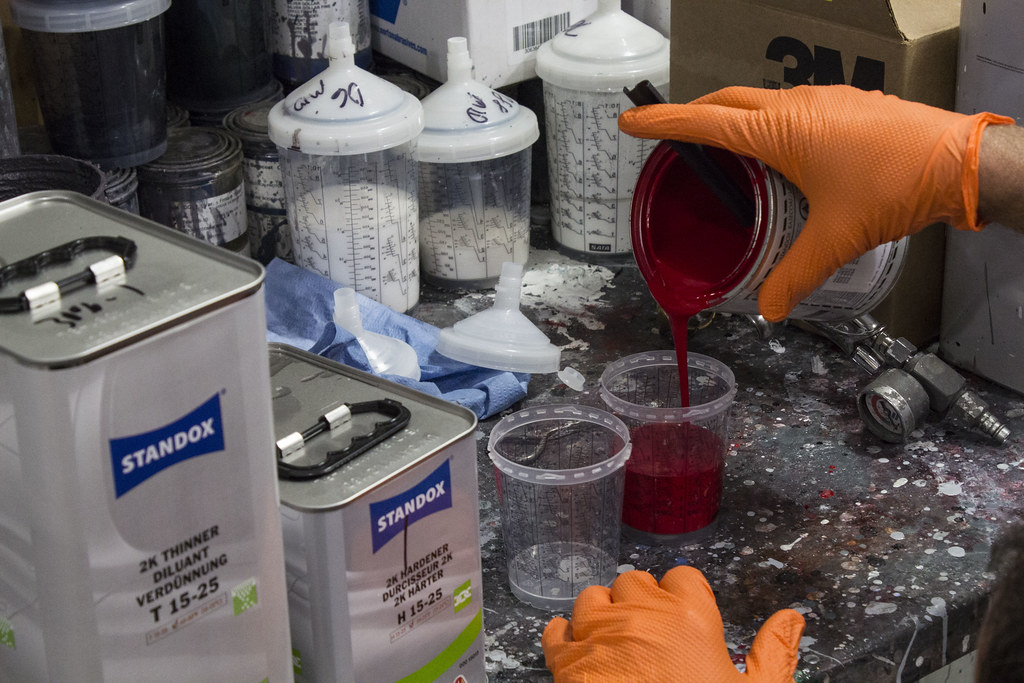
Dad pouring some into a cup to begin spraying

Saturday we started laying everything out and again final prep before paint
OG Spoooon hanging up ready for a color change
Misc exterior trims setup to get covered properly

Sedan rear door handles.. and some rear seat bracing..
rear bumper support if you could call it that
Another booth was occupied by the doors, chassis, fenders
said chassis after putting a bag over it's head to mask off where we wanted
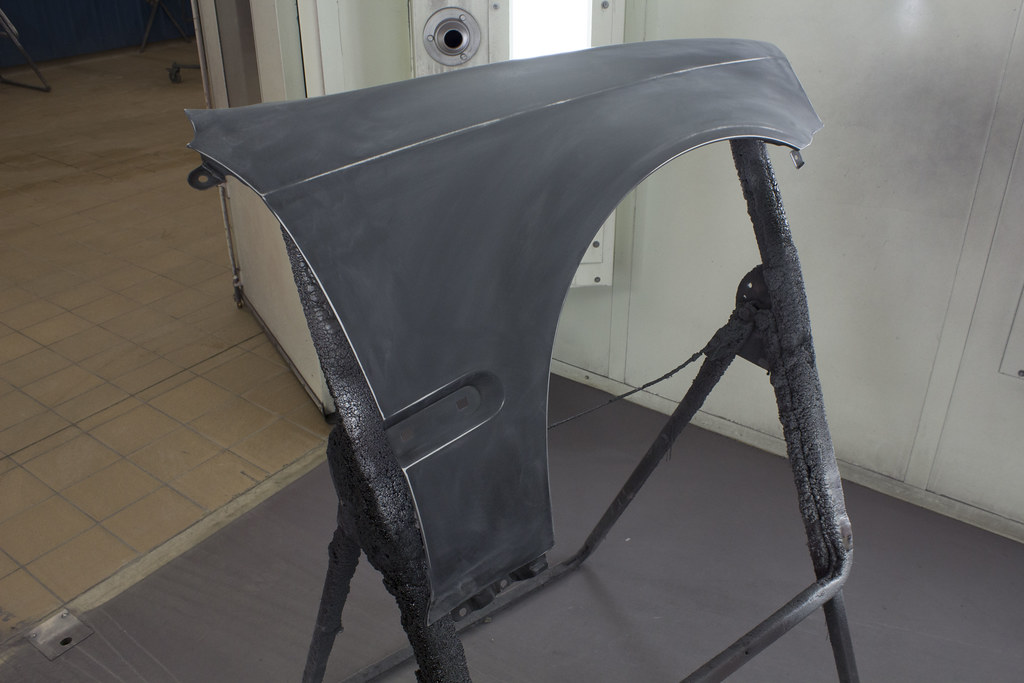
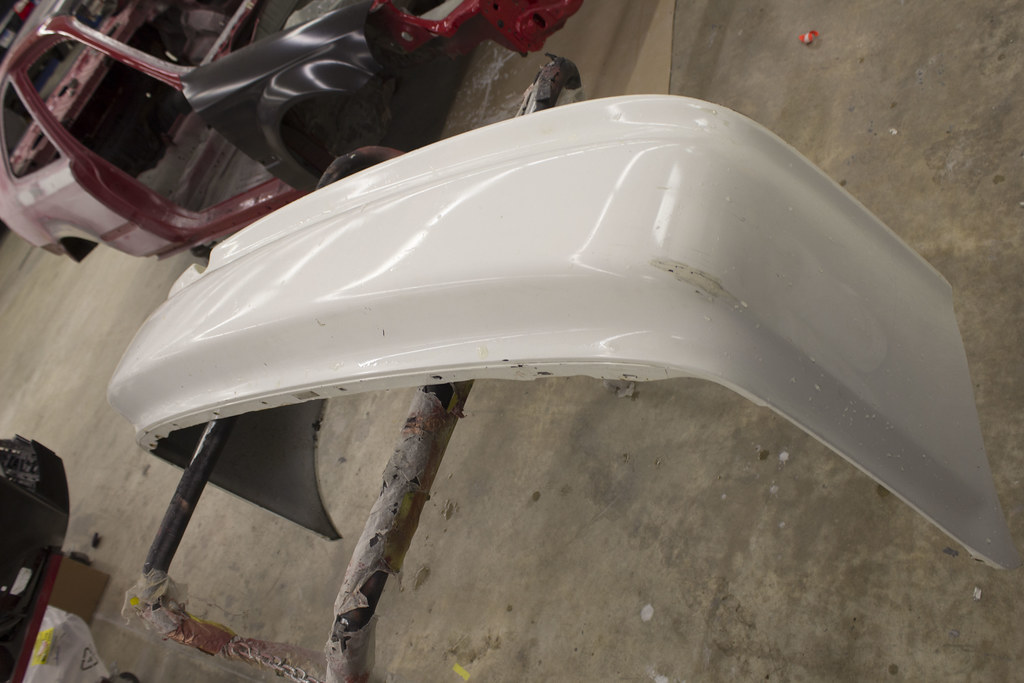
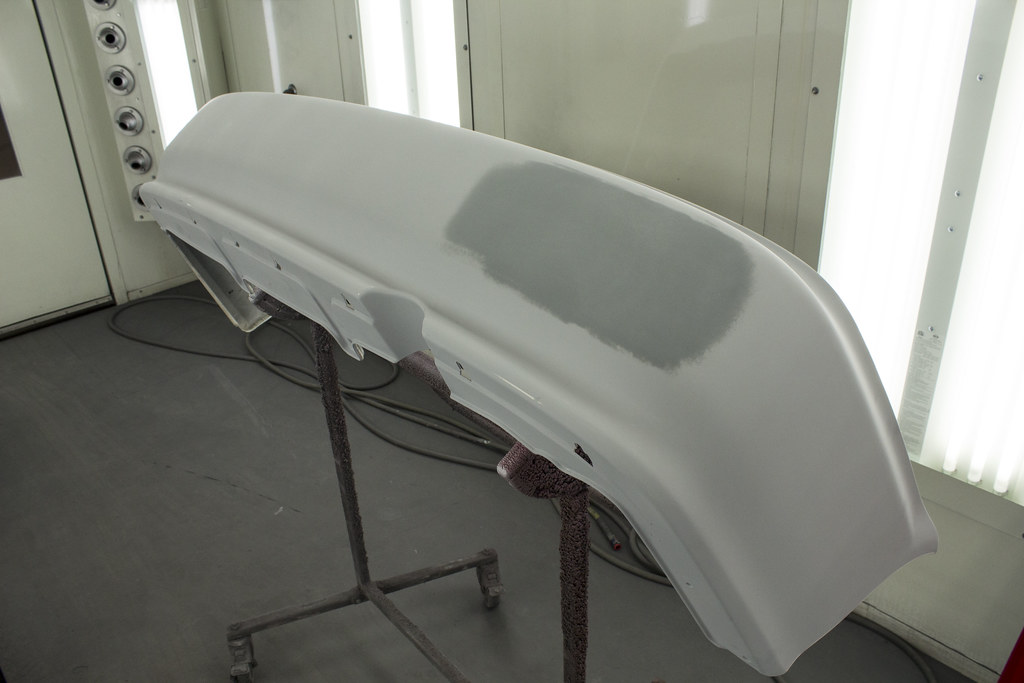
oe fender after some lovin
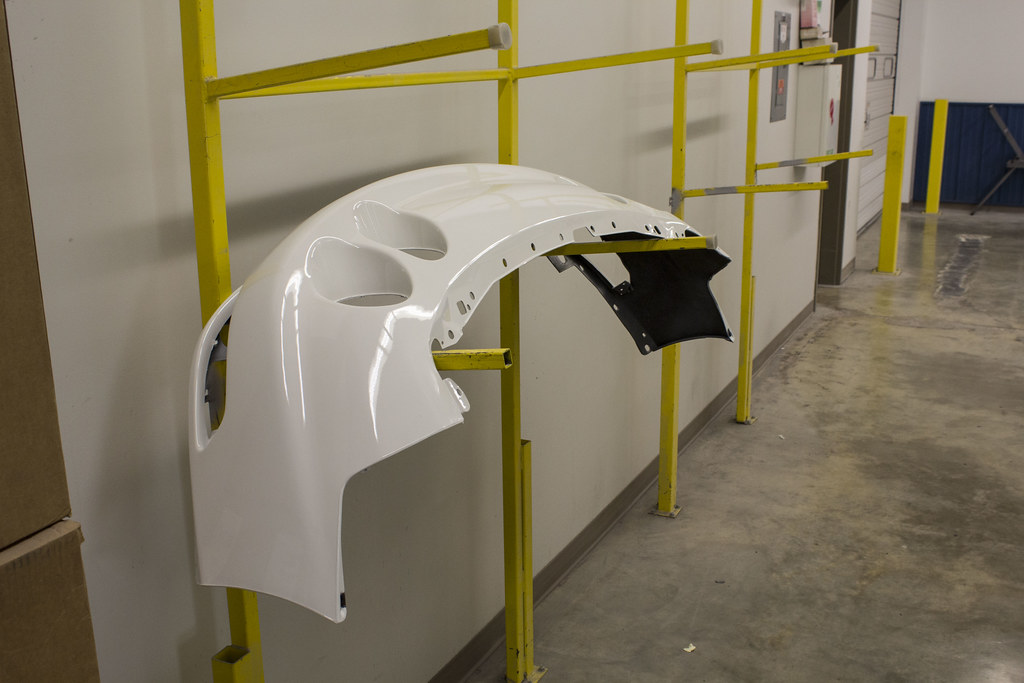
Another booth had plastics in it.. we needed to do some rear bumper 'polishing' as well
front bumper after a hole was cut in it and the license plate mount holes were shaved
bigger picture into the maddness :corn:
Ended up getting into an accident in my daily driver 4 door integra... lady made a left hand turn from the far right light and I smacked the rear quarter panel of her jetta wagon..

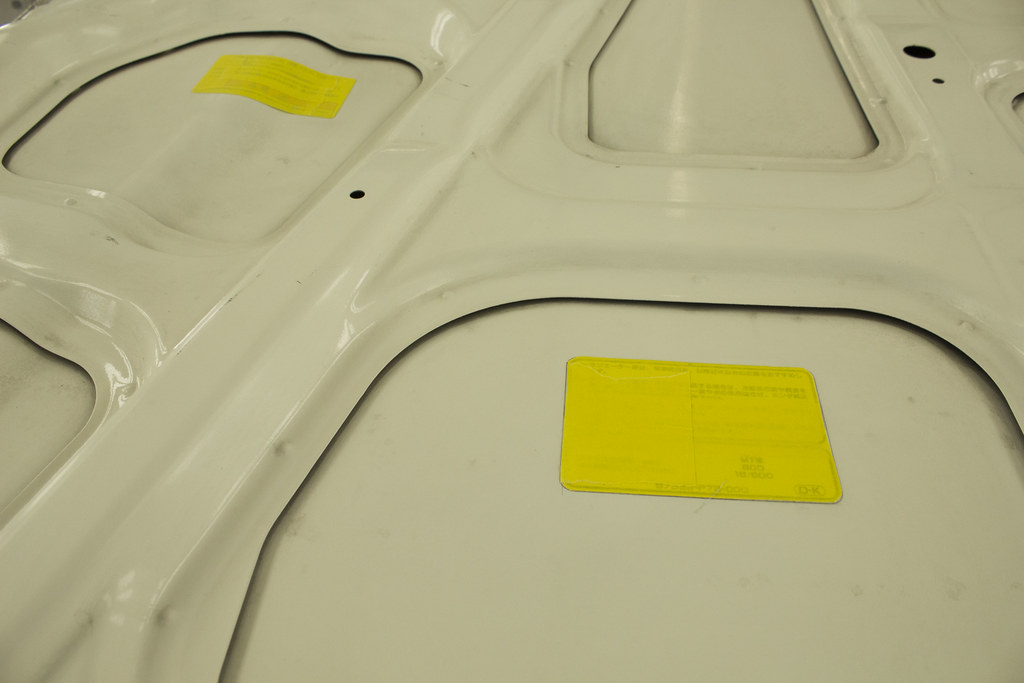
Chassis all masked off.. including vin tags and oe stickers..
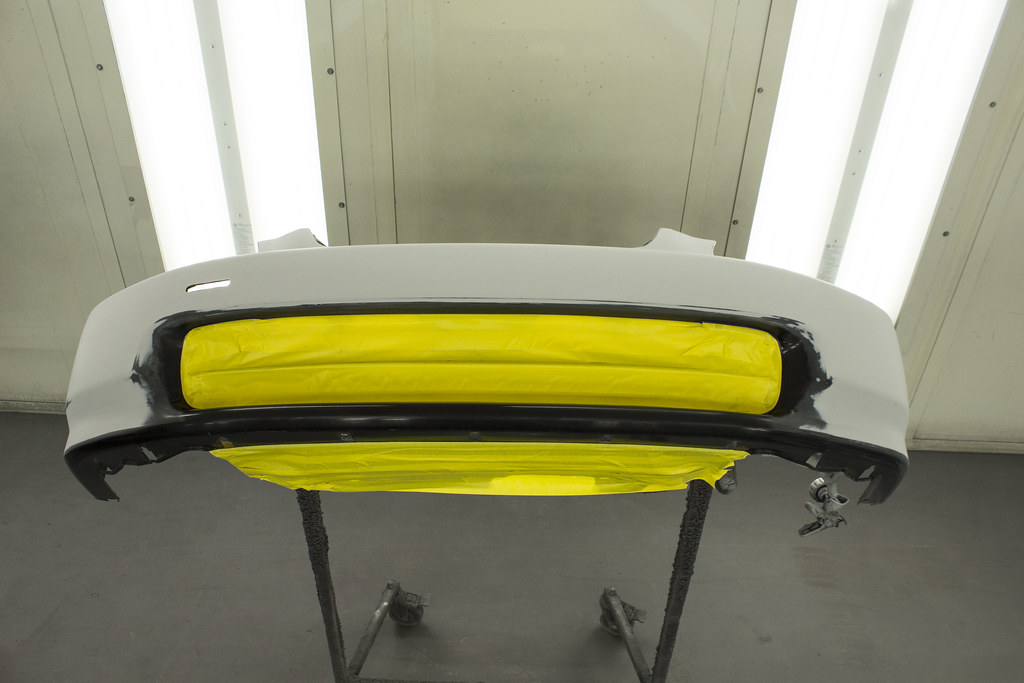
bumper grill and lower tray masked off.. I know the lower tray traditionally gets paint matched.. I felt like keeping it black.. not really sure why.. no real good reason
my Dad masking off what I call 'driveway feelers' on the OE EK9 front lip
final product!!! well.. "final".. kinda set the camera down throughout the reassembly process.. the shop started to get busier as summer went on and nad to "bust" to get it put back together.. never-the-less.. this isnt final panel fitment either, I still need to install the new wiring stuff and do the other bits also
just a few pieces of trim to get yet for the exterior to check off my list.. nothing too major though
hood isn't complete shut in this picture.. I really am liking how the front end came together
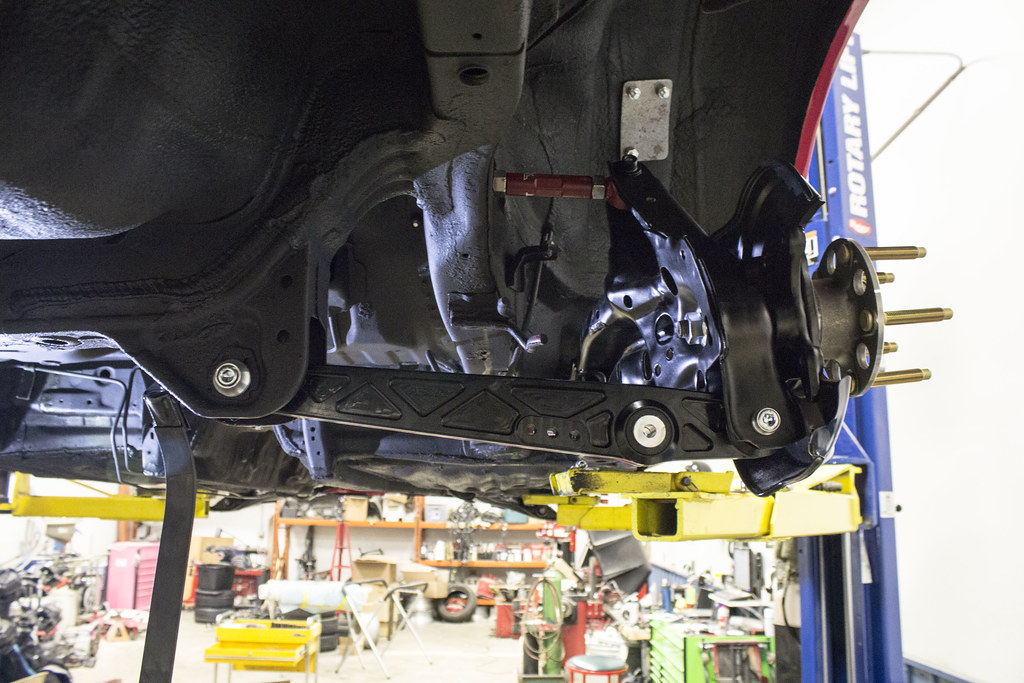
ASR LCA's and TruHart/HardRace lower arms and RTA bushings
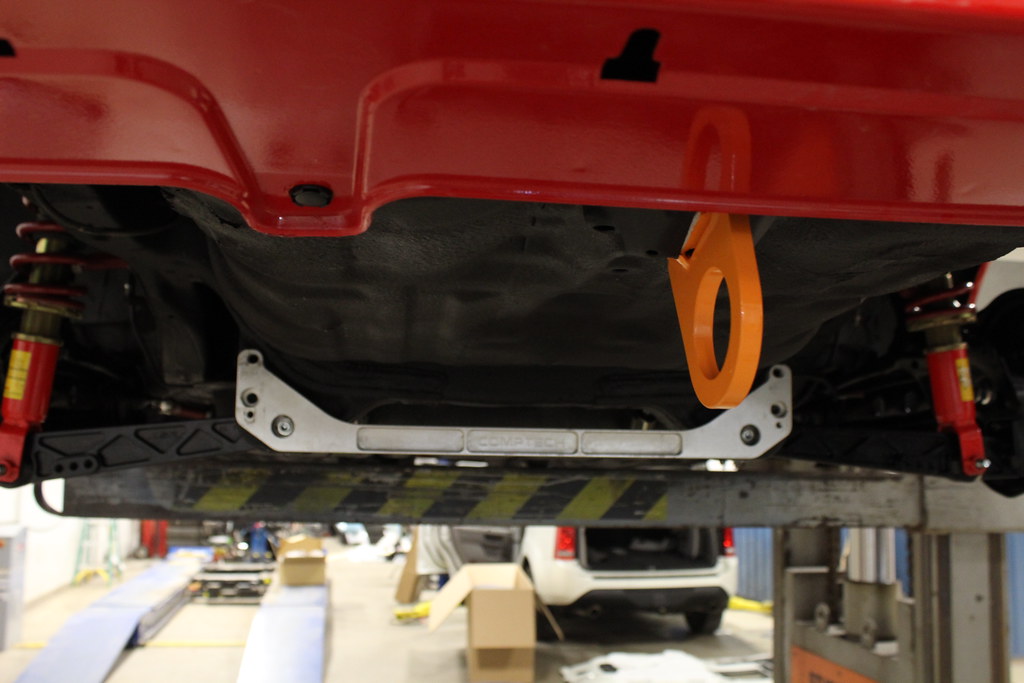
OG Comptech Subframe brace and SHG tow-hook
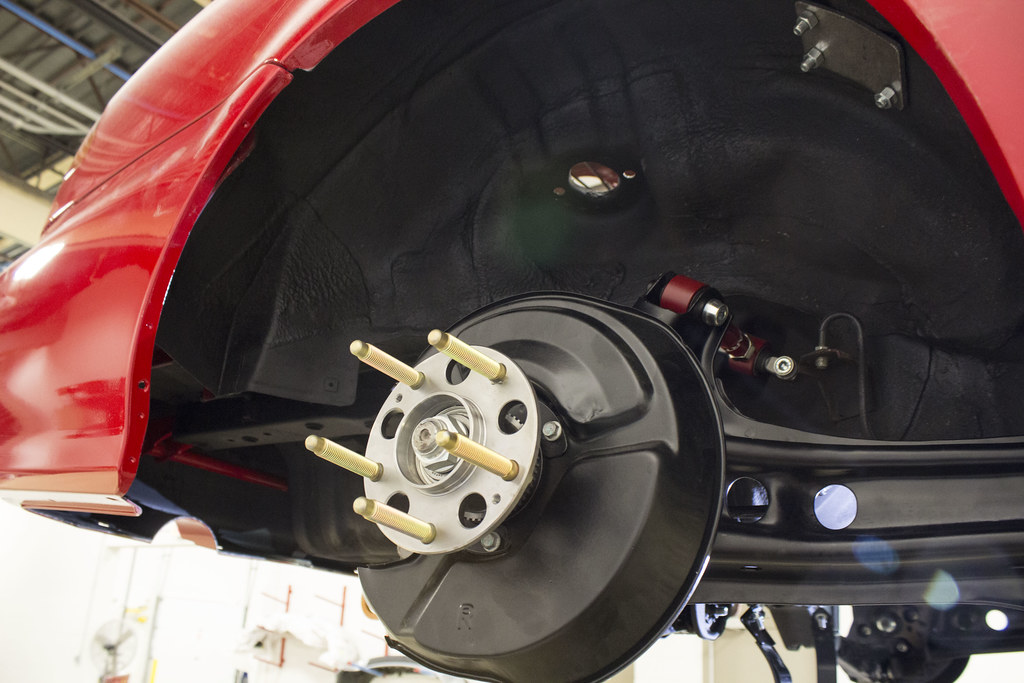
new OE bearings/hub assemblies as well as ARP extended studs
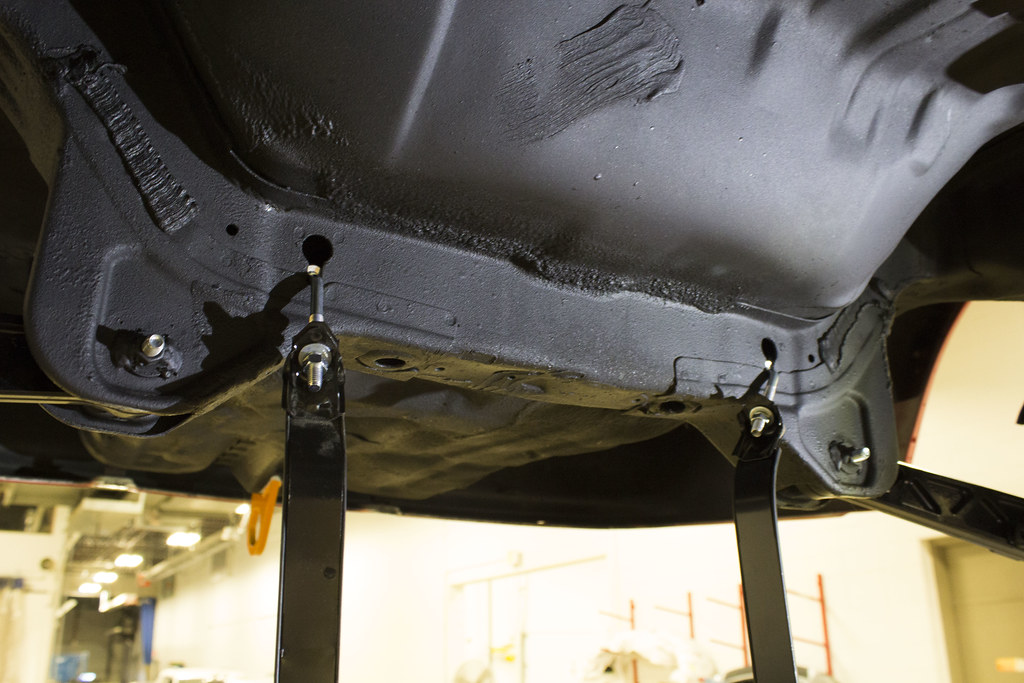
New gas tank straps and OE hardware... I refinished the fuel tank.. I'll have to see if I can find those pictures
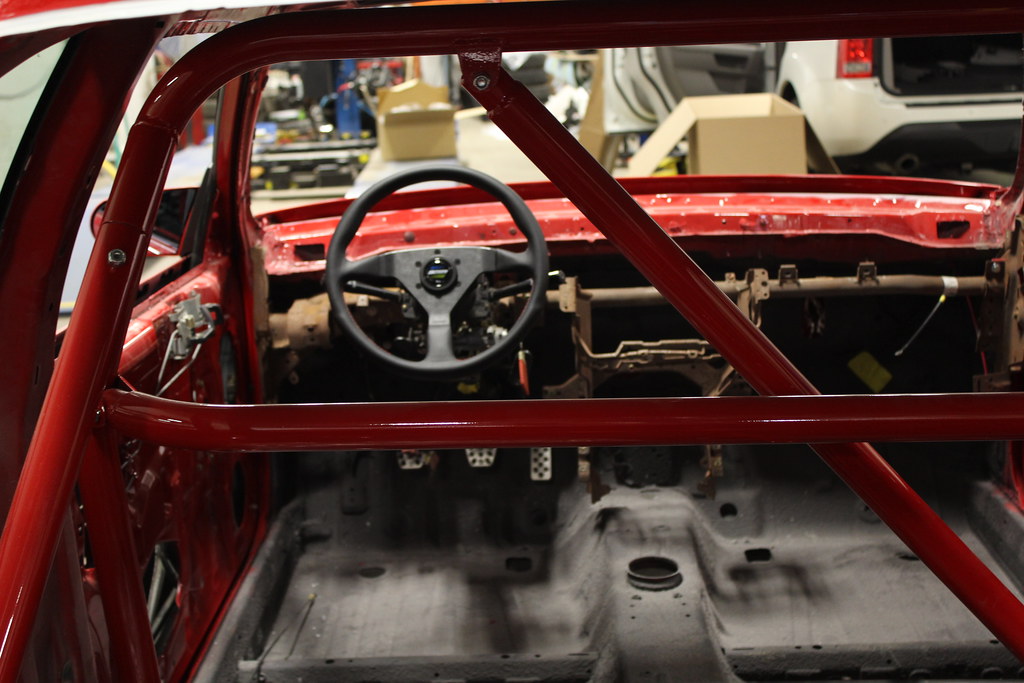
Autopower bolt-in roll cage and a little Spoon wheel lurkin in the background
That's all I have for now.. waiting for a wrecked coupe to find its way to the area so I can grab some interior pieces,, then I will be throwing the wiring in and starting reassembly from the inside out.. may be slow going so bear with me! Thanks for reading!
Here's some more updates and as it sits now! More will come throughout the autumn and winter!
[img]https://c1.staticflickr.com/9/8181/29792687491_61fb14e50b_b.jpg9/img]
The weekend we painted it was spent in a 3 day format. My Dad really took over here and 'blessed' the jams and exterior of the car quite wonderfully. Friday night was for door jams, underhood, inner doors, some outer panels.. etc
Doors hung up to spray the inner panel.. we went over everything with Wax and Grease remover one more time and started masking things off
Had to protect my JDM points
While we were rolling it into the booth.. before it went in.. Dad found an imperfection in the new roof skin so we had to correct that and make it look like a new OE panel (which it was lol) before paint.. the bondo is less than what it appears mind you..
Interior being already covered in Lizard Skin we masked that all off to prevent overspray
We (or he I should say) had already sprayed the engine bay the weekend before.. At this point I'm so elated I chose to switch away from Milano Red over to Formula Red.. the color is absolutely fantastic!
Dad pouring some into a cup to begin spraying
Saturday we started laying everything out and again final prep before paint
OG Spoooon hanging up ready for a color change
Misc exterior trims setup to get covered properly
Sedan rear door handles.. and some rear seat bracing..
rear bumper support if you could call it that
Another booth was occupied by the doors, chassis, fenders
said chassis after putting a bag over it's head to mask off where we wanted
oe fender after some lovin
Another booth had plastics in it.. we needed to do some rear bumper 'polishing' as well
front bumper after a hole was cut in it and the license plate mount holes were shaved
bigger picture into the maddness :corn:
Ended up getting into an accident in my daily driver 4 door integra... lady made a left hand turn from the far right light and I smacked the rear quarter panel of her jetta wagon..
Chassis all masked off.. including vin tags and oe stickers..
bumper grill and lower tray masked off.. I know the lower tray traditionally gets paint matched.. I felt like keeping it black.. not really sure why.. no real good reason
my Dad masking off what I call 'driveway feelers' on the OE EK9 front lip
final product!!! well.. "final".. kinda set the camera down throughout the reassembly process.. the shop started to get busier as summer went on and nad to "bust" to get it put back together.. never-the-less.. this isnt final panel fitment either, I still need to install the new wiring stuff and do the other bits also
just a few pieces of trim to get yet for the exterior to check off my list.. nothing too major though
hood isn't complete shut in this picture.. I really am liking how the front end came together
ASR LCA's and TruHart/HardRace lower arms and RTA bushings
OG Comptech Subframe brace and SHG tow-hook
new OE bearings/hub assemblies as well as ARP extended studs
New gas tank straps and OE hardware... I refinished the fuel tank.. I'll have to see if I can find those pictures
Autopower bolt-in roll cage and a little Spoon wheel lurkin in the background
That's all I have for now.. waiting for a wrecked coupe to find its way to the area so I can grab some interior pieces,, then I will be throwing the wiring in and starting reassembly from the inside out.. may be slow going so bear with me! Thanks for reading!
09-23-2016, 04:31 PM
#40
Honda-Tech Member
Thread Starter
09-24-2016, 06:29 AM
#43
Honda-Tech Member
Thread Starter
09-24-2016, 06:56 AM
#44
Honda-Tech Member

Join Date: Jun 2012
Posts: 218
Likes: 0
Received 0 Likes
on
0 Posts
Awesome car man! The attention to detail is top notch (Y)
Is the rubberized under coating in the wheel wells and under the trunk area the 3M stuff you mentioned earlier in the thread? I assume it was sprayed out of a gun and not out of a can...
Keep up the good work!
Is the rubberized under coating in the wheel wells and under the trunk area the 3M stuff you mentioned earlier in the thread? I assume it was sprayed out of a gun and not out of a can...
Keep up the good work!
09-24-2016, 02:06 PM
#45
Honda-Tech Member
Thread Starter
yeah it's just the 3M stuff from an aerosol can.. works great and I genuinely believe in the 3M product so I'm sure it'll be just fine
09-24-2016, 07:26 PM
#47
Honda-Tech Member
Your pretty much building a car from scratch. Might as well just call it a 2016 Honda Civic lol. Keep it up!
09-25-2016, 04:54 PM
#48
footwork mastery
Join Date: Sep 2004
Location: Bigger, Faster, Smarter, Stronger
Posts: 5,982
Likes: 0
Received 8 Likes
on
6 Posts
Looks nice! Every time I come into the build section it makes me want to get an old Honda... damnit
09-29-2016, 05:20 PM
#49
Honda-Tech Member
Thread Starter
Thanks sir!
haha that's the ideology behind it that's for sure
They're wonderful when executed correctly that's for sure!
They're wonderful when executed correctly that's for sure!
09-30-2016, 12:28 AM
#50
Honda-Tech Member

Join Date: Jul 2012
Posts: 23
Likes: 0
Received 0 Likes
on
0 Posts
Amazing work! Everything I am trying to do to mine right now.
On that note I was wondering where you sourced your fuel tank straps and OE hardware? I had to buy a whole new tank and ditch the old straps and hardware as they were just to damage to reuse.
On that note I was wondering where you sourced your fuel tank straps and OE hardware? I had to buy a whole new tank and ditch the old straps and hardware as they were just to damage to reuse.