
1994 EG Coupe Revival Thread (Massive First Post)
 05-29-2014, 11:02 PM
#1
Honda-Tech Member
Thread Starter

Join Date: Nov 2010
Location: Ohio
Posts: 16
Likes: 0
Received 0 Likes
on
0 Posts
Hello honda-tech. I've lurked around here for quite some time, so I decided its time I finally show myself. I got into Hondas with my 96 Accord I got in December of 2010. Ended up doing an auto to 5 speed swap with it, got bored and sold it off. That was just a teaser, so I decided to get a Civic and start all over again. I've been building this car since the day I got it, so the car is a lot father along than what this will show until I get it updated to the present time.
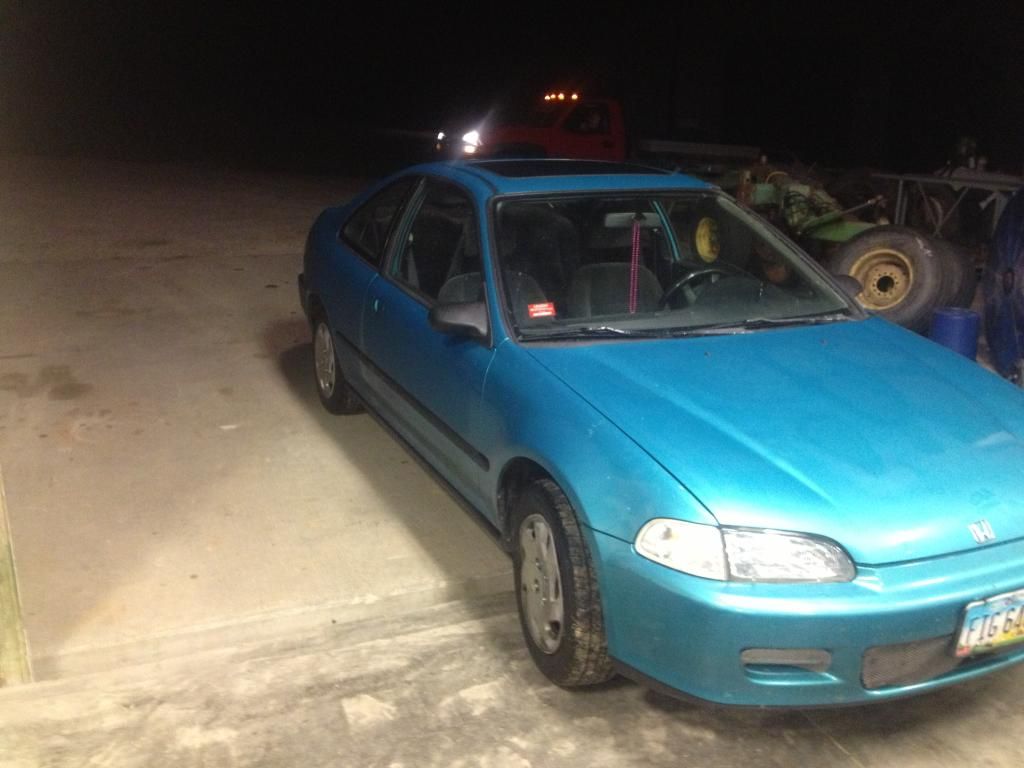
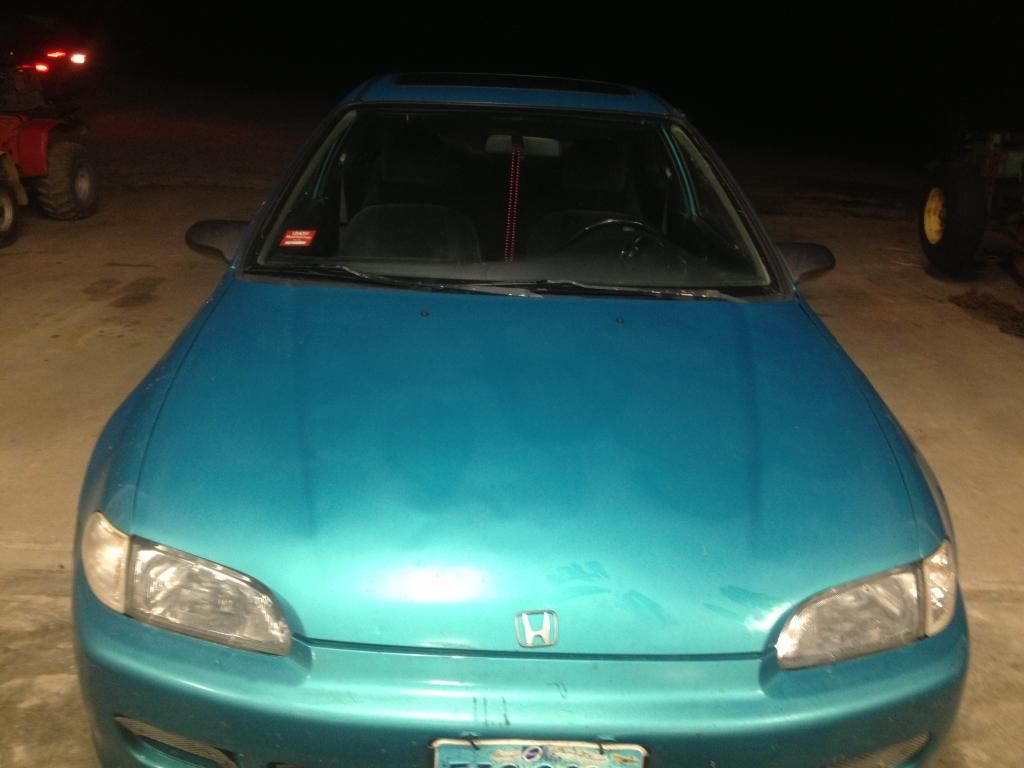
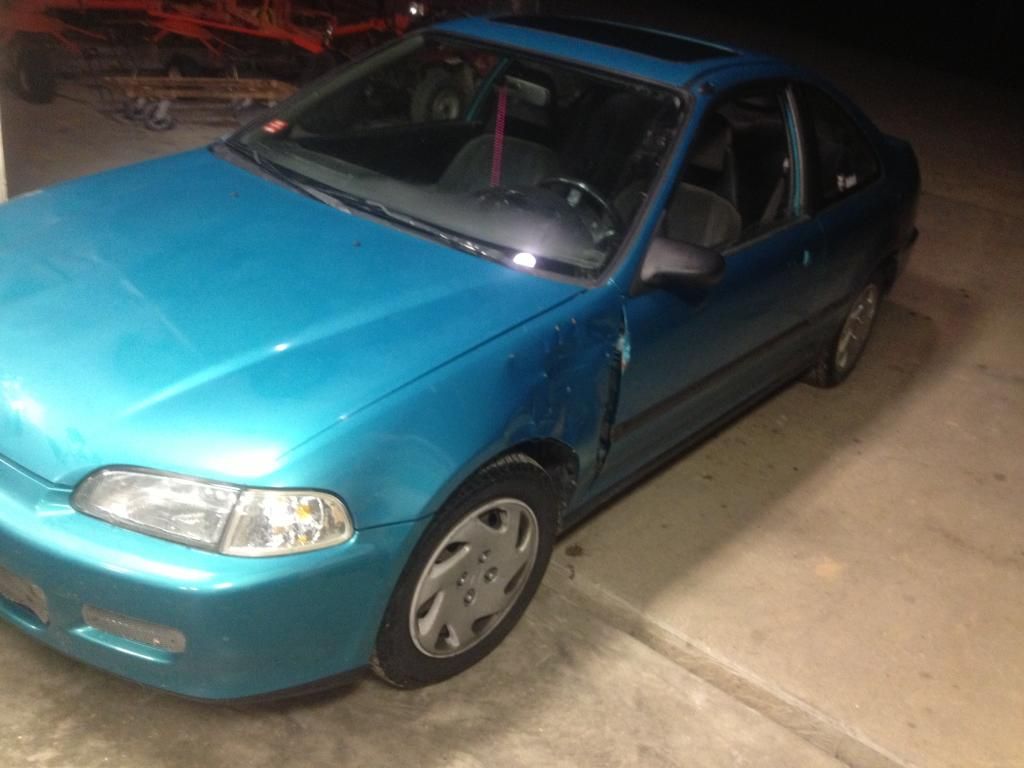
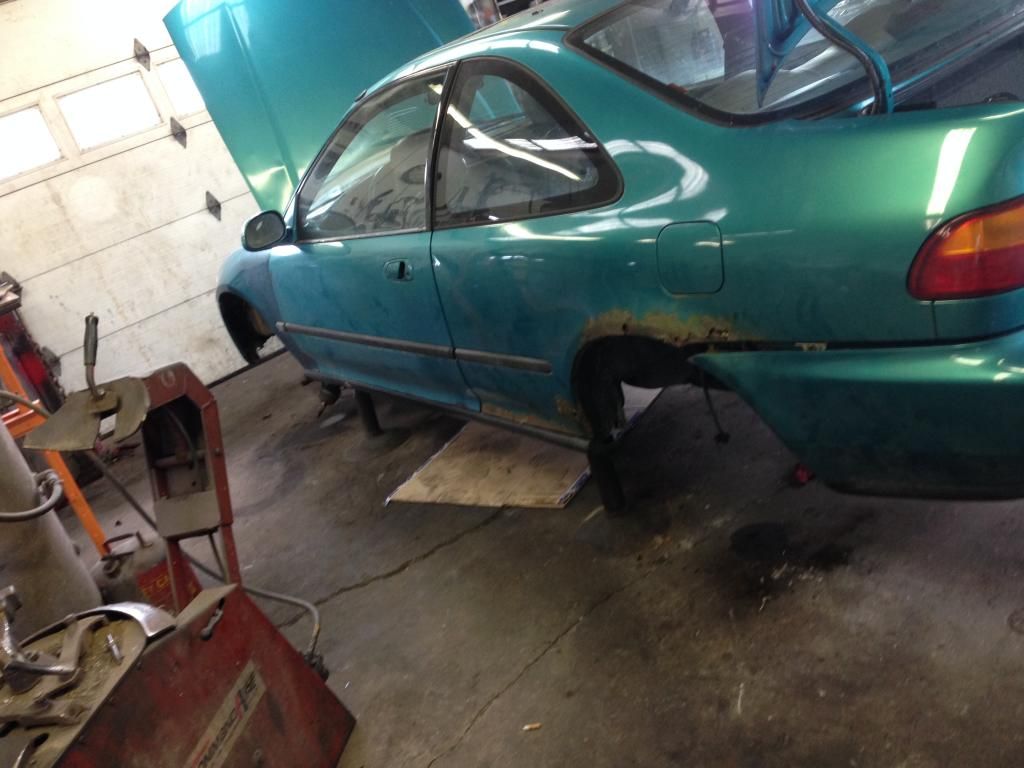
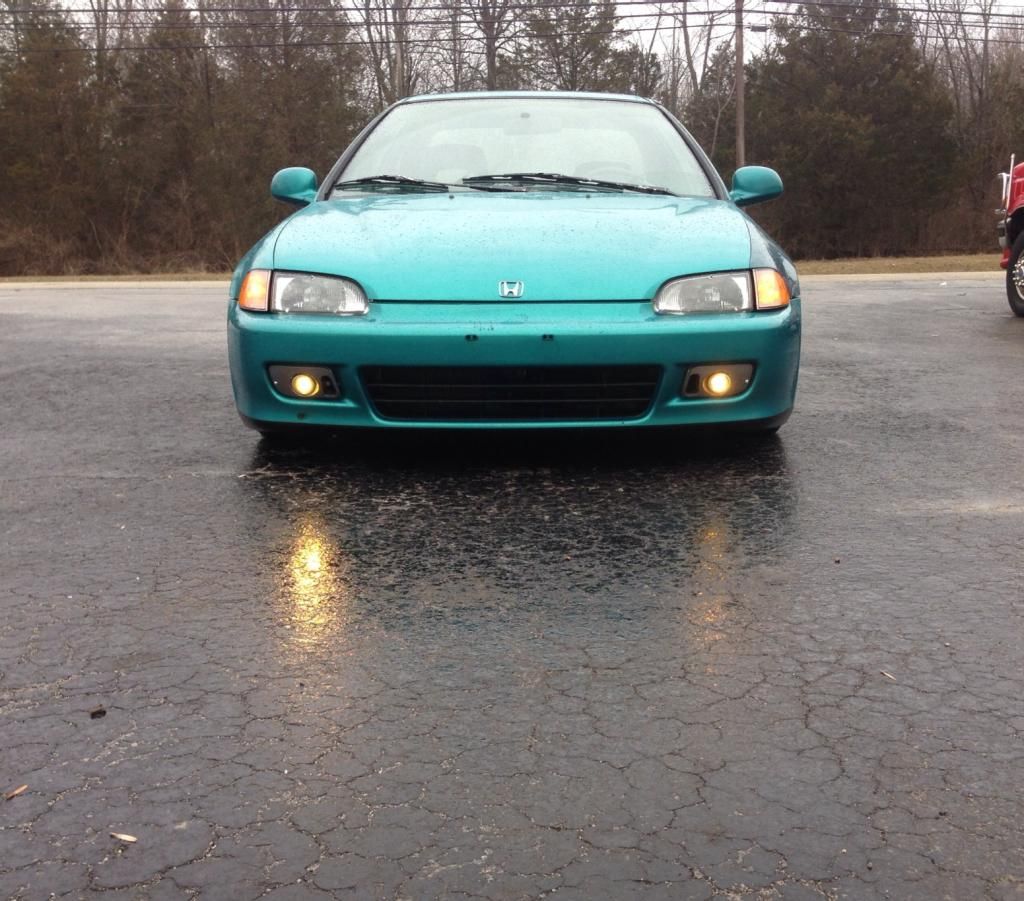
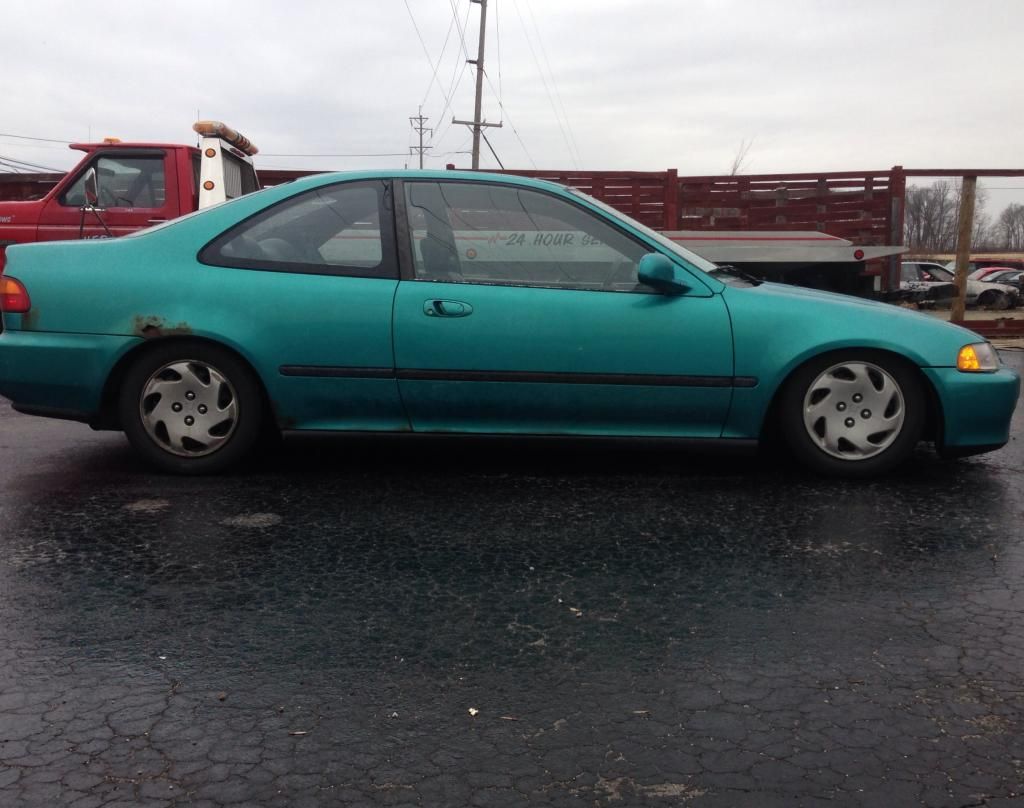
Fast forward to end of July 2013. After searching and searching for an EG shell, I finally found what I wanted. It needed to be a coupe or hatch, EX model, and a manual. Just wanted to have a good base to build off of. Ended up finding this '94 with a blown motor for $500, it was everything I wanted and was a color I had always liked. I bought it.
Towed it home from where I bought it which was 2.5 hours away and immediately went to work. Of course the battery was dead, but once I got it charged up I decided to try to start it to see what I had. I hit the key and the engine spun over waaaaaay too fast like it had no compression. Hmmm.
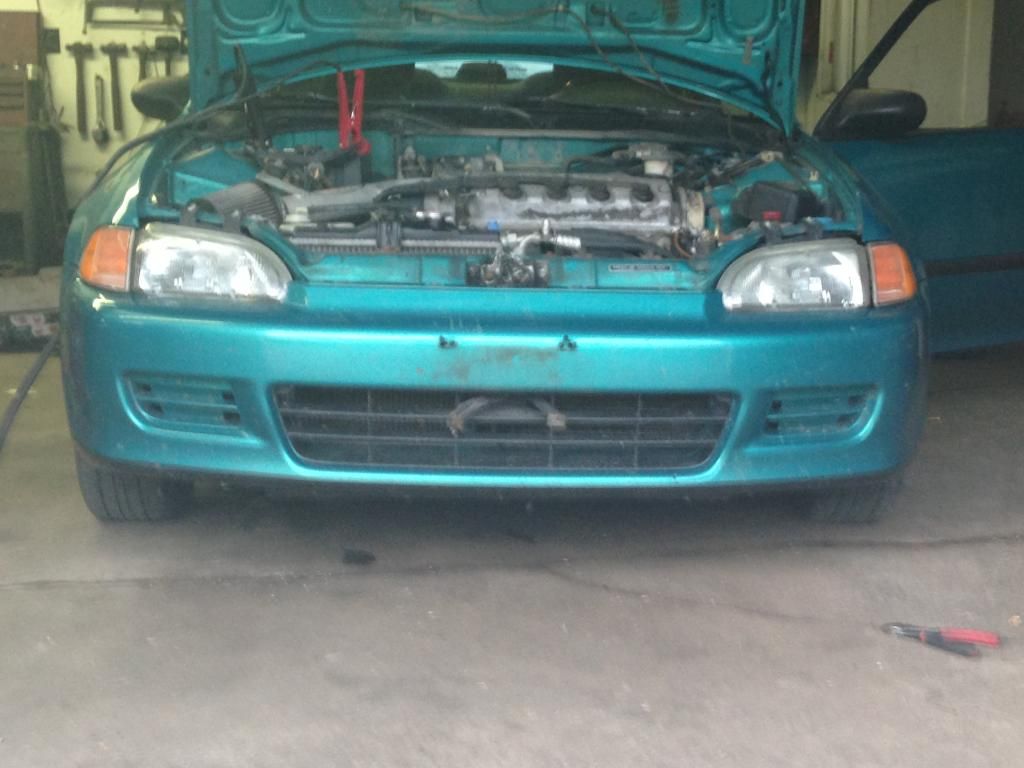
Oh look, someone ran it so hot the timing cover melted. Well, this thing is trashed. Might as well yank it out, its not doing much good in the car.

Once I got the motor out, I realized how terribly dirty this engine bay was. I picked it up from a farm off a kid who was commuting to college, so that explains the layer of dirt that covered this car from top to bottom.
I started cleaning with a solution of simple green and some elblow grease, but that just wasn't going to cut it.
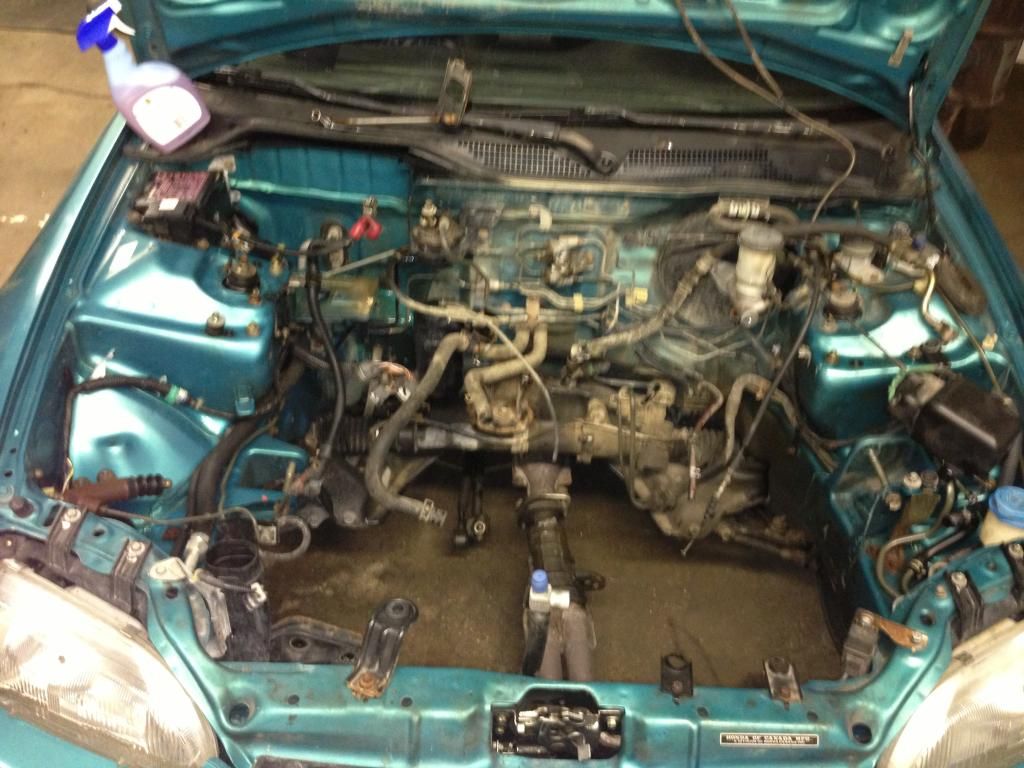
Decided my best bet was to just get the power washer out and give it a good soaking.
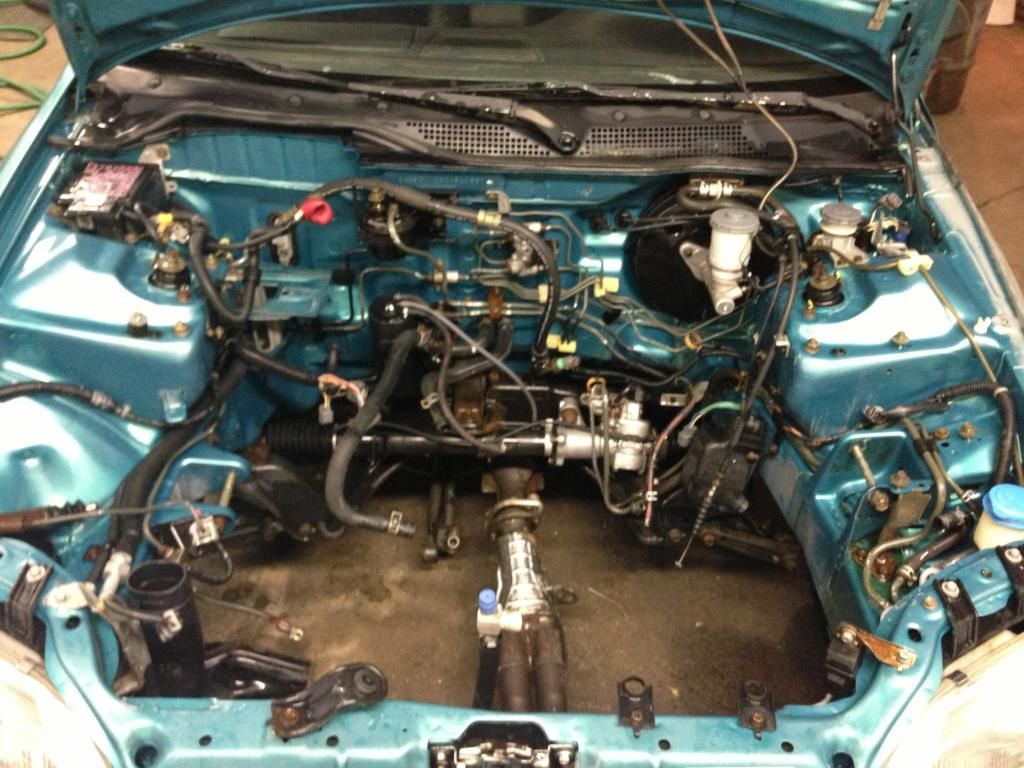
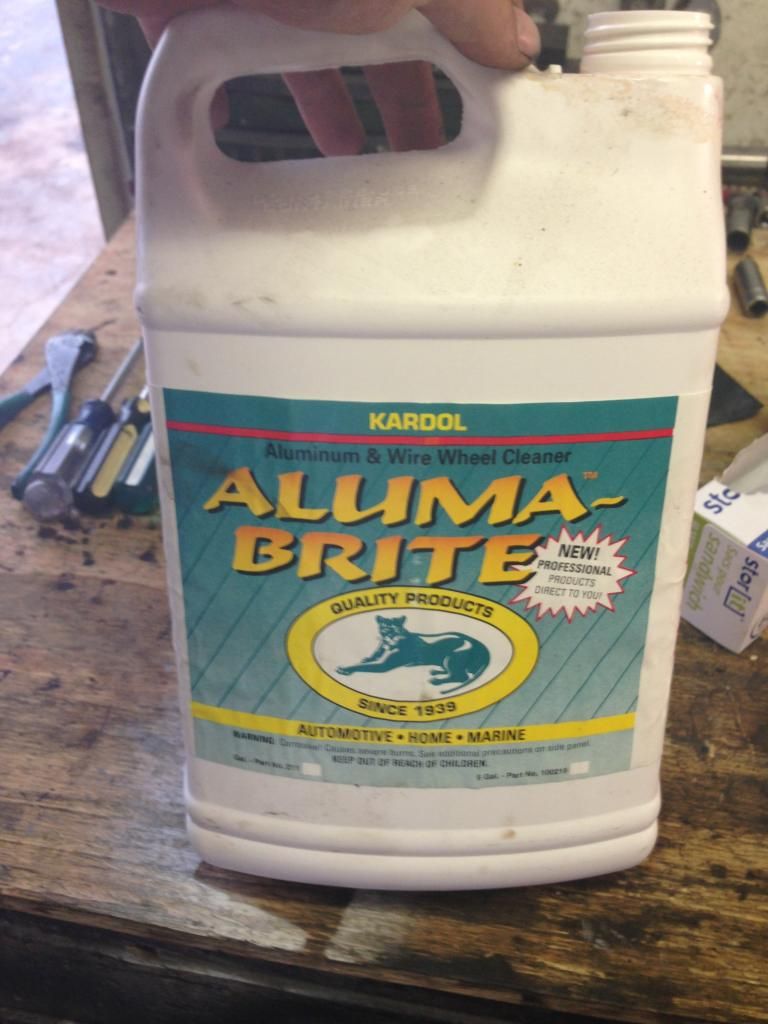
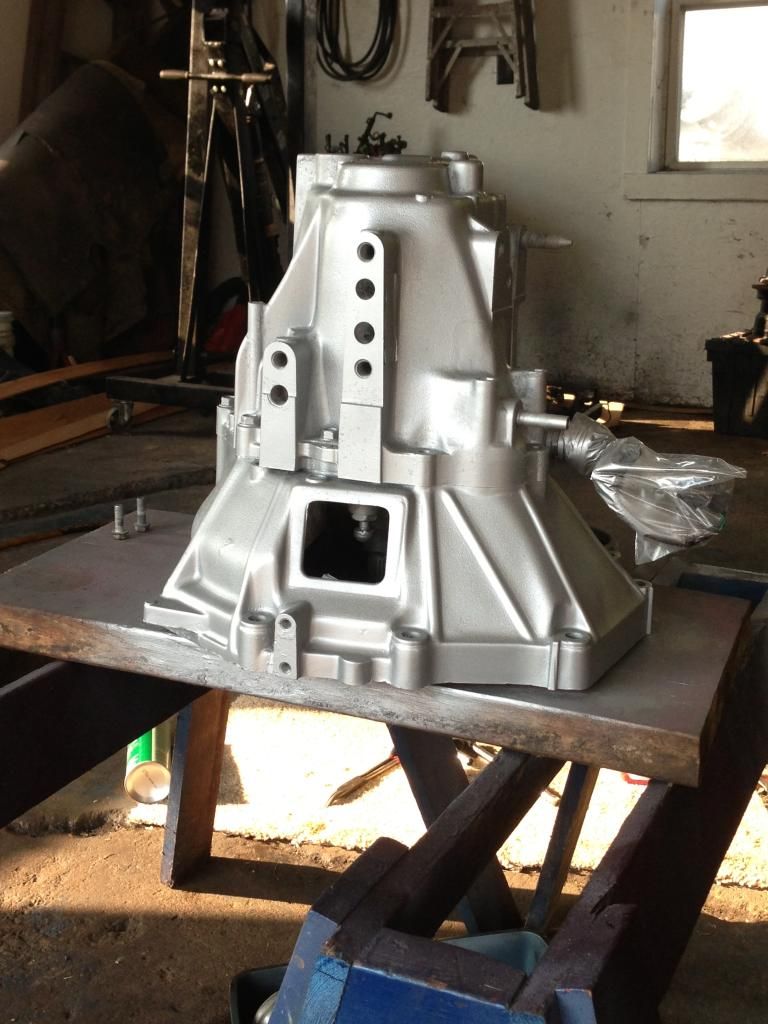
There we go. At this point all I had was a transmission, and I knew the car was going to stay with a D series for a while, so I decided to get it cleaned up and ready for when I found an engine to mate it up to. I started with a nylon brush and some Aluma-Brite. This stuff is like acid. Made the mistake of using it without gloves. Ouch. Did a great job though.
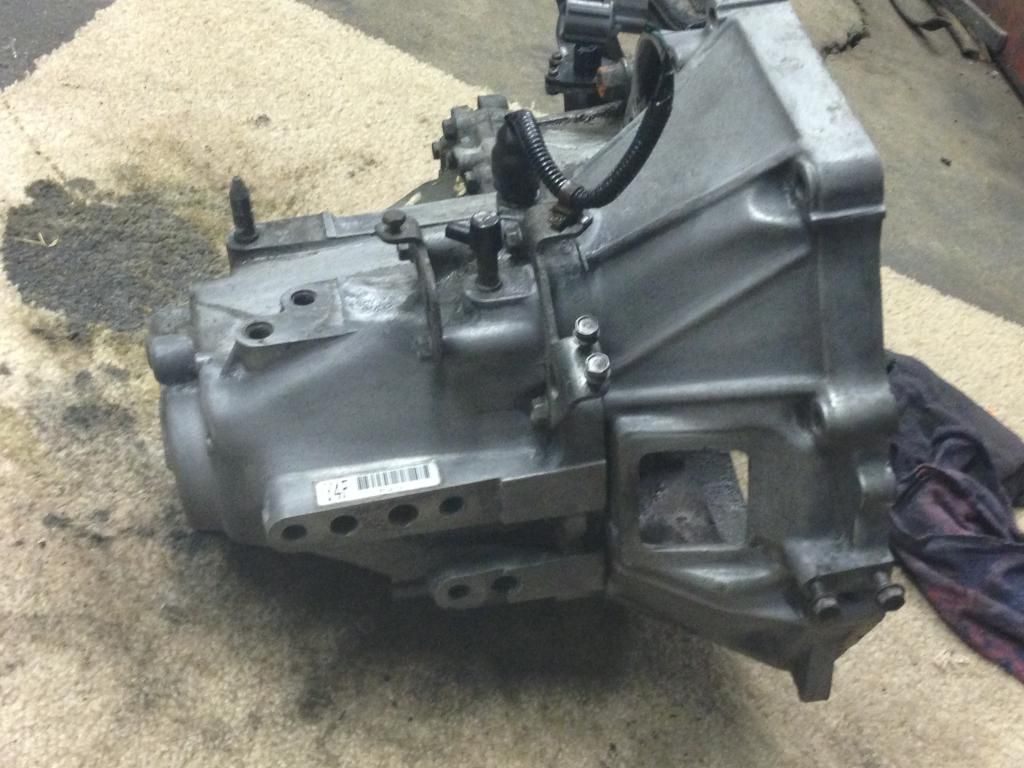
Once I had it cleaned up to this point it was time for some paint. I used Duplicolor Engine Enamel in an aluminum color. Turned out pretty nice I thought.
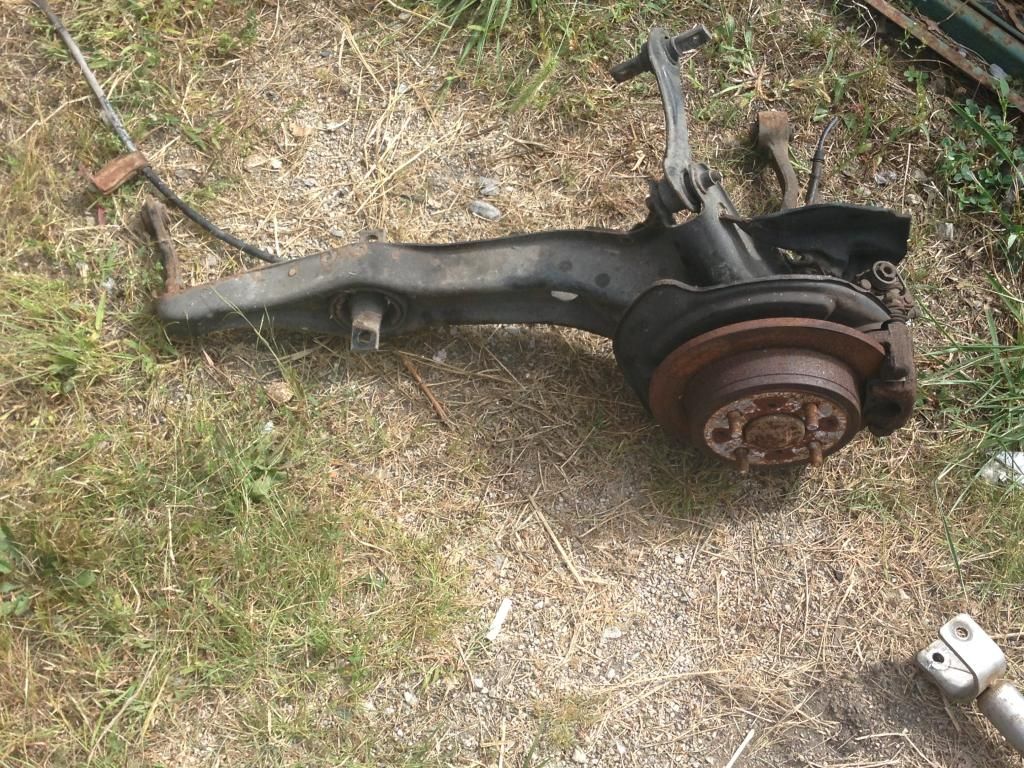
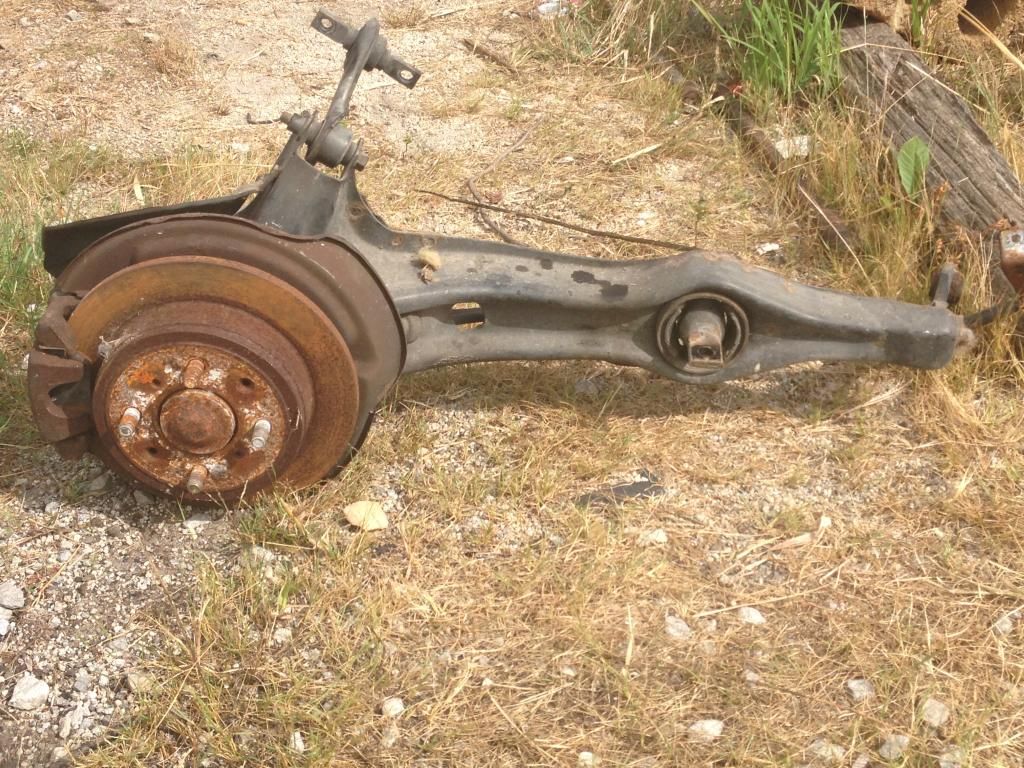
Earlier in 2012 my buddy bought a 94 DB Integra for a swap donor car for his ek. Once the engine and trans was pulled it just sat at my shop rusting away. He said if I took them off I could have the rear trailing arms for free. WIN! Luckily for me, every single bolt broke loose and came out in once piece with hand tools. Had both sides off the car in about an hour.
A few weeks later we decided to go to the pull and pay and see what we could find for an engine. Walked up to an EK sedan and saw it had a D16Y8 so I pulled the valve cover and everything was squeeky clean. Decided to go for it and pull it out and buy it. A few hours later I was on my way home with a new engine.
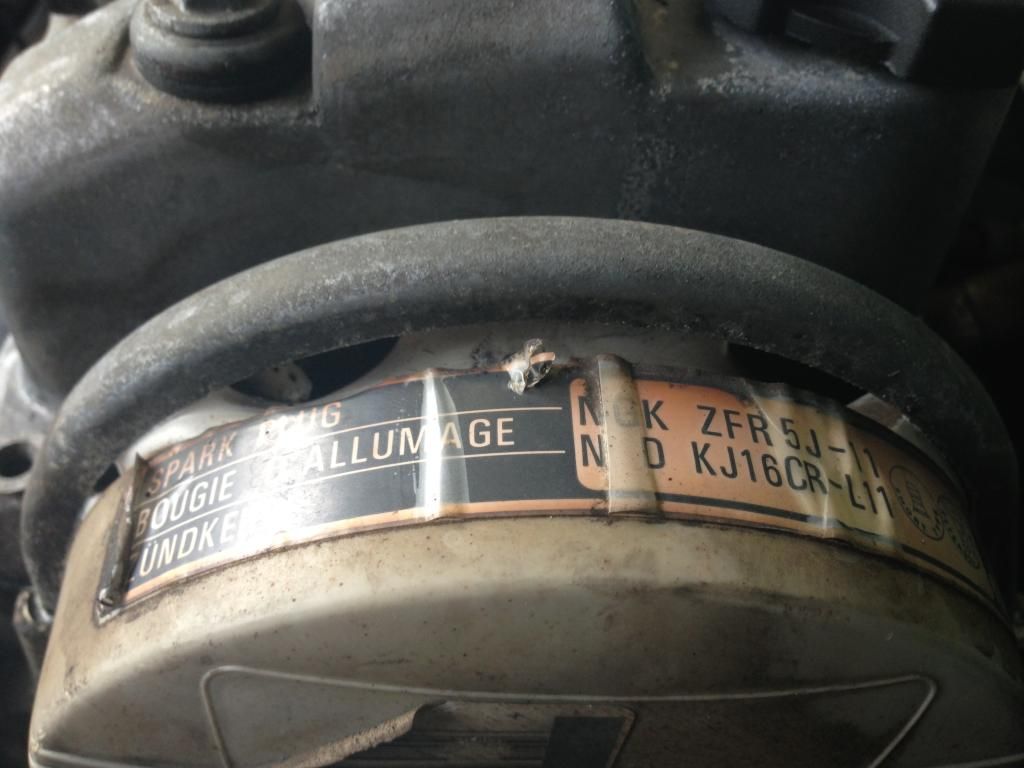
I get it home, and of course its filthy and covered in grease, so I start cleaning it up obviously and I get to the block stamp area and look what I found.
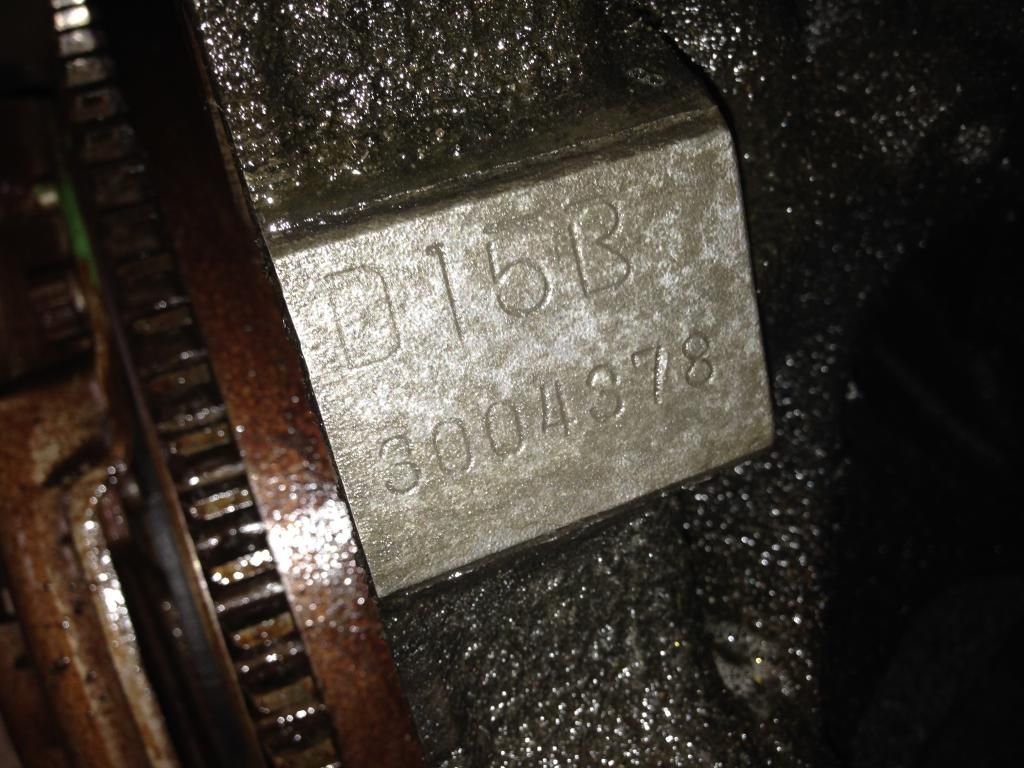
Its just a poopy D15B but getting a JDM engine for 165 bucks is always a win in my eyes! But wait, its an obd2 D15B, which meant 3 stage vtec. But it didn't have the dual vtec solenoids. I was confused at this point so I decided to pull the single vtec solenoid off the head and see what was going on.
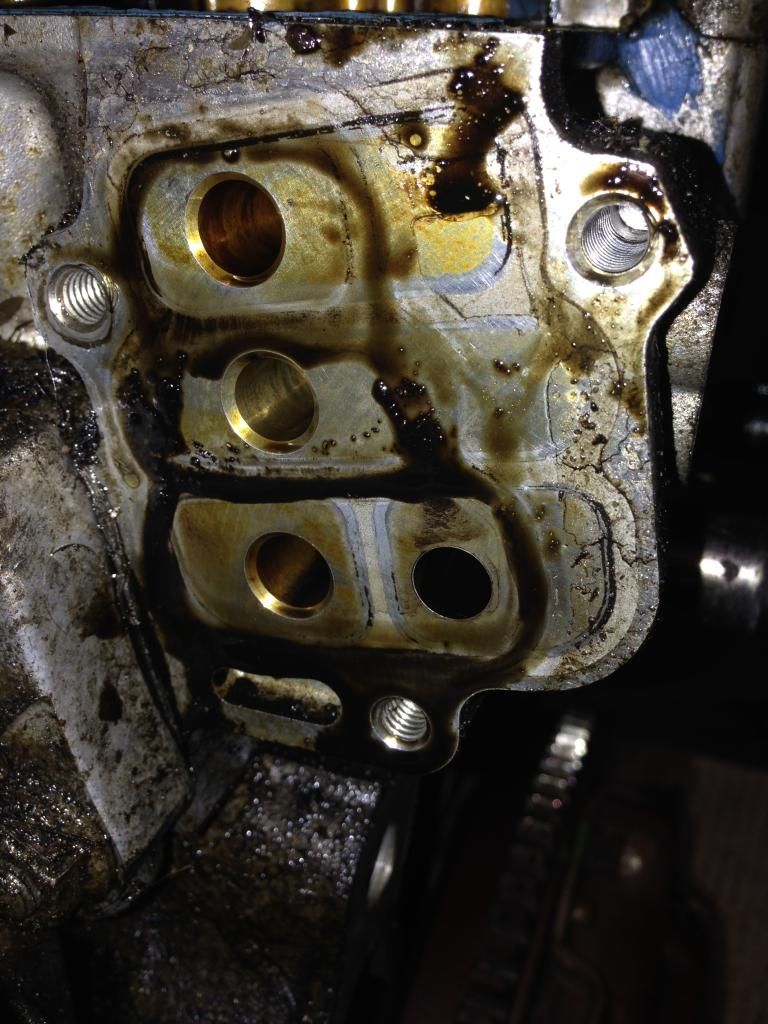
Yep, this is definately a 3 stage head. You can see the outline of the dual solenoid, and the outline of the single solenoid someone botled in its place. Luckily I had a z6 head sitting on the shelf so I took it to the machine shop to have it rebuilt.
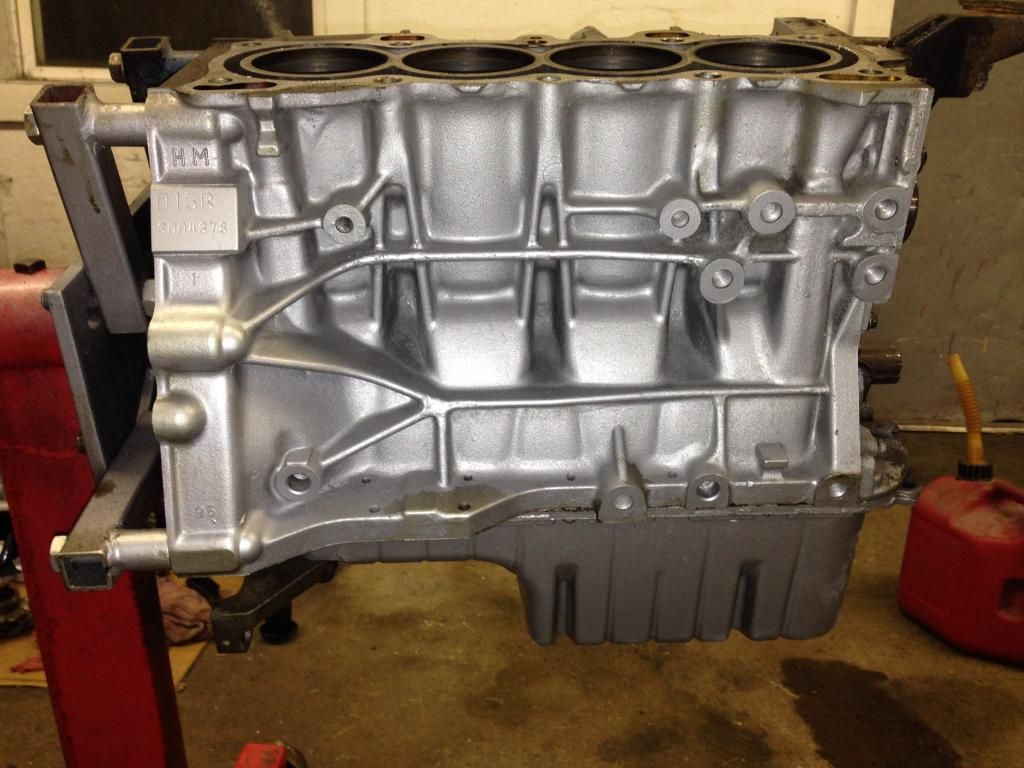
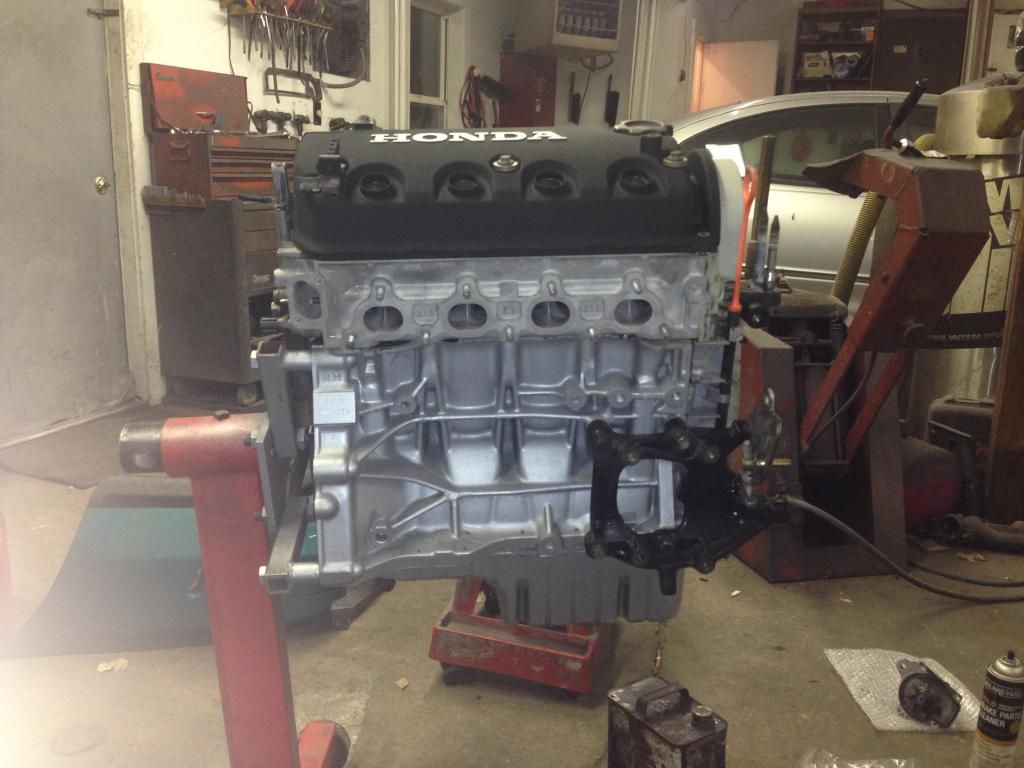
While that was being done, I finished cleaning up the block and got it painted to match the transmission. This turned out pretty good too I thought.
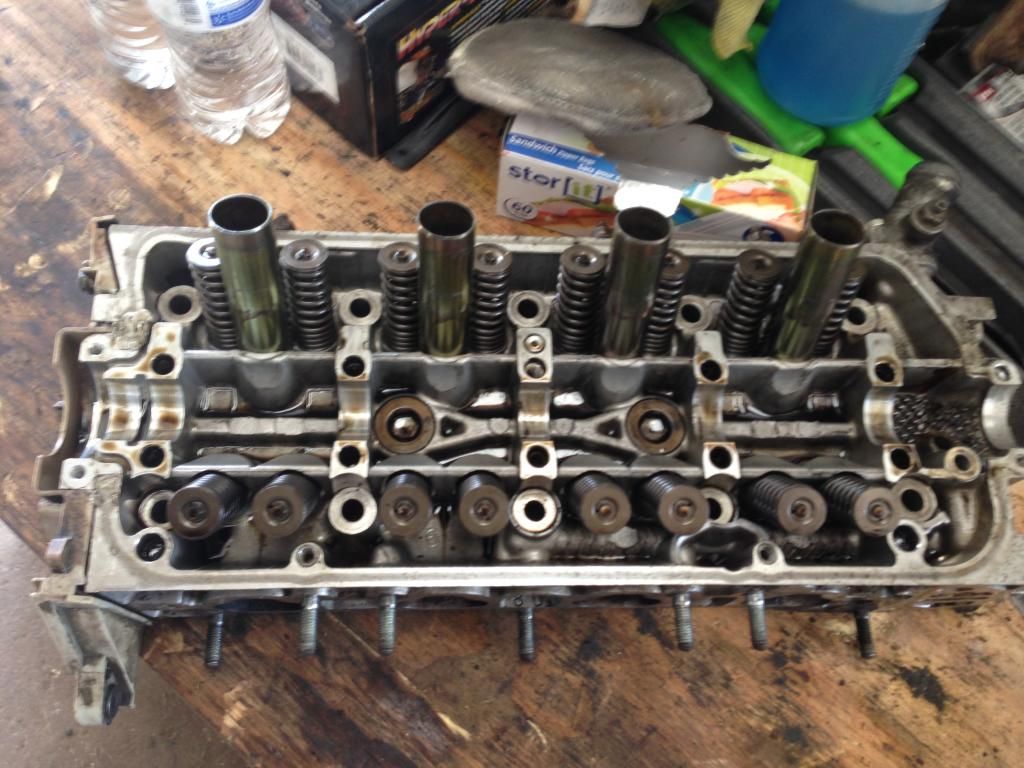
A few days later I got a call from the machine shop saying that my head was done. I had them clean and hot tank it, replace all valve guides and seals, check for flatness and do a 3 angle valve job.
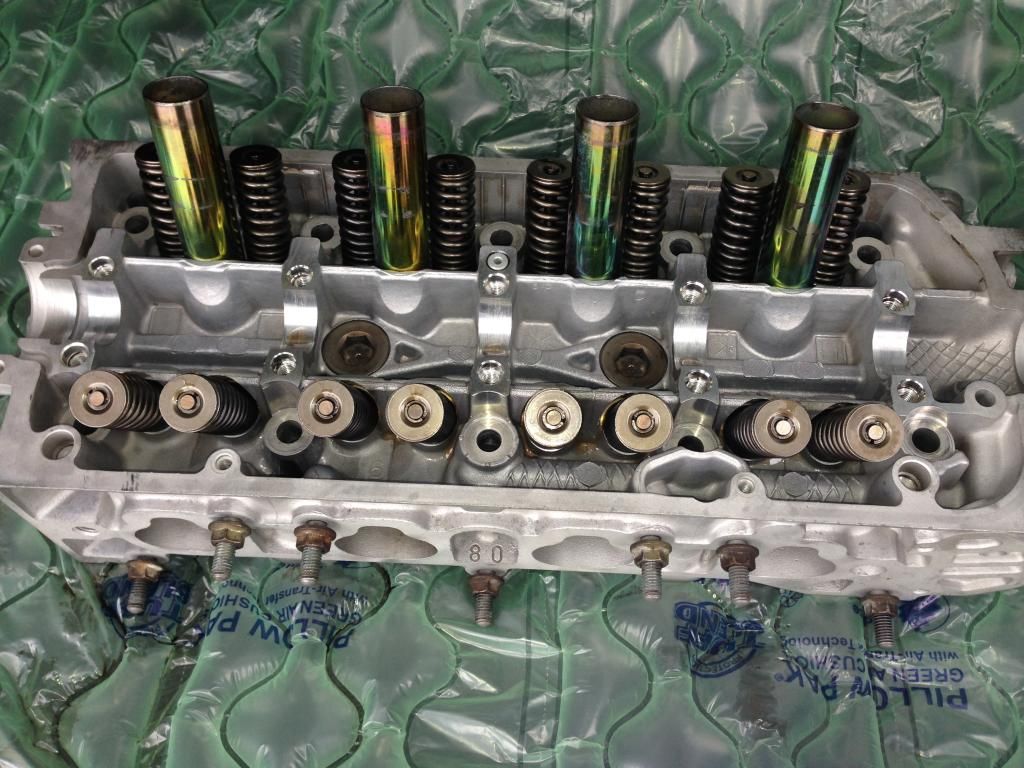
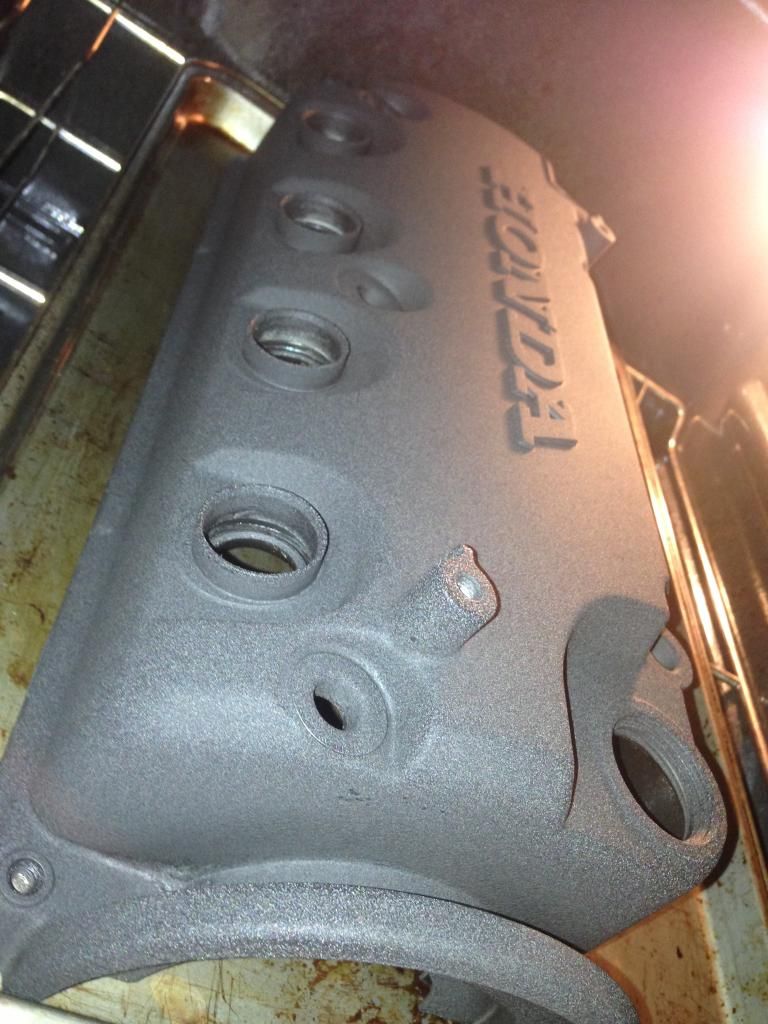
So fresh so clean! Now I had to do something with the valve cover. I decided to use a Y8 valve cover I had laying around because I liked that it only said Honda on it and didn't advertise vtec haha. I went with just a simple wrinkle black finish.
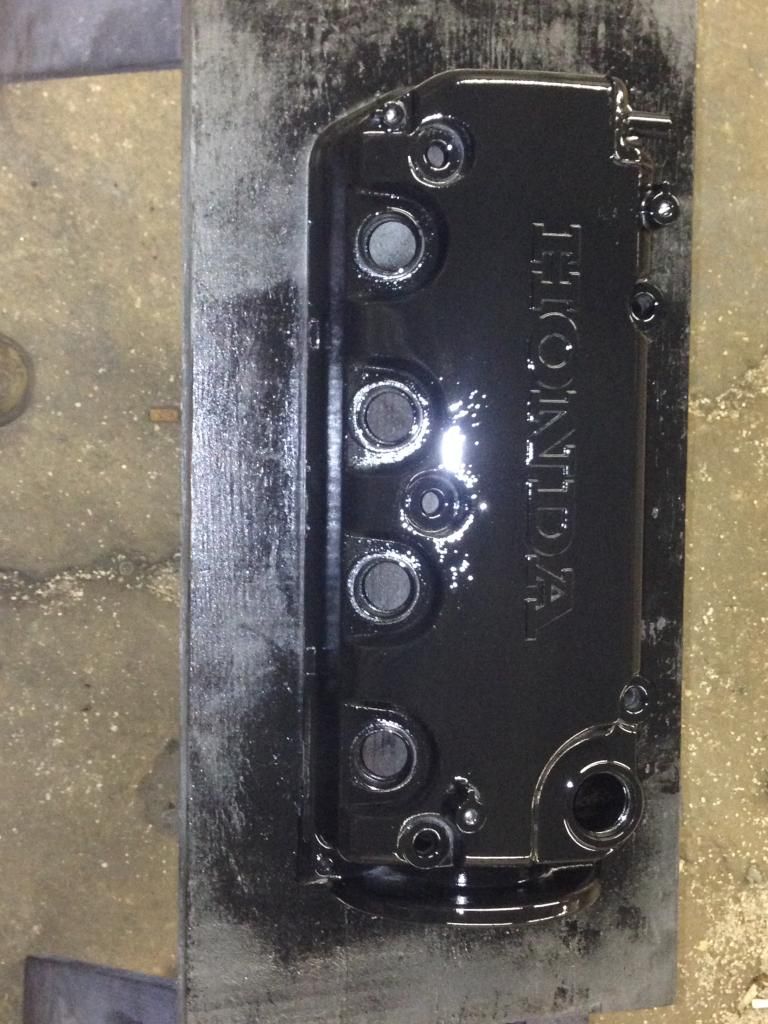
After I laid the paint down, I put it in the oven to bake it so that the wrinkle finish was a lot tighter than an air dry.
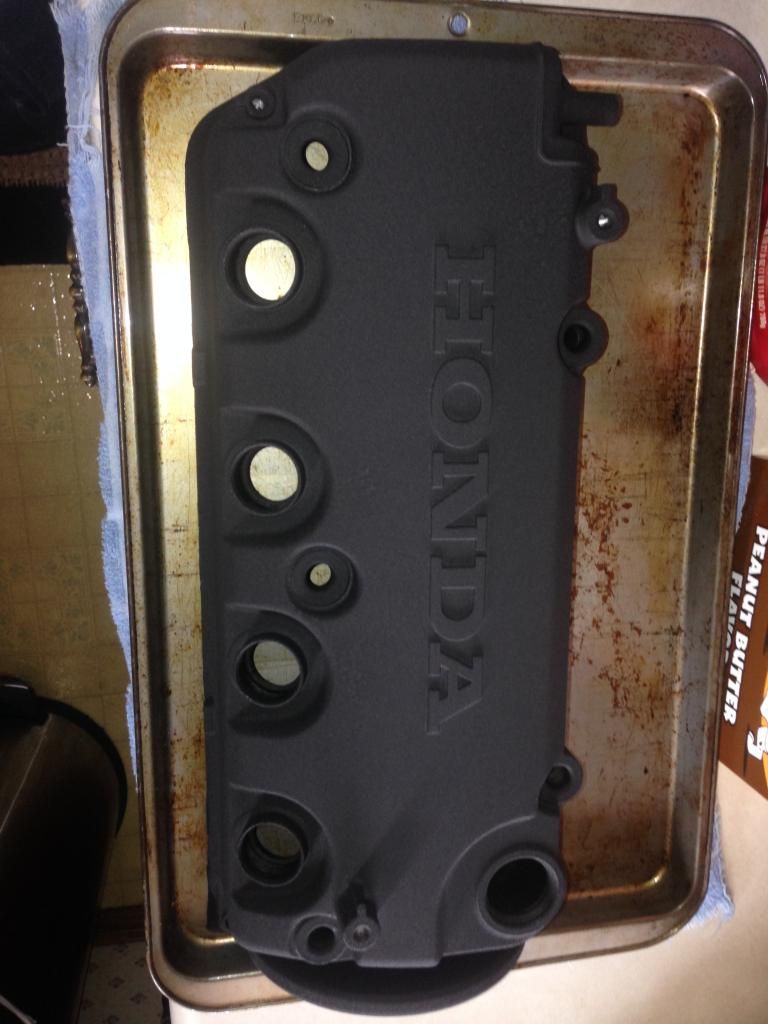
Not too bad! Now to start reassembly.
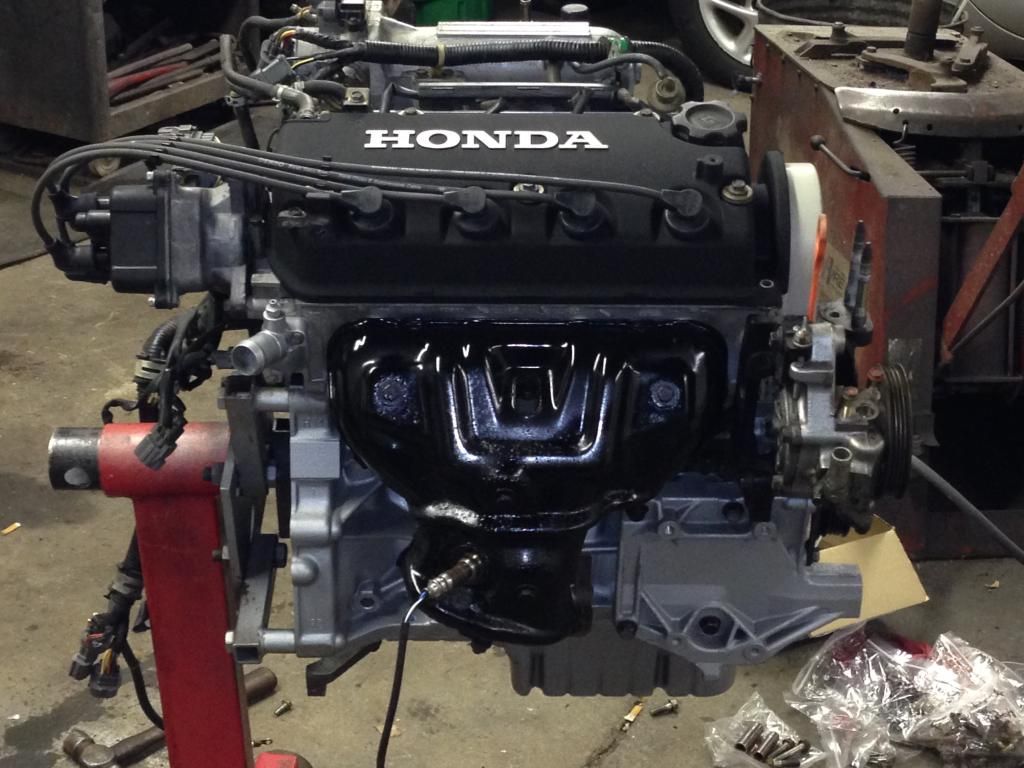
Got it all put back together with new gaskets, timing belt, water pump, etc. Gave it the works since it was out and everything was easy to work on on the stand. Everything came from Honda Parts Direct besides the ignition parts which I got from rock auto. I got Ngk plugs, denso wires, and denso cap and rotor. So all oem stuff but a lot cheaper than from Honda.
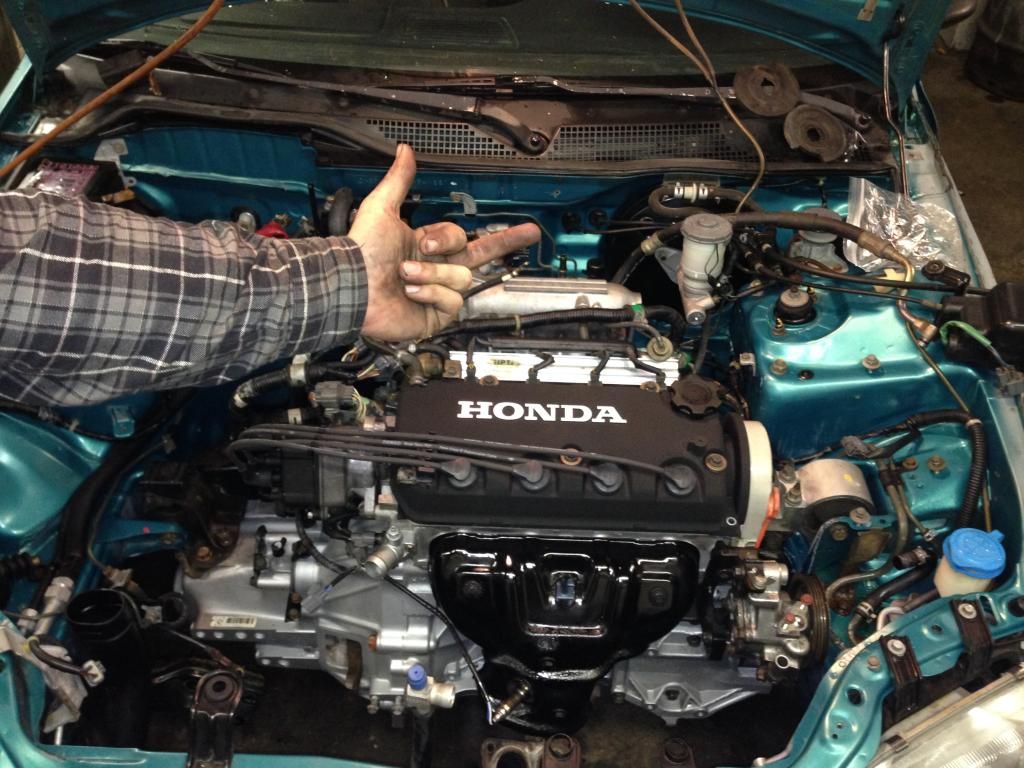
Fully assembled and the harness mounted. Looks like its ready to mate up to the transmission and get it in the car.
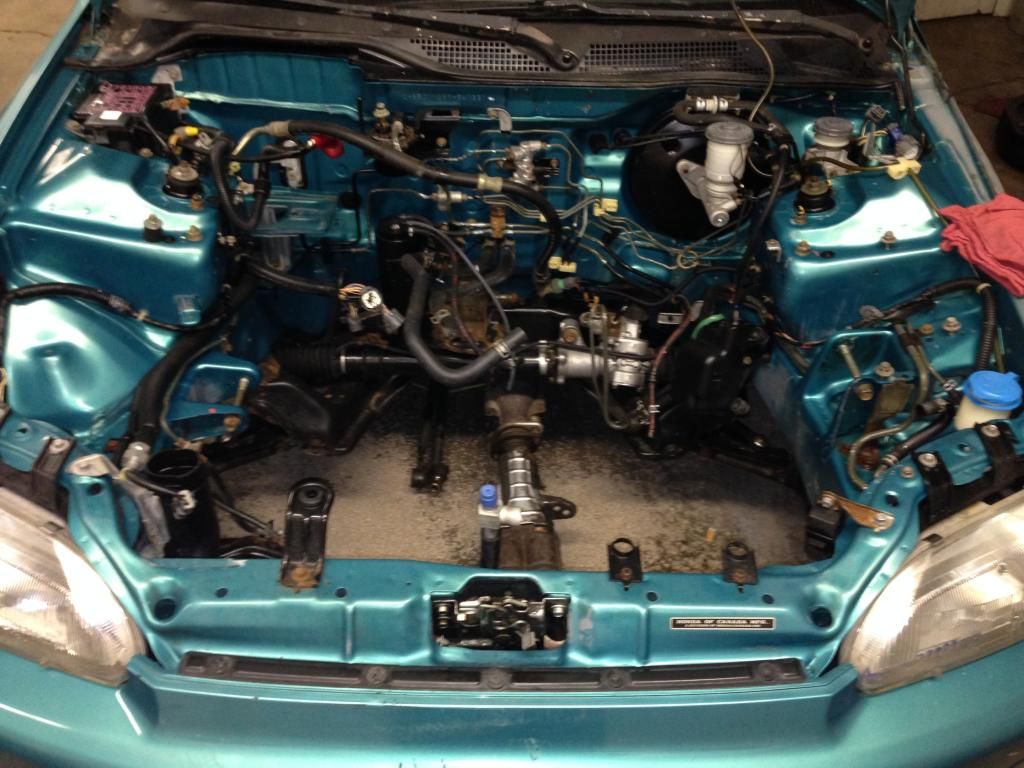
How the bay looked before it got its new heart transplant:
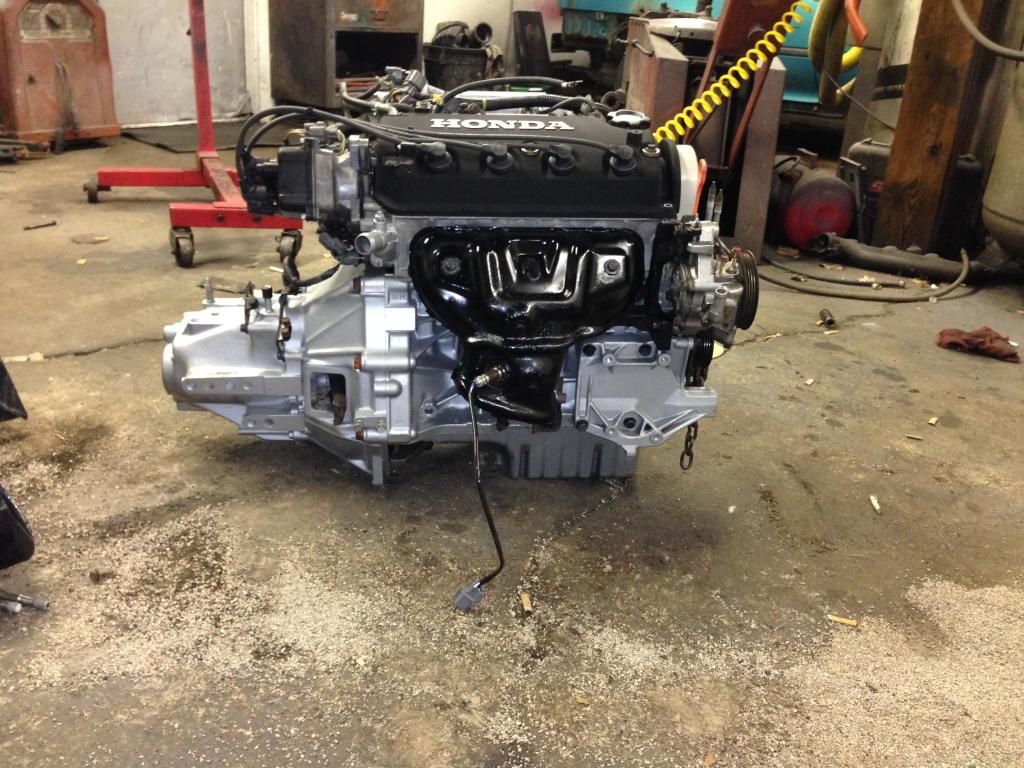
Engine and transmission mated together and ready to drop in:
And shes in!
Got everything hooked back up, filled her up with fluids and hit the key. She fired right up and ran like a champ. No issues whatsoever. I finally got to drive the car, and surprisingly it road great, tracked straight and everything worked as it should. Win.
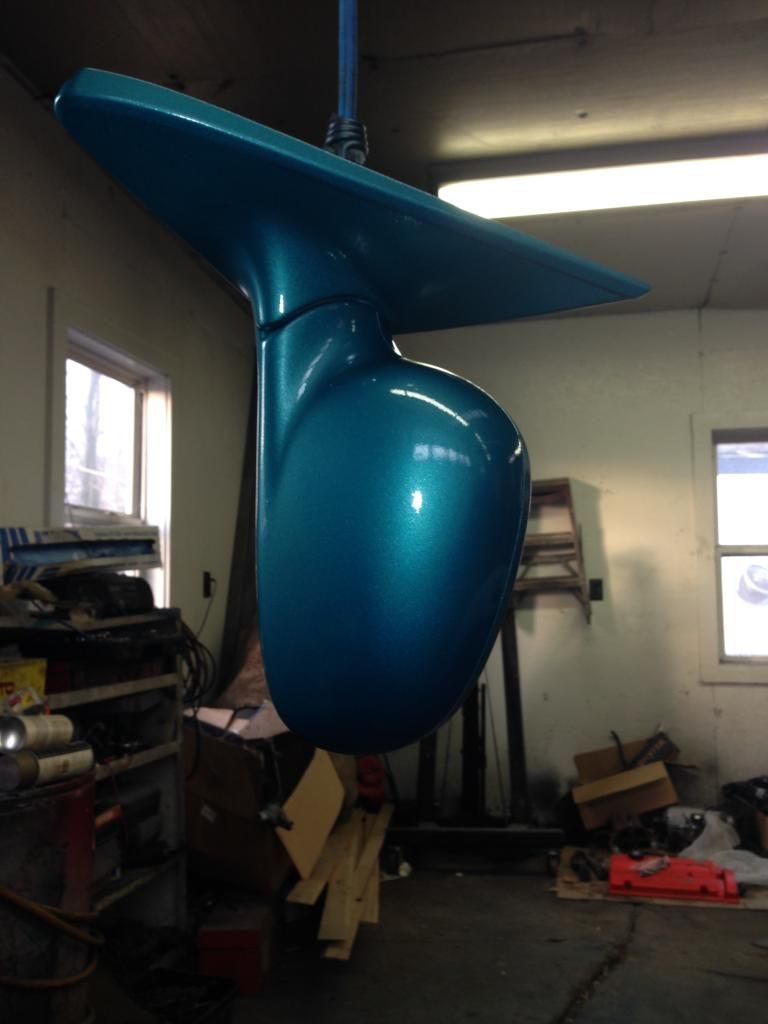
I got some factory power mirrors from the pull and pay to replace the crappy spoon replicas that came on the car when I got it. I was able to get the passenger side in aztec green so that it matched my car, but the driver side I could only find in red. Called up the local paint store and had them mix up a rattle can full of aztec green single stage paint. It'll do for now.
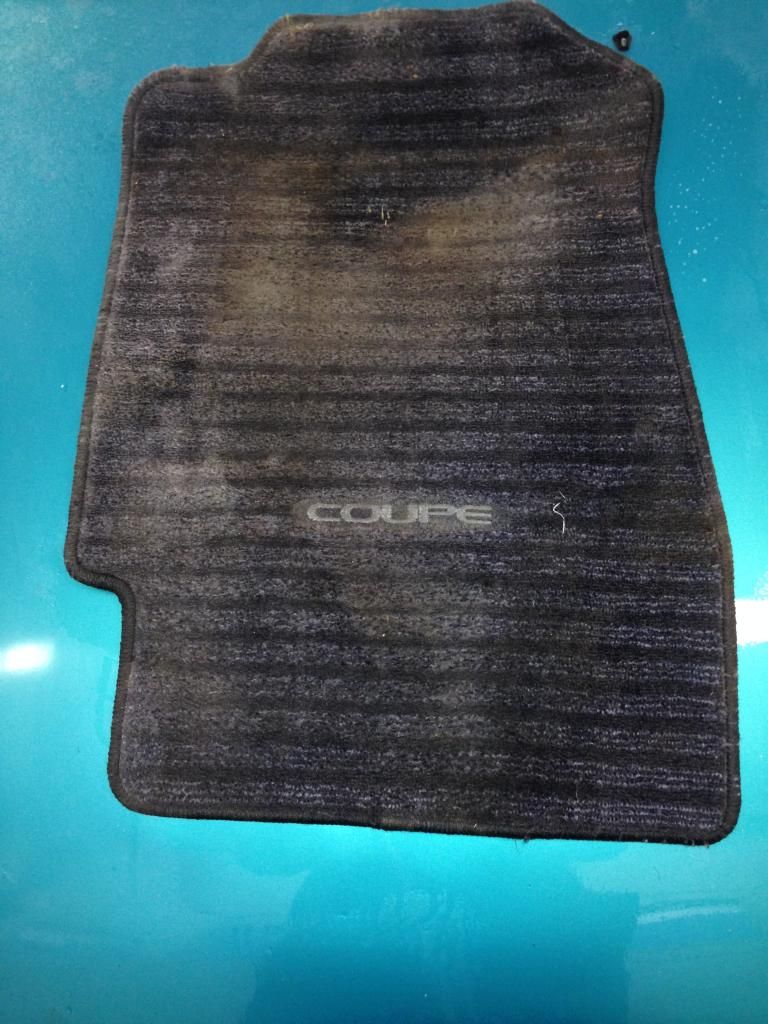
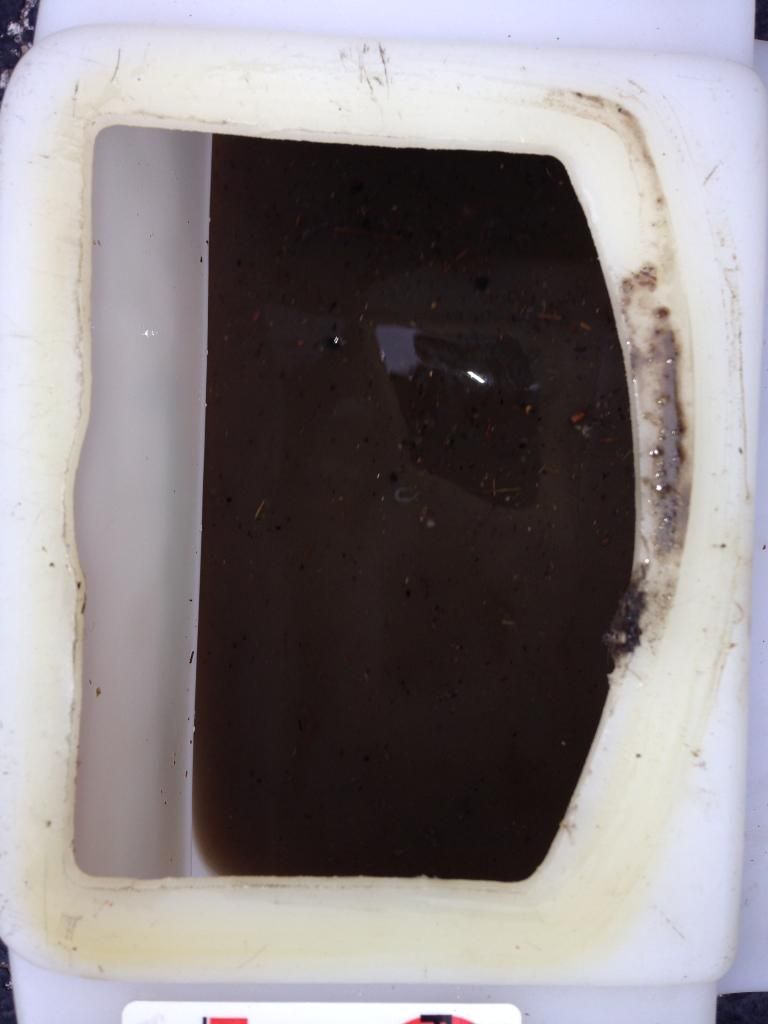
I try to work on this car in stages. So for the time being I decided that the engine stage was over and it was time to work on something new. So I moved onto the interior. My coupe came with black interior which I liked. I've never been a fan of light colored interiors. I started off by shampooing the carpets and seats with a rug doctor that I rented from the local Kroger. This interior was a lot more dirty and nasty than it showed.
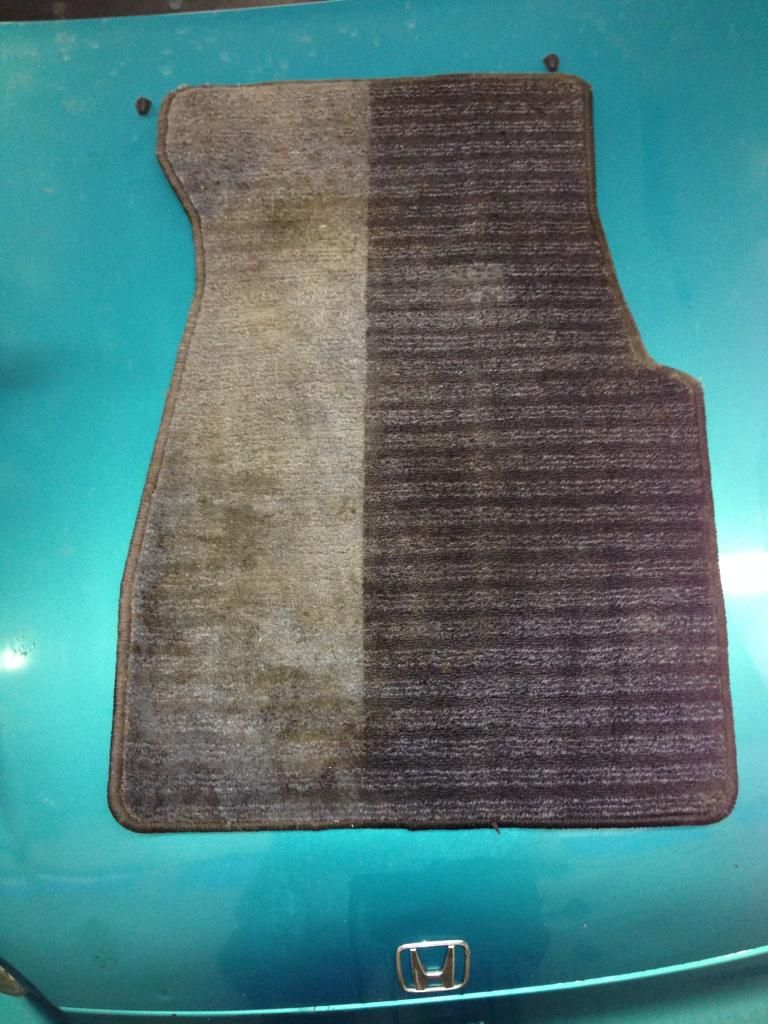
This is what the water looked like after making 2 passes on just the driver side floor mat.
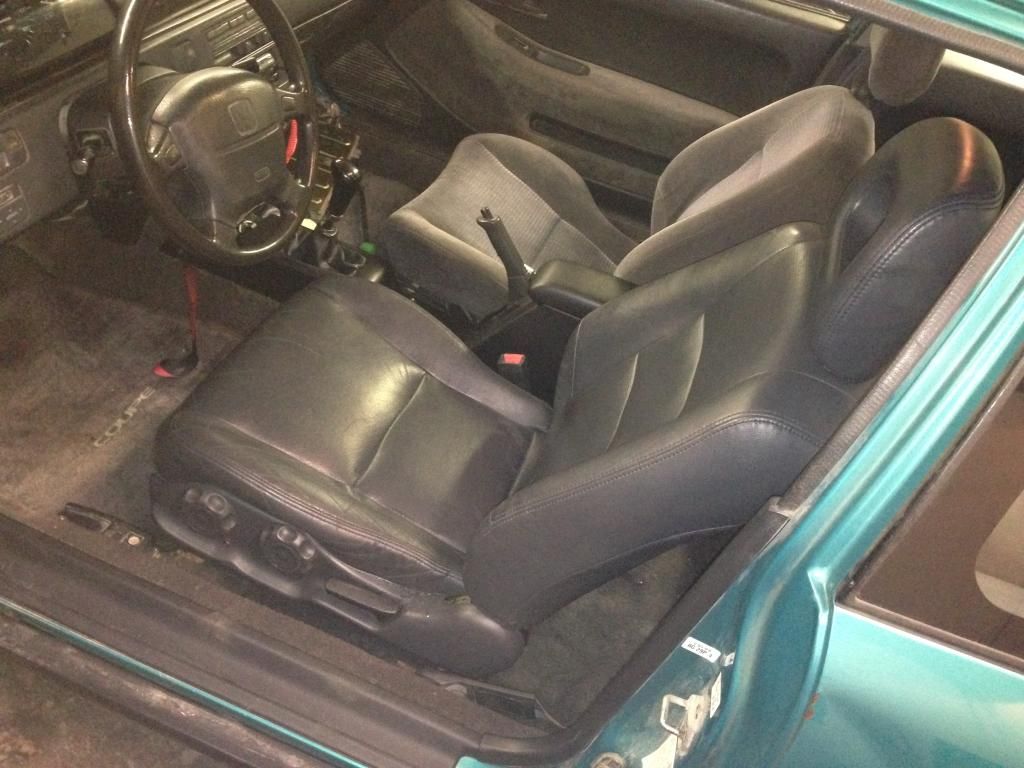
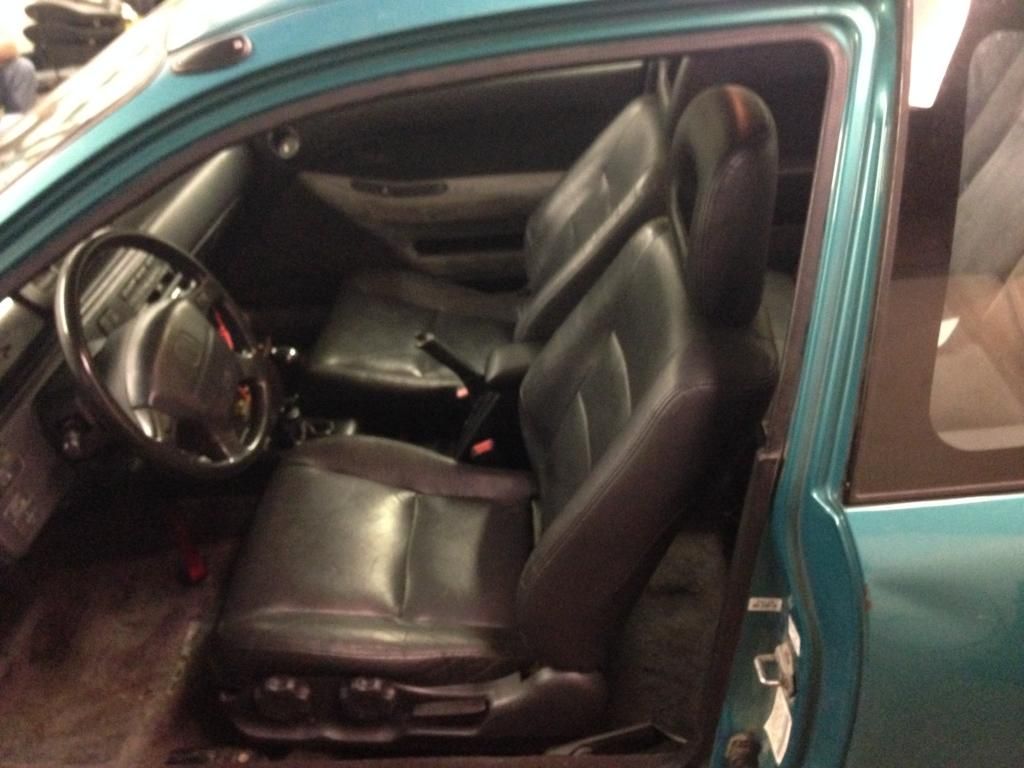
I got the interior cleaned up as best as I could. But i couldnt get the seats as clean as I liked. Plus I've never been a fan of the stock EG seats. My family owns a salvage yard, which comes in handy but unfortunately we don't have much in the ways of Hondas or imports in general. Well one morning we get called to pick up a CRV that had been involved in a rollover. We get it back to the shop and I take a look at it. Its got black leather seats. But will they fit into an EG?
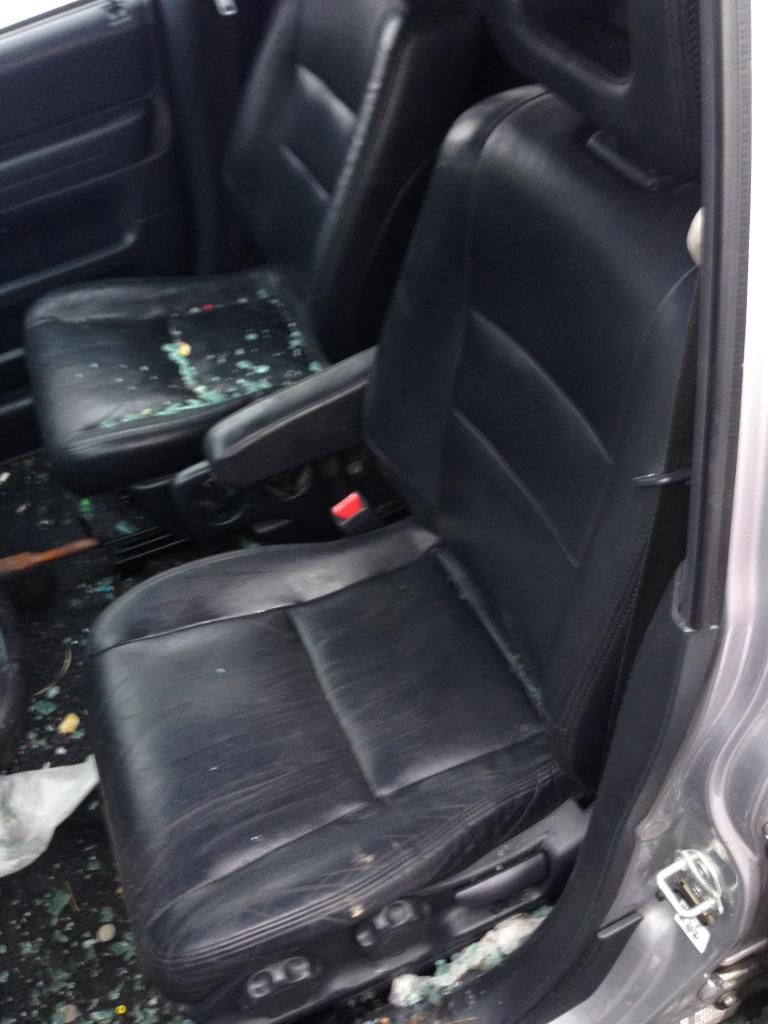
Luckily after a little bit of work, I figured out I could use the eg frame and bolt it right onto the CRV cushions. Every single bolt lined up and everything bolted together perfect. Tossed them back into the car and called it a day.
CRV seat on the left EG on the right.
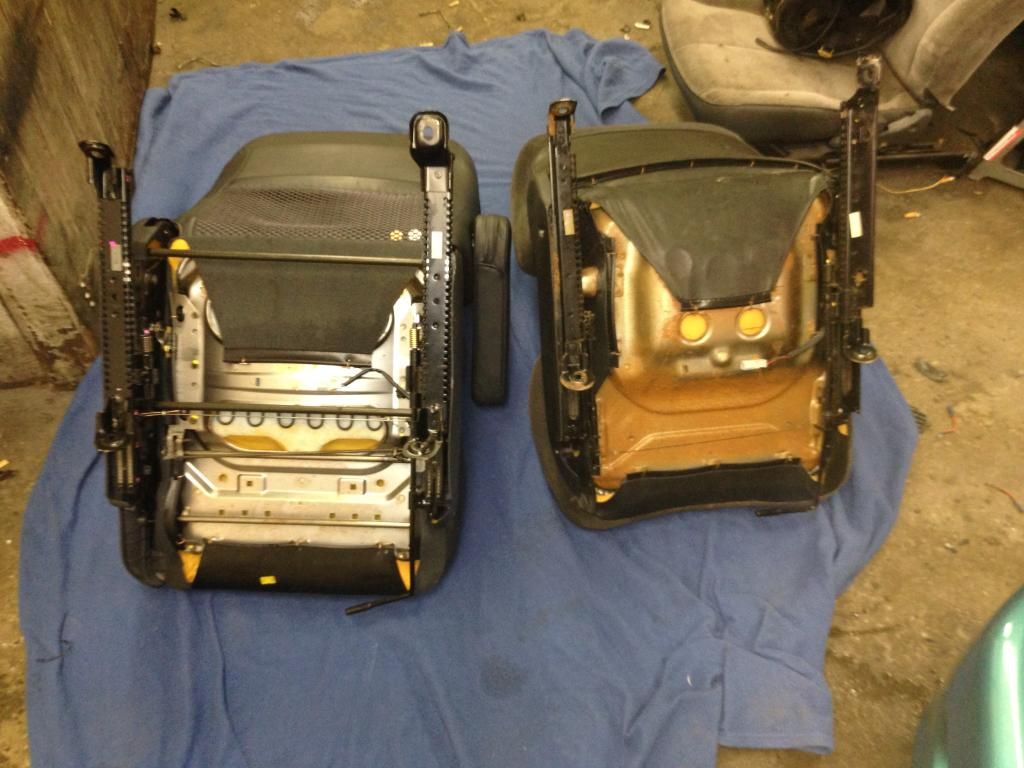
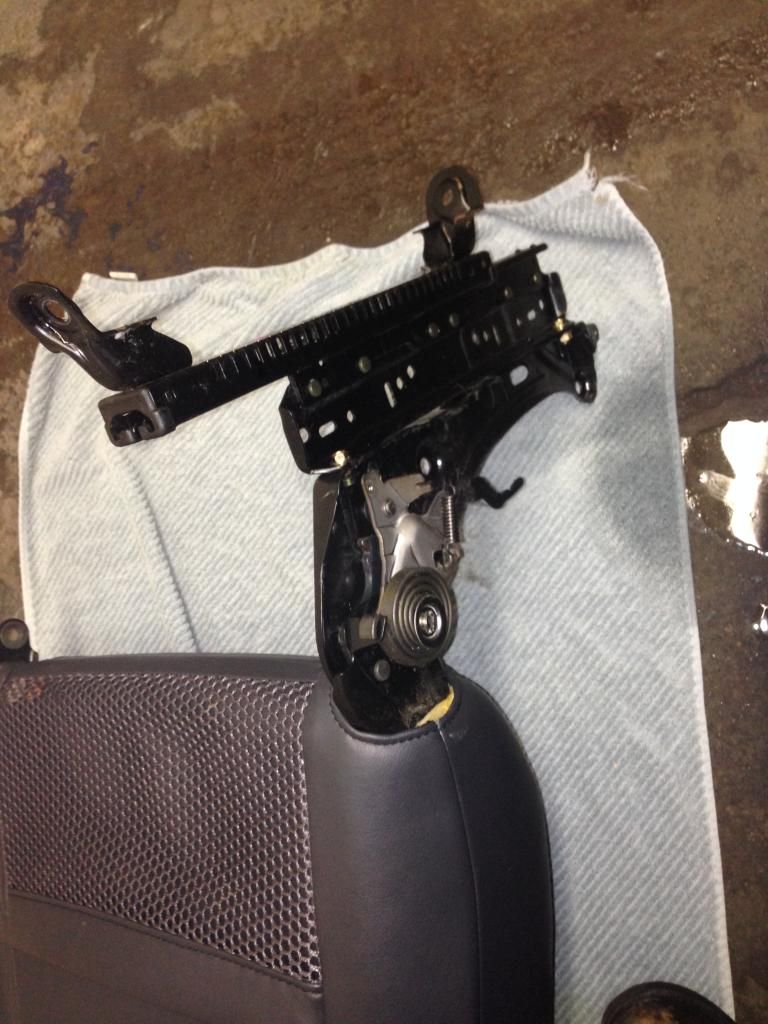
CRV Seat Frame
CRV on the left EG on the right
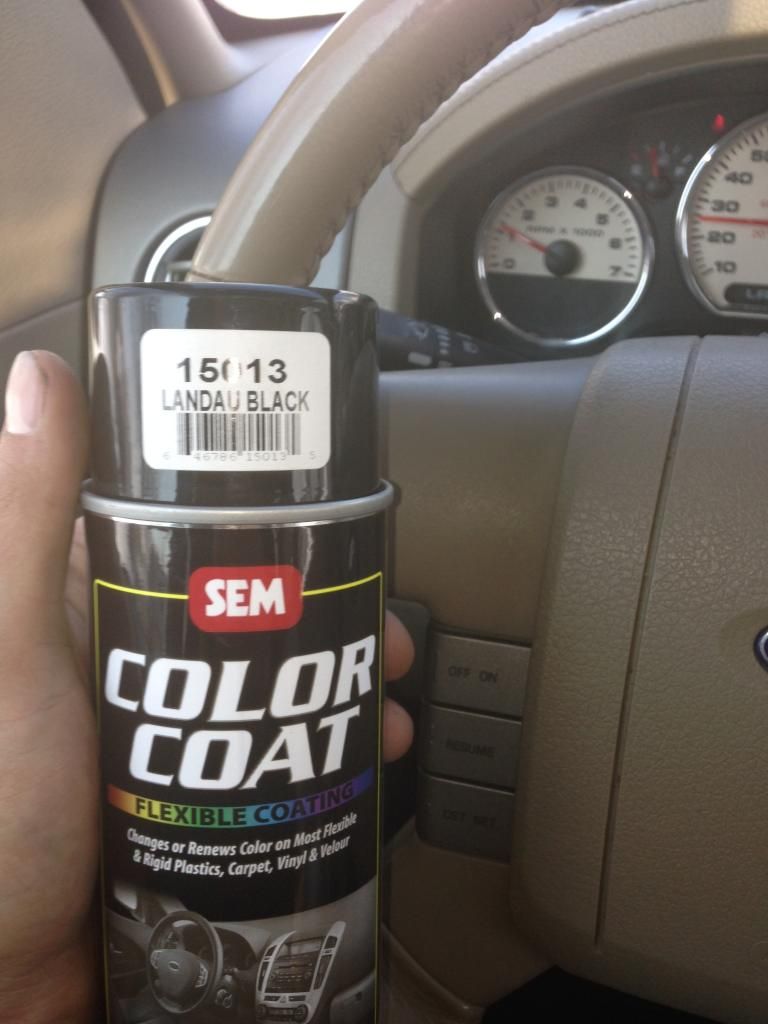
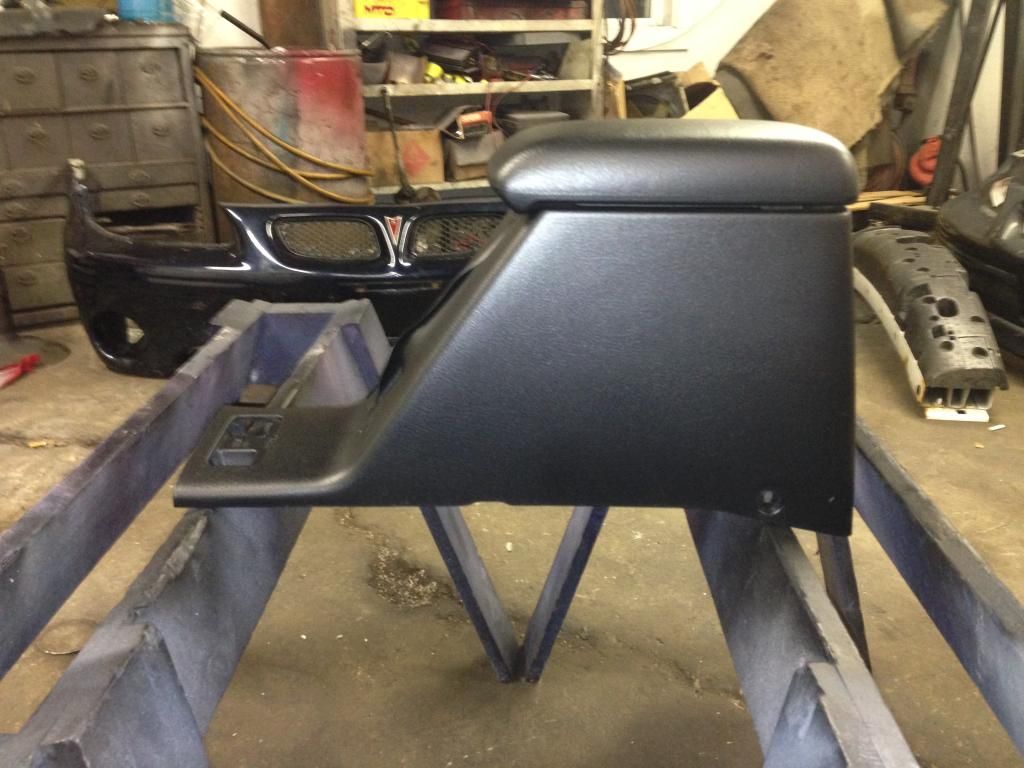
I got an armrest from an EG sedan to replace the stock coupe center console with no armrest. But of course sedans never came in black, so I had to repaint it. I got some SEM Color Coat in Landau Black and got to work.
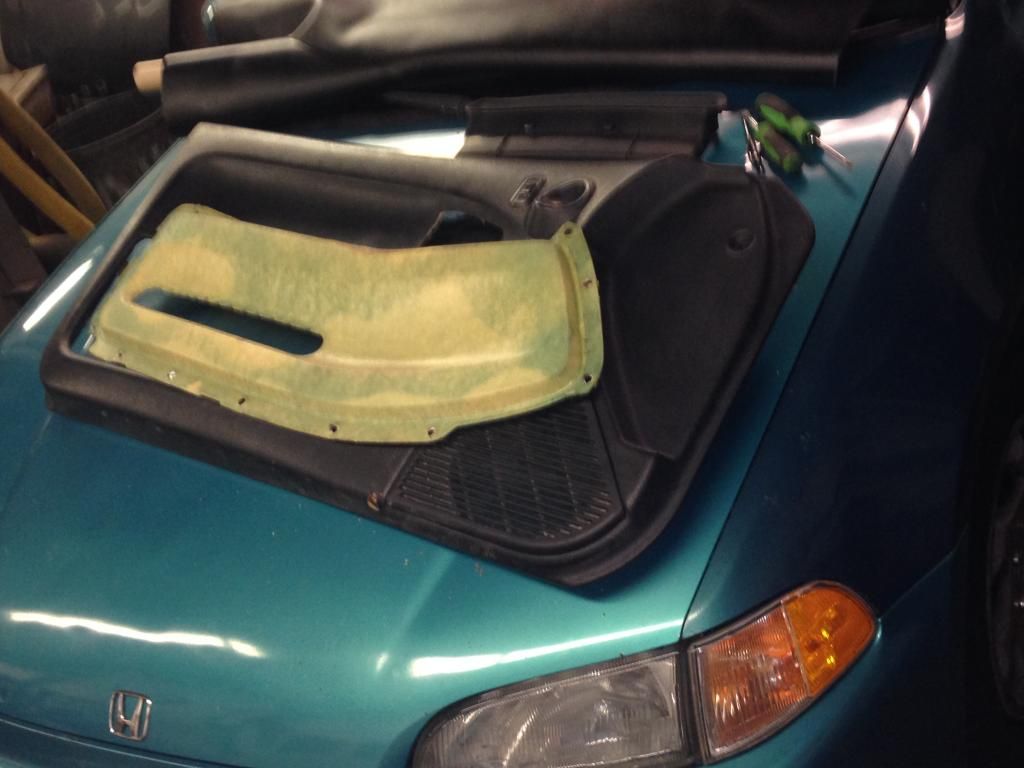
After a week or so I decided that the stock door inserts had to go. They no longer matched the material on the front seats and it bugged me. I took a trip to the fabric store and found some nice black vinyl material that I thought would work well enough for what I wanted. So I bought a few yards and went to the shop and got to work.
Stock Panel

Insert removed from the door panel
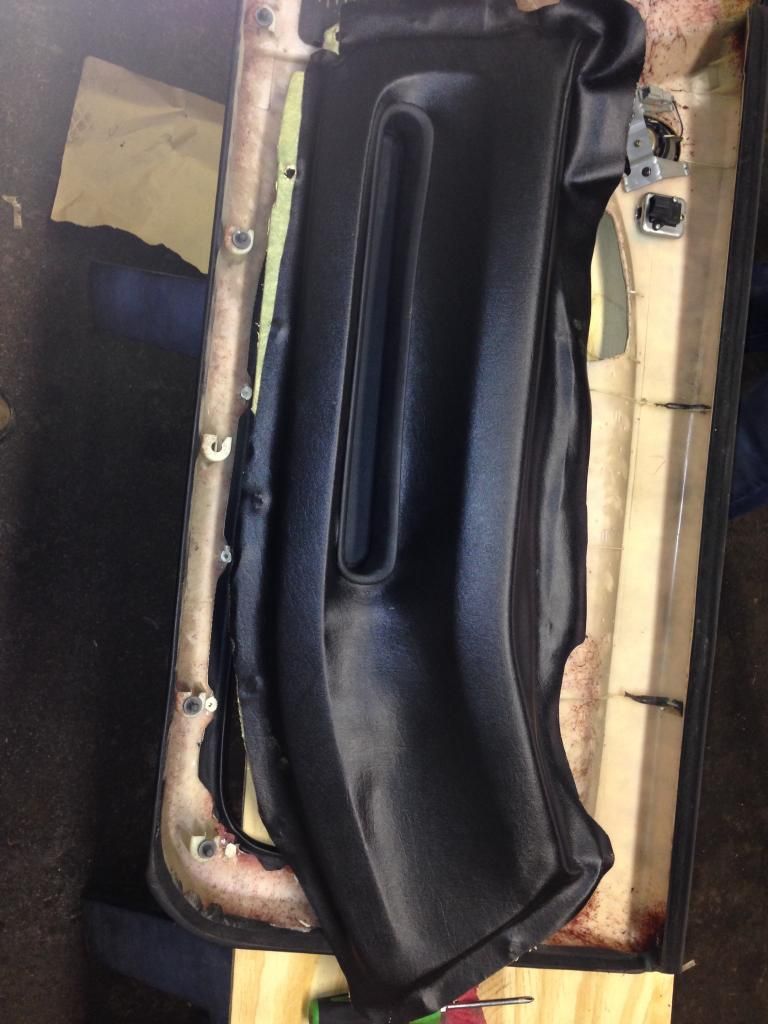
Recovered
Insert attached back to the door panel
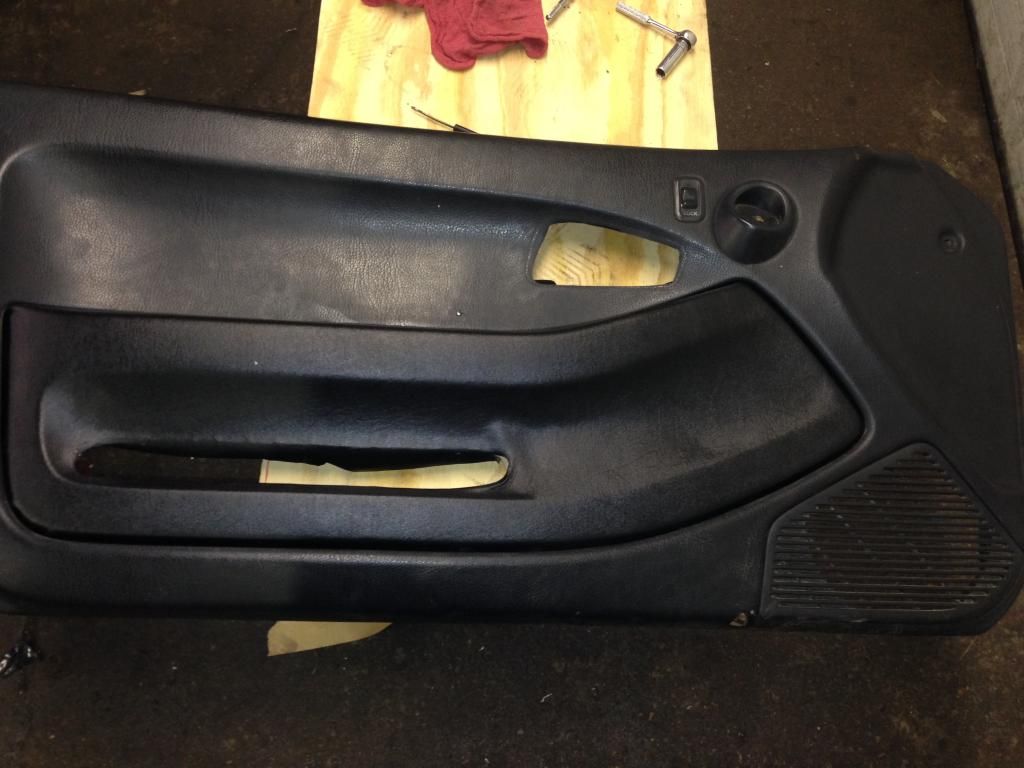
Back on the car
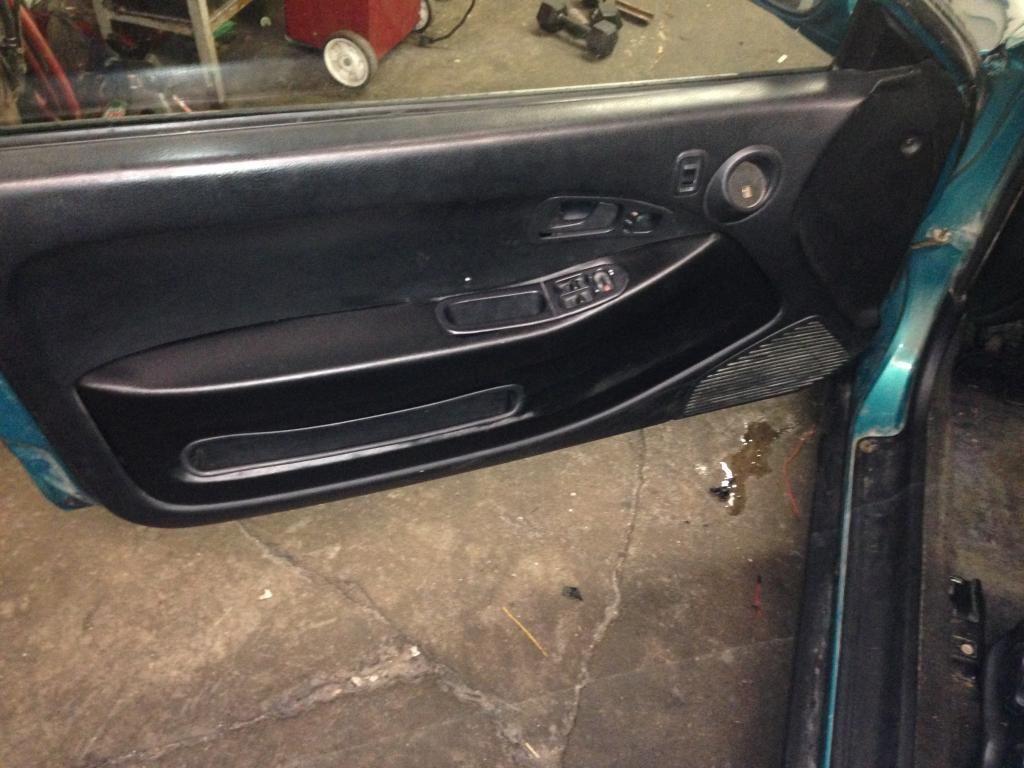
It really wasn't as bad as what I thought it would be. I got one panel insert recovered and put it back onto the door panel and was satisfied. The other door didn't go so well. I stretched the material too tight in one spot and couldn't get it to lay down flat against the panel insert. It was good enough for now though, I'll redo it some other day.
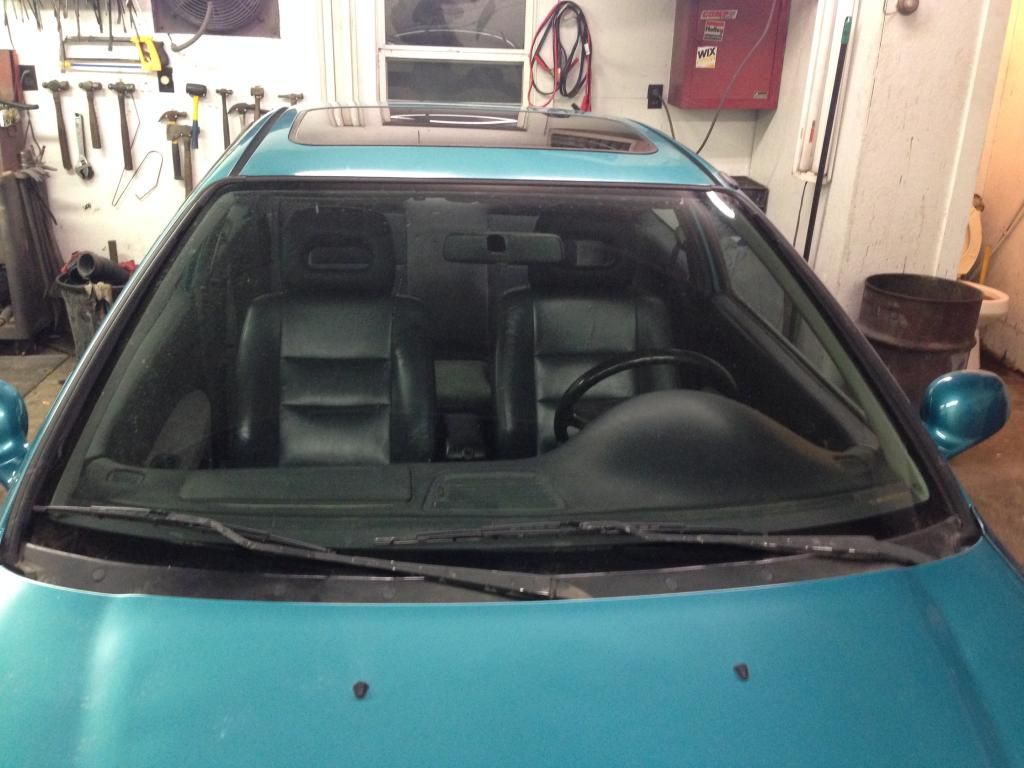
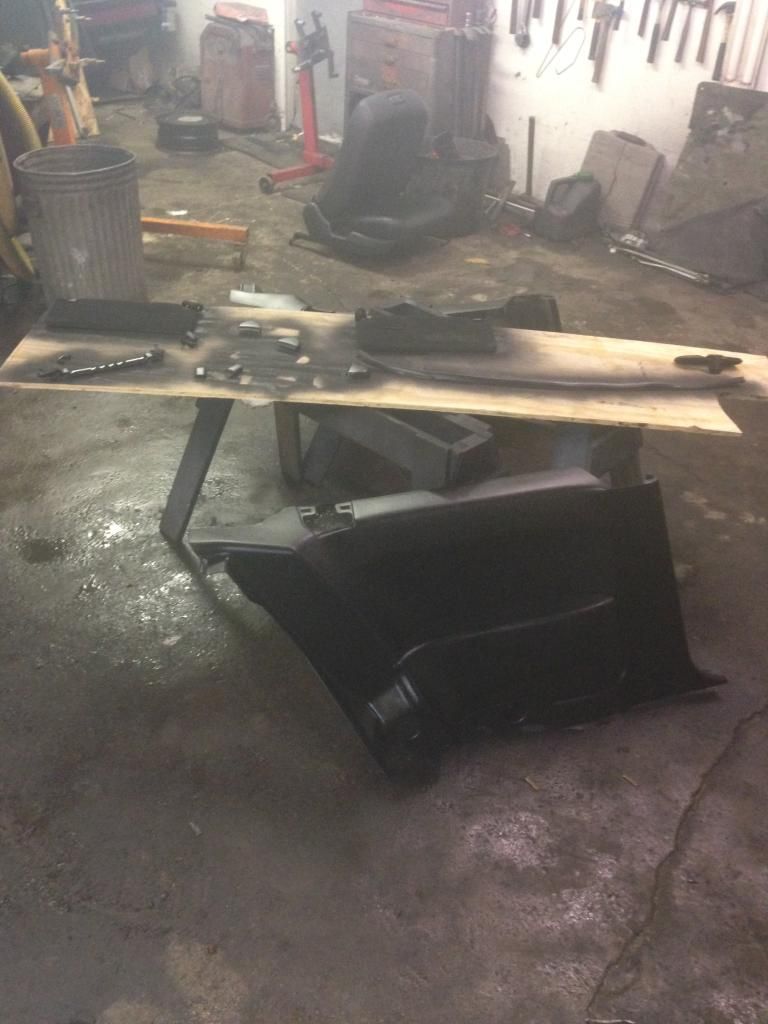
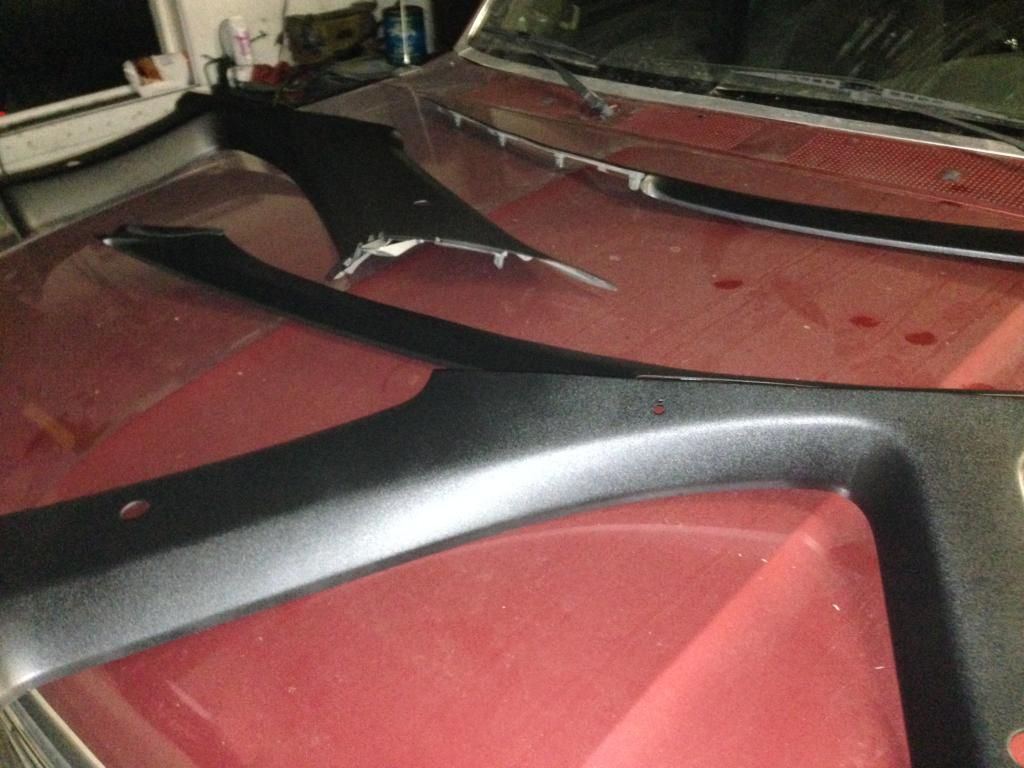
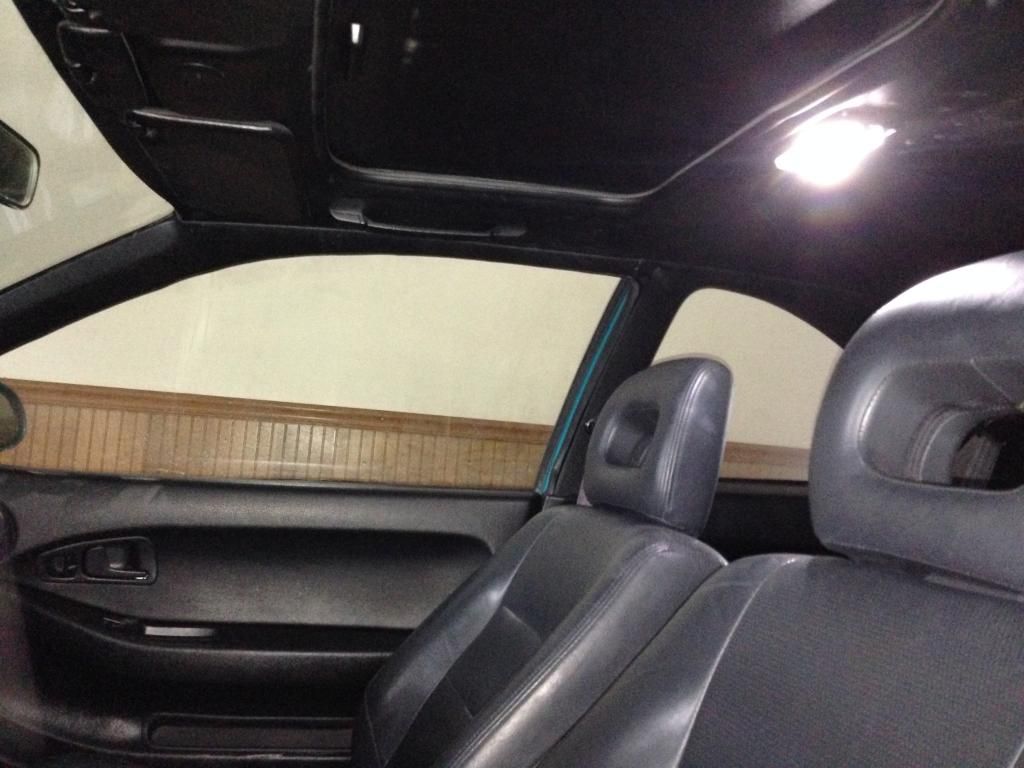
Next thing on the list was the headliner and pillar covers. I didnt like how the top of the cars interior trim was gray while the lower was black. My headliner was in great shape and I didnt trust myself to recover it in a different material so I just decided to paint it. I got more SEM Landau Black and took all the trim out of the car. I just decided to do it all so that everything matched 100% I did headliner, door panels, rear quarter trim, sunroof visor, a pillars, and b pillars, everything but the dash because there were 2 cracks in it. It'll get replaced later on.
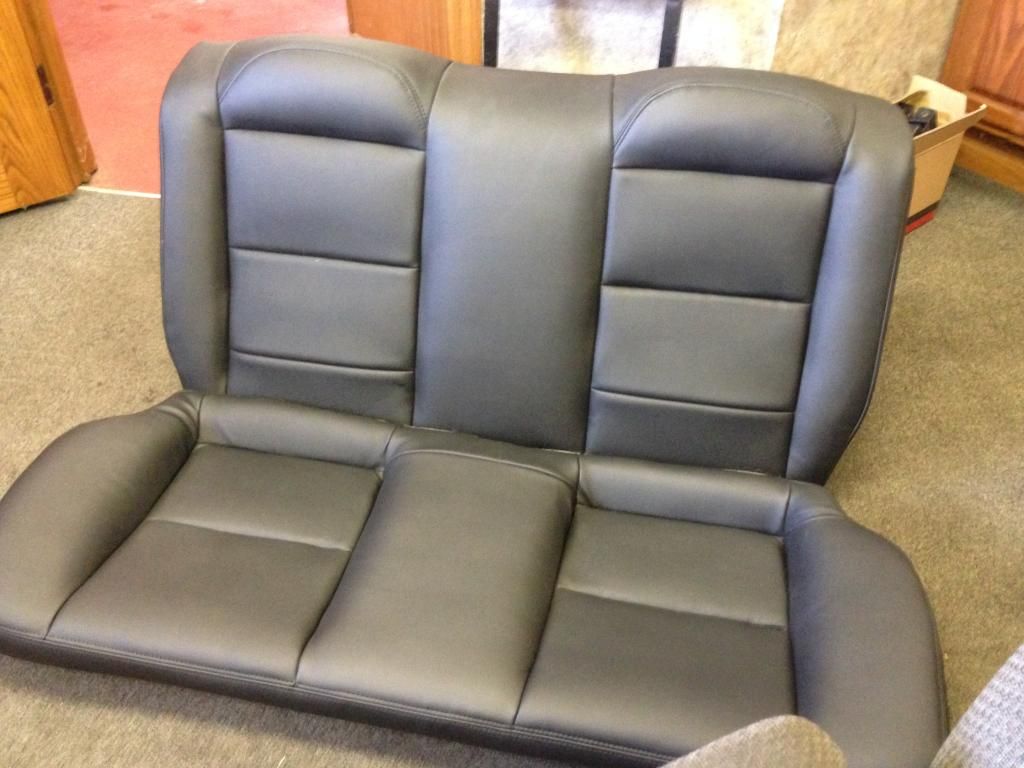
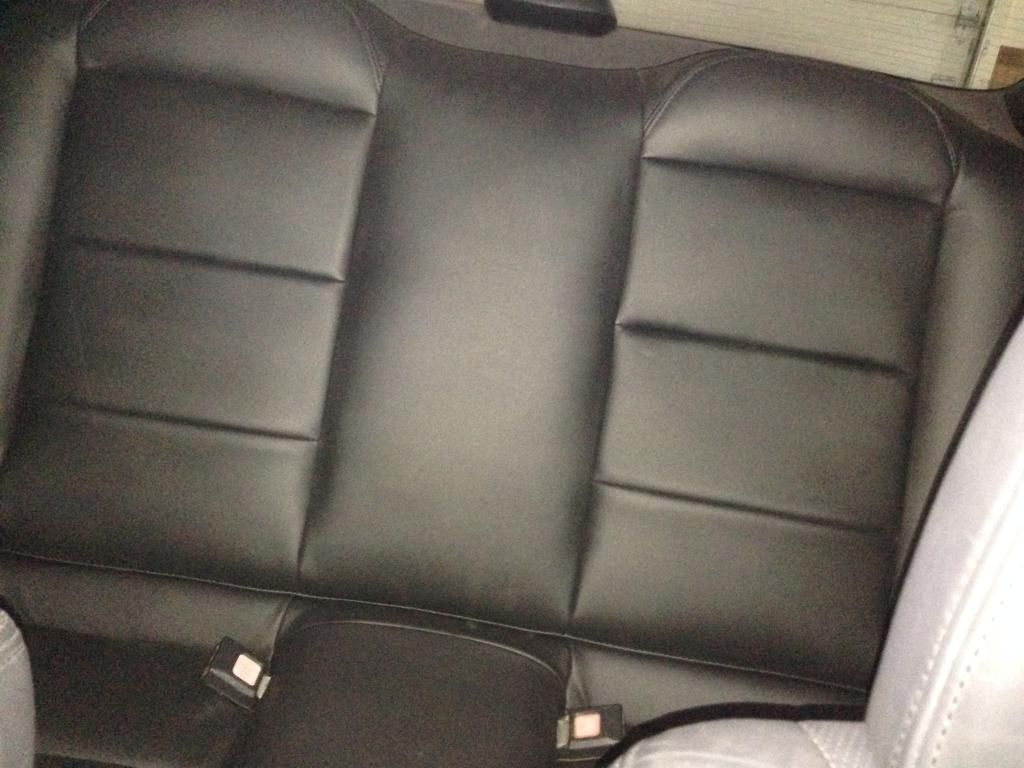
I had previously purchased a black leather back seat from an Integra GSR for my car. But it didn't fit at all. Way too narrow. So i decided I'd just get the stock back seat recovered. I ended up finding someone locally that did upholstery so I picked a color that matched the front seats and dropped it off.
While I had the headliner down I took the sunroof down to check everything out. I had an issue where one side of the roof would drop down before the other when you were sliding it in causing about a 2" scratch in my roof. I decided now was the time to fix it before I have the car repainted and ruin a fresh paint job. Ended up being a broken spring. $2 fix from Honda.
I got a call saying my seat was done, so I went to pick it up.
I was very impressed with how well the new covers he made fit. Everything is perfect. Very satisfied.
So I got to work putting all of the interior back in the car. My iphone camera doesn't do the interior justice. I wish I had a decent digital camera to take pictures with.
At this point I had spent a lot more than I had anticipated on the interior so I called it good. Im happy with how everything turned out. The only drawback was it made the interior a lot darker. The stock dome lights in these cars were always weak in my eyes already so with all black it was like holding up a candle. I ordered an LED replacement bulb from superbrightleds and that solved the problem.
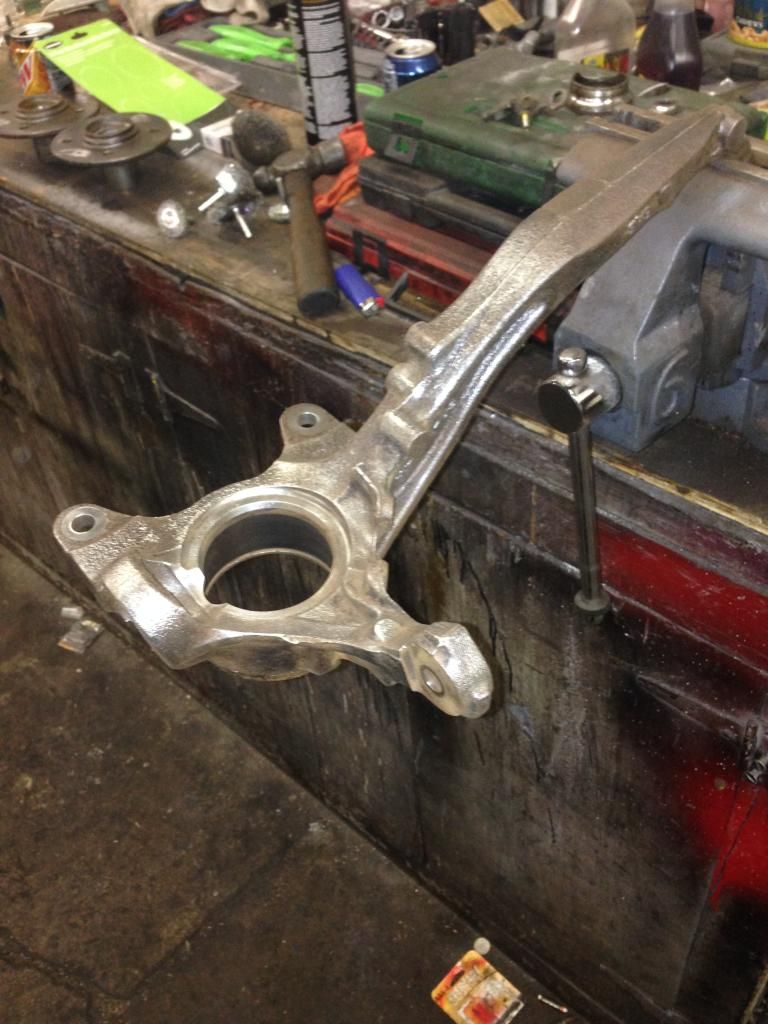
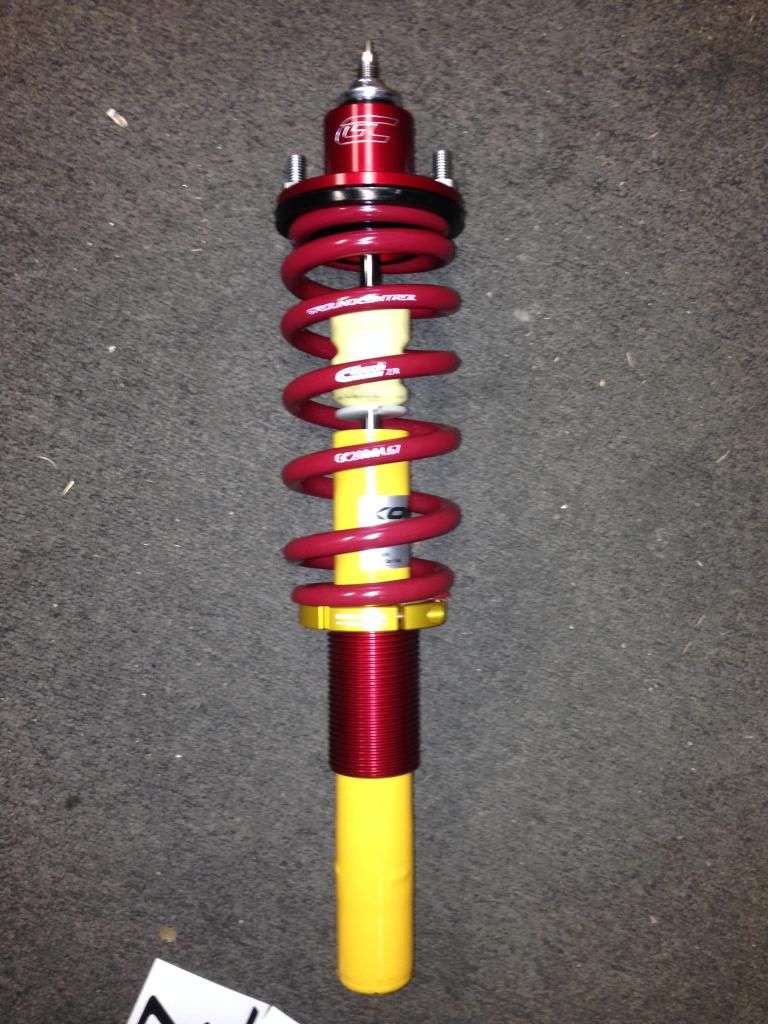
Next was suspension. I wanted to lower the car, but I didn't want it to ride terrible either. After a lot of research I came to the conclusion the koni/ground control setup would be my best bet. I ordered those and got them on their way. While my bank account was recovering I started to clean up the knuckles and trailing arms before they went on the car. I took a wire brush on a drill to everything and got it clean and rust free and shot it with some some chassis paint I found.
I made a big order with summit racing and rock auto. I ended up getting basically all new chassis and brake parts. Also ordered the energy suspension bushing kit and got to work on installing all of these parts. I had accumulated. The energy suspension bushing kit was a pain to install. I used a torch and burning the rubber out and a sawzall to get the outer sleeves out It was a slow tedious process. Not to mention every bolt in the back of my car was seized inside the bushings. I ended up replacing every single bolt in the suspension system back there when I put everything together. I hated my life for a while but it was worth it in the end I think.
Hubs knocked out of the wheel bearings and lug studs removed
Knuckles getting cleaned up for paint
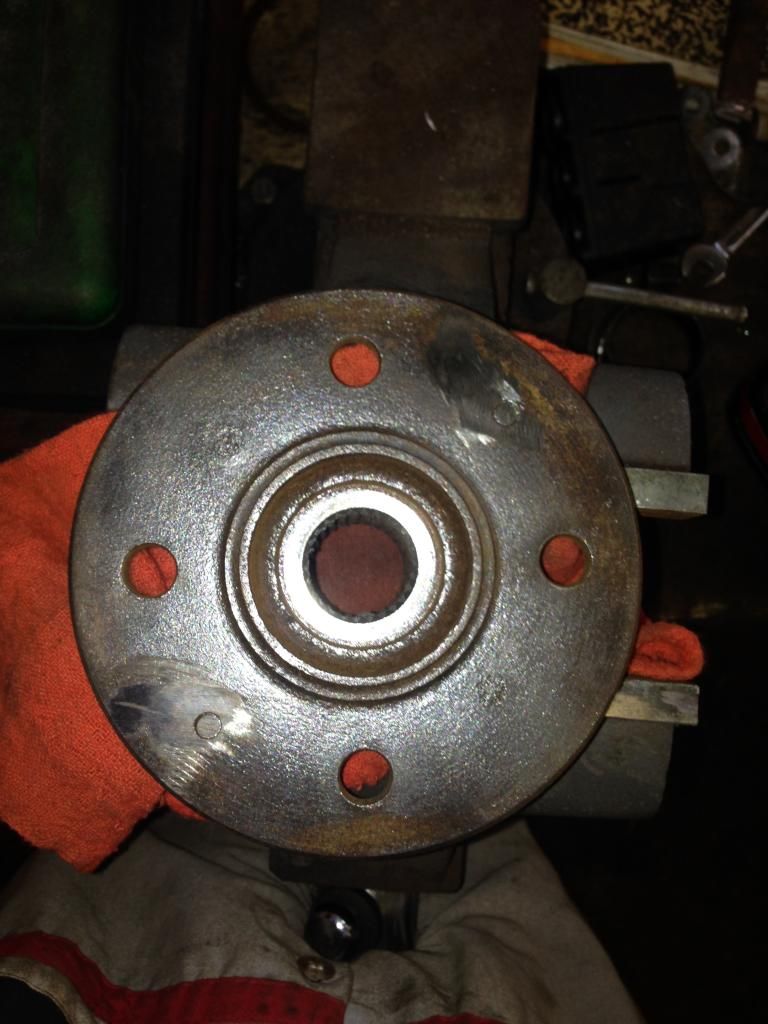
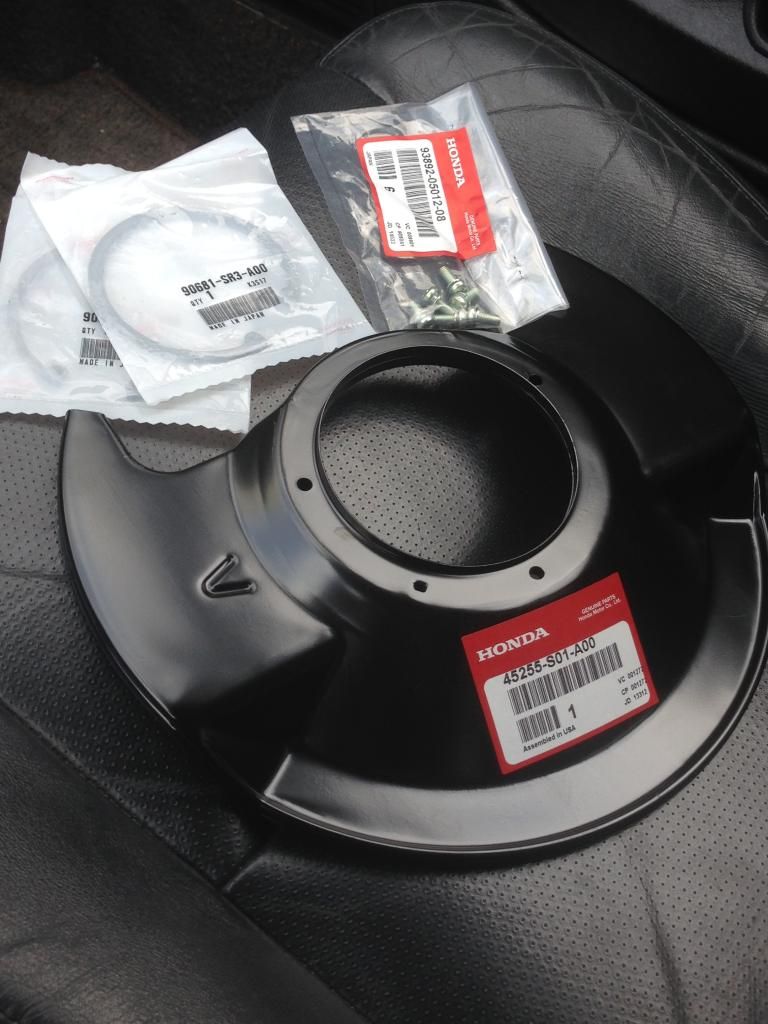
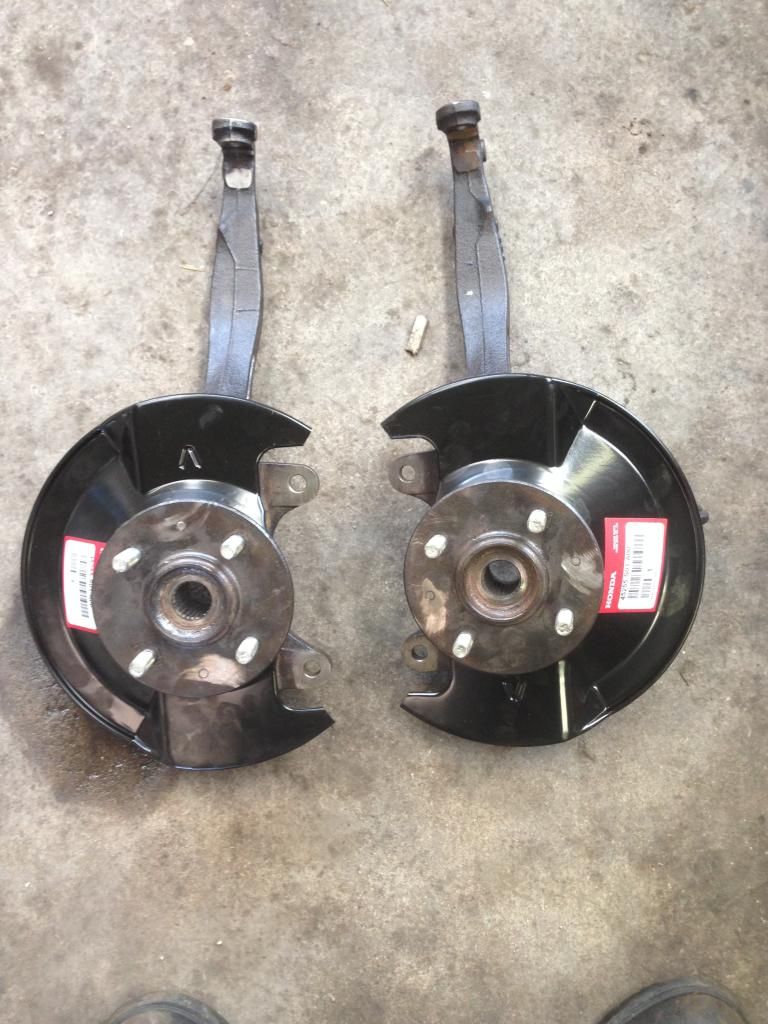
New wheel bearings and ball joints installed. I got new dust shields from Honda because mine were all bent up. I decided to fully assemble the knuckles before paint that way they wouldn't get scratched or anything while I was pressing in the bearings and ball joints.
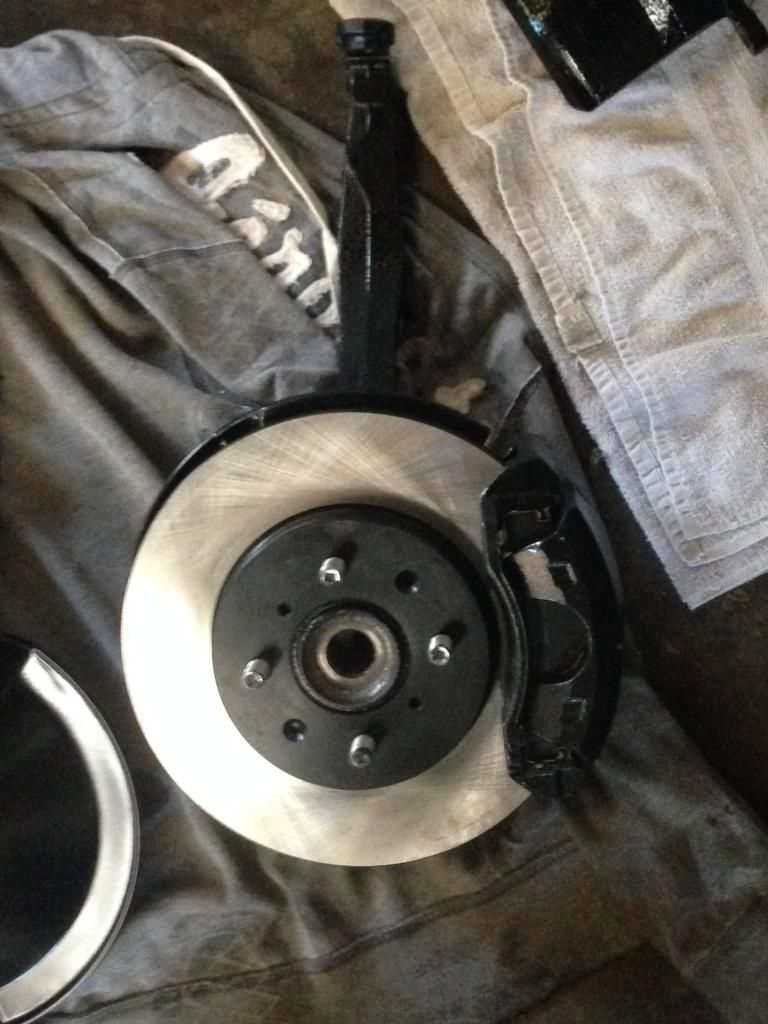
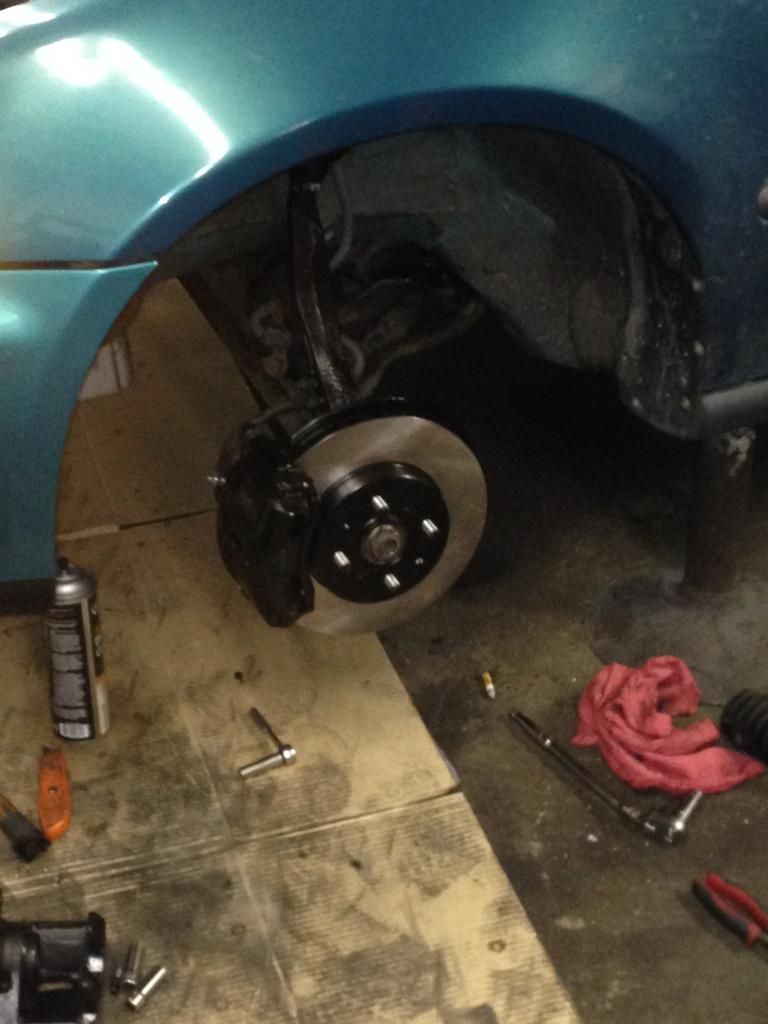
Finished assembled product. The front rotors that I ordered came with the hats ad the inside vents painted. I've never seen that before.
Rear brakes and trailing arms getting painted.
Look at all that rust! That'll be fixed soon enough. I live in Ohio so unless I want to go south a rust free shell is impossible to find. Yes my driver side fender is a different color. When I got the car the original was beyond repair. Someone tried to use a slide hammer dent puller on it. Not good. I found this replacement cheap so I threw it on for the time being.
Brand Spankin New Coilovers
Rear suspension assembled on the car

Front knuckles on the car before I put the coilovers on.
Mmmmm that's sexy
Final Product. I ended up taking the front up a little bit after this picture. After that it was off to an alignment shop.
Surprisingly the ride isn't bad at all. Its a little stiff with all the bushings being poly but its nothing unbearable. This car was never intended to be a daily driver so I didn't need cadillac comfort, but i didn't want to feel like my spleen was being karate chopped either. This is perfect.
Ok so that's engine, suspension, and interior down. Not so fast. The poopy d15b just wasn't cutting it for me anymore. I had originally planned to do an H2B swap on this car, I had even purchased an H22A4 because it was a good deal. But after some research on the evo kit I decided that wasnt the route I wanted to go.
Luckily soon after that my buddy decided to sell his b16 dropout, and he gave me a solid buddy deal and I snagged it up. B16A2 with 130k miles and what turned out to be a GSR transmission. He had the swap in an eg sedan for a few months, so while I was at it I bought his manual rack and pinion with matching subframe and a few other things.
So once again the Civic comes into the garage and gets put on jackstands. I pulled out the d15b got it out of the way. Once I got it out of the bay and pulled all my air conditiong and power steering stuff off and saw how much cleaner the engine bay was I decided to do a tuck. I'm not going all out. I'm keeping the brake lines in the factory location, but I'm moving the battery and fusebox out of the bay and I'm tucking the headlight harness and I ordered a rywire engine harness.
D15B out
Subframe down
No legs!
Stripping the bay
Stripped

I took the dash out to make it easier to re route the wires
Heater box out

Once all of the stuff was off the firewall I masked up the fuel lines and brake lines that run under the car and started sanding the engine bay down for paint. I'm just going for a stock color respray. I'm not a fan of the mismatched colors. I didn't take any pictures of the sanding process unfortunately. Getting into the corners and the hard to reach places kinda sucks but it has to be done.
Right after paint. It was still wet.

Dry
Starting on the passenger side harness
Donor car bleeding it's last bit of life out
Manual rack and subframe bolted up
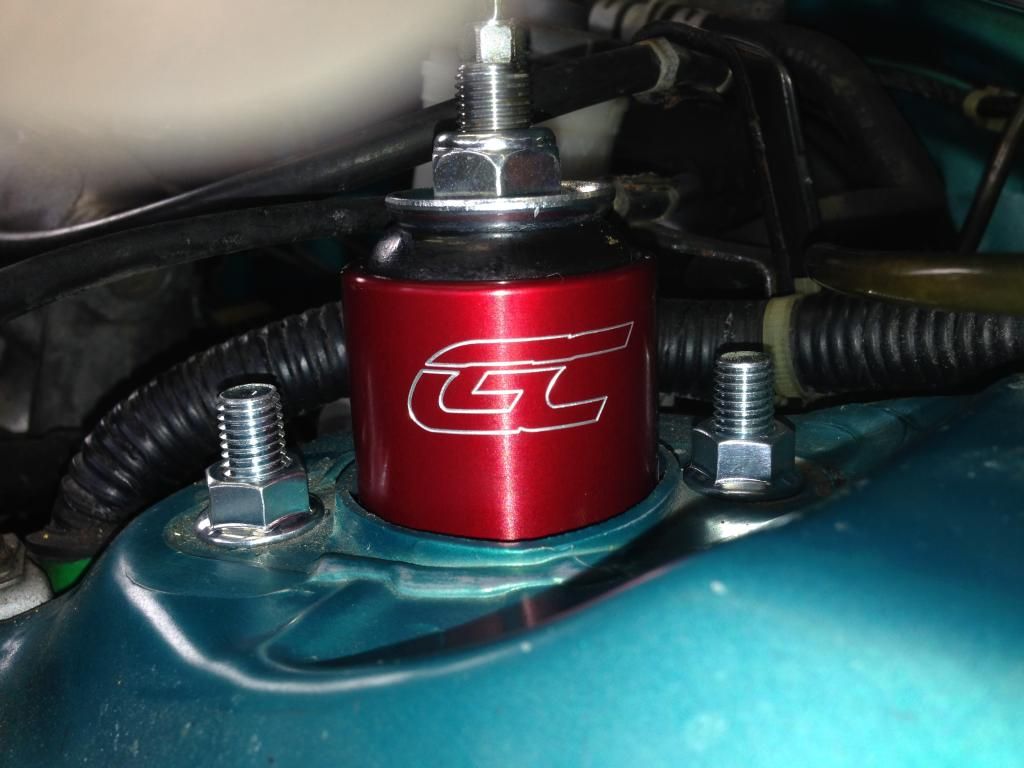
B16 at home. I got the engine put in without a scratch surpringly. I put it in from the bottom which I had never done before and I must say it worked out nicely. Engine and transmission need cleaned badly but that will be done soon. Notice the brake booster has been flipped.

That brings us up to the present day and time. I will update this thread as more things happen with the car. I expect to be receiving my rywire harness and clutch line tomorrow or saturday so some more progress will be made soon. Hopefully you guys have enjoyed reading my build so far.
Edit: This is a giant first post.
Fast forward to end of July 2013. After searching and searching for an EG shell, I finally found what I wanted. It needed to be a coupe or hatch, EX model, and a manual. Just wanted to have a good base to build off of. Ended up finding this '94 with a blown motor for $500, it was everything I wanted and was a color I had always liked. I bought it.


Towed it home from where I bought it which was 2.5 hours away and immediately went to work. Of course the battery was dead, but once I got it charged up I decided to try to start it to see what I had. I hit the key and the engine spun over waaaaaay too fast like it had no compression. Hmmm.

Oh look, someone ran it so hot the timing cover melted. Well, this thing is trashed. Might as well yank it out, its not doing much good in the car.

Once I got the motor out, I realized how terribly dirty this engine bay was. I picked it up from a farm off a kid who was commuting to college, so that explains the layer of dirt that covered this car from top to bottom.
I started cleaning with a solution of simple green and some elblow grease, but that just wasn't going to cut it.

Decided my best bet was to just get the power washer out and give it a good soaking.

There we go. At this point all I had was a transmission, and I knew the car was going to stay with a D series for a while, so I decided to get it cleaned up and ready for when I found an engine to mate it up to. I started with a nylon brush and some Aluma-Brite. This stuff is like acid. Made the mistake of using it without gloves. Ouch. Did a great job though.


Once I had it cleaned up to this point it was time for some paint. I used Duplicolor Engine Enamel in an aluminum color. Turned out pretty nice I thought.

Earlier in 2012 my buddy bought a 94 DB Integra for a swap donor car for his ek. Once the engine and trans was pulled it just sat at my shop rusting away. He said if I took them off I could have the rear trailing arms for free. WIN!
Luckily for me, every single bolt broke loose and came out in once piece with hand tools. Had both sides off the car in about an hour. 

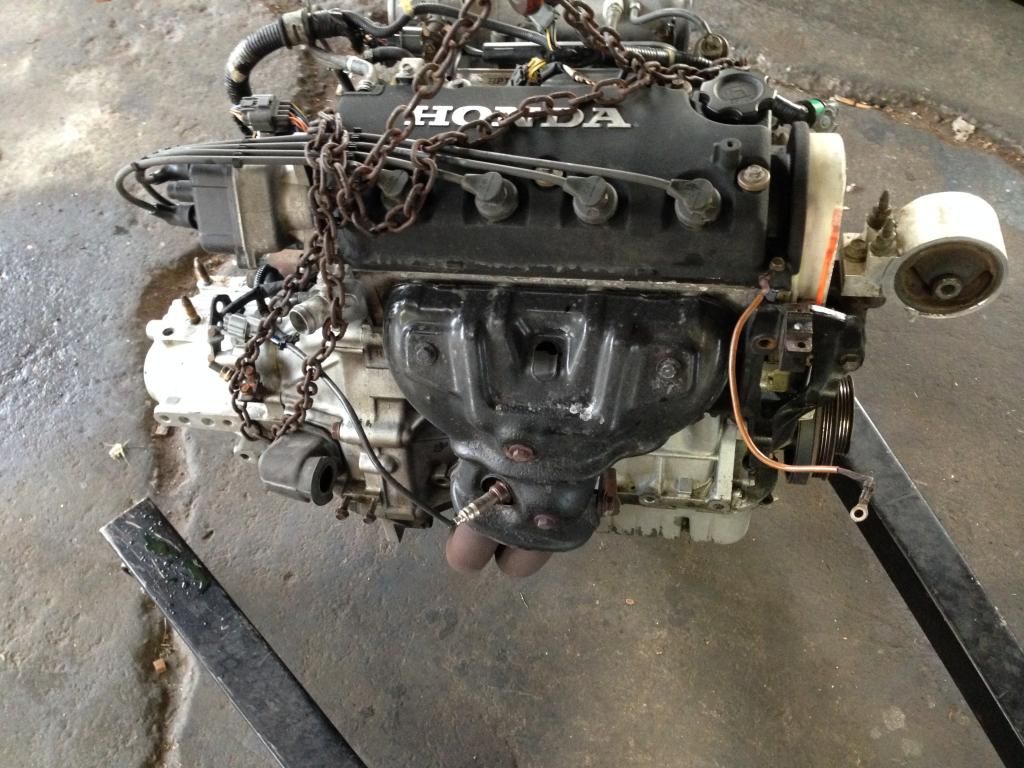
A few weeks later we decided to go to the pull and pay and see what we could find for an engine. Walked up to an EK sedan and saw it had a D16Y8 so I pulled the valve cover and everything was squeeky clean. Decided to go for it and pull it out and buy it. A few hours later I was on my way home with a new engine.
I get it home, and of course its filthy and covered in grease, so I start cleaning it up obviously and I get to the block stamp area and look what I found.

Its just a poopy D15B but getting a JDM engine for 165 bucks is always a win in my eyes! But wait, its an obd2 D15B, which meant 3 stage vtec. But it didn't have the dual vtec solenoids. I was confused at this point so I decided to pull the single vtec solenoid off the head and see what was going on.

Yep, this is definately a 3 stage head. You can see the outline of the dual solenoid, and the outline of the single solenoid someone botled in its place. Luckily I had a z6 head sitting on the shelf so I took it to the machine shop to have it rebuilt.

While that was being done, I finished cleaning up the block and got it painted to match the transmission. This turned out pretty good too I thought.

A few days later I got a call from the machine shop saying that my head was done. I had them clean and hot tank it, replace all valve guides and seals, check for flatness and do a 3 angle valve job.

So fresh so clean! Now I had to do something with the valve cover. I decided to use a Y8 valve cover I had laying around because I liked that it only said Honda on it and didn't advertise vtec haha. I went with just a simple wrinkle black finish.

After I laid the paint down, I put it in the oven to bake it so that the wrinkle finish was a lot tighter than an air dry.


Not too bad! Now to start reassembly.

Got it all put back together with new gaskets, timing belt, water pump, etc. Gave it the works since it was out and everything was easy to work on on the stand. Everything came from Honda Parts Direct besides the ignition parts which I got from rock auto. I got Ngk plugs, denso wires, and denso cap and rotor. So all oem stuff but a lot cheaper than from Honda.
Fully assembled and the harness mounted. Looks like its ready to mate up to the transmission and get it in the car.

How the bay looked before it got its new heart transplant:

Engine and transmission mated together and ready to drop in:

And shes in!

Got everything hooked back up, filled her up with fluids and hit the key. She fired right up and ran like a champ. No issues whatsoever. I finally got to drive the car, and surprisingly it road great, tracked straight and everything worked as it should. Win.
I got some factory power mirrors from the pull and pay to replace the crappy spoon replicas that came on the car when I got it. I was able to get the passenger side in aztec green so that it matched my car, but the driver side I could only find in red. Called up the local paint store and had them mix up a rattle can full of aztec green single stage paint. It'll do for now.

I try to work on this car in stages. So for the time being I decided that the engine stage was over and it was time to work on something new. So I moved onto the interior. My coupe came with black interior which I liked. I've never been a fan of light colored interiors. I started off by shampooing the carpets and seats with a rug doctor that I rented from the local Kroger. This interior was a lot more dirty and nasty than it showed.


This is what the water looked like after making 2 passes on just the driver side floor mat.

I got the interior cleaned up as best as I could. But i couldnt get the seats as clean as I liked. Plus I've never been a fan of the stock EG seats. My family owns a salvage yard, which comes in handy but unfortunately we don't have much in the ways of Hondas or imports in general. Well one morning we get called to pick up a CRV that had been involved in a rollover. We get it back to the shop and I take a look at it. Its got black leather seats. But will they fit into an EG?

Luckily after a little bit of work, I figured out I could use the eg frame and bolt it right onto the CRV cushions. Every single bolt lined up and everything bolted together perfect. Tossed them back into the car and called it a day.
CRV seat on the left EG on the right.

CRV Seat Frame

CRV on the left EG on the right


I got an armrest from an EG sedan to replace the stock coupe center console with no armrest. But of course sedans never came in black, so I had to repaint it. I got some SEM Color Coat in Landau Black and got to work.


After a week or so I decided that the stock door inserts had to go. They no longer matched the material on the front seats and it bugged me. I took a trip to the fabric store and found some nice black vinyl material that I thought would work well enough for what I wanted. So I bought a few yards and went to the shop and got to work.
Stock Panel

Insert removed from the door panel

Recovered

Insert attached back to the door panel

Back on the car

It really wasn't as bad as what I thought it would be. I got one panel insert recovered and put it back onto the door panel and was satisfied. The other door didn't go so well. I stretched the material too tight in one spot and couldn't get it to lay down flat against the panel insert. It was good enough for now though, I'll redo it some other day.
Next thing on the list was the headliner and pillar covers. I didnt like how the top of the cars interior trim was gray while the lower was black. My headliner was in great shape and I didnt trust myself to recover it in a different material so I just decided to paint it. I got more SEM Landau Black and took all the trim out of the car. I just decided to do it all so that everything matched 100% I did headliner, door panels, rear quarter trim, sunroof visor, a pillars, and b pillars, everything but the dash because there were 2 cracks in it. It'll get replaced later on.


I had previously purchased a black leather back seat from an Integra GSR for my car. But it didn't fit at all. Way too narrow. So i decided I'd just get the stock back seat recovered. I ended up finding someone locally that did upholstery so I picked a color that matched the front seats and dropped it off.
While I had the headliner down I took the sunroof down to check everything out. I had an issue where one side of the roof would drop down before the other when you were sliding it in causing about a 2" scratch in my roof. I decided now was the time to fix it before I have the car repainted and ruin a fresh paint job. Ended up being a broken spring. $2 fix from Honda.
I got a call saying my seat was done, so I went to pick it up.

I was very impressed with how well the new covers he made fit. Everything is perfect. Very satisfied.
So I got to work putting all of the interior back in the car. My iphone camera doesn't do the interior justice. I wish I had a decent digital camera to take pictures with.


At this point I had spent a lot more than I had anticipated on the interior so I called it good. Im happy with how everything turned out. The only drawback was it made the interior a lot darker. The stock dome lights in these cars were always weak in my eyes already so with all black it was like holding up a candle. I ordered an LED replacement bulb from superbrightleds and that solved the problem.
Next was suspension. I wanted to lower the car, but I didn't want it to ride terrible either. After a lot of research I came to the conclusion the koni/ground control setup would be my best bet. I ordered those and got them on their way. While my bank account was recovering I started to clean up the knuckles and trailing arms before they went on the car. I took a wire brush on a drill to everything and got it clean and rust free and shot it with some some chassis paint I found.
I made a big order with summit racing and rock auto. I ended up getting basically all new chassis and brake parts. Also ordered the energy suspension bushing kit and got to work on installing all of these parts. I had accumulated. The energy suspension bushing kit was a pain to install. I used a torch and burning the rubber out and a sawzall to get the outer sleeves out It was a slow tedious process. Not to mention every bolt in the back of my car was seized inside the bushings. I ended up replacing every single bolt in the suspension system back there when I put everything together. I hated my life for a while but it was worth it in the end I think.
Hubs knocked out of the wheel bearings and lug studs removed

Knuckles getting cleaned up for paint

New wheel bearings and ball joints installed. I got new dust shields from Honda because mine were all bent up. I decided to fully assemble the knuckles before paint that way they wouldn't get scratched or anything while I was pressing in the bearings and ball joints.


Finished assembled product. The front rotors that I ordered came with the hats ad the inside vents painted. I've never seen that before.

Rear brakes and trailing arms getting painted.

Look at all that rust! That'll be fixed soon enough. I live in Ohio so unless I want to go south a rust free shell is impossible to find. Yes my driver side fender is a different color. When I got the car the original was beyond repair. Someone tried to use a slide hammer dent puller on it. Not good. I found this replacement cheap so I threw it on for the time being.

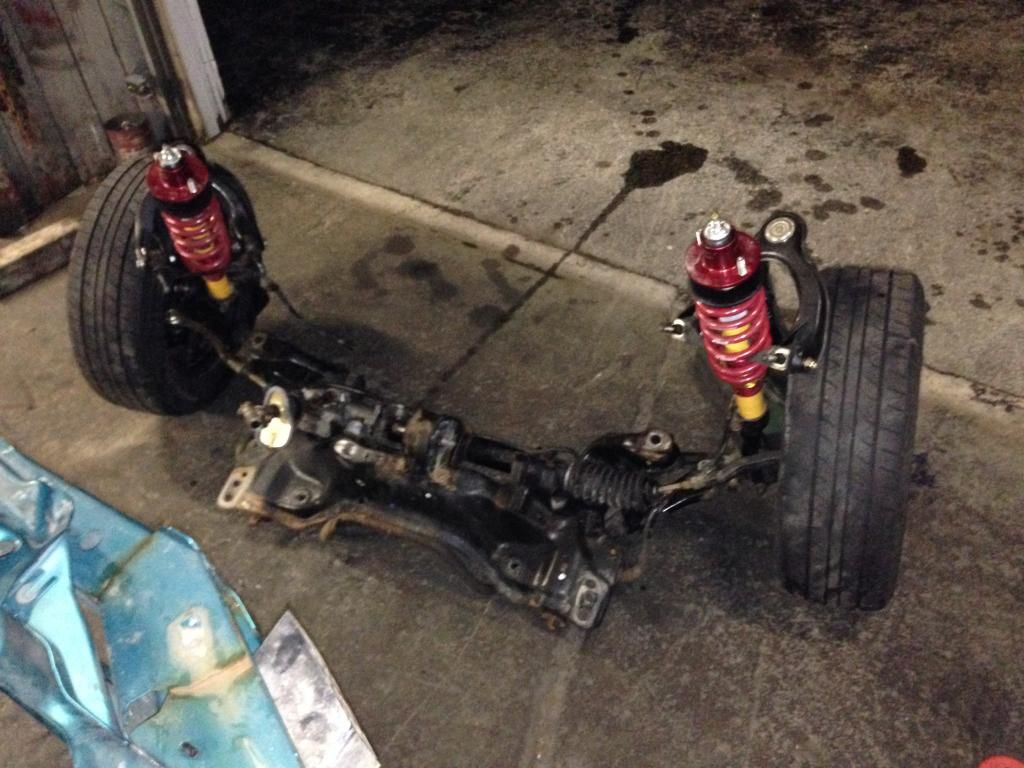
Brand Spankin New Coilovers

Rear suspension assembled on the car

Front knuckles on the car before I put the coilovers on.

Mmmmm that's sexy

Final Product. I ended up taking the front up a little bit after this picture. After that it was off to an alignment shop.


Surprisingly the ride isn't bad at all. Its a little stiff with all the bushings being poly but its nothing unbearable. This car was never intended to be a daily driver so I didn't need cadillac comfort, but i didn't want to feel like my spleen was being karate chopped either. This is perfect.
Ok so that's engine, suspension, and interior down. Not so fast. The poopy d15b just wasn't cutting it for me anymore. I had originally planned to do an H2B swap on this car, I had even purchased an H22A4 because it was a good deal. But after some research on the evo kit I decided that wasnt the route I wanted to go.
Luckily soon after that my buddy decided to sell his b16 dropout, and he gave me a solid buddy deal and I snagged it up. B16A2 with 130k miles and what turned out to be a GSR transmission. He had the swap in an eg sedan for a few months, so while I was at it I bought his manual rack and pinion with matching subframe and a few other things.
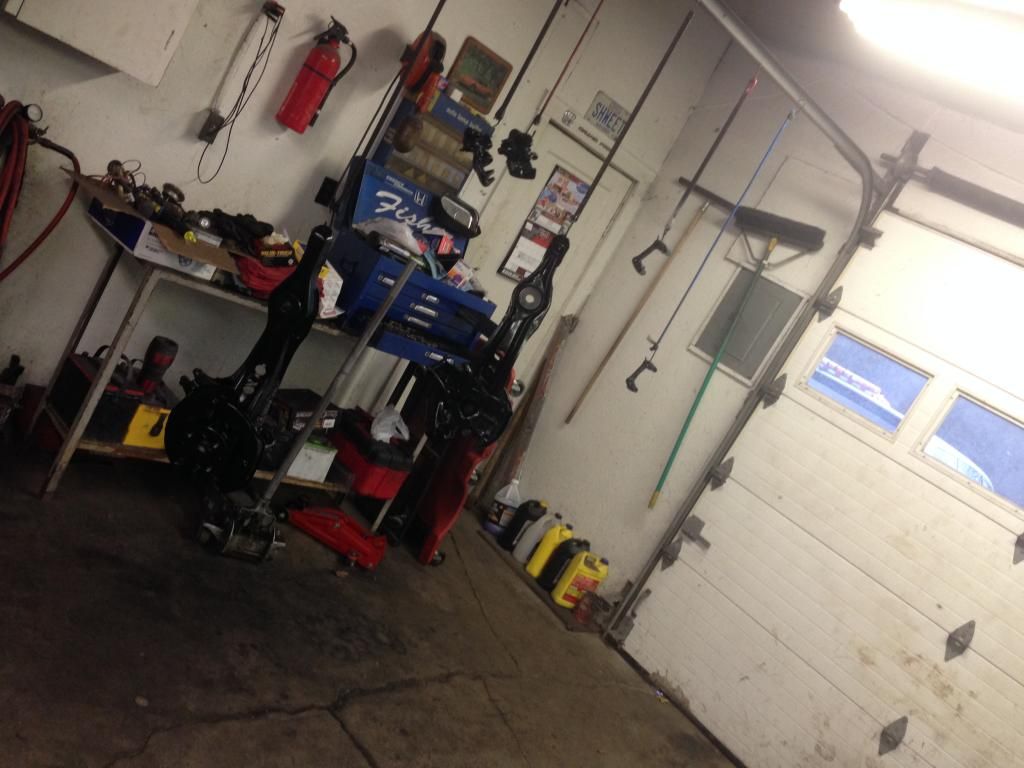
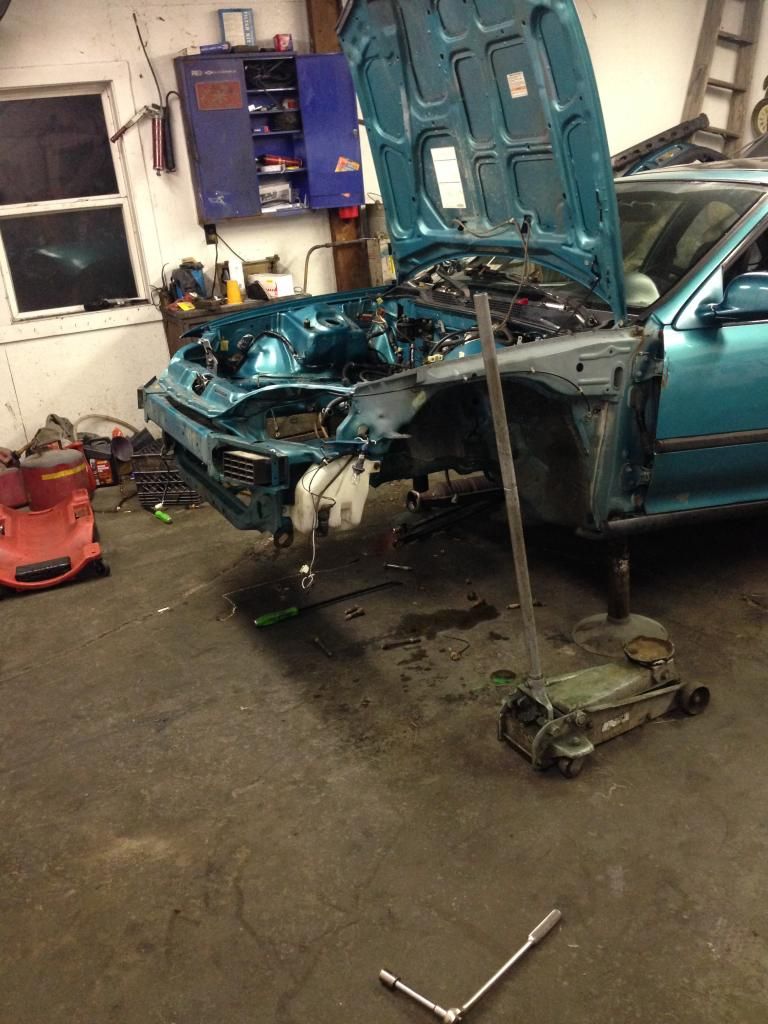
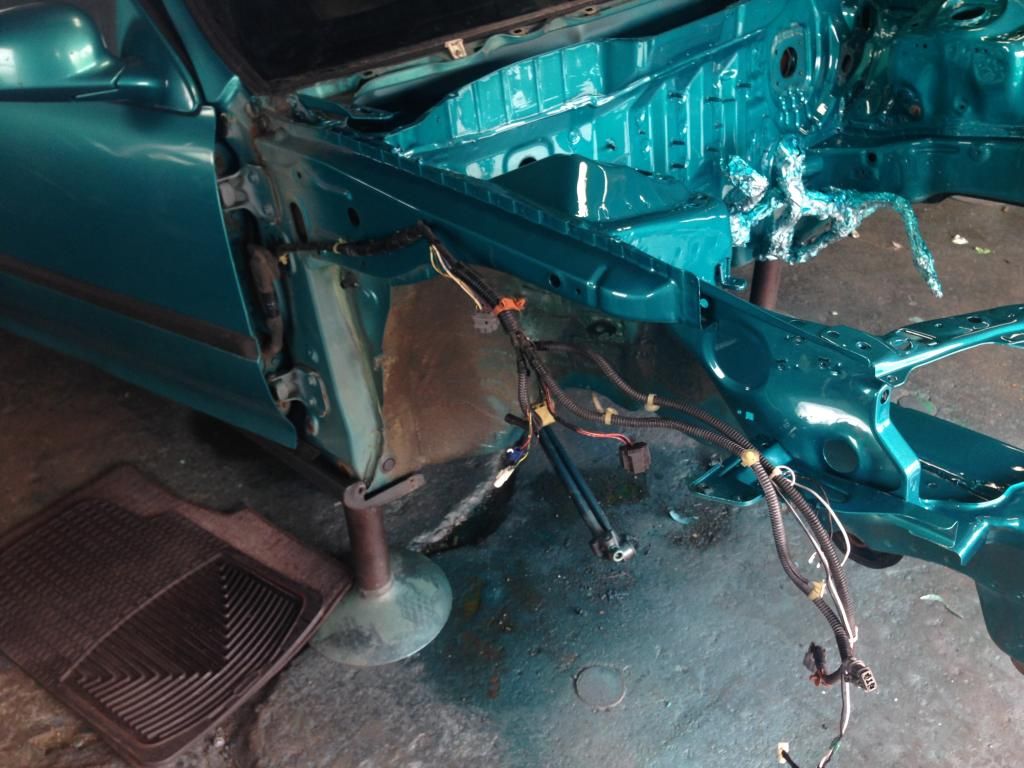
So once again the Civic comes into the garage and gets put on jackstands. I pulled out the d15b got it out of the way. Once I got it out of the bay and pulled all my air conditiong and power steering stuff off and saw how much cleaner the engine bay was I decided to do a tuck. I'm not going all out. I'm keeping the brake lines in the factory location, but I'm moving the battery and fusebox out of the bay and I'm tucking the headlight harness and I ordered a rywire engine harness.
D15B out

Subframe down

No legs!

Stripping the bay

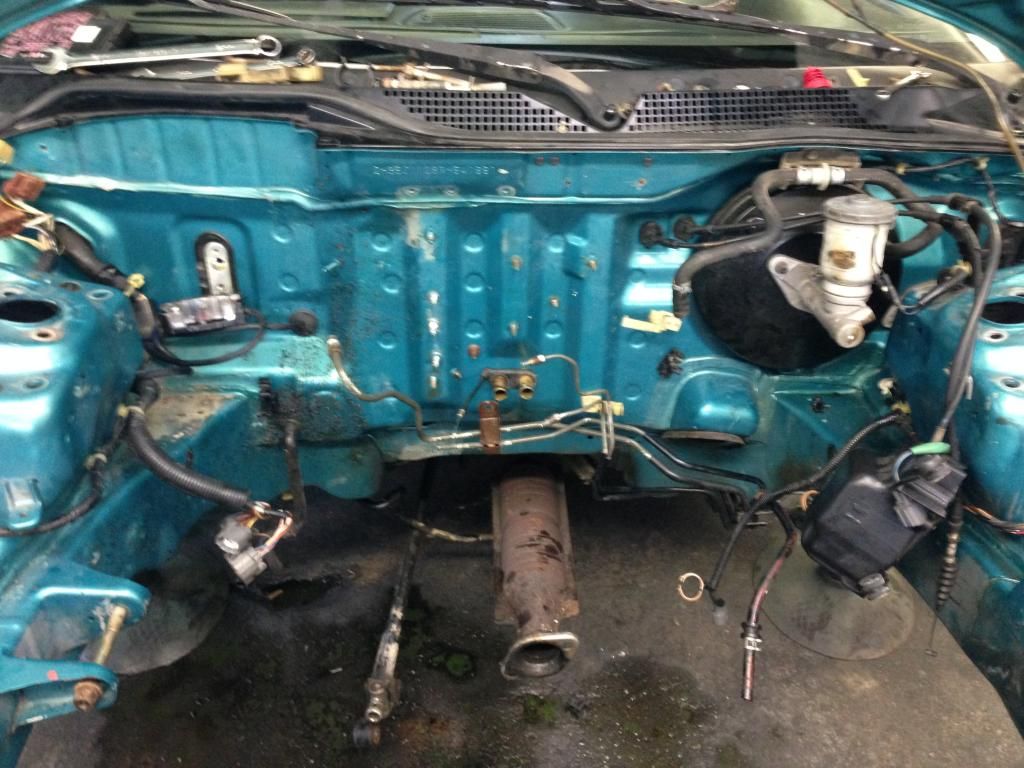
Stripped

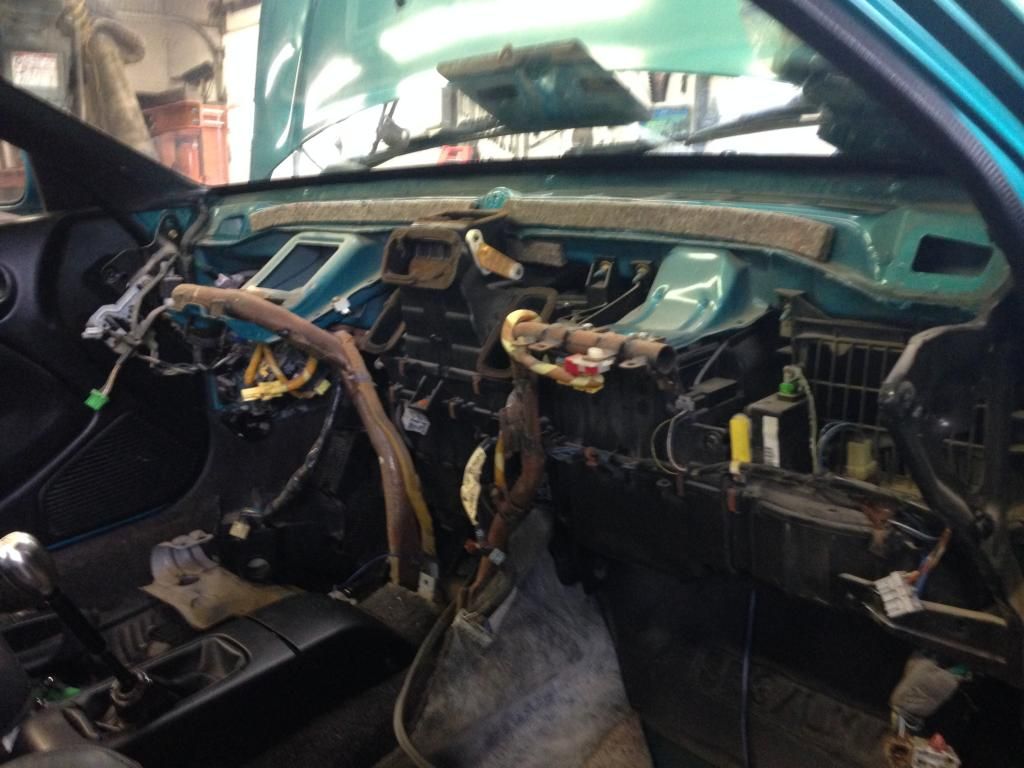
I took the dash out to make it easier to re route the wires

Heater box out

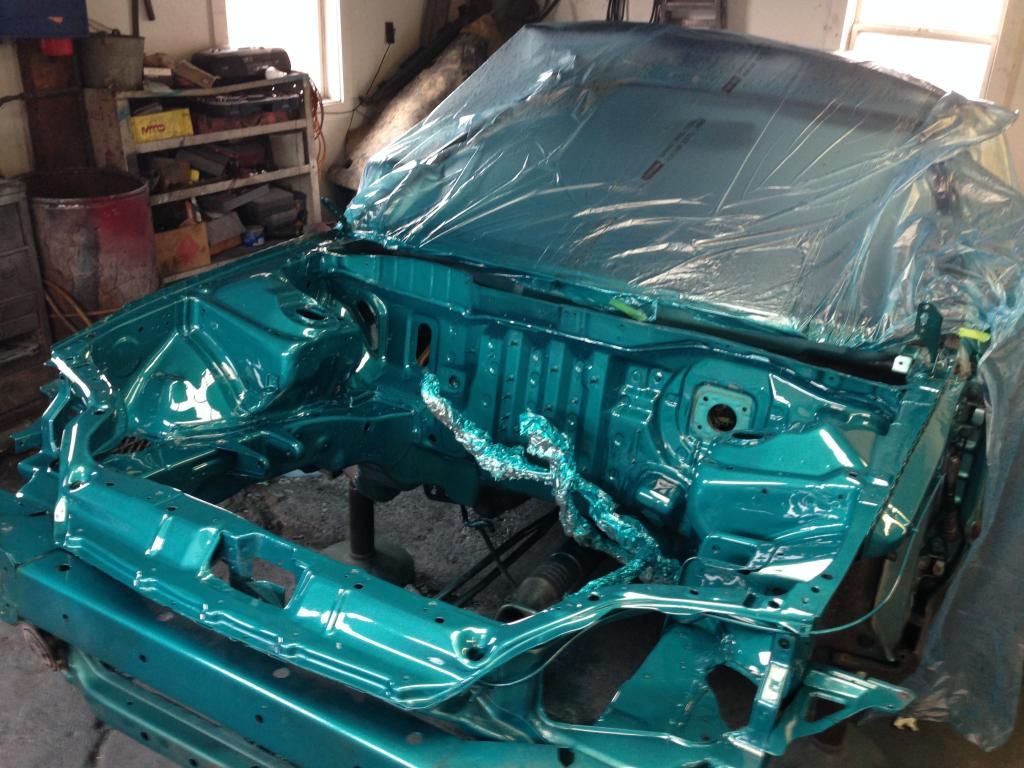
Once all of the stuff was off the firewall I masked up the fuel lines and brake lines that run under the car and started sanding the engine bay down for paint. I'm just going for a stock color respray. I'm not a fan of the mismatched colors. I didn't take any pictures of the sanding process unfortunately. Getting into the corners and the hard to reach places kinda sucks but it has to be done.
Right after paint. It was still wet.

Dry

Starting on the passenger side harness

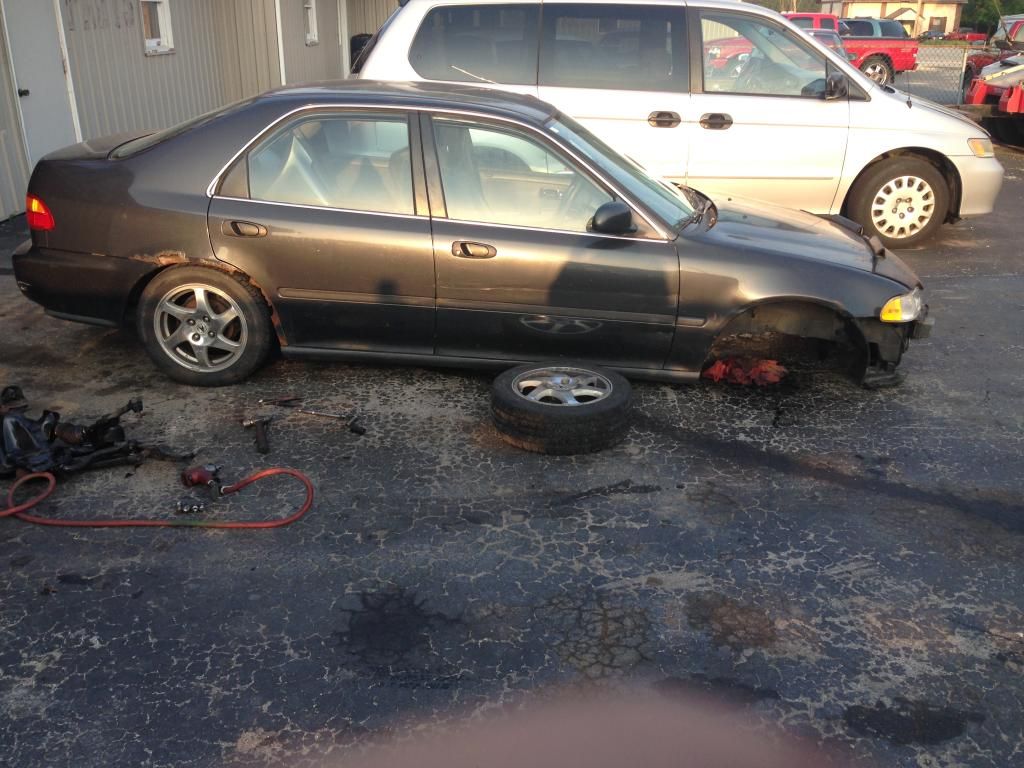
Donor car bleeding it's last bit of life out

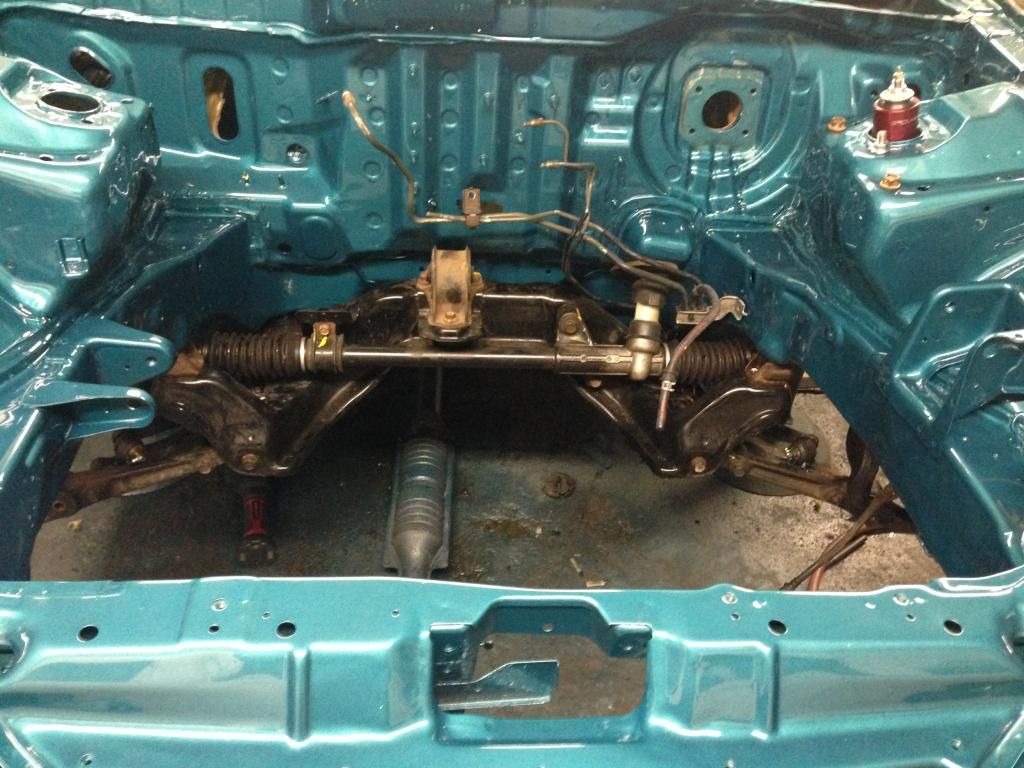
Manual rack and subframe bolted up

B16 at home. I got the engine put in without a scratch surpringly. I put it in from the bottom which I had never done before and I must say it worked out nicely. Engine and transmission need cleaned badly but that will be done soon. Notice the brake booster has been flipped.

That brings us up to the present day and time. I will update this thread as more things happen with the car. I expect to be receiving my rywire harness and clutch line tomorrow or saturday so some more progress will be made soon. Hopefully you guys have enjoyed reading my build so far.
Edit: This is a giant first post.
 05-30-2014, 12:28 PM
#2
Honda-Tech Member
Thread Starter
Join Date: Nov 2010
Location: Ohio
Posts: 16
Likes: 0
Received 0 Likes
on
0 Posts
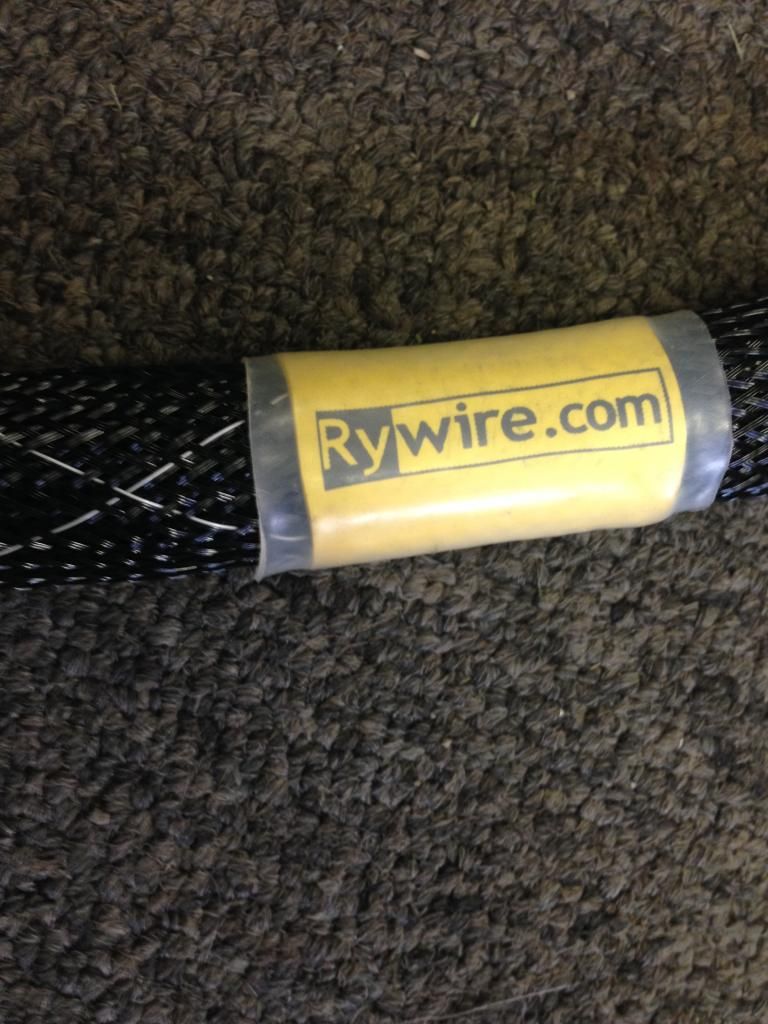
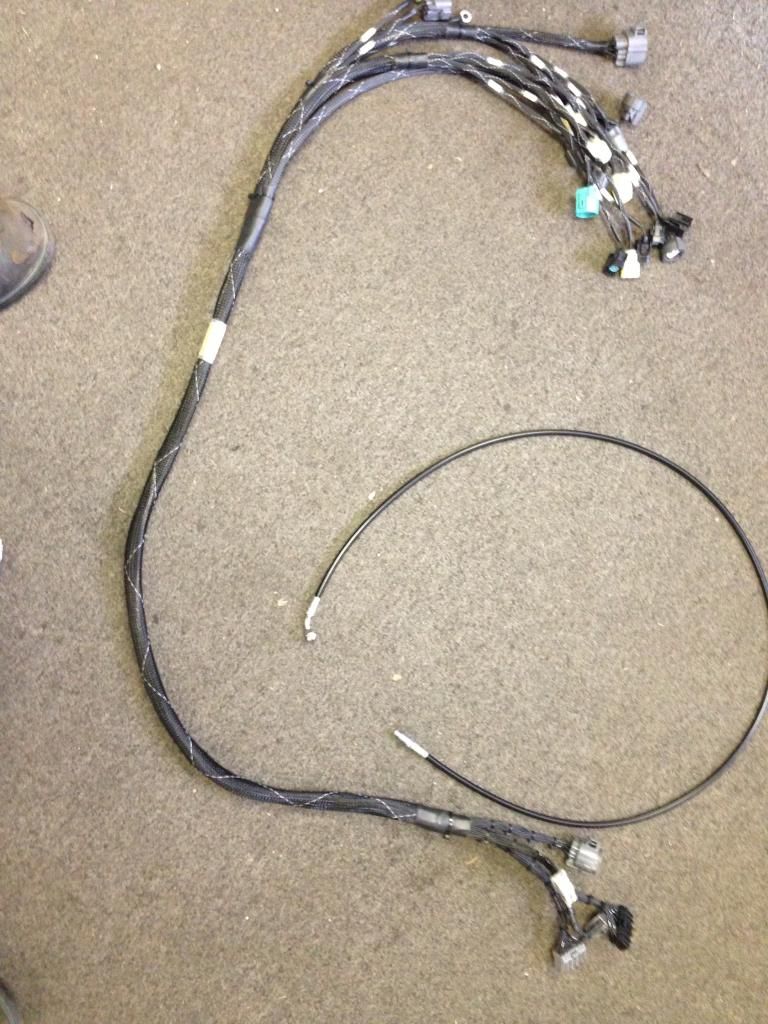
I got the Rywire harness in the mail today. Very satisfied with their shipping speed. I ordered the harness Tuesday night after work and received it today. I also ordered their clutch line kit, so that's one less line that runs along the firewall. I'm hoping to get the harness mounted on the engine tomorrow and decide where I'm going to run it through the firewall at so I can start moving the fuse box around and deciding where everything is going to sit.


 congrats on a good and well documented build.
05-31-2014, 12:56 PM
congrats on a good and well documented build.
05-31-2014, 12:56 PM
#6
Honda-Tech Member
Thread Starter
Join Date: Nov 2010
Location: Ohio
Posts: 16
Likes: 0
Received 0 Likes
on
0 Posts
Quick question.
Where do people usually run the engine harness through the firewall at? I can't realy find much info on this besides running it through the a/c hole on the firewall. I tried that and am not happy with how it looks. Ruins the whole wire tuck idea because you can plainly see the harness.
Where do people usually run the engine harness through the firewall at? I can't realy find much info on this besides running it through the a/c hole on the firewall. I tried that and am not happy with how it looks. Ruins the whole wire tuck idea because you can plainly see the harness.

Trending Topics
04-04-2017, 12:54 PM
#9
Trial User

Join Date: Apr 2017
Posts: 2
Likes: 0
Received 0 Likes
on
0 Posts
Hello I was wondering if in your restoration process ever dealt with the wiring harness under the dash. I need to replace a section of mine. Someone's bad fix proved fatal for a section of my harness right above the instrumentation to the console.
04-04-2017, 01:00 PM
#10
Trial User
Join Date: Apr 2017
Posts: 2
Likes: 0
Received 0 Likes
on
0 Posts
the center of one run of harness was cooked so bad the jacketing was cooked off of about ten wires and as a result left me to replace some of the harness. Any input would help thankz

Thread
Thread Starter
Forum
Replies
Last Post

