
Crazyjetsfan22’s “Ek” hatch build! Lots of pics!


 07-10-2011, 05:43 PM
#254
Okay now for some real pics of the new goodies!

Yes they are real! There are a ton of kids in my area that have knock offs
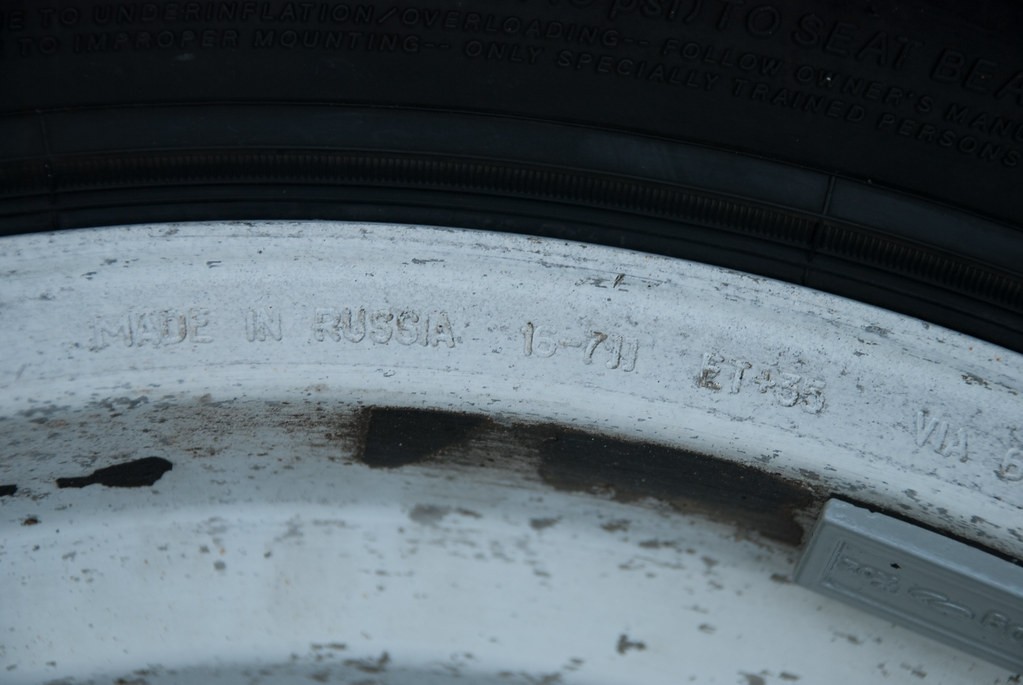
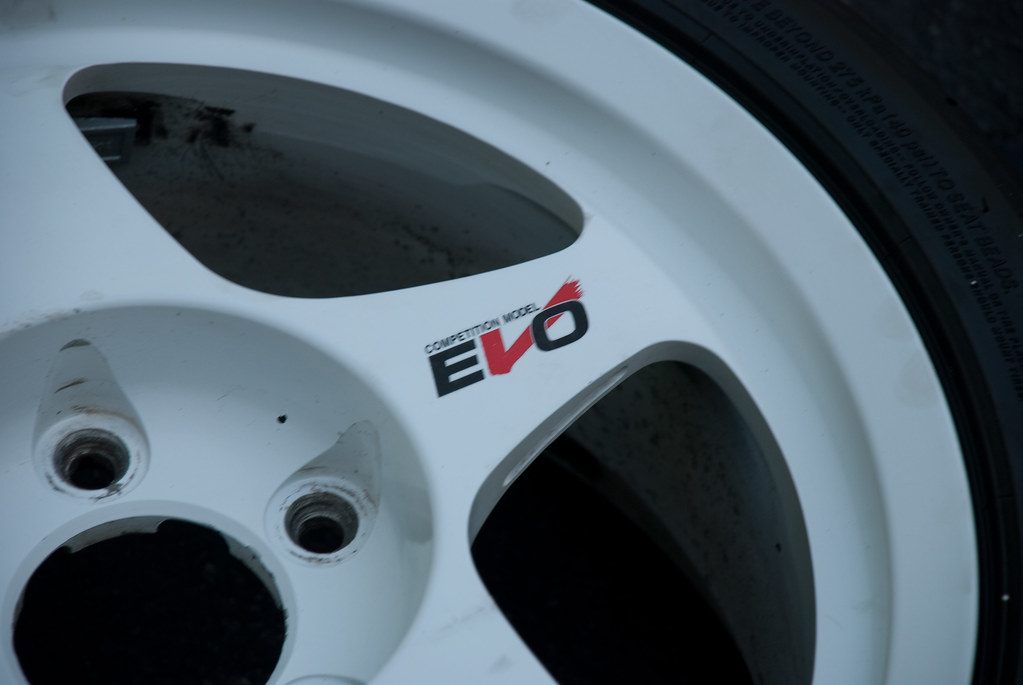
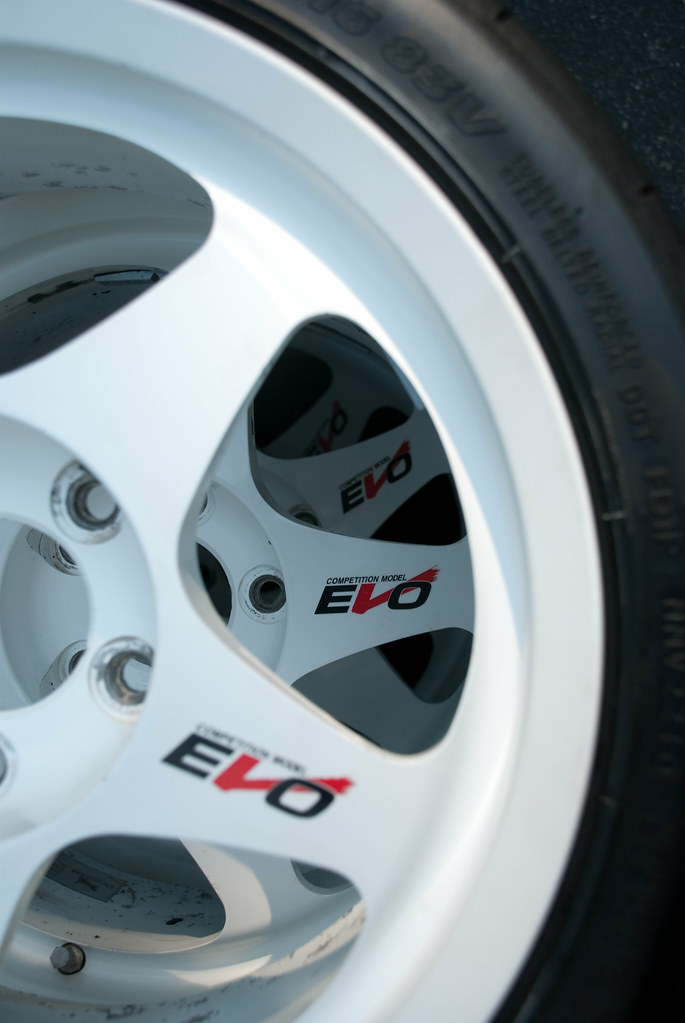
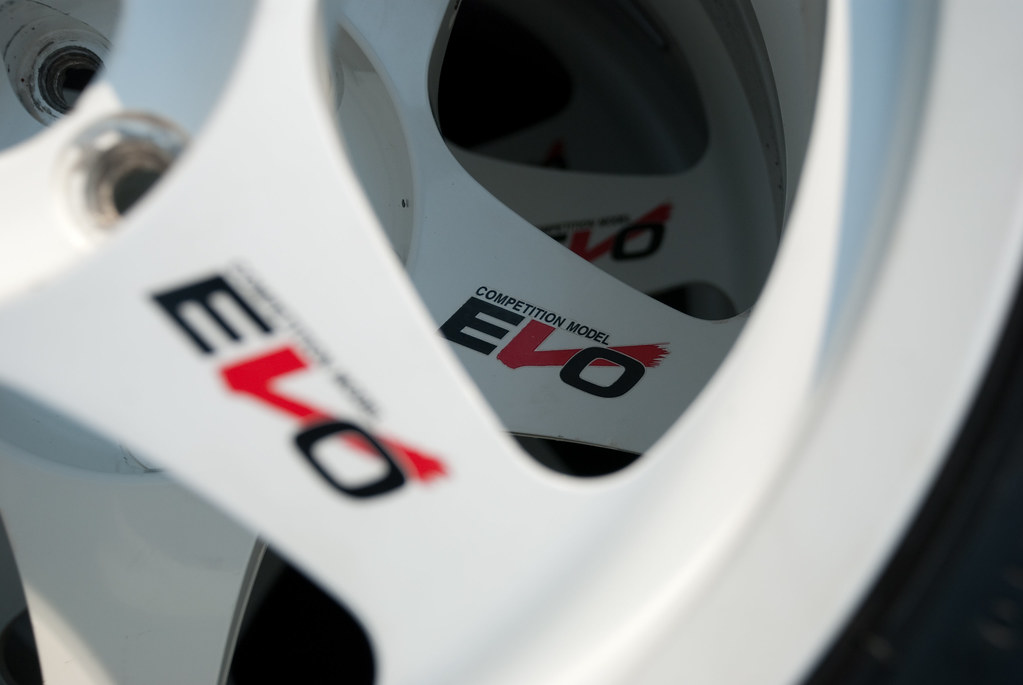
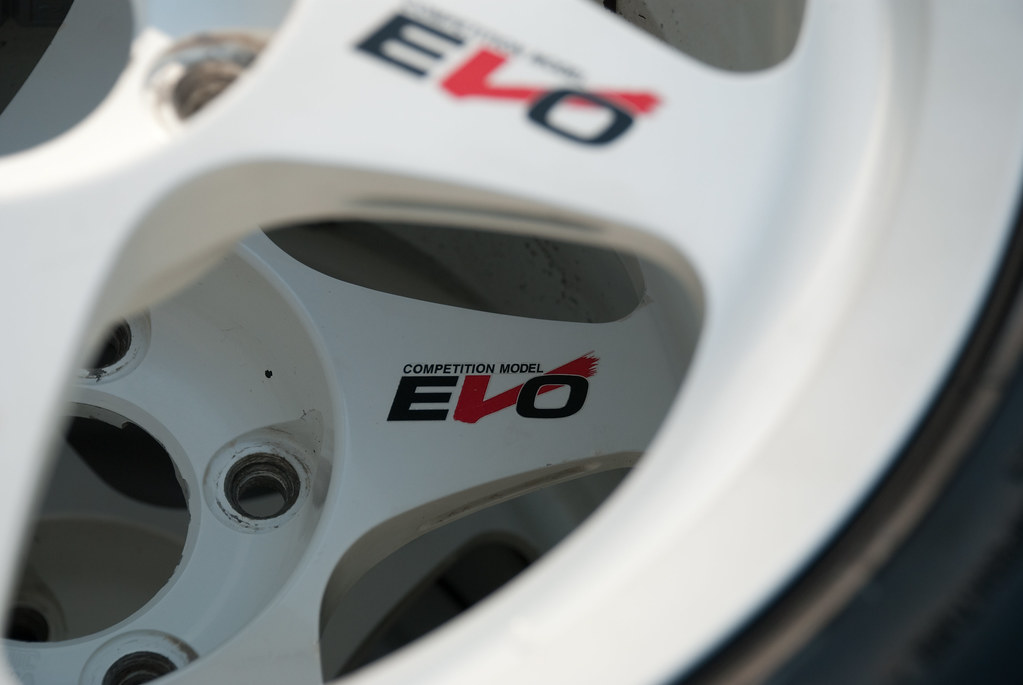
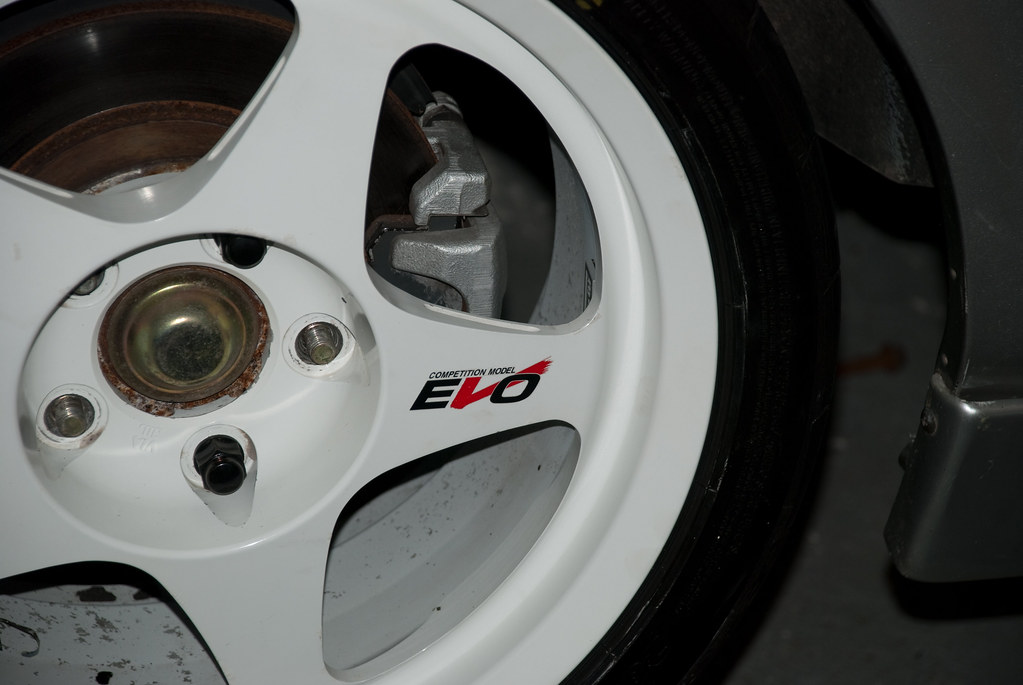
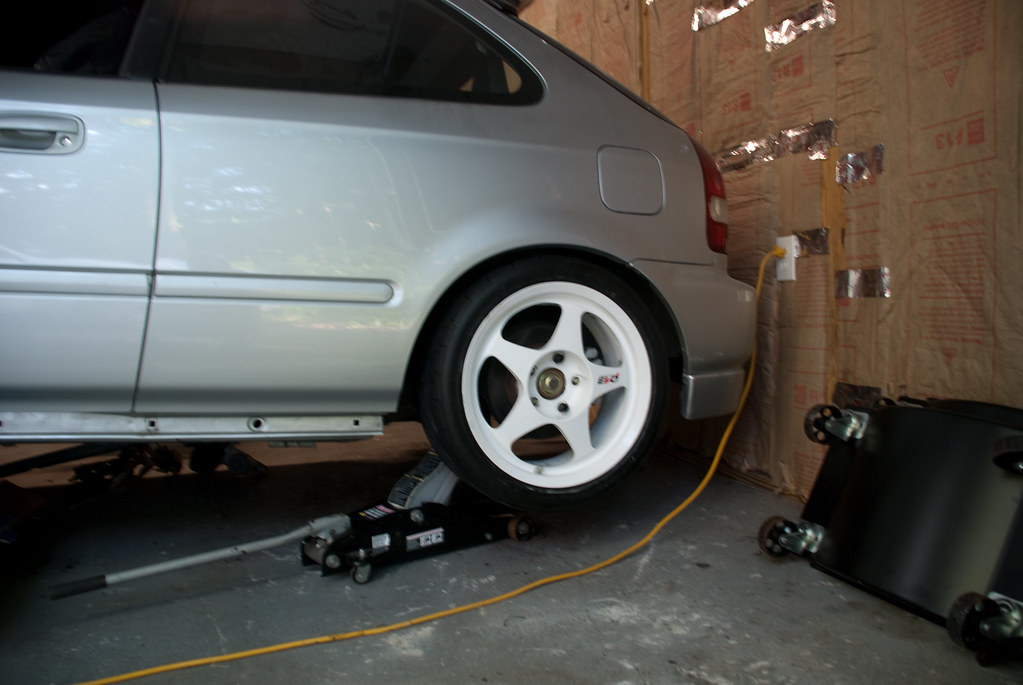
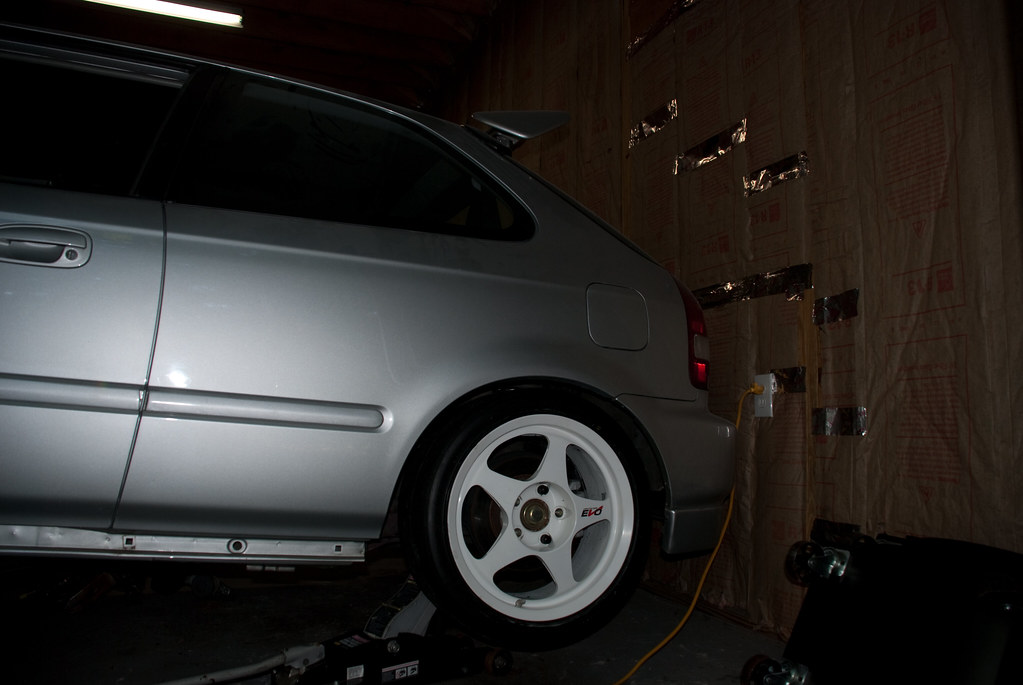
Regamasters are one of my all time favorite set of rims ( next to silver CPR’s)! Always wanted a set and a good deal came up so I decided to pick them up. I traded my USDM itr wheels and cash for these
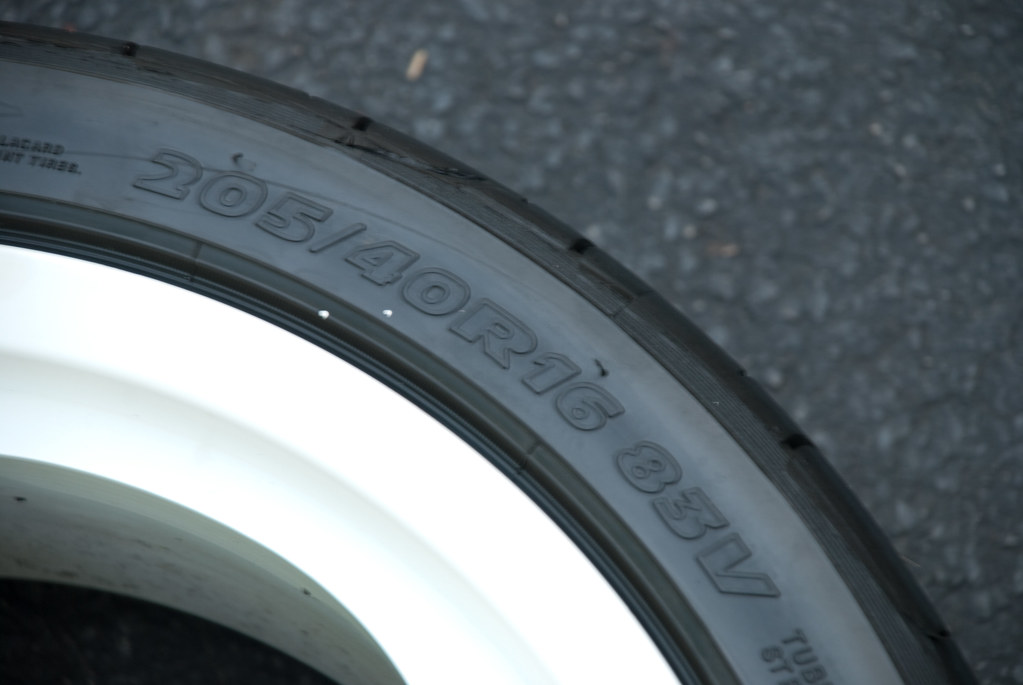
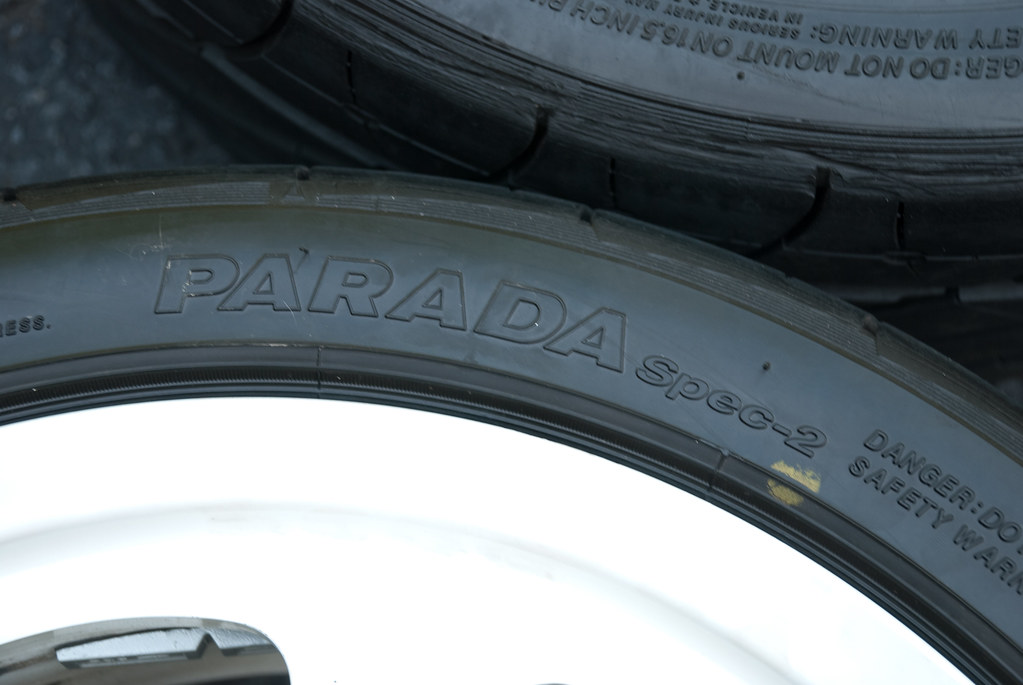
They are on 205/ 40/ 16 prada spec 2 tires. Not the tires I would specifically want but they are practically new so it was alright.
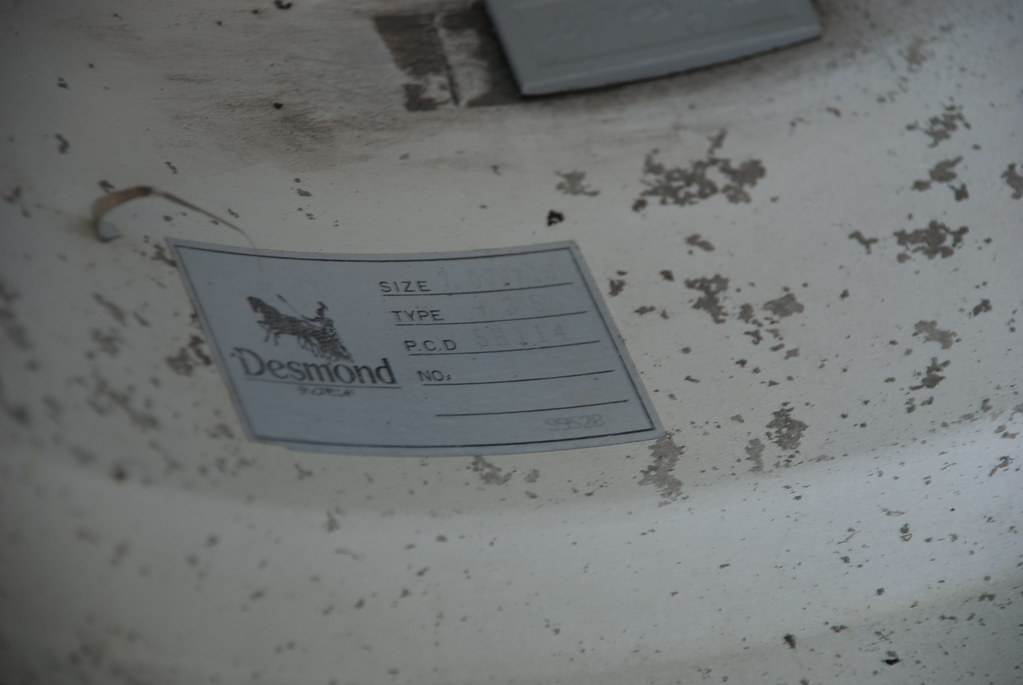
The rims are not the most mint in the world they seem to be the original finish. Few nicks here and there but overall im happy. Really didn’t expect to get rims but couldn’t pass up the deal. Some still have the original valve stem and inner barrel stickers.
Messed around with my camera a bit. Sorry for so many pics
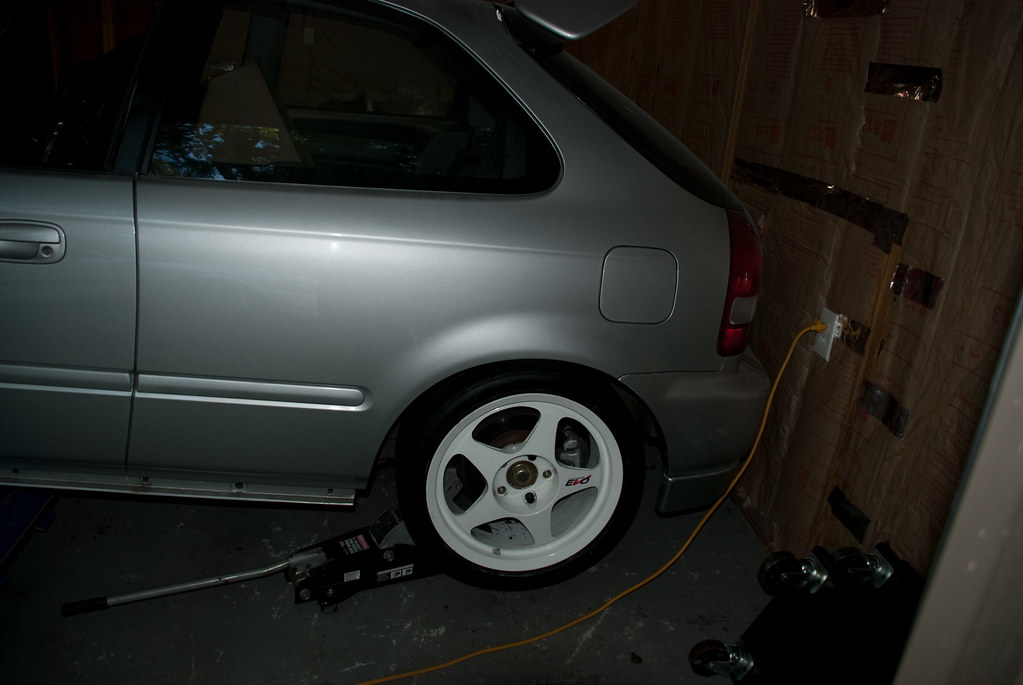
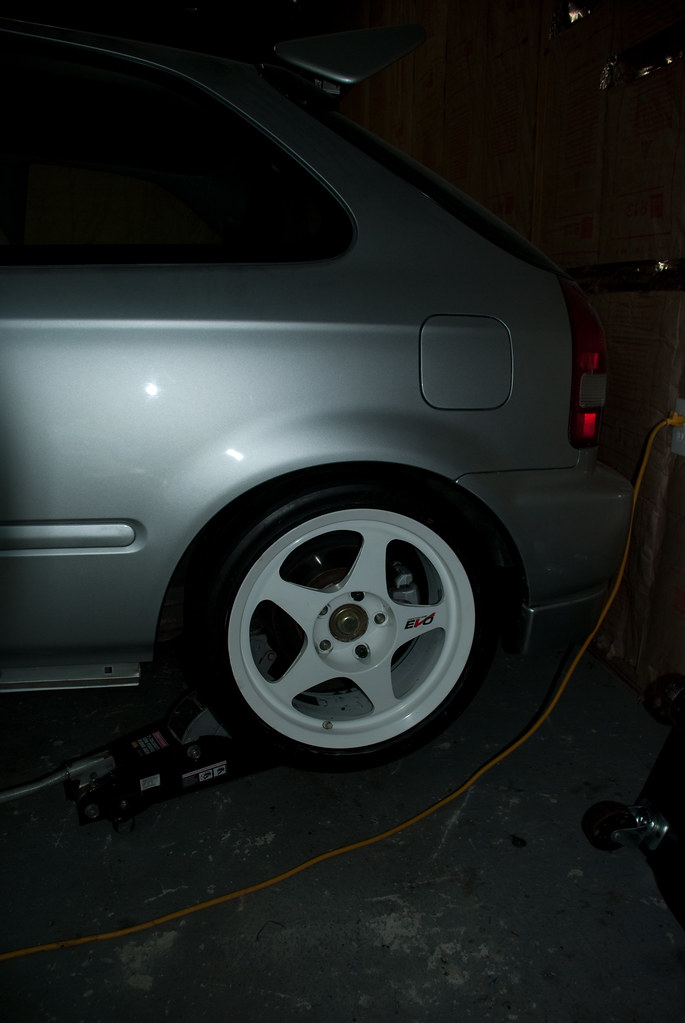
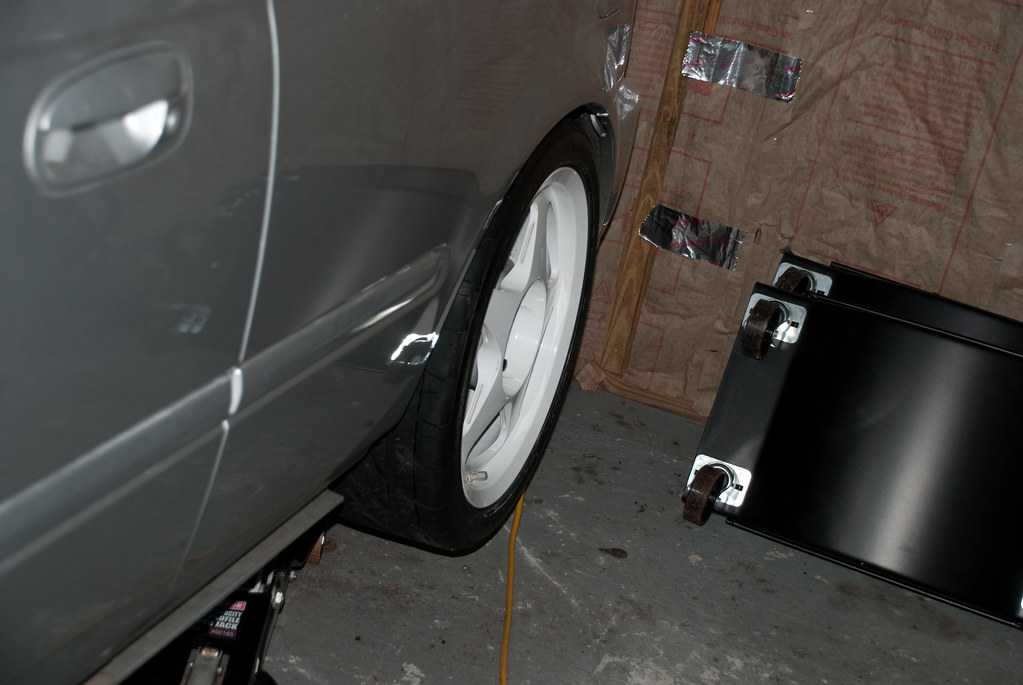
Little test fit of them on the rear. Wish my car was able to be on all four but this was enough for me
My stack of wheels that sit in my room!
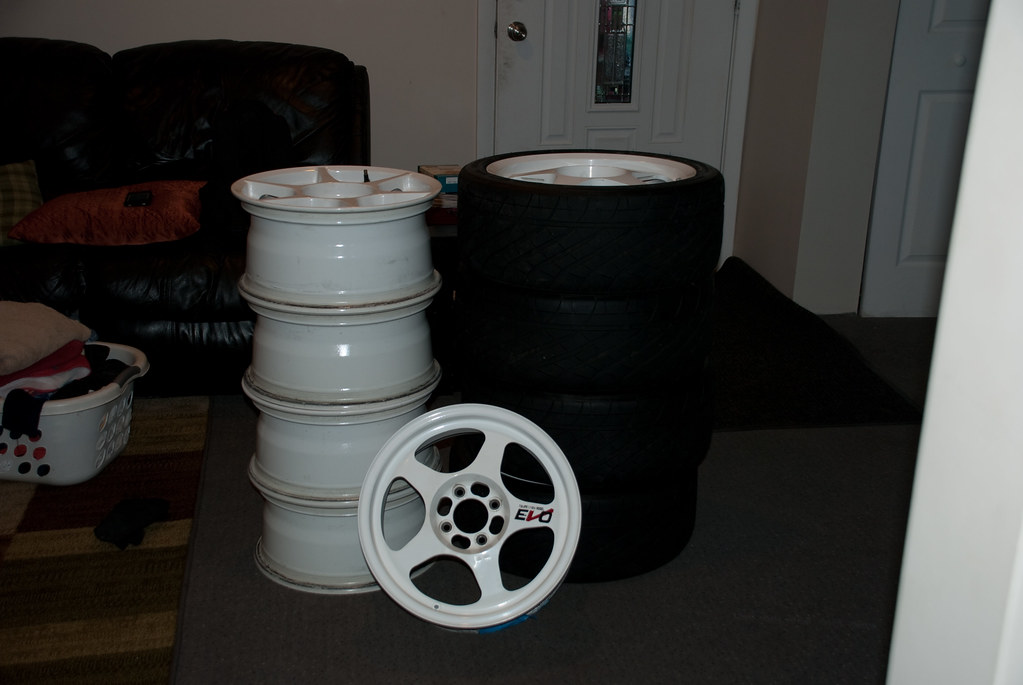
The 4 lug rega has been a wall ornament for years


 07-20-2011, 03:28 PM
#261
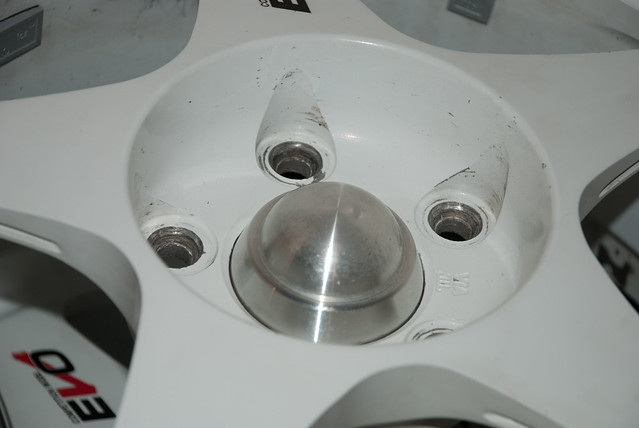
I found some Rare Regamaster Evo center caps for 5x114.3 from a local northeaster !
They need a little bit of work but picked them up for a good price. Will prob try and see what I can do to make them look better if not will prob send them somewhere to be repolished.
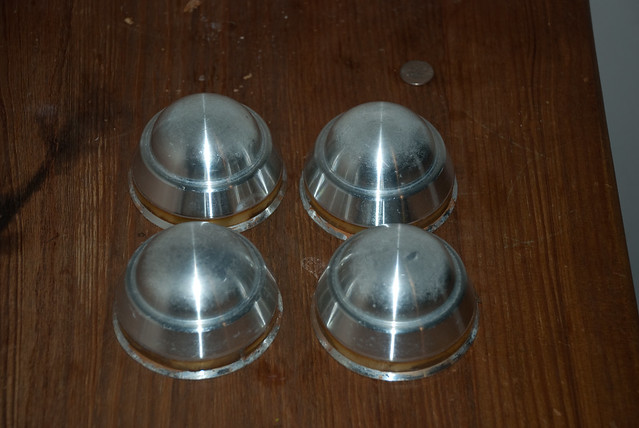
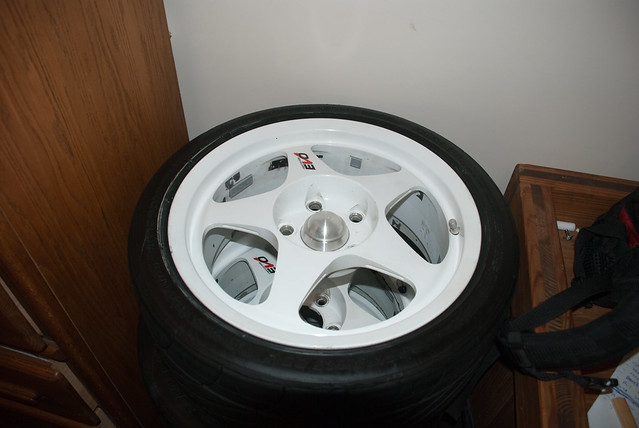
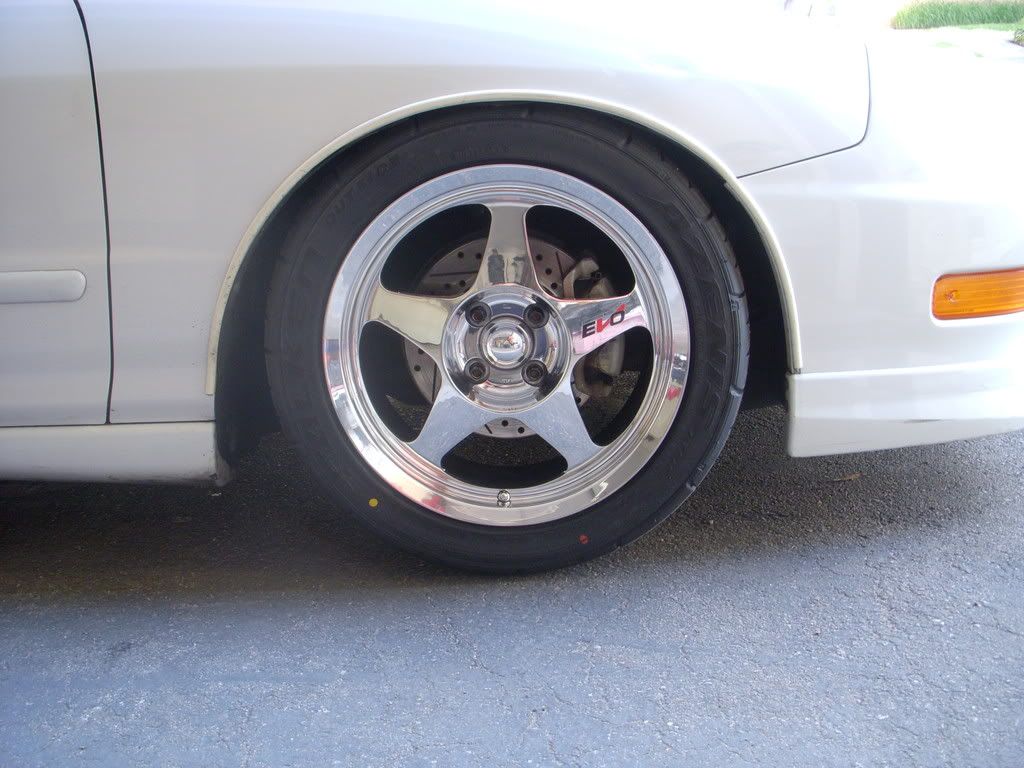
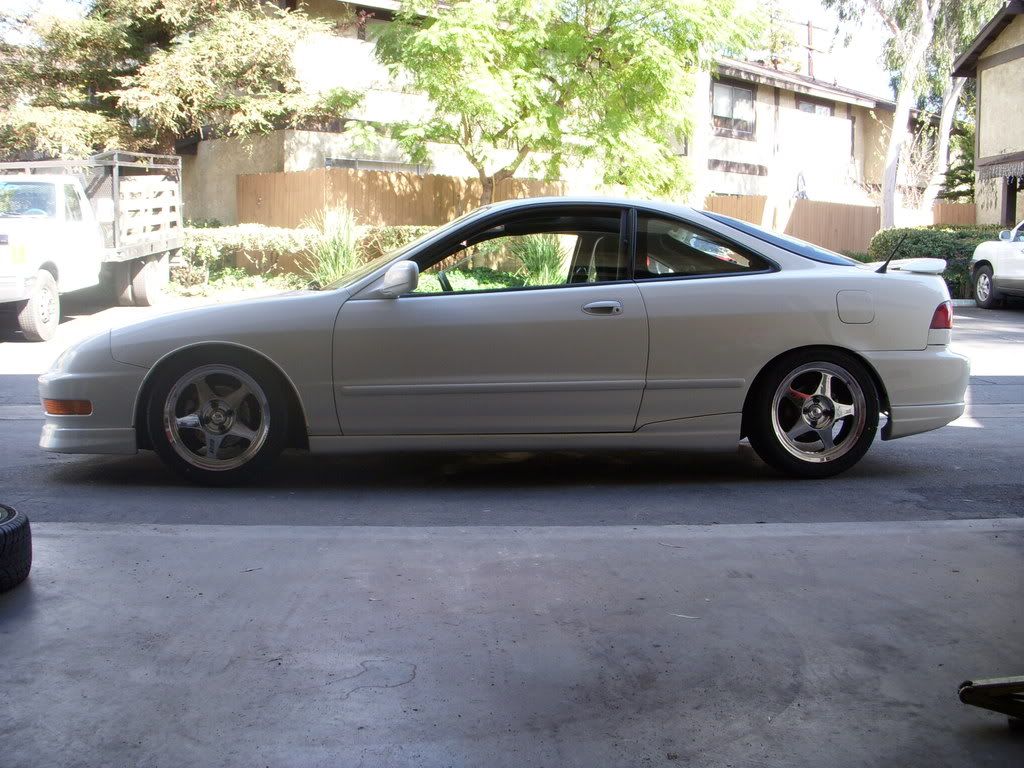
I think they look pretty good on the wheels it hides the old ugly dust caps in the rear and the axle nuts in the front. Here is an example of what they look like on a car.
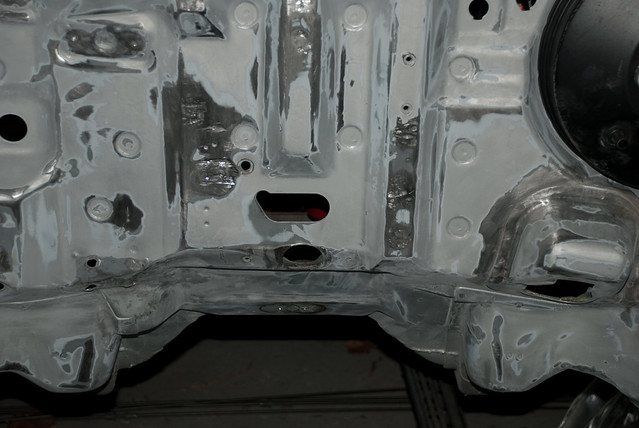
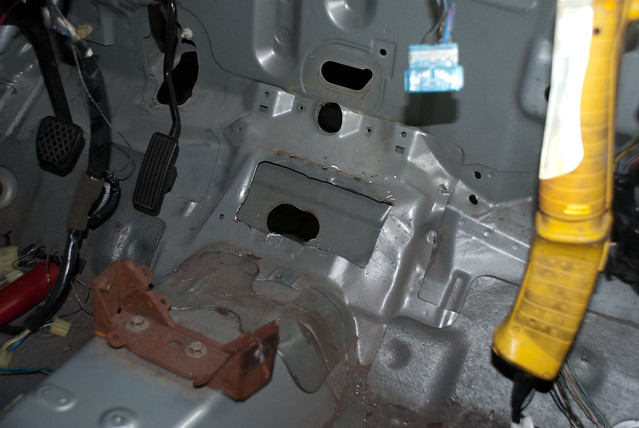
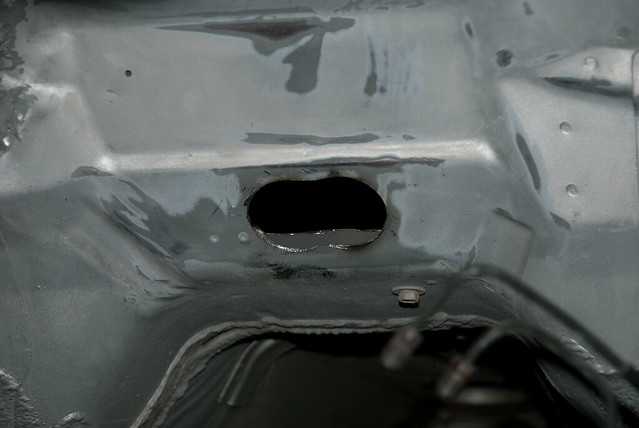
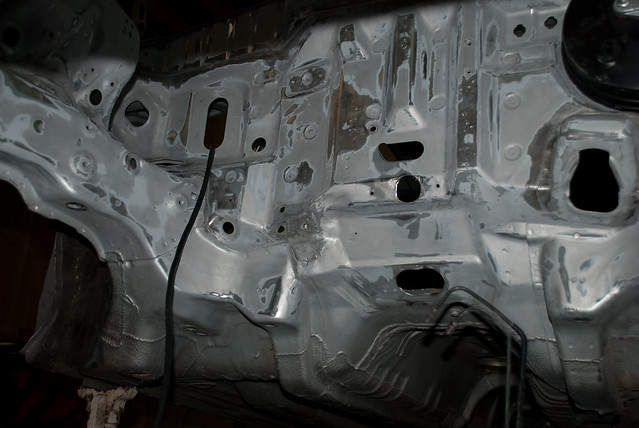
Drilled some holes in my engine bay which I hate doing but has to be done
This hole is for the engine harness this hole will be right near the subframe and rear mount. The harness will not be seen as much in this location. The extra hole that is there was from the old owner and the b series harness
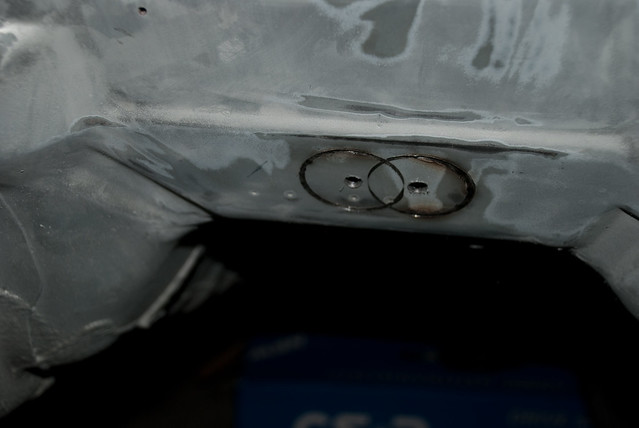
View from the inside
All done
They need a little bit of work but picked them up for a good price. Will prob try and see what I can do to make them look better if not will prob send them somewhere to be repolished.
I think they look pretty good on the wheels it hides the old ugly dust caps in the rear and the axle nuts in the front. Here is an example of what they look like on a car.
Drilled some holes in my engine bay which I hate doing but has to be done
This hole is for the engine harness this hole will be right near the subframe and rear mount. The harness will not be seen as much in this location. The extra hole that is there was from the old owner and the b series harness
View from the inside
All done
07-31-2011, 07:08 AM
#262
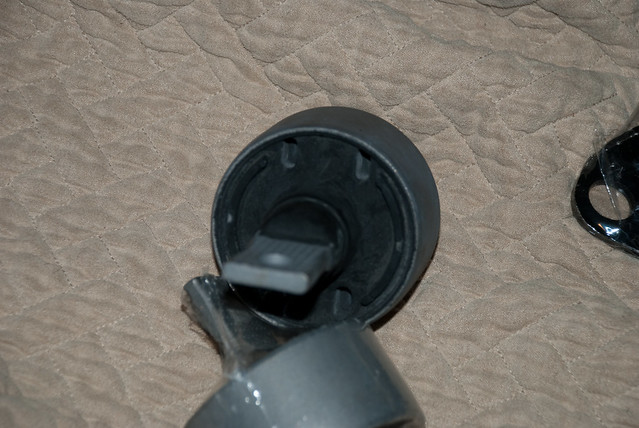
I received my Suja1/ Pic bushing kit
Little info
Complete replacement Hard Rubber Bushings. Uprated hardness rating (20-40% stiffer than stock) ensures greater longevity when paired with stiffer shocks and springs, stickier tires and the demands of competition use.
My only complaint would be no labels for the bushings I know where a majority of them go but some bushings look similar

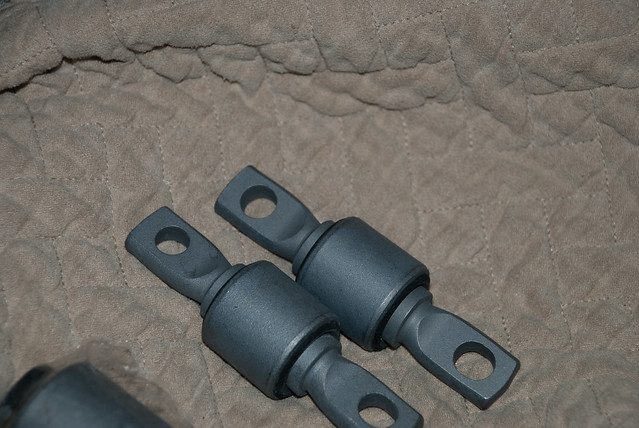
This order was a custom order I placed with Suja 1. Since my hatch has an eg/dc subframe and LCA I needed to place a custom ekk2 order from them. For others interested in this just make a phone call and they will take care of you!
They have great customer service there I had some problems with paypal (stupid iphone!) and they helped me solve it all!
Little info
Complete replacement Hard Rubber Bushings. Uprated hardness rating (20-40% stiffer than stock) ensures greater longevity when paired with stiffer shocks and springs, stickier tires and the demands of competition use.
My only complaint would be no labels for the bushings I know where a majority of them go but some bushings look similar
This order was a custom order I placed with Suja 1. Since my hatch has an eg/dc subframe and LCA I needed to place a custom ekk2 order from them. For others interested in this just make a phone call and they will take care of you!
They have great customer service there I had some problems with paypal (stupid iphone!) and they helped me solve it all!
07-31-2011, 10:59 AM
#263
Glad you went with those. Thats what Im getting too, its the way to go IMO. Hopefully you can get them on without too much hassle.
08-01-2011, 08:24 AM
#264
Honda-Tech Member

Join Date: Aug 2009
Location: indiana
Posts: 16
Likes: 0
Received 0 Likes
on
0 Posts
what's up crazy jets fan 22 how crazy is it that i was the person that bought your black eg off of you in 2009 your ek is looking good though
08-01-2011, 08:55 AM
#265
I missed that old gsr motor when I had my b16 the gsr moved! I do regret not getting it tuned that's for sure. I pm"d you
08-01-2011, 08:59 AM
#267
Honda-Tech Member
Join Date: Aug 2009
Location: indiana
Posts: 16
Likes: 0
Received 0 Likes
on
0 Posts
yeah its got a turbo now and looking really good she moves now i had issues after i bought it off of you idk if you knew anything about it but thats crazy that i did come across this
08-01-2011, 02:53 PM
#269
 08-01-2011, 04:03 PM
#270
Honda-Tech Member
It's cool man, I started reading on HT back in 06 - joined in 07 and started buying parts in 09. It's 2011 and I still don't have half of what I need to start or finish hehe, but I want to do it right so waiting is all good :D
08-03-2011, 05:36 PM
#272
Honda-Tech Member
08-03-2011, 09:52 PM
#273
Honda-Tech Member
any update on the powersteering thing? i was looking into doing a non power steering rack but it to hard to find one and i dont wanna loop it pm me how ur gunna do it if u havent done it yet cars looking good deff gunna watchi this build!
08-04-2011, 07:05 AM
#274
Thank man!
08-06-2011, 07:20 AM
#275
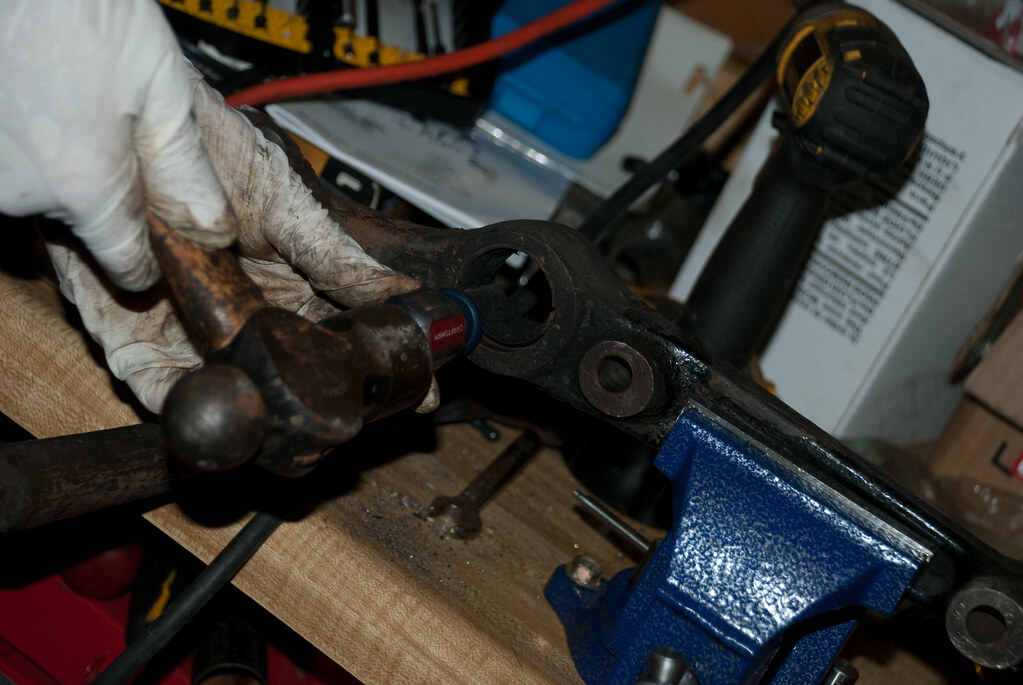
Started to get some pieces ready for new bushings and paint or powder coat.
Started with the front LCA.
Forgot to take a pic of the before but I got the center collars out with some force and some heat.
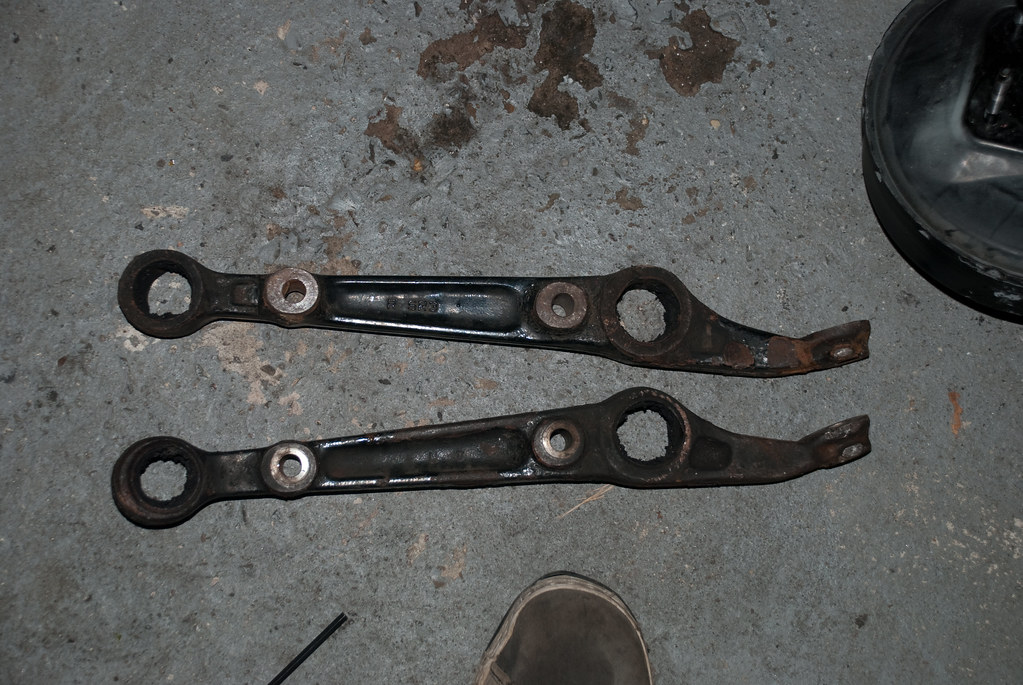
Next step using the good old sawall to cut the outer collar of the bushing

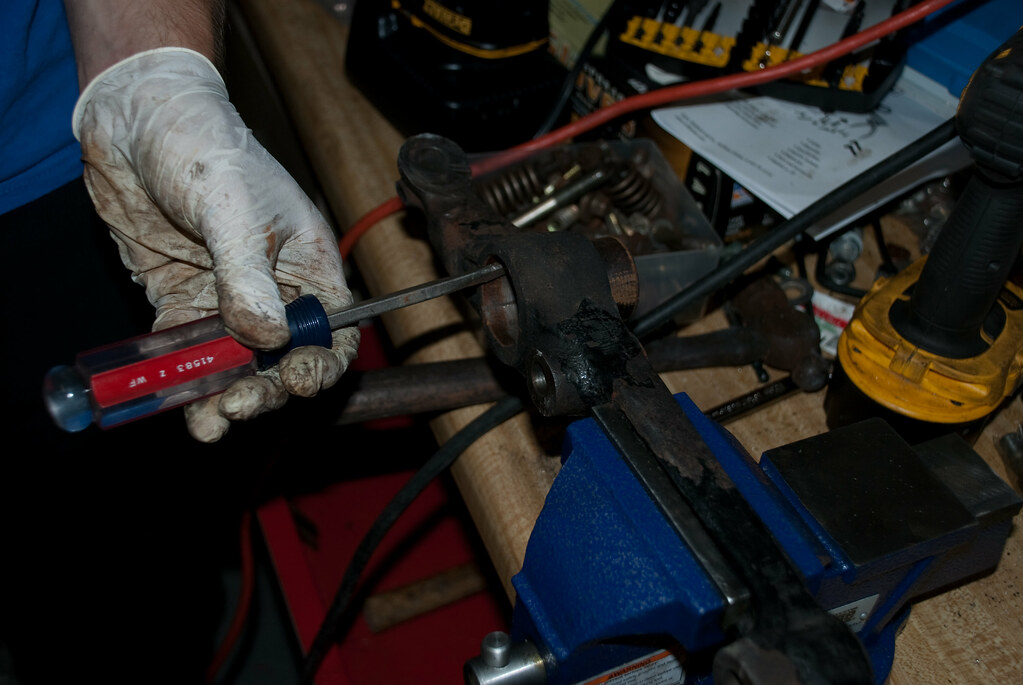
Made two slices with the saw and then used a hammer and screw driver to fold the collar up so it can be taken out.
Half way out
All out!
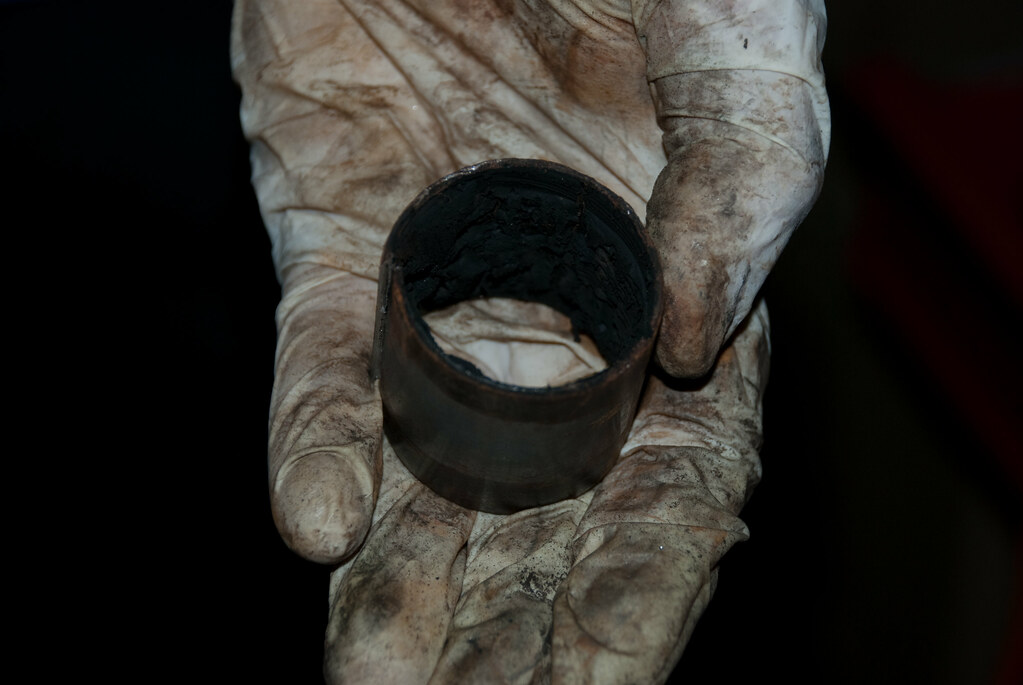
Now I need to sand blast them as well as a whole pile of other parts.
Started with the front LCA.
Forgot to take a pic of the before but I got the center collars out with some force and some heat.
Next step using the good old sawall to cut the outer collar of the bushing
Made two slices with the saw and then used a hammer and screw driver to fold the collar up so it can be taken out.
Half way out
All out!
Now I need to sand blast them as well as a whole pile of other parts.