
AWD-T EG Hatch build
 01-05-2014, 10:33 AM
#1
Honda-Tech Member
Thread Starter
Join Date: Sep 2006
Location: ct
Posts: 449
Likes: 0
Received 0 Likes
on
0 Posts
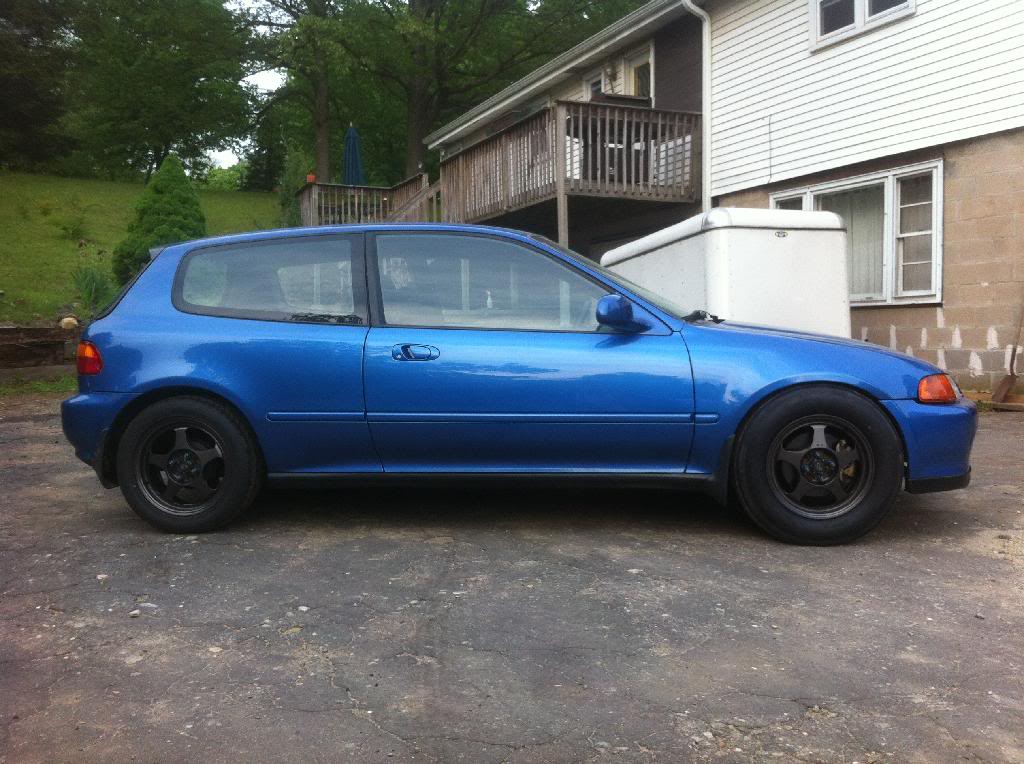
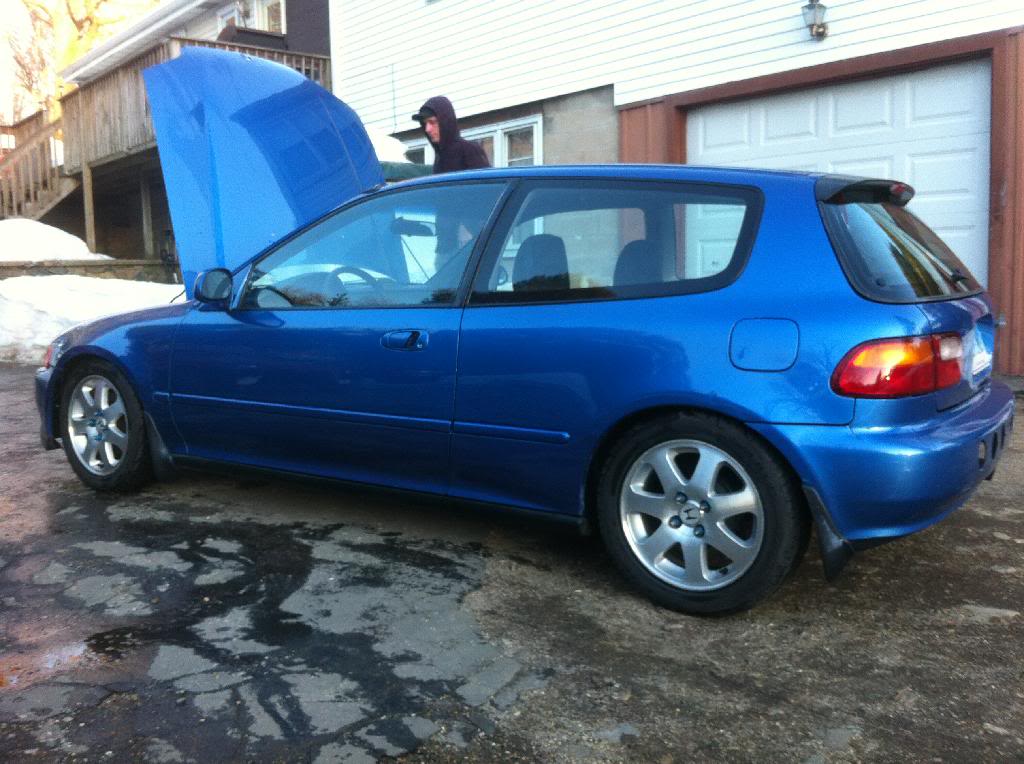
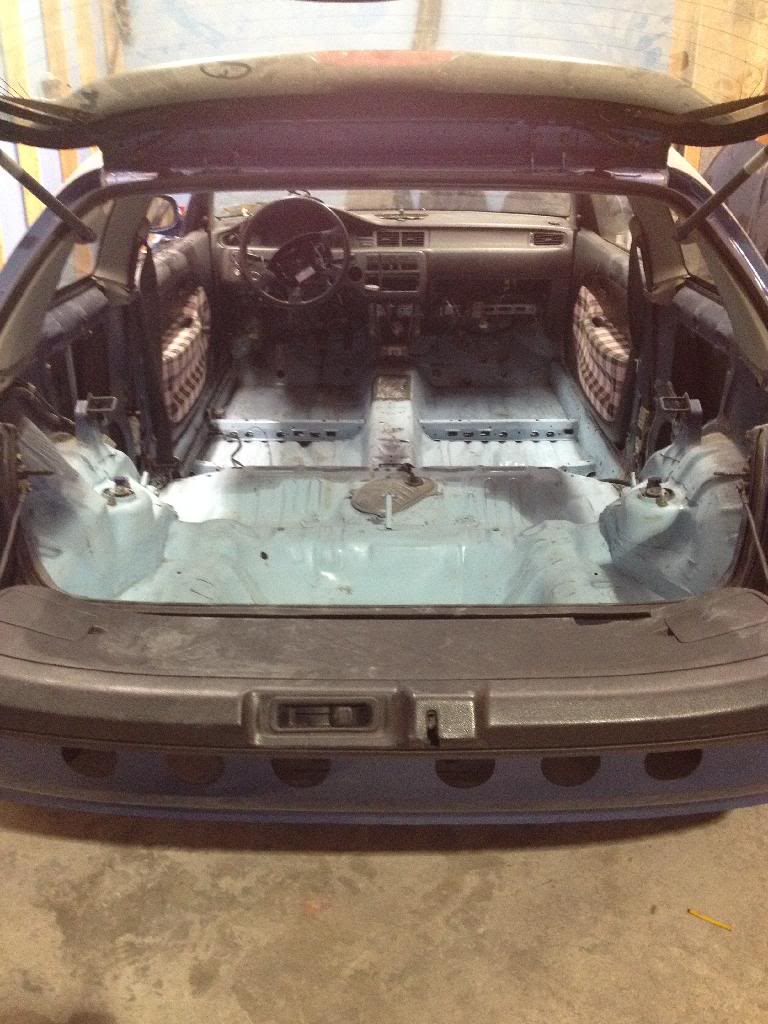
Sup ht? Started on my winter build a few months ago looking to have it running and driving by spring time. Little history on the car, I bought the car a little over a year ago with a k20a2 with a few bolt ons and daily drove it for a while. During the summer I installed a zex kit dry 50 shot car made 263whp and it was a blast! But as fall was approaching I decided I wanted another turbo car and I wanted to keep it simple and affective... So I started gathering parts and realized I wanted a little something out of the norm so I decided to make my car awd! Looking to make 400whp so much for being simple! Lol
When I daily drive the car
One time I brought the car the track full interior, full exhaust, pump gas, 50shot on 24.5's ran 11.8

Now onto the build
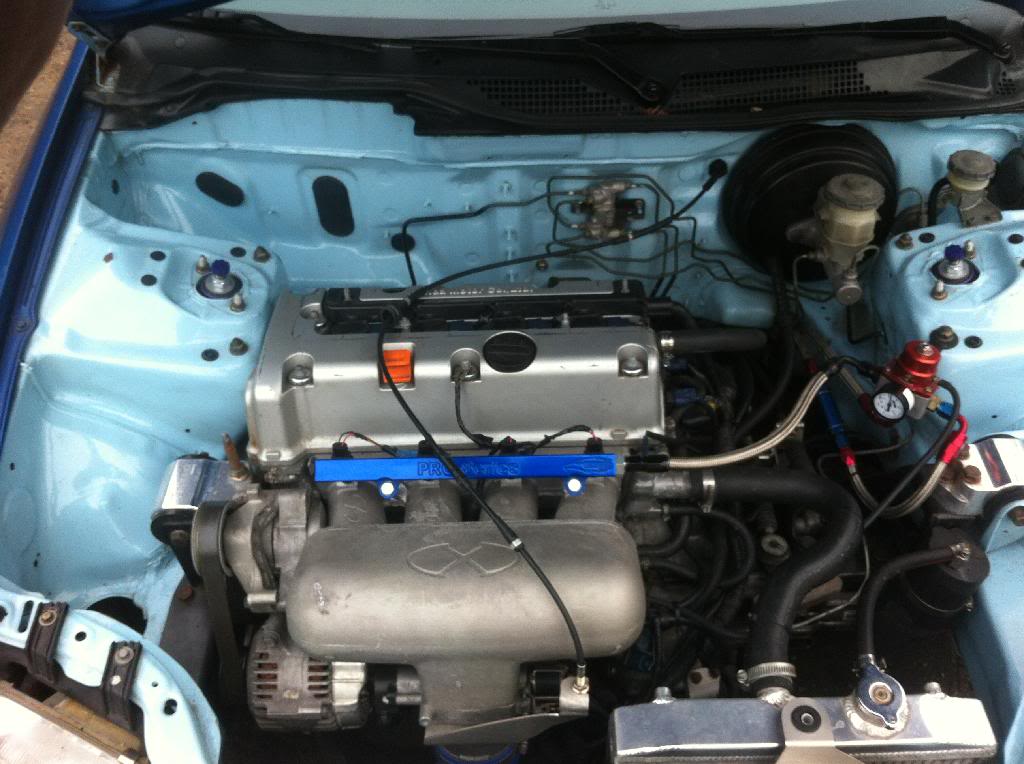
Engine
Stock a2 bottom end will arp rod bolts
Arp head studs
Hybrid tensioner
Stage 2 n/a cams
Super tech dual valve springs
Xesssive intake
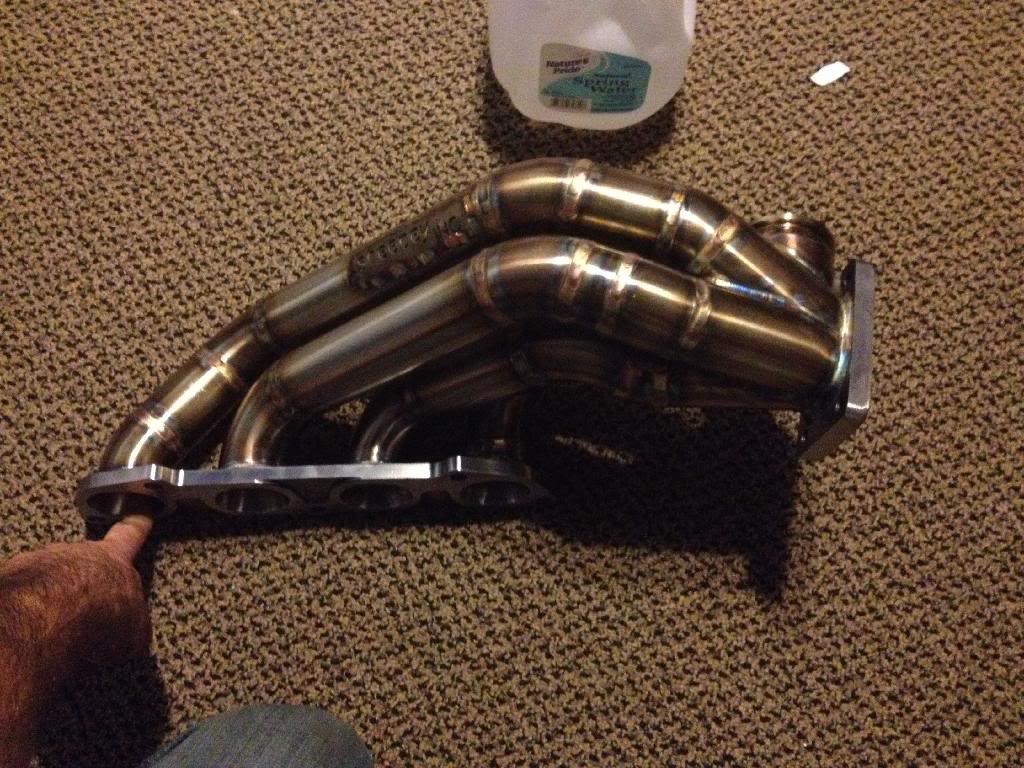
Turbo setup
Sheepey t3 sidewinder
Ball bearing 6262
Tial 44mm gate
Tial 50mm bov
Precision core I'm building the end tanks
Driveline
Still deciding on a clutch
03 crv trans/t case
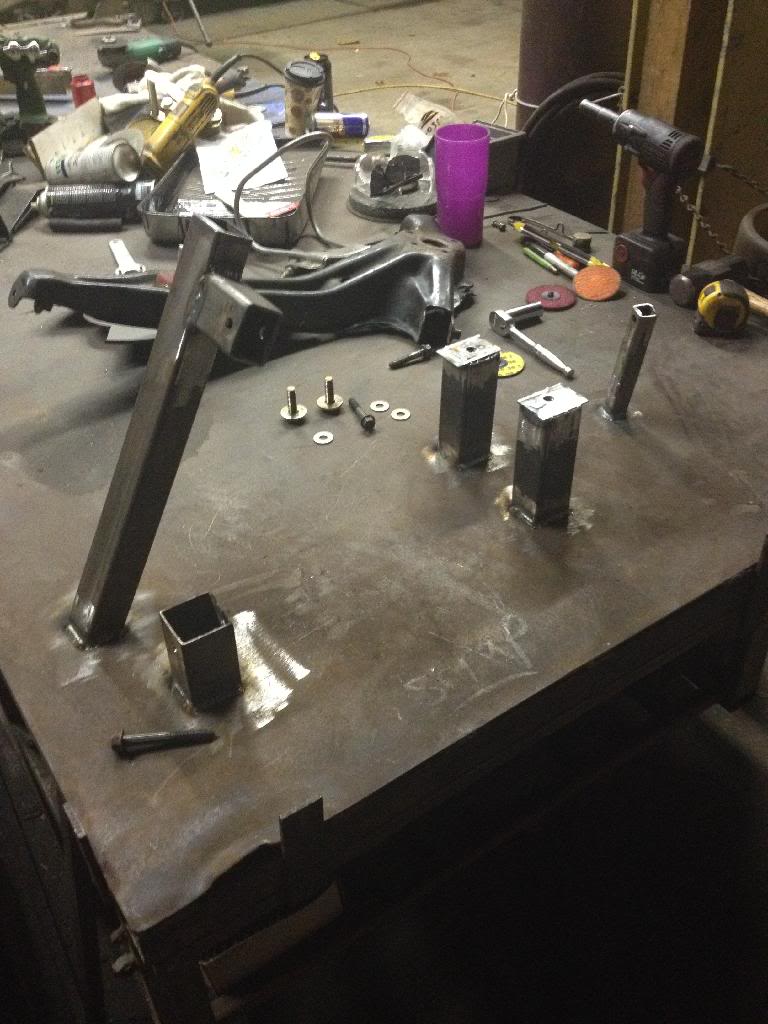
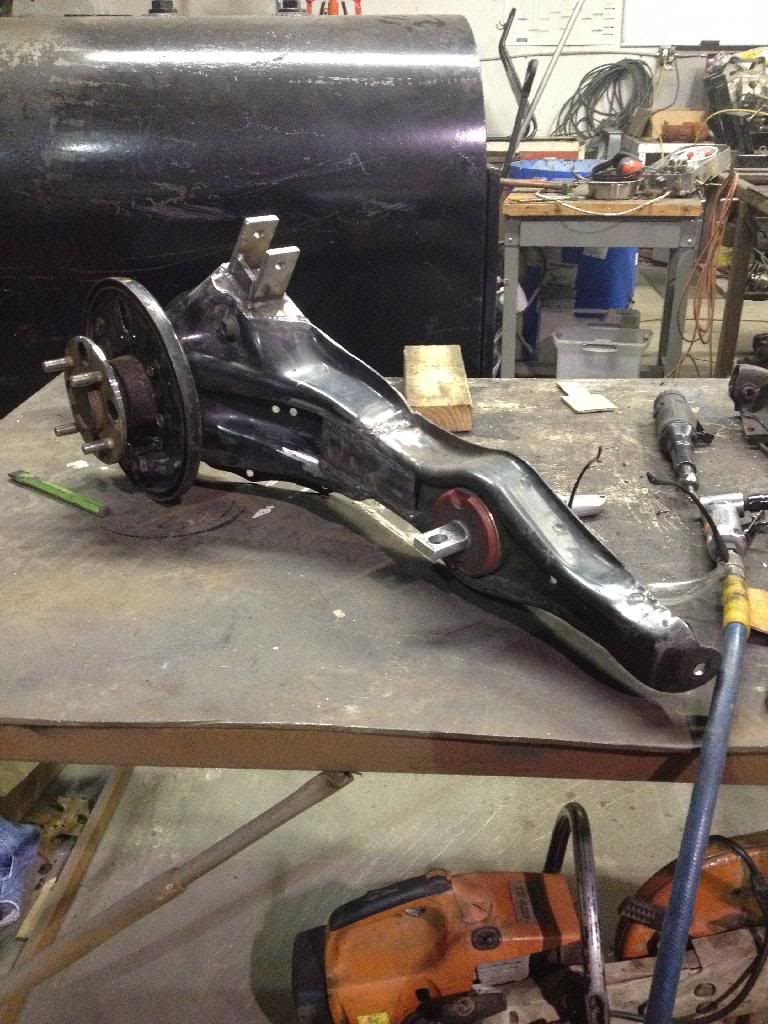
91 wagovan driveshaft, rear end, trailing arms
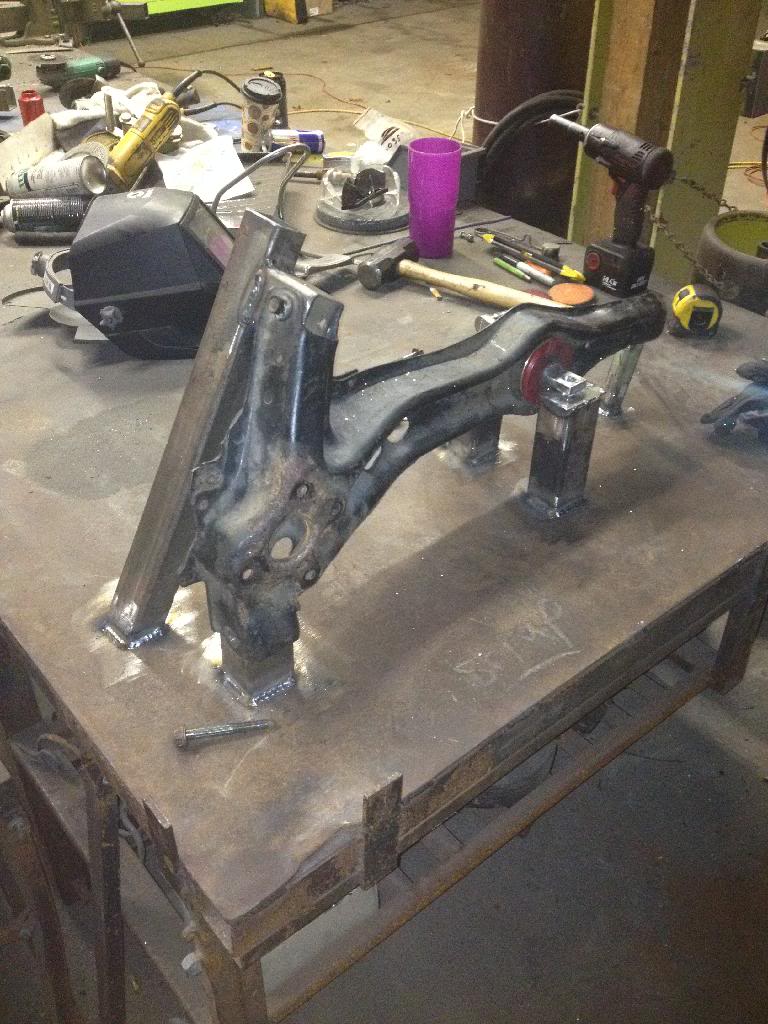
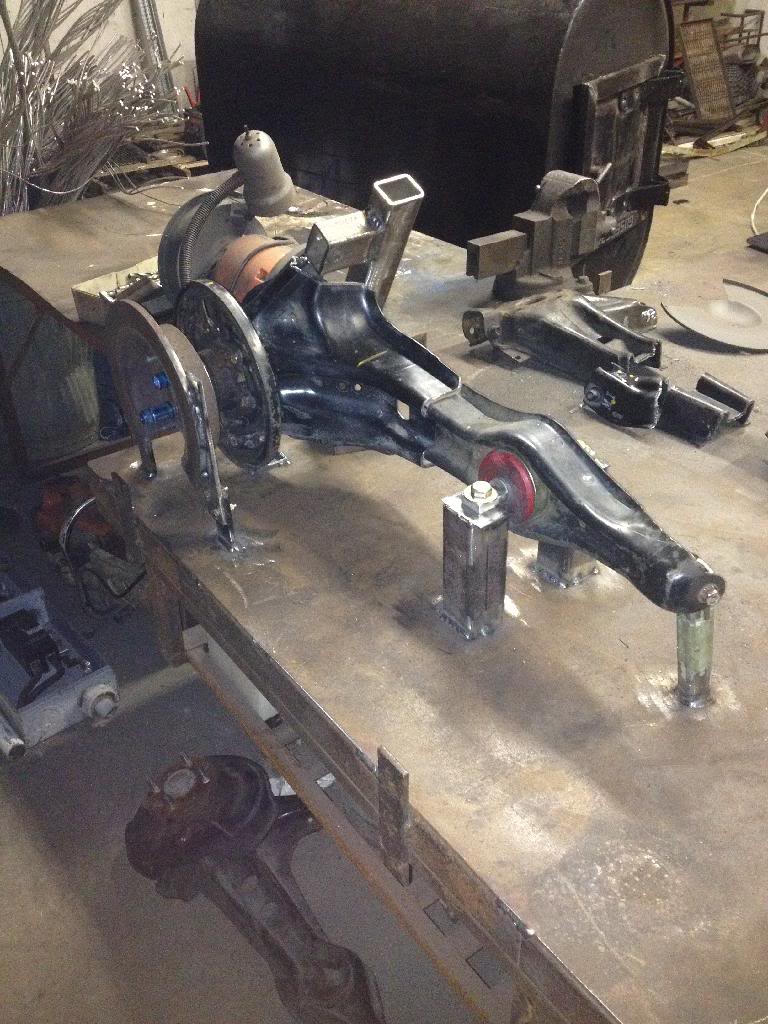
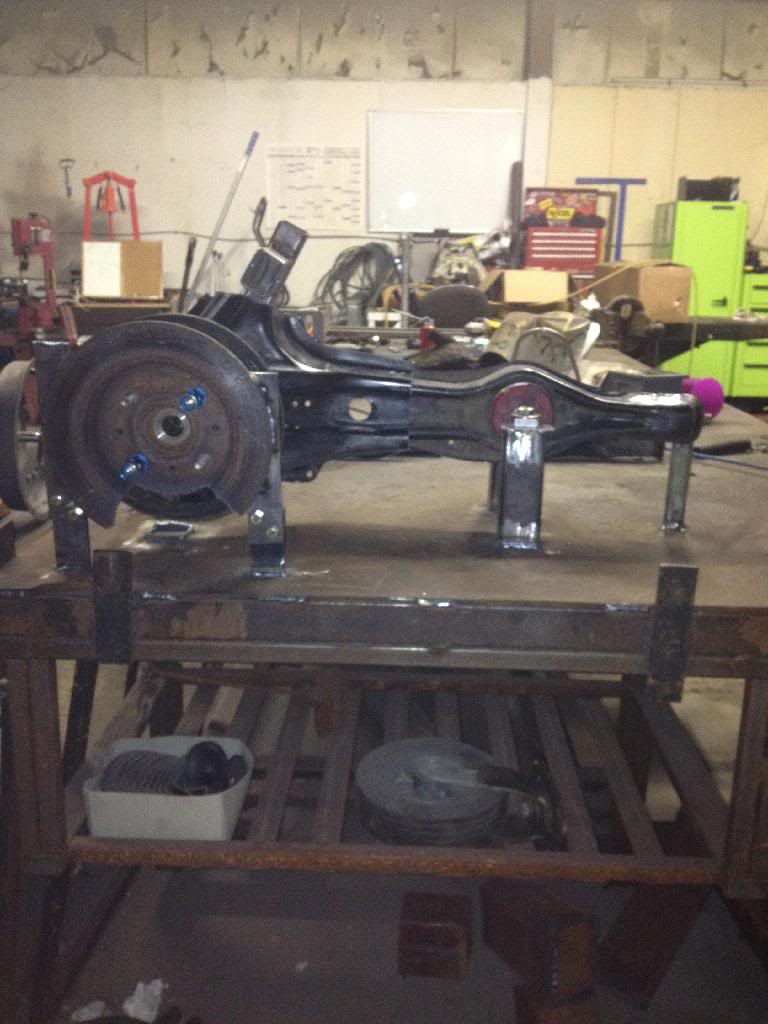
I sourced all the wagovan parts from a guy out of state that was parting out a whole car picked up everything I needed and some for $800 shipped to my door. First thing I had to do was build the trailing arms. The wagovan and civic trailing arms are very similar but once you start taking measurements there a quite a bit different. So what I did was built a jig for the factory civic trailing arm which gave me the mold to piece my customs arms together. I ended up using the front portion of the civic arm and the rear of the wagovan

When I daily drive the car
One time I brought the car the track full interior, full exhaust, pump gas, 50shot on 24.5's ran 11.8
Now onto the build
Engine
Stock a2 bottom end will arp rod bolts
Arp head studs
Hybrid tensioner
Stage 2 n/a cams
Super tech dual valve springs
Xesssive intake
Turbo setup
Sheepey t3 sidewinder
Ball bearing 6262
Tial 44mm gate
Tial 50mm bov
Precision core I'm building the end tanks
Driveline
Still deciding on a clutch
03 crv trans/t case
91 wagovan driveshaft, rear end, trailing arms
I sourced all the wagovan parts from a guy out of state that was parting out a whole car picked up everything I needed and some for $800 shipped to my door. First thing I had to do was build the trailing arms. The wagovan and civic trailing arms are very similar but once you start taking measurements there a quite a bit different. So what I did was built a jig for the factory civic trailing arm which gave me the mold to piece my customs arms together. I ended up using the front portion of the civic arm and the rear of the wagovan
Last edited by 93egboosted; 01-05-2014 at 05:05 PM.
 01-05-2014, 10:45 AM
#2
Honda-Tech Member
Thread Starter
Join Date: Sep 2006
Location: ct
Posts: 449
Likes: 0
Received 0 Likes
on
0 Posts
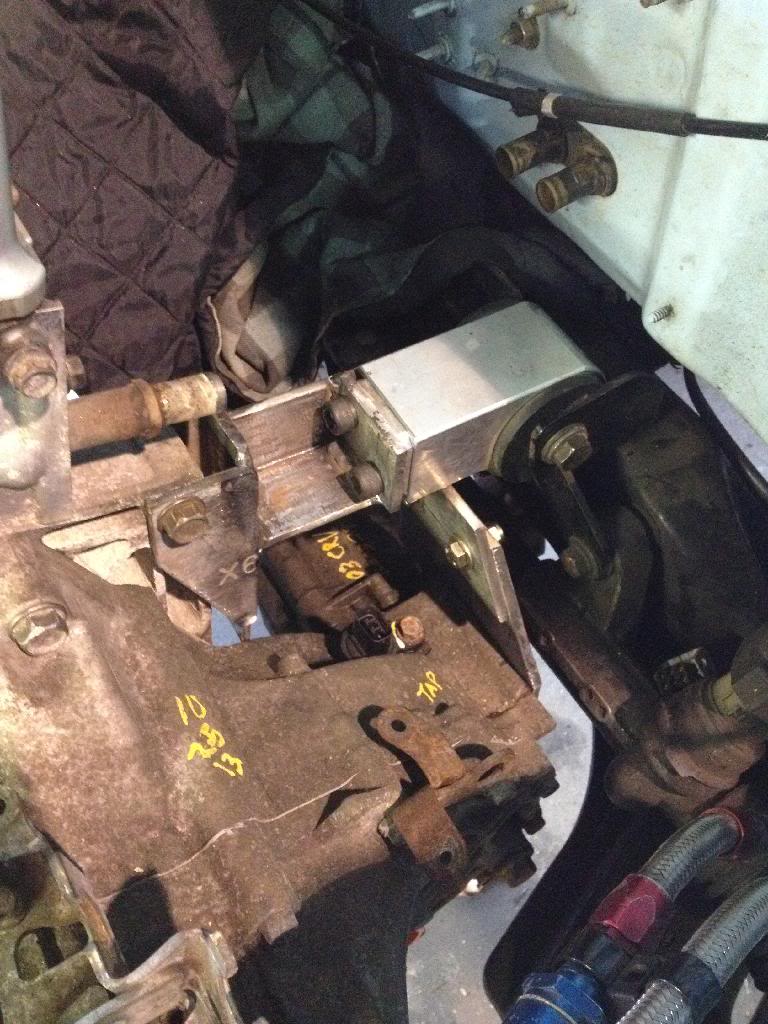
For the tranny Im using a 03 crv 5speed trans and t case. The rsx and crv have the same bolt pattern for the trans mount to the body! Winning! But the rear mount to the subframe isn't. So I had to build my own
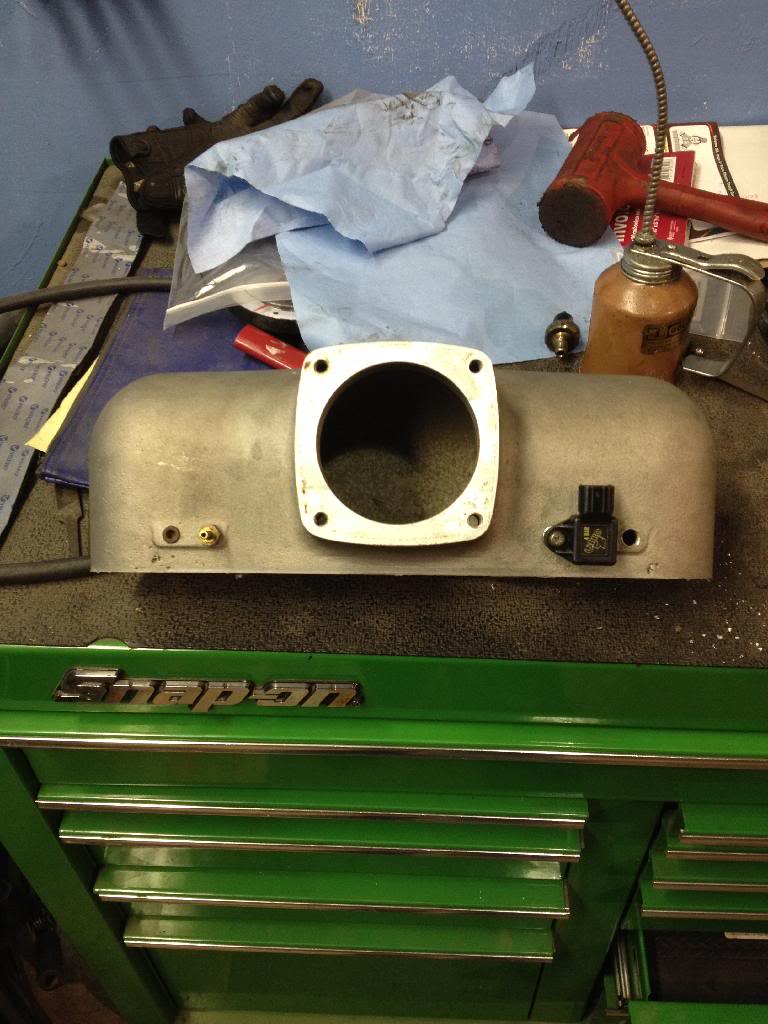
This weekend I spelt a little time on mocking up my intercooler end tanks, going to get material this week to finish them up. Piping should be here this week
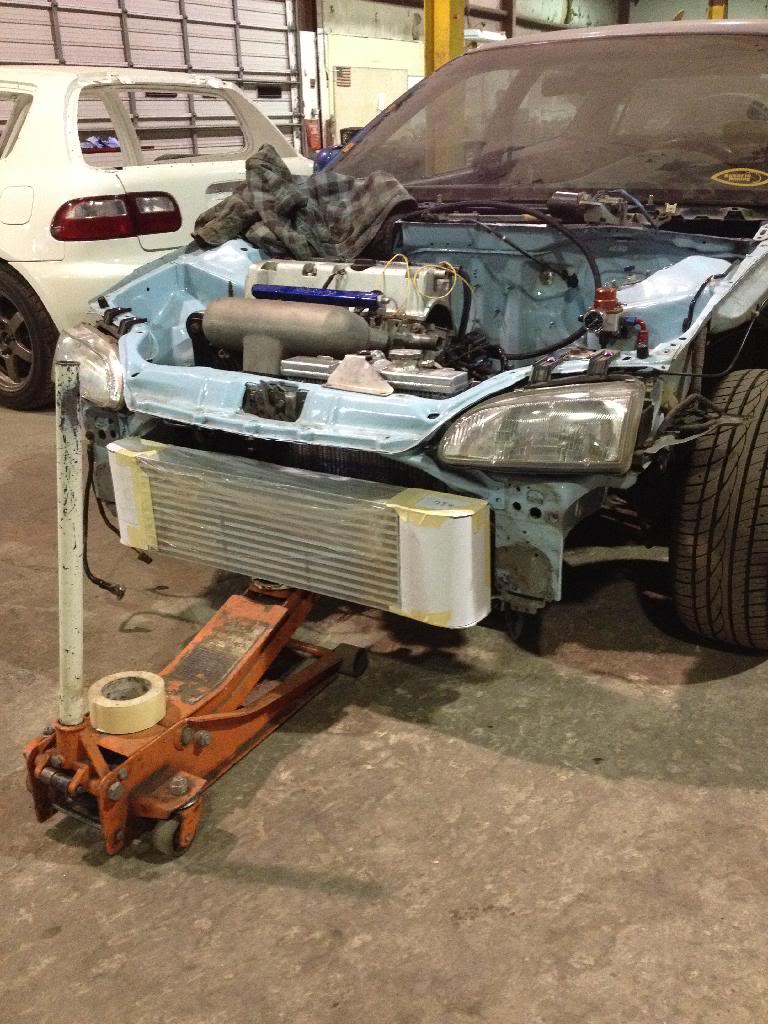
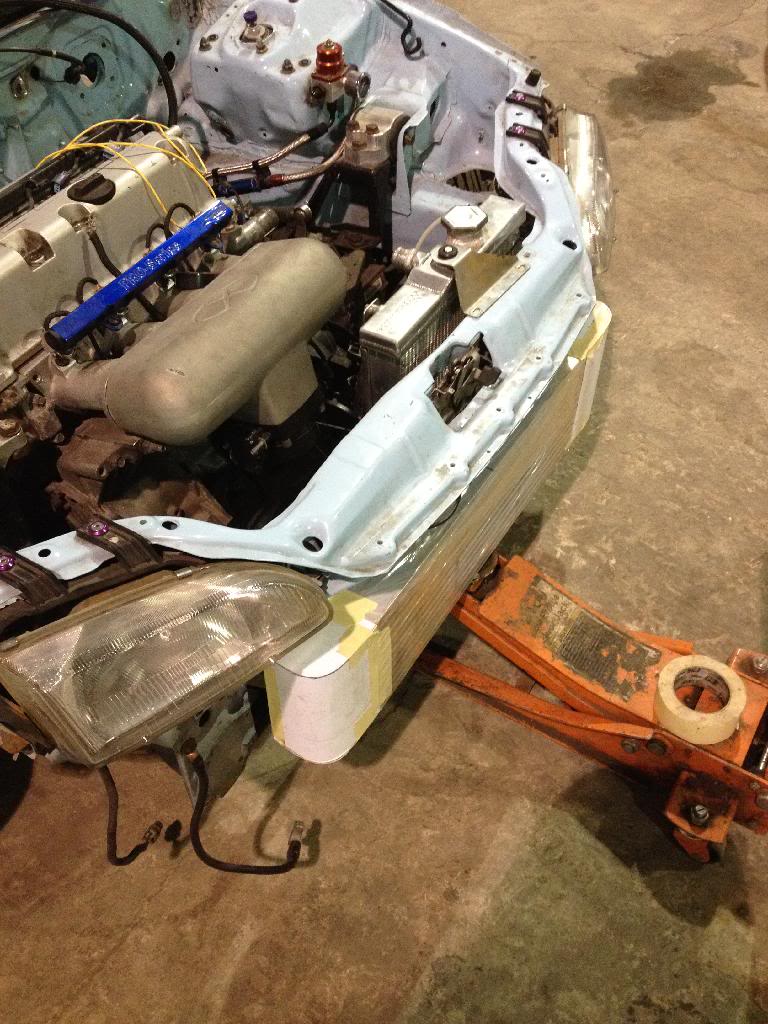
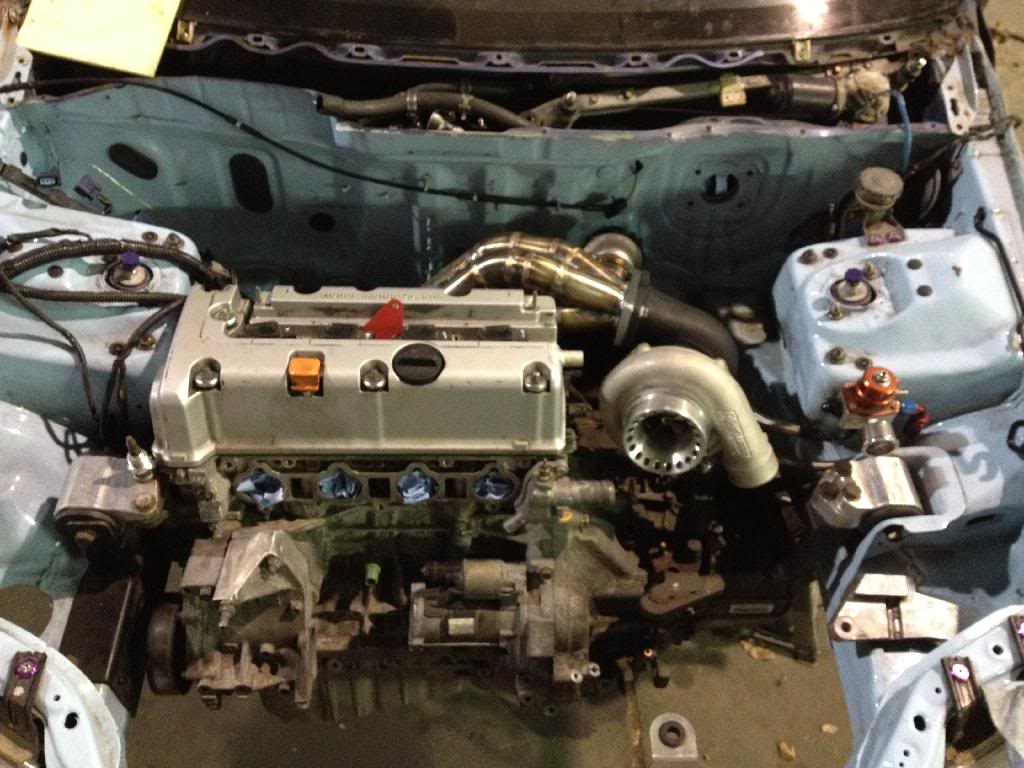
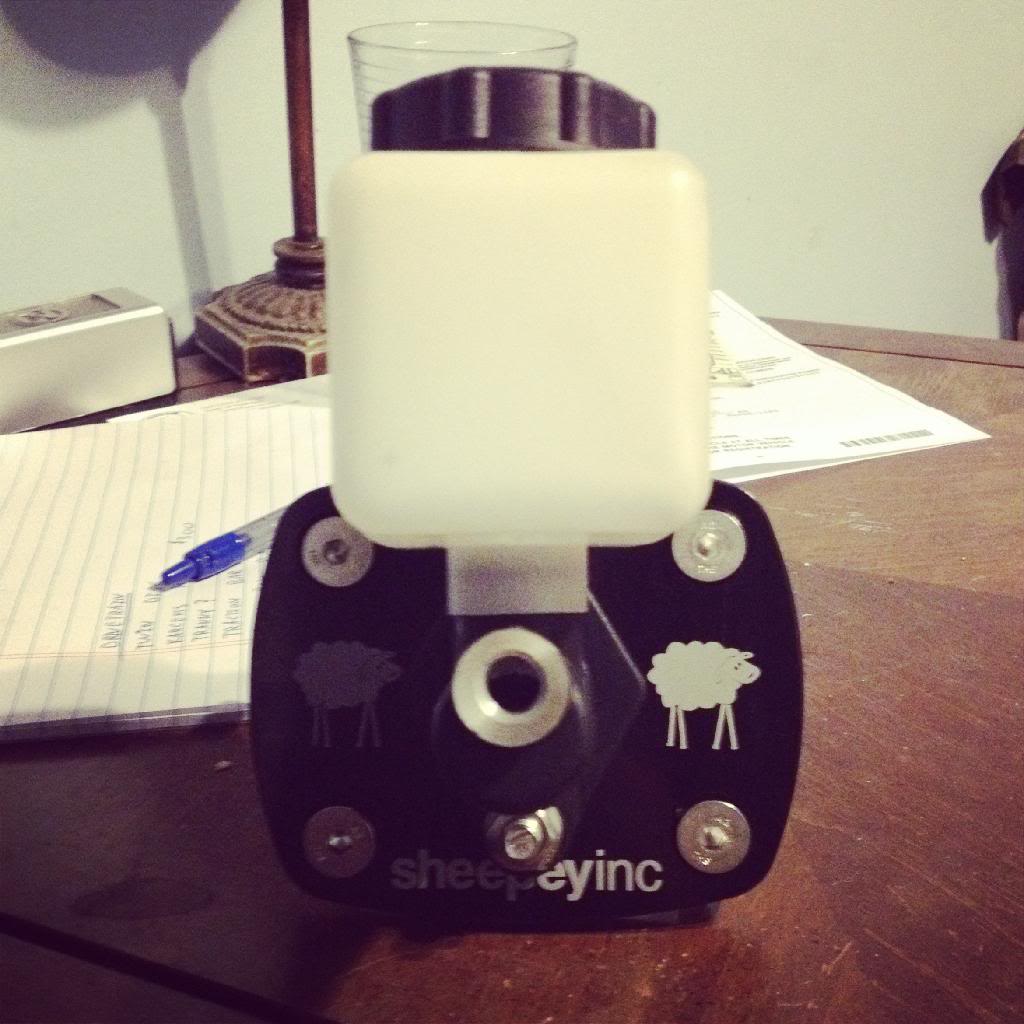
Couple pics of the turbo mock up

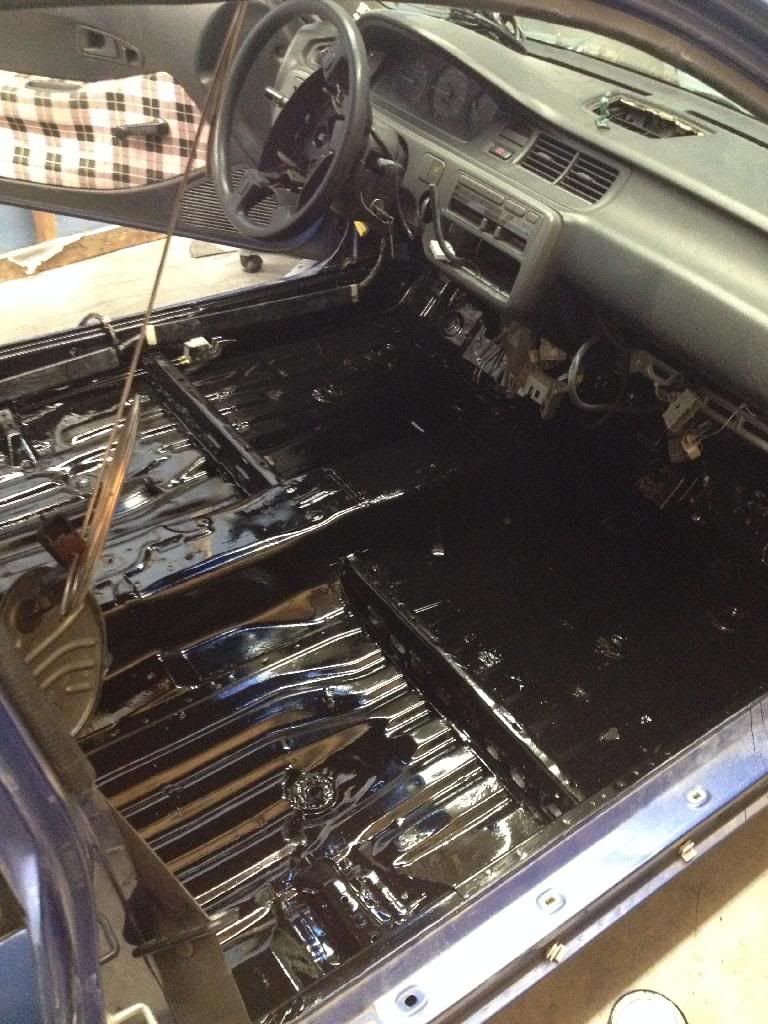
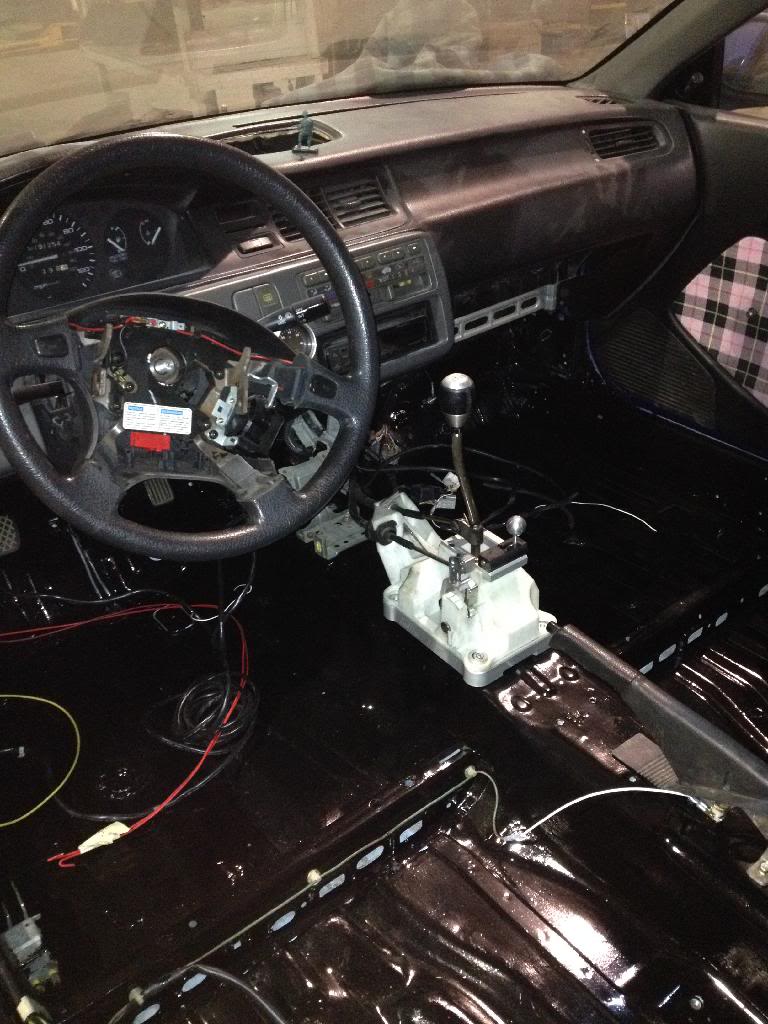
I couldn't stand the color someone painted the interior of the car so I recently painted it gloss black and also mocked up my shifter box
This weekend I spelt a little time on mocking up my intercooler end tanks, going to get material this week to finish them up. Piping should be here this week
Couple pics of the turbo mock up
I couldn't stand the color someone painted the interior of the car so I recently painted it gloss black and also mocked up my shifter box
Last edited by 93egboosted; 01-05-2014 at 11:51 AM.
01-05-2014, 10:50 AM
#3
Honda-Tech Member
Thread Starter
Join Date: Sep 2006
Location: ct
Posts: 449
Likes: 0
Received 0 Likes
on
0 Posts
Haha sorry man! But knowing people have interest will give me more ambition to keep going with it! And yes I'm working on better pics
01-05-2014, 11:11 AM
#4
Honda-Tech Member
Thread Starter
Join Date: Sep 2006
Location: ct
Posts: 449
Likes: 0
Received 0 Likes
on
0 Posts
01-05-2014, 11:57 AM
#5
Honda-Tech Member
Thread Starter
Join Date: Sep 2006
Location: ct
Posts: 449
Likes: 0
Received 0 Likes
on
0 Posts
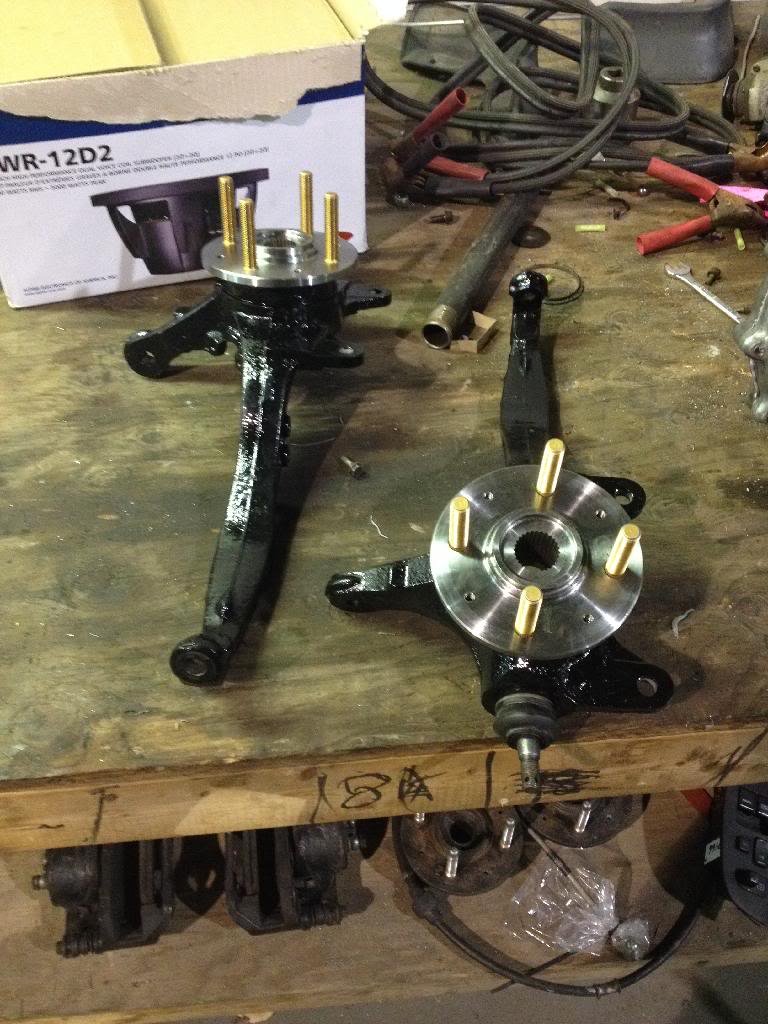
Dug up a few more photos of parts and progress made
Integra spindals karcepts 36mm hubs new bearings and painted up nice and fresh
Omni 4bar map installed on my xecessive IM
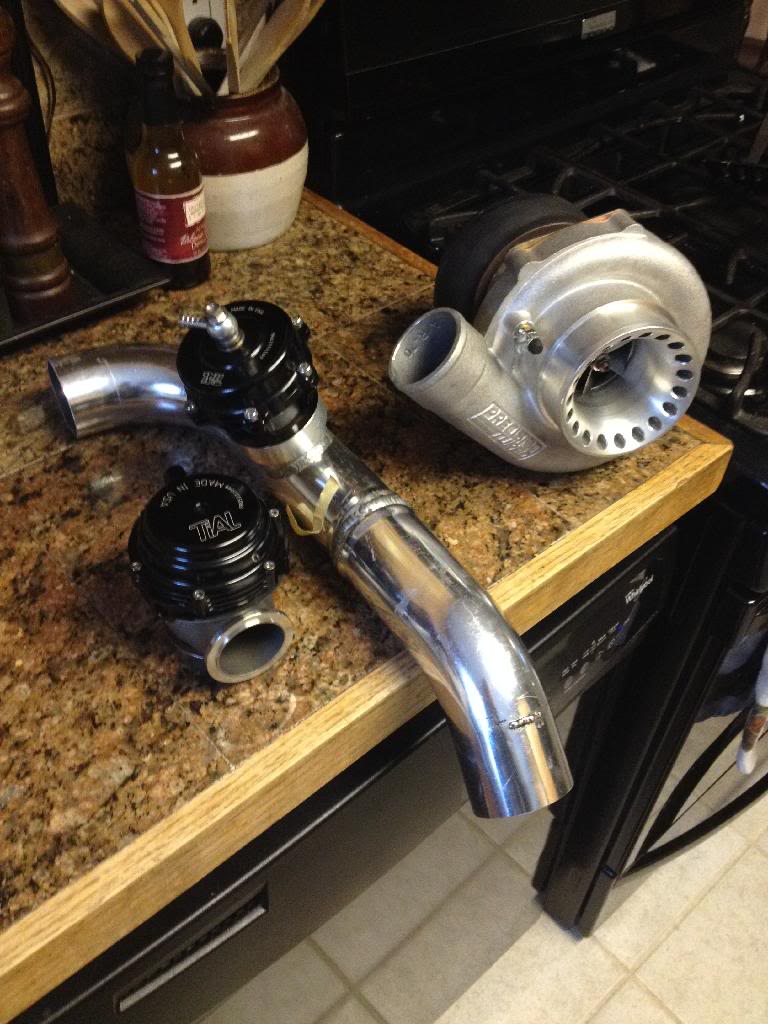
Ball bearing 6262 82a/r 4bolt discharge tiall 44mm gate and 50mm bov
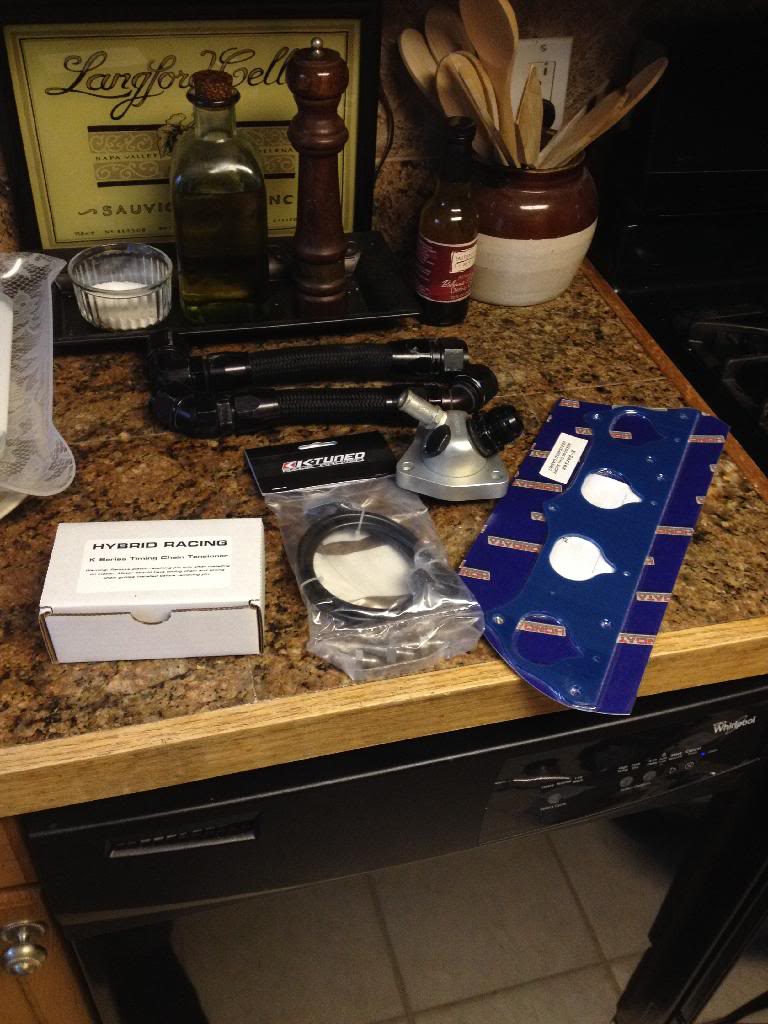
Couple misc parts
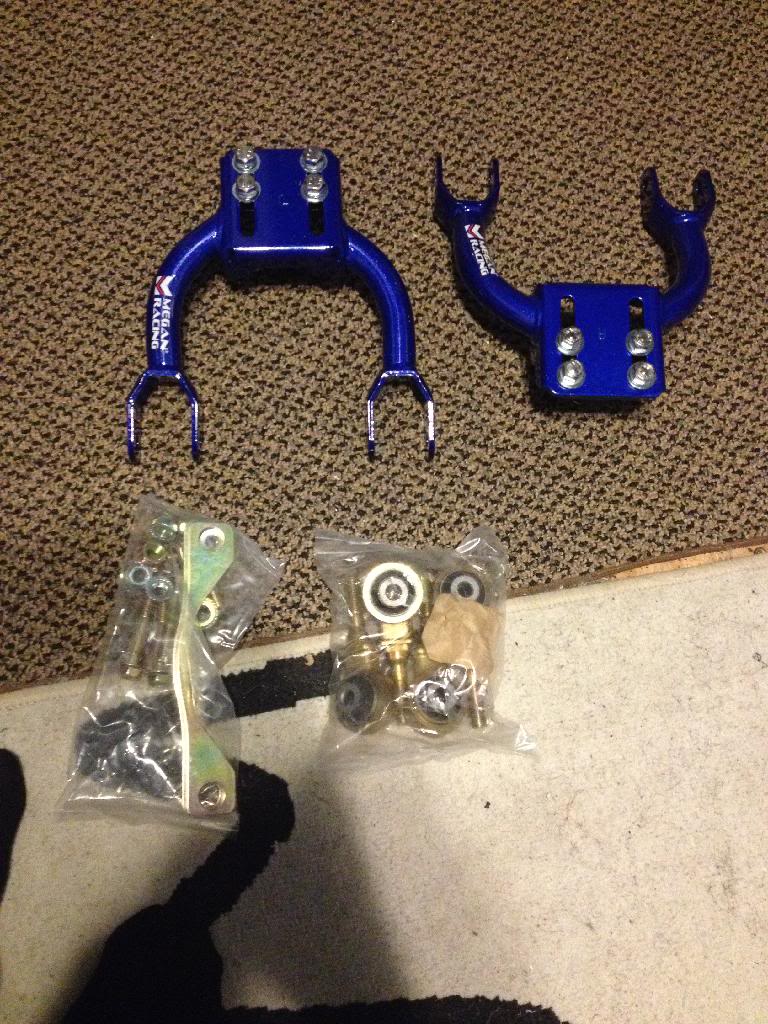

Integra spindals karcepts 36mm hubs new bearings and painted up nice and fresh
Omni 4bar map installed on my xecessive IM
Ball bearing 6262 82a/r 4bolt discharge tiall 44mm gate and 50mm bov
Couple misc parts
01-05-2014, 12:11 PM
#7
Honda-Tech Member

Join Date: Jan 2010
Posts: 162
Likes: 0
Received 0 Likes
on
0 Posts
Wow man I can't wait to see this build, I am very interested in how you are gonna mount the dif, not too much info out there about how people re secure the rear subframe. Hella stoked on this build. Can't wait to see it further along.
Trending Topics
01-05-2014, 12:36 PM
#8
Honda-Tech Member
Thread Starter
Join Date: Sep 2006
Location: ct
Posts: 449
Likes: 0
Received 0 Likes
on
0 Posts
John
01-05-2014, 12:56 PM
#9
Honda-Tech Member
Join Date: Jan 2010
Posts: 162
Likes: 0
Received 0 Likes
on
0 Posts
Please make like a write up, or atleast lots of pics of how you mount the rear diff, any parts you used, gauges of metal you use ect, I would really like to do this in the future.
01-05-2014, 01:07 PM
#10
Honda-Tech Member
Thread Starter
Join Date: Sep 2006
Location: ct
Posts: 449
Likes: 0
Received 0 Likes
on
0 Posts
Will do, I'm not expert on fab work but I consider myself to have a good eye when it comes to building stuff. But yes ill post up some good photos when I get to that part
01-05-2014, 01:19 PM
#11
I really love this build. You look to be an excellent fabber going all out with his craft. I am impressed and will keep this thread in my daily read.
01-05-2014, 01:31 PM
#12
Honda-Tech Member
Thread Starter
Join Date: Sep 2006
Location: ct
Posts: 449
Likes: 0
Received 0 Likes
on
0 Posts
John
01-05-2014, 02:28 PM
#13
Honda-Tech Member
Join Date: Oct 2001
Location: usa
Posts: 2,274
Likes: 0
Received 0 Likes
on
0 Posts
hey bud glad you made thread and keep going man be done soon. i have to say glad that final drive racing in ct can help with supplying parts for this build. gonna be great man
01-05-2014, 02:57 PM
#14
Honda-Tech Member

Join Date: May 2011
Posts: 10
Likes: 0
Received 0 Likes
on
0 Posts
looks good john. I'll swing by shop tomorrow to def check this out. Keep this post on top because this is such a great guy when it comes to building cars. inspired me when I first met him. keep up the good work bro
01-05-2014, 03:02 PM
#15
Honda-Tech Member
Thread Starter
Join Date: Sep 2006
Location: ct
Posts: 449
Likes: 0
Received 0 Likes
on
0 Posts
Thanks Brian! Anyone need parts? This guy right here can hook you up! Every ktuned part on my car came from him!
01-05-2014, 03:03 PM
#16
Honda-Tech Member
Thread Starter
Join Date: Sep 2006
Location: ct
Posts: 449
Likes: 0
Received 0 Likes
on
0 Posts
Thanks Keys! See you tomorrow! More progress to come!!
 01-06-2014, 02:57 PM
#19
PHANTOM MENACE
iTrader: (2)
Join Date: May 2005
Location: SYCUAN NINE, CA, USA
Posts: 6,042
Likes: 0
Received 3 Likes
on
3 Posts
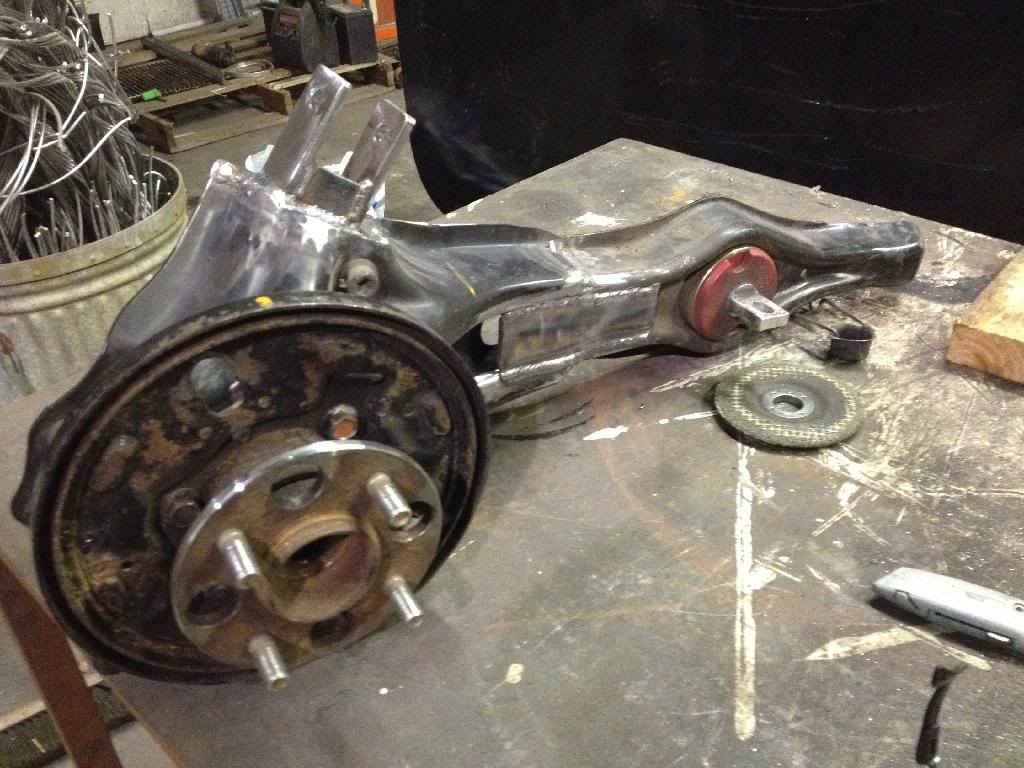
In all honesty, that has got to be the cleanest rear trailing arm mash up I've ever seen for an AWD conversion. I think what I like about your approach is the simplicity of making a jig to fit your needs. Even the merging of the two arms and the new mounting point for the camber arm is so simple. This right here is the perfect example of K.I.S.S. Much props to you sir. 
01-06-2014, 06:40 PM
#21
Honda-Tech Member
Thread Starter
Join Date: Sep 2006
Location: ct
Posts: 449
Likes: 0
Received 0 Likes
on
0 Posts
In all honesty, that has got to be the cleanest rear trailing arm mash up I've ever seen for an AWD conversion. I think what I like about your approach is the simplicity of making a jig to fit your needs. Even the merging of the two arms and the new mounting point for the camber arm is so simple. This right here is the perfect example of K.I.S.S. Much props to you sir.
John

