When you click on links to various merchants on this site and make a purchase, this can result in this site earning a commission. Affiliate programs and affiliations include, but are not limited to, the eBay Partner Network.
Hell yea I love it! Never thought I�d pay $1000 for a beach cruiser but the ladies is actually cooler. That headlight works off a generator in the hub same with her rear light. Also has a mud flap too. Can�t see the detail but stenciled real nice with a ton of city names it�s way cooler than mine
Nice to see you're going to K swap this thing! Im picking up a crv block this spring and hoping to drop it in next winter and make around high 280whp low 290whp
I might still go b series to keep it budget friendly. Added up everything I wanted to do going K like eg subframe etc and it was getting too pricey for an old Civic. Think I’m gonna b16b with 98+ 4.7 final drive ITR trans for now. We will see though interior is next :/
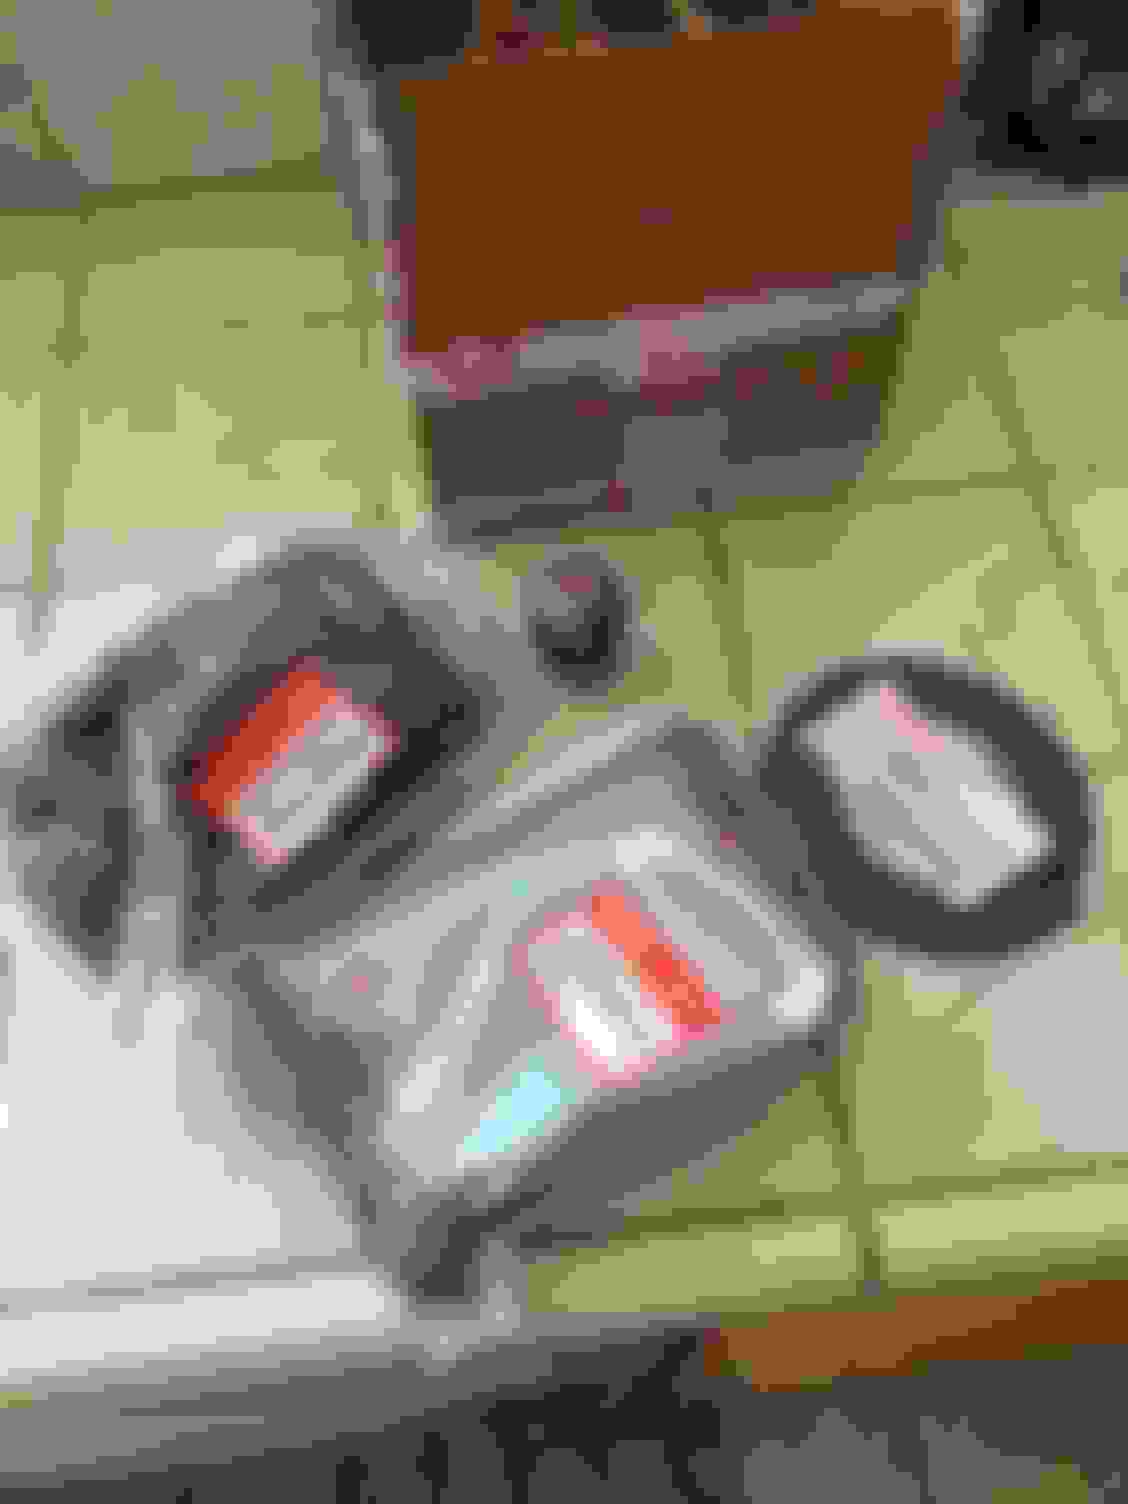
Totally forgot I bought these. Was off eBay and ended up being an inline4 box that showed up, I thought they were out of business
new ek9 shift boot, radio block off plate and another s2000 bumper molding for the rear lip. Bought the shift **** used even then they’re a damn rip off O_O
I’m slowly buying interior pieces now so I can hopefully just convert it all over in one shot. Really not excited to redo the headliner and paint trim pieces though. Just ordered some more stuff but I’ll wait until it’s here and I’ve got the car to install it all for photos
im sure I can google a write up but what all was required to do your headliner?
I feel ya, I've been rushing it lately. Waiting on the paycheck to pull the trigger on a few more things to tidy the rest up. My biggest qualm is the dash, I really want to spray it black as well but don't feel like pulling it.
As far as the headliner goes, I used...
3M Automotive Headliner glue
1/4 Foam backed black suede automotive headliner fabric
Screwdrivers, picks, and interior removal tools. (The plastic trim tools really helped on the install to tuck the headliner back into place behind the plastic panels.)
Simple socket set (the side panels above the seatbelts needs to be removed, at the very least pulled back, and I think they require a 14mm to get off)
and time.
That's honestly it. Just remove everything attached to the headliner (all easily pops out or unscrews), and remove the bolts holding in the front seatbelts (so you can pull the b pillar panels back further). Don't be afraid to pull hard on the a,b and c pillar panels, they are sometimes tough to remove.
Once everything is removed, just slide the headliner forward towards the front of the window and pull it out from behind all the pillar panels. It should easily pull out of the hatch after that. You still have your rear seats, so I would lower those down to give you more space.
Once you have it removed, pull the old fabric off and rub the old orange foam off as much as you can. Then spray both sides and lay the fabric over the cardboard. I suggest making small holes in the fabric where things will be re-attached. The hardest part was re-installing the rear view mirror and the sun visors, the foam backing makes it a pain. I had a buddy help me here as your arms will definitely get a work out. If you choose foam backed fabric like mine, I suggest buying a larger screw to hold the main light in the middle of the headliner. With the foam backing, the original screw isn't long enough to reach the thin metal that it threads in to. The thin metal also easily bends if you try to apply pressure to the screw in order to thread it.
Also just make sure the environment is good with the glue, I did mine while it was cold out and the glue didn't spray well and didn't really adhere immediately.
I think that's it...kind of a wall of text, but hopefully some of it is helpful. Just PM me if you run into any problems haha!
Watching both of these builds very closely. I'm loving what I see so far, guys!
Originally Posted by ssmrico
looking good
Originally Posted by 0c00l
Cant wait to see it all back together!
Originally Posted by BoBaFreak
Dat Phoenix Yedoh?!?
Originally Posted by danteisme
This thing is going to look so good!
Originally Posted by Ericjergs
This is gonna be sweet!
Thank you guys. Got a ton of stuff to put on it when I get it back, still no word on when though. Hoping to get it all back together and make our regions first autocross on the 7th-8th and then a track day on the 29th. Might take the new CTR for that though.
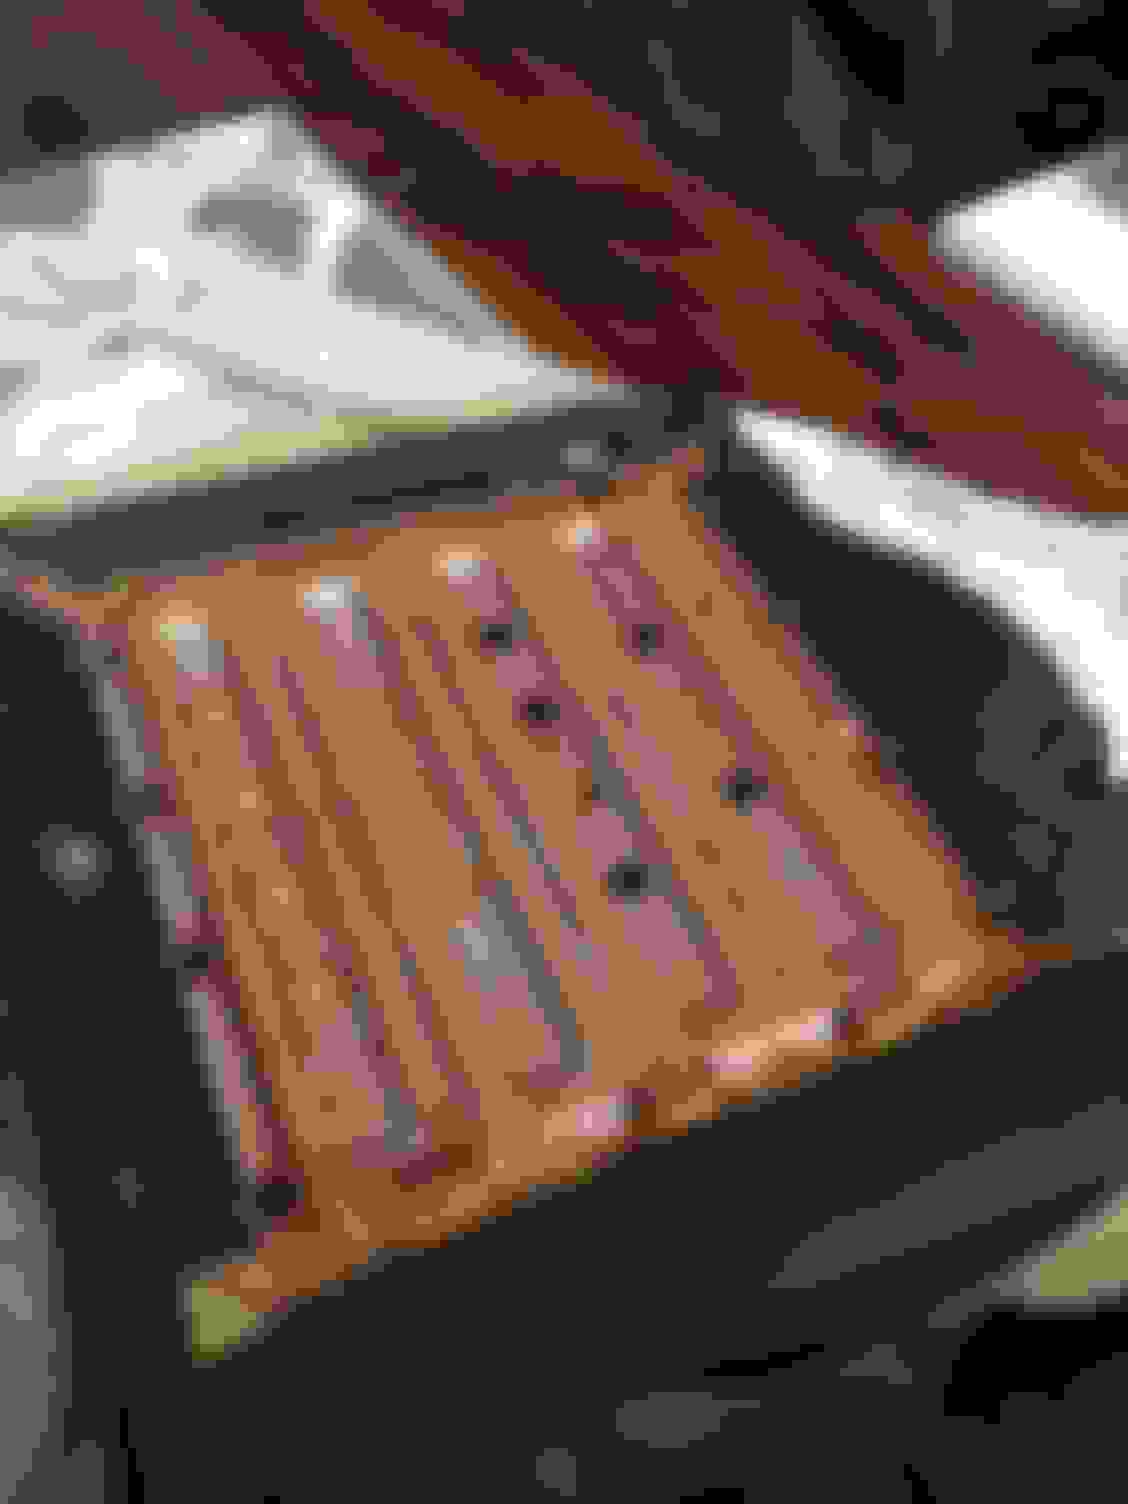
Still haven’t heard back from the painter yet so I got going on my rear seat project. Don’t really like the stock ek9 rear seats they’re kind of plain and boring. So I looked into it and you can take the ITR coupe rear covers and use them on the ek rear seat frame. I must say I HATE hog rings now omg I feel for you interior people.
Only down side is the coupe bottom cushion leaves a gap so now I need to find a sedan ITR rear seat bottom. eBay has some I’ll likely just have to get top and bottom. So if you’ve got a sedan ITR rear seat bottom let me know Waiting on my hog ring pliers to finish.

 03-10-2018, 02:41 PM


 Cant wait to see it all back together!