
D.I.Y Redline Shift Boot with stock collar
 03-30-2011, 05:21 PM
#1
DC5/EP3 MOD :)
Thread Starter
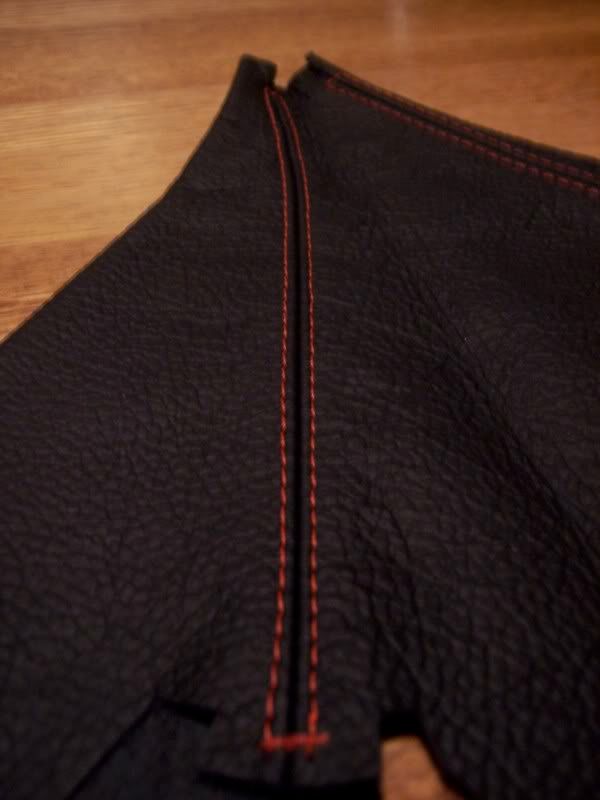
So some people asked me about my collar I'm using for my shift boot and what kind of boot it is. So I thought I would share. Before swapping to my ITR center console I bought a custom shift boot from www.redlinegoods.com They are a great company to work with and you can customize your shift boot in a million ways! One of the things I loved is that you can make the boot shorts so it doesn't sag! I bought the ITR look alike. It is of the most upscale quality leather and looks amazing.
I'm sorry I don't have all the photos but PM me with any questions!
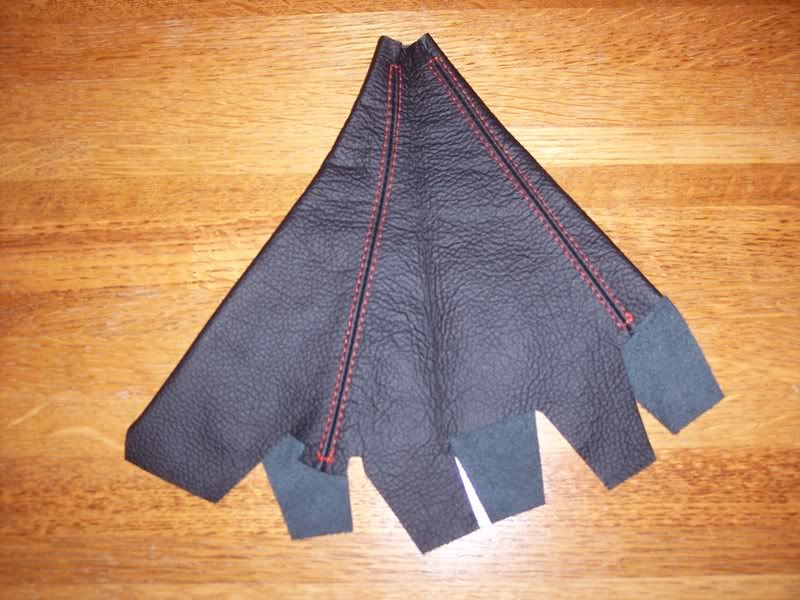
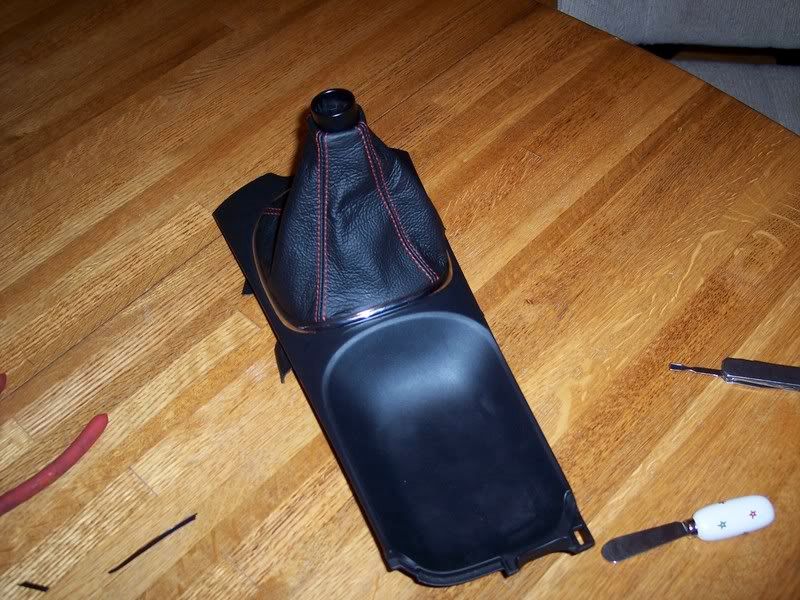
Here is the boot:
First thing first, grab your stock collar and pull down to realize the boot from the shift ****.
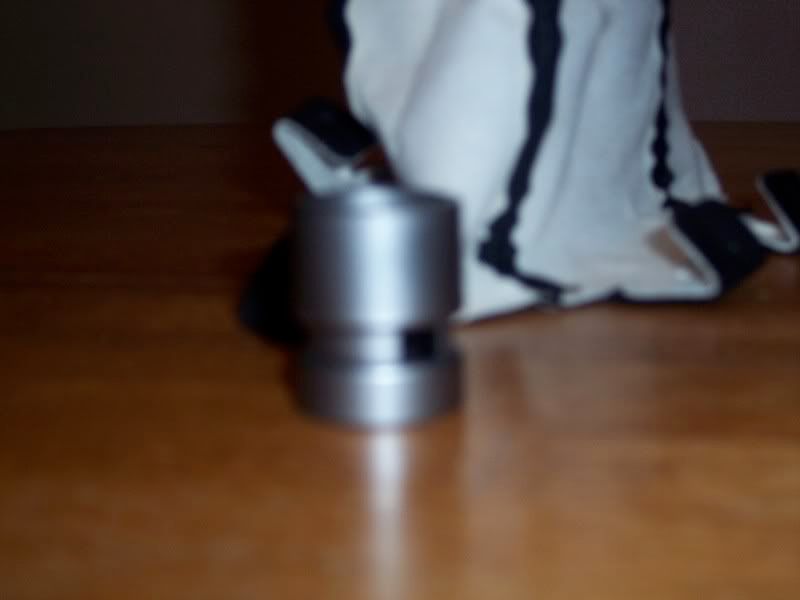
Then simply twist your **** off. .
After you get your **** off just pull up on the center console piece around the shift **** to remove it.
Now flip the center piece with the boot over and you'll see the staples holding the shift boot on. Simply use a screw driver and remove the staples and pull off the shift boot.
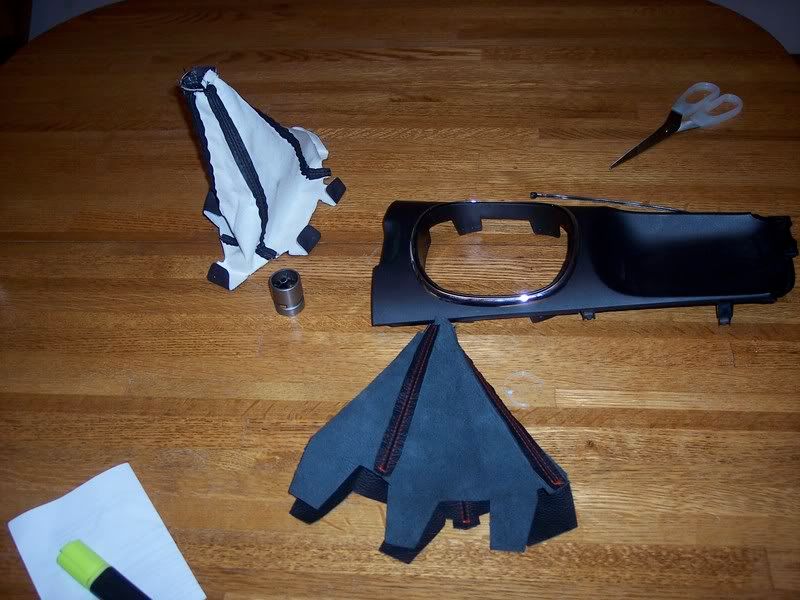
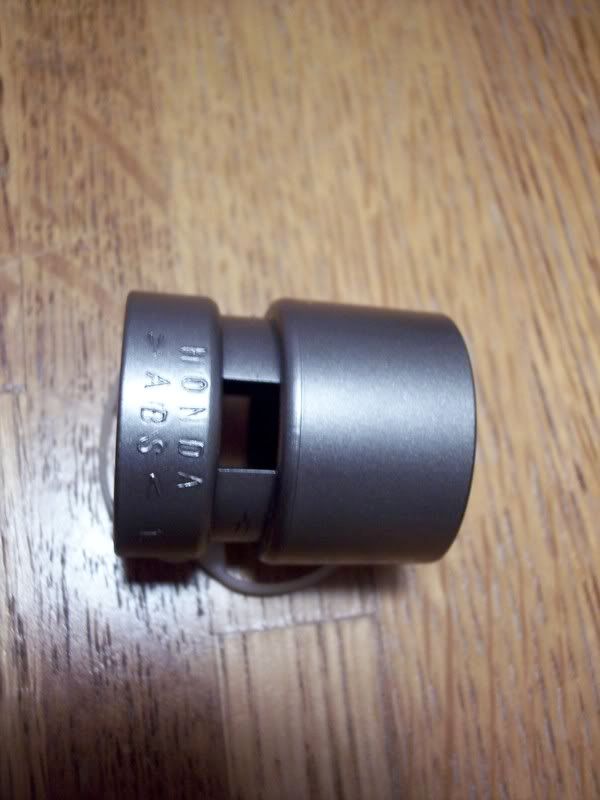
Now we are going to pull the collar off the stock shift boot. Just cut the tie holding it on and pull it off.
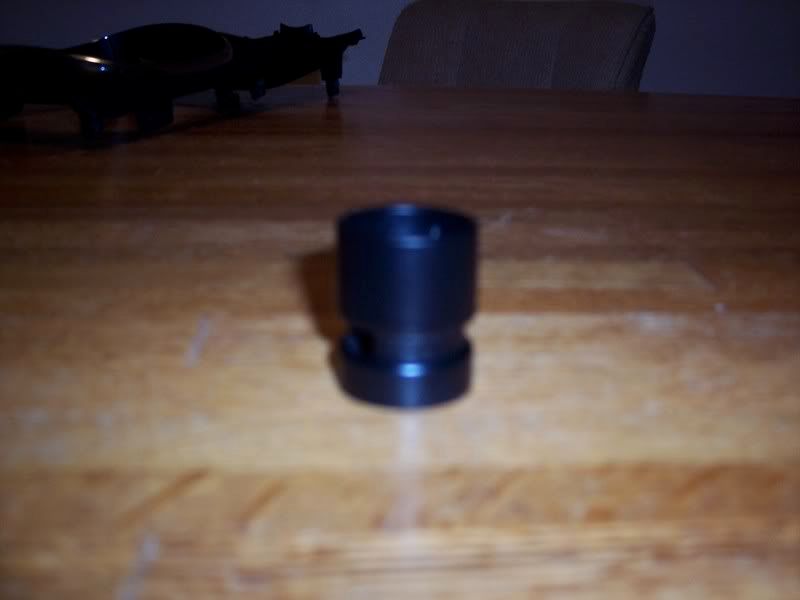
We are now going to paint this collar. I just used a black plastic paint to change from this
To black!
Now we will install the collar on the new boot. Simple flip the boot inside out and place it around the collar. Use a zip tie to secure them together using the holes in the collar.
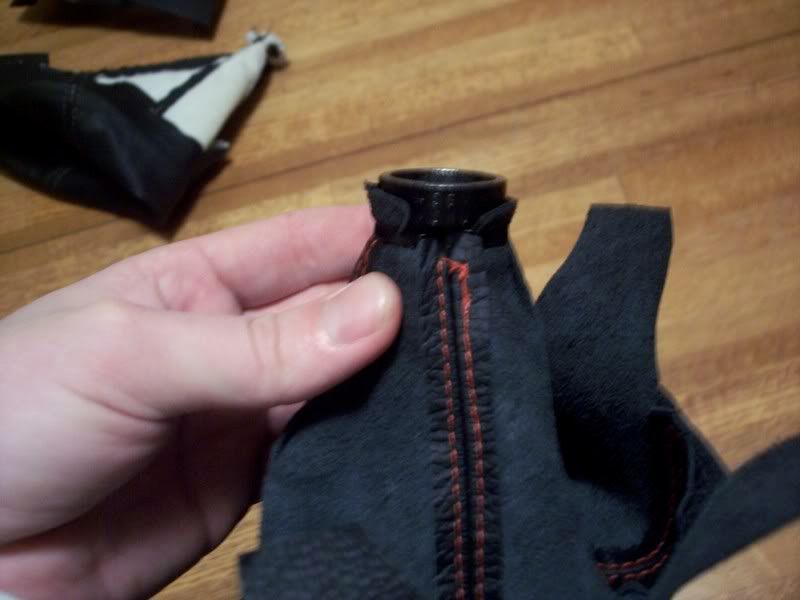
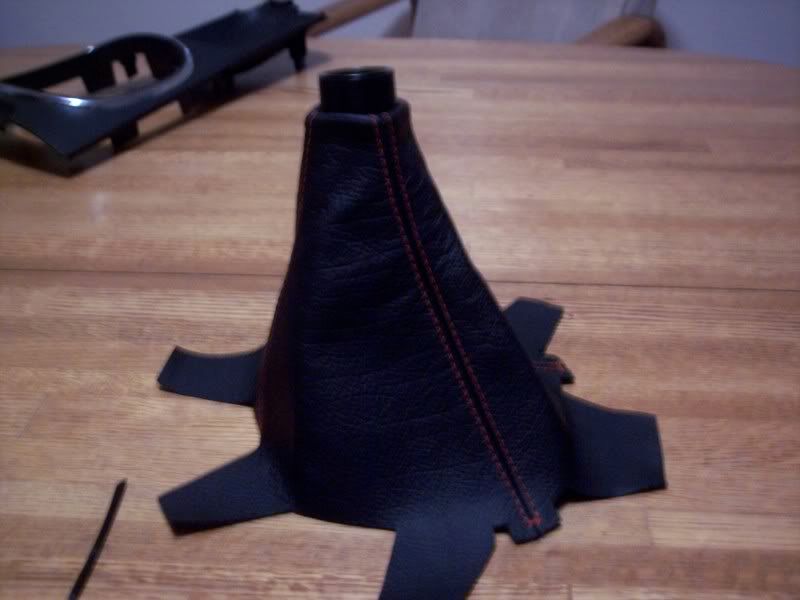
And now flip it back out and you have a boot with a nice black collar.
This part sucks but just take your time. Using a small object like a screw driver press the boot into the center console. I used a small butter knife you can see in the photo
Once you get it in you can either restaple the boot like the stock one, or just use clips of some sort or glue... I personally didn't use anything and the boot is very secure. But here is what you have:
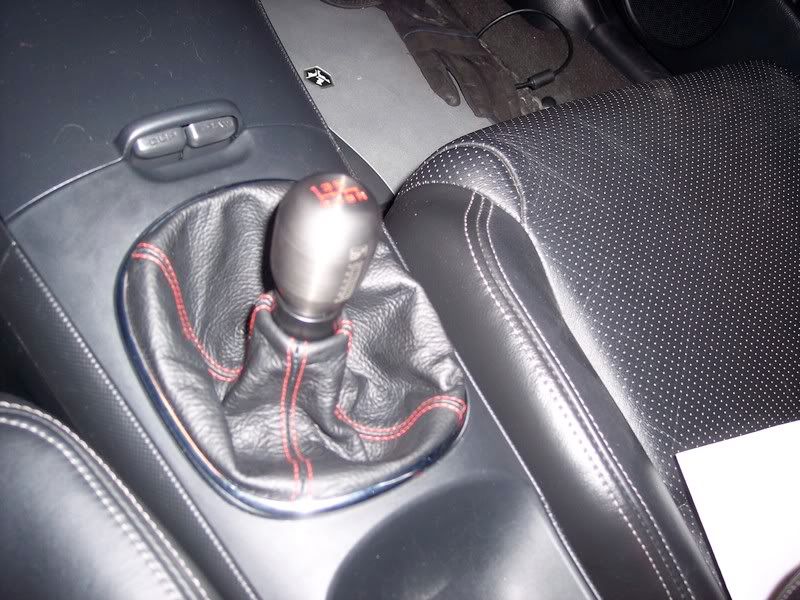
Now reinstall and enjoy the new boot and black collar
I know there is a million shift boot instal DIYs so don't yell at me. I was asked and so they shall receive.
I'm sorry I don't have all the photos but PM me with any questions!
Here is the boot:
First thing first, grab your stock collar and pull down to realize the boot from the shift ****.
Then simply twist your **** off. .
After you get your **** off just pull up on the center console piece around the shift **** to remove it.
Now flip the center piece with the boot over and you'll see the staples holding the shift boot on. Simply use a screw driver and remove the staples and pull off the shift boot.
Now we are going to pull the collar off the stock shift boot. Just cut the tie holding it on and pull it off.
We are now going to paint this collar. I just used a black plastic paint to change from this
To black!
Now we will install the collar on the new boot. Simple flip the boot inside out and place it around the collar. Use a zip tie to secure them together using the holes in the collar.
And now flip it back out and you have a boot with a nice black collar.
This part sucks but just take your time. Using a small object like a screw driver press the boot into the center console. I used a small butter knife you can see in the photo
Once you get it in you can either restaple the boot like the stock one, or just use clips of some sort or glue... I personally didn't use anything and the boot is very secure. But here is what you have:
Now reinstall and enjoy the new boot and black collar
I know there is a million shift boot instal DIYs so don't yell at me. I was asked and so they shall receive.


Thread
Thread Starter
Forum
Replies
Last Post