
rhd j32a2 aem
 01-19-2016, 02:28 PM
#1
Honda-Tech Member
Thread Starter

Join Date: Nov 2015
Posts: 3
Likes: 0
Received 0 Likes
on
0 Posts
update 06/15/2012
pulling everything out
there is going to be a whole lot of sandblasting and powdercoating withing this next couple weeks.

popcorn on deck
2/21/2013
hey ctv its been a while but I have been collecting a few parts for this build and deciding how I really want to build this j swap.
recently i acquired a rhd clip from ATS Motorsports shout out! I also picked up a set of Klutch Republik wheels mounted with wheels mint.
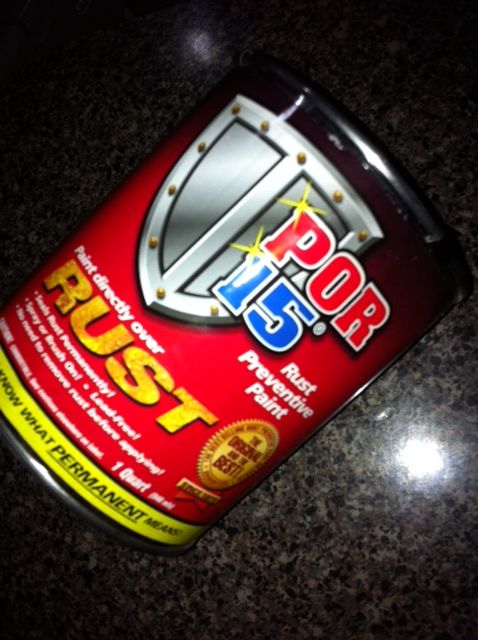
I did research on POR-15 and heard good stuff, I am going to use this stuff the the fender well and consider the complete cabin floor with the firewall.
For the transmission i picked up a cl-s 6 speed with 87,000.
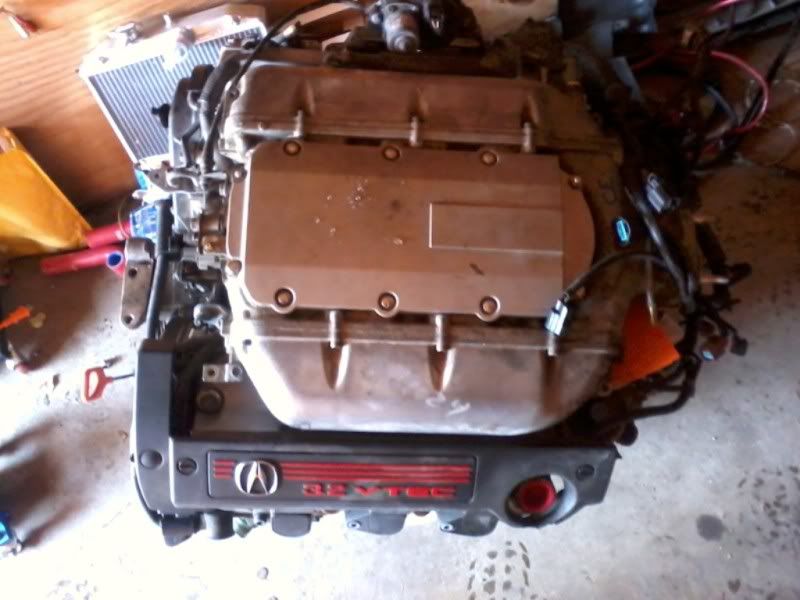
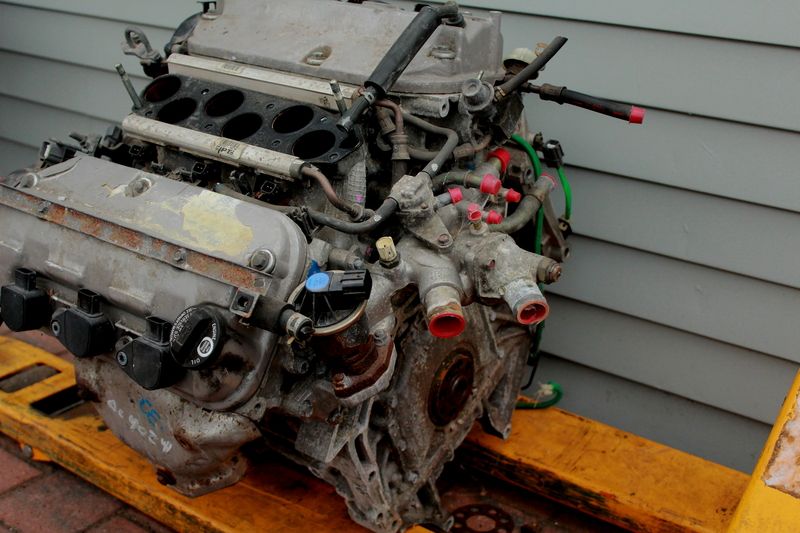
this is the j32a2 with 137,000
05/19/2013 update
I got a lot of motivation from a lot of builds I have been seen completed from my friends and members on this site. I have been losing sleep over this and its going to be worth it.
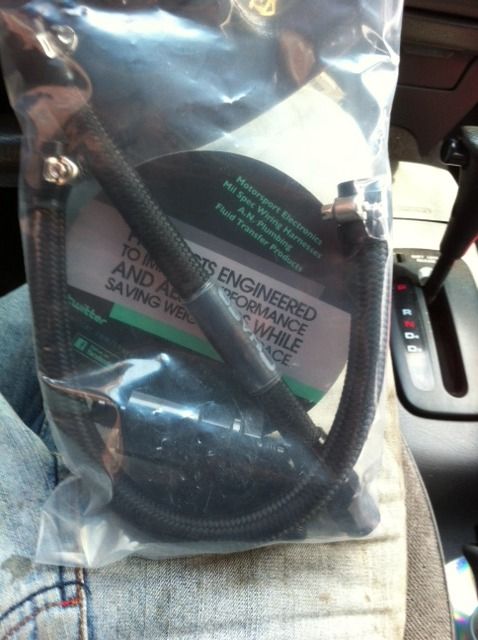
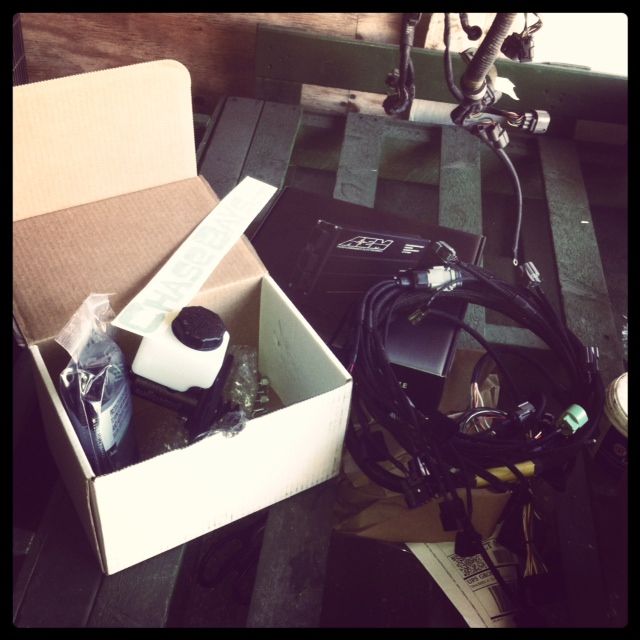
managed to get a few goodies from chasebays
an fuel line kit, harness, ecu, brake booster delete. i also have an s2000 clutch master cylinder
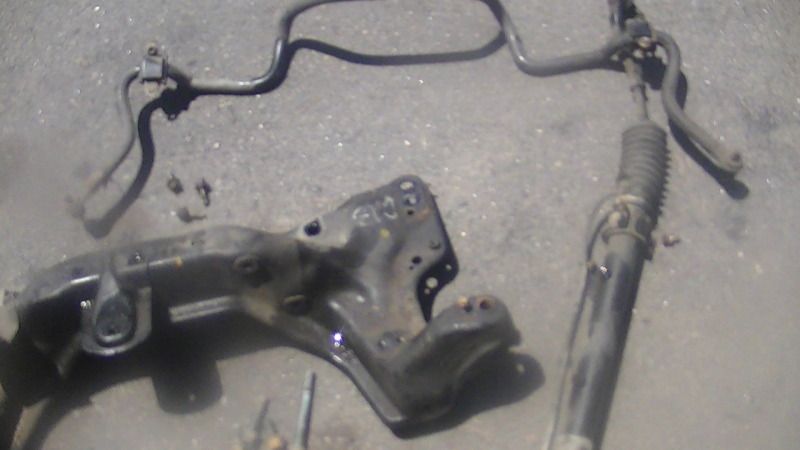
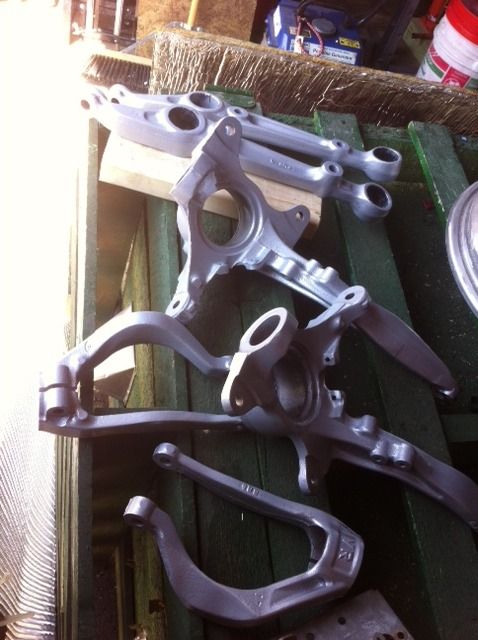
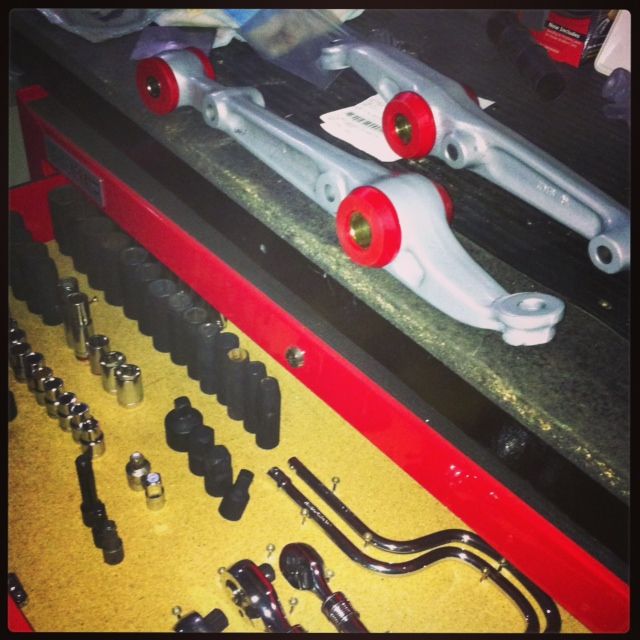
here are a few suspension pieces I powdercoated silver.

finished. I still have to install bearings hubs and bushings. no rush!
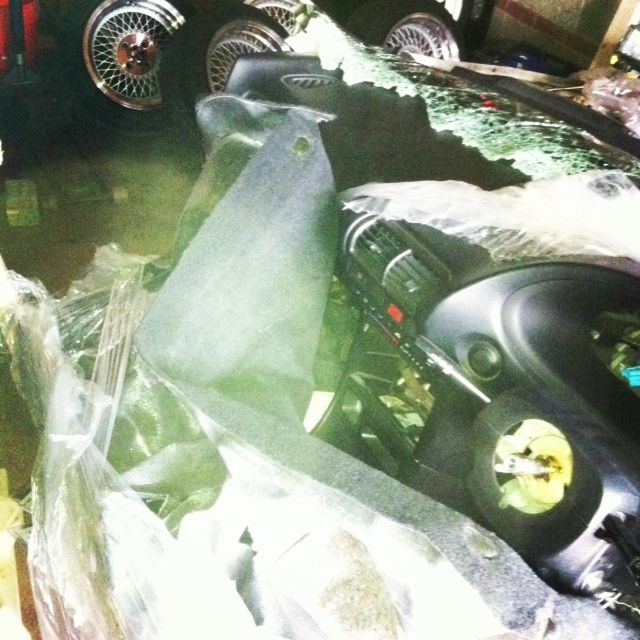
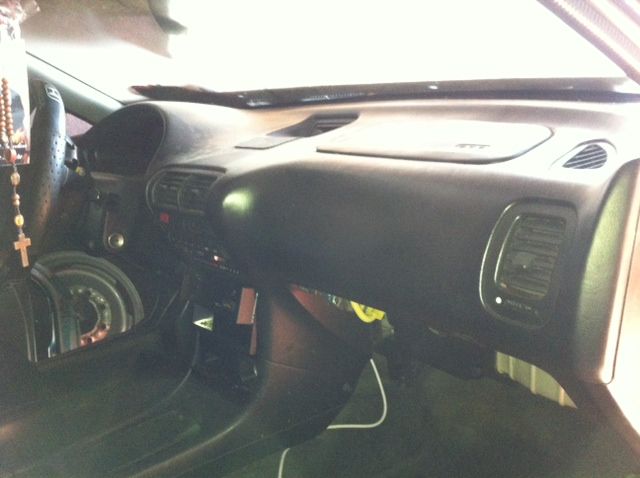
started the dash (4/s hit me up).
removed.
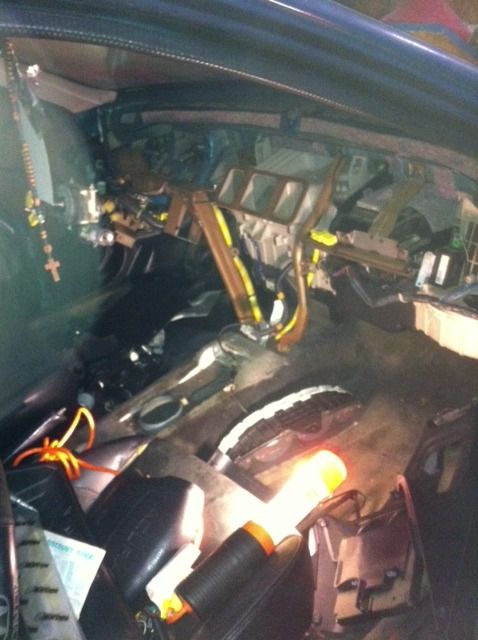
removing everything else.
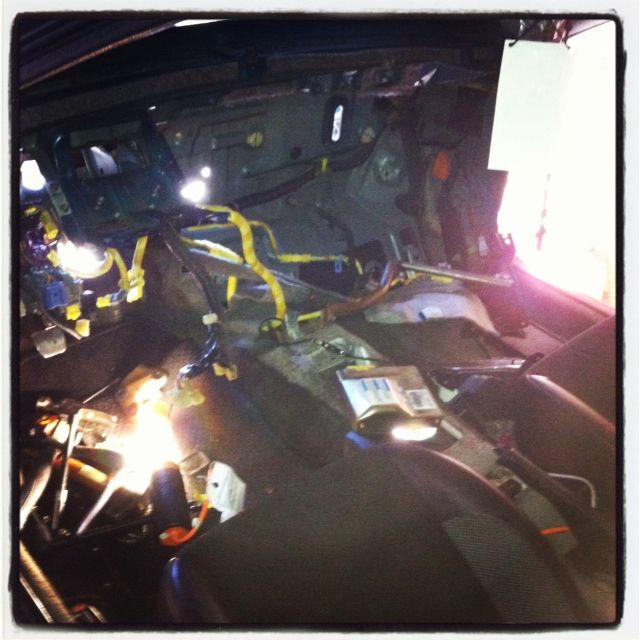
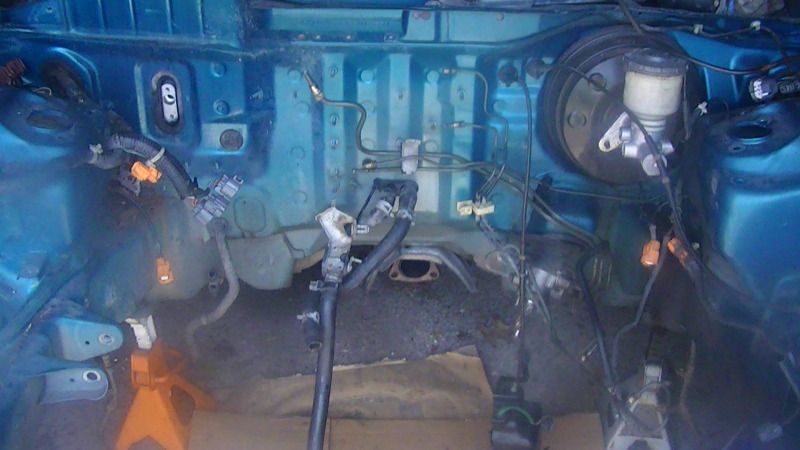
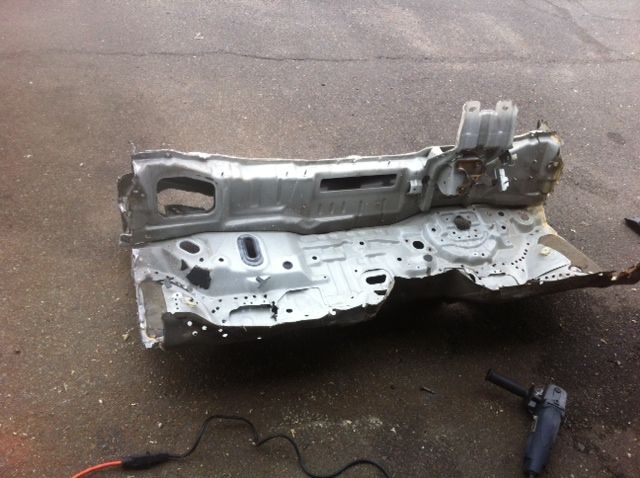
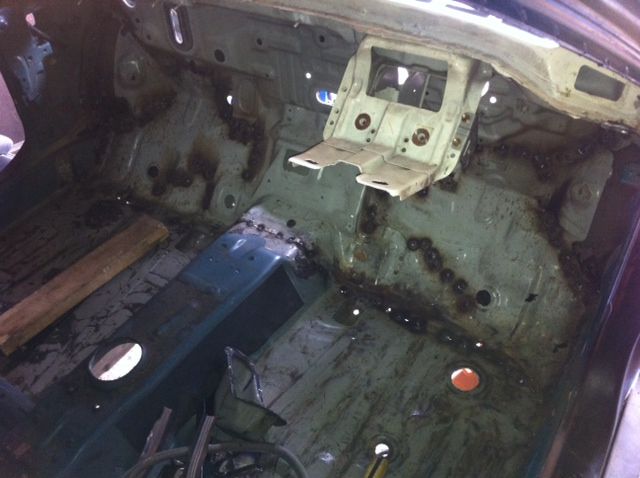
everything basically removed. you can see I still have to remove floor mat
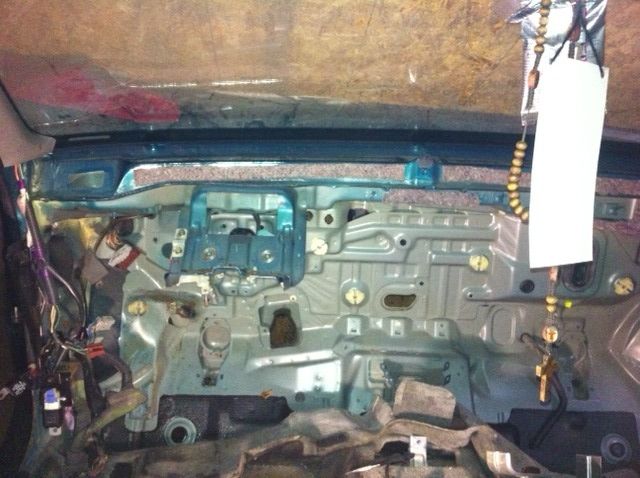
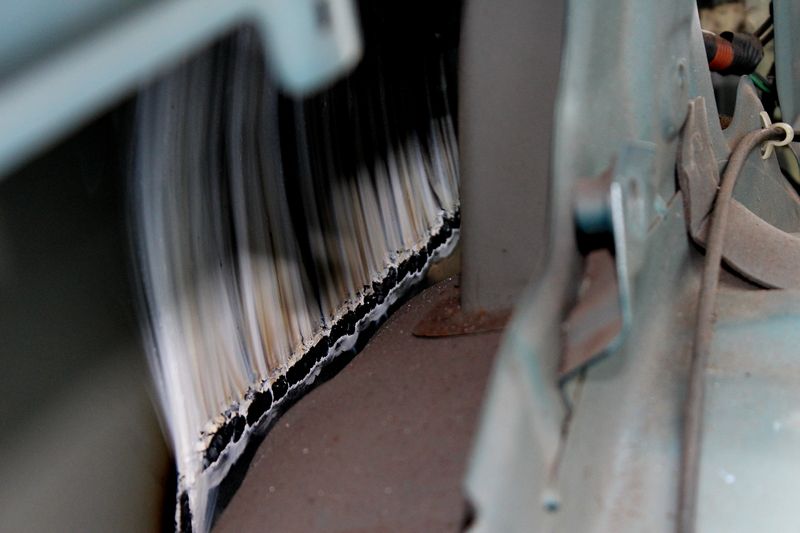
side view of the material that still needs to come off the floor. there is a solution
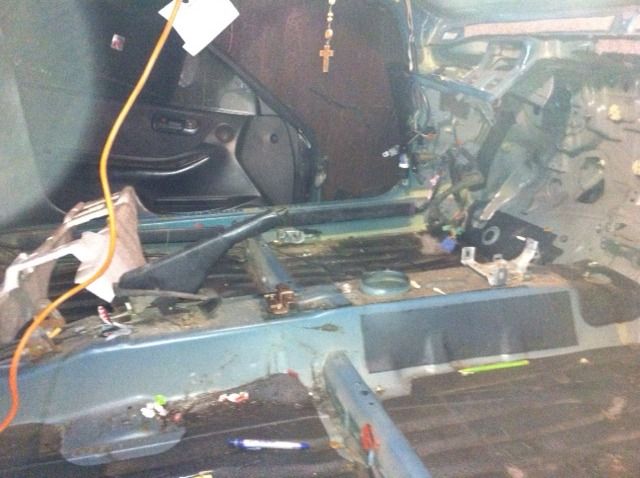
dry ice and elbow grease it is/ ($12 for 5lbs)

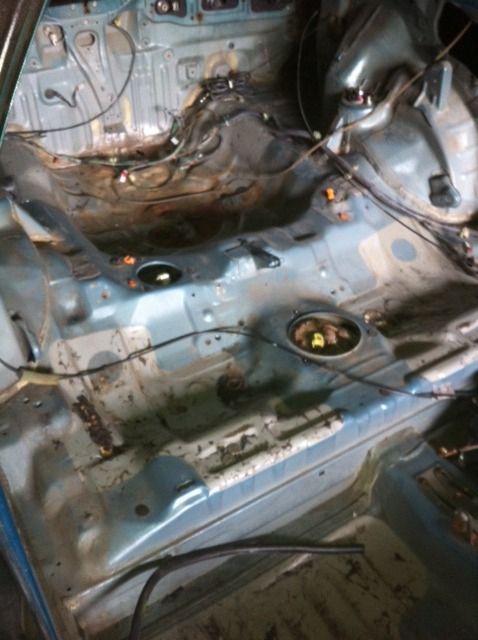
i didnt have any more funds for dry ice so I removed the rest with elbow grease. threw everything away and vacuumed what i couldn't pick up.
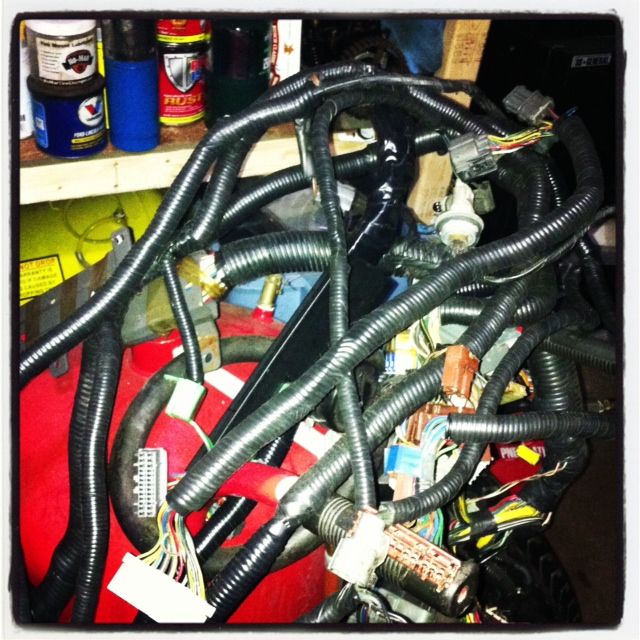
harnesses. i deleted the abs and srs and removed the wires

everything reloomed, looks better in person and once its all tucked.
me and my pops removed the windshield
i spent some nights removing the seem after work. to make the least amount of noise i just used a propane torch a scraper and elbow grease.
started removing spot welds for stuff i dont need in the bay and the mount to replace to a j series
removed still need to go some grinding by will save that until im ready to do the engine bay.
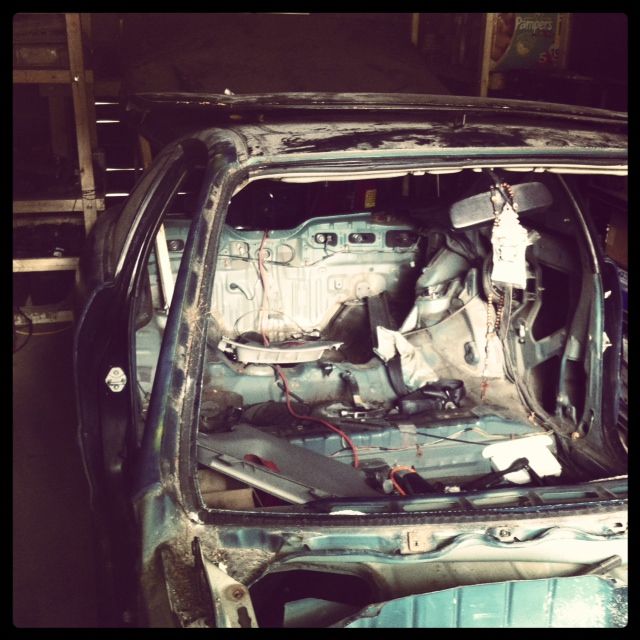
removed the headliner, wires have to be routed to the opposite side
07/22/2013
a few pictures of my front lca and spindles powdercoats and bushing, bearings and hubs pressed in. Also, some recent videos, so viewers can see where I am at now

vid1
vid2
vid3
08/13/2013
did some prepping on the weld areas. its important to get them cleaned to the weld penetrate but at the same time i have to be careful not to burn any hole through because it can weaken that area. also did a quick video so you all can be more progress at different angles.
vid4
8/14/2013
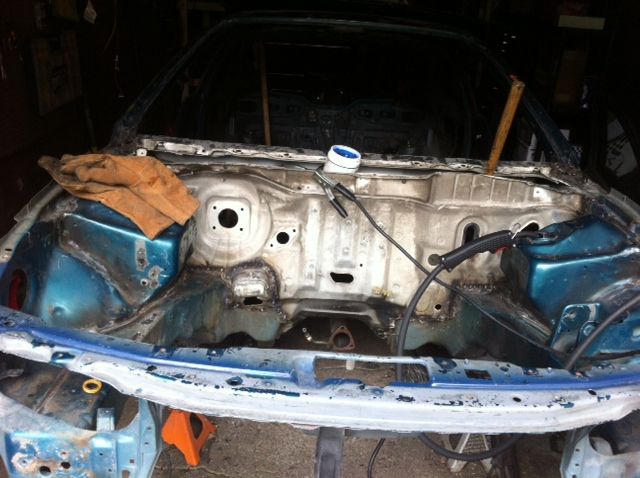
firewall mounted and still fitting it for weld
08/16/2013
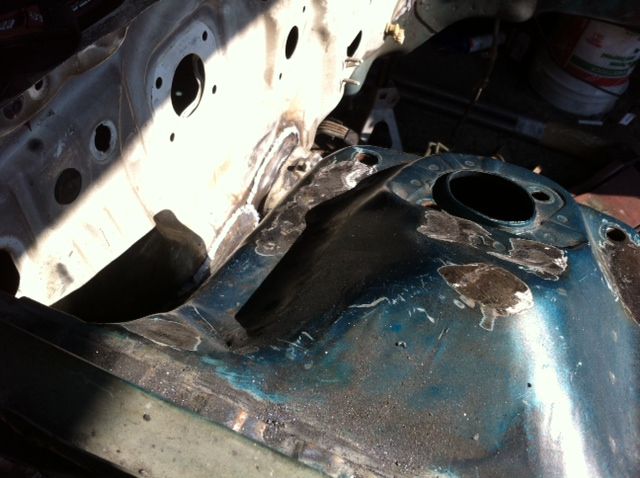
just about done with the firewall, i have to do the floor and weld the side inner fender back on
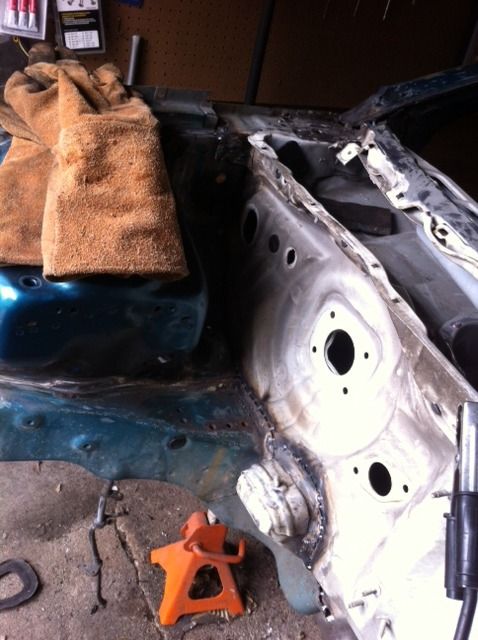
i did seam welds all the way around with 1 inch gap

shot of the inside
vid5
8/21/2013
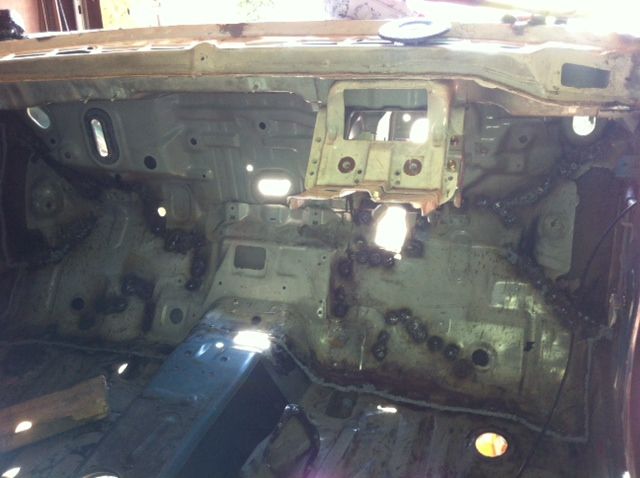
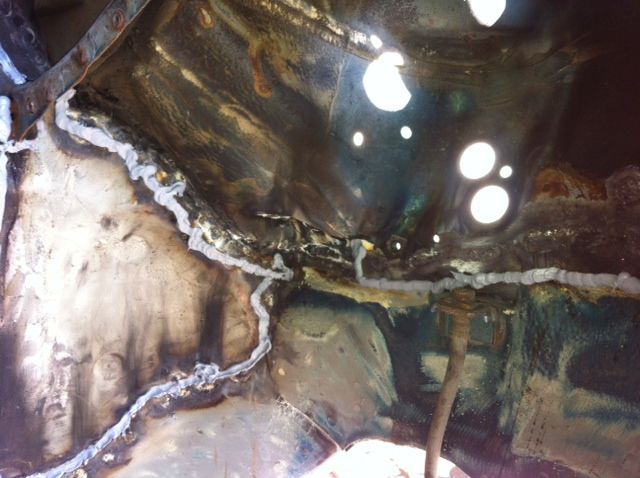
seam sealer is added
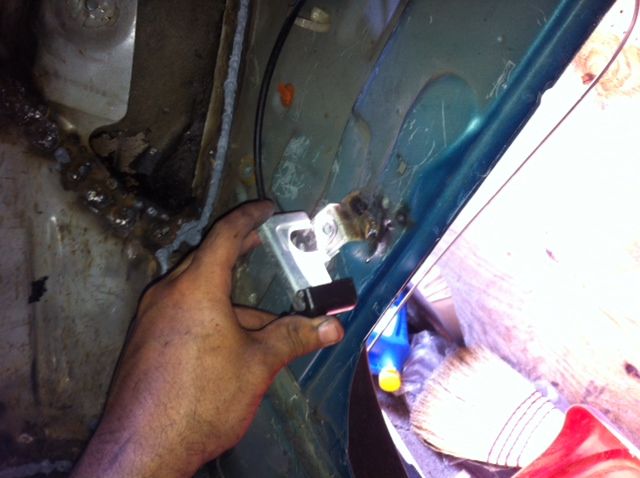
hood latch relocated to right side and welded on
seam sealer added in the wheel well, it will look a lot better when the por-15 is added.
you can see the seal in the engine bay and i also began to shave the engine bay
vid6
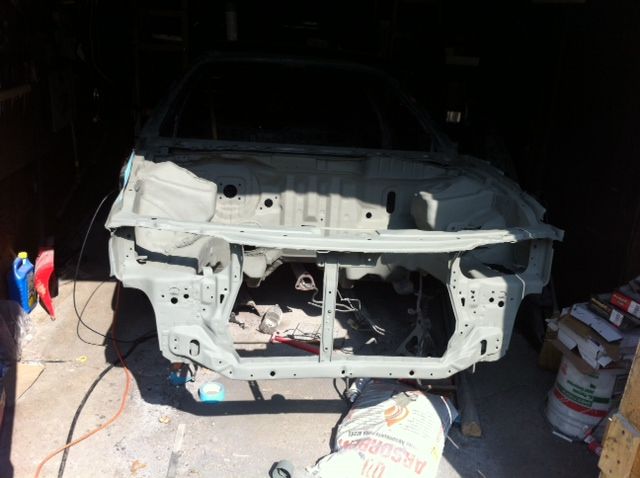
a look at the engine bay in its primered stage
vid7
my new engine bay nighthawk black pearl and i added gold flakes in the clear coat
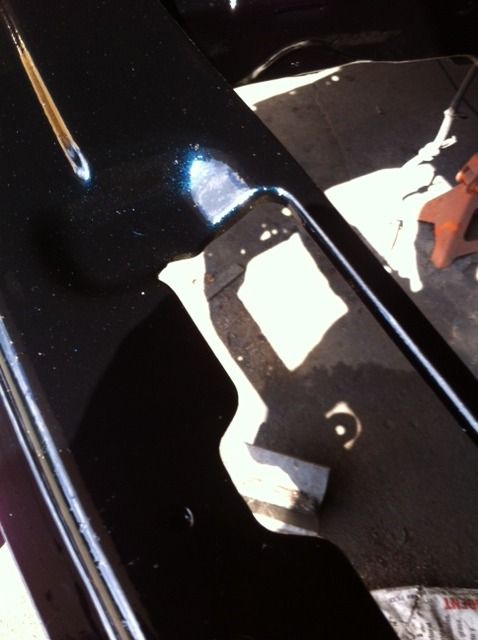


vid8
shot of the bay

i was working on spot welds on the door seams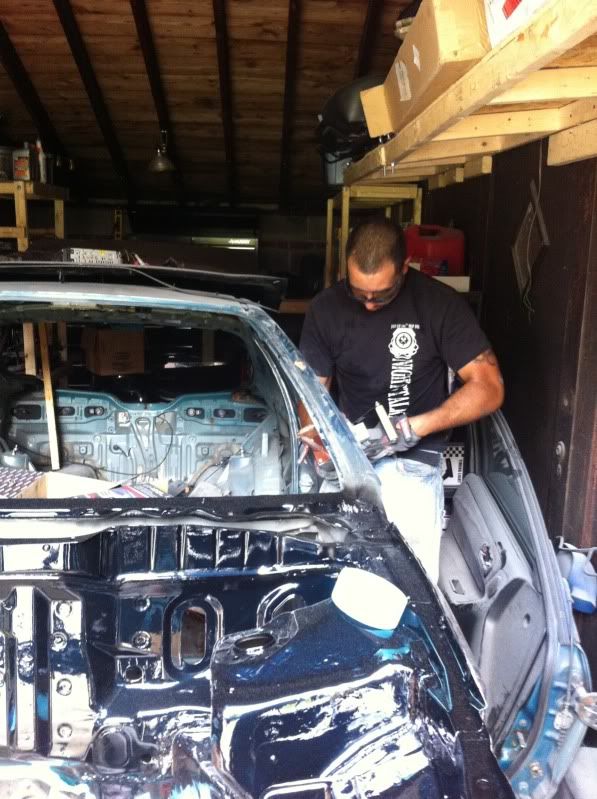
09/07/2015
Havent updated over a year since I bought my first house I haven't had the time to work on this. But the build continues.

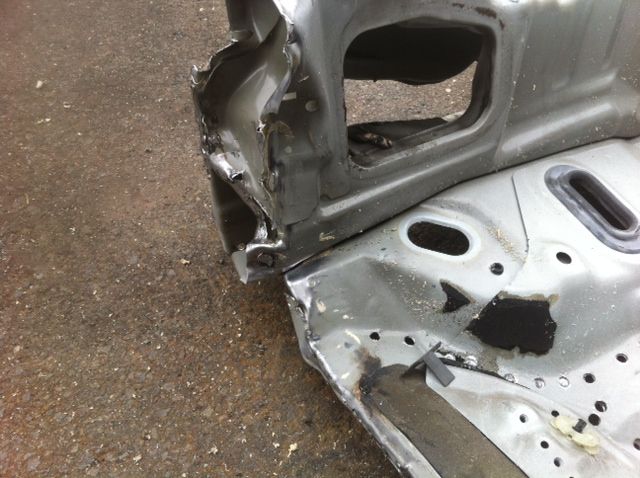
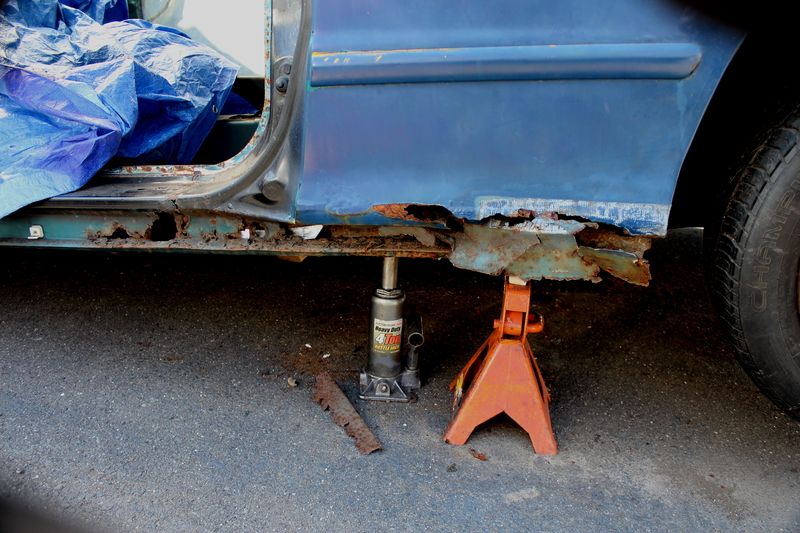
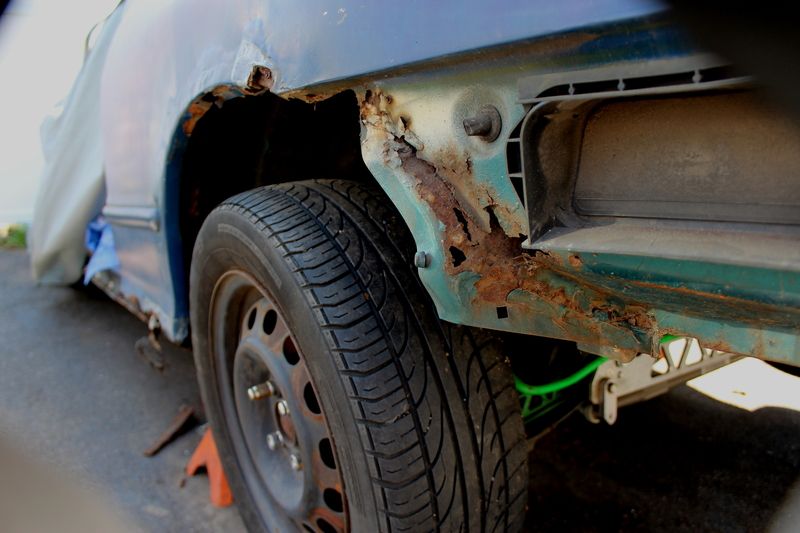
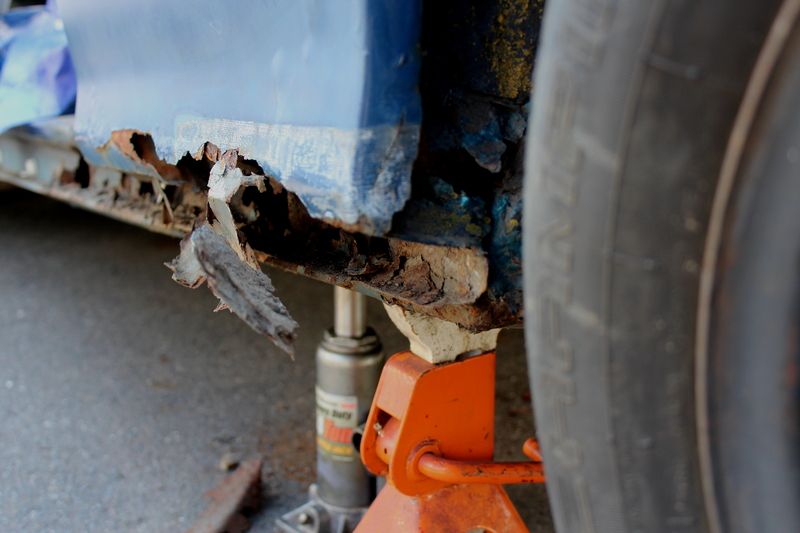
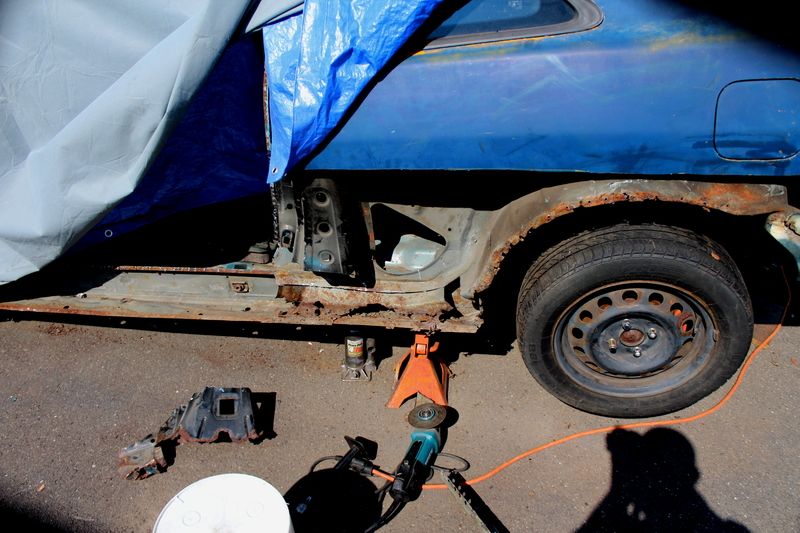
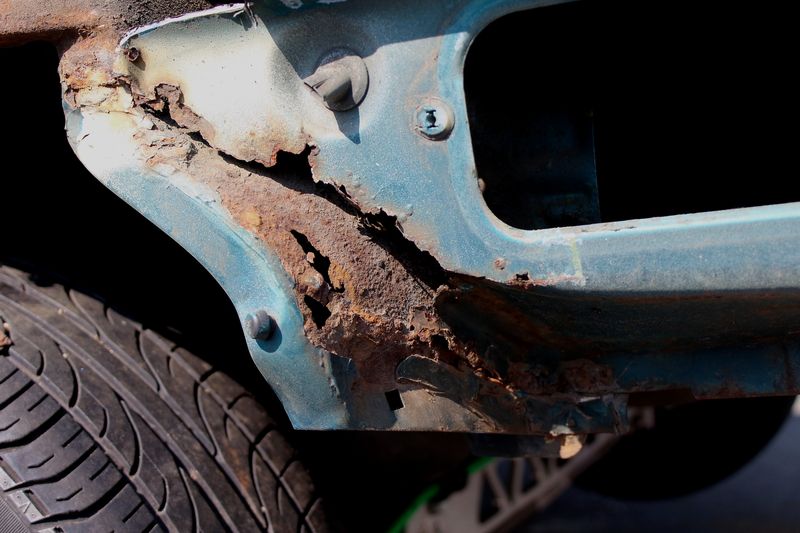
and more rust. most people would have given up seeing this.
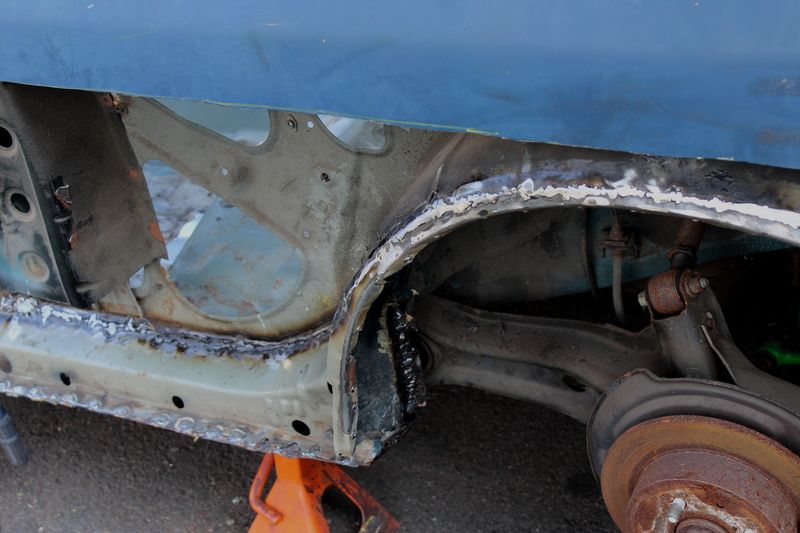
passenger side cut up and tig welded

completely fused
after patience this is outcome
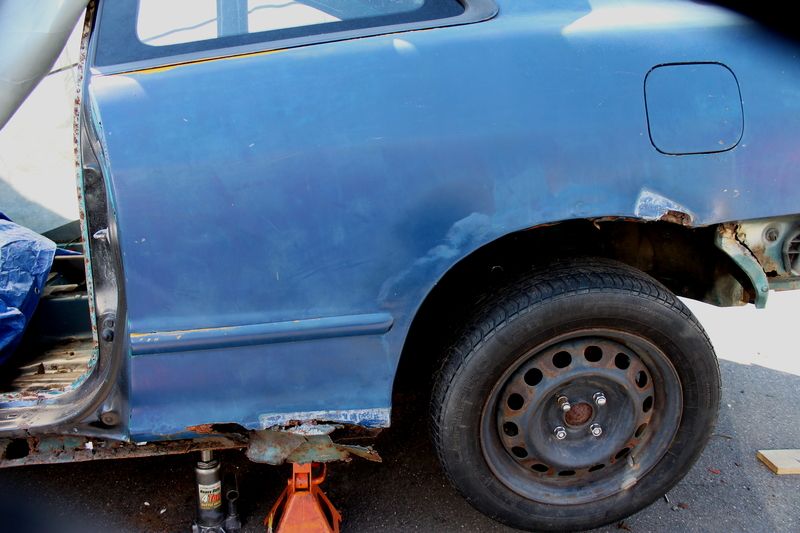
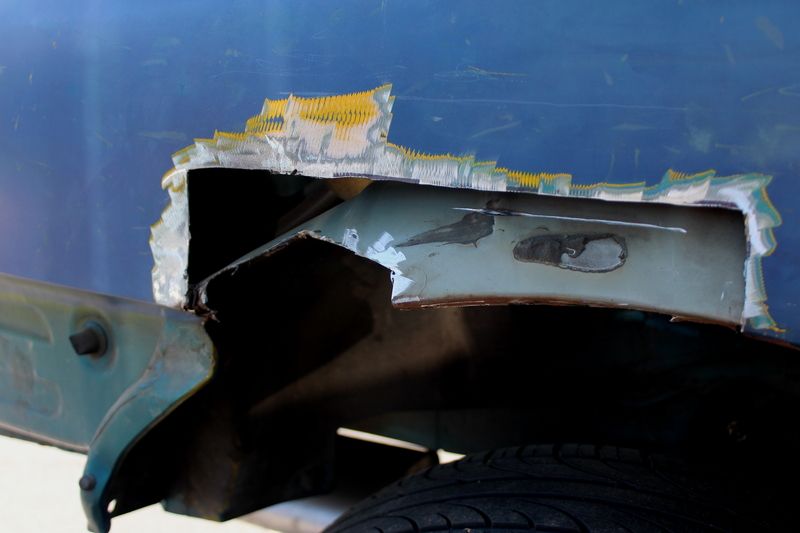
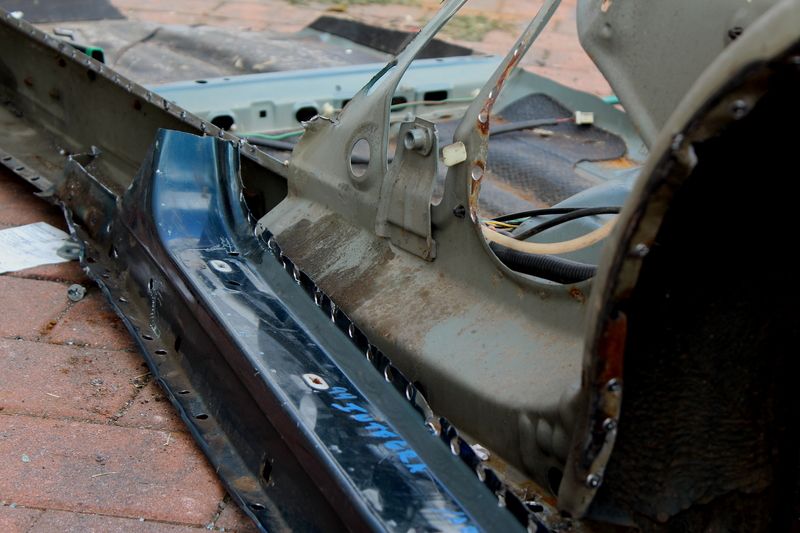
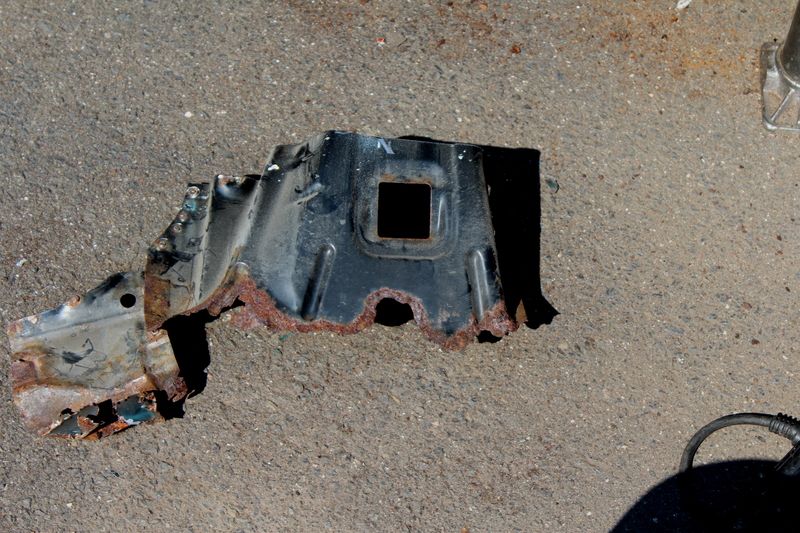
donor driver quarter and rocker I found at local yard. picked it up and did the work on spot welds.
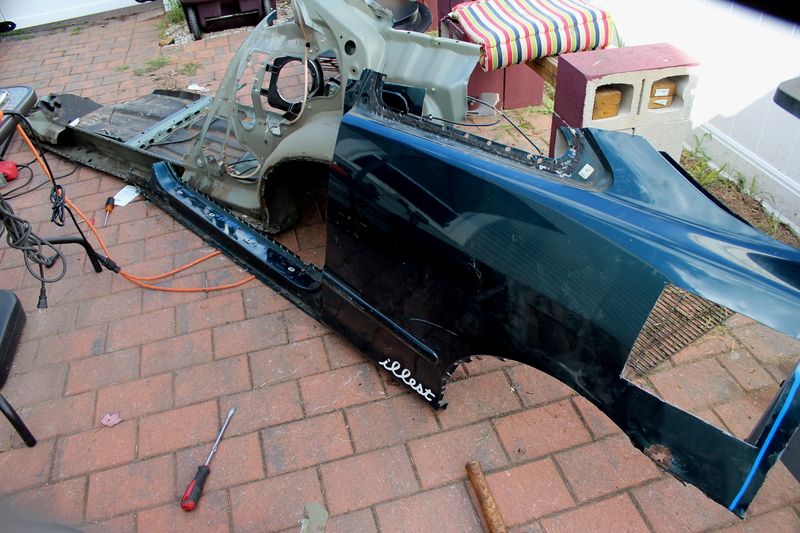
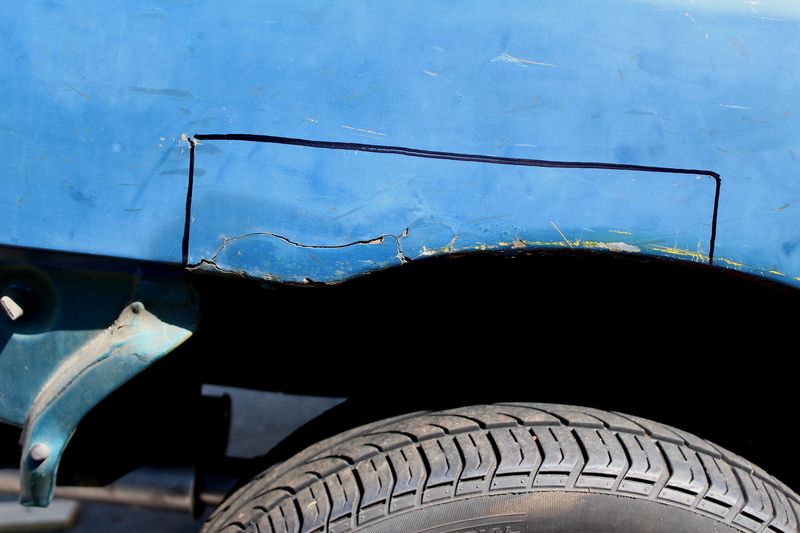
was not gonna cry about this little hole since mines was much worse
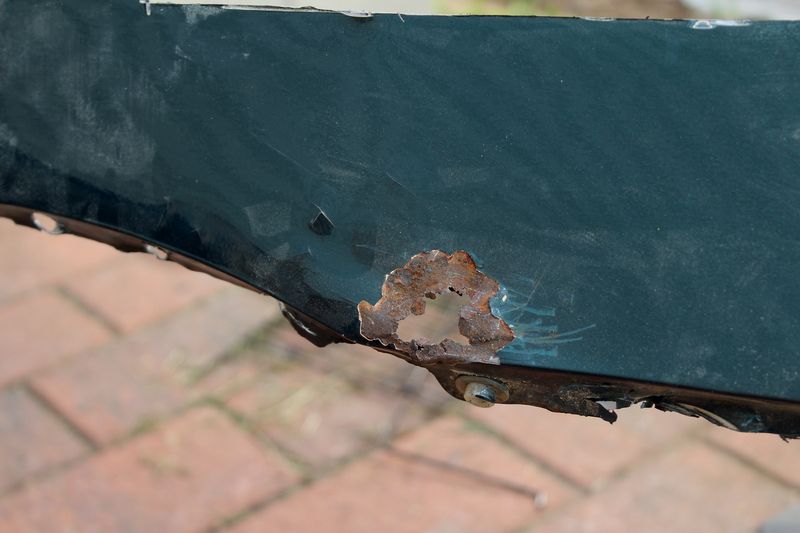
more rust behind rust, **** it
after welding and sprayed rust protection on welds
welds grinded down
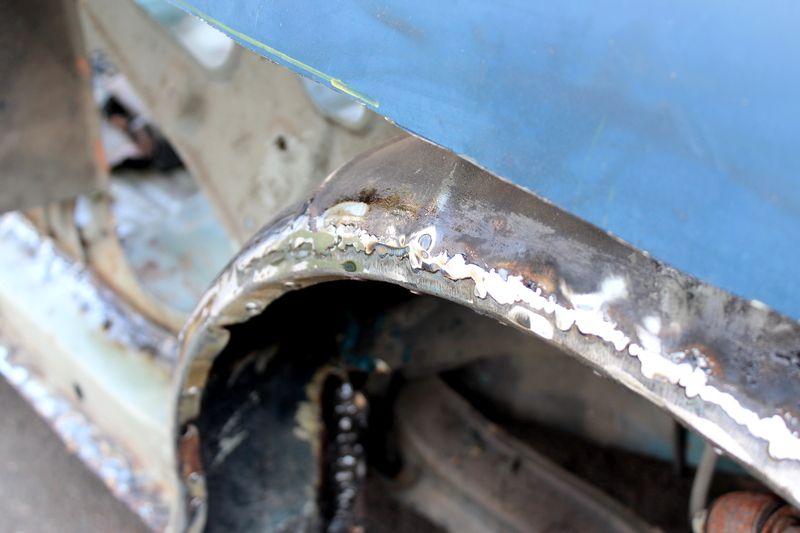

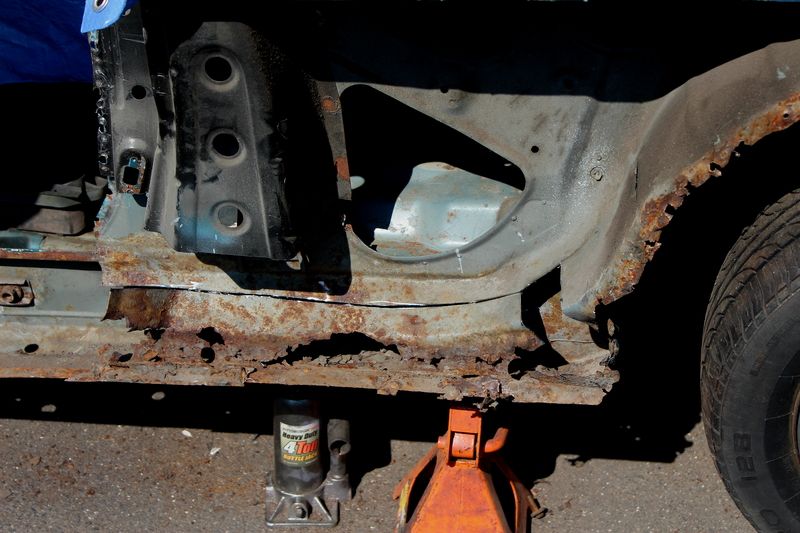
the best I could do with this section
small tacks to hold this section should be enough
sprayed some primer
 /
/
10/14/2015
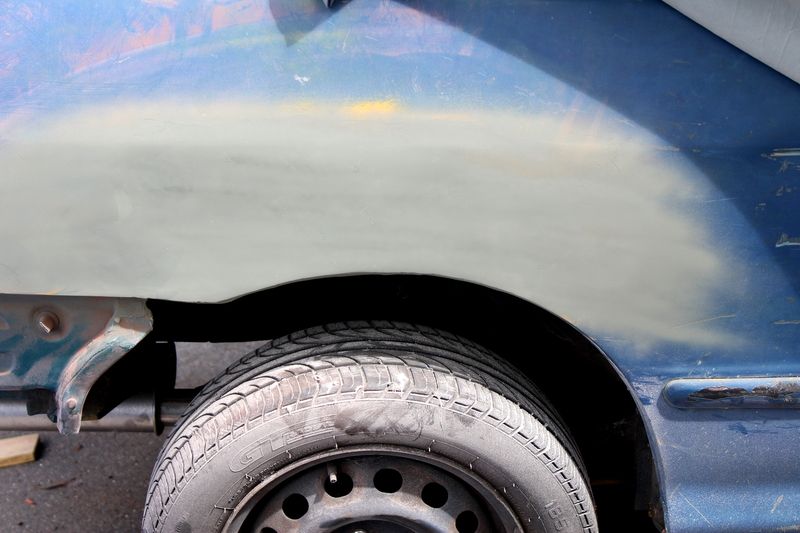
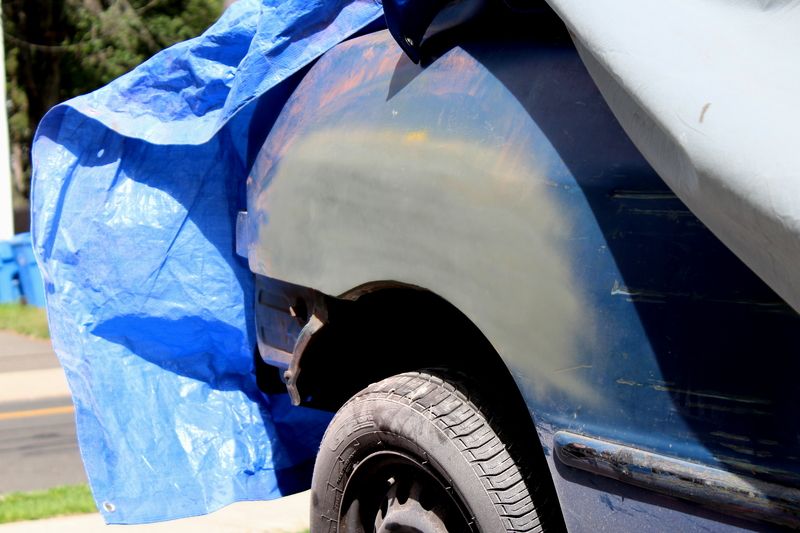
Body work has been done weeks ago just in time before the weather changed and the integra is back in the garage. all paint outside has been stripped with fiber disk so it didn't dig into the metal. It still hasn't been primered until the mounts are completed.
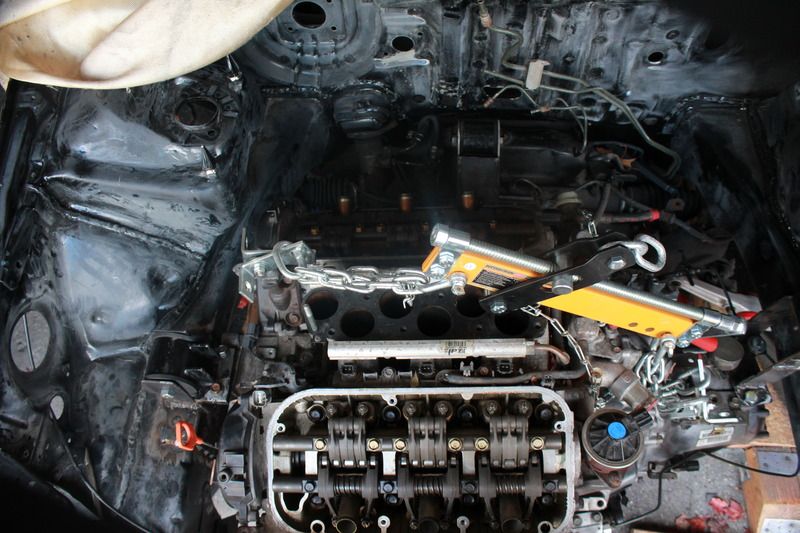
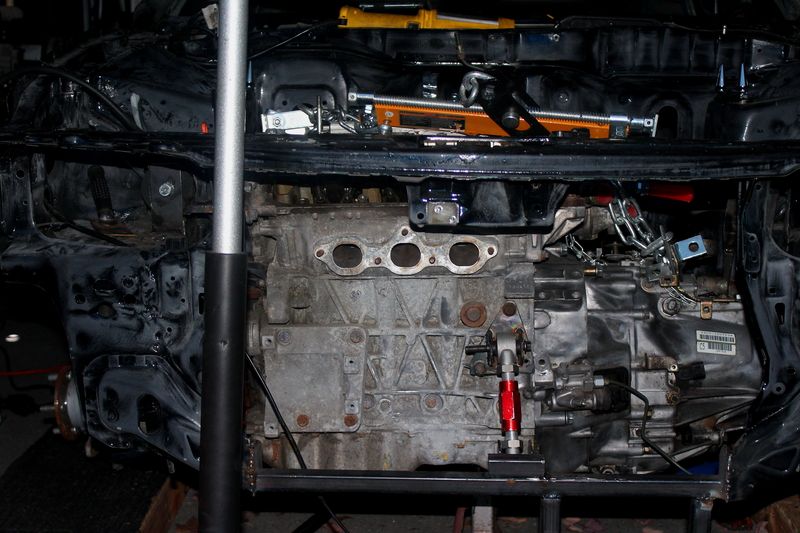
Intake manifold removed to remove the automatic uncut engine harness.
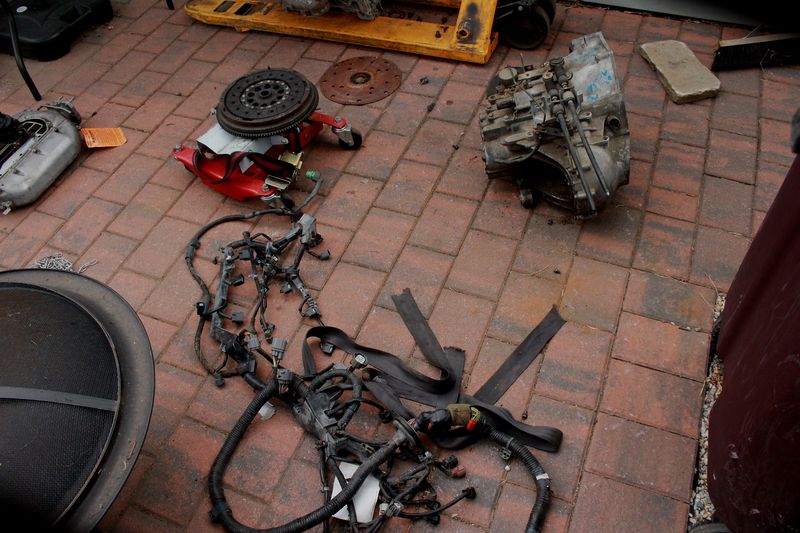
Here you the see the transmission and the clutch/flywheel which were a craiglist score for $150.
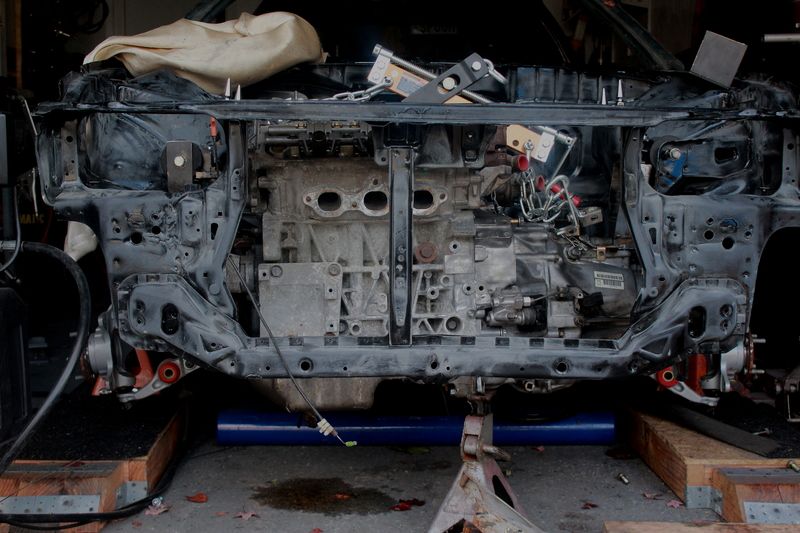
3 years just to get to this point. The engine is in and the mounts are being made. Engine bay was resanded so I can respray everything.
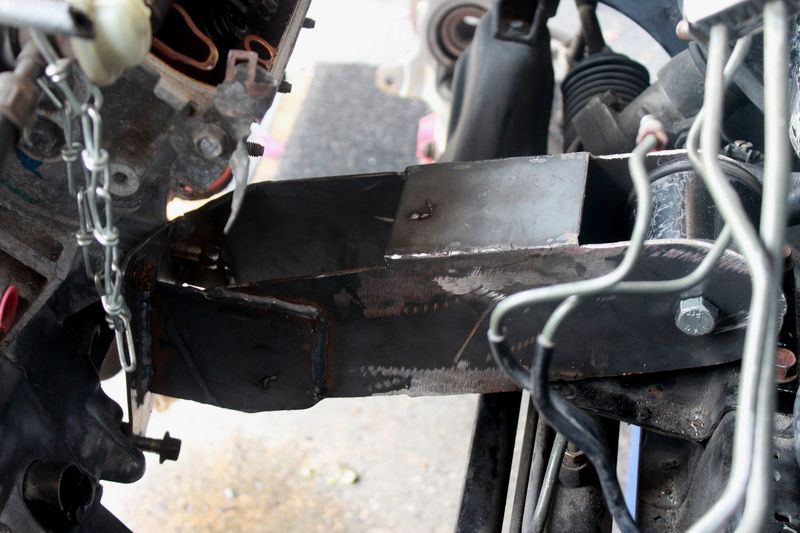
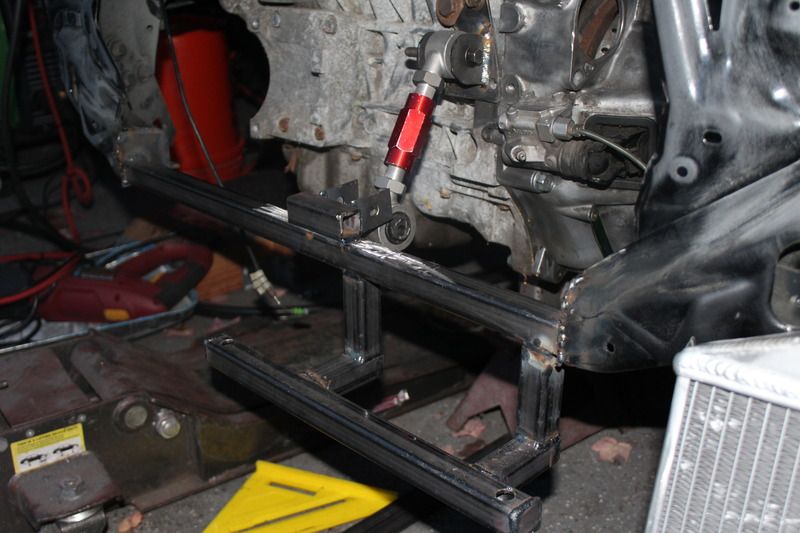
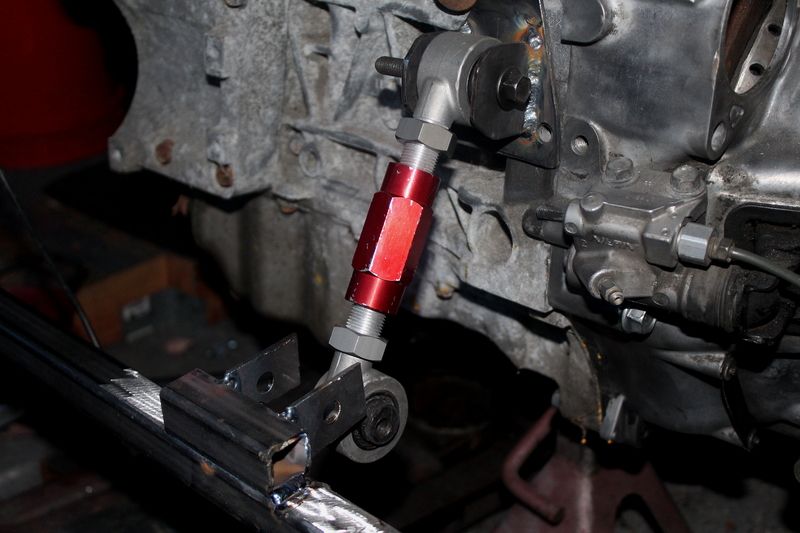
Driver side mount. I had better tig days
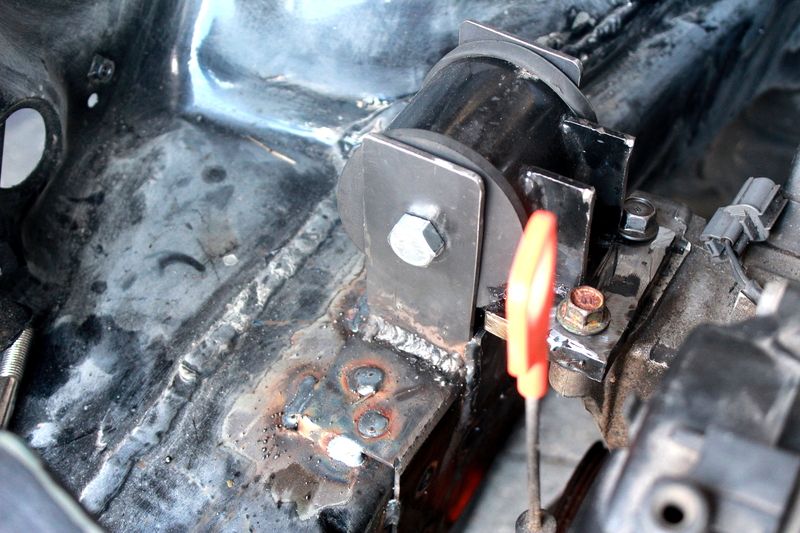
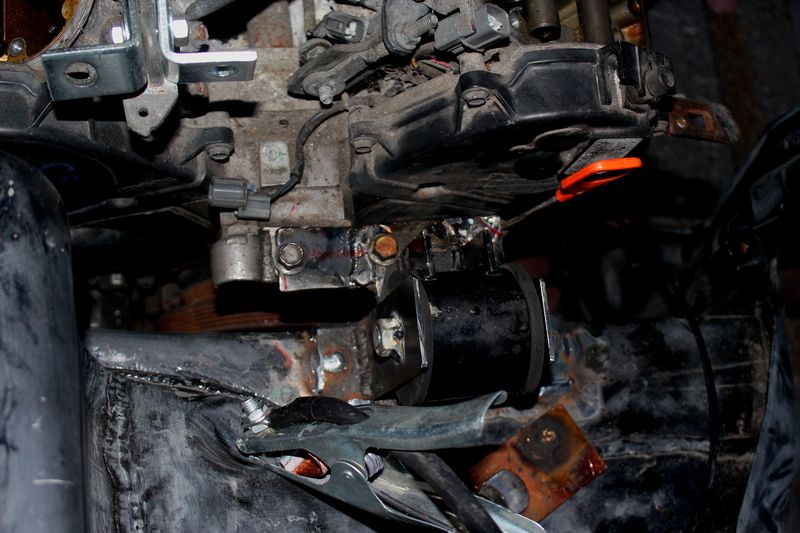
rear mount
transmission mount, not done yet because I'm adding support towards the bottom
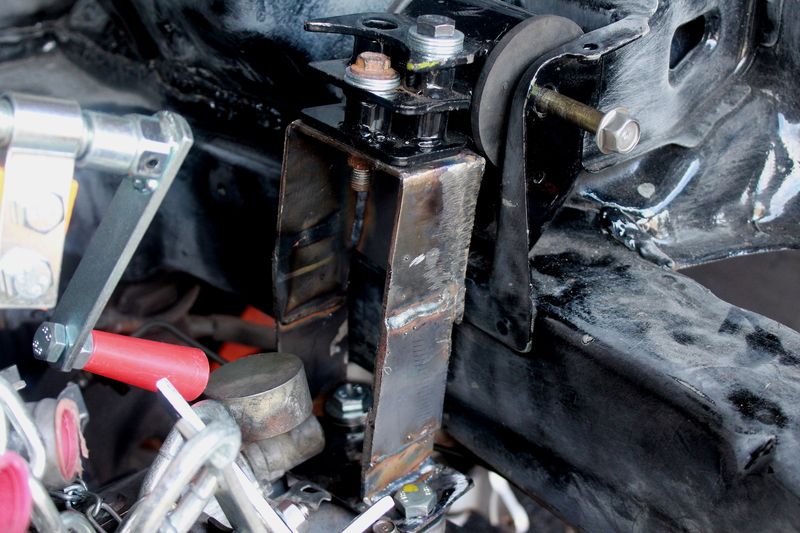
1/2 bolts nuts from lowes
Will be adding a front mount after.
These brackets will look real nice when I powdercoat them in chrome. Total cost to build my brackets was $40 in steel sheet and a few hours a day.
10/27/2015
Did some final work to mounts and brackets before the motor comes out to spray the car.
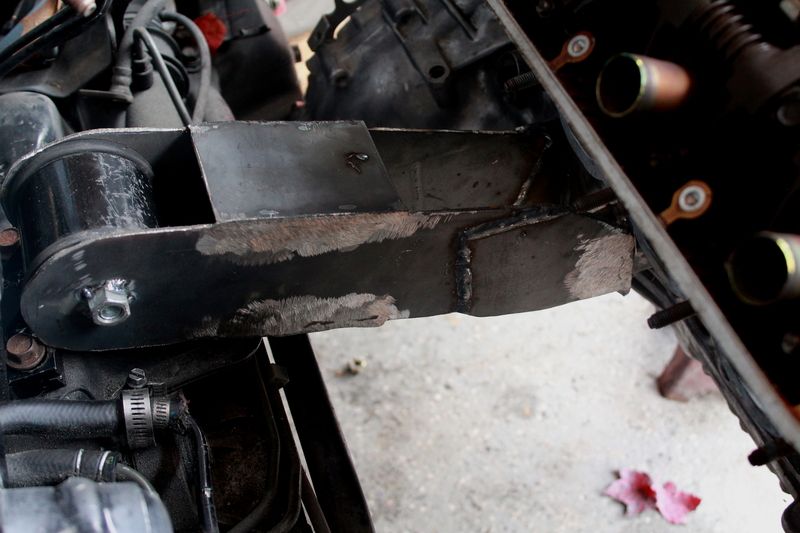
Here you see the front mount
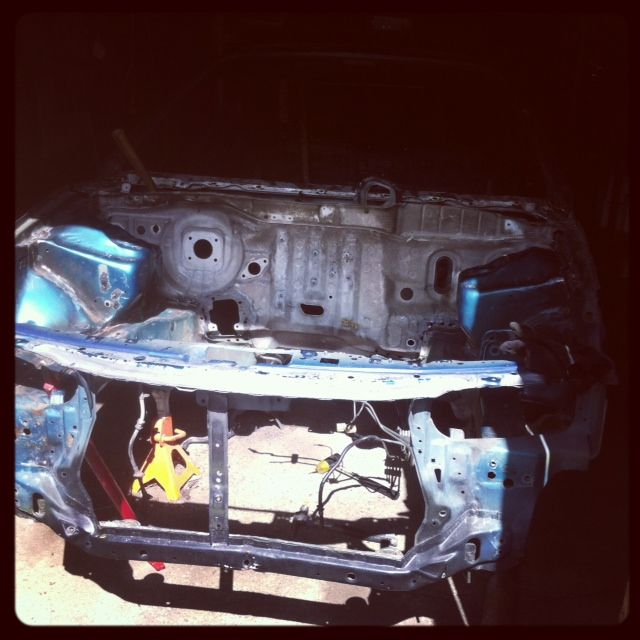
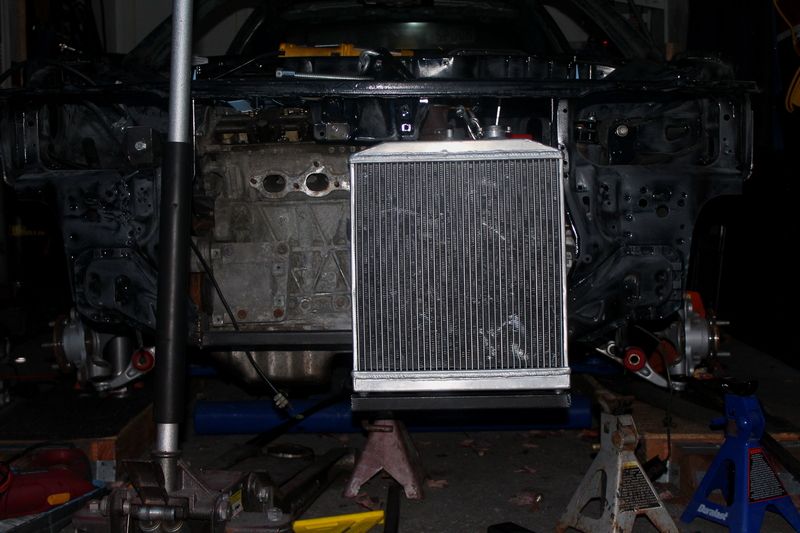
modified radiator support and tucked rad.
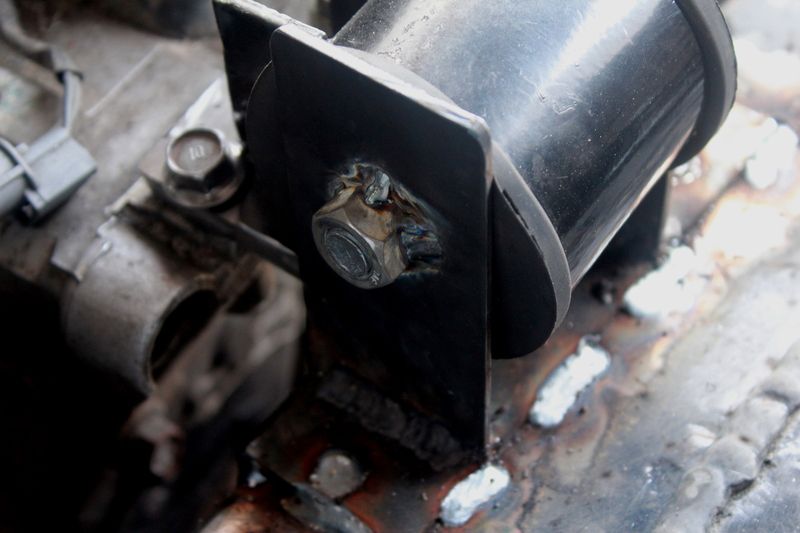
shortended cut and re-welded rear mount
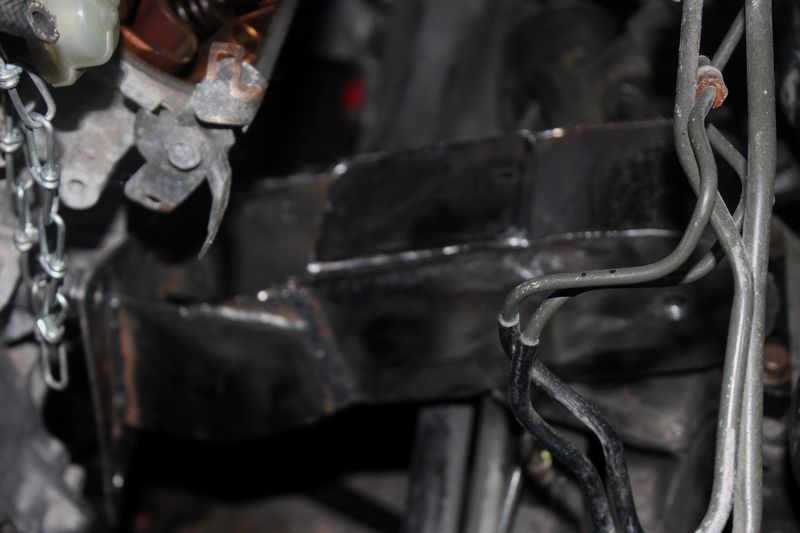
welded a plate extend this mount and made the engine sit completely straight.
close up of modified radiator support and front mount
this is a modified rear camber i cut off and drilled out holes
pulling everything out
there is going to be a whole lot of sandblasting and powdercoating withing this next couple weeks.
popcorn on deck
2/21/2013
hey ctv its been a while but I have been collecting a few parts for this build and deciding how I really want to build this j swap.
recently i acquired a rhd clip from ATS Motorsports shout out! I also picked up a set of Klutch Republik wheels mounted with wheels mint.
I did research on POR-15 and heard good stuff, I am going to use this stuff the the fender well and consider the complete cabin floor with the firewall.
For the transmission i picked up a cl-s 6 speed with 87,000.
this is the j32a2 with 137,000
05/19/2013 update
I got a lot of motivation from a lot of builds I have been seen completed from my friends and members on this site. I have been losing sleep over this and its going to be worth it.
managed to get a few goodies from chasebays
an fuel line kit, harness, ecu, brake booster delete. i also have an s2000 clutch master cylinder


here are a few suspension pieces I powdercoated silver.

finished. I still have to install bearings hubs and bushings. no rush!

started the dash (4/s hit me up).

removed.

removing everything else.

everything basically removed. you can see I still have to remove floor mat

side view of the material that still needs to come off the floor. there is a solution

dry ice and elbow grease it is/ ($12 for 5lbs)

i didnt have any more funds for dry ice so I removed the rest with elbow grease. threw everything away and vacuumed what i couldn't pick up.

harnesses. i deleted the abs and srs and removed the wires

everything reloomed, looks better in person and once its all tucked.

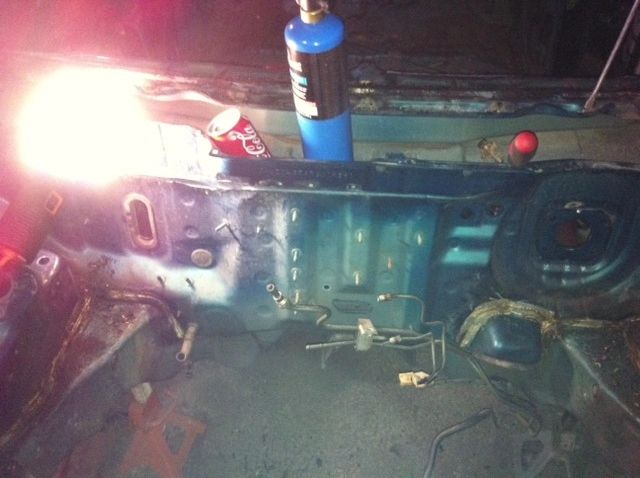
me and my pops removed the windshield

i spent some nights removing the seem after work. to make the least amount of noise i just used a propane torch a scraper and elbow grease.

started removing spot welds for stuff i dont need in the bay and the mount to replace to a j series

removed still need to go some grinding by will save that until im ready to do the engine bay.

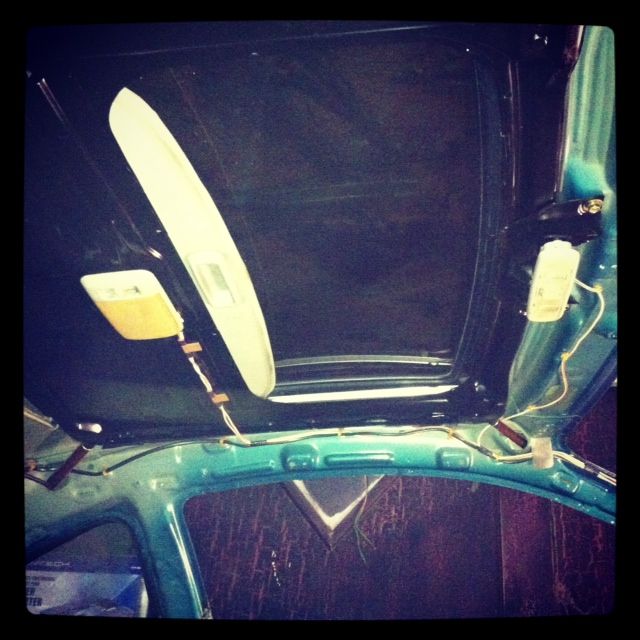
removed the headliner, wires have to be routed to the opposite side

07/22/2013
a few pictures of my front lca and spindles powdercoats and bushing, bearings and hubs pressed in. Also, some recent videos, so viewers can see where I am at now


vid1
did some prepping on the weld areas. its important to get them cleaned to the weld penetrate but at the same time i have to be careful not to burn any hole through because it can weaken that area. also did a quick video so you all can be more progress at different angles.


vid4
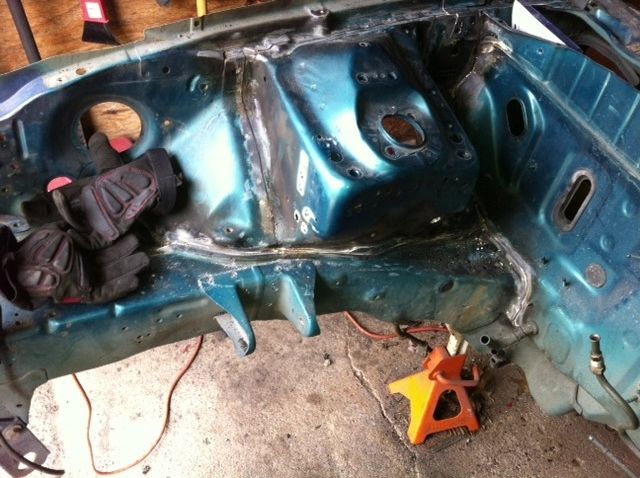
firewall mounted and still fitting it for weld

08/16/2013
just about done with the firewall, i have to do the floor and weld the side inner fender back on
i did seam welds all the way around with 1 inch gap


shot of the inside

vid5
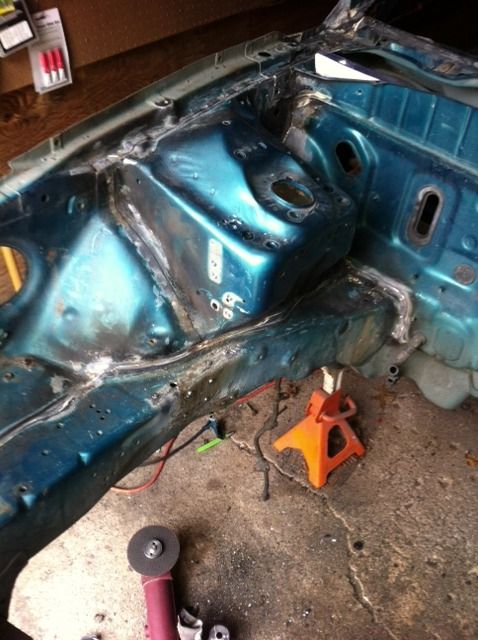
seam sealer is added

hood latch relocated to right side and welded on

seam sealer added in the wheel well, it will look a lot better when the por-15 is added.

you can see the seal in the engine bay and i also began to shave the engine bay

vid6

vid7


vid8

i was working on spot welds on the door seams

09/07/2015
Havent updated over a year since I bought my first house I haven't had the time to work on this. But the build continues.


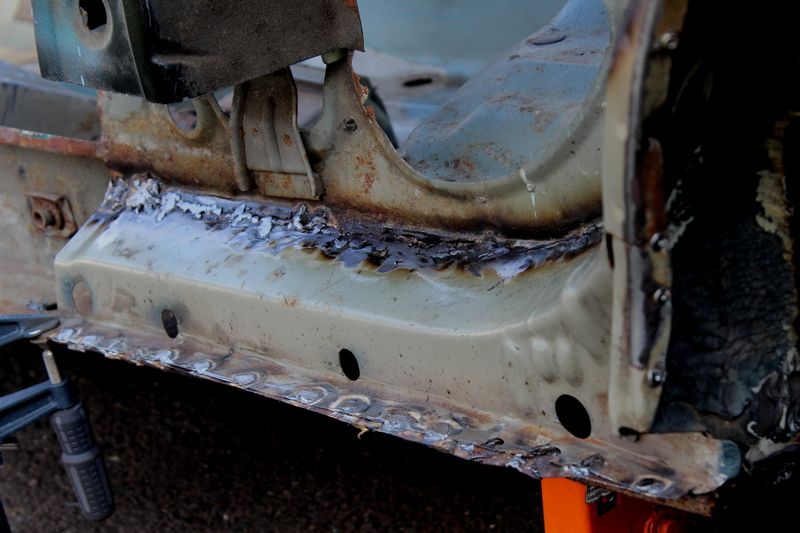
and more rust. most people would have given up seeing this.


passenger side cut up and tig welded


completely fused

after patience this is outcome


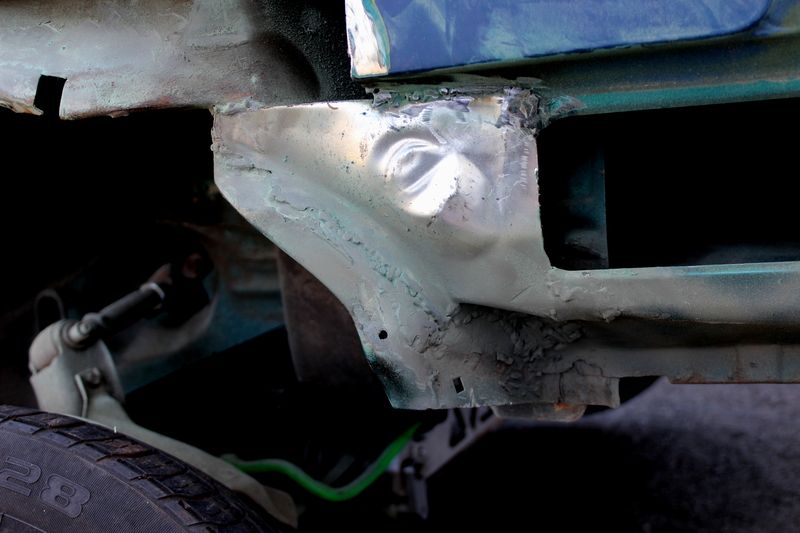
donor driver quarter and rocker I found at local yard. picked it up and did the work on spot welds.

was not gonna cry about this little hole since mines was much worse


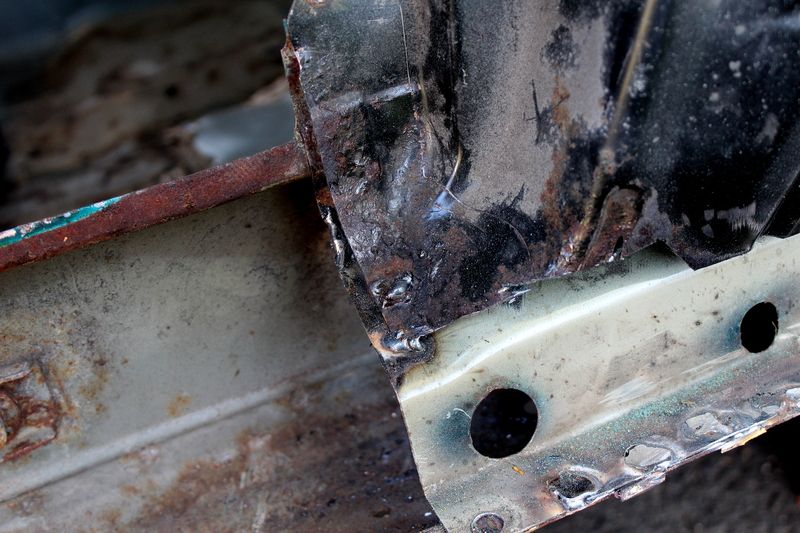
more rust behind rust, **** it


after welding and sprayed rust protection on welds

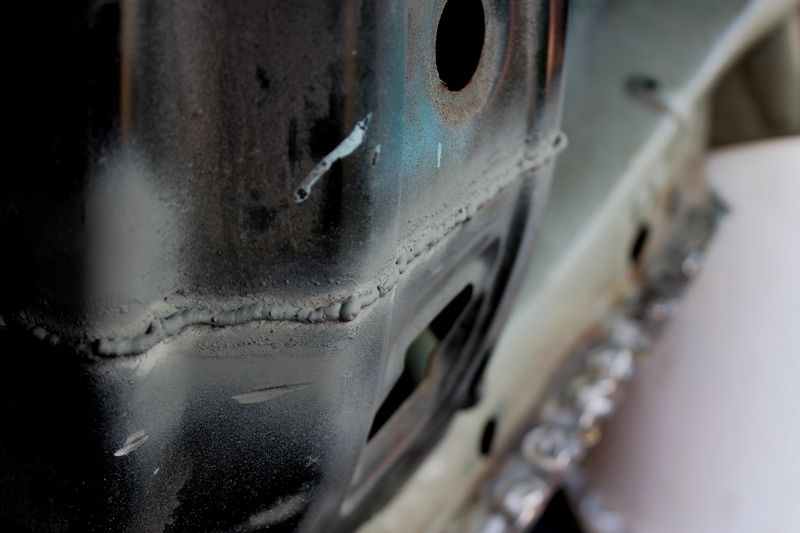
welds grinded down


the best I could do with this section

small tacks to hold this section should be enough

sprayed some primer
 /
/10/14/2015
Body work has been done weeks ago just in time before the weather changed and the integra is back in the garage. all paint outside has been stripped with fiber disk so it didn't dig into the metal. It still hasn't been primered until the mounts are completed.
Intake manifold removed to remove the automatic uncut engine harness.

Here you the see the transmission and the clutch/flywheel which were a craiglist score for $150.

3 years just to get to this point. The engine is in and the mounts are being made. Engine bay was resanded so I can respray everything.

Driver side mount. I had better tig days

rear mount

transmission mount, not done yet because I'm adding support towards the bottom


1/2 bolts nuts from lowes


Will be adding a front mount after.
These brackets will look real nice when I powdercoat them in chrome. Total cost to build my brackets was $40 in steel sheet and a few hours a day.
10/27/2015
Did some final work to mounts and brackets before the motor comes out to spray the car.
Here you see the front mount

modified radiator support and tucked rad.

shortended cut and re-welded rear mount

welded a plate extend this mount and made the engine sit completely straight.

close up of modified radiator support and front mount

this is a modified rear camber i cut off and drilled out holes


Thread
Thread Starter
Forum
Replies
Last Post
Coolest Dude Ever
Southern California (Sales)
50
10-03-2008 07:48 PM
turboman
Honda / Acura
4
07-12-2006 07:30 PM
Ferrell
For Sale
9
07-19-2002 09:21 PM