
DIY: Civic dual core, half size radiator in a Gen 3 Integra
 11-11-2008, 07:00 AM
#1
<FONT COLOR="red"><FONT SIZE="3">DIY: Integra half size civic radiator install</FONT></FONT>
Tools needed:
- Adjustable pliers
- 10 mm socket/ratchet
- 12 mm wrench
- Razor/knife
- Civic radiator hose
- Drill w/small drill bit
- Piece of metal (aluminum preferably)
- Tray to catch antifreeze
- Antifreeze
- Jack and jack stands
** Optional
--- Wire cutters/connectors, heat shrink, electrical tape.
--- Hammer
--- Zip ties
Time needed:
- An hour or so.
Step 1: - Gather tools and get ready to upgrade your coolant system! Pop your hood and locate your old radiator
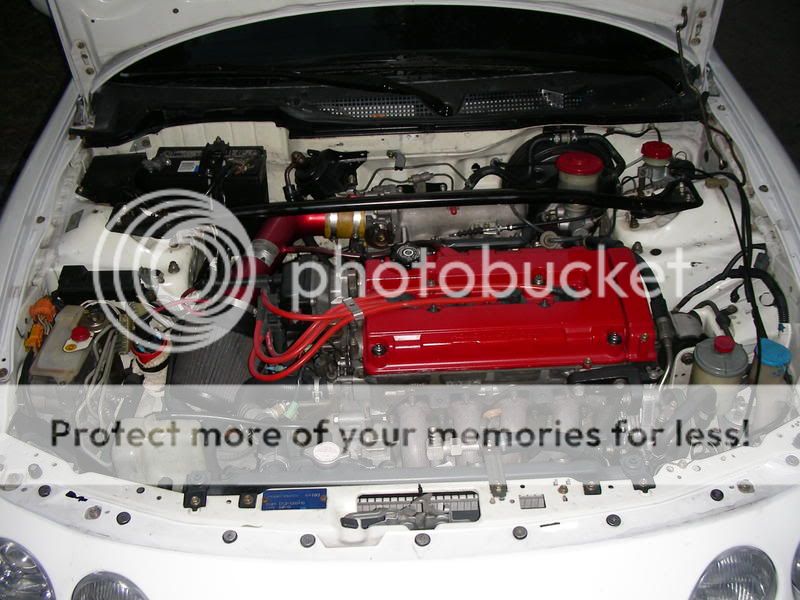
Step 2: - Jack your car up and stick it on jackstands. Safety first kids!!
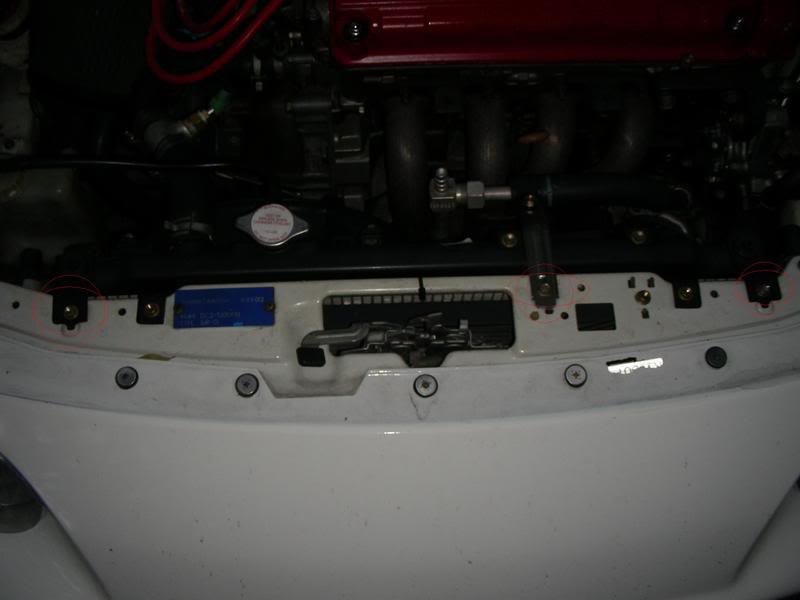
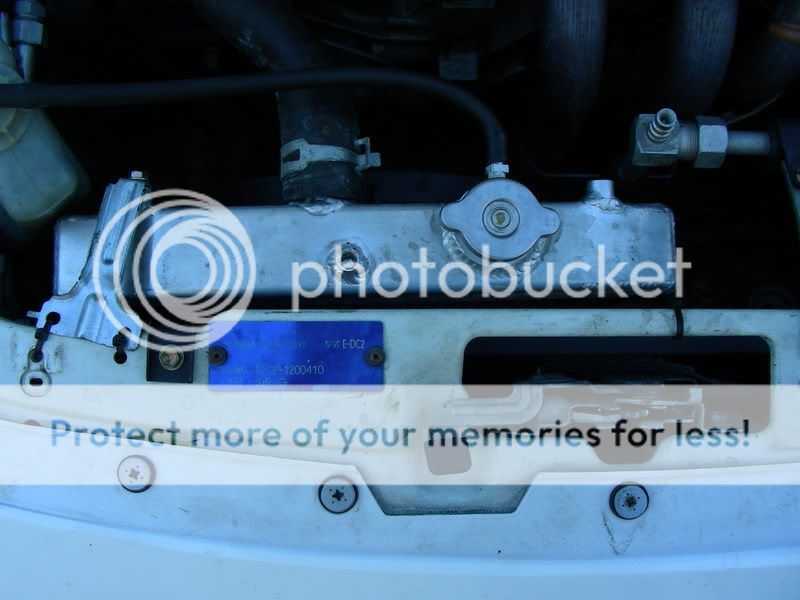
Step 3: - Remove (3) 10 mm bolts. (2) are for the radiator brackets, (1) is for the AC line bracket. You can't see it very well, but they are circled in red.
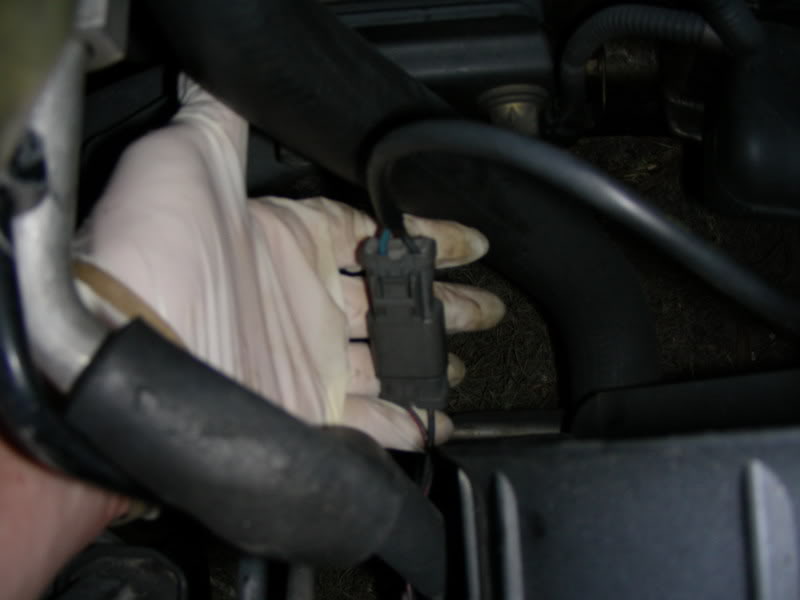
Step 4: - Locate the plus connected to the fans and unplug them.
Drivers side:

Passenger side:
Step 5: - Drain the radiator. I plagiarized this pic from Team Integra.

**Note** Make sure there aren't any pets around when you do this, particularly dogs: They love Antifreeze. Unfortunately, it kills them. So keep Fido away.**
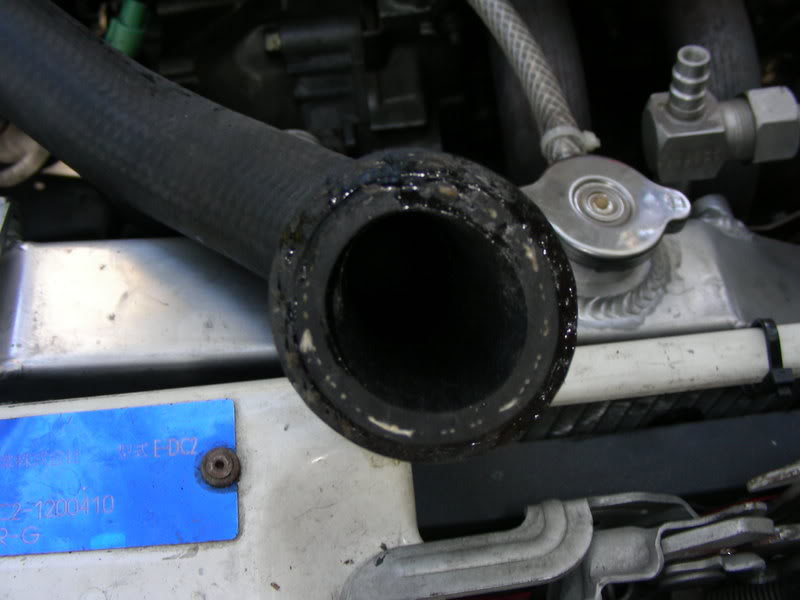
Step 6: - Remove upper and lower hose clamps. The top one is pretty easy and depending on how the bottom one is turned, it can be a pain. You may need some needle nose pliers for the bottom.
Top:

Bottom:

Step 7: - Yank the radiator out! With all hoses off, carefully remove the radiator. It will require a little wiggling, as the AC lines get in the way of the fans and the bottom radiator hose can get in the way. But it's not too bad.
Step 8: - Make an adapter for the hoses. The civic hose necks are smaller than the integra's, so the integra hoses WILL NOT WORK. What do you do? They may make hoses specifically for this, I don't know. I didn't have the time/desire to find out so (thanks to Andrew) I went and bought a civic radiator hose (upper) and used it as a sleeve.
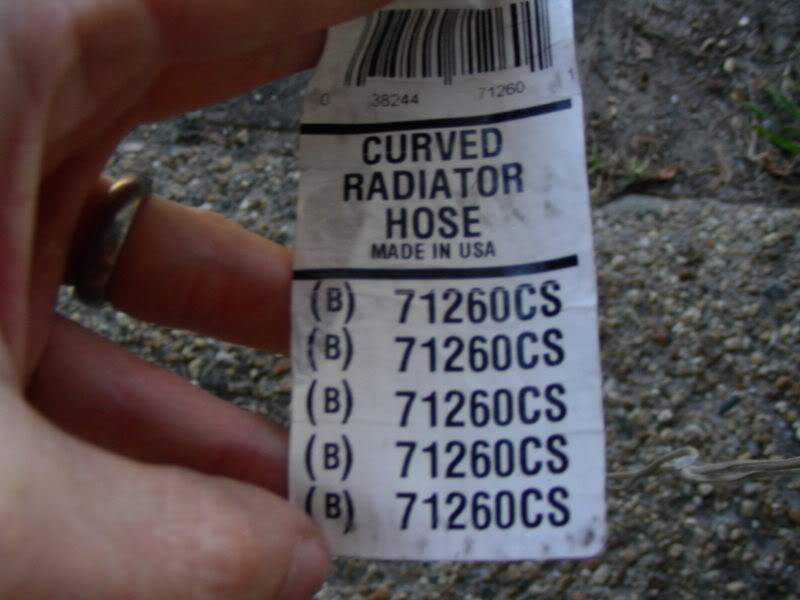
I cut a couple inches of the hose, slicked it up with some oil (from my last oil change) and forced it into the integra hose. Took a lil bit of shoving, but I got it in there.
Upper:
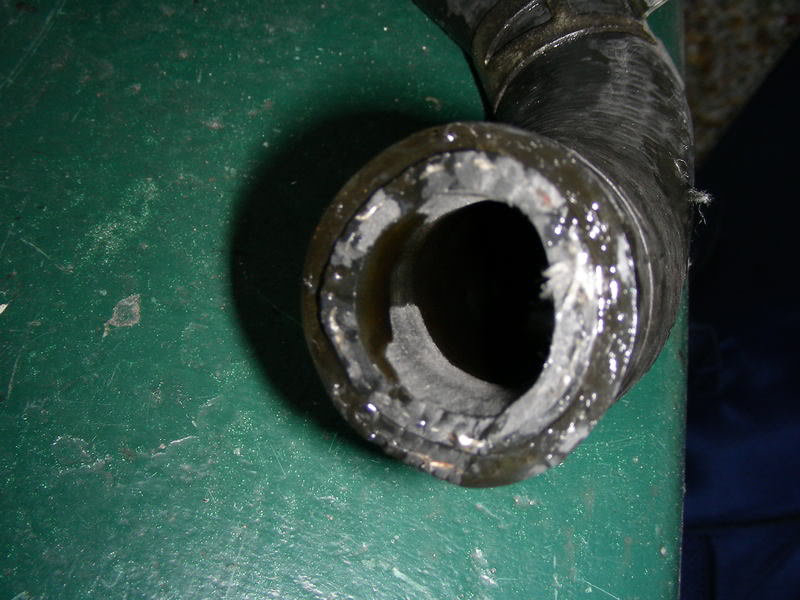
Lower:
Step 9: - Install the radiator and the hoses! The radiator is easy enough, just drop it onto the one bracket on the passenger side. It's narrower, so you can't utilize both brackets the OEM radiator sat on. Next are the hoses. They were a lil tight to get on, so I lubed up the neck on the radiator to aid in the slippage
Step 10: - Wire up your fan. If you using an OEM fan off of the original radiator, just bolt it up. If you using an aftermarket fan, then you will have to either use a spare plug or cut a plug off of one of the OEM fans and wire it into the aftermarket fan. That way it's easy to remove if you ever need to! How you decide to connect the wires is up to you. Some use tape, some use connectors, some solder the wires together. It's left up to your discretion. I didn't have any connectors on hand, so I used tape It's temporary, get over it!
Step 11: - Make your bracket! This is also left up to you as to how you want to do it. I didn't have any metal laying around so I scrounged around and found out that the bracket, on the drivers side that holds the plastic cover that is around the hood latch is ALMOST perfect, but not quite big enough. I flattened it out with a hammer and used some zip ties to hold it in. Not the first time I've had a radiator held in with zip ties BTW
I'll make a better bracket and update the pic within a day or so It's not going anywhere right now.
Step 12: - Bleed the system. Here is a very nice guide on bleeding the system and replacing your coolant. This guy explains it better than I can.
Step 13: - Check for leaks and drive her! After the system has been bled sufficiently, check for any leaks from the hoses. If all is well, take her out for a spin and watch the temp gauge to make sure nothing goes awry. Get her back home and AFTER THE ENGINE HAS COOLED remove the cap and check the fluid, top it off it you need to.
Your done!!
As always, if I missed something or need to correct anything or if I can make anything clearer, lemme know!
Enj0y!
Tools needed:
- Adjustable pliers
- 10 mm socket/ratchet
- 12 mm wrench
- Razor/knife
- Civic radiator hose
- Drill w/small drill bit
- Piece of metal (aluminum preferably)
- Tray to catch antifreeze
- Antifreeze
- Jack and jack stands
** Optional
--- Wire cutters/connectors, heat shrink, electrical tape.
--- Hammer
--- Zip ties
Time needed:
- An hour or so.
Step 1: - Gather tools and get ready to upgrade your coolant system! Pop your hood and locate your old radiator
Step 2: - Jack your car up and stick it on jackstands. Safety first kids!!
Step 3: - Remove (3) 10 mm bolts. (2) are for the radiator brackets, (1) is for the AC line bracket. You can't see it very well, but they are circled in red.
Step 4: - Locate the plus connected to the fans and unplug them.
Drivers side:
Passenger side:
Step 5: - Drain the radiator. I plagiarized this pic from Team Integra.
**Note** Make sure there aren't any pets around when you do this, particularly dogs: They love Antifreeze. Unfortunately, it kills them. So keep Fido away.**
Step 6: - Remove upper and lower hose clamps. The top one is pretty easy and depending on how the bottom one is turned, it can be a pain. You may need some needle nose pliers for the bottom.
Top:
Bottom:
Step 7: - Yank the radiator out! With all hoses off, carefully remove the radiator. It will require a little wiggling, as the AC lines get in the way of the fans and the bottom radiator hose can get in the way. But it's not too bad.
Step 8: - Make an adapter for the hoses. The civic hose necks are smaller than the integra's, so the integra hoses WILL NOT WORK. What do you do? They may make hoses specifically for this, I don't know. I didn't have the time/desire to find out so (thanks to Andrew) I went and bought a civic radiator hose (upper) and used it as a sleeve.
I cut a couple inches of the hose, slicked it up with some oil (from my last oil change) and forced it into the integra hose. Took a lil bit of shoving, but I got it in there.
Upper:
Lower:
Step 9: - Install the radiator and the hoses! The radiator is easy enough, just drop it onto the one bracket on the passenger side. It's narrower, so you can't utilize both brackets the OEM radiator sat on. Next are the hoses. They were a lil tight to get on, so I lubed up the neck on the radiator to aid in the slippage
Step 10: - Wire up your fan. If you using an OEM fan off of the original radiator, just bolt it up. If you using an aftermarket fan, then you will have to either use a spare plug or cut a plug off of one of the OEM fans and wire it into the aftermarket fan. That way it's easy to remove if you ever need to! How you decide to connect the wires is up to you. Some use tape, some use connectors, some solder the wires together. It's left up to your discretion. I didn't have any connectors on hand, so I used tape
It's temporary, get over it!Step 11: - Make your bracket! This is also left up to you as to how you want to do it. I didn't have any metal laying around so I scrounged around and found out that the bracket, on the drivers side that holds the plastic cover that is around the hood latch is ALMOST perfect, but not quite big enough. I flattened it out with a hammer and used some zip ties to hold it in. Not the first time I've had a radiator held in with zip ties BTW
I'll make a better bracket and update the pic within a day or so
It's not going anywhere right now.Step 12: - Bleed the system. Here is a very nice guide on bleeding the system and replacing your coolant. This guy explains it better than I can.
Step 13: - Check for leaks and drive her! After the system has been bled sufficiently, check for any leaks from the hoses. If all is well, take her out for a spin and watch the temp gauge to make sure nothing goes awry. Get her back home and AFTER THE ENGINE HAS COOLED remove the cap and check the fluid, top it off it you need to.
Your done!!
As always, if I missed something or need to correct anything or if I can make anything clearer, lemme know!
Enj0y!
 11-11-2008, 07:09 AM
#2
Honda-Tech Member
Join Date: Mar 2003
Location: Bay Area, CA
Posts: 3,183
Likes: 0
Received 0 Likes
on
0 Posts
Well if it aint Mr. DIY doing it up again. haha You got too much time on your hands to be putting this stuff up lol.

11-11-2008, 08:34 AM
#3
Here's what I have of my bracket so far...
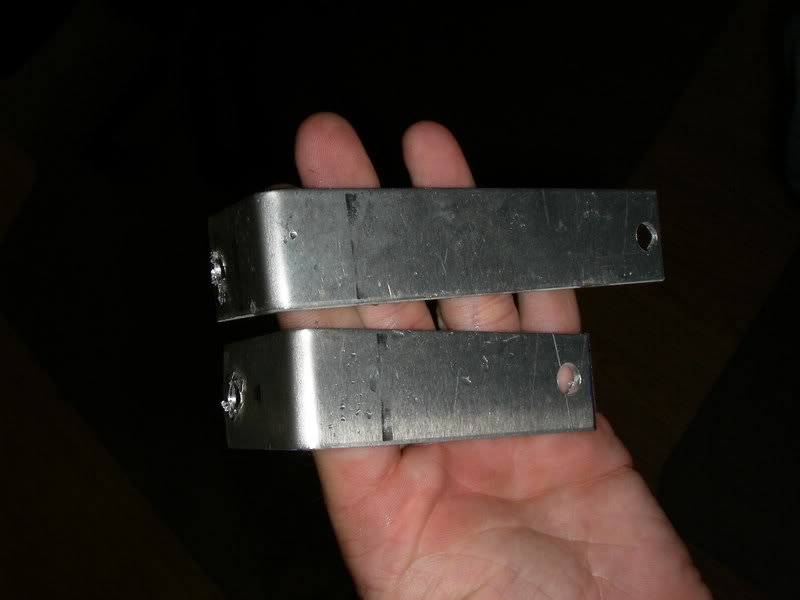
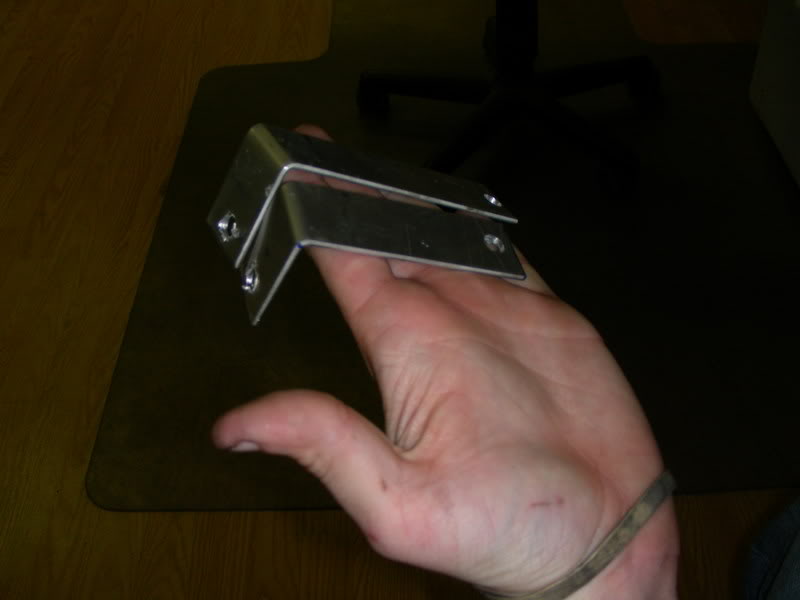
I'll work on em today and tomorrow. I'll try to clean em up and make them purty
**Edit** I got the passenger side one done, had to rebuild the drivers side but I"m pretty sure it's dead on as well. I made them so the radiator is held out from the condenser, so they won't rub
Modified by mac_24_seven at 12:25 PM 11/11/2008
11-17-2008, 08:33 AM
#6
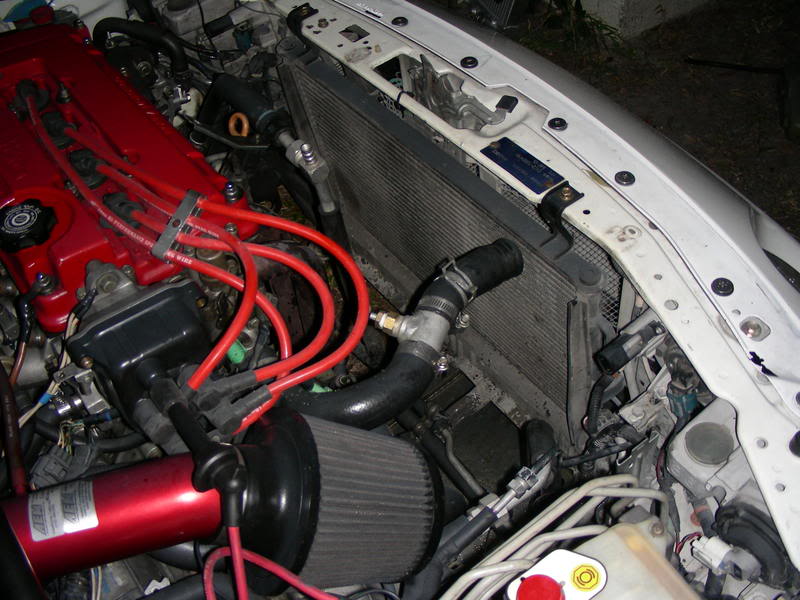
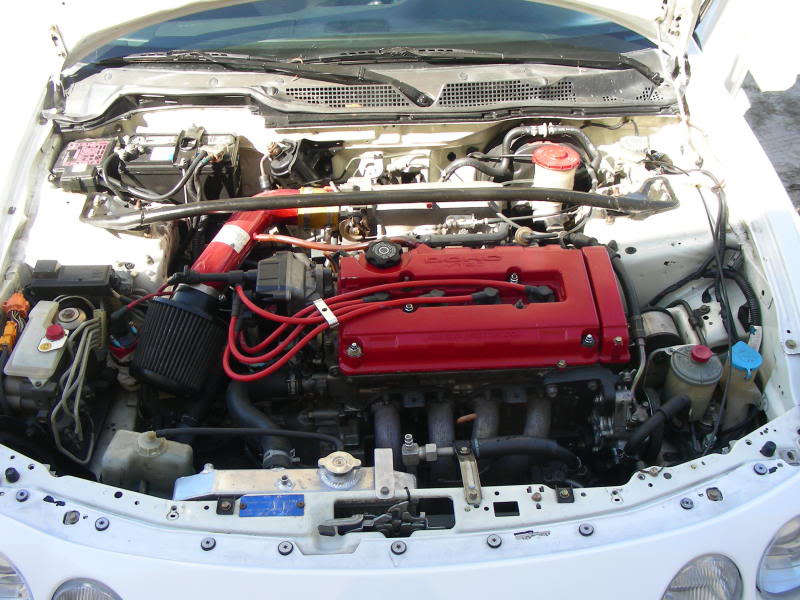
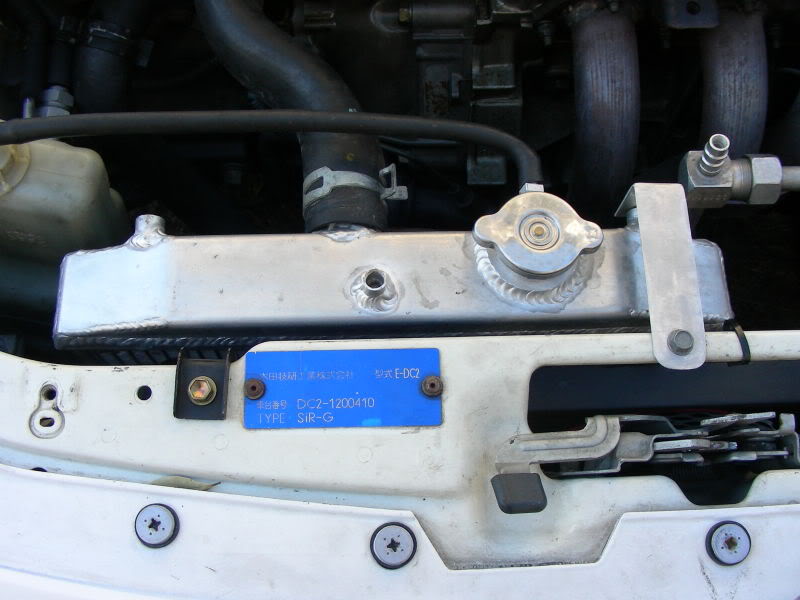
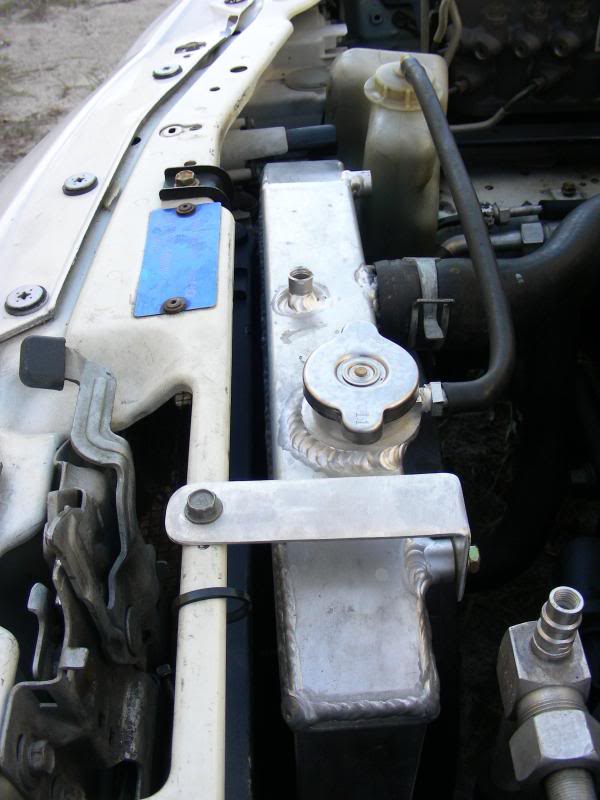
And here ya go! Pictures of the radiator, installed, with one of my brackets. Holds it perfect!
I havn't noticed any changes in temp, if anything it cools off quicker when I turn the fan on, otherwise it doesn't seem to heat up any faster than before, no slower either, but thats fine with me!


Enj0y!
I havn't noticed any changes in temp, if anything it cools off quicker when I turn the fan on, otherwise it doesn't seem to heat up any faster than before, no slower either, but thats fine with me!
Enj0y!
11-17-2008, 08:33 AM
#7
And here ya go! Pictures of the radiator, installed, with one of my brackets. Holds it perfect!
I havn't noticed any changes in temp, if anything it cools off quicker when I turn the fan on, otherwise it doesn't seem to heat up any faster than before, no slower either, but thats fine with me!
Enj0y!
I havn't noticed any changes in temp, if anything it cools off quicker when I turn the fan on, otherwise it doesn't seem to heat up any faster than before, no slower either, but thats fine with me!
Enj0y!
Trending Topics
11-19-2008, 06:23 AM
#11
official honda whore
Join Date: Nov 2002
Location: not tellin you where, pa, usa
Posts: 8,454
Likes: 0
Received 0 Likes
on
0 Posts
fyi, you should take the old bottom bracket and relocate it so the radiator still has 2 bottom brackets, all it takes is a spot weld drill bit and reweld it in the new place, it makes the radiator much more secure
08-17-2010, 03:04 PM
#12
Honda-Tech Member

Join Date: Jul 2010
Posts: 27
Likes: 0
Received 0 Likes
on
0 Posts
can u tell me how were u able to attach the slim fan on the radiator. i just receive my radiator, and cant seem to figure it out. thnx
04-03-2021, 05:17 PM
#14
Trial User

Join Date: Apr 2021
Posts: 1
Likes: 0
Received 0 Likes
on
0 Posts
I got a question on where you put the bracket (passager side)
Attachment 475981
Attachment 475982
Attachment 475983
Enj0y![/QUOTE]
Attachment 475981
Attachment 475982
Attachment 475983
Enj0y![/QUOTE]


Thread
Thread Starter
Forum
Replies
Last Post
JDM turbo DC
Forced Induction
31
03-01-2006 12:41 PM