
Casey's 1995 LS Integra mild restoration build
 03-09-2016, 09:58 AM
#1
Well I figure Ill go ahead and start this thread now that I have a little momentum on this turd. I will update this thread to present and then update as new things progress.
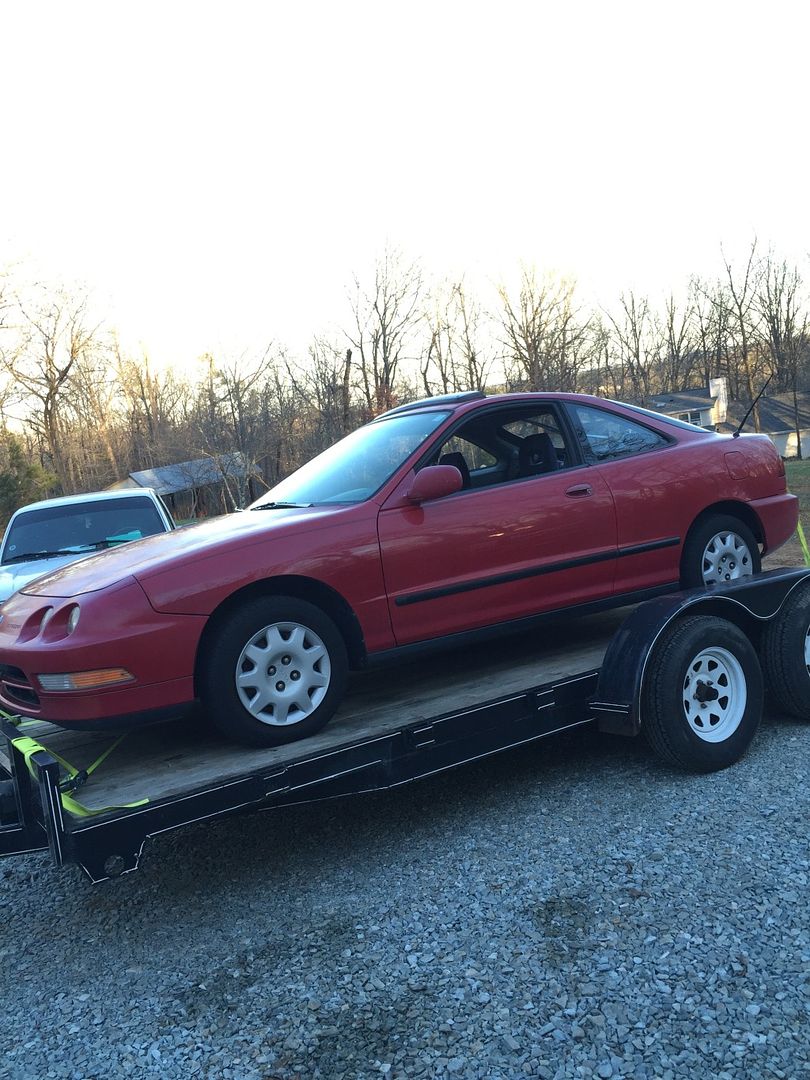
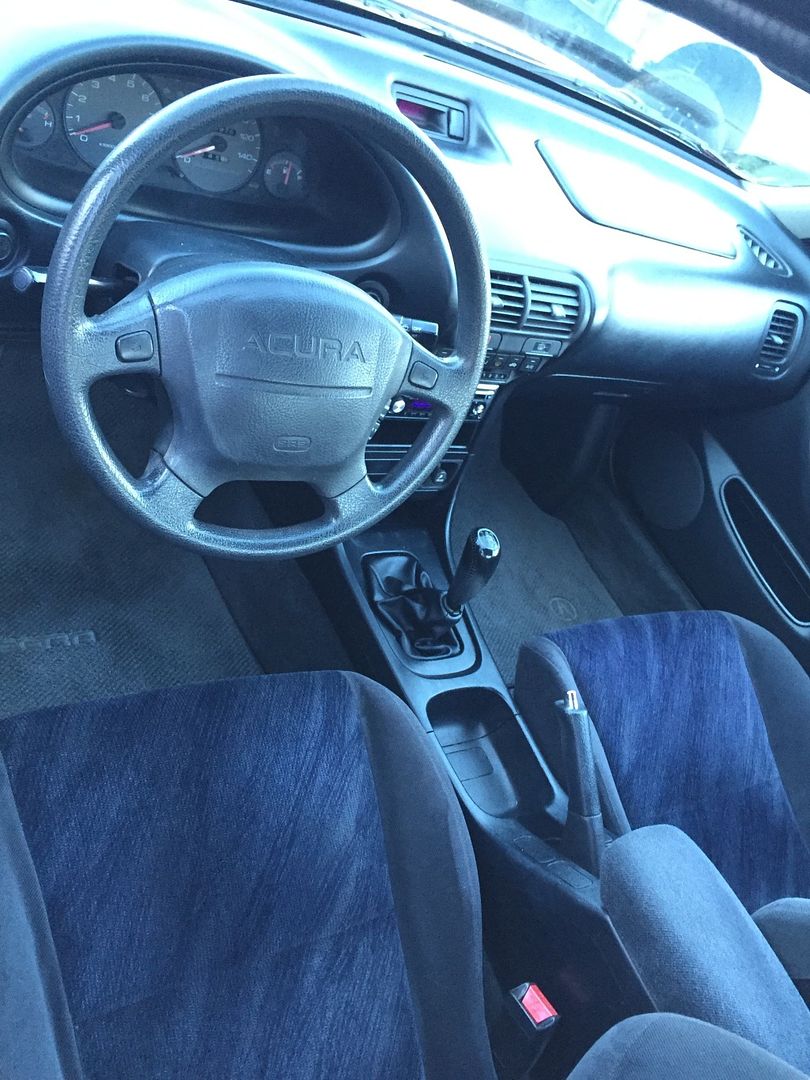
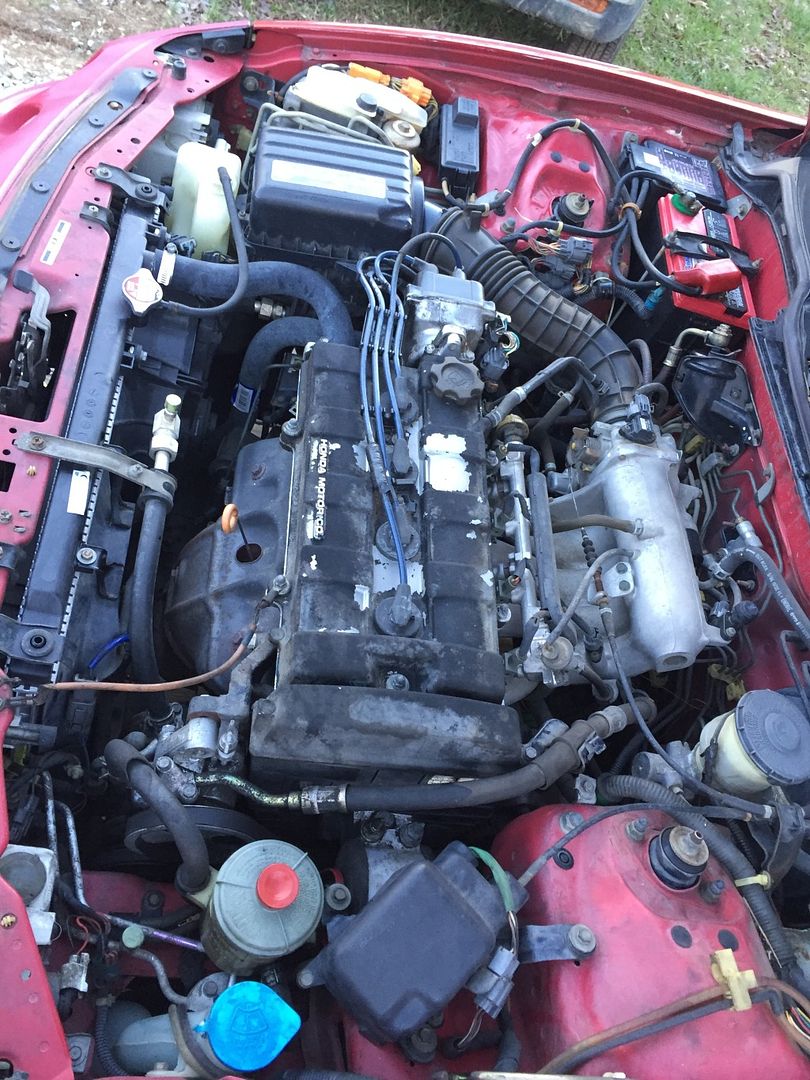
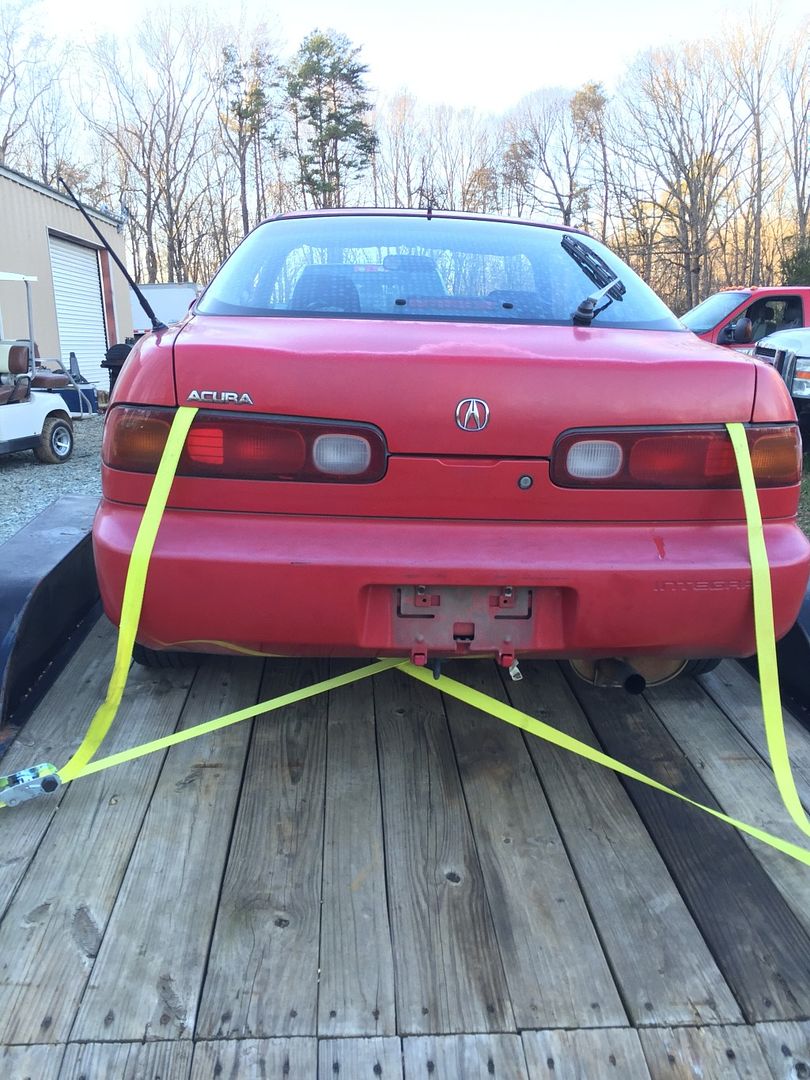
The car is a little rough cosmetically on the exterior and a few things in the interior, but it is a SOLID car and I got a ridiculous deal on it. 3 NC owner, no accidents, completely stock. Exactly what youd want when buying a used car. The owner I purchased it from was a retired NC State professor and he knew the owners before him so I had no doubts I was getting a great car as a starting platform.
My goal with this car is to replace/restore and upgrade as much OEM parts as possible, and take it back to how cars were put together before you had to have a million ******* trinkets, winglets, flares, camber etc etc, and mimic 2002-2005 builds. I want to freshen everything up and get it as close to new as possible before spending money on aftermarket stuff I dont really need. I would say this will be an "OEM+" type build if that makes sense.
I picked the car up in early January with a good friend. We took a trailer to make things easy but the car ran and drove great. I got a great deal on it and we loaded it onto his trailer to take back home.
Heres a few pics of the day we picked it up:


Last edited by Casey; 03-09-2016 at 06:29 PM.
 03-09-2016, 10:06 AM
#2
The first thing I noticed when I got the car on the road was the front speakers werent playing but the rears were fine. I wasnt sure if it was wiring since there was an aftermarket CD player but I decided to check the speakers and found the culprit:
The OEM paper cone speakers have completely deteriorated over the past 21 years
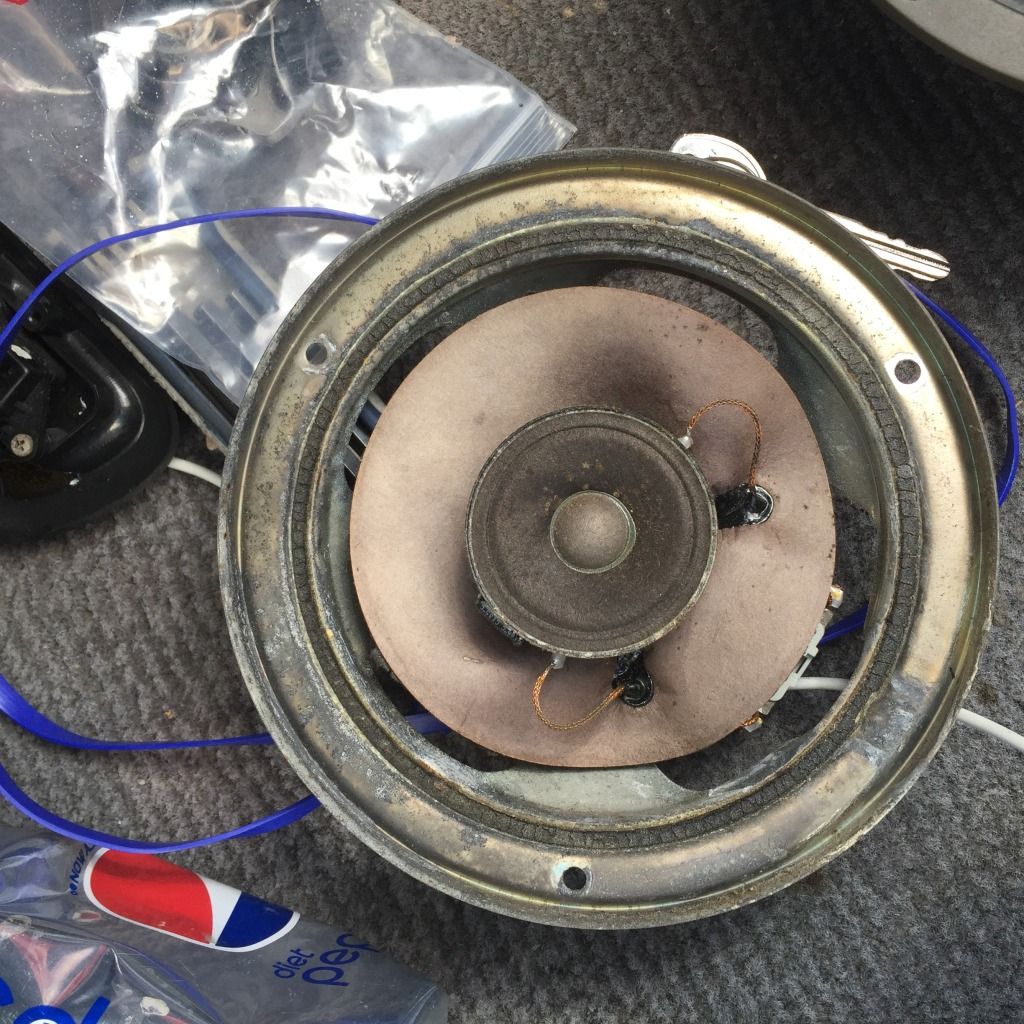
I went ahead and trashed them and put the cheap pioneers from the rear into the doors. Pull the door cards was a task. I am 99% sure they had never been popped before I took them off
The OEM paper cone speakers have completely deteriorated over the past 21 years

I went ahead and trashed them and put the cheap pioneers from the rear into the doors. Pull the door cards was a task. I am 99% sure they had never been popped before I took them off
03-09-2016, 10:18 AM
#3
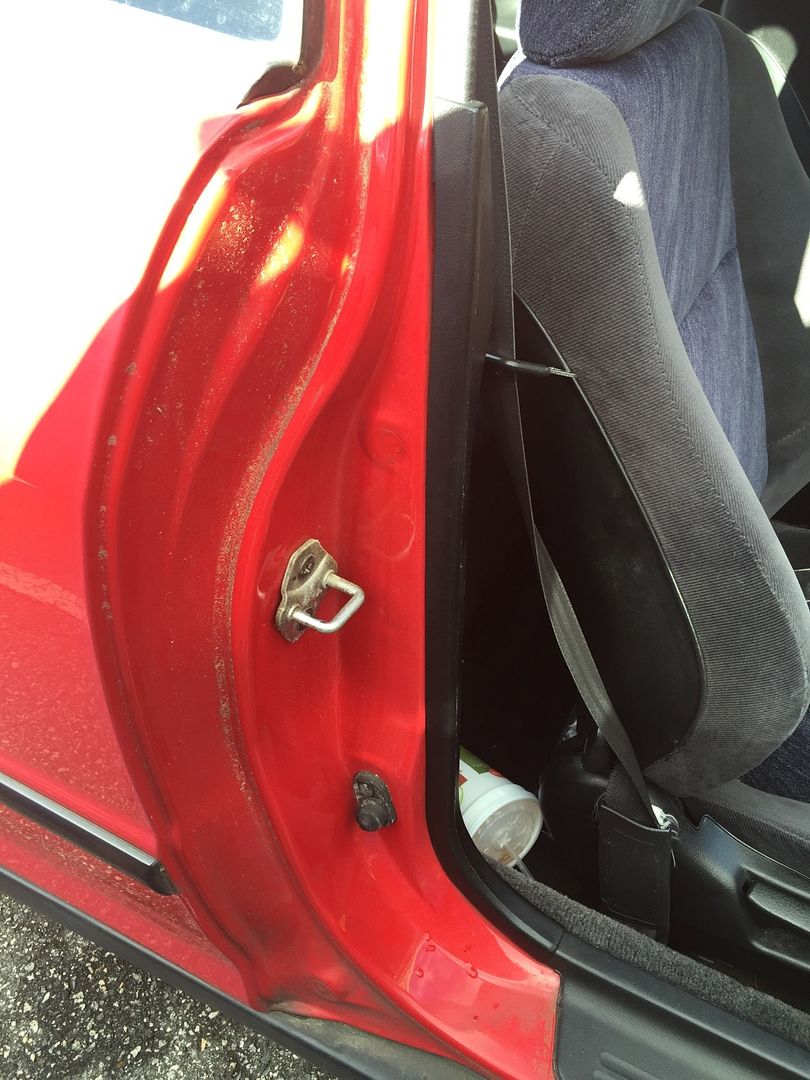
The same day I decided to clean the jambs to see if they would need a respray when I get the car painted. I cleaned them with a microfiber and quick detailer and used a mild polish. I was happy to see they are in great shape. Milano Red is a great color when it isnt faded all to ****


 03-09-2016, 11:16 AM
#5
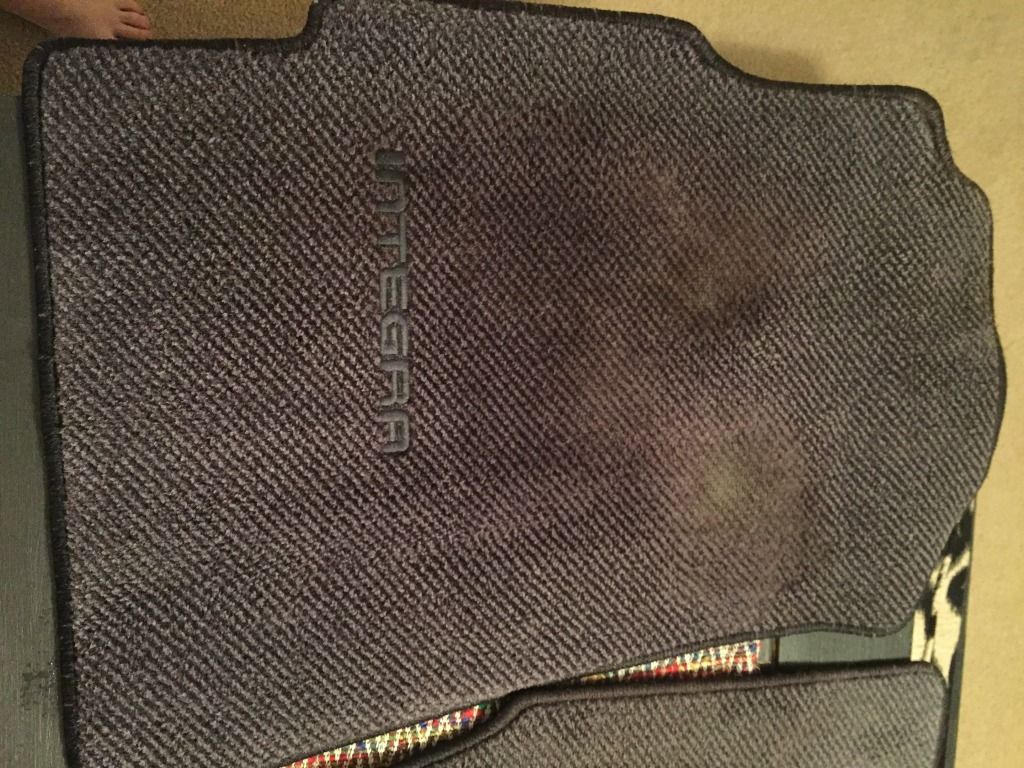
I picked up a portable dirt devil carpet cleaner for my house and decided to use it on some interior things to freshen them up. I cleaned the floor mats, carpet, and my usdm ITR seats. I got the ITR seats in a trade from a friend for some part off my previous 8th gen Si
before:

after:
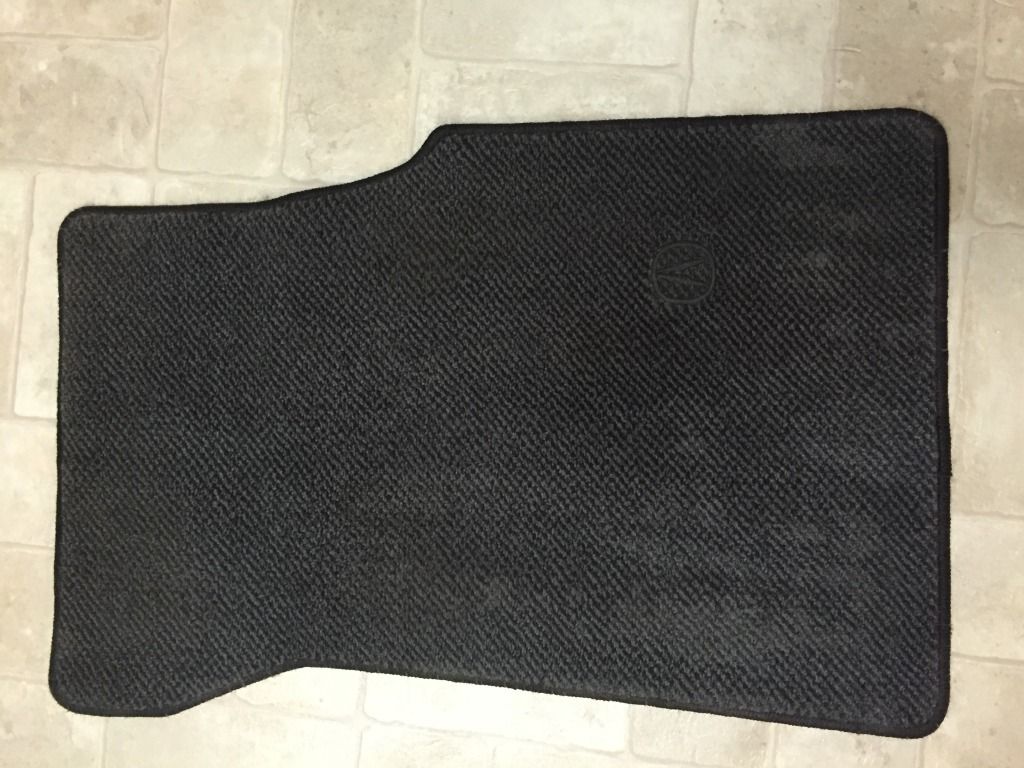
Not perfect, but there floor mats so theyre going to get dirty anyway
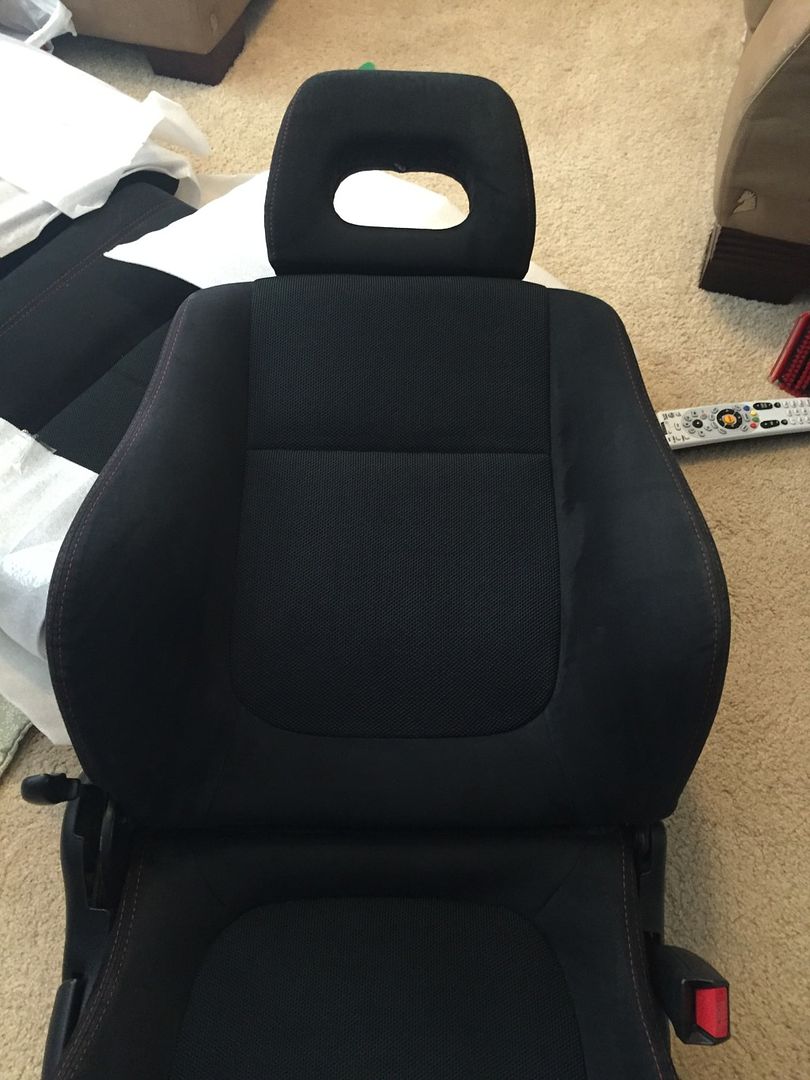

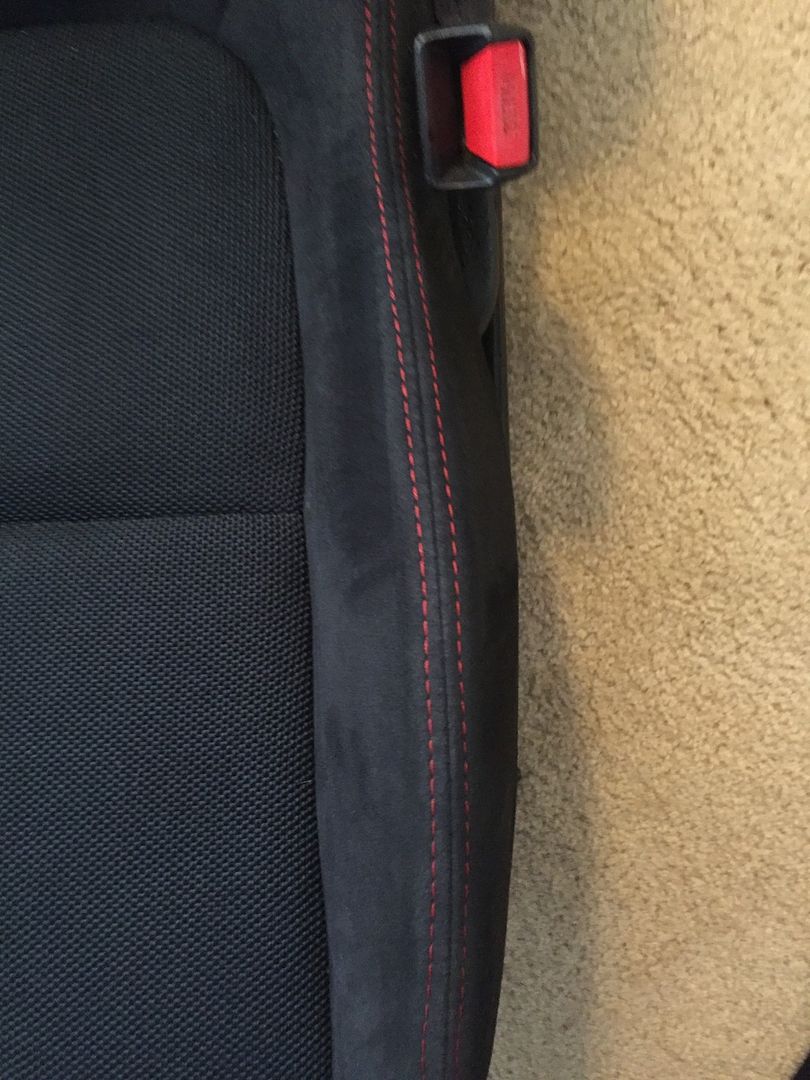
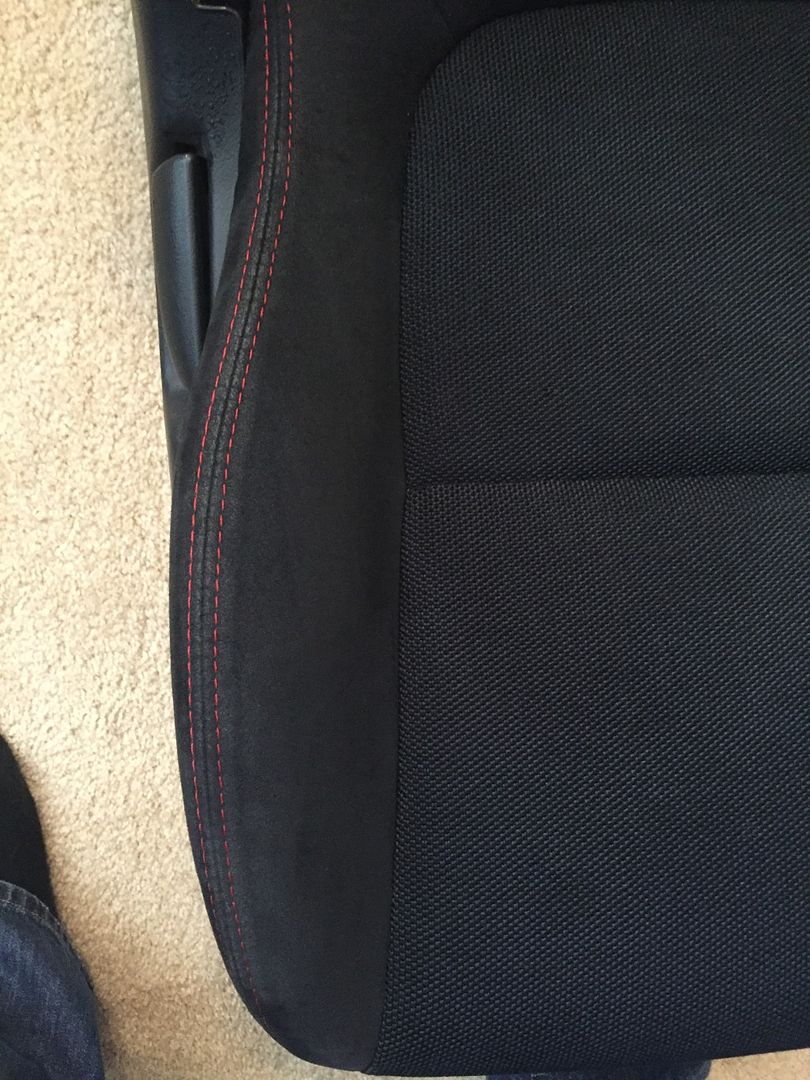
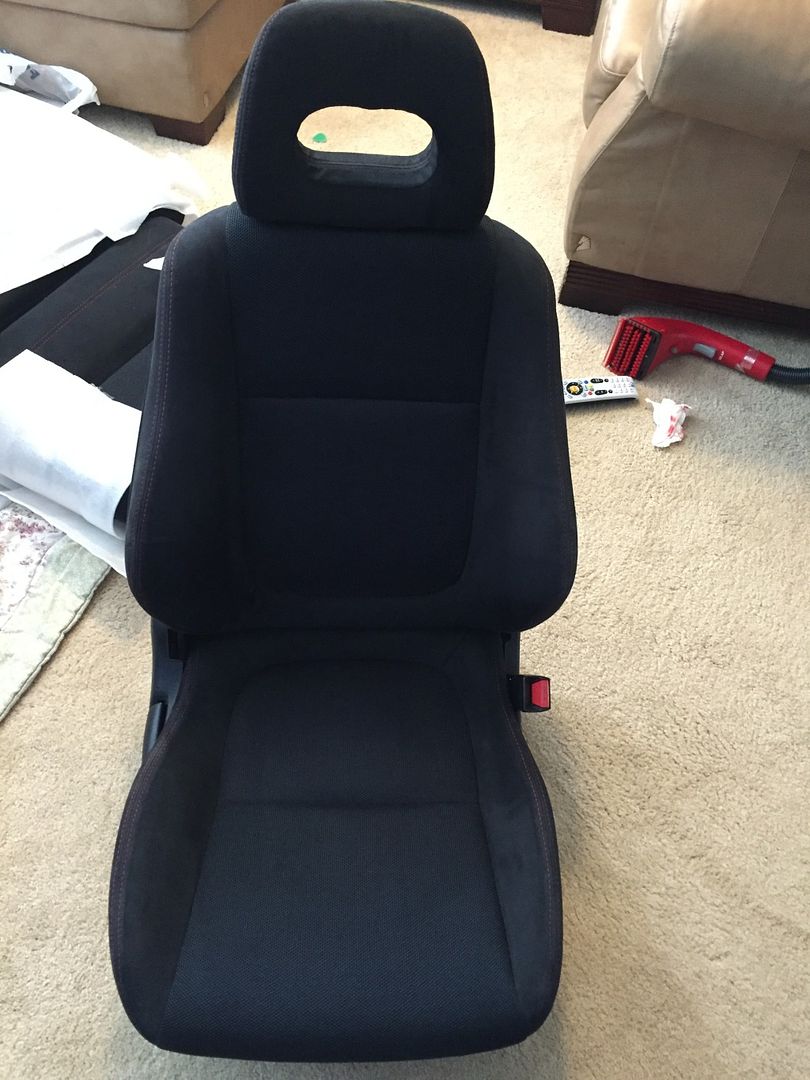
overall I am pleased with how things came out for a couple hours worth of work. Its crazy to see how much dirt gets sucked out of stuff when a little cleaning solution is applied to it.
before:

after:


Not perfect, but there floor mats so theyre going to get dirty anyway


overall I am pleased with how things came out for a couple hours worth of work. Its crazy to see how much dirt gets sucked out of stuff when a little cleaning solution is applied to it.
03-09-2016, 12:12 PM
#7
I have been acquiring some parts for the restoration. Some new, some used that I am cleaning, painting etc.
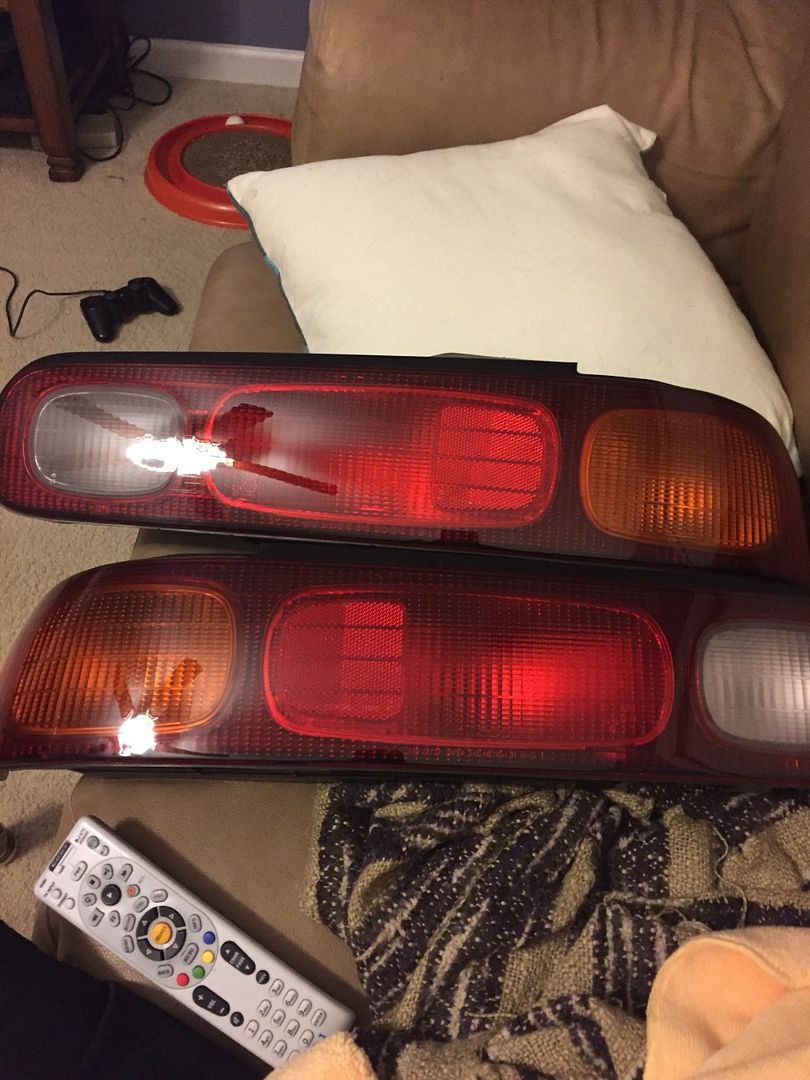
My original tail lights are in ok shape but the black plastic on top has faded and they are getting dull from some many years in the sun. I picked up a JDM set simply because they are usually in good shape with less time to deteriorate.

I put some mild polish on my orbital buffer and was able to get them nice and shiny.
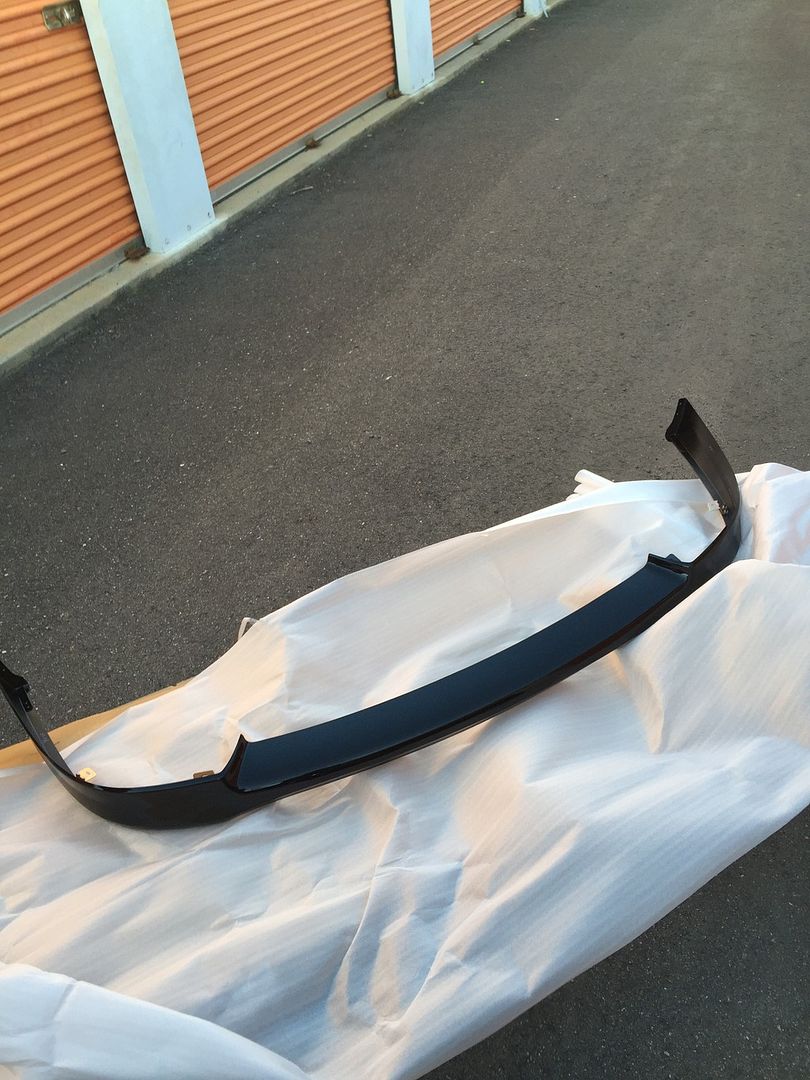
I knew I wanted to go 98-01 front and rear on the car as I prefer it over the 94-97. I went to Acura and priced a new ITR lip since used ones go for 250-300 and shipping is a bitch. It wasnt cheap but well worth it, and got all the OEM hardware to mount as well.
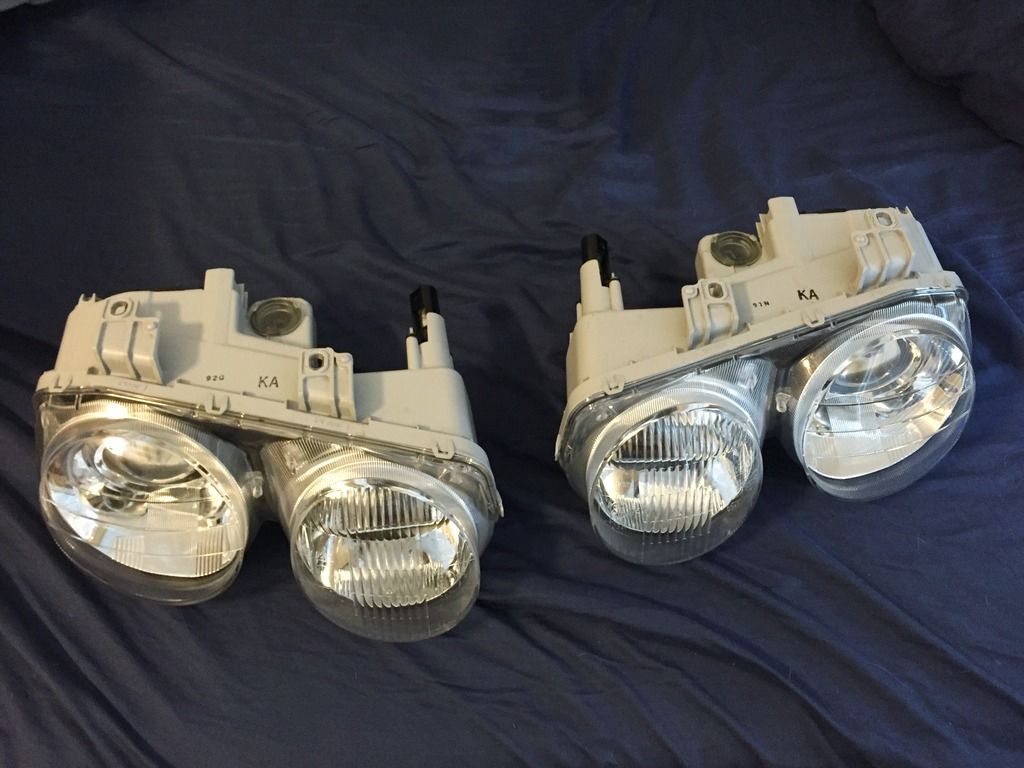
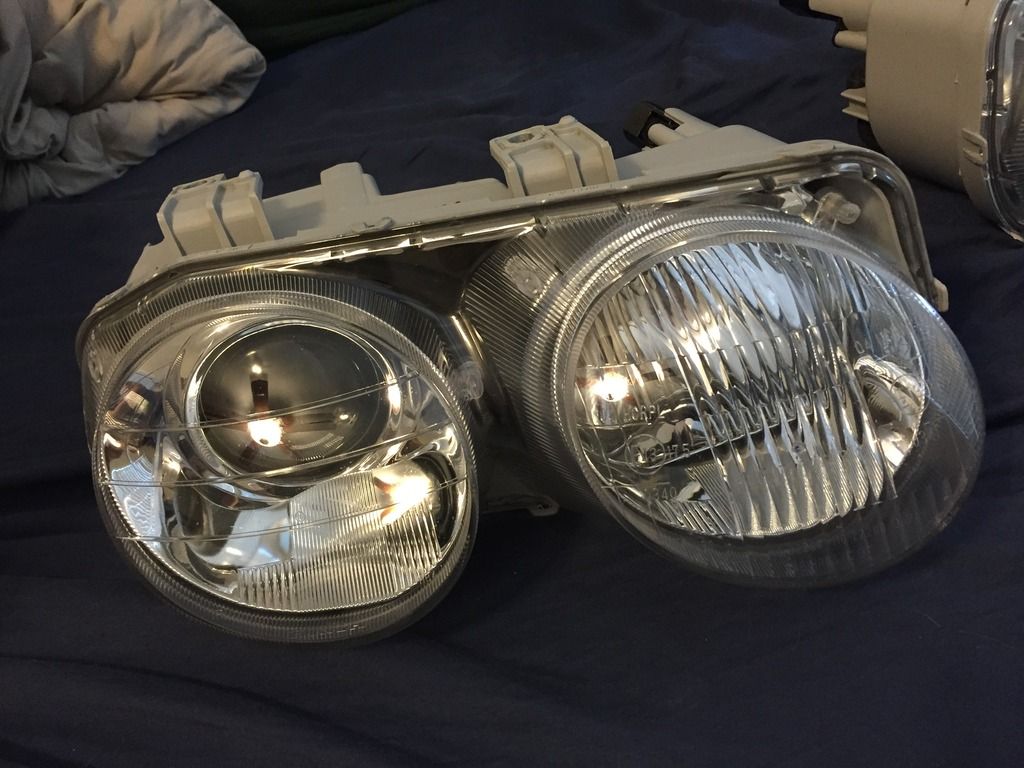
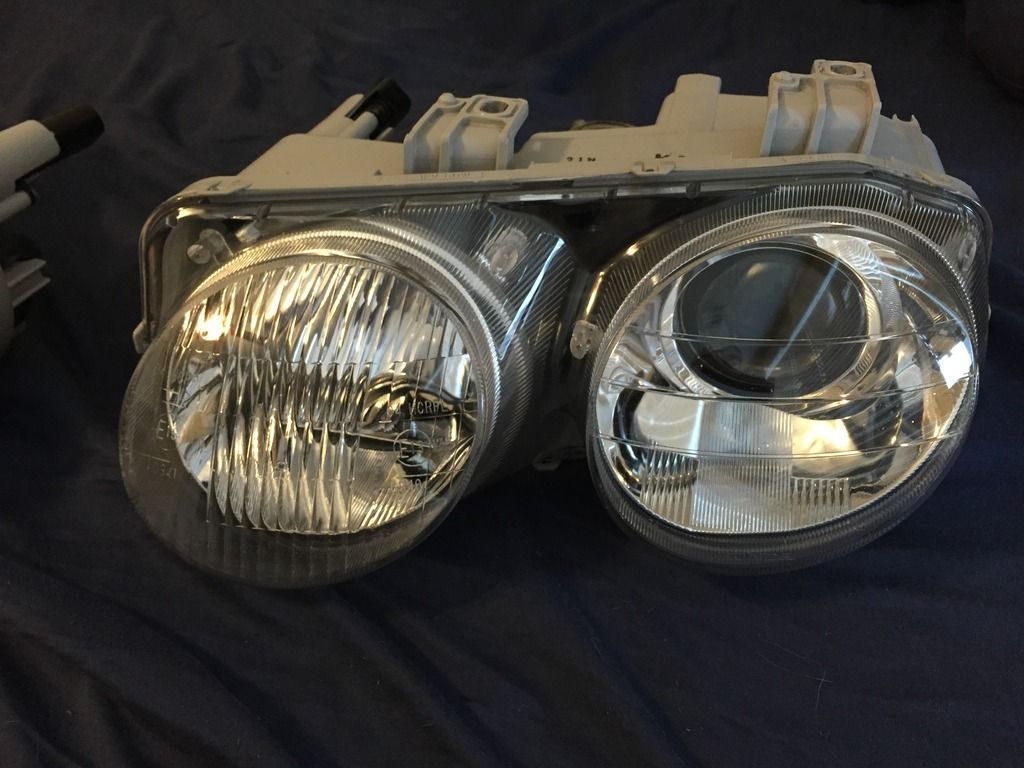
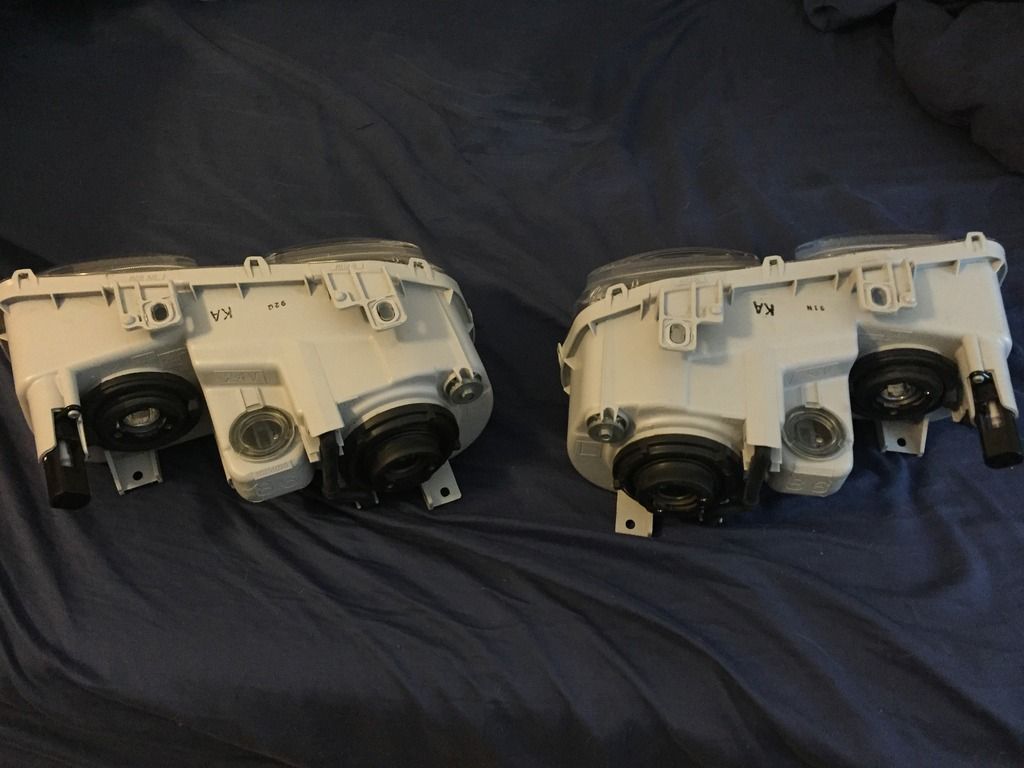
I was originally going to buy new DEPO brand headlights for the car. Brand new from Acura are over $800 a set and that is a little high even for me. I ended up getting lucky and stumbled across someone claiming to have near mint OEM headlights. I contacted him and he has had them stored away a few years, and they only had 5k miles. After he sent me a few pictures I picked them up. I have never seen a nicer used set.
My original tail lights are in ok shape but the black plastic on top has faded and they are getting dull from some many years in the sun. I picked up a JDM set simply because they are usually in good shape with less time to deteriorate.

I put some mild polish on my orbital buffer and was able to get them nice and shiny.

I knew I wanted to go 98-01 front and rear on the car as I prefer it over the 94-97. I went to Acura and priced a new ITR lip since used ones go for 250-300 and shipping is a bitch. It wasnt cheap but well worth it, and got all the OEM hardware to mount as well.

I was originally going to buy new DEPO brand headlights for the car. Brand new from Acura are over $800 a set and that is a little high even for me. I ended up getting lucky and stumbled across someone claiming to have near mint OEM headlights. I contacted him and he has had them stored away a few years, and they only had 5k miles. After he sent me a few pictures I picked them up. I have never seen a nicer used set.


Trending Topics
03-09-2016, 12:19 PM
#8
Honda-Tech Member
 in for this. My plan is to find a stock 94-95 dc and convert 98-01 also. What you found is a gem.
03-09-2016, 12:51 PM
in for this. My plan is to find a stock 94-95 dc and convert 98-01 also. What you found is a gem.
03-09-2016, 12:51 PM
#9
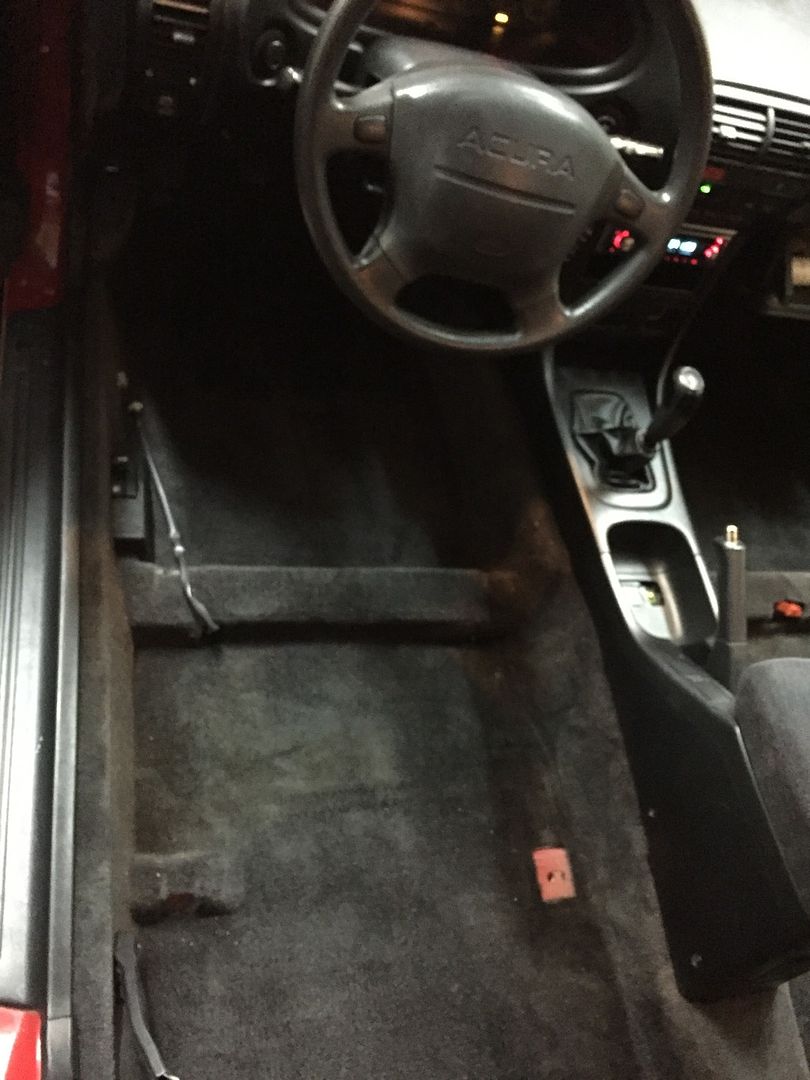
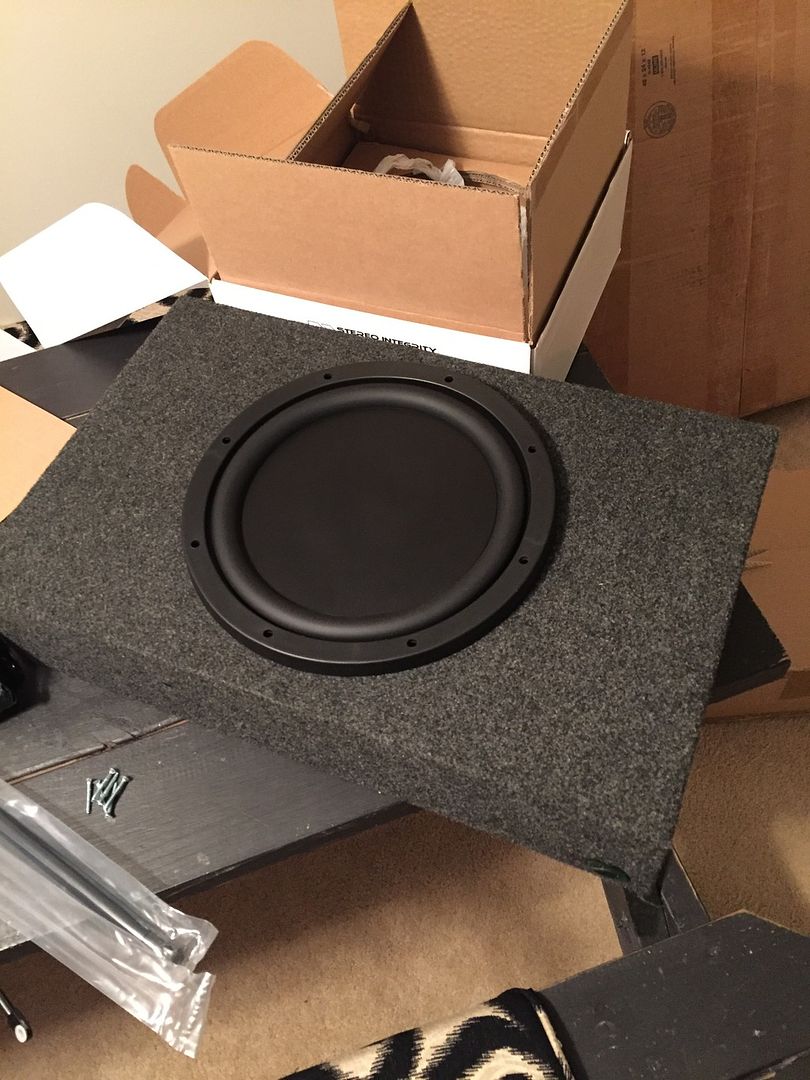
I knew I wanted to go with a sound quality oriented stereo again, just not as crazy as my 08 si. It is a very simple setup: coaxials up front and in the rear. The rears are attenuated quite a bit and basically just give "ambiance" and dont detract from the front stage. A single 12" Stereo Integrity BM MKIV for sub duty and an Arc Audio xDi1100.5 amp. I am bridging the front channels to give 300 watts per channel to my door speakers, the sub gets 500 watts on its channel, and the rear speakers are powered off the head unit.
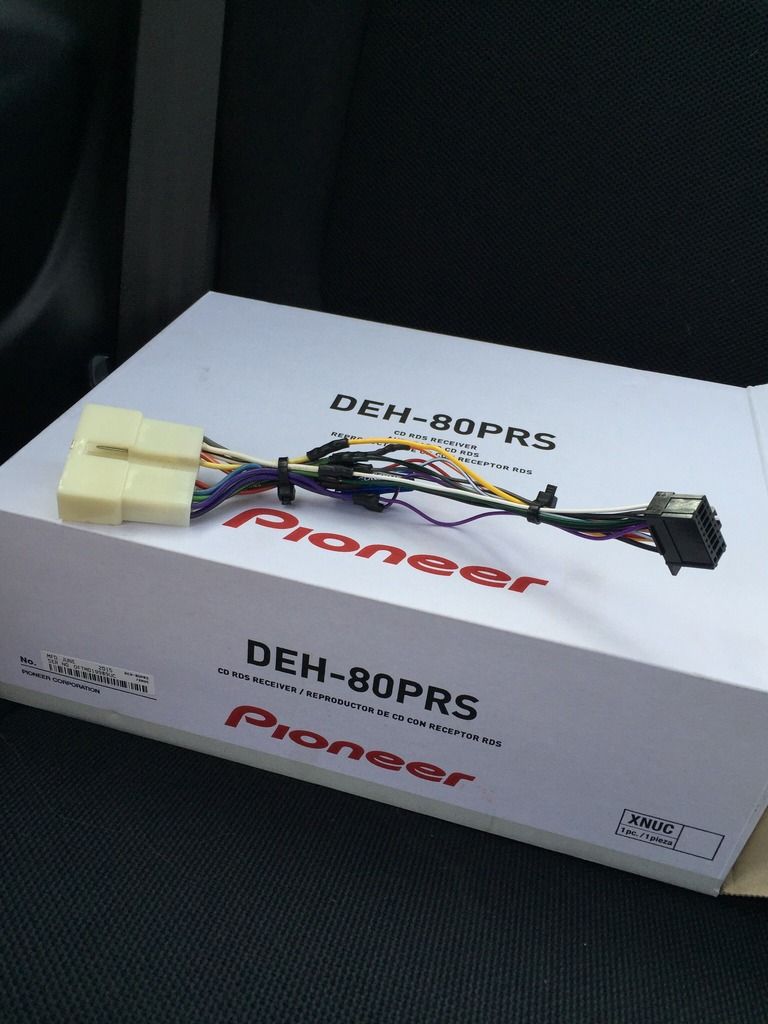
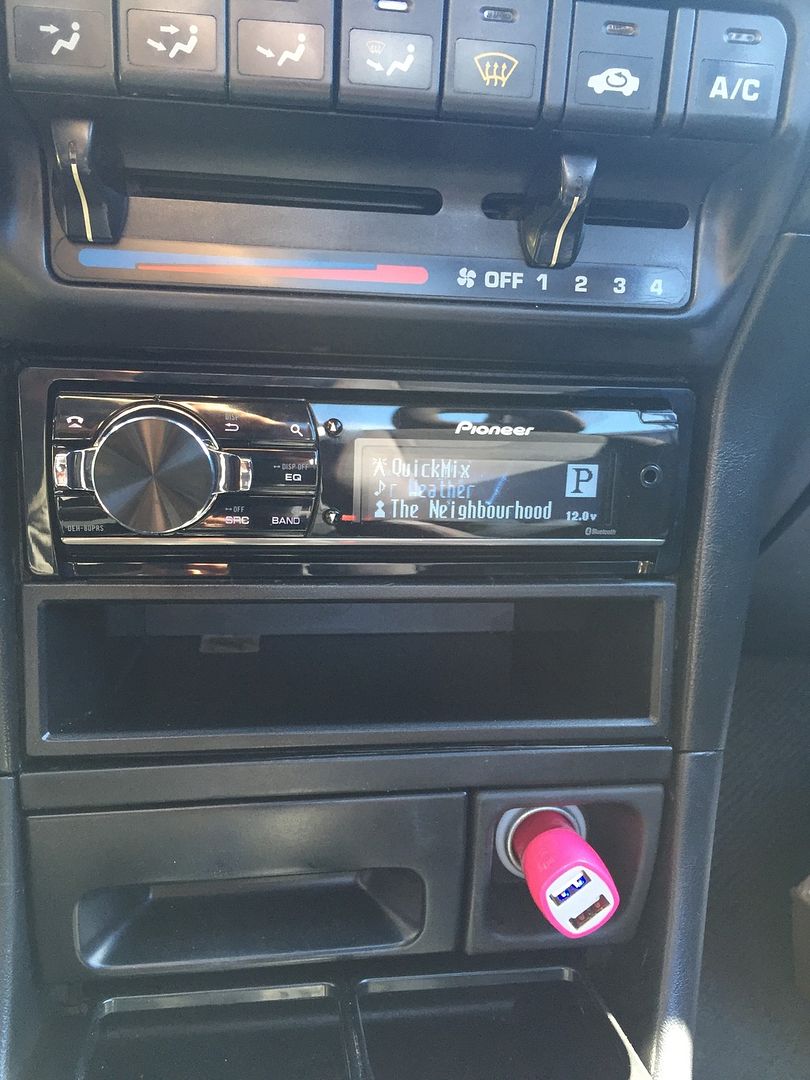
I ordered a Pioneer 80PRS head unit. Knowing the Pioneer platform from my previous 99RS I decided to take it a step down but stay with something familiar. I picked it up from Jet.com for 203 shipped, which is a great deal.
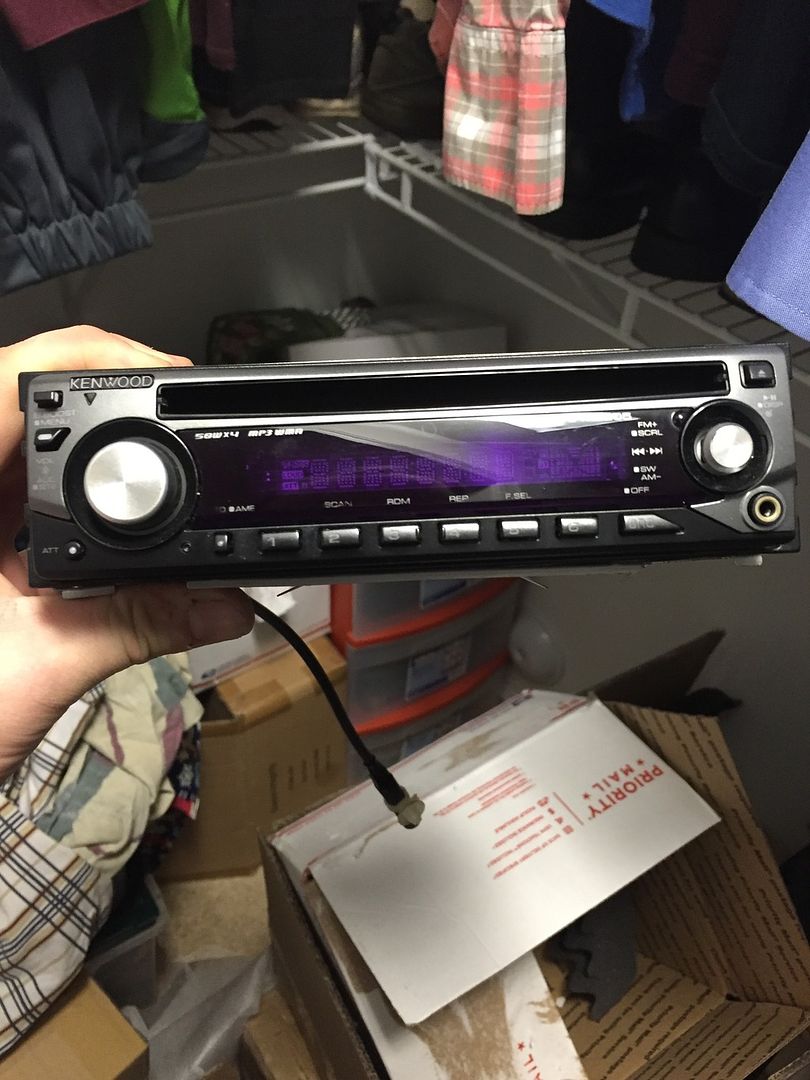
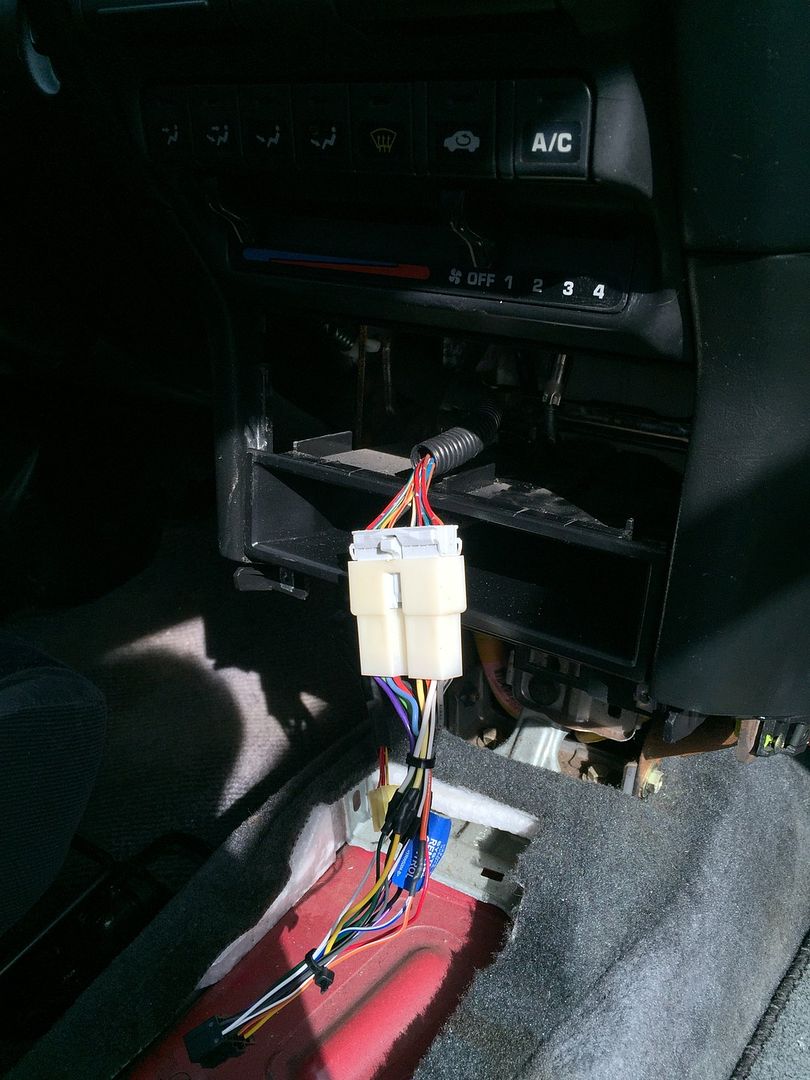
Here is the head unit that was in it I removed:
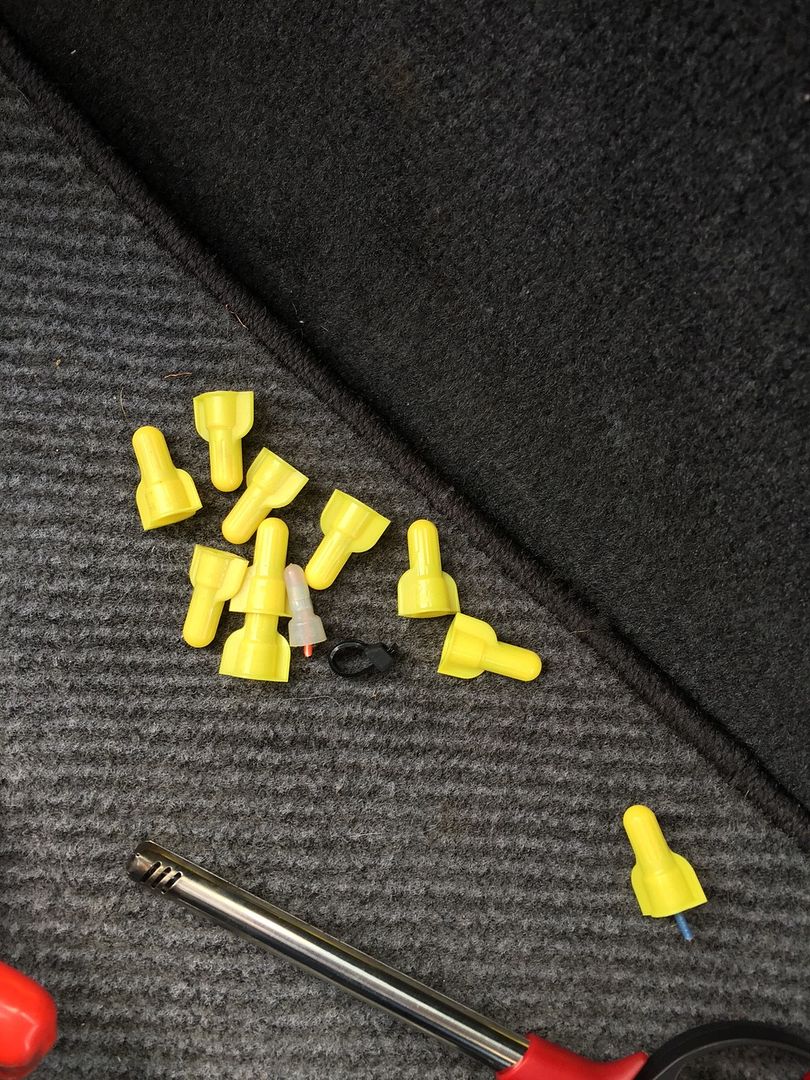
Luckily when it was installed, a plug in harness was used to wire it to the honda wiring. They used these garbage things though, which I removed:
I reused the stereo install harness and wired it to the pioneer harness with solder connections and heatshrink, with a couple of loose zip ties to tidy up:
Plugged it in and hung over to start RCA wiring:
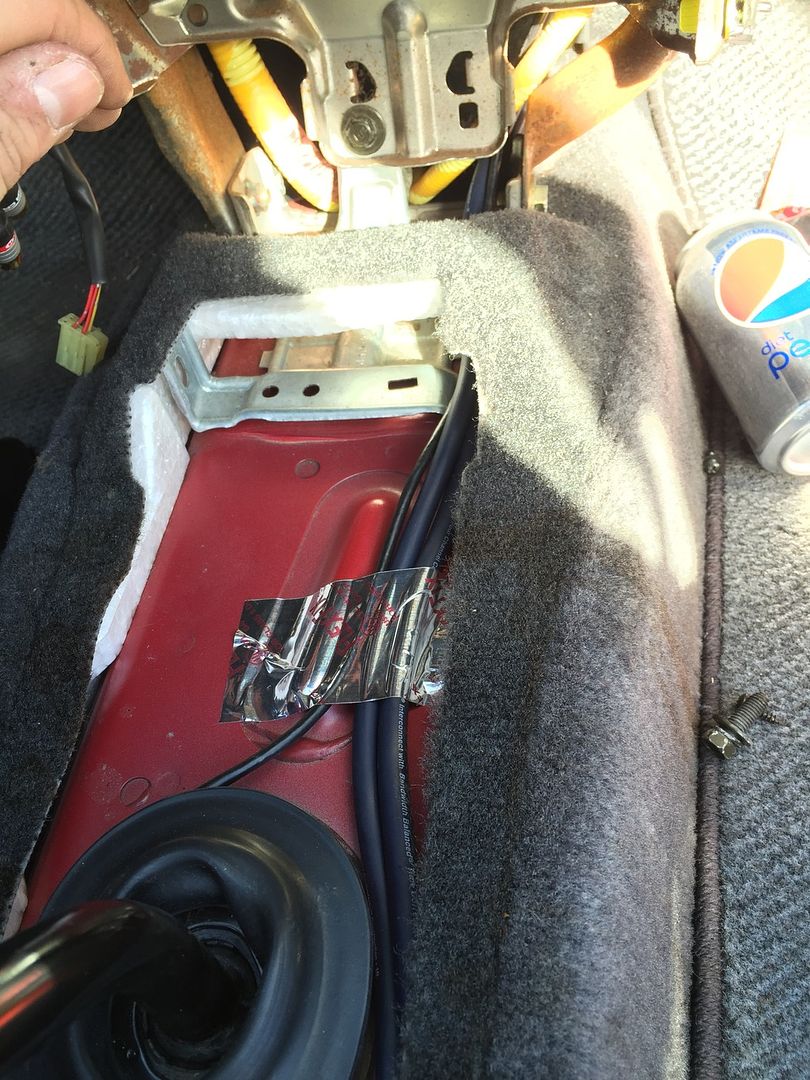
I had some high end Monster Cable RCA that I used previously in my S2000 stereo build that I ran. I secured them with some foil ducting tape Ive had good luck with and zip tires under the rear seat running them with OEM wiring.
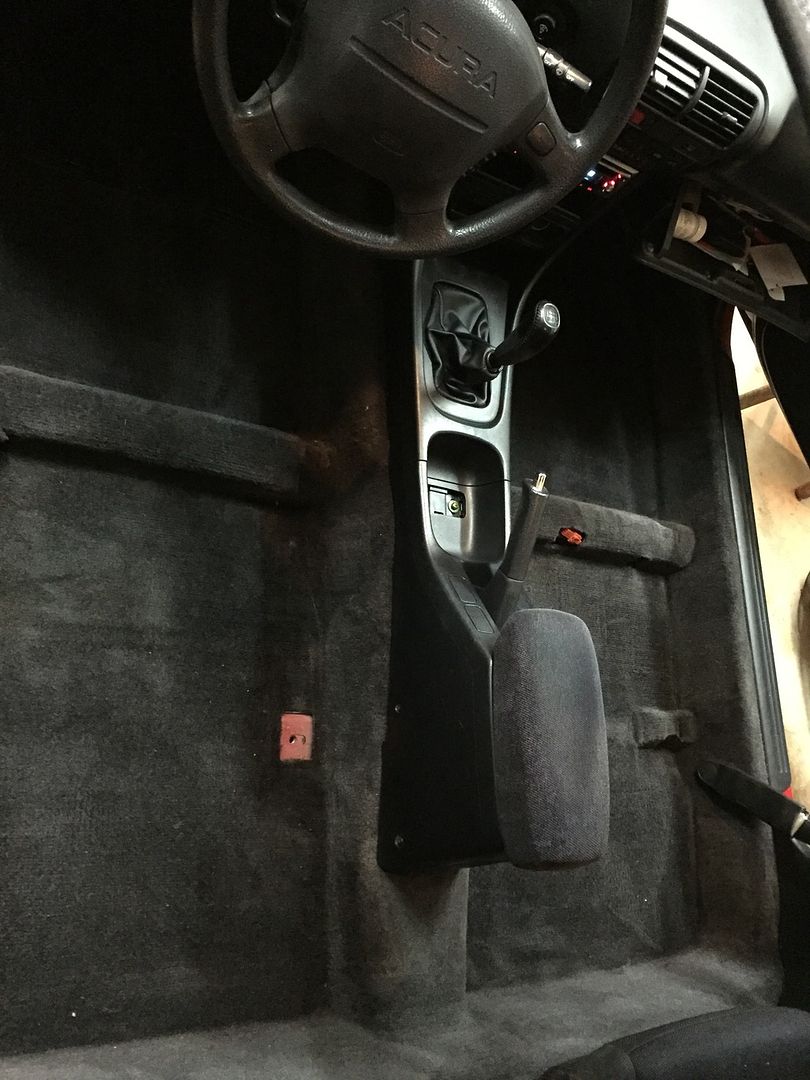
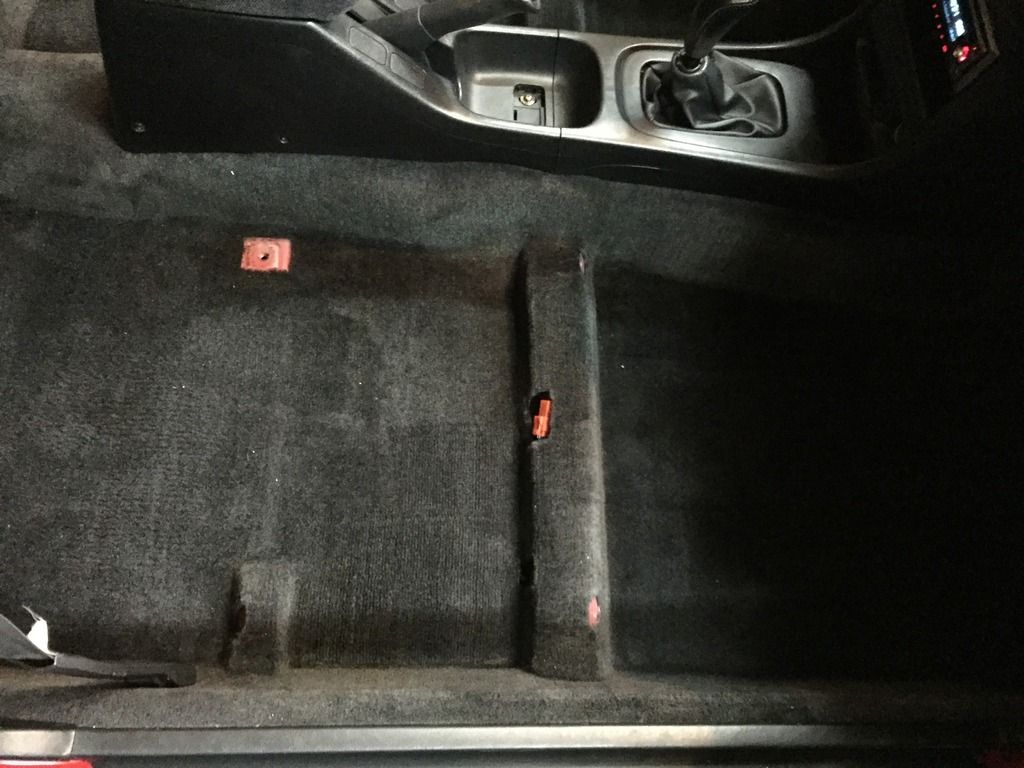
Coming out of the center console down the shifter channel
under the carpet on the passenger side of the shifter channel
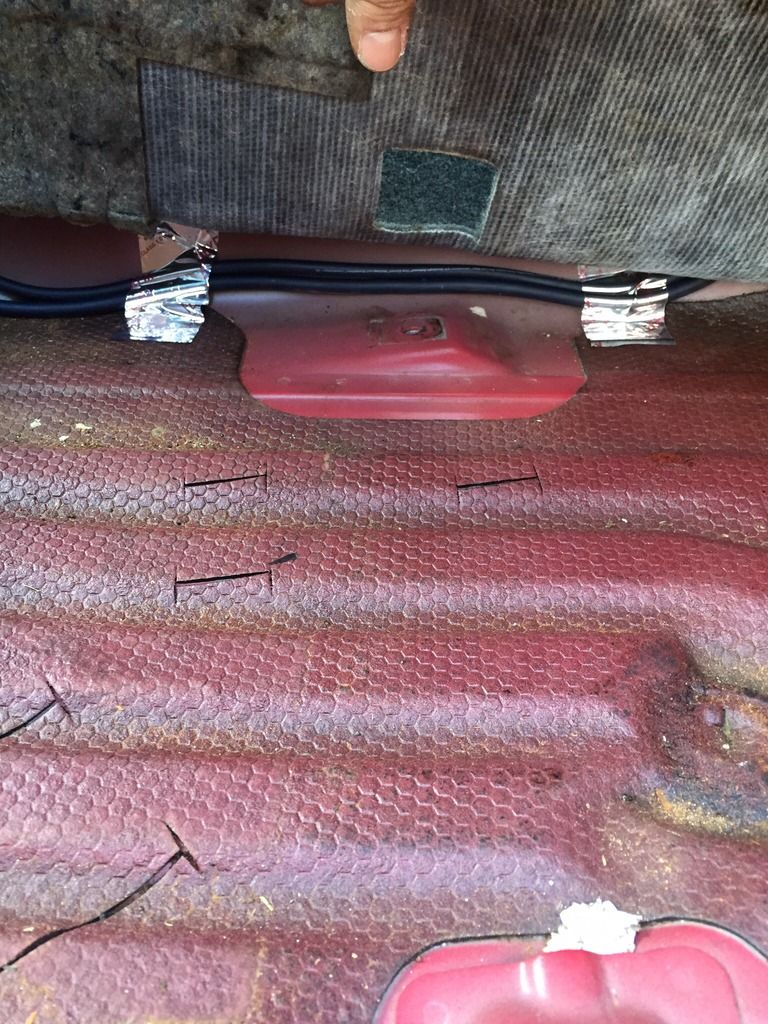
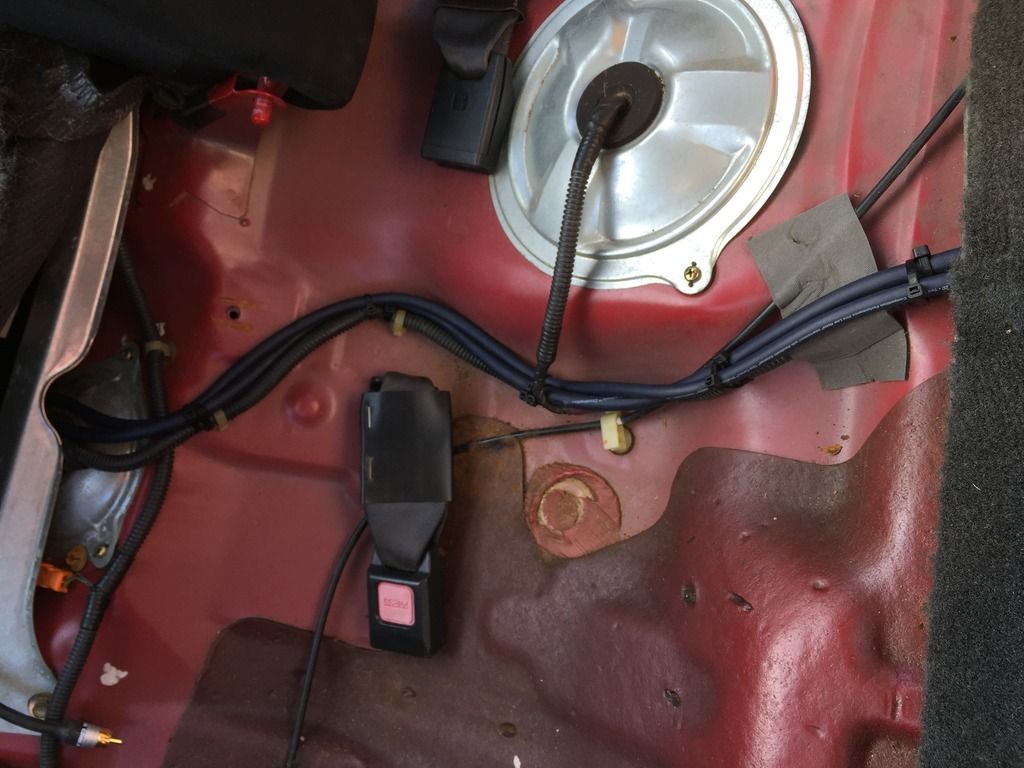
under the rear seat:
Next I started on the power wire routing. There is a grommet beside the battery that I snipped on until I could fit the 4AWG wire through it.
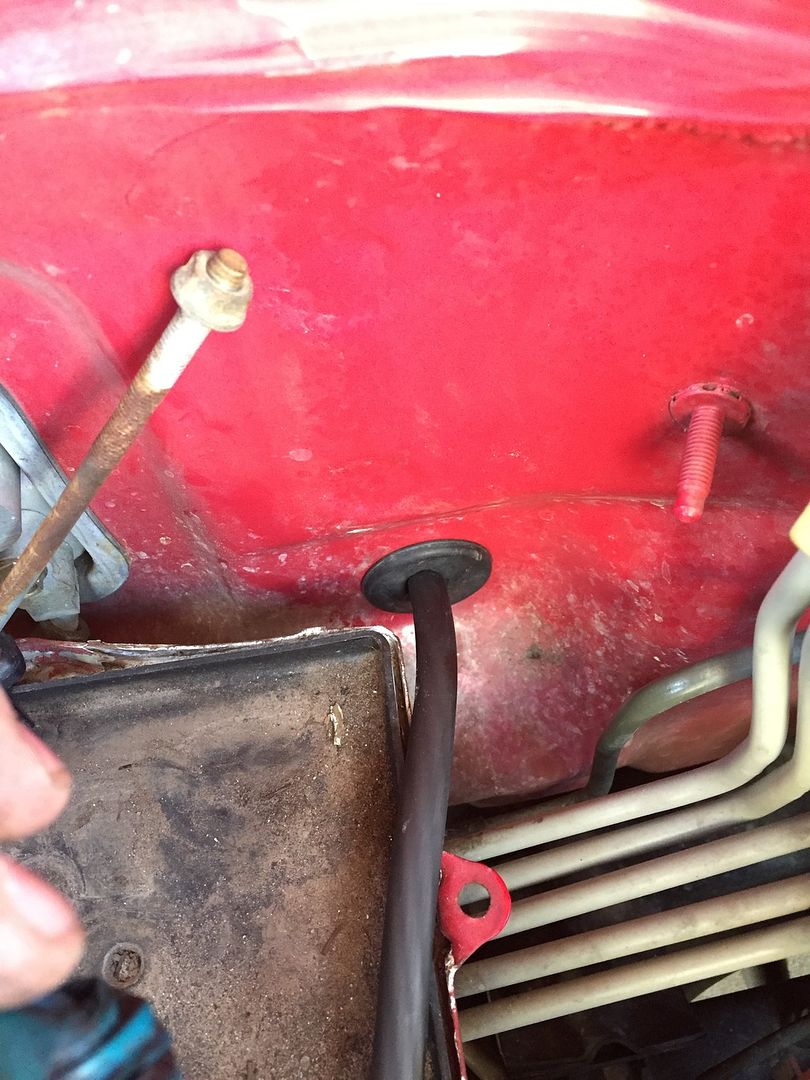
I ran this down the passenger side channel but did not get any pics.
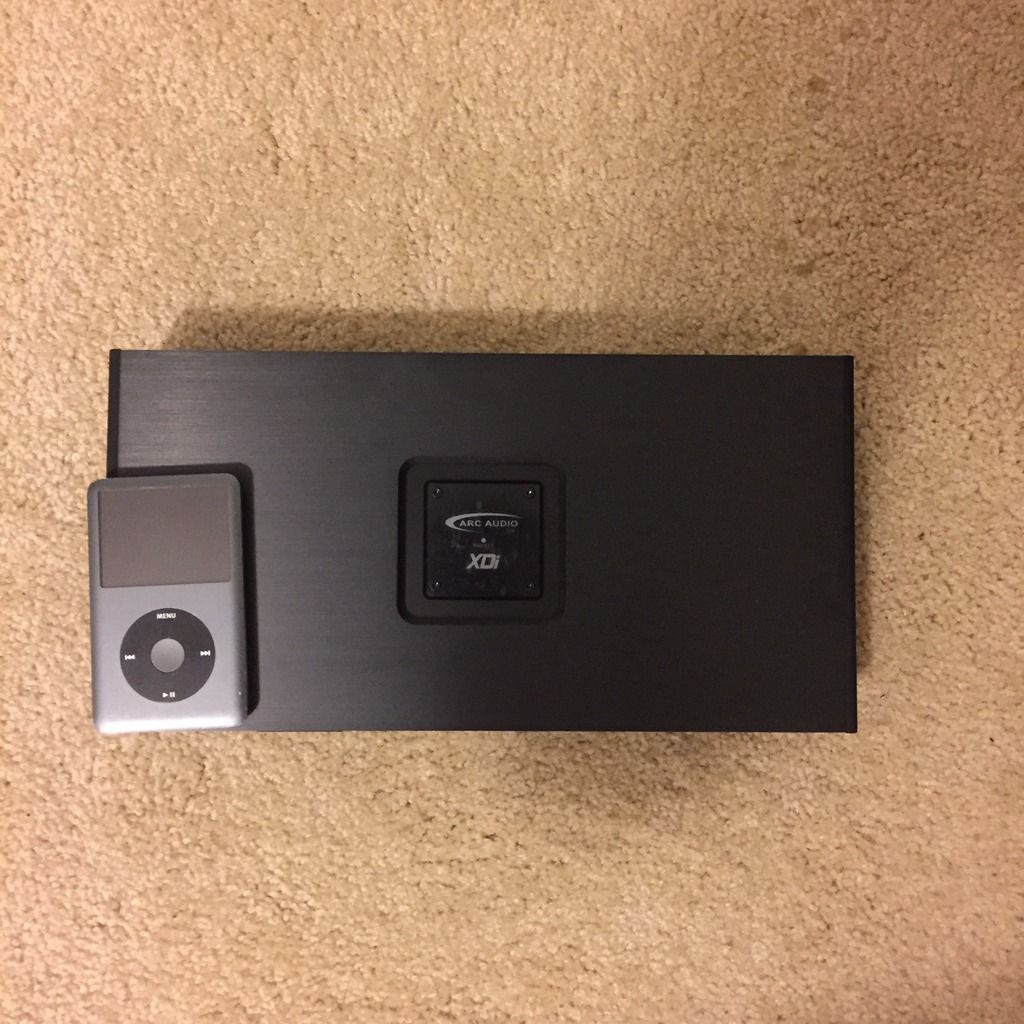
Here is the amp with an iPod classic for size reference. Love how compact it is:
And the sub in its box
Head unit installed:
I decided to bite the bullet and tackle running wire to the doors first. I was almost going to pay someone to do it simply because Im lazy but I had a garage available with decent lighting so I took advantage
I didnt get a ton of pics but heres what I took:
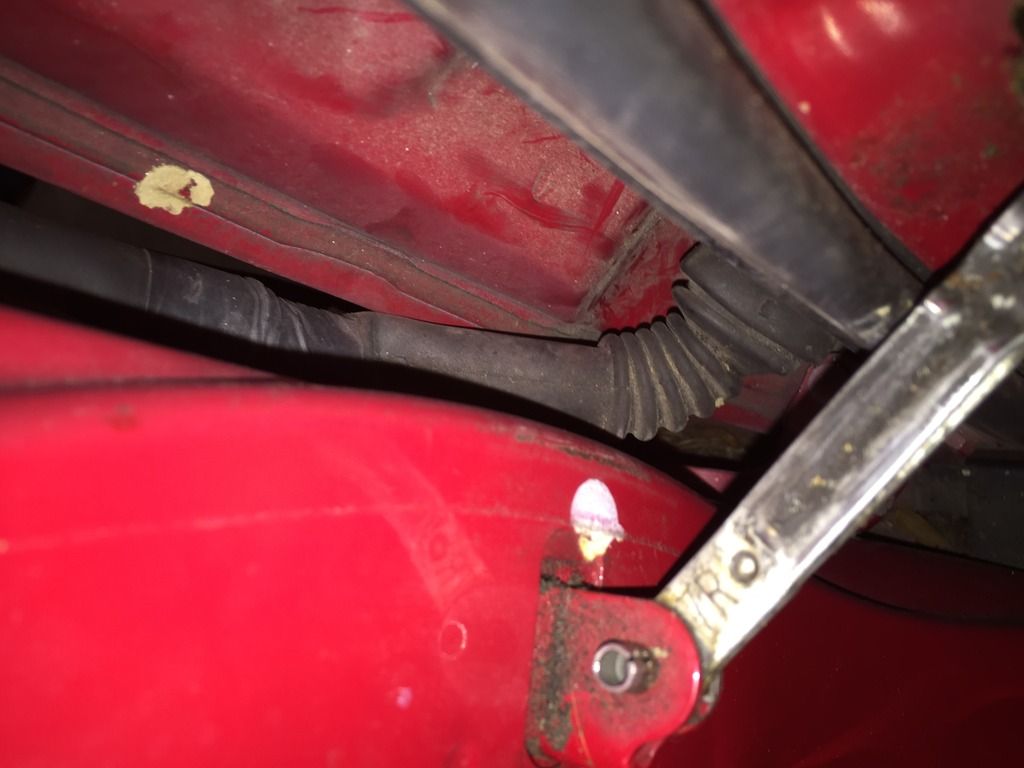
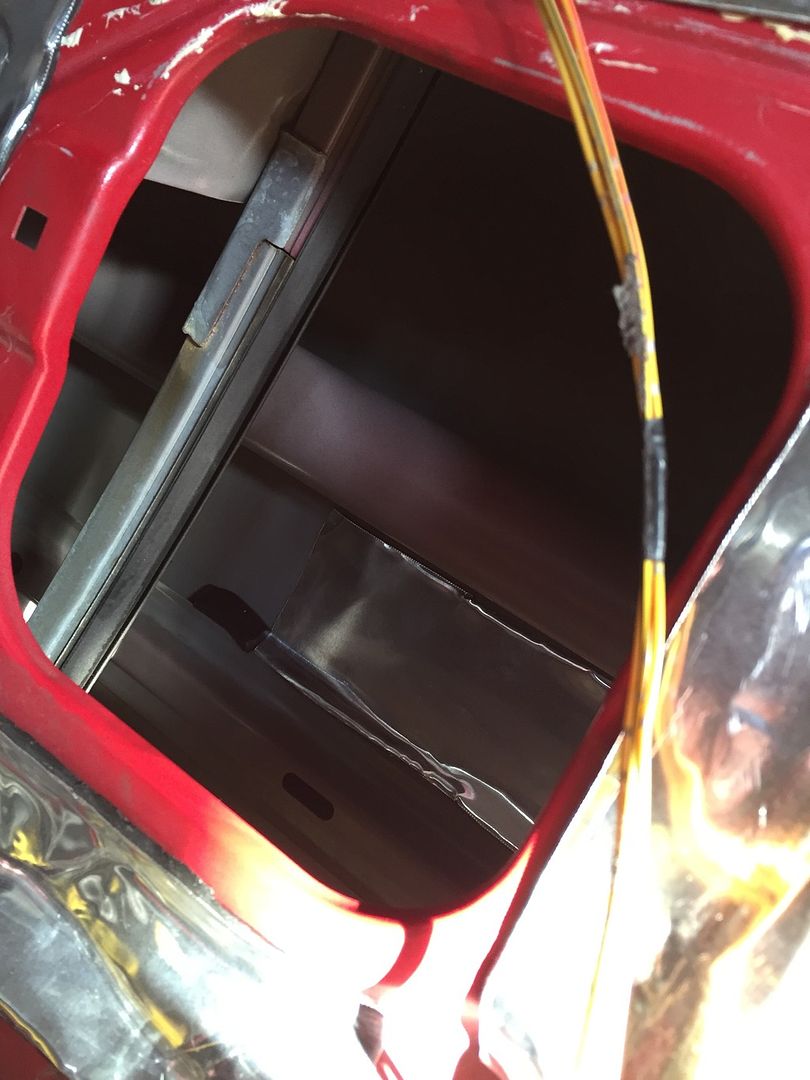
For starters, you have to pull the fenders to get to the plug on the chassis side. On top of that, you need to pull the front bumper to pull the fenders. Always fun. I took as little off as necessary as their is a bolt at the bottom of the fender to fully remove it, however you have to pull the side skirts to get to it. No thanks lol
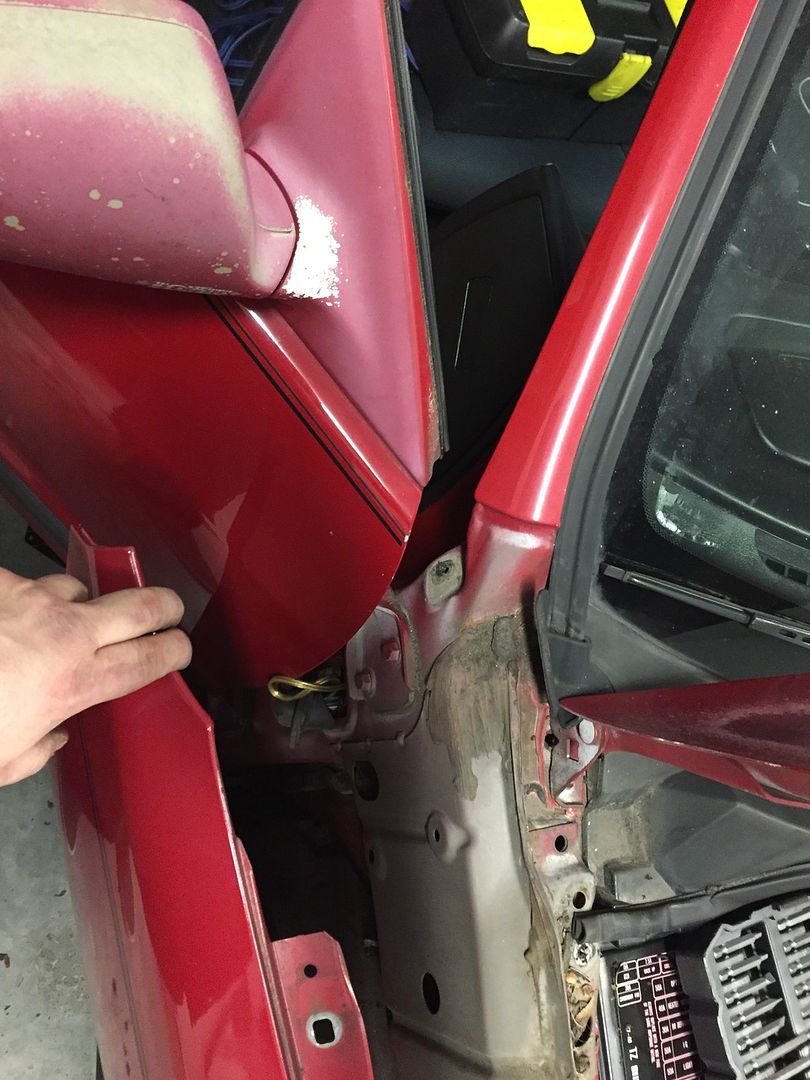
I took one look at the Molex plug on the door side and decided my Knukonceptz 14awg wire wasnt going to work. Quick trip to Lowes hardware at 8pm to get some OFC 18awg wire. You can see it partially ran with the chassis side plug pulled
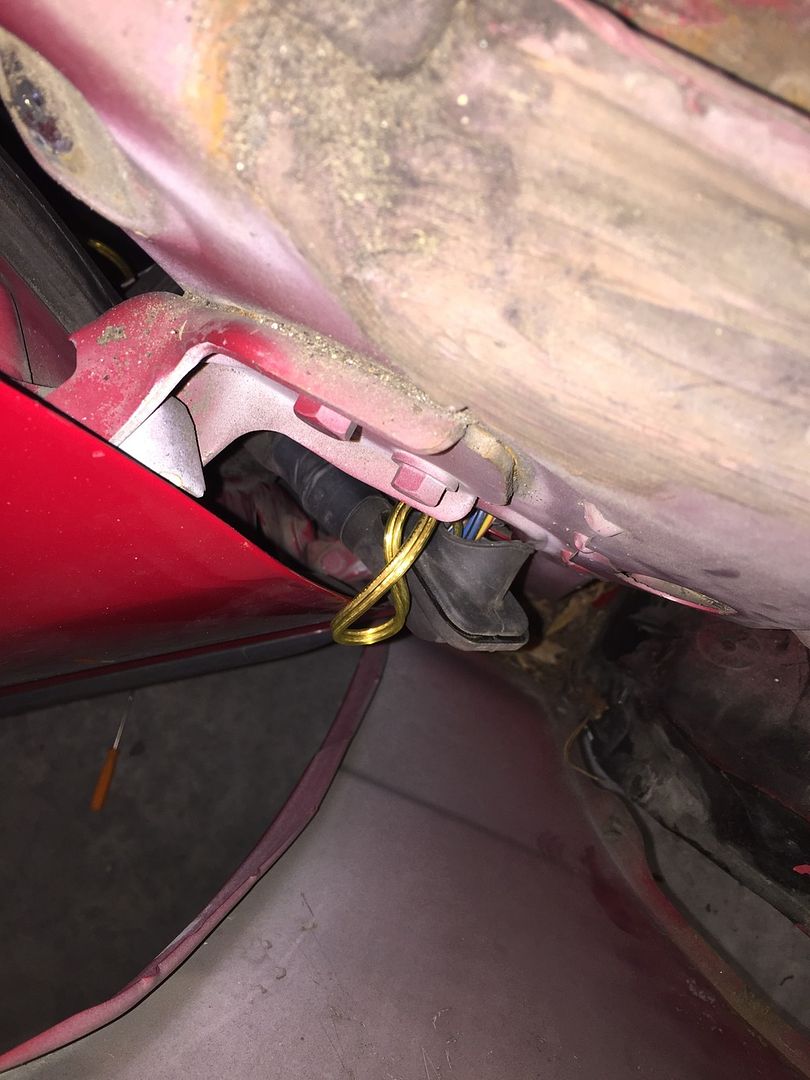
drilled out the plug carefully and got the wire through. As you can see, not much room, even with the 18awg
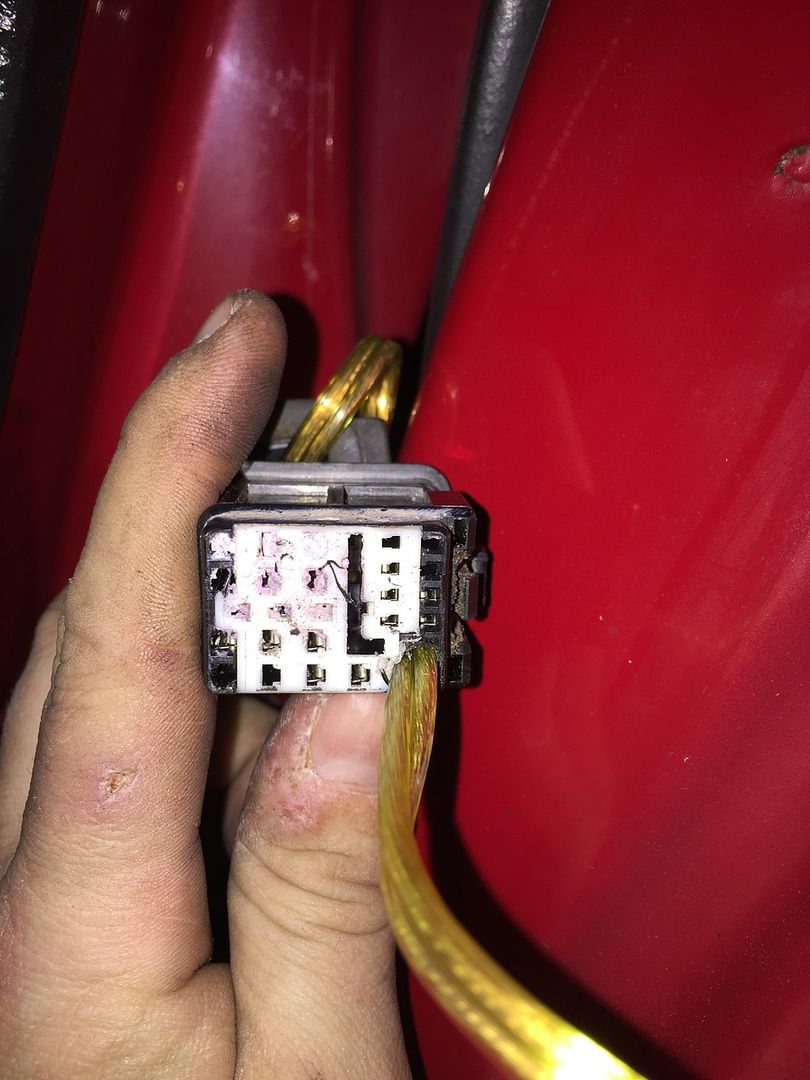
bad pic of the female side
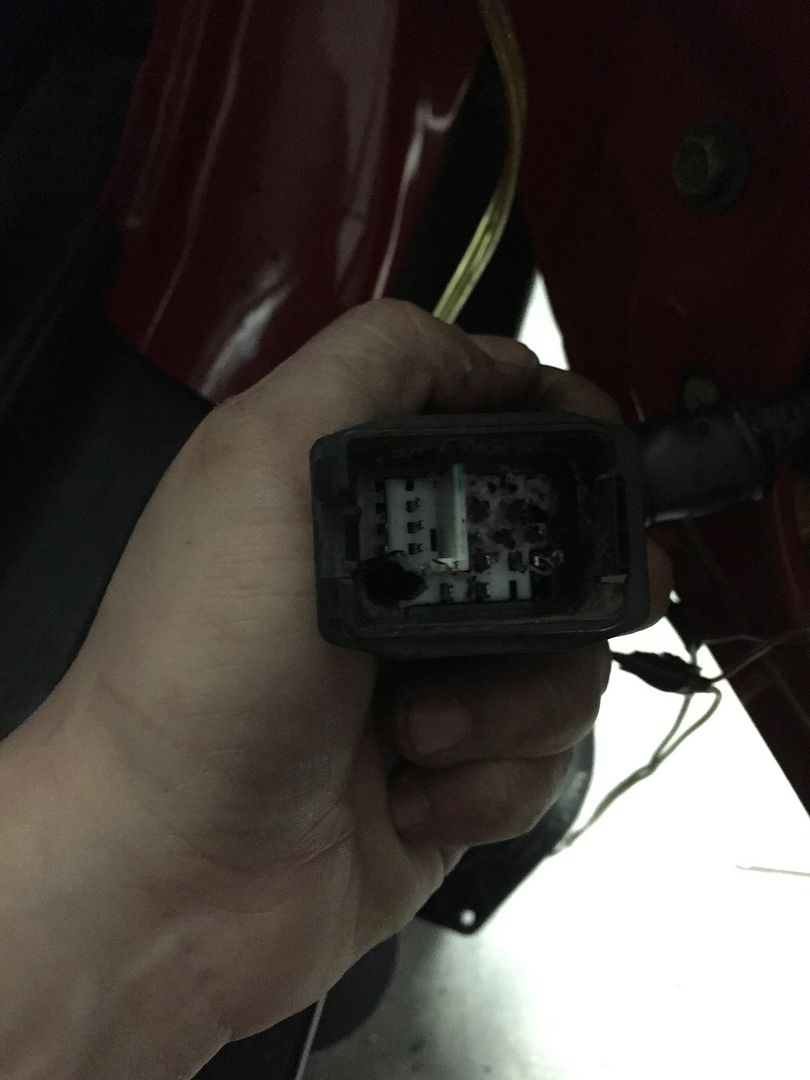
popped the chassis grommet back in
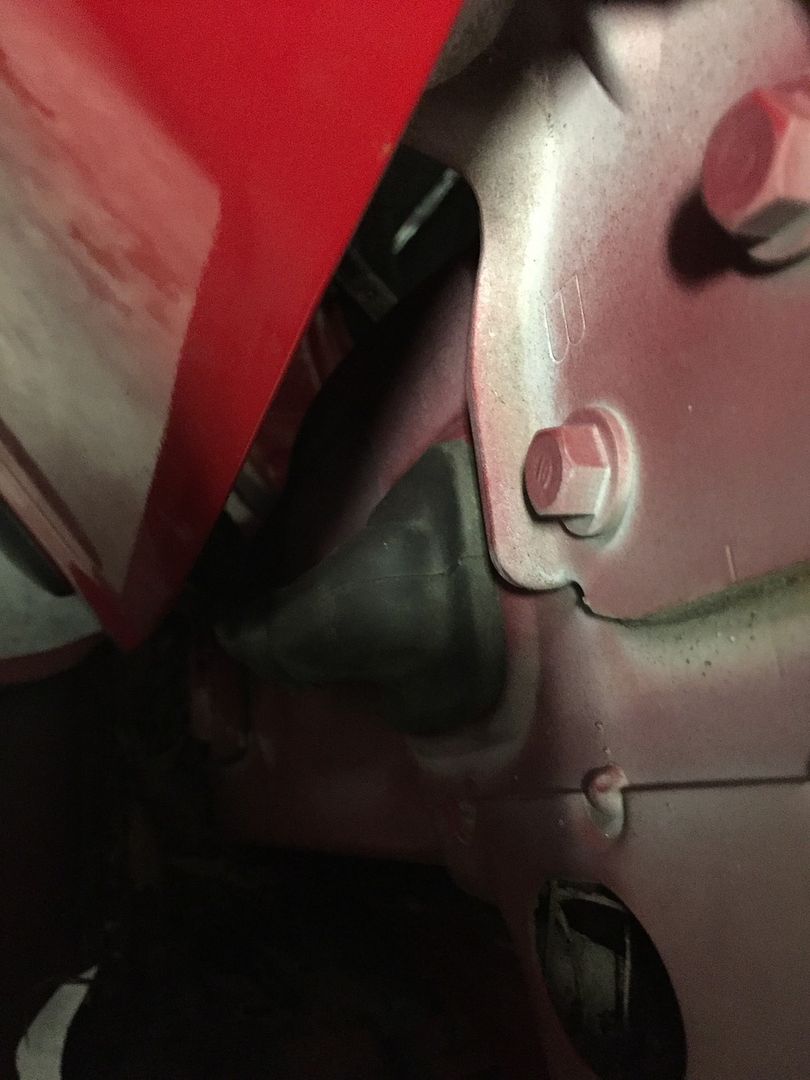
door side back in place
And repeat for the drivers side, didnt take repetitive pics of that side as it 99% the same
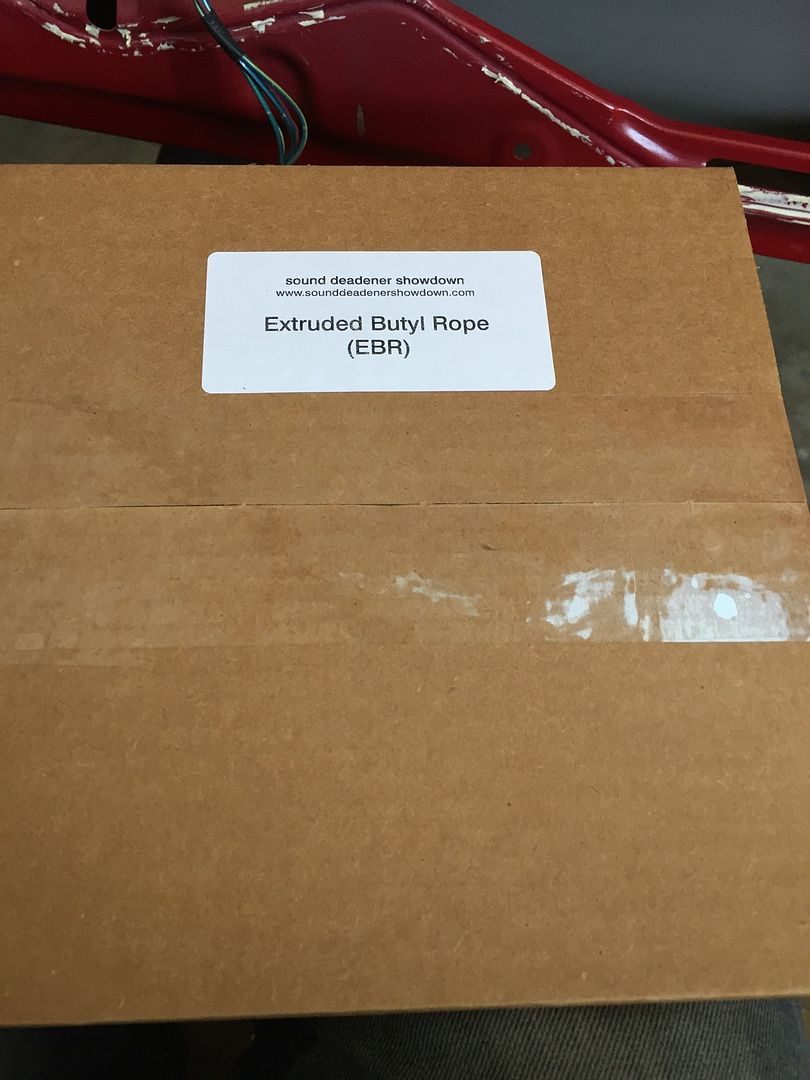
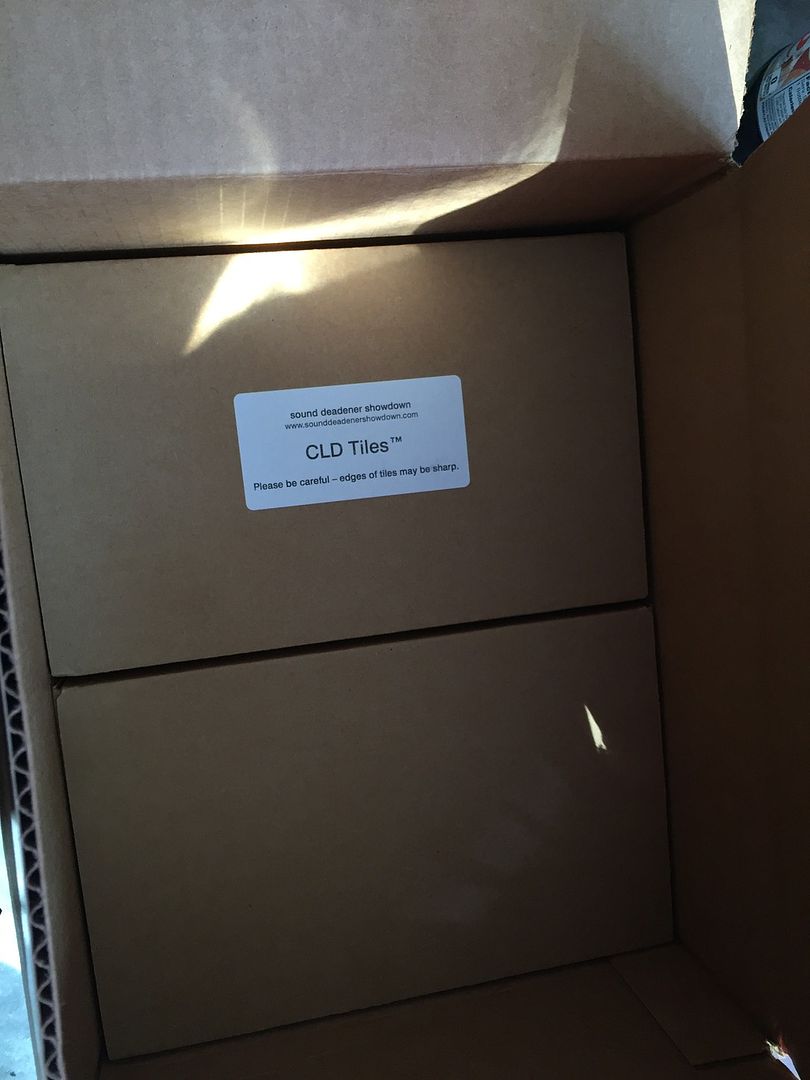
Today I received my CLD and butyl rope from SDS. I left my car at my parents and borrowed one of theirs last night so the door panels were already off. I started by pulling off all the old plastic weather barrier and then cleaning up the caulking adhesive used to hold it on.
some products:
The baller Pioneer coax that are in the doors currently

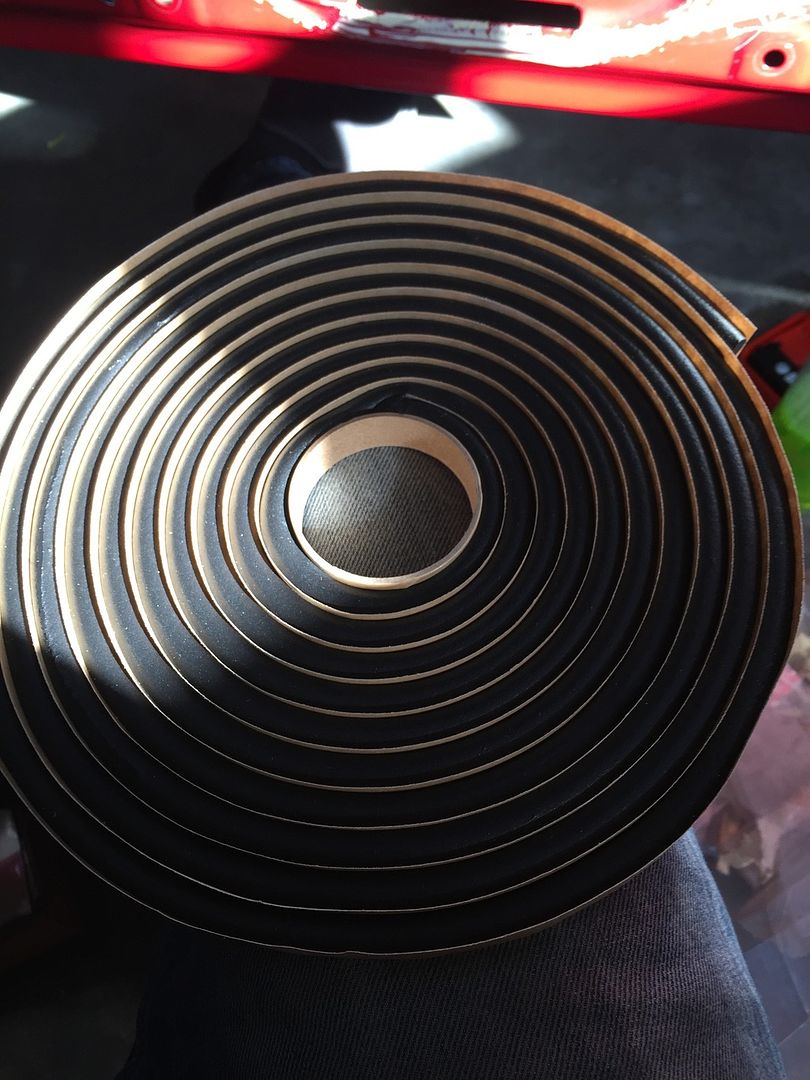
SDS butyl rope
No application pics since its pretty straightforward but here is the SDS CLD applied (sorry for the horrible lighting in the first pic). All in all, I used 8 tiles per door. I can always add more down the road but I felt this was a good starting point based on the coverage I got
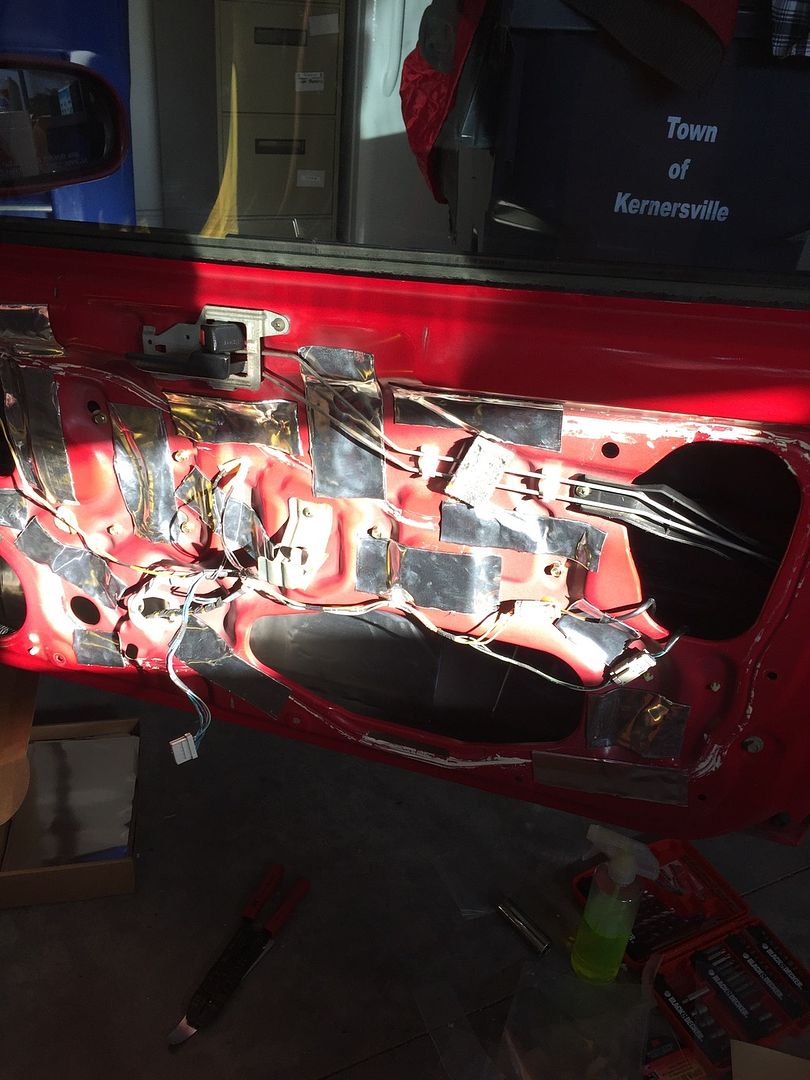
large pieces on the outer skin
butyl rope on the crash beam
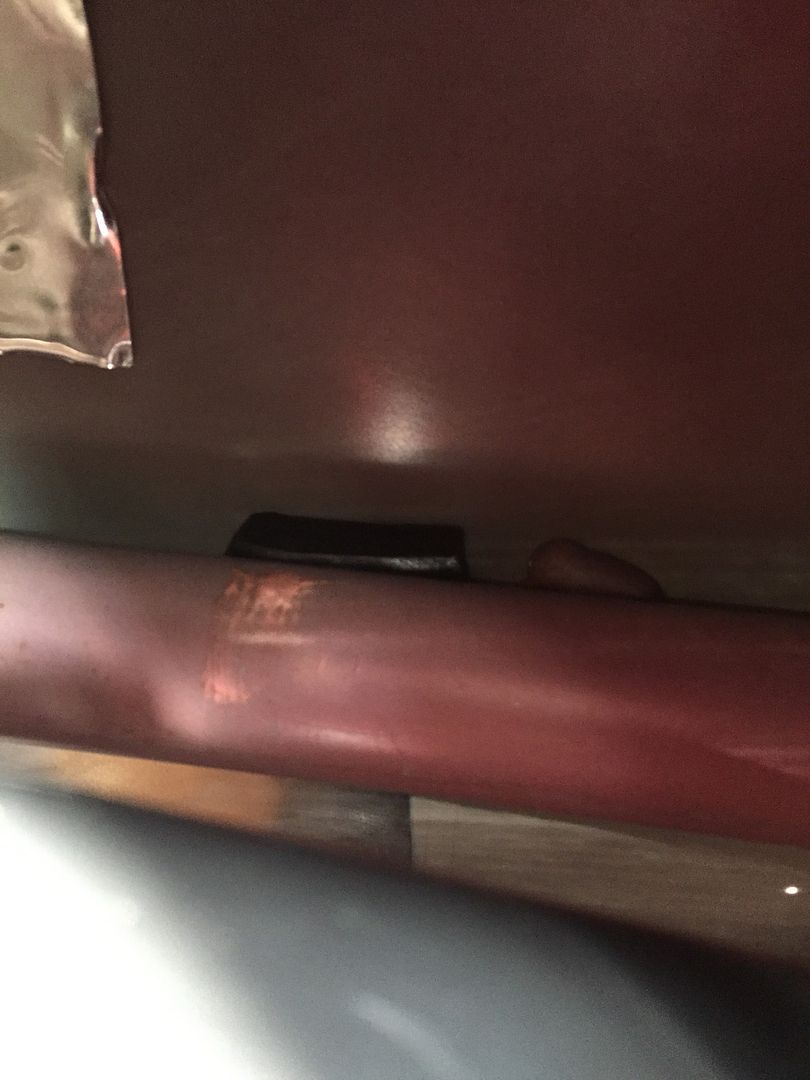
tile and rope
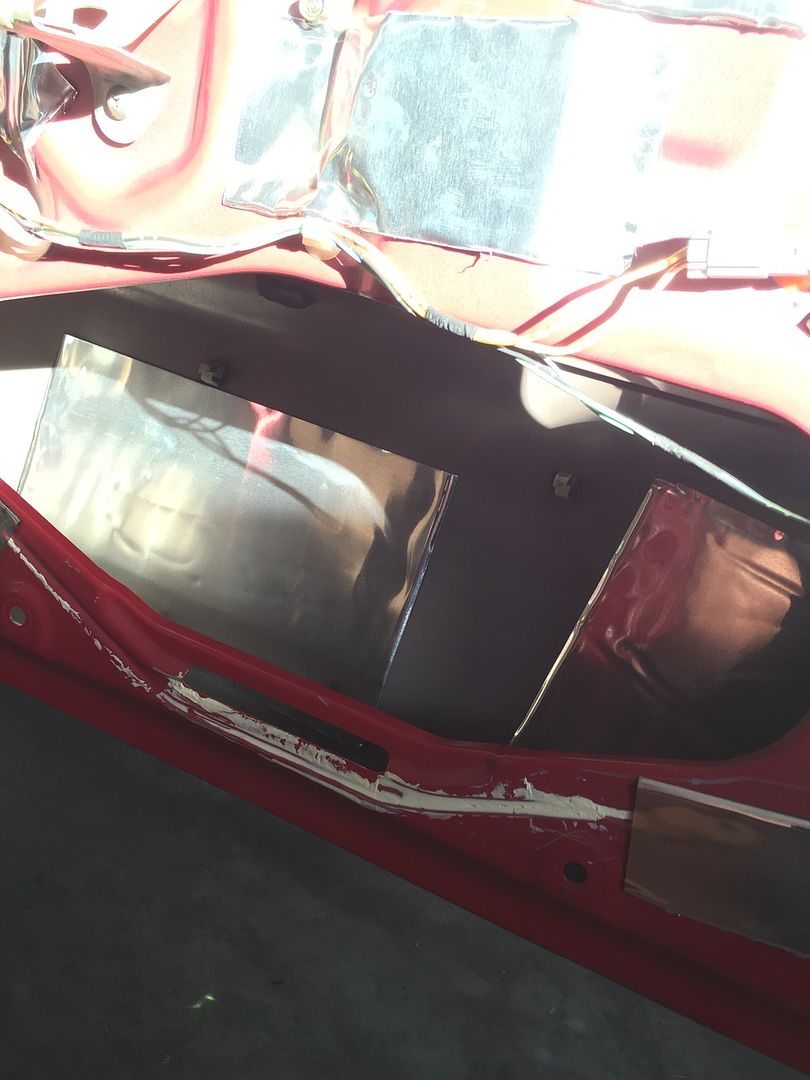
next I applied my Raamat CCF with its adhesive backing. In addition to that, I taped down the door harness with the foil ducting tape to prevent movement/buzzing. I also used the ccf under the speaker mounting to decouple it/pad it from the metal door.
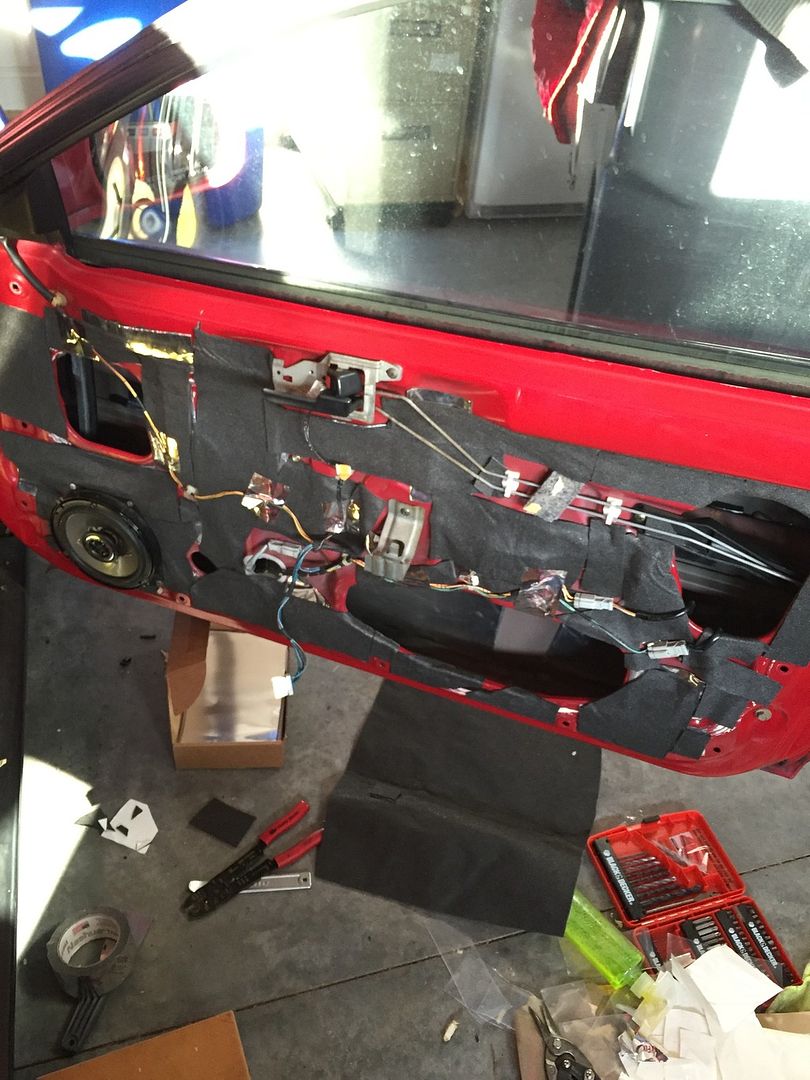
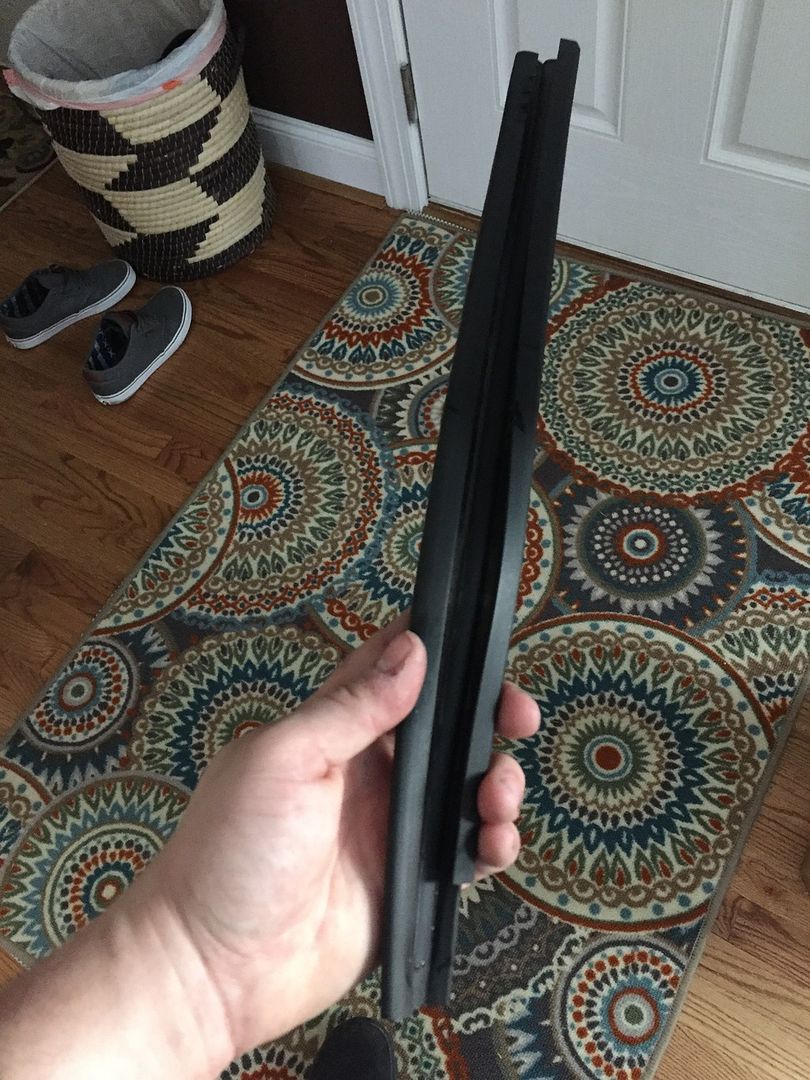
I didnt take pics of the driver side as it came out practically the same. I did find out why my driver window sounded like it was banging against metal. Apparently it was banging against metal. Derp. The rear channel rubber was sitting in the bottom of the door. I cleaned it up as it was pretty beat up and reinstalled and then sprayed the front and rear channels of both doors with wd40 dry silicone lubricant.
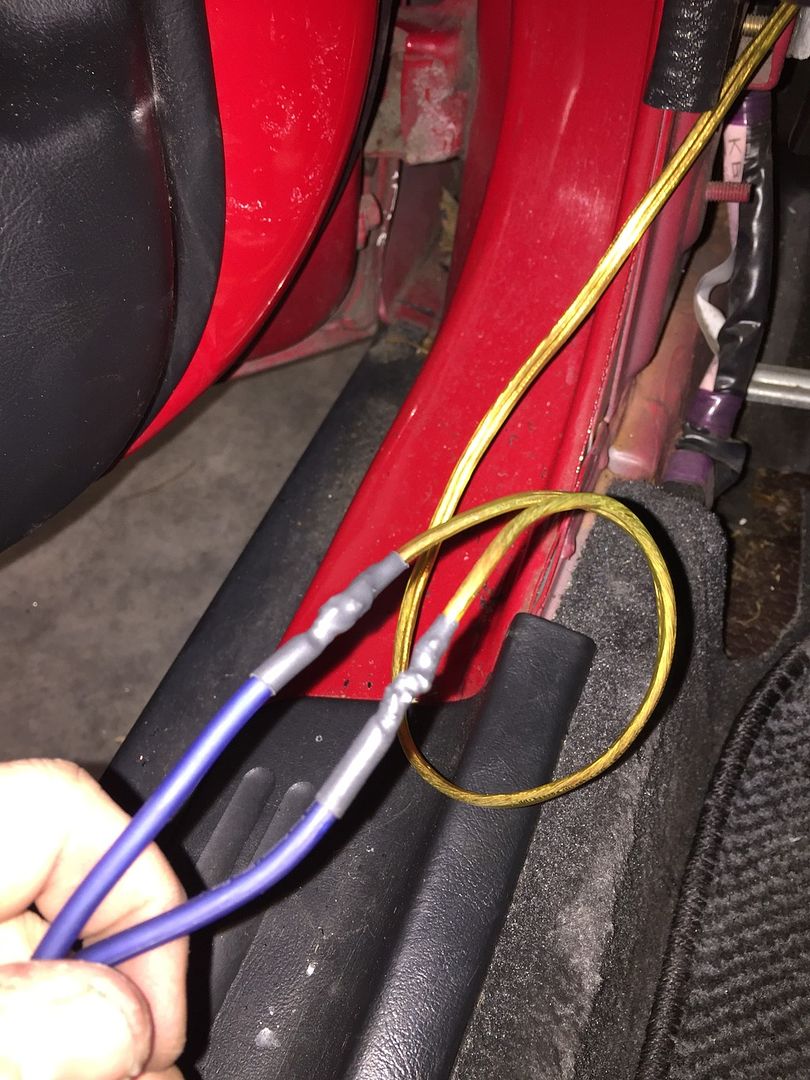
and last but not least, I connected the 18awg to my 14awg to run to the amp. My soldering gun was not getting very hot and the solders were cold and came out like **** but theyll do. Ive had the soldering gun for 16 years so its had a good life but it may be time to buy a new one.
I dont have any of the trunk yet simply because its all just laid out. Now that I have everything ran I am going to find a way to mount the amp and get the box attached to the rear seat to hold it up since it is tall and narrow.
I decided to go ahead and run the fronts off amp power. Currently they are bridged getting 300 watts a side. I have only listened to it about 15 minutes but WOW is it going to sound great with some quality speakers up front. These little Pioneers arentt doing bad at all on the power Im throwing at them. I set gains with a -10db tone on front channels and sub. The sub output is a little low so I will probably adjust it a tiny bit when I have time. On the head unit, giving it 3-4 db puts it about where I want it.
As for what speakers Im going to go with? I am going to give Audiofrog GS62 coaxials a try. Andy has put a lot of time and knowledge into his speaker line and Ive yet to hear or see anything that would indicate Id be disappointed.
I am currently having customer MDF rings/mounts made that will mimic the OEM plastic mount but allow an oversized 6.5" to be mounted.
Im sure some are wondering why Im not just going 2 way front active or passive so Ill answer. 1) I am trying to keep this as simple as possible. 2) I dont feel like dealing with mounting tweeters as I would only be happy with them molded into the pillars
3) I have limited processing and want to keep rear fill (for now) 4) A passive component set wont image like these coaxials since Im dealing with time aligning a mid and tweeter from basically the same location. 5) IT SOUNDS GREAT. It has a little rainbowing of the stage height but overall it is higher than I imagined it would be
I ordered a Pioneer 80PRS head unit. Knowing the Pioneer platform from my previous 99RS I decided to take it a step down but stay with something familiar. I picked it up from Jet.com for 203 shipped, which is a great deal.
Here is the head unit that was in it I removed:

Luckily when it was installed, a plug in harness was used to wire it to the honda wiring. They used these garbage things though, which I removed:

I reused the stereo install harness and wired it to the pioneer harness with solder connections and heatshrink, with a couple of loose zip ties to tidy up:

Plugged it in and hung over to start RCA wiring:

I had some high end Monster Cable RCA that I used previously in my S2000 stereo build that I ran. I secured them with some foil ducting tape Ive had good luck with and zip tires under the rear seat running them with OEM wiring.
Coming out of the center console down the shifter channel

under the carpet on the passenger side of the shifter channel

under the rear seat:

Next I started on the power wire routing. There is a grommet beside the battery that I snipped on until I could fit the 4AWG wire through it.

I ran this down the passenger side channel but did not get any pics.
Here is the amp with an iPod classic for size reference. Love how compact it is:

And the sub in its box

Head unit installed:

I decided to bite the bullet and tackle running wire to the doors first. I was almost going to pay someone to do it simply because Im lazy but I had a garage available with decent lighting so I took advantage
I didnt get a ton of pics but heres what I took:
For starters, you have to pull the fenders to get to the plug on the chassis side. On top of that, you need to pull the front bumper to pull the fenders. Always fun. I took as little off as necessary as their is a bolt at the bottom of the fender to fully remove it, however you have to pull the side skirts to get to it. No thanks lol

I took one look at the Molex plug on the door side and decided my Knukonceptz 14awg wire wasnt going to work. Quick trip to Lowes hardware at 8pm to get some OFC 18awg wire. You can see it partially ran with the chassis side plug pulled

drilled out the plug carefully and got the wire through. As you can see, not much room, even with the 18awg

bad pic of the female side

popped the chassis grommet back in

door side back in place

And repeat for the drivers side, didnt take repetitive pics of that side as it 99% the same
Today I received my CLD and butyl rope from SDS. I left my car at my parents and borrowed one of theirs last night so the door panels were already off. I started by pulling off all the old plastic weather barrier and then cleaning up the caulking adhesive used to hold it on.
some products:


The baller Pioneer coax that are in the doors currently

SDS butyl rope

No application pics since its pretty straightforward but here is the SDS CLD applied (sorry for the horrible lighting in the first pic). All in all, I used 8 tiles per door. I can always add more down the road but I felt this was a good starting point based on the coverage I got

large pieces on the outer skin

butyl rope on the crash beam

tile and rope

next I applied my Raamat CCF with its adhesive backing. In addition to that, I taped down the door harness with the foil ducting tape to prevent movement/buzzing. I also used the ccf under the speaker mounting to decouple it/pad it from the metal door.

I didnt take pics of the driver side as it came out practically the same. I did find out why my driver window sounded like it was banging against metal. Apparently it was banging against metal. Derp. The rear channel rubber was sitting in the bottom of the door. I cleaned it up as it was pretty beat up and reinstalled and then sprayed the front and rear channels of both doors with wd40 dry silicone lubricant.

and last but not least, I connected the 18awg to my 14awg to run to the amp. My soldering gun was not getting very hot and the solders were cold and came out like **** but theyll do. Ive had the soldering gun for 16 years so its had a good life but it may be time to buy a new one.

I dont have any of the trunk yet simply because its all just laid out. Now that I have everything ran I am going to find a way to mount the amp and get the box attached to the rear seat to hold it up since it is tall and narrow.
I decided to go ahead and run the fronts off amp power. Currently they are bridged getting 300 watts a side. I have only listened to it about 15 minutes but WOW is it going to sound great with some quality speakers up front. These little Pioneers arentt doing bad at all on the power Im throwing at them. I set gains with a -10db tone on front channels and sub. The sub output is a little low so I will probably adjust it a tiny bit when I have time. On the head unit, giving it 3-4 db puts it about where I want it.
As for what speakers Im going to go with? I am going to give Audiofrog GS62 coaxials a try. Andy has put a lot of time and knowledge into his speaker line and Ive yet to hear or see anything that would indicate Id be disappointed.
I am currently having customer MDF rings/mounts made that will mimic the OEM plastic mount but allow an oversized 6.5" to be mounted.
Im sure some are wondering why Im not just going 2 way front active or passive so Ill answer. 1) I am trying to keep this as simple as possible. 2) I dont feel like dealing with mounting tweeters as I would only be happy with them molded into the pillars
3) I have limited processing and want to keep rear fill (for now) 4) A passive component set wont image like these coaxials since Im dealing with time aligning a mid and tweeter from basically the same location. 5) IT SOUNDS GREAT. It has a little rainbowing of the stage height but overall it is higher than I imagined it would be
03-09-2016, 01:16 PM
#10
I originally was going to stay four lug but decided going to 5 lug would worth the effort. I was already planning new bushings and having a full conversion would make it super easy. The car already has a 1" master cylinder too so that makes things even easier.
I decided to buy JDM DC2R wheels for now. I got a rough set from HMO so that I can refinish them to be mint for the same price as a used set that wouldnt be.
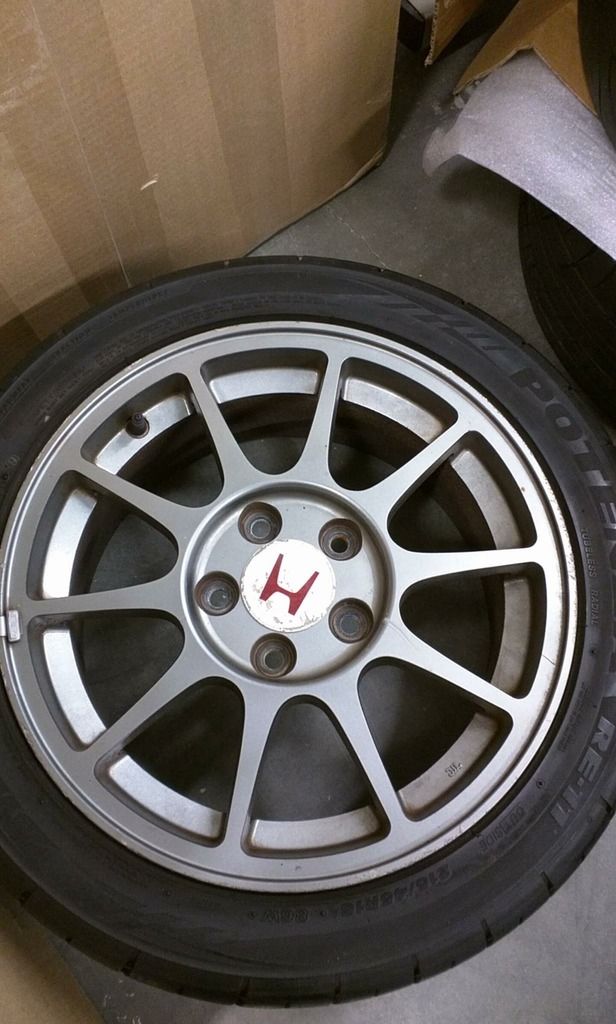
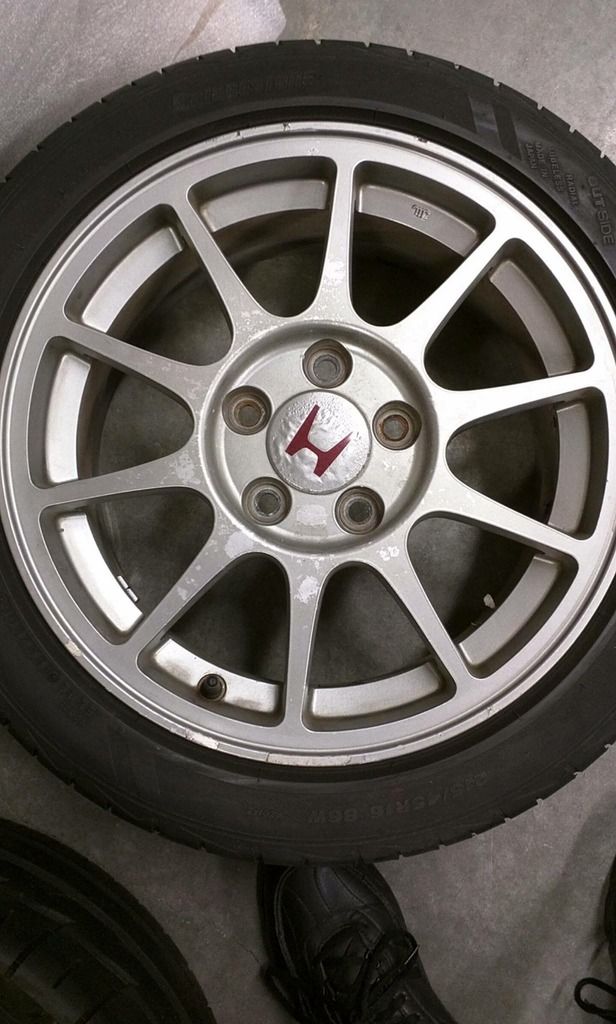
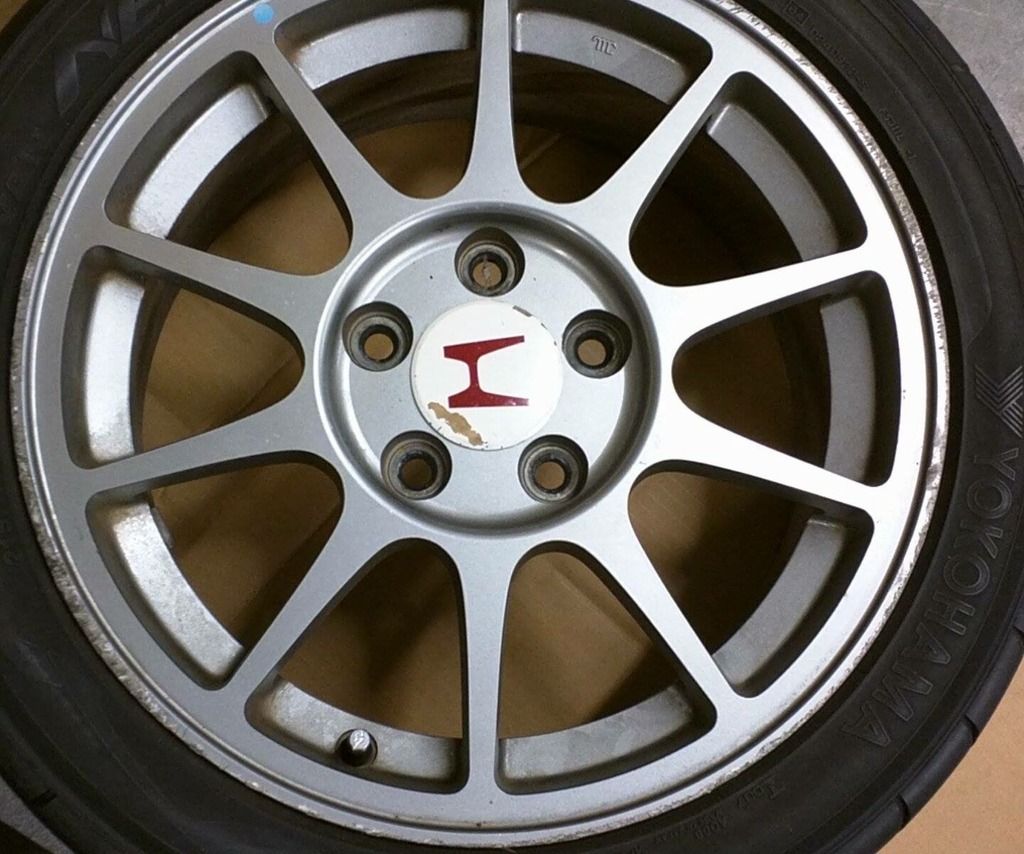
They were someones well loved track wheels. I went ahead and purchased brand new H center caps from Matt at ICB. Nothing like new parts:
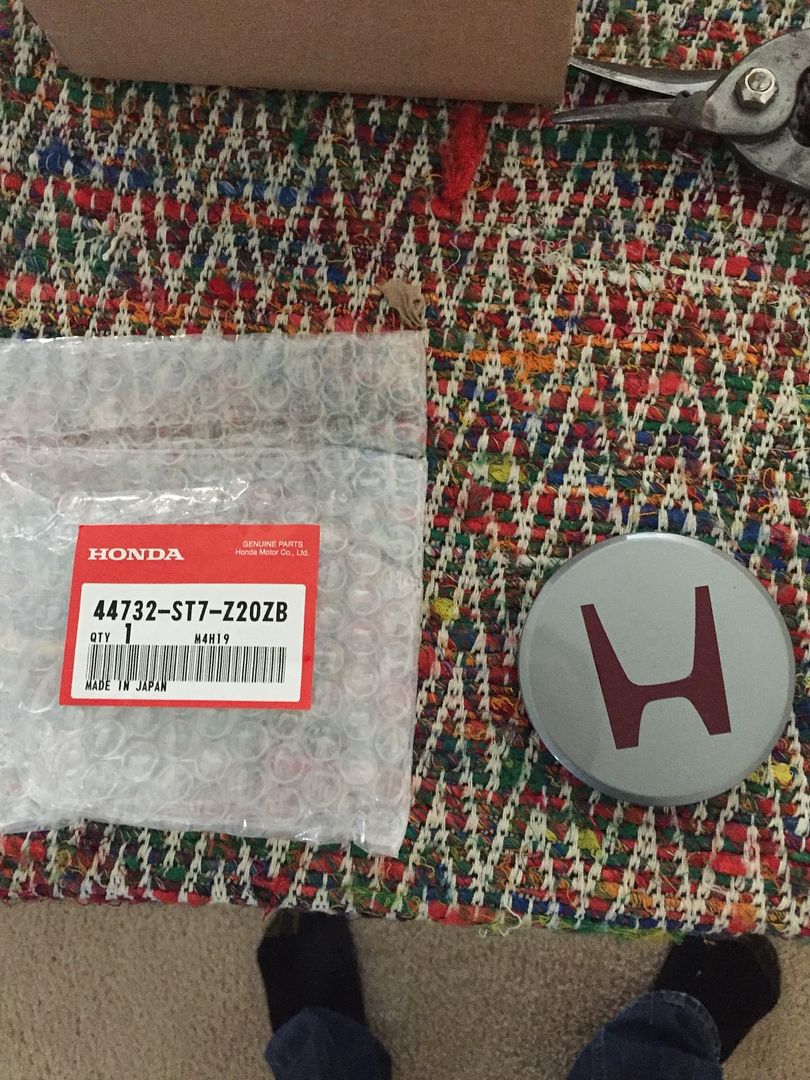
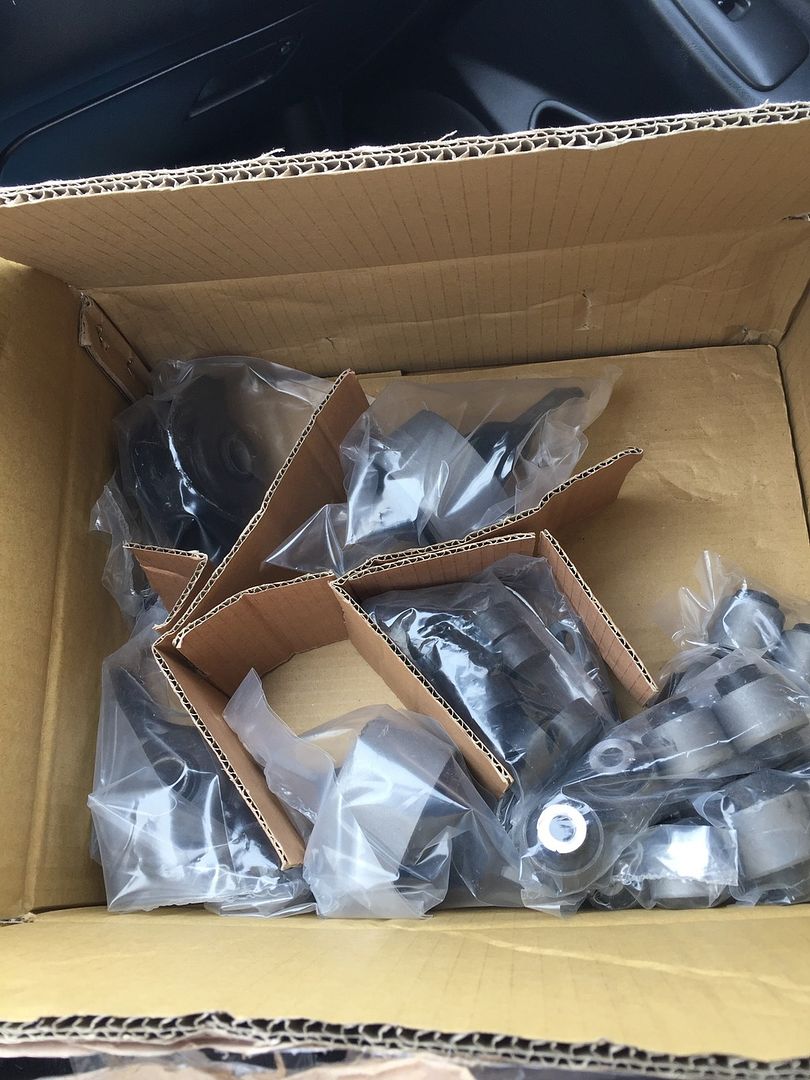
PIC suspension bushing kit
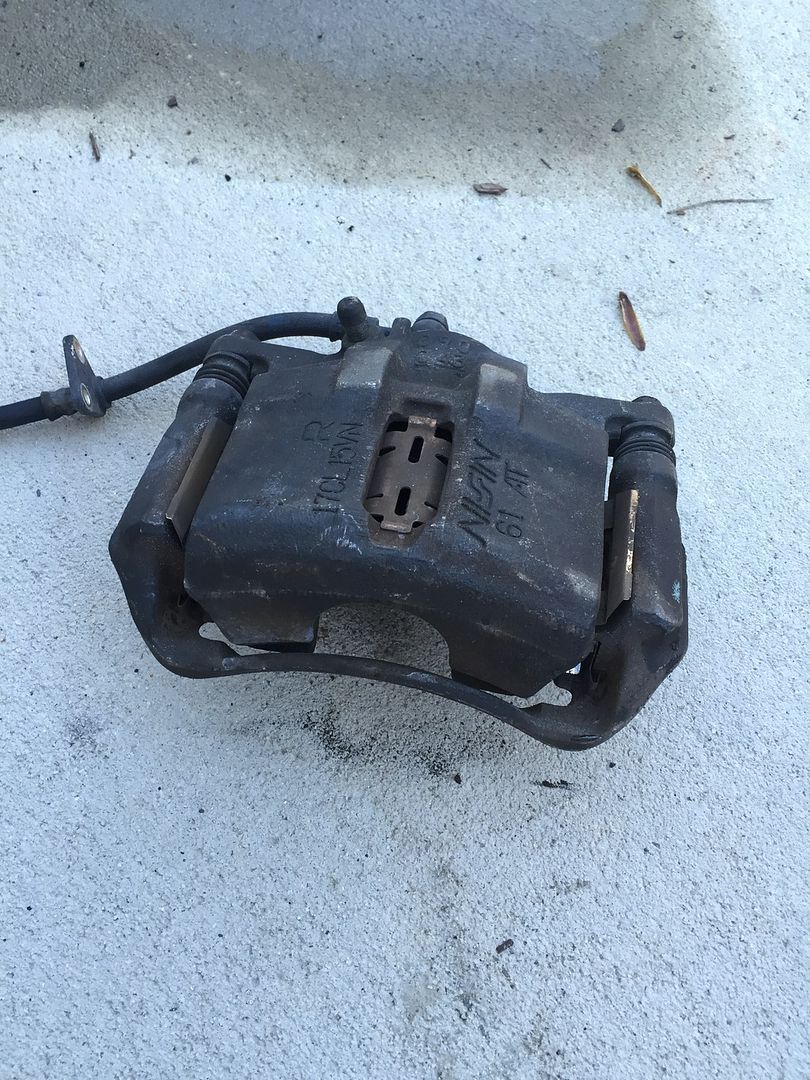
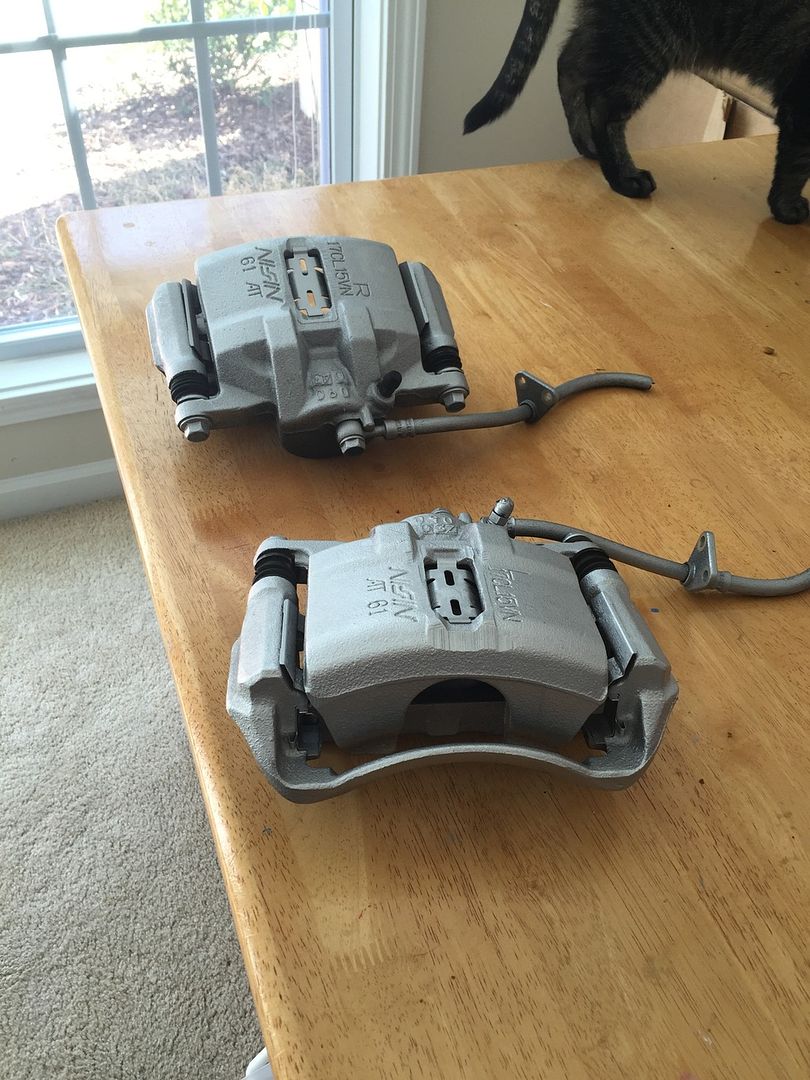
The calipers were due for a refinish on the 5 lug. I cleaned them up with brake clean and bought some duplicolor caliper aerosol. Ive had good luck with it in the past and love the finish it leaves. Here is a before and after on the front calipers
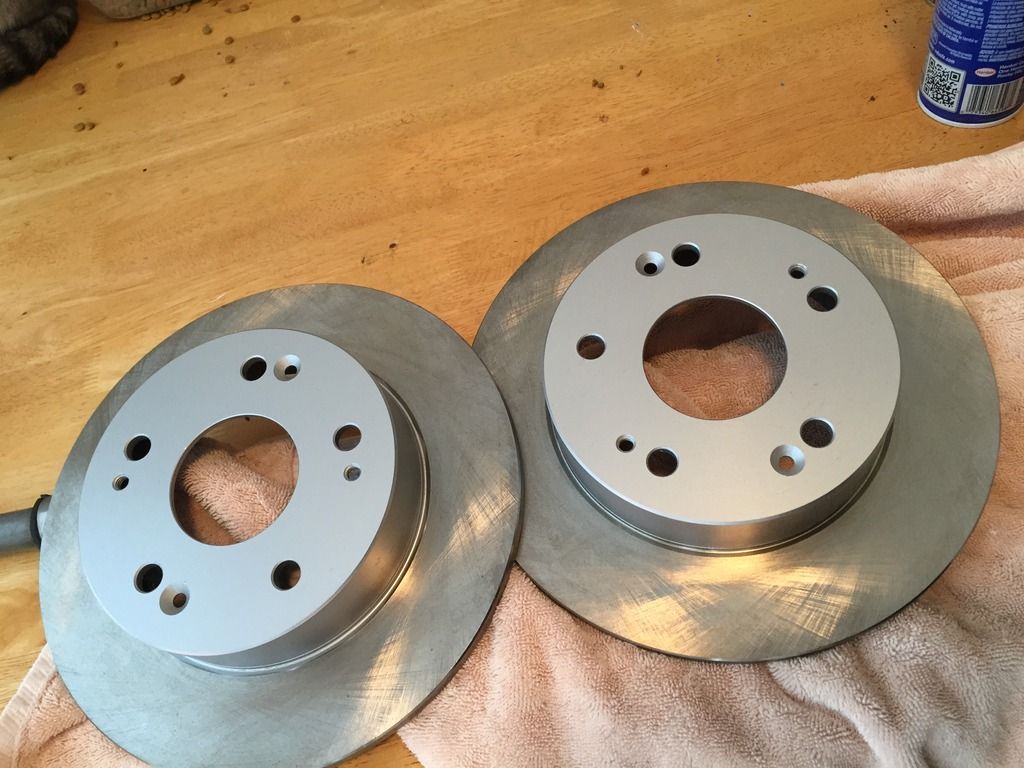
The rear rotors were garbage so I purchased new ones and went ahead and sprayed the centers to help slow rust
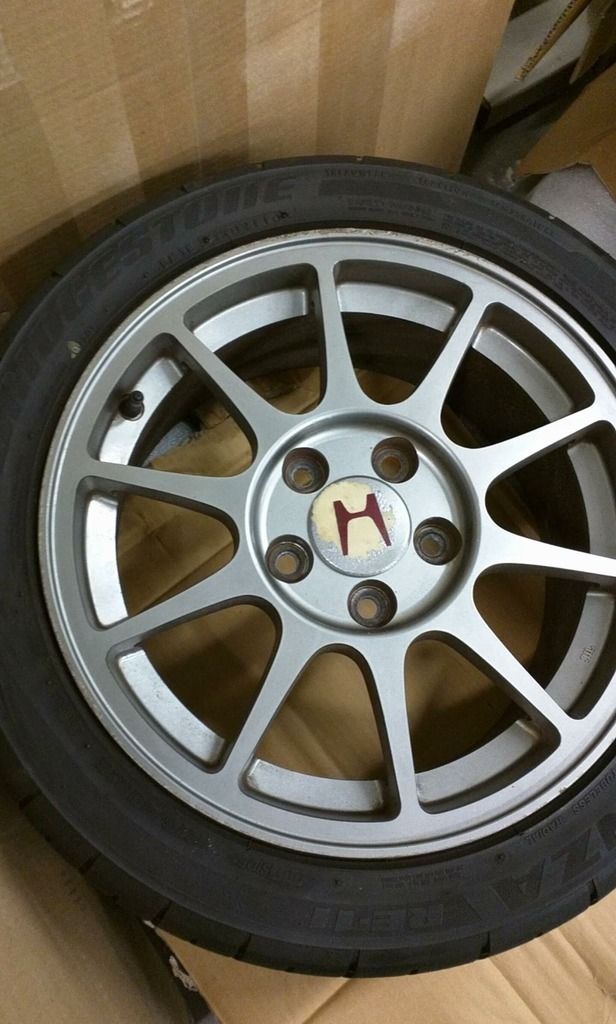
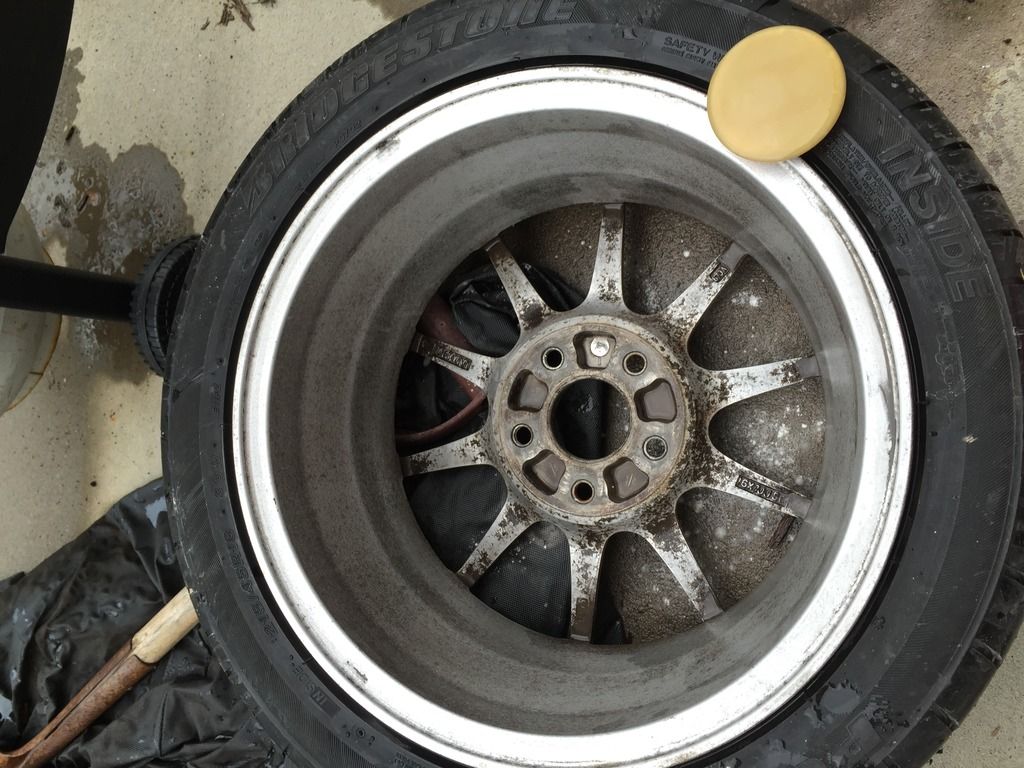
Here is a before and after of the barrel on one of the wheels. I was expecting them to be pitted as bad as it looked originally. I used warm water, a green dish scrub sponge, and barkeepers friend. It cut through the brake dust build up and got them plenty clean to prime
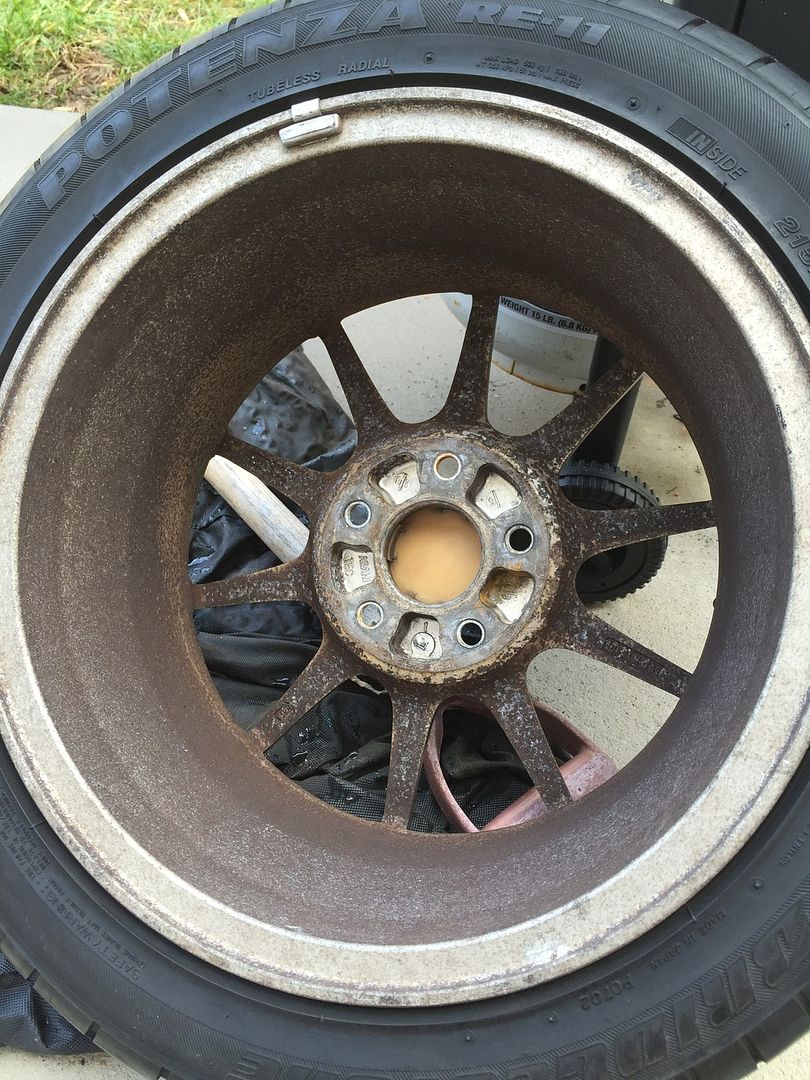
to this:
I decided to buy JDM DC2R wheels for now. I got a rough set from HMO so that I can refinish them to be mint for the same price as a used set that wouldnt be.


They were someones well loved track wheels. I went ahead and purchased brand new H center caps from Matt at ICB. Nothing like new parts:

PIC suspension bushing kit

The calipers were due for a refinish on the 5 lug. I cleaned them up with brake clean and bought some duplicolor caliper aerosol. Ive had good luck with it in the past and love the finish it leaves. Here is a before and after on the front calipers


The rear rotors were garbage so I purchased new ones and went ahead and sprayed the centers to help slow rust

Here is a before and after of the barrel on one of the wheels. I was expecting them to be pitted as bad as it looked originally. I used warm water, a green dish scrub sponge, and barkeepers friend. It cut through the brake dust build up and got them plenty clean to prime

to this:
 03-09-2016, 01:28 PM
#11
Came across a great deal for a few pieces I didnt absolutely need but would be great additions. Both from the same seller and I couldnt be happier with my pick up
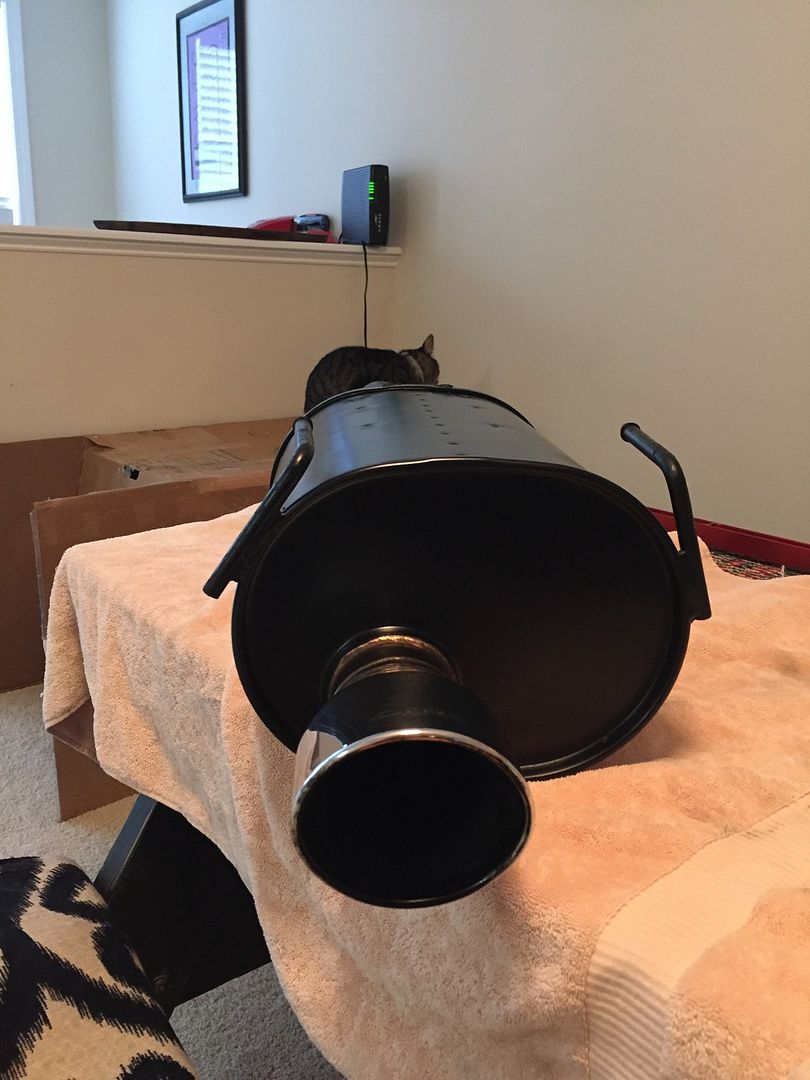
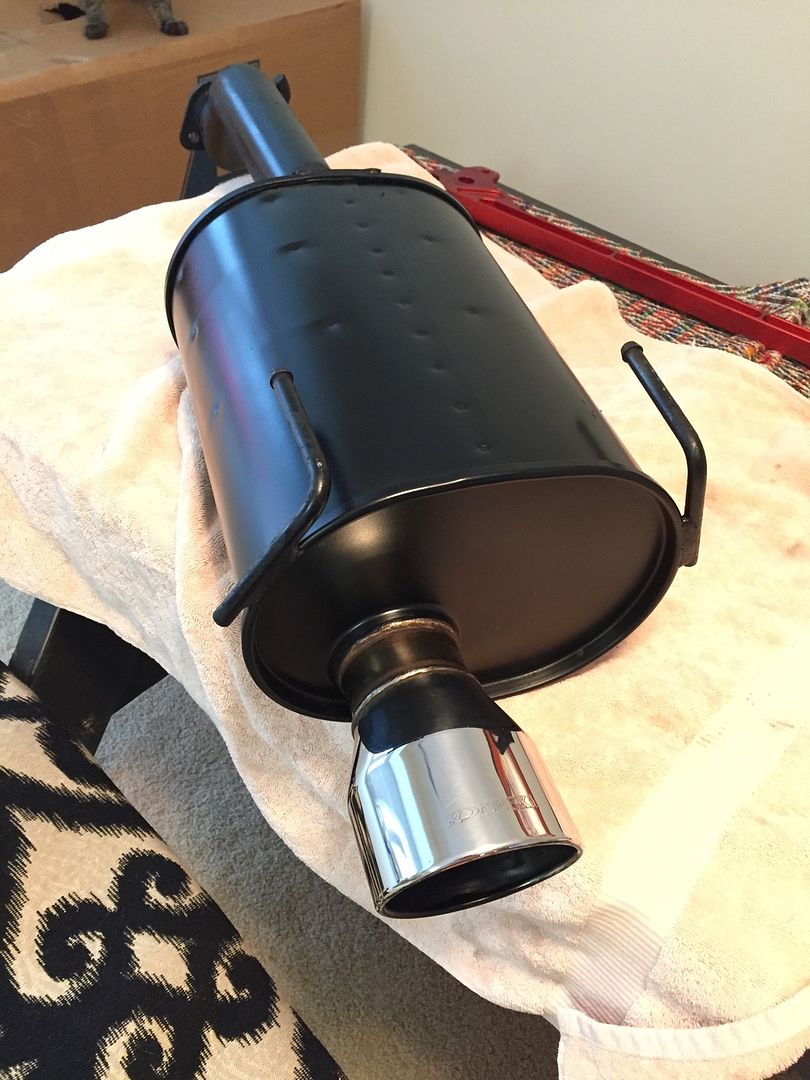
First is an Apexi World Sport full catback exhaust. It was used and in need of a little TLC. Here is is after a little clean up, still dull looking.
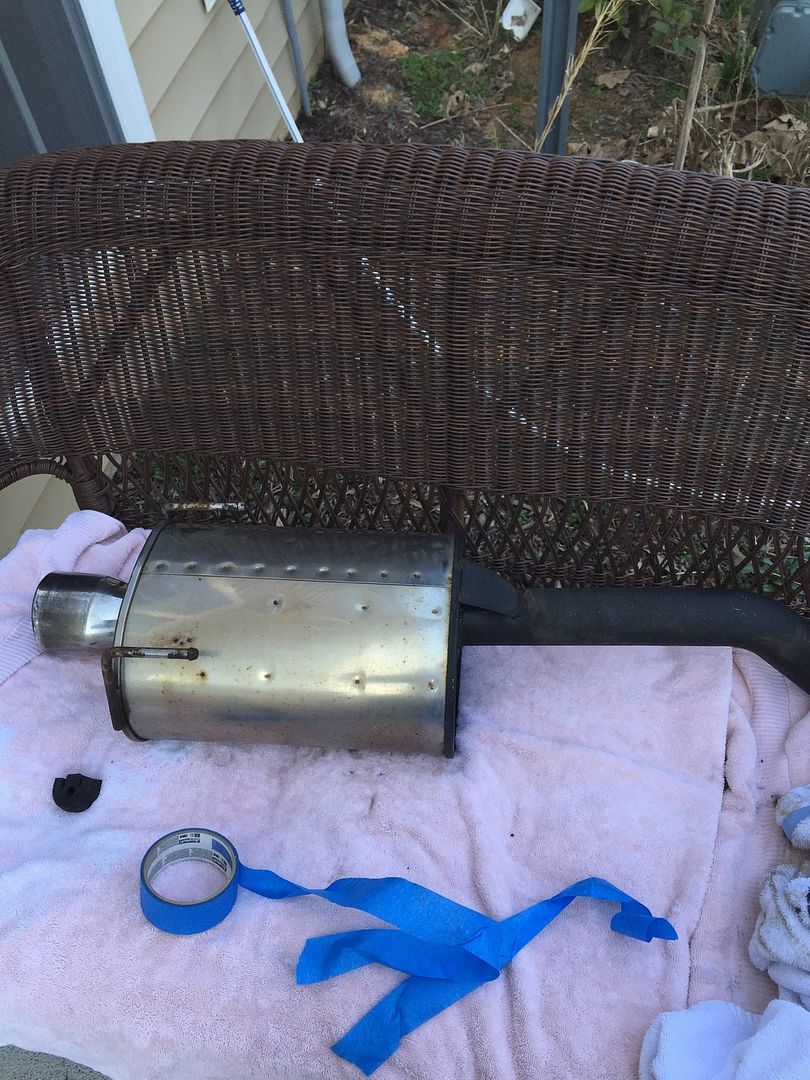
After a little paint and polish, I have sprayed the muffler satin black and polished the tip out. If you are familiar with this exhaust, you know it has a deep, throaty tone. I am very impressed with how well it came out with such little work!. No pics of the mid pipe as it just went from oxided/rusted to black lol.
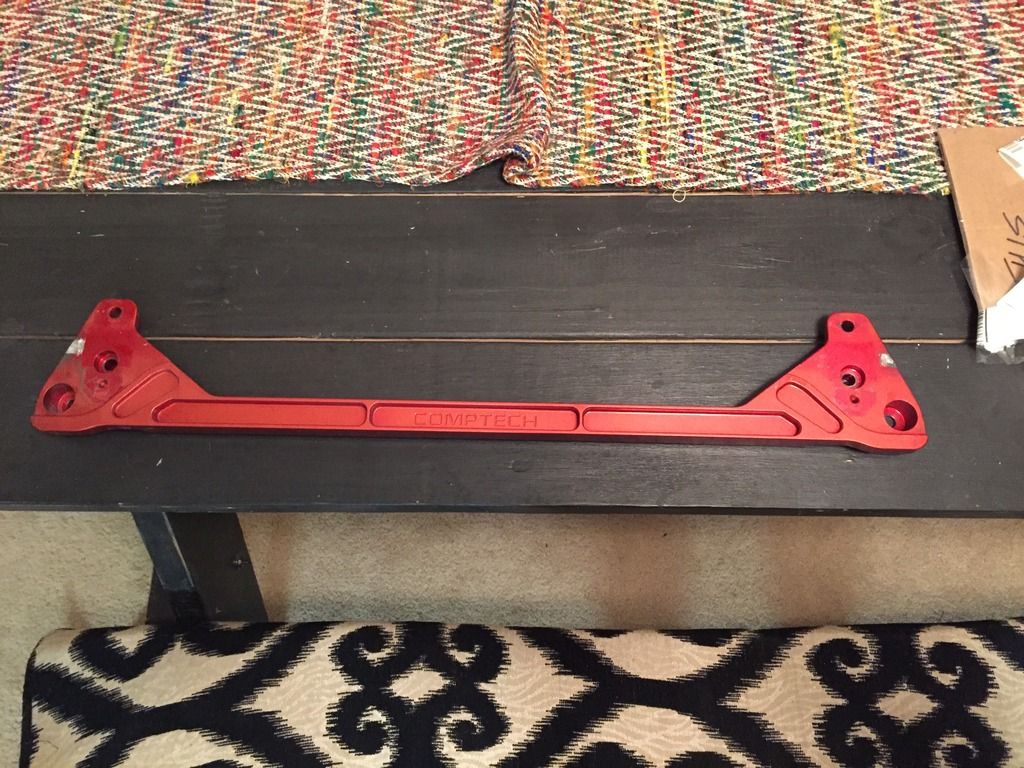
Also picked up an old school Comptech brace and 22mm sway bar combo. I am not sure if this will go on the build as is, refinished, or at all. Still up in the air on plans with it
First is an Apexi World Sport full catback exhaust. It was used and in need of a little TLC. Here is is after a little clean up, still dull looking.

After a little paint and polish, I have sprayed the muffler satin black and polished the tip out. If you are familiar with this exhaust, you know it has a deep, throaty tone. I am very impressed with how well it came out with such little work!. No pics of the mid pipe as it just went from oxided/rusted to black lol.


Also picked up an old school Comptech brace and 22mm sway bar combo. I am not sure if this will go on the build as is, refinished, or at all. Still up in the air on plans with it
 03-09-2016, 01:41 PM
#12
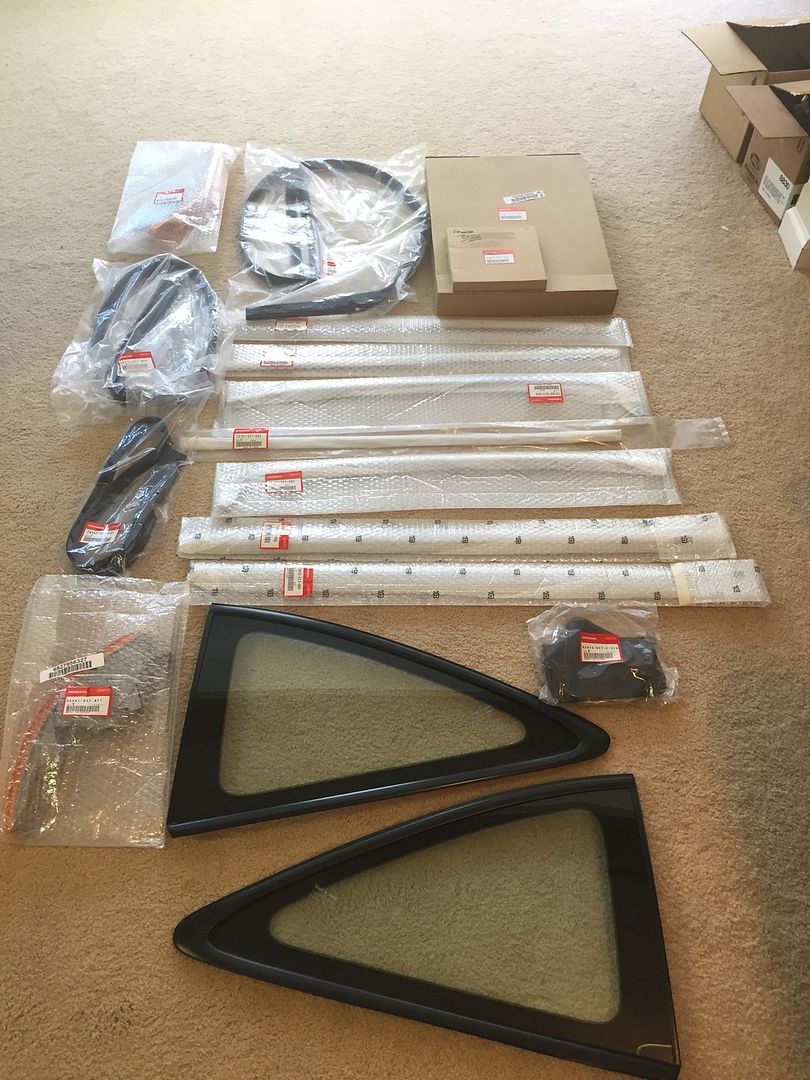
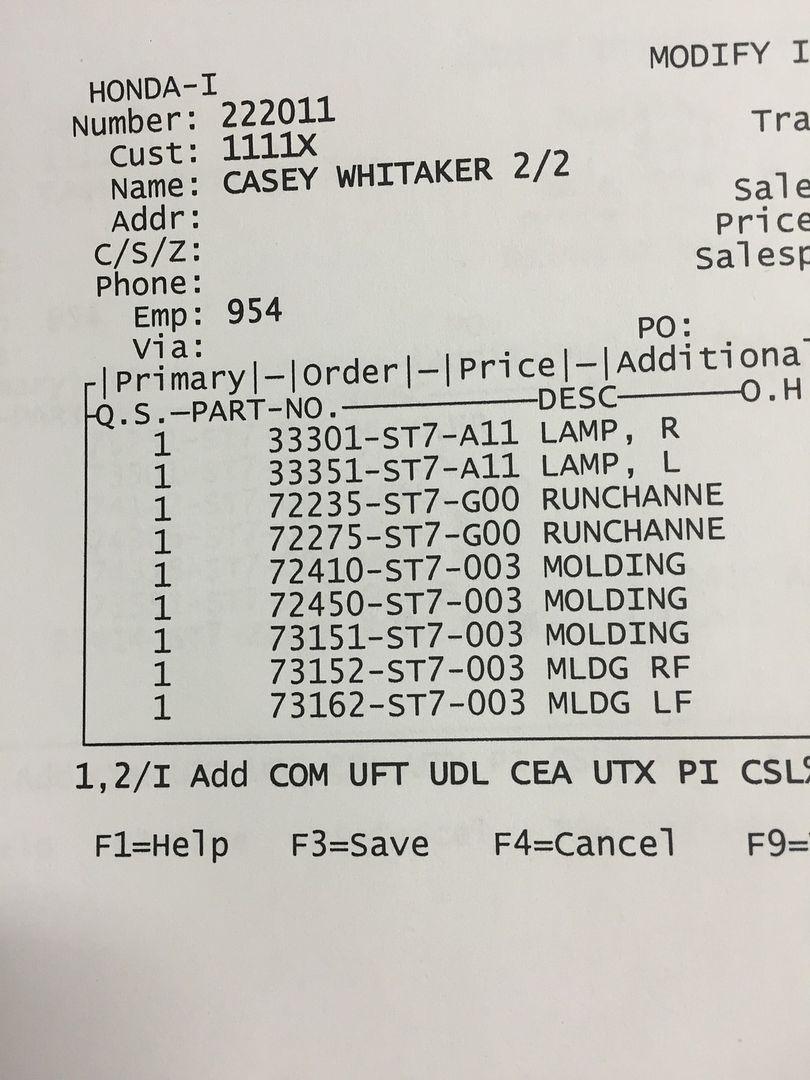
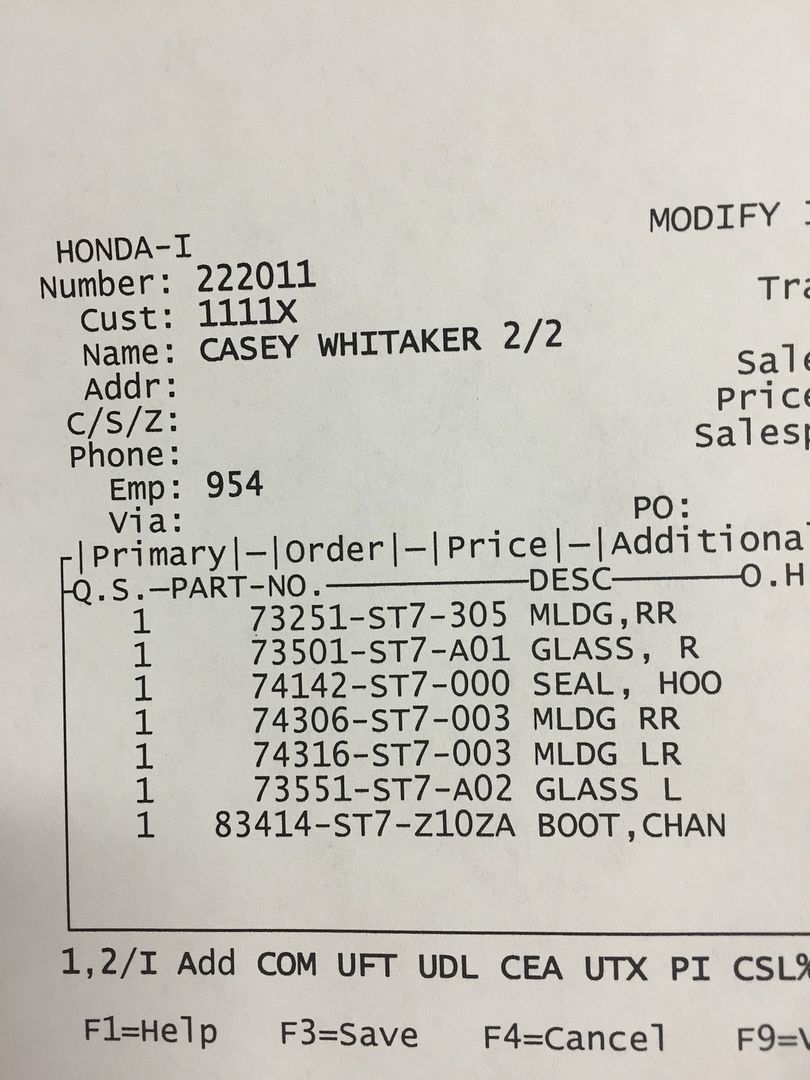
I placed an order with Colin at AFH to get my ducks in a row for paint. Once again, there is nothing better than new OEM parts. Here is a pic of all the parts laid out, and a pic of the invoice in case anyone is lazy and wants part numbers. I picked up every exterior trim/rubber piece, 98-01 corner turn signals, front hood seal, and red stitched shift boot
and part numbers for lazy people

and part numbers for lazy people


 03-09-2016, 01:48 PM
#14
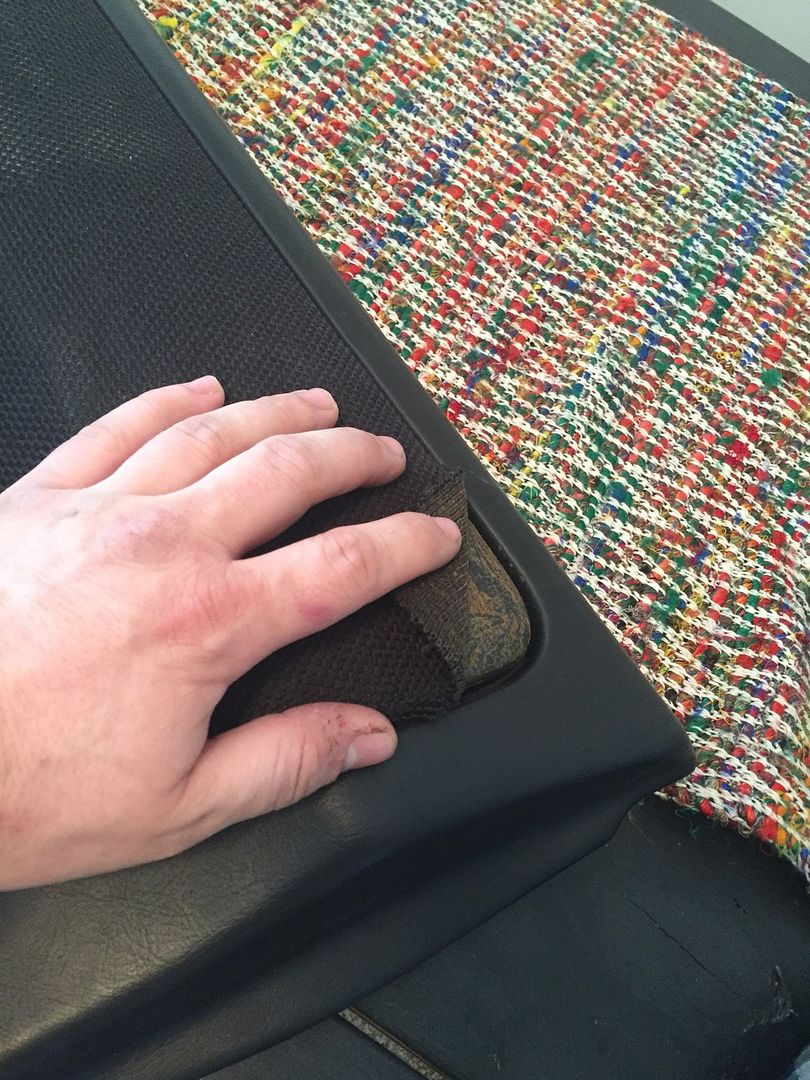
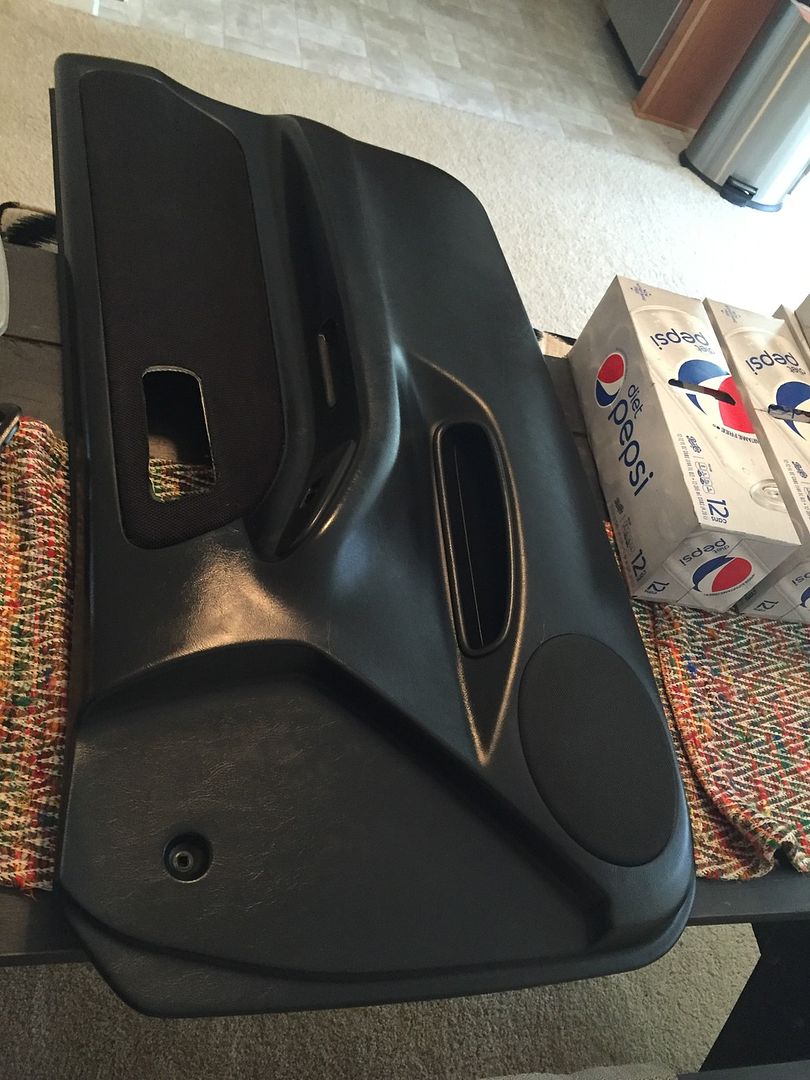
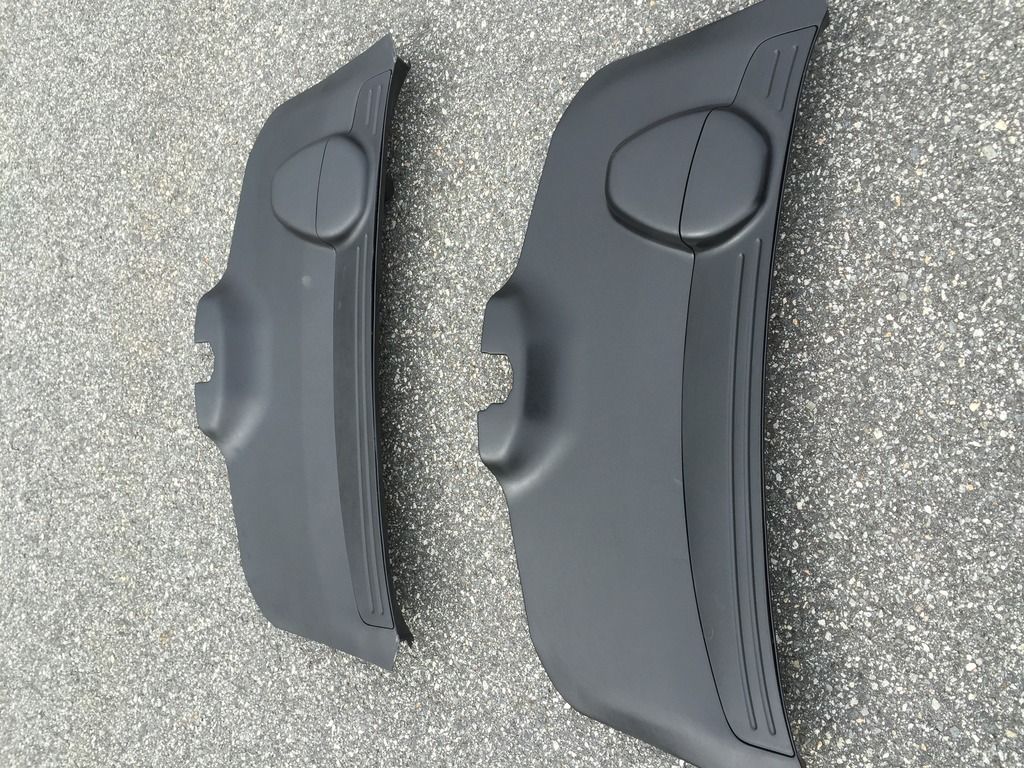
m constantly looking for mint/near mint parts to replace anything that is worn out on the car. My passenger door panel vinyl was creasing and coming off on the arm rest portion and the inserts are carpet which has faded to blue.
Once again, Integra Type R parts are what I plan to use. The have a tweed insert, and generally are in better shape because the people buying an ITR tend to take care of them better than other Integras so I though
I purchased a set of panels from another enthusiast in Malta. I was under the impression they were damage free based on his description and picture. He shipped them to me and the left side was near mint (YES!) but the right side was not great. I was a little irate considering the detail I want to put in this build. Here are pics of the damage he failed to mention and was not visible in the pic:

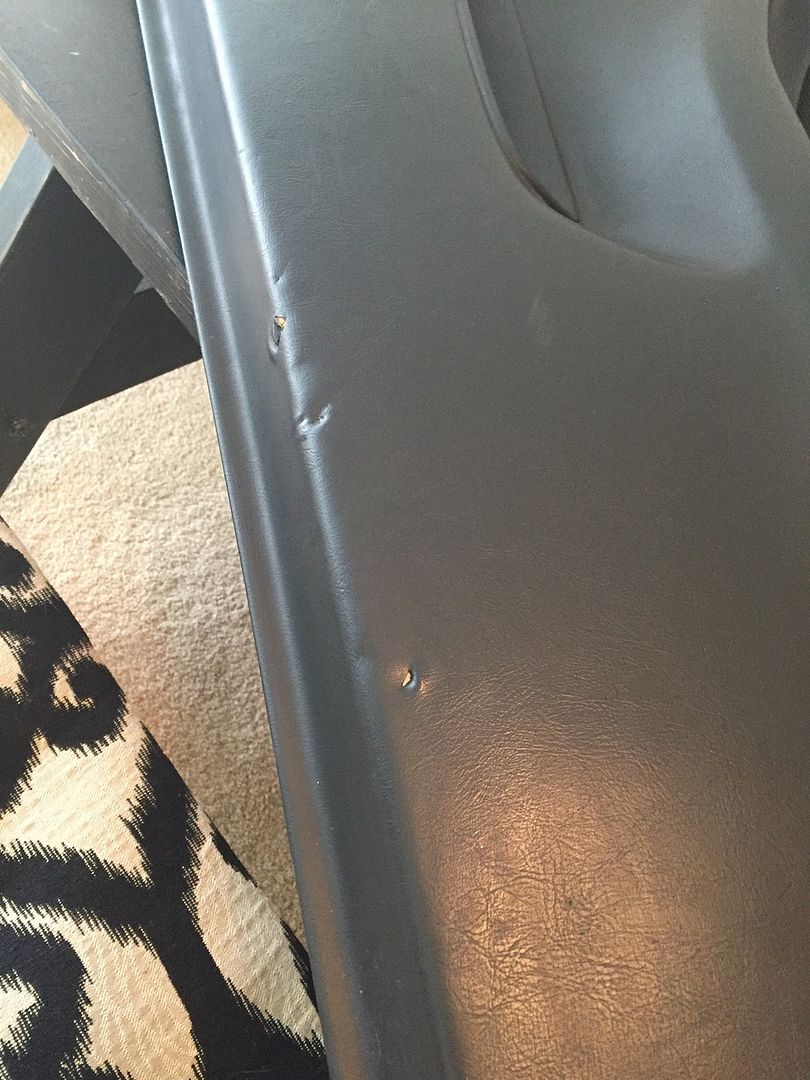
I contacted him and he acknowledged that he knew about the damage, but assured me that these were in better shape than others available. That doesnt really fly with me. Long story short, Im waiting on a small partial refund from him as returning a set of panels to an island country in Europe is not cheap.
I decided I need a solution. Keep looking for another set with a good right side panel, or use a little ingenuity with what I already have. My original passenger side panel from this car is in great shape. Besides the inserts, the panels are identical. I decided to do a little surgery.
I went ahead and pulled the tweed insert off the damaged ITR panel and washed it to get any dirt out of it.
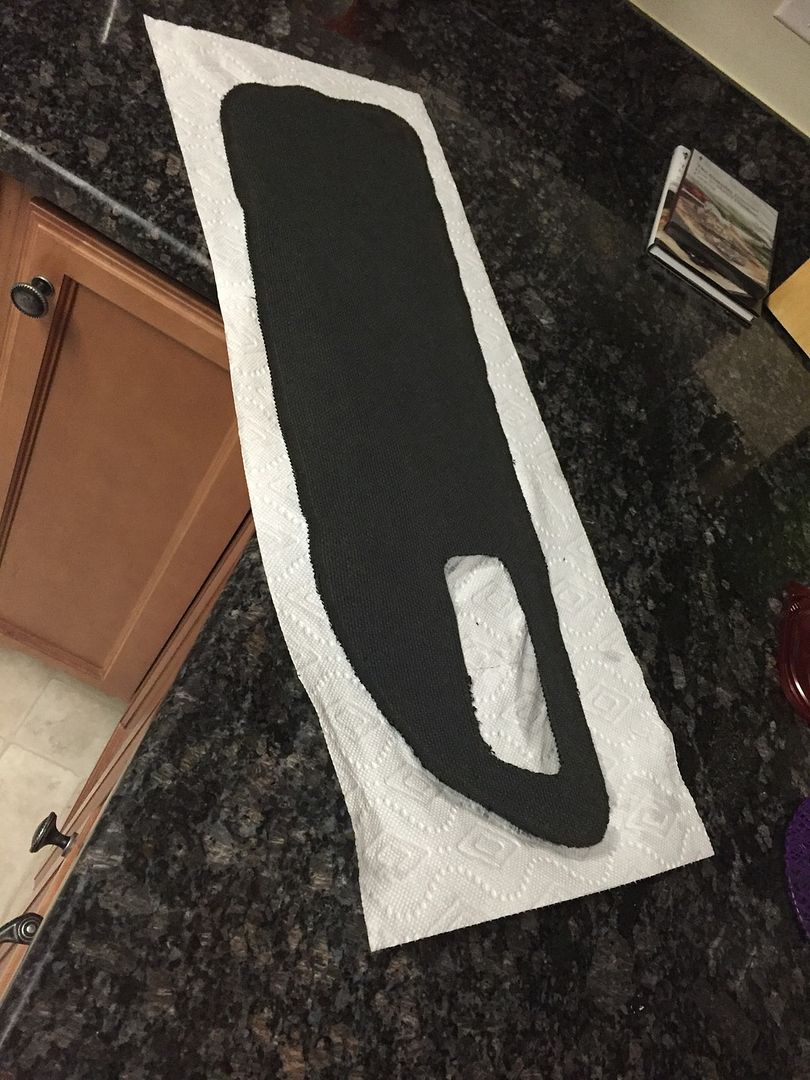
The donor panel, right after pulling the carpet off. The black stuff is little ***** of the carpet that are still stuck on with adhesive.
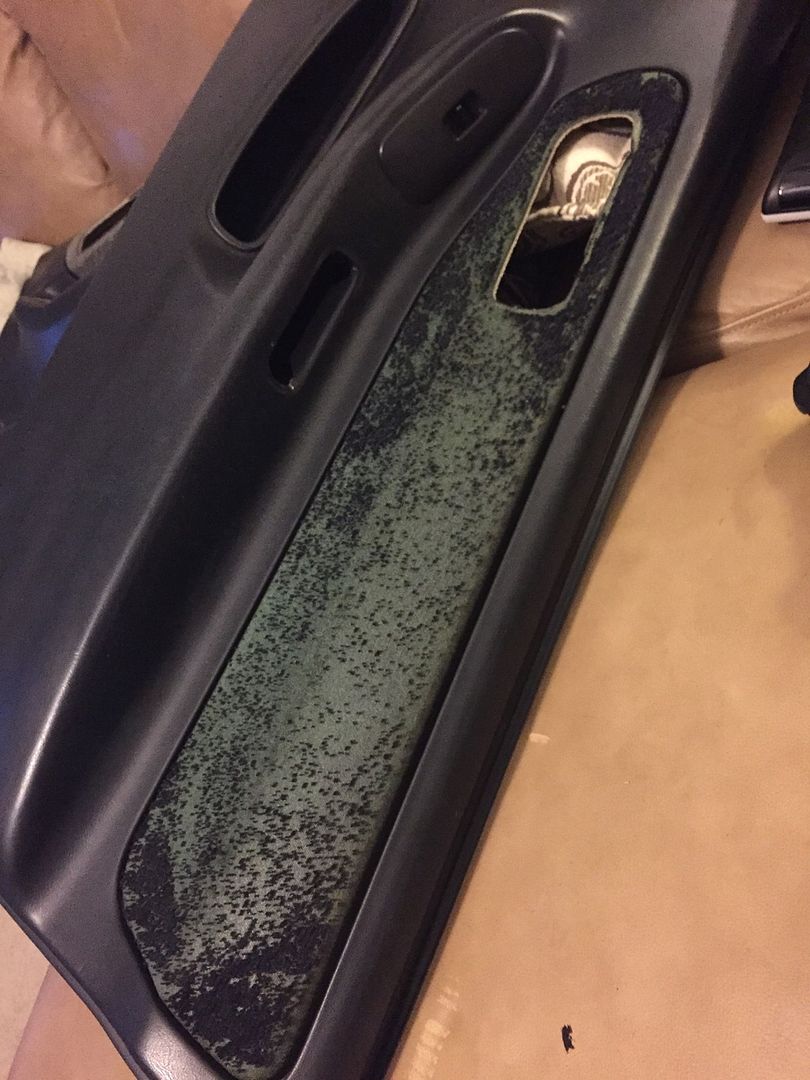
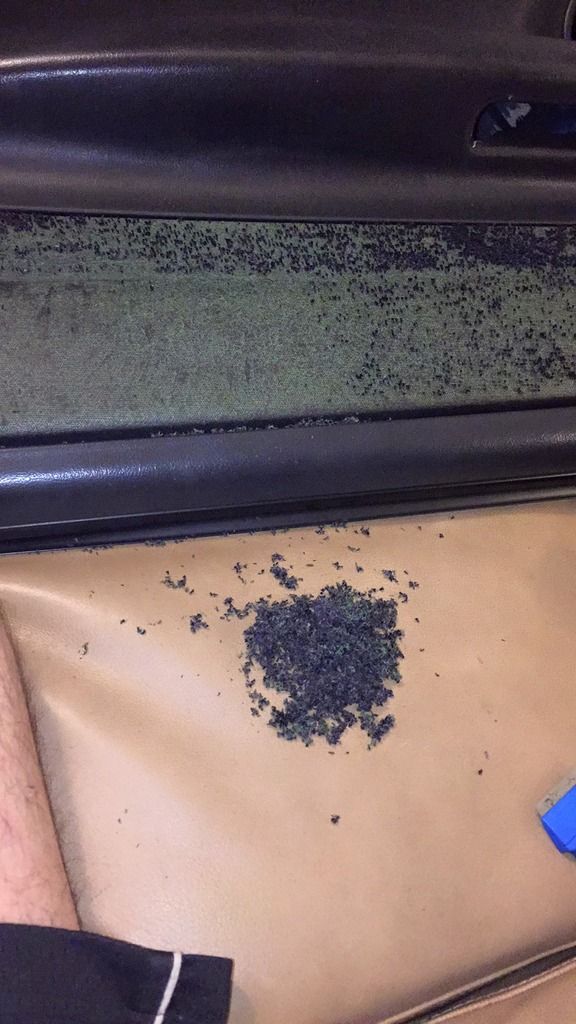
At first I was using a razor to clean them up, but it was tedious and not working great. I decided to try some 150 grit sand paper. It was a bit more efficient. Here is what I was shaving off the panel
all cleaned up and masked out for adhesive spray
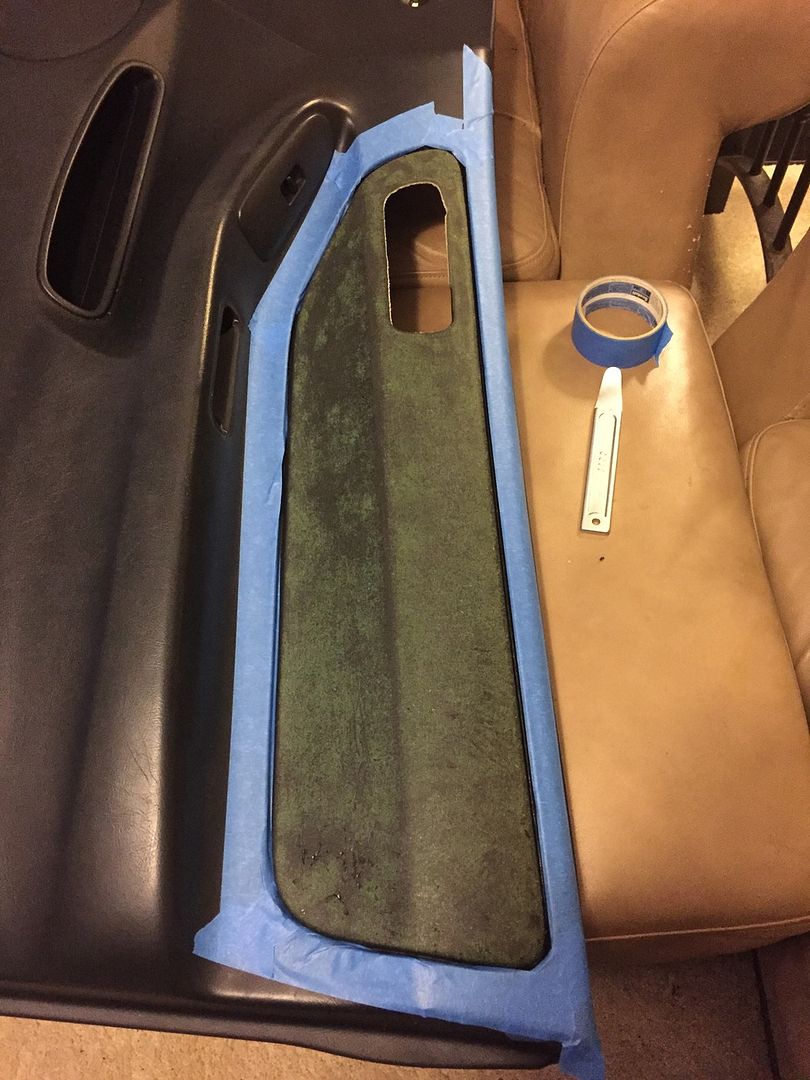
and with the tweed applied
cleaned and dressed up both panels to protect them. Would never know one was redone, which is what I wanted
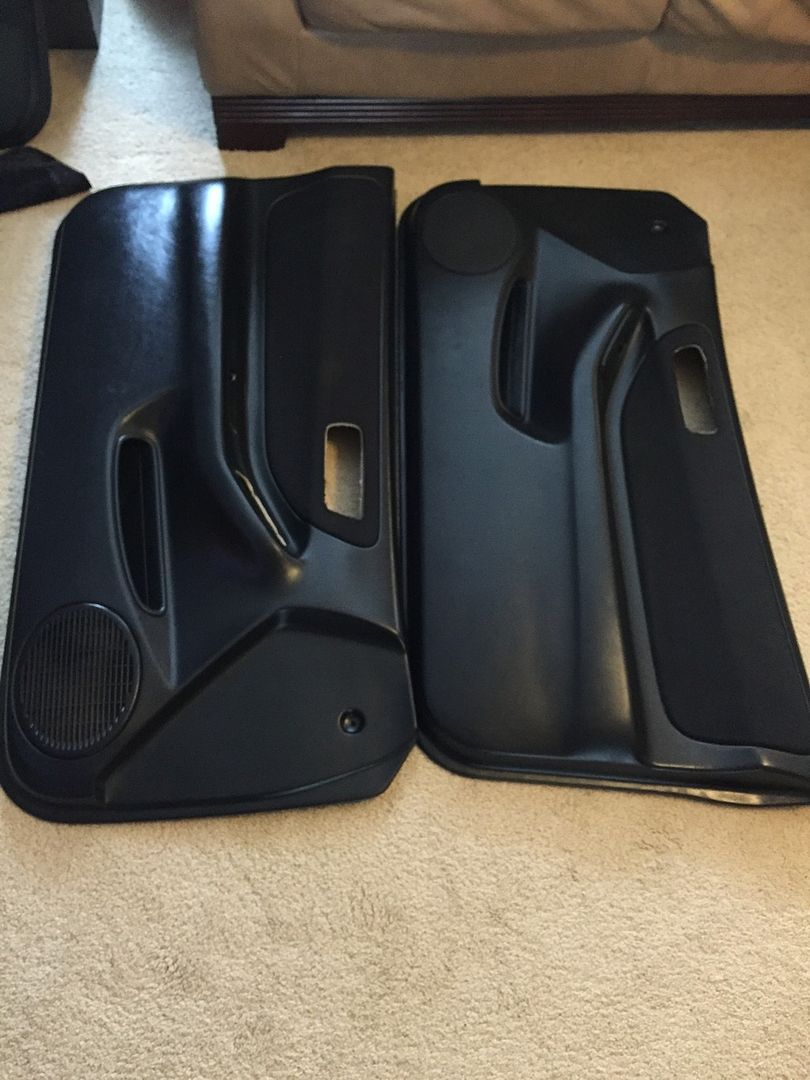
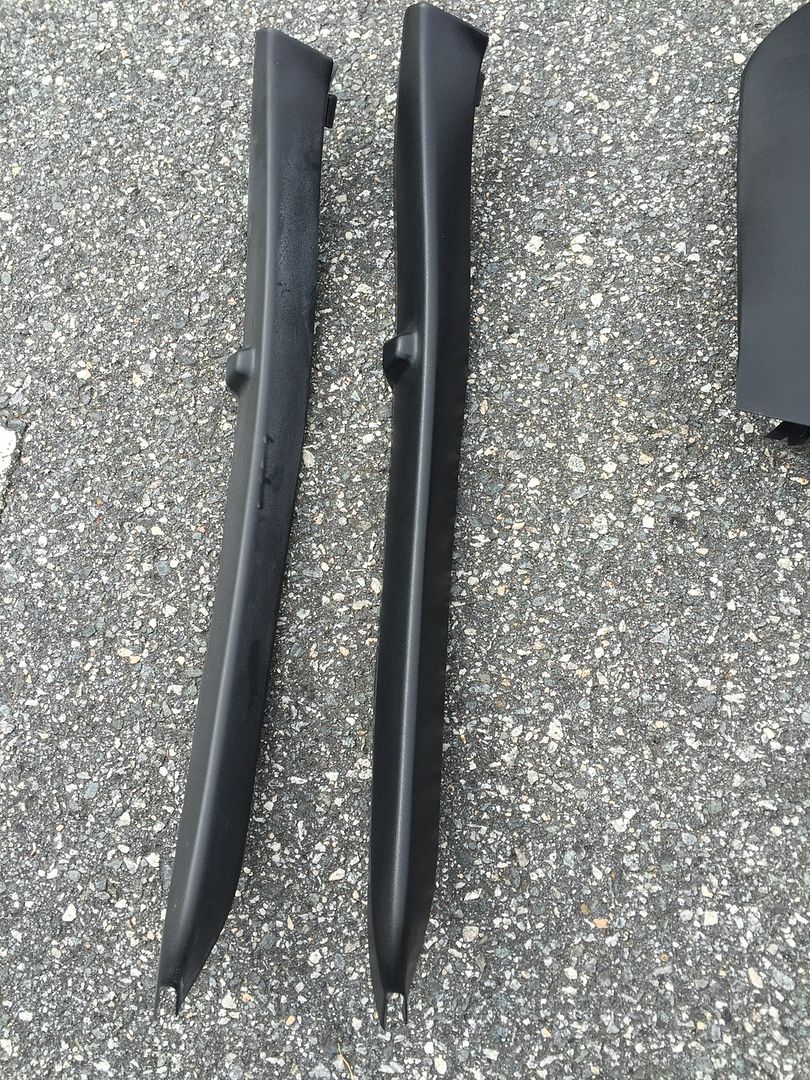
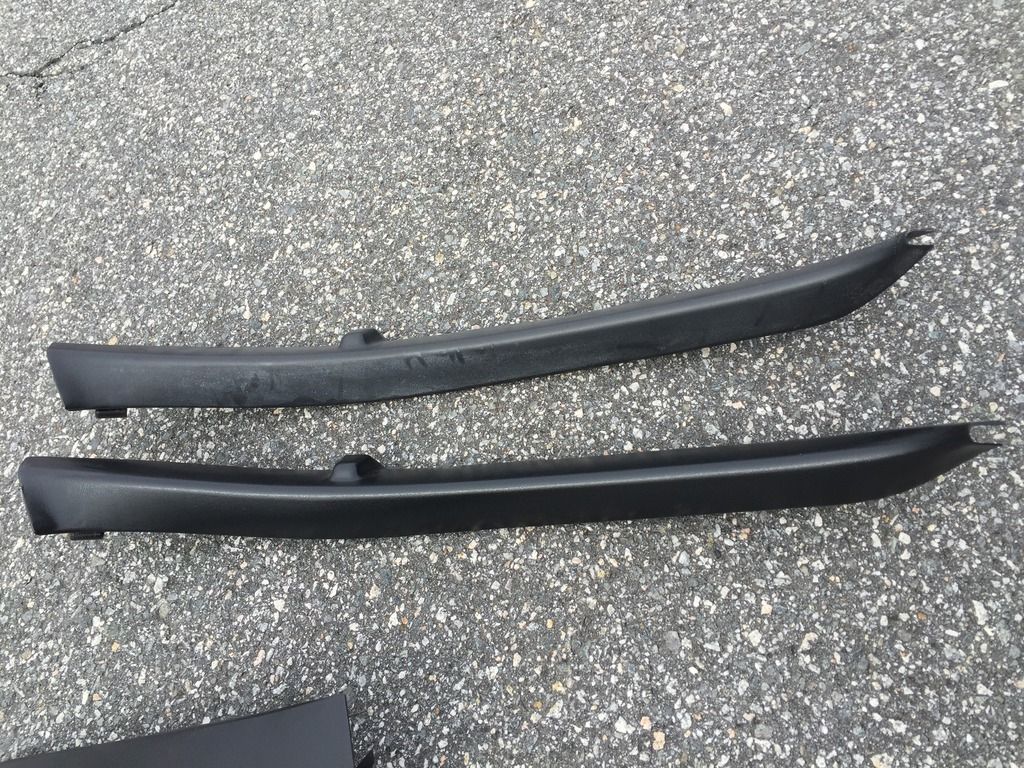
These are panels that go on the rear hatch. My originals have sun faded pretty badly. I was given some near mint ones from a friend. I cleaned and dressed them and installed. Side by side pics to compare with the ones I replaced
Once again, Integra Type R parts are what I plan to use. The have a tweed insert, and generally are in better shape because the people buying an ITR tend to take care of them better than other Integras so I though
I purchased a set of panels from another enthusiast in Malta. I was under the impression they were damage free based on his description and picture. He shipped them to me and the left side was near mint (YES!) but the right side was not great. I was a little irate considering the detail I want to put in this build. Here are pics of the damage he failed to mention and was not visible in the pic:


I contacted him and he acknowledged that he knew about the damage, but assured me that these were in better shape than others available. That doesnt really fly with me. Long story short, Im waiting on a small partial refund from him as returning a set of panels to an island country in Europe is not cheap.
I decided I need a solution. Keep looking for another set with a good right side panel, or use a little ingenuity with what I already have. My original passenger side panel from this car is in great shape. Besides the inserts, the panels are identical. I decided to do a little surgery.
I went ahead and pulled the tweed insert off the damaged ITR panel and washed it to get any dirt out of it.

The donor panel, right after pulling the carpet off. The black stuff is little ***** of the carpet that are still stuck on with adhesive.

At first I was using a razor to clean them up, but it was tedious and not working great. I decided to try some 150 grit sand paper. It was a bit more efficient. Here is what I was shaving off the panel

all cleaned up and masked out for adhesive spray

and with the tweed applied

cleaned and dressed up both panels to protect them. Would never know one was redone, which is what I wanted

These are panels that go on the rear hatch. My originals have sun faded pretty badly. I was given some near mint ones from a friend. I cleaned and dressed them and installed. Side by side pics to compare with the ones I replaced


 03-09-2016, 01:59 PM
#15
thanks guys! As slow as the forums been I thought I would be able to make a few posts before replies. I paid $1700 for the car and feel like I couldnt have found a better starting platform. The interior was in very good shape, but I will continue to nit pick and replace parts as I can
03-10-2016, 05:41 AM
#18
Honda-Tech Member
iTrader: (1)
Join Date: Mar 2007
Location: West Palm Beach Florida
Posts: 1,246
Likes: 0
Received 1 Like
on
1 Post
This is exciting!
Hit up my buddy, he's looking for 94-97 parts
https://honda-tech.com/southeast-sal...r-itr-3267245/
Hit up my buddy, he's looking for 94-97 parts
https://honda-tech.com/southeast-sal...r-itr-3267245/
 03-11-2016, 06:24 AM
#21
Honda-Tech Member
iTrader: (1)
Join Date: Oct 2004
Location: chicago burbs, IL
Posts: 1,594
Likes: 0
Received 0 Likes
on
0 Posts
Awesome work so far dude. Glad to see and read this on the forums, I wish more people would come back and do the same. Keep it up
03-11-2016, 10:57 AM
#24
Thanks guys, glad we still have some people on the boards. I am starting to post stuff up on my instagram too but its not the same.
I picked up a few more goodies from Matt at ICB. JDM oil cap, JDM clock delete plate, Vision convex rear view mirror and a Vision shift know. I threw everything on before work, the mirror definitely improves width and the shift **** feels great!
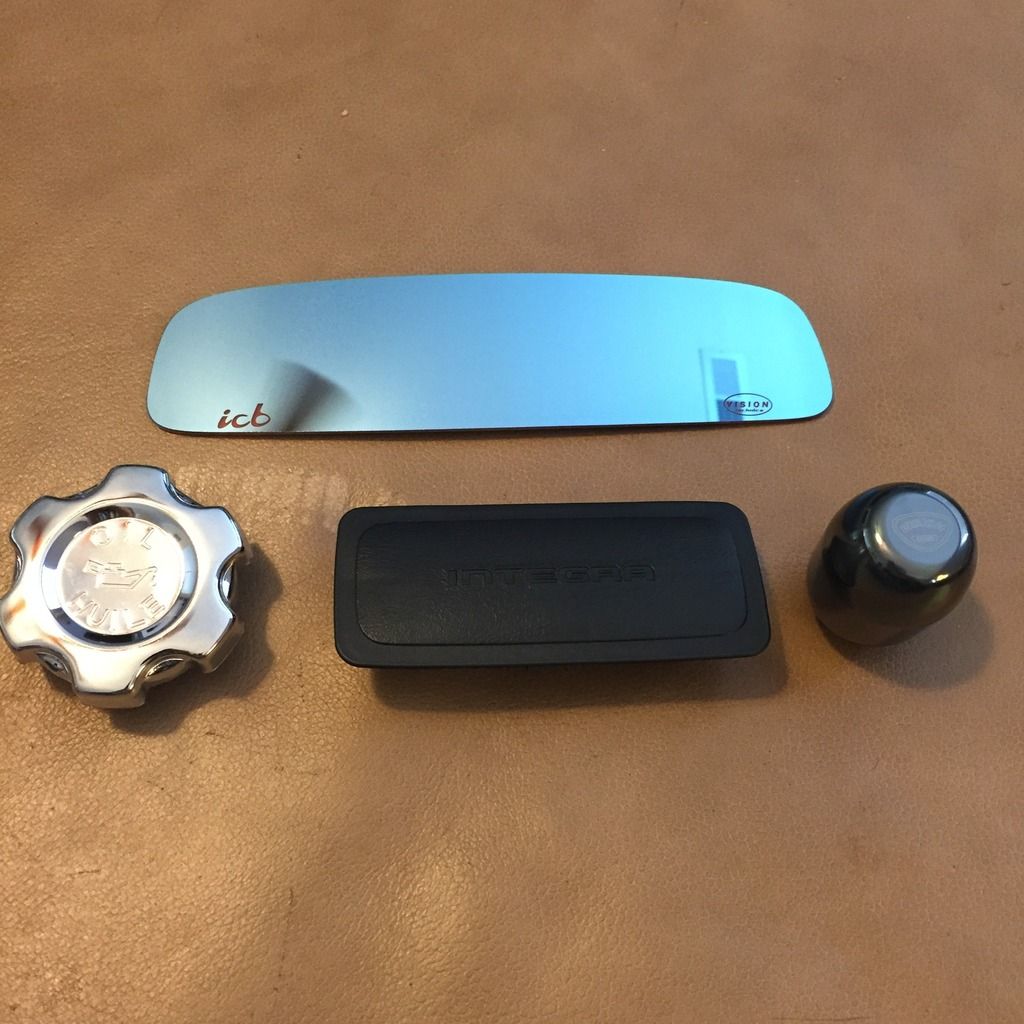
I picked up a few more goodies from Matt at ICB. JDM oil cap, JDM clock delete plate, Vision convex rear view mirror and a Vision shift know. I threw everything on before work, the mirror definitely improves width and the shift **** feels great!
