
[DIY] How to remove bushings without a press [PICS]
 08-07-2012, 12:41 PM
#1
Honda-Tech Member
Thread Starter
Hopefully after reading this you will understand how to remove bushings using basic tools without access to a hydraulic press.
It is very important to wear eye protection and gloves for this entire procedure. Melting rubber can pop and flare, shooting liquid micro-droplets of molten rubber in all directions. Wearing gloves will be the difference between realizing something you touched is hot, and realizing that you just burned your hand. Safety first. Seeing as we are also dealing with fire, it would be smart to work outside in a well ventilated area, away from any flammable liquids. Have a hose or fire extinguisher ready and close by. You may also want to wear a mask. The burning rubber creates a very noxious and toxic smoke.
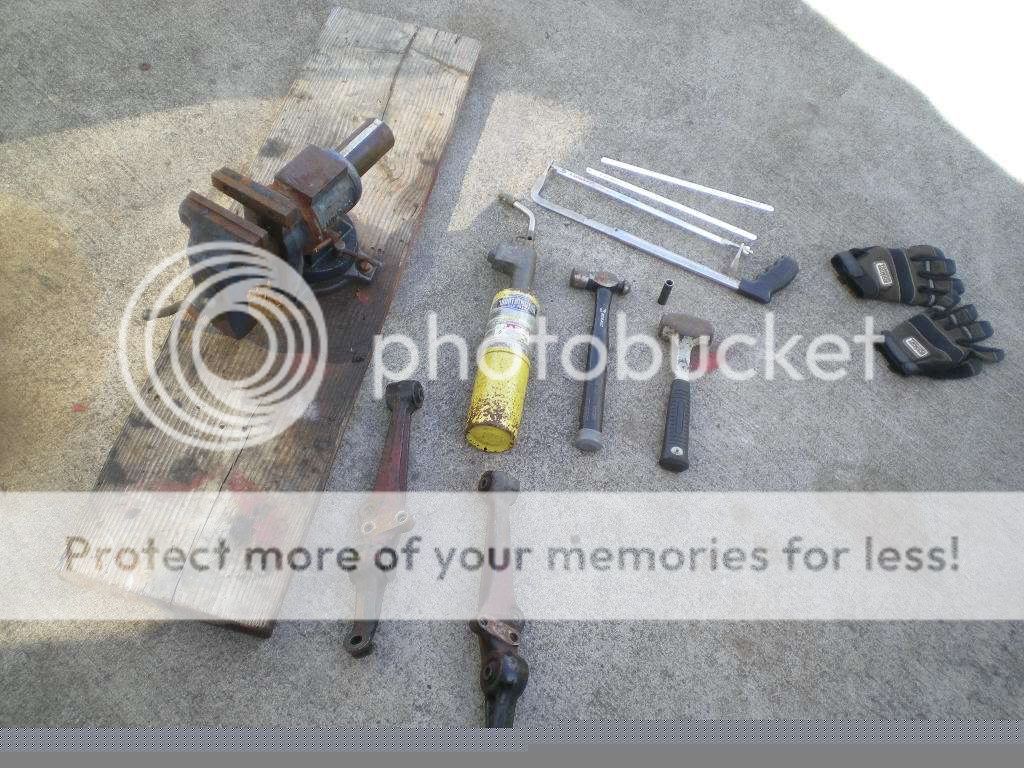
Here are the tools I used.
-Bench vise
-Map gas torch (for soldering copper pipe fittings)
-Several hammers (large and small)
-Regular screwdriver (for use as a pry-bar, you will probably destroy the screwdriver)
-Hand hacksaw (w/sharp blades)
-Appropriate sockets (for use as drift punches to remove bearing races)
-Safety glasses and gloves
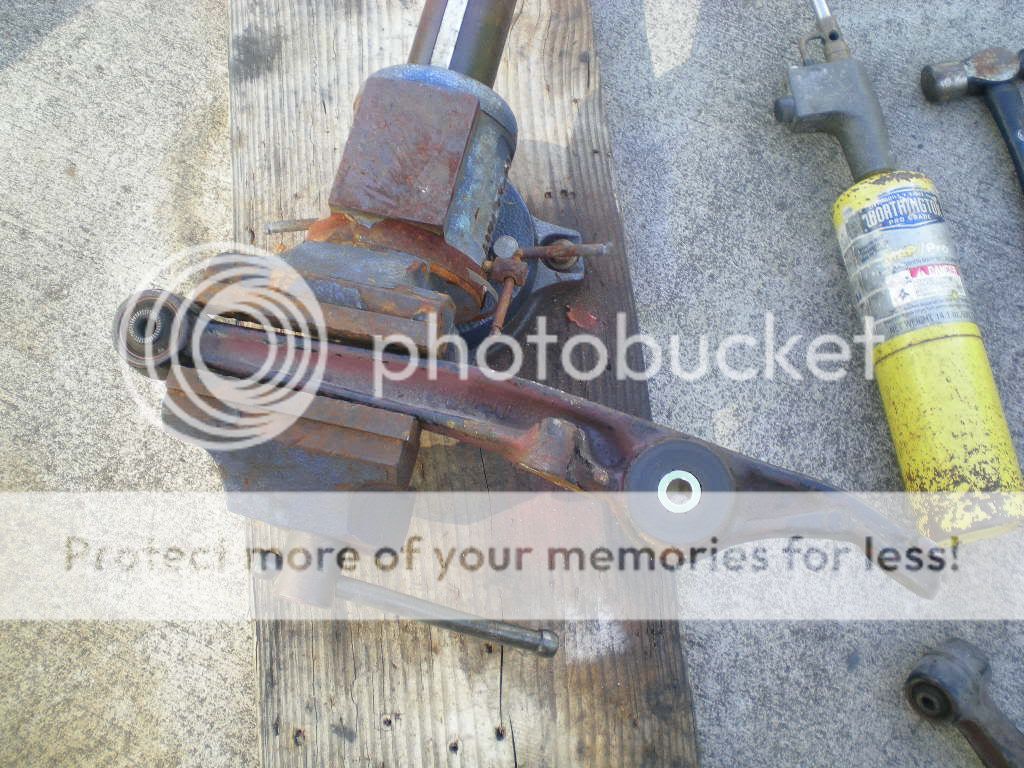
Clamp the arm securely in the vise, preferably with access to each side of the bushing to be removed.
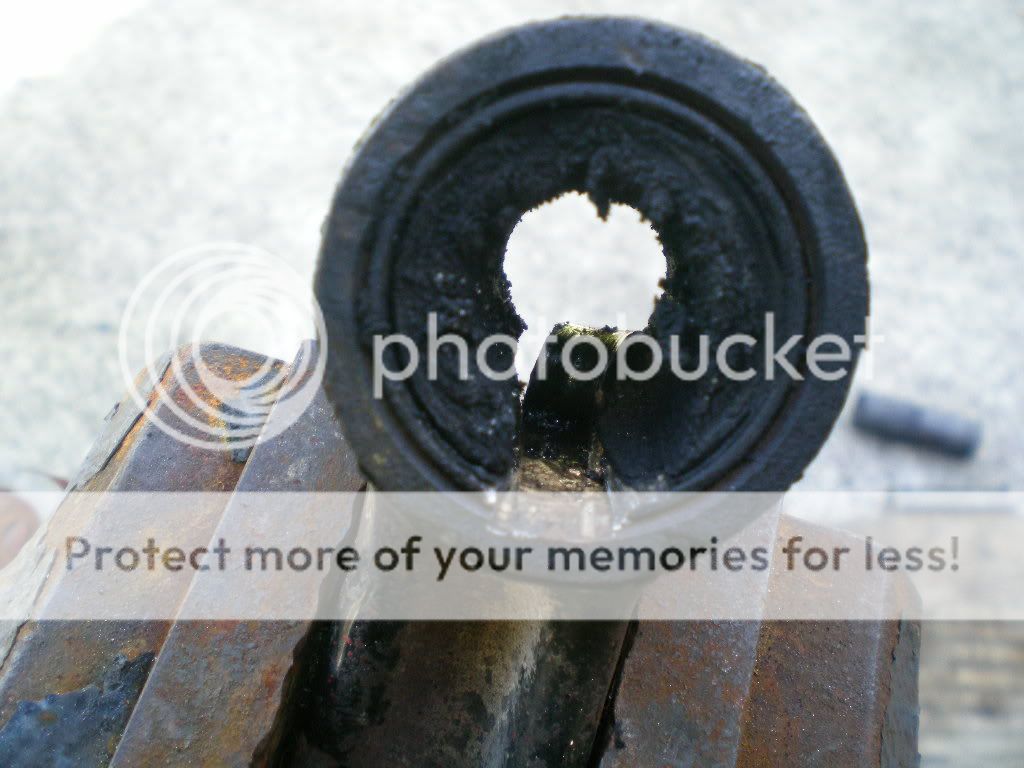
Use the torch to heat the inner race of the bushing until the rubber around it begins melting. I recommend you blow the flame through the center hole of the inner race as to promote heatsoak all the way to the other side. I also recommend you heat each side of the bushing equally, alternating sides every few seconds.
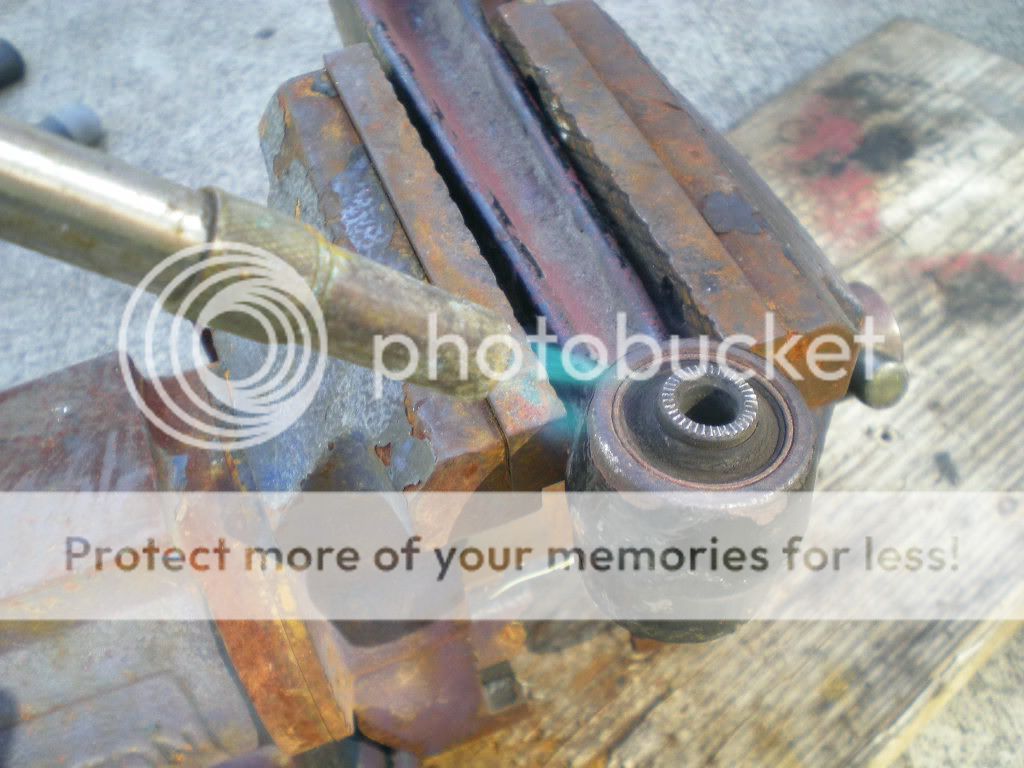
The rubber itself will actually burn, so be careful and stay upwind. The melting rubber smells like all things unholy and is very bad for your lungs.

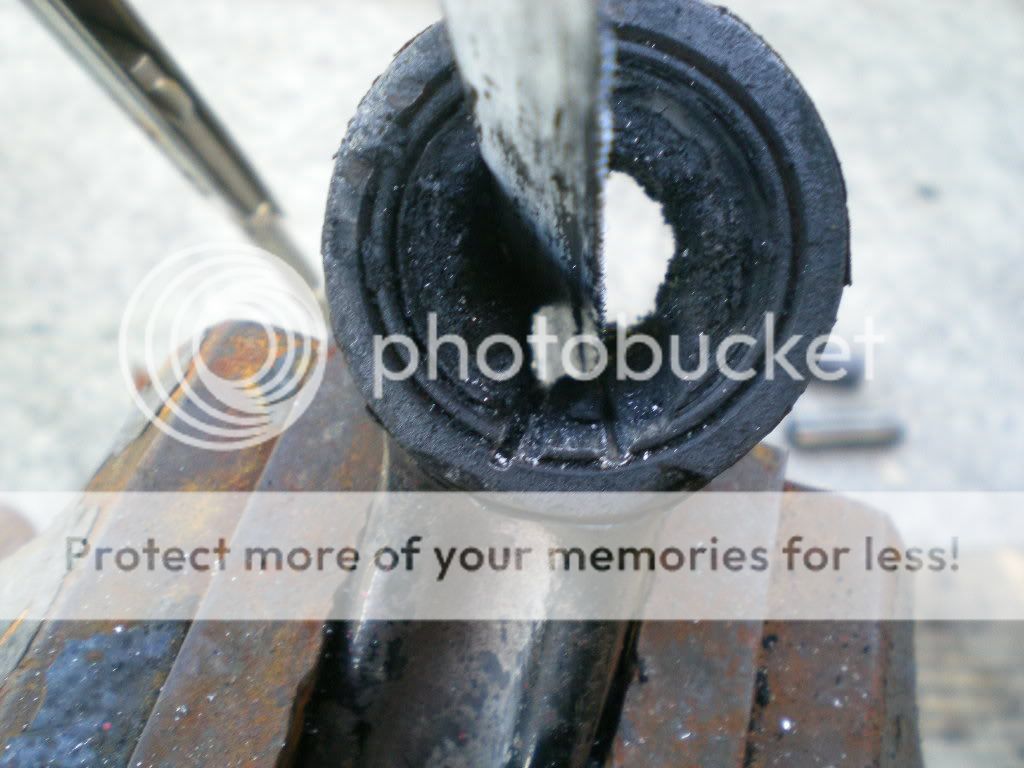
As the inner race reaches a high enough temperature the rubber will actually separate from it and begin to curl back away from the race. Use a hammer to tap the center race while you are heating it to ascertain when it has become free from the rubber.
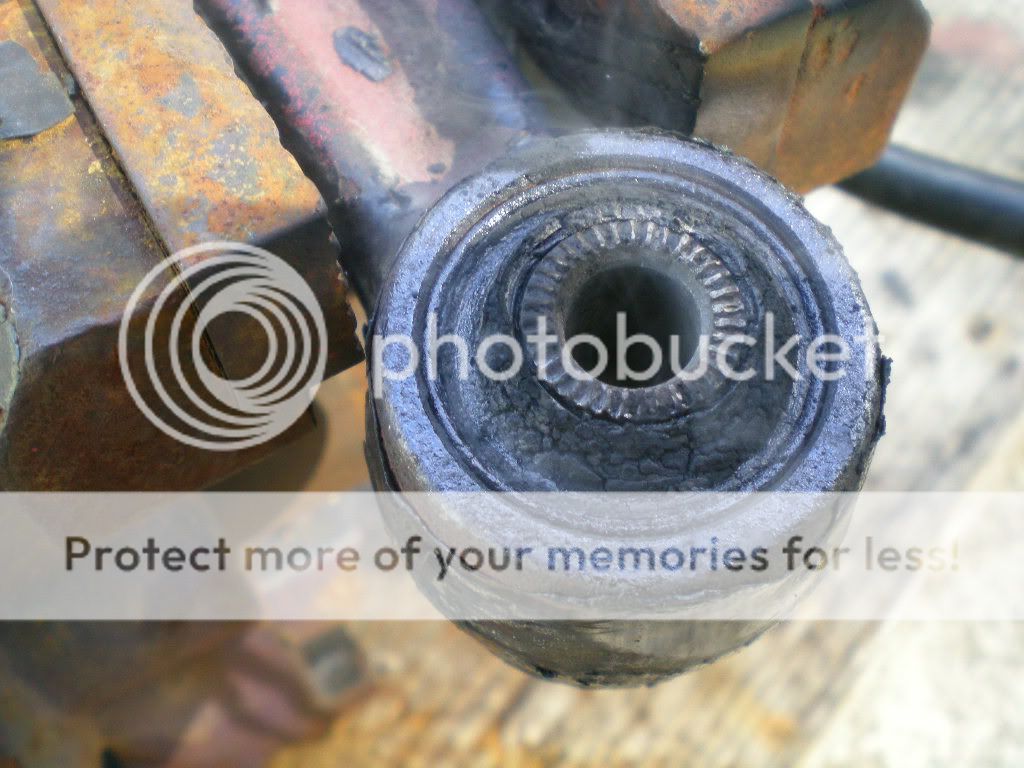
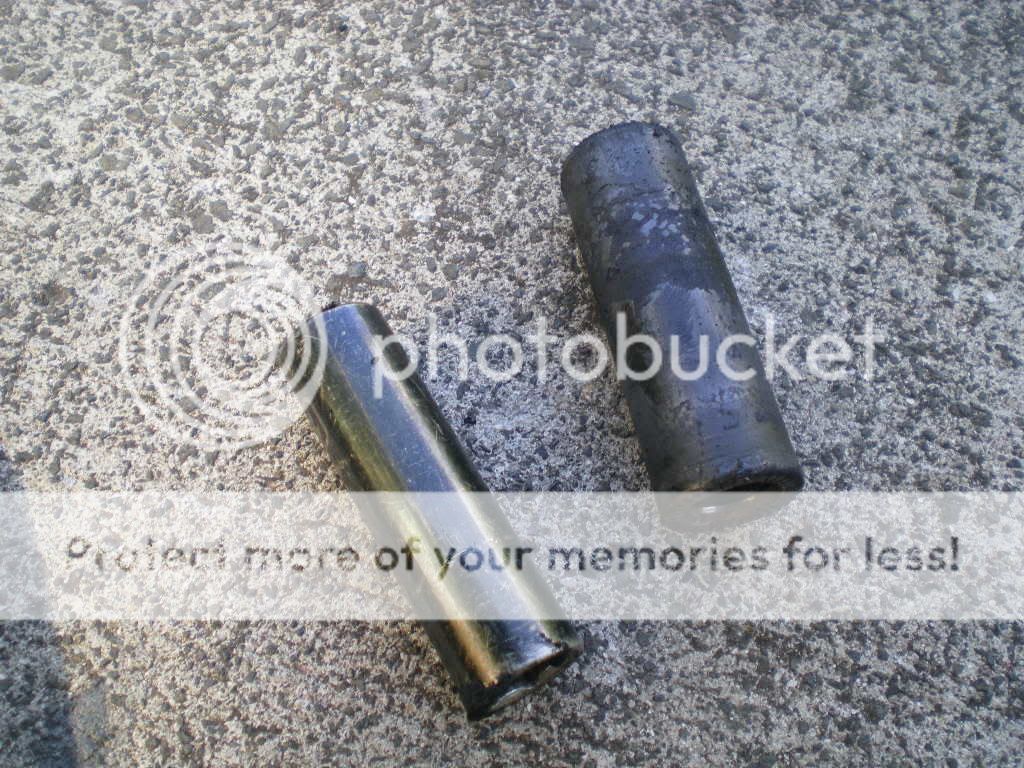
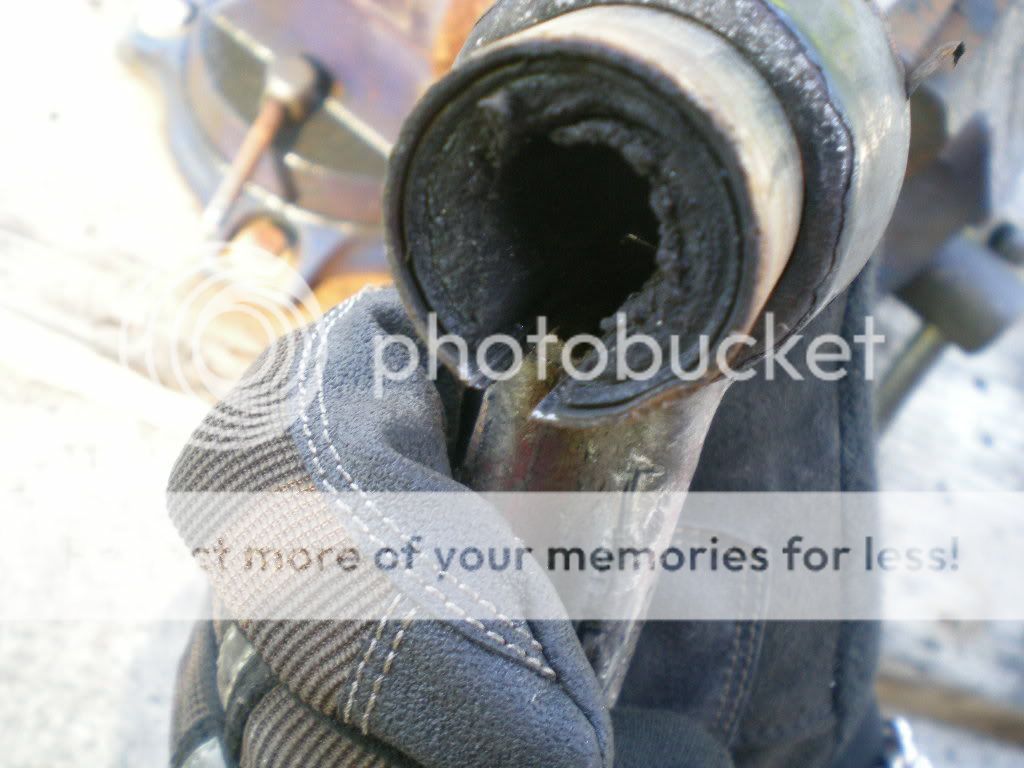
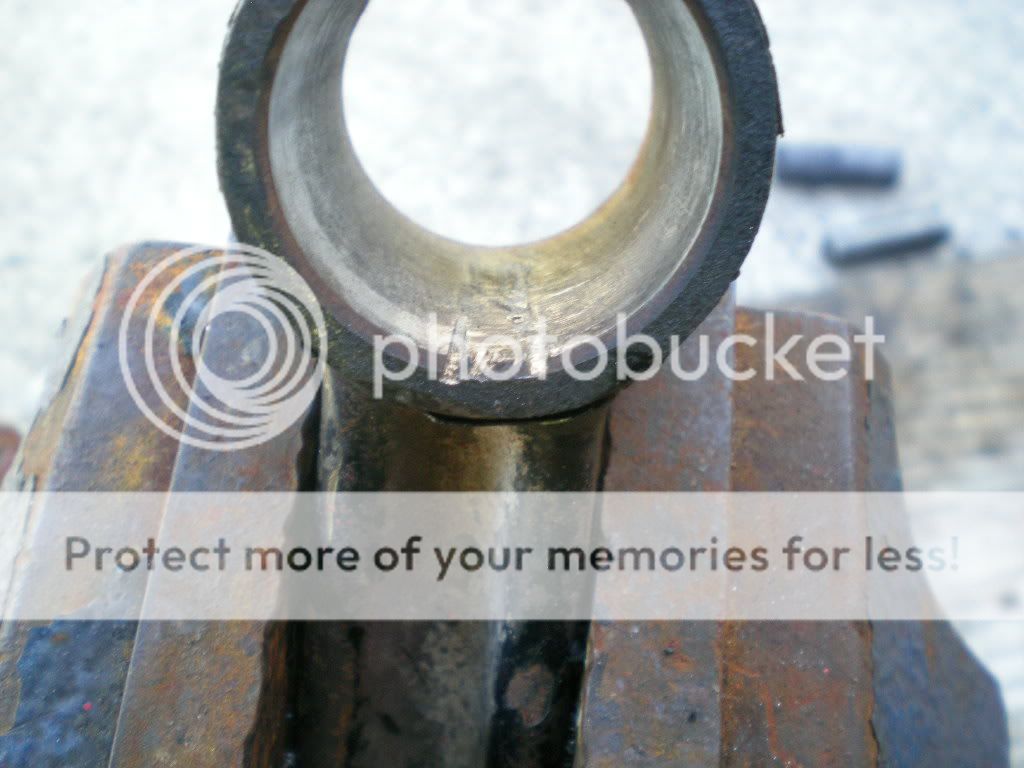
After several moments of heating the inner race will be free from the rubber. Use a hammer and appropriately sized socket to drive it from the melted rubber.
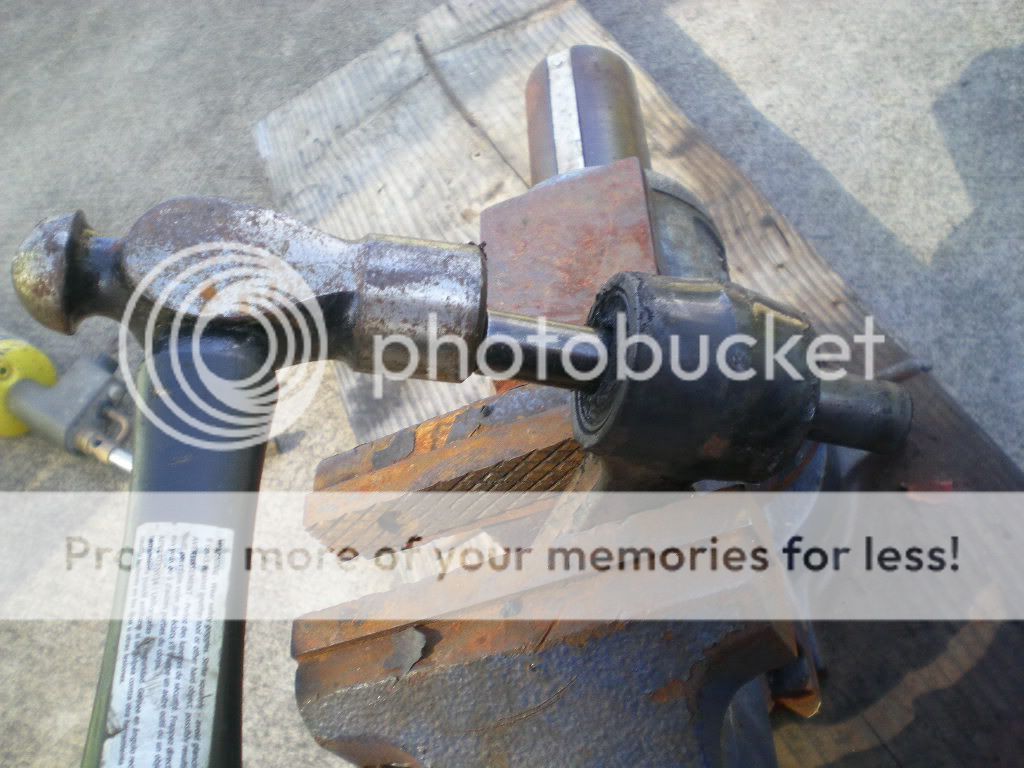
Be very careful - both the socket and inner race are extremely hot and will melt through clothing and gloves quickly.
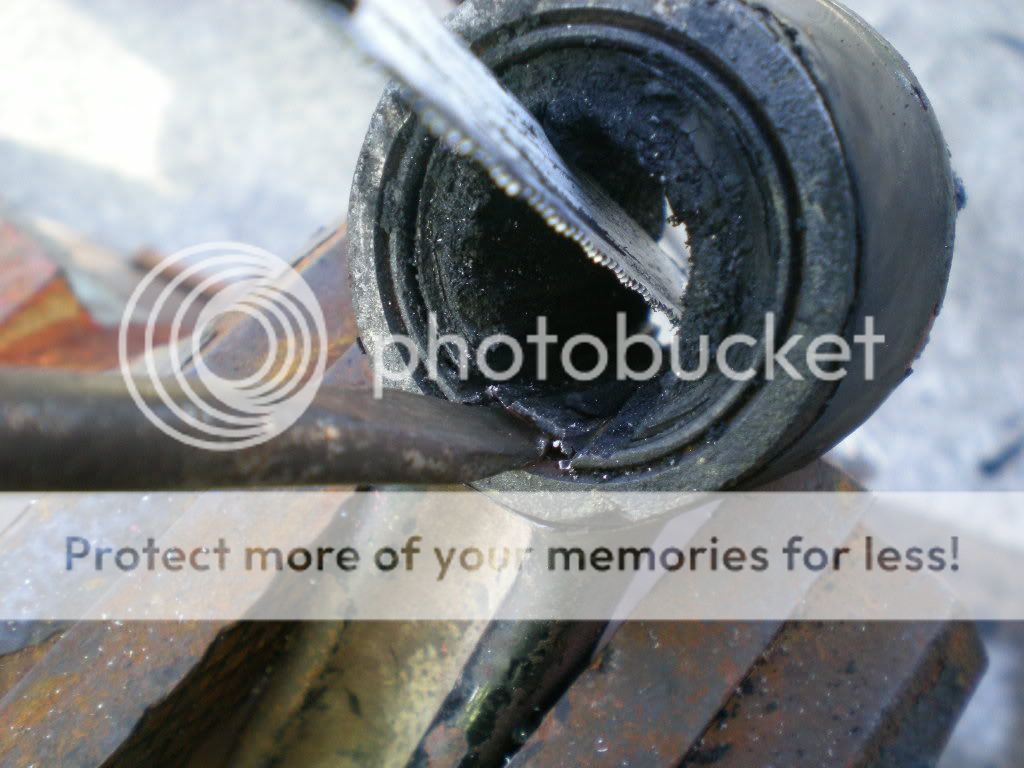
Now we have room for our hacksaw blade.
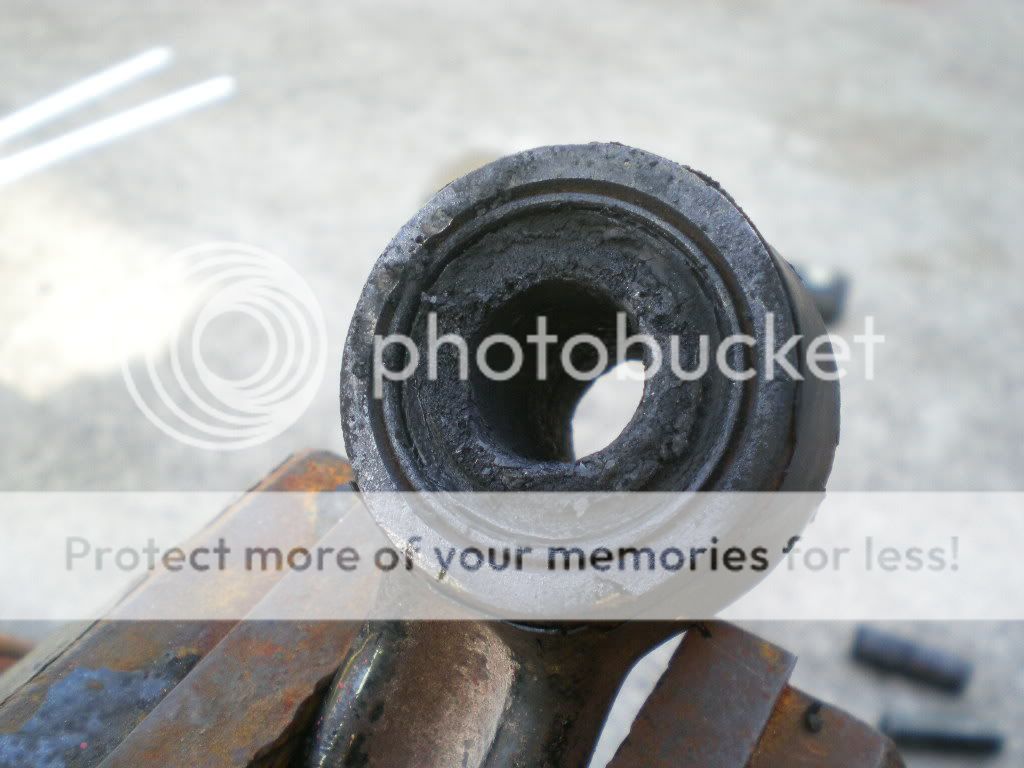
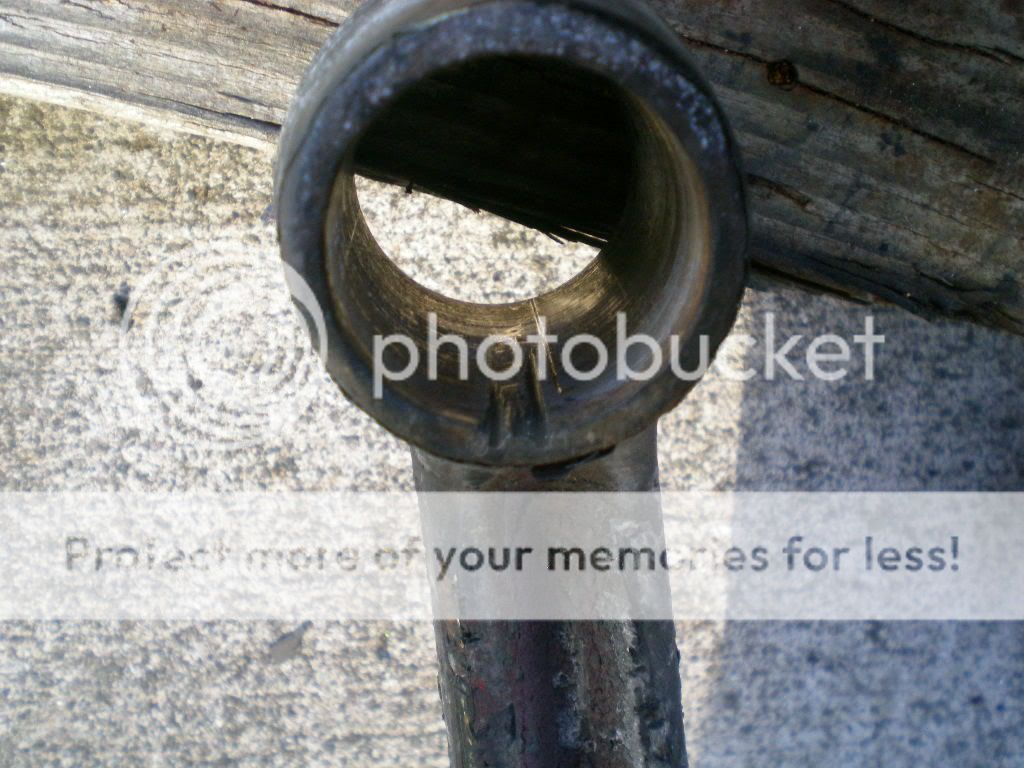
Slip the hacksaw blade through the bushing in the arm and re-assemble the saw. Keep in mind, hacksaws are designed to cut on the PULL.
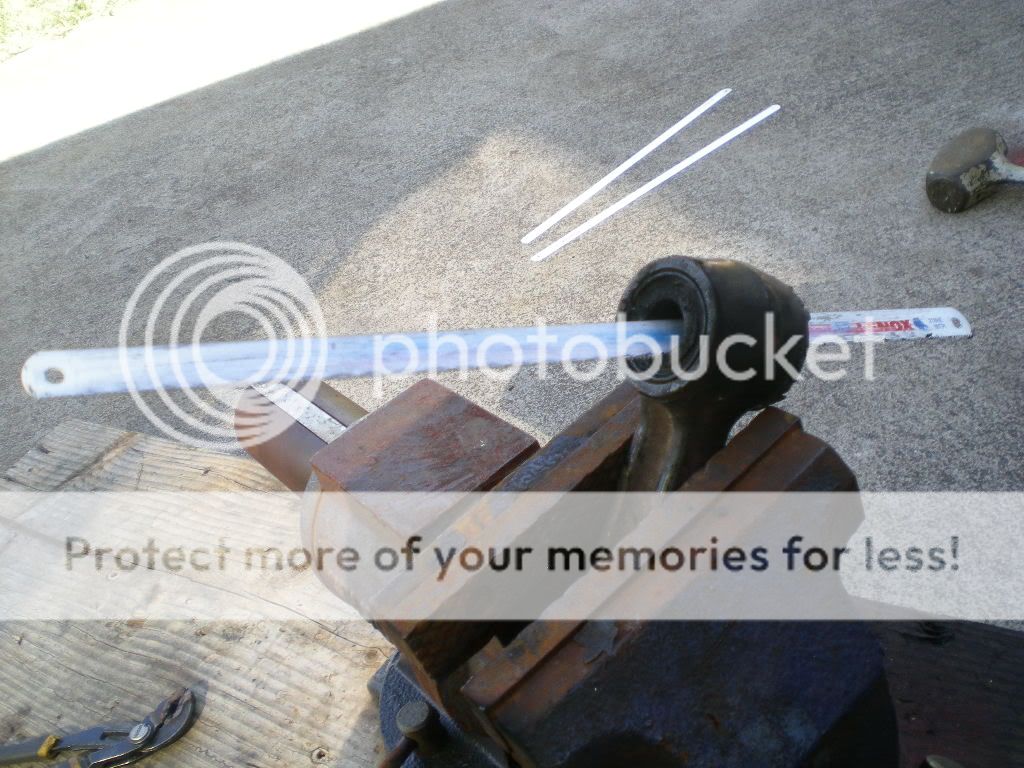
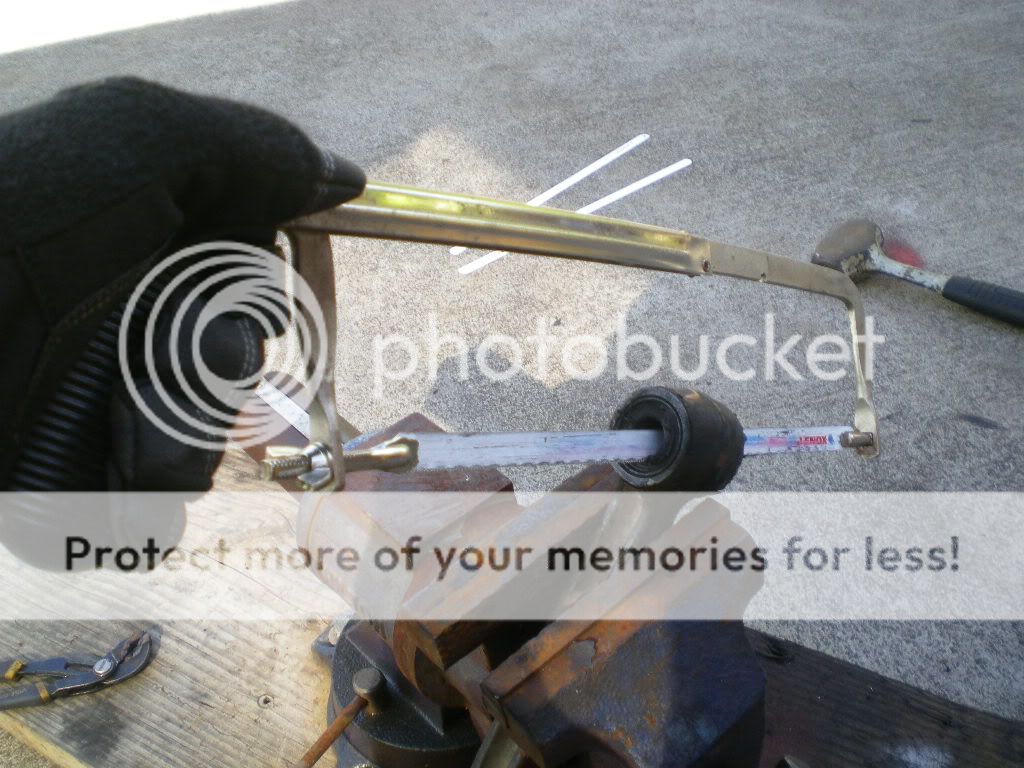
I recommend you first work to remove a slot of rubber from the bushing. This will allow room for the blade to work unrestricted without added friction of the rubber against it.
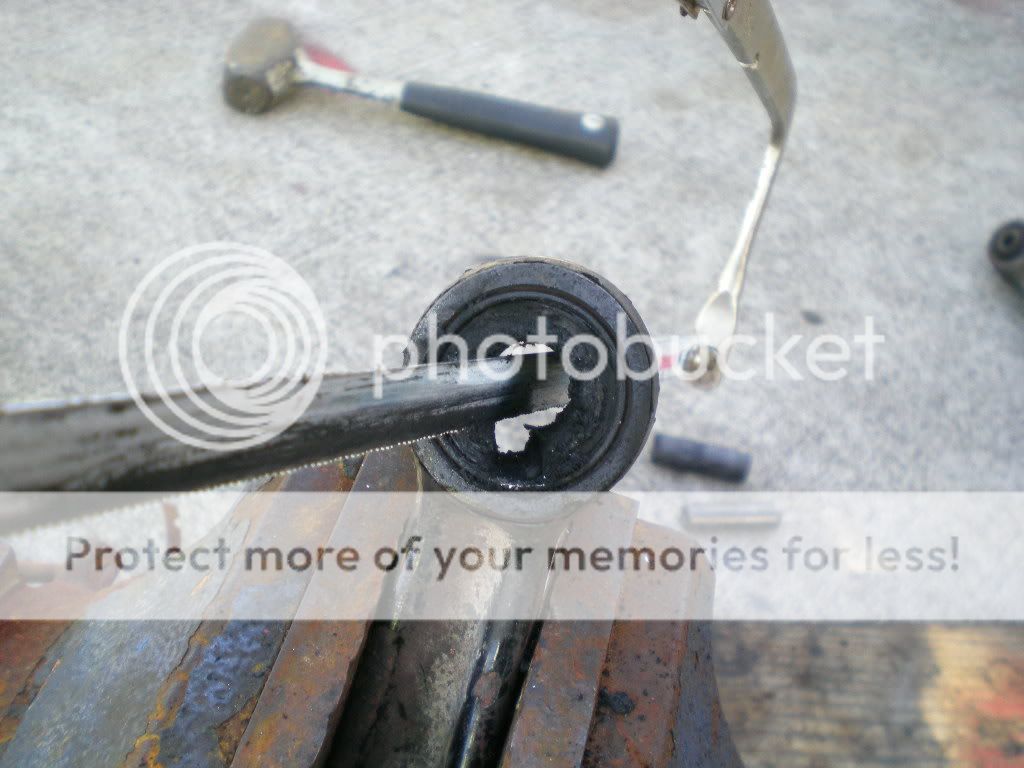
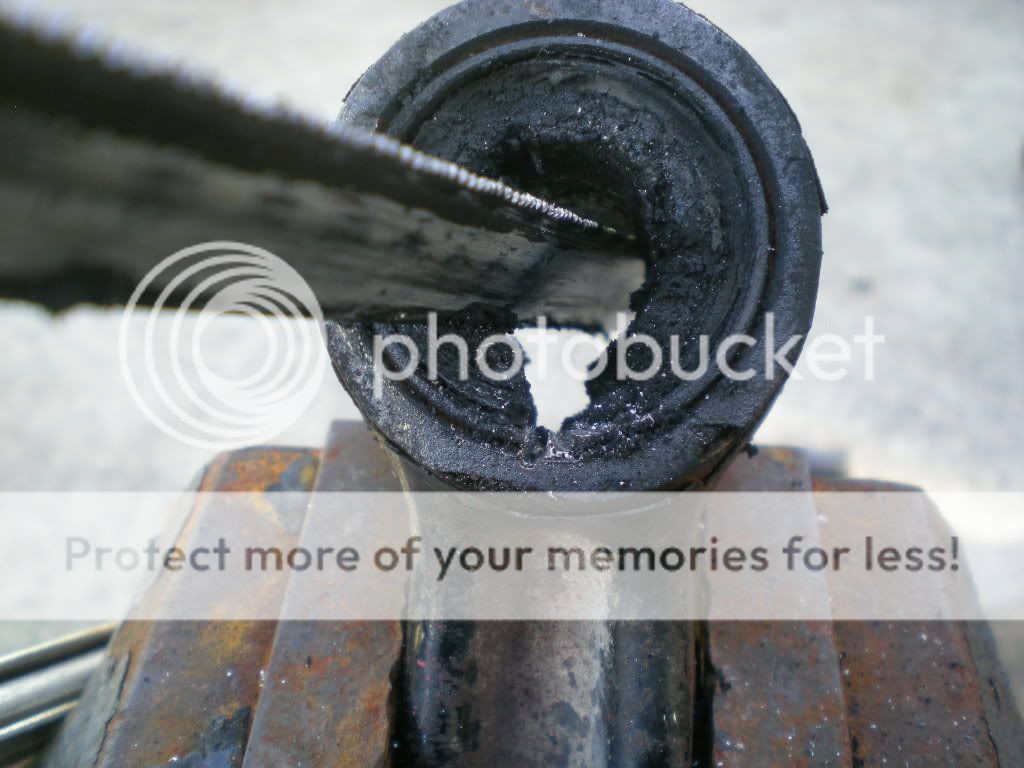
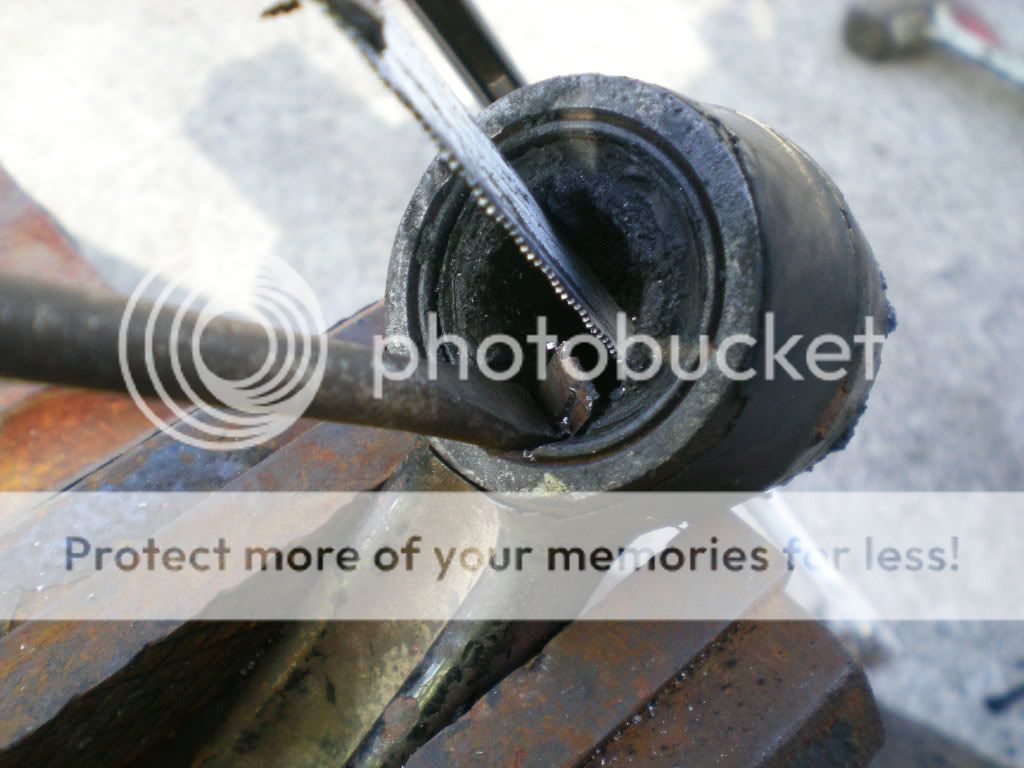
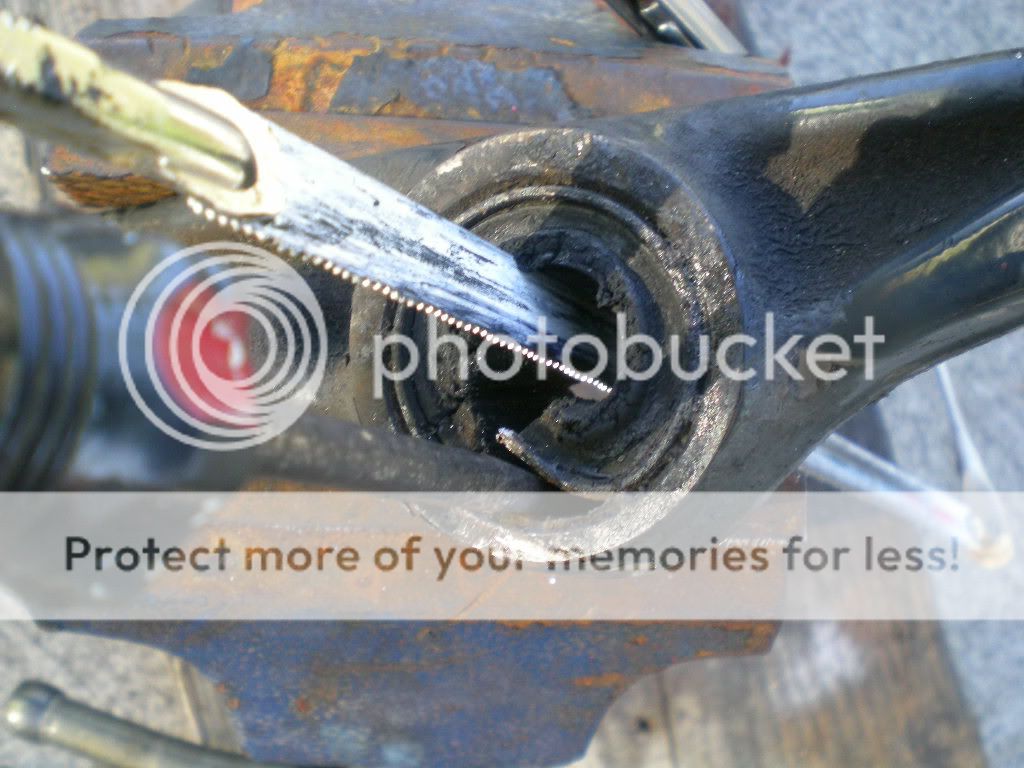
Make two cuts through the outer race of the bushing about 3/8" apart (the width of your screwdriver.) BE CAREFUL NOT TO CUT THROUGH THE RACE AND INTO THE ARM ITSELF. This would weaken the arm considerably. It will take practice but you should get a feel for it after the first few bushings.
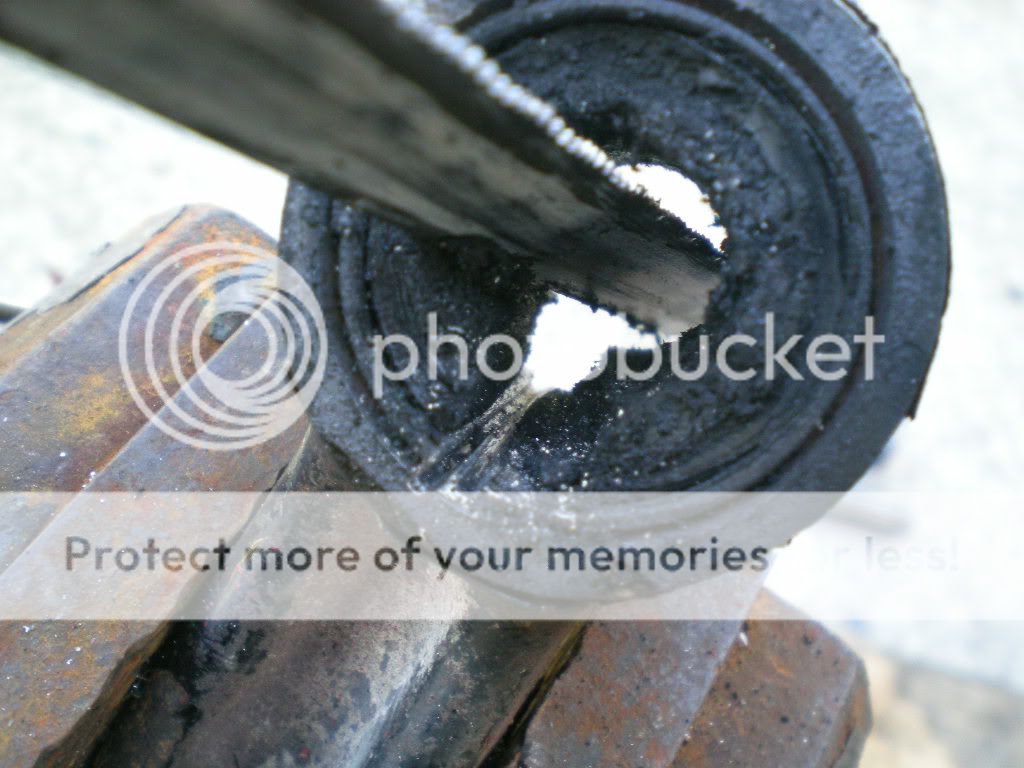
Now use the screwdriver or cold chisel to work your key free from the bushing. Position it like a wedge between the outer race and the arm and begin tapping away. It should not take much force if the saw cuts are all the way through the outer race.
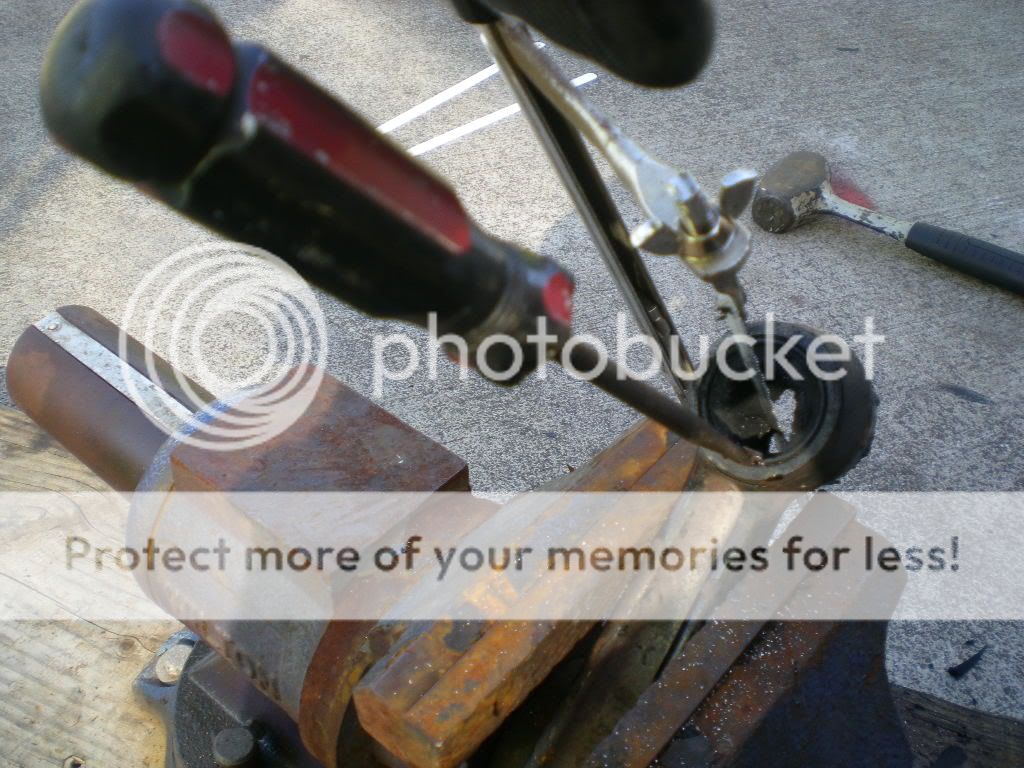
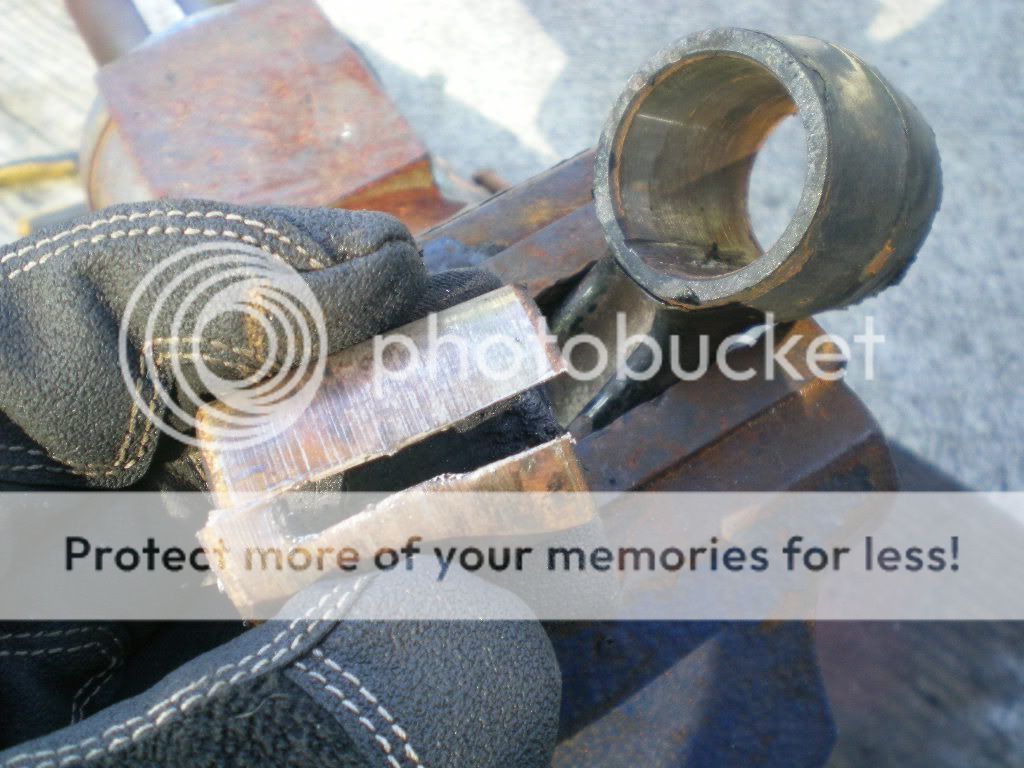
When you are sure you have cut completely through the outer race, you can remove your hacksaw and continue to drive out the relief 'key' you have made.
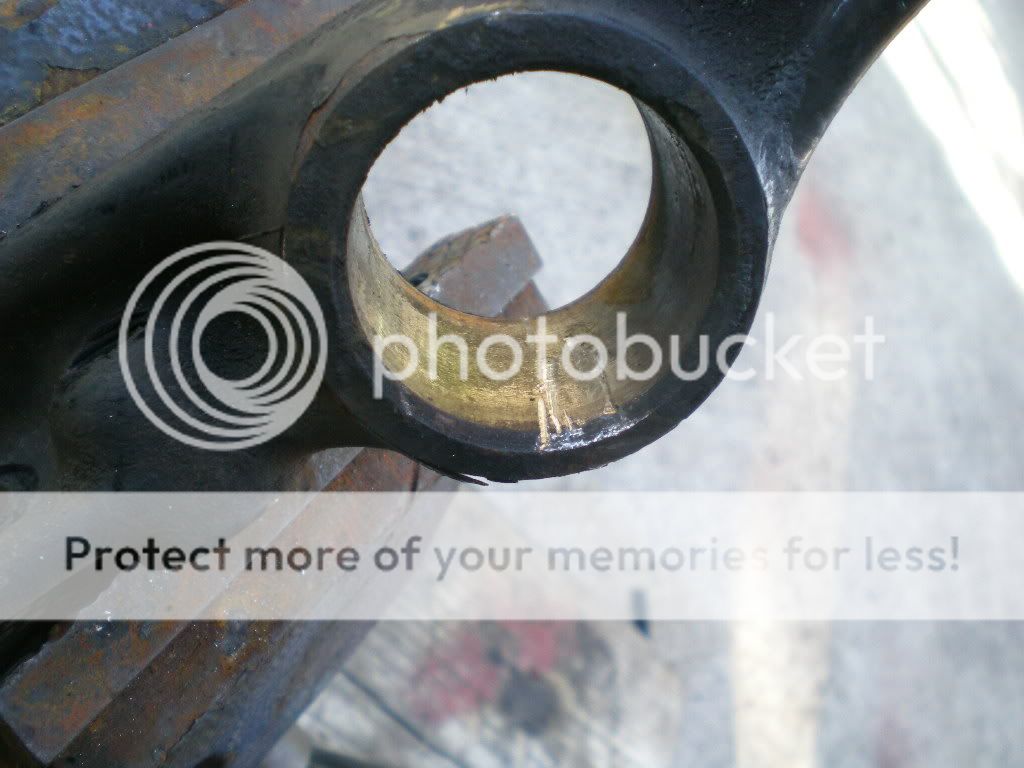
Once you have removed the key, the bushing should be loose enough to drive out of the arm.

You can also use a socket like a drift punch to remove stubborn bushings.

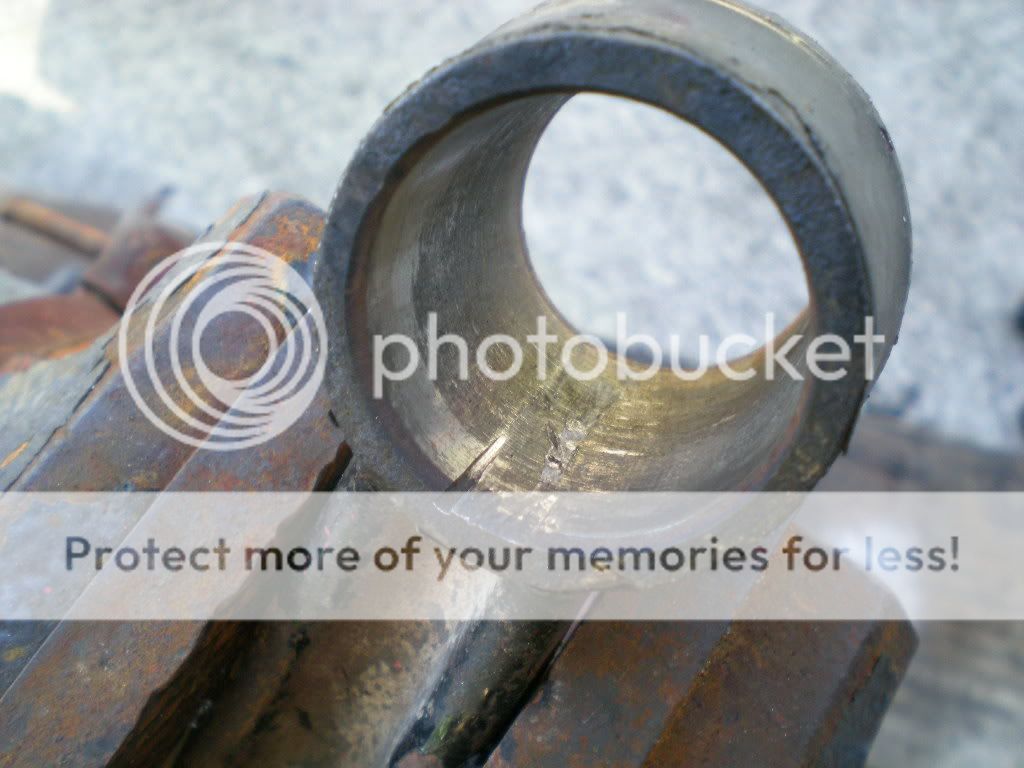
Now you can see how far into the arm you managed to cut, and after some cursing you can swear you will not cut so deeply next time you try this.
METHOD NUMBER TWO
You can also make a single cut and use the hammer and chisel to remove the bushing though I find this more difficult.
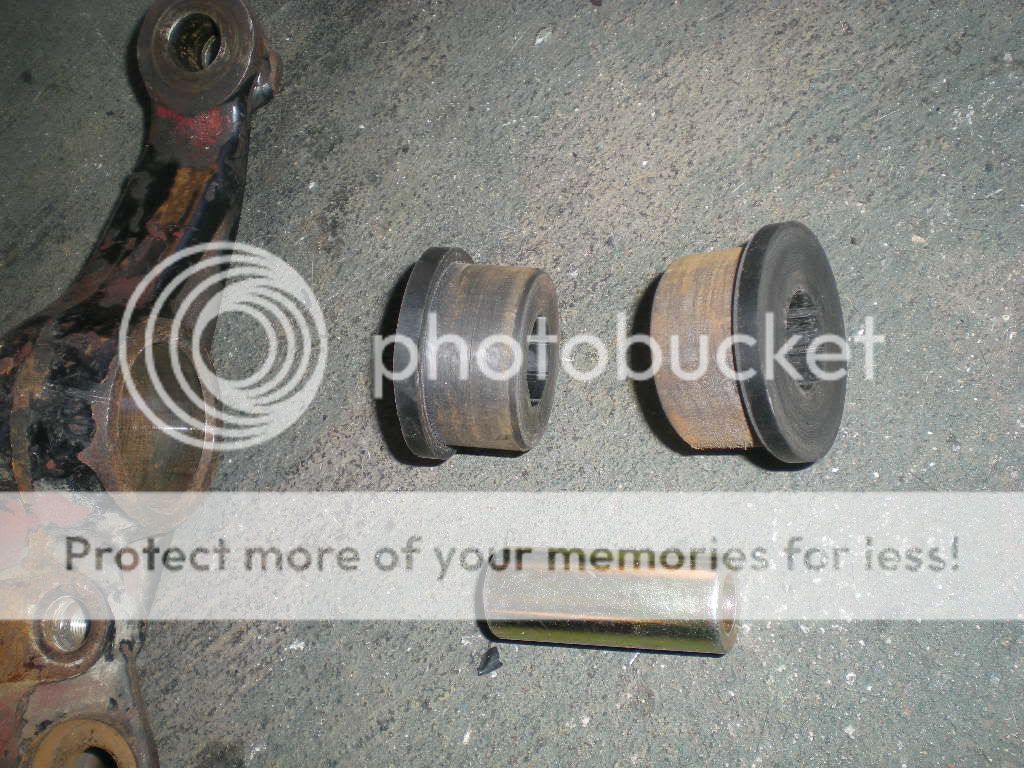
For anyone curious how to install polyurethane bushings - it is very simple. There are often two halves with a sleeve that goes through the center. Some bushings may have a third rubber donut in the middle between these two. I used white lithium grease to help persuade the poly bushings to enter the arms.
That's all there is to it. If you have any questions, post them up.
It is very important to wear eye protection and gloves for this entire procedure. Melting rubber can pop and flare, shooting liquid micro-droplets of molten rubber in all directions. Wearing gloves will be the difference between realizing something you touched is hot, and realizing that you just burned your hand. Safety first. Seeing as we are also dealing with fire, it would be smart to work outside in a well ventilated area, away from any flammable liquids. Have a hose or fire extinguisher ready and close by. You may also want to wear a mask. The burning rubber creates a very noxious and toxic smoke.
Here are the tools I used.
-Bench vise
-Map gas torch (for soldering copper pipe fittings)
-Several hammers (large and small)
-Regular screwdriver (for use as a pry-bar, you will probably destroy the screwdriver)
-Hand hacksaw (w/sharp blades)
-Appropriate sockets (for use as drift punches to remove bearing races)
-Safety glasses and gloves
Clamp the arm securely in the vise, preferably with access to each side of the bushing to be removed.
Use the torch to heat the inner race of the bushing until the rubber around it begins melting. I recommend you blow the flame through the center hole of the inner race as to promote heatsoak all the way to the other side. I also recommend you heat each side of the bushing equally, alternating sides every few seconds.
The rubber itself will actually burn, so be careful and stay upwind. The melting rubber smells like all things unholy and is very bad for your lungs.
As the inner race reaches a high enough temperature the rubber will actually separate from it and begin to curl back away from the race. Use a hammer to tap the center race while you are heating it to ascertain when it has become free from the rubber.
After several moments of heating the inner race will be free from the rubber. Use a hammer and appropriately sized socket to drive it from the melted rubber.
Be very careful - both the socket and inner race are extremely hot and will melt through clothing and gloves quickly.
Now we have room for our hacksaw blade.
Slip the hacksaw blade through the bushing in the arm and re-assemble the saw. Keep in mind, hacksaws are designed to cut on the PULL.
I recommend you first work to remove a slot of rubber from the bushing. This will allow room for the blade to work unrestricted without added friction of the rubber against it.
Make two cuts through the outer race of the bushing about 3/8" apart (the width of your screwdriver.) BE CAREFUL NOT TO CUT THROUGH THE RACE AND INTO THE ARM ITSELF. This would weaken the arm considerably. It will take practice but you should get a feel for it after the first few bushings.
Now use the screwdriver or cold chisel to work your key free from the bushing. Position it like a wedge between the outer race and the arm and begin tapping away. It should not take much force if the saw cuts are all the way through the outer race.
When you are sure you have cut completely through the outer race, you can remove your hacksaw and continue to drive out the relief 'key' you have made.
Once you have removed the key, the bushing should be loose enough to drive out of the arm.
You can also use a socket like a drift punch to remove stubborn bushings.
Now you can see how far into the arm you managed to cut, and after some cursing you can swear you will not cut so deeply next time you try this.
METHOD NUMBER TWO
You can also make a single cut and use the hammer and chisel to remove the bushing though I find this more difficult.
For anyone curious how to install polyurethane bushings - it is very simple. There are often two halves with a sleeve that goes through the center. Some bushings may have a third rubber donut in the middle between these two. I used white lithium grease to help persuade the poly bushings to enter the arms.
That's all there is to it. If you have any questions, post them up.


Thread
Thread Starter
Forum
Replies
Last Post
bigmike214
Acura Integra
3
03-13-2010 03:18 PM
dustin_crxsi
Suspension & Brakes
19
04-11-2007 12:29 PM