
**One awesome EG build!!** Tons of pics!!

 05-24-2010, 06:56 AM
#229
Honda-Tech Member
Thread Starter
Join Date: Aug 2008
Location: Baton Rouge, LA, USA
Posts: 357
Likes: 0
Received 0 Likes
on
0 Posts
05-26-2010, 08:39 AM
#234
Honda-Tech Member
Thread Starter
Join Date: Aug 2008
Location: Baton Rouge, LA, USA
Posts: 357
Likes: 0
Received 0 Likes
on
0 Posts
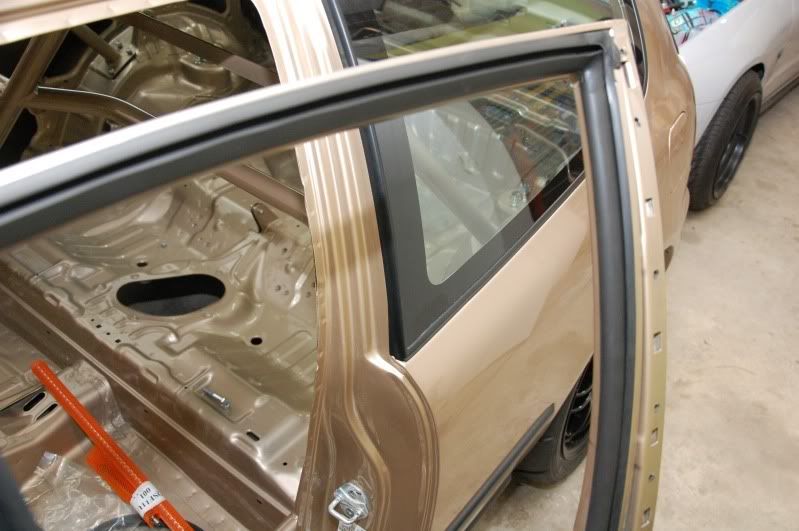
Here are some pics of the car as of yesterday.
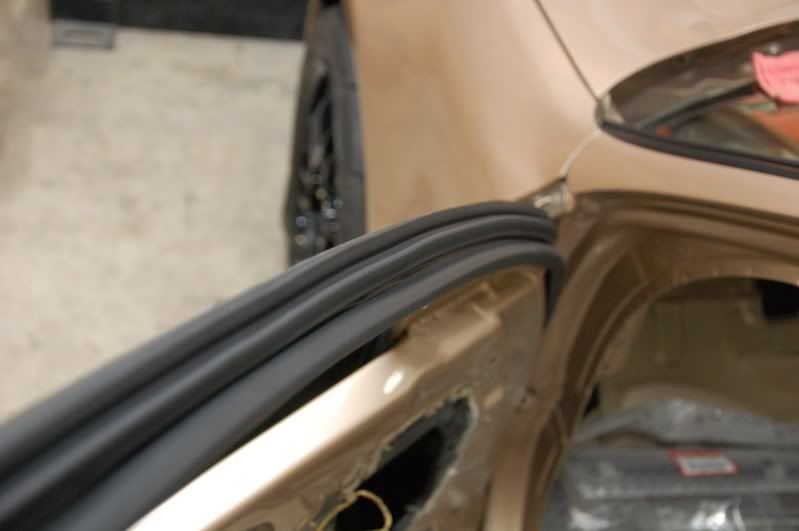
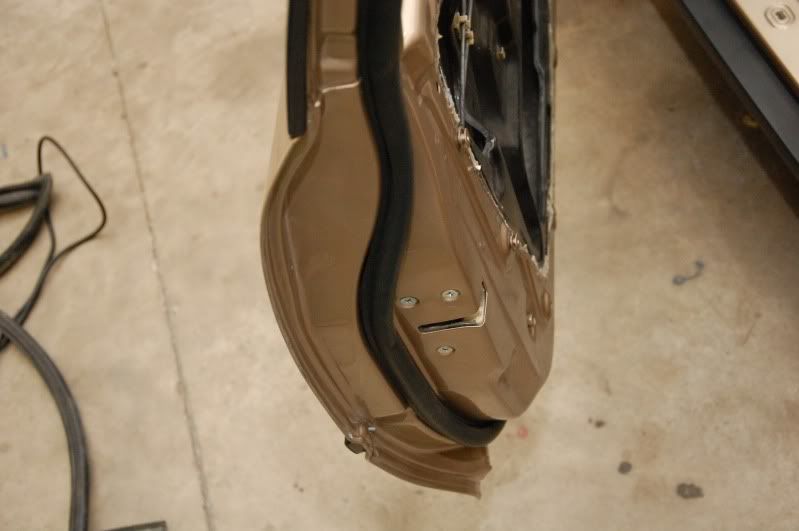
Installing the driverside door weather stripping and seals.
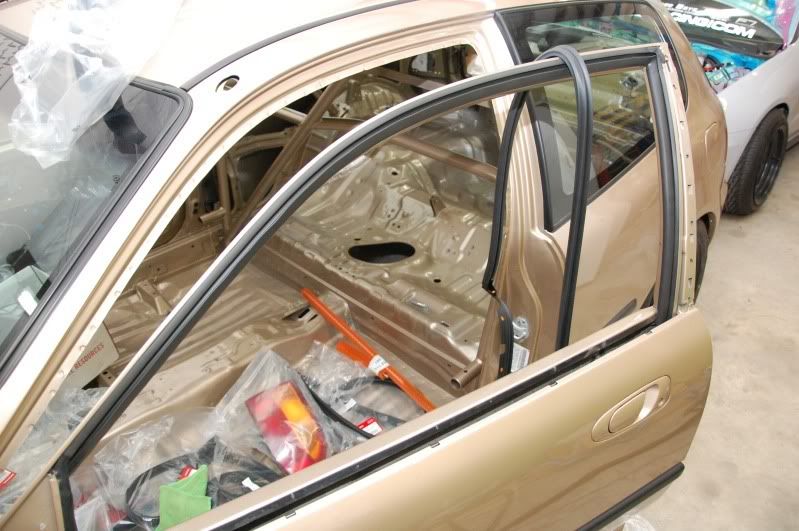
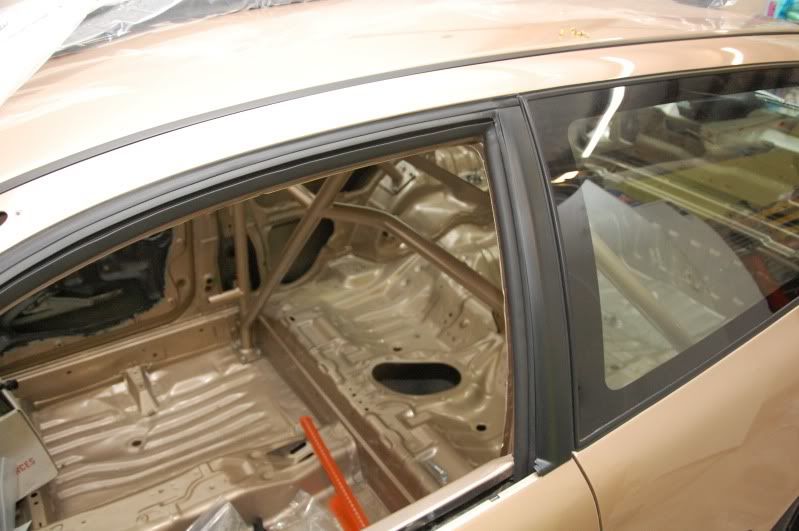
(you can see the Quaife Quick steering rack and pinion in the orange sleeve... waited 5 weeks for that damn things!)

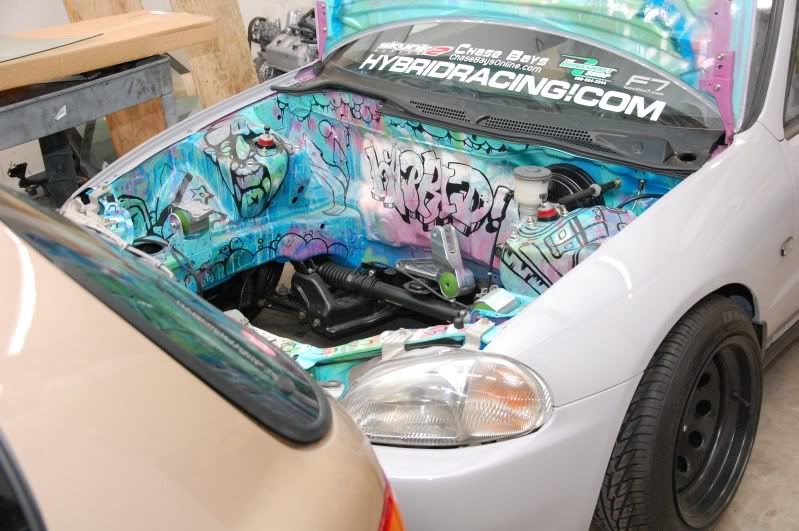
Our Del Sol... you'll see more of this car soon. :bang:
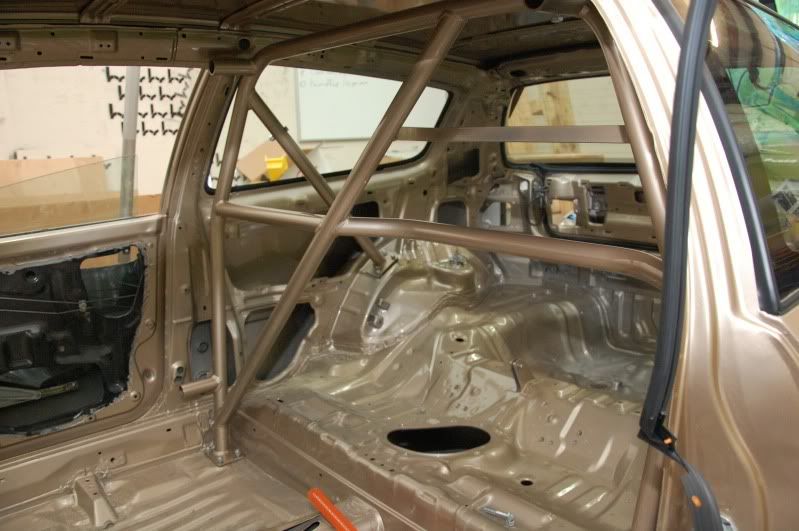
and lastly... the rear section of the cage has been bolted in.
More coming soon guys, thanks for looking.
Installing the driverside door weather stripping and seals.
(you can see the Quaife Quick steering rack and pinion in the orange sleeve... waited 5 weeks for that damn things!)
Our Del Sol... you'll see more of this car soon. :bang:
and lastly... the rear section of the cage has been bolted in.
More coming soon guys, thanks for looking.
05-26-2010, 12:57 PM
#238
Honda-Tech Member
Join Date: May 2010
Location: STL, MO
Posts: 216
Likes: 0
Received 0 Likes
on
0 Posts
05-27-2010, 07:32 AM
#241
Honda-Tech Member
Thread Starter
Join Date: Aug 2008
Location: Baton Rouge, LA, USA
Posts: 357
Likes: 0
Received 0 Likes
on
0 Posts
Thanks.
We did it last year, it hasn't been whored out a whole lot so a lot of people haven't seen it. Check the upcoming issue of Honda Tuning for it... it should be in there.
Here is a pic from last years Import Alliance.
-David
 05-31-2010, 06:54 AM
#244
Honda-Tech Member
Thread Starter
Join Date: Aug 2008
Location: Baton Rouge, LA, USA
Posts: 357
Likes: 0
Received 0 Likes
on
0 Posts
05-31-2010, 11:48 AM
#246
Honda-Tech Member
Thread Starter
Join Date: Aug 2008
Location: Baton Rouge, LA, USA
Posts: 357
Likes: 0
Received 0 Likes
on
0 Posts
Here is an update from this past weekend. I had about 12 or so hours to devote some attention to this thing.
I started on the chassis wiring this weekend. I've been wiring for probably the better of 6 or so years so it is really something that I enjoy doing. I have some nice stuff going in this car, especially when I can get the switches and data logger cluster in and mounted.
I basically removed all of the wiring that isn't needed, since this car is going to have a K20, it won't be using any of the factory engine wiring.
Once I laid it all out it was pretty simple.. just like your standard wire tuck.
The Driverside got:
Headlights
Turning Signals
City lights
Ground Junction
OEM Fan switch wiring
Passenger side:
Headlight
Turning Signal
City light
Ground Junction
Horn (to keep the car street legal)
Radiator Fan wiring
Here are some pictures.

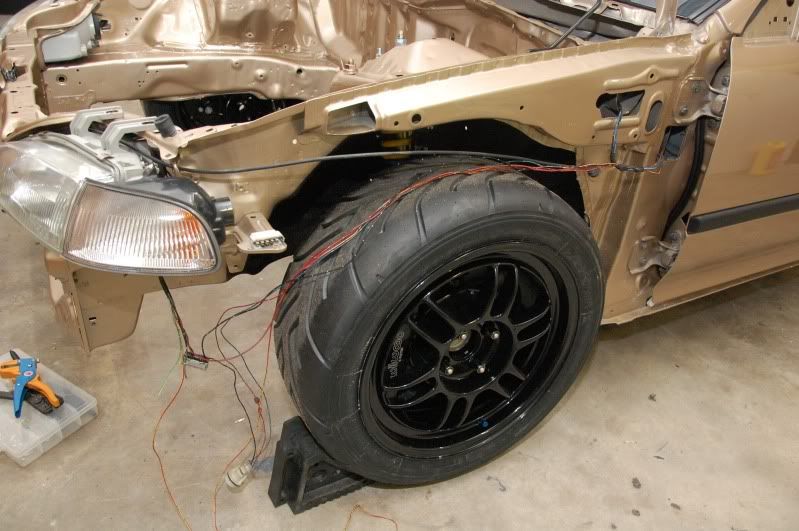
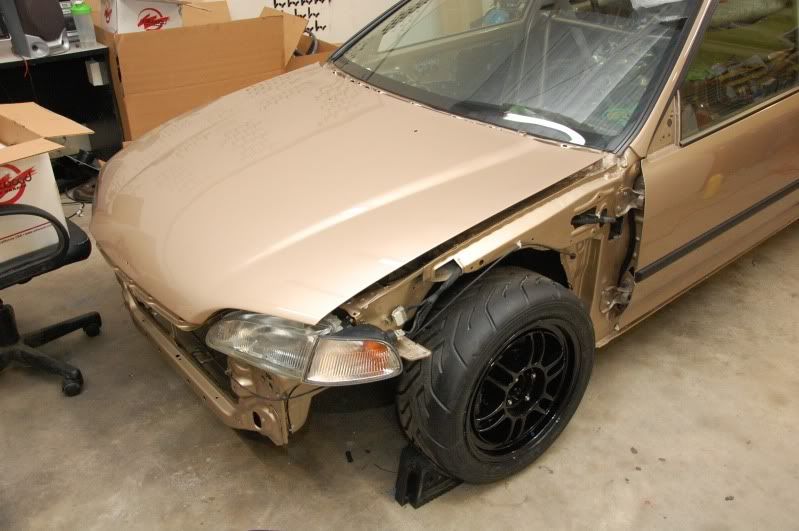
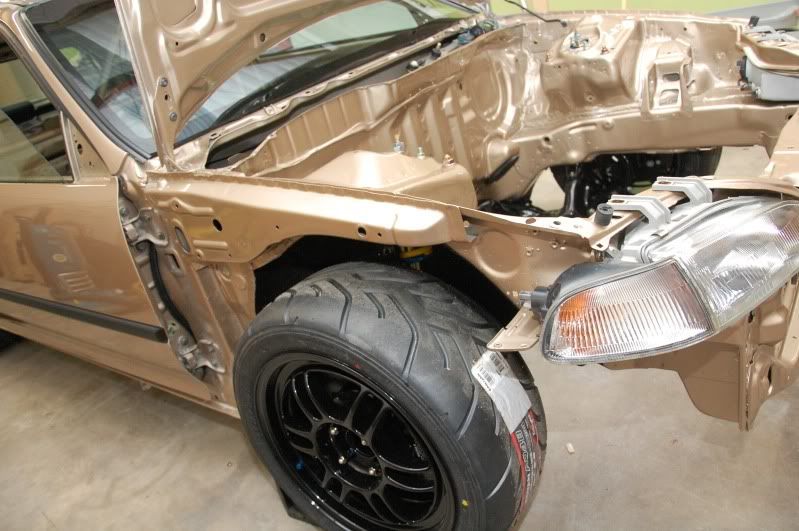
I had to remove the fenders and the bumper in order to get in to wire it.
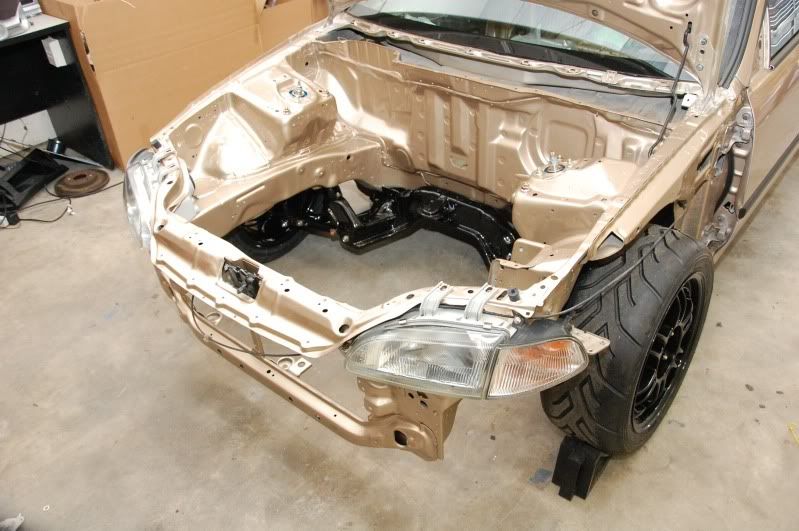
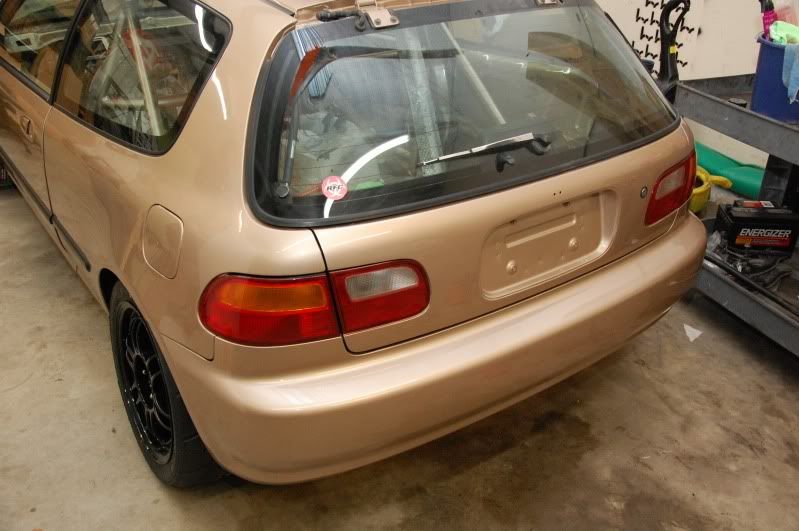
I put the UK glass lights in, along with the clear Stanley turning signals.
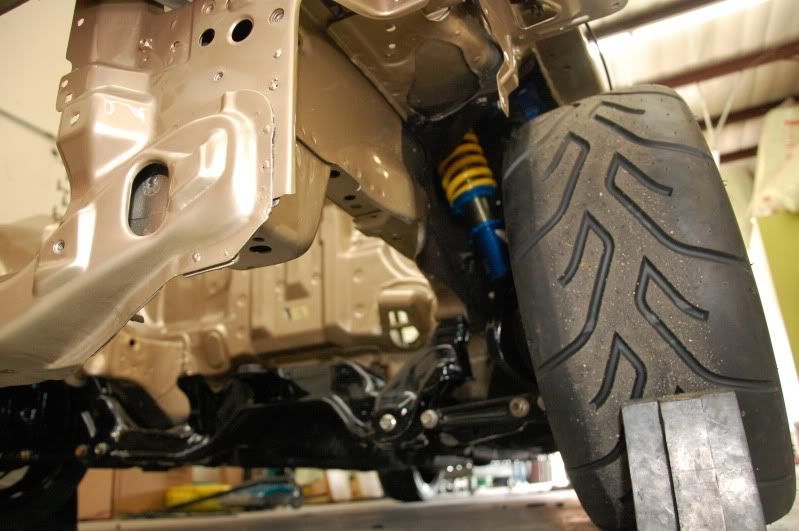
Random picture of the underside... lol I love looking at it.
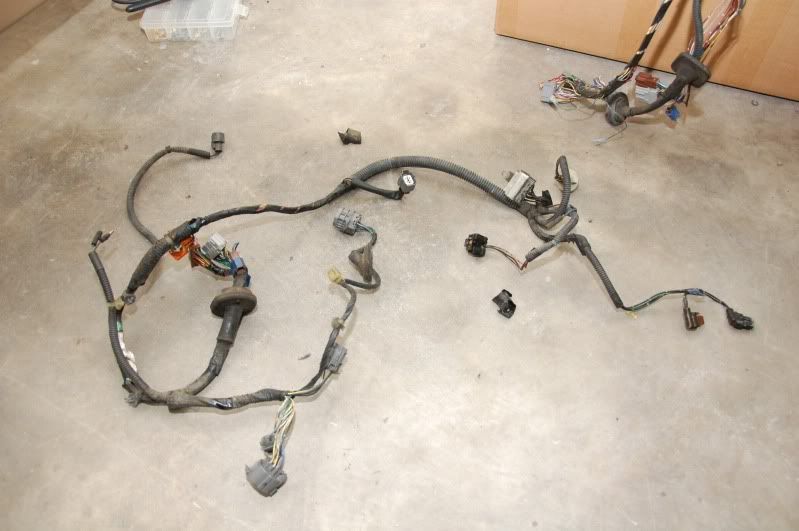
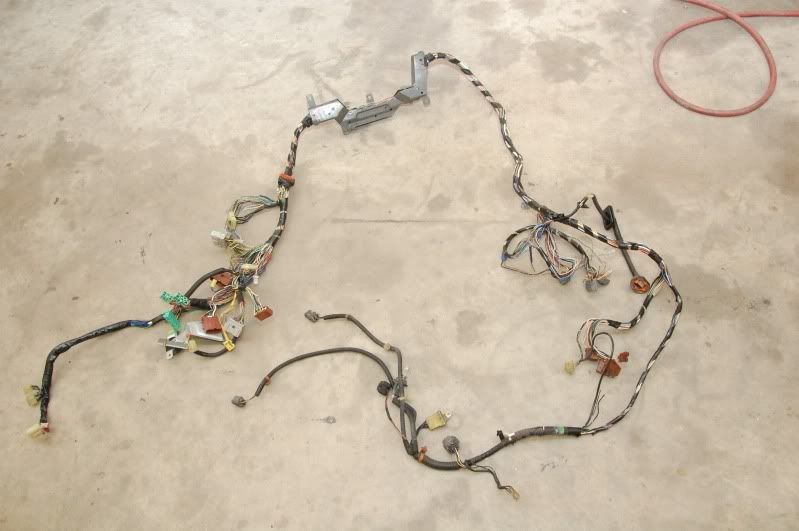
This is the factory harness that I pulled out of the car.. notice that this is separate than the main cabin harness.
This is the trash...

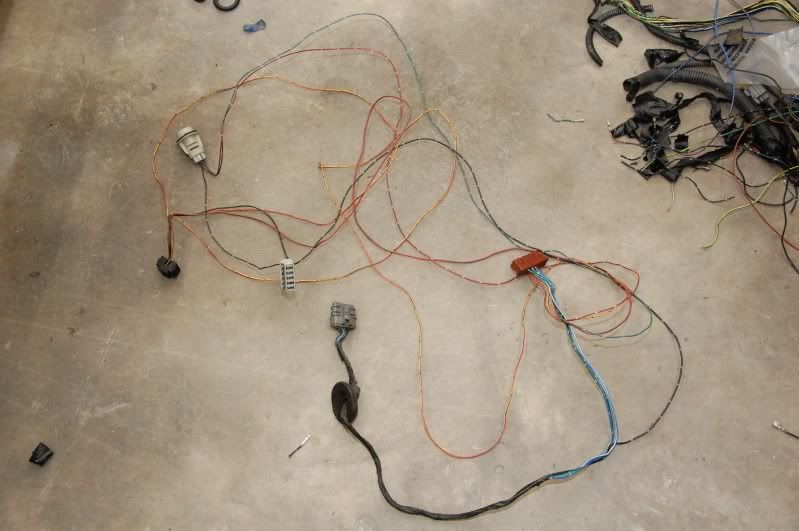
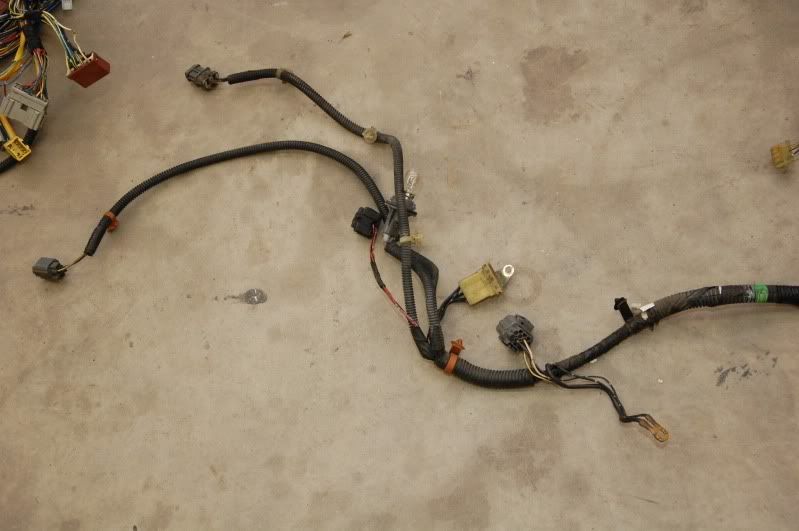
What was left...
I find that the best way to make it work perfect is to mock up everything before you cut or loom anything. So I had everything plugged in first.
I had to add some of my own wire in here for the coolant temp sensor that it mounted in the bottom of our rad.
Much of the slack gets cut out towards the end.
I used some pins to cut and repin the factory connector so I didn't have to solder anything.
I also used OEM type plug zip tie stays to keep the wires in line. I don't like to use screws or any of that stuff.
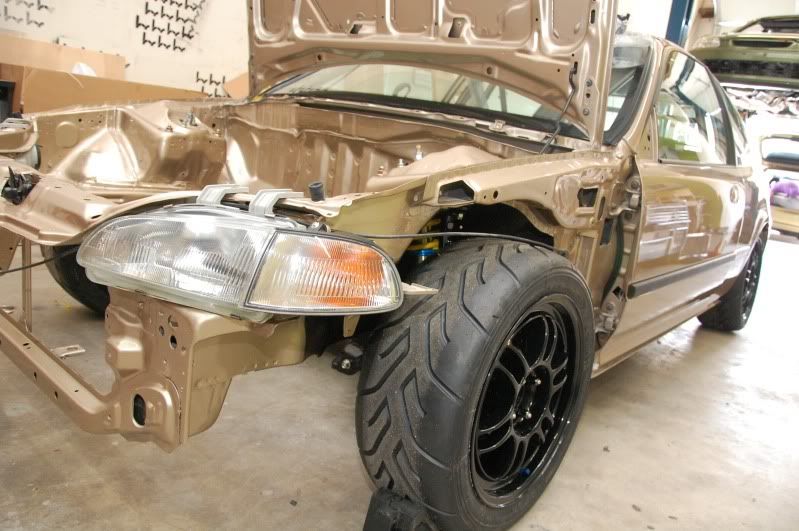
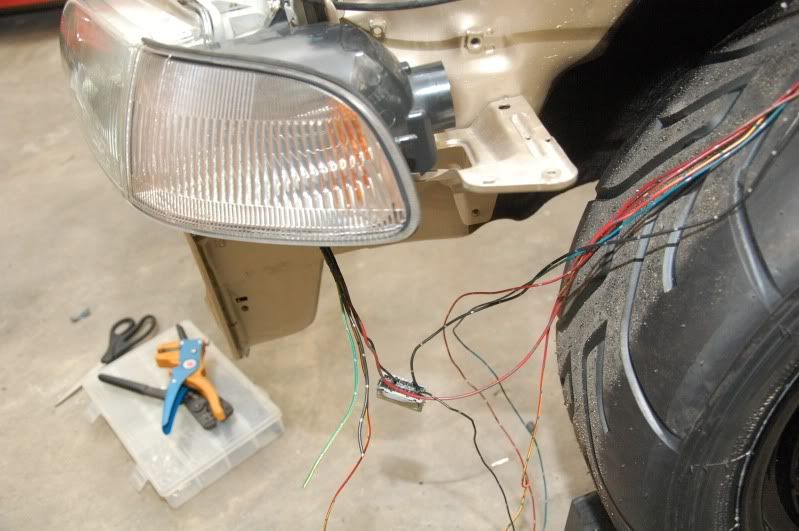
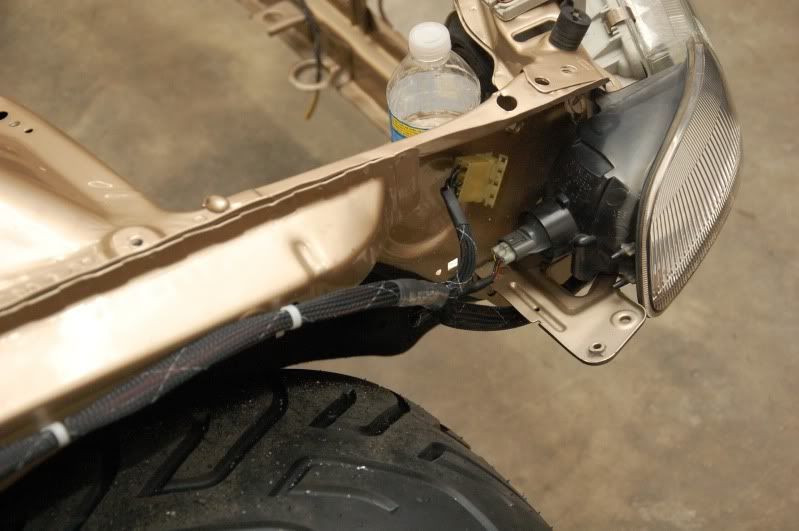
Headlight done.
Fan switch wiring ran down the frame...
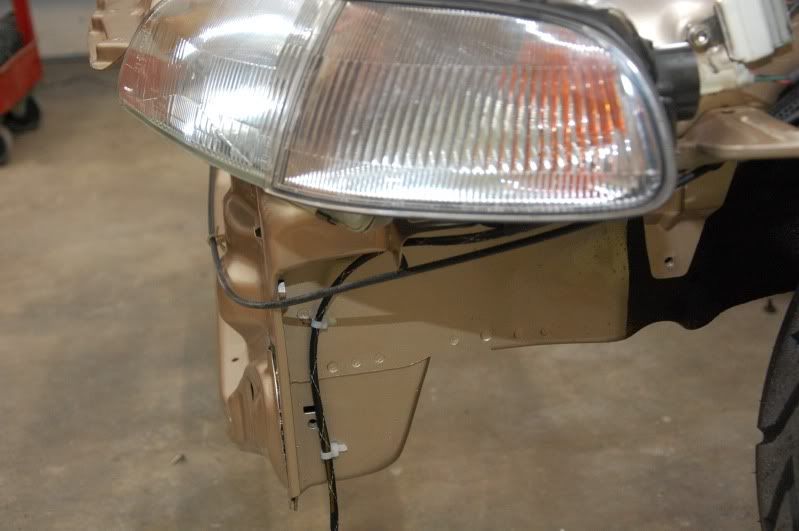
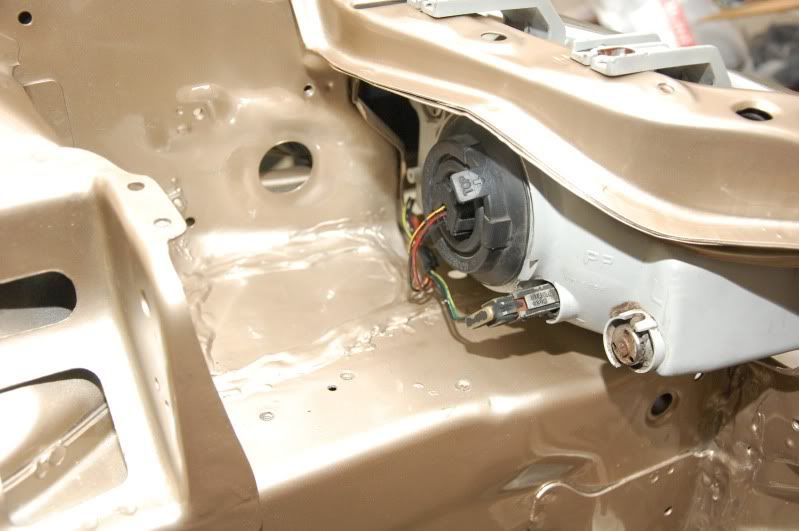
Everything plugged in!

The hole that got enlarged... it's too big. I'll make a grommet for it to seal it up once I can run the wiring to the door.
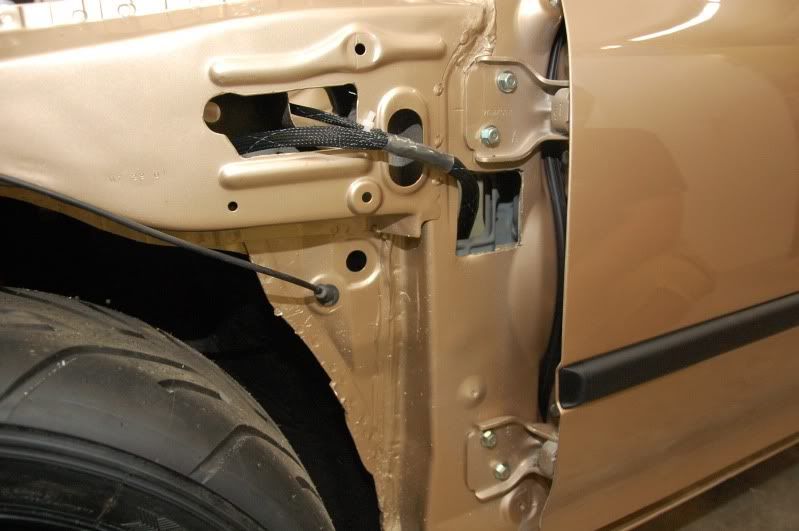
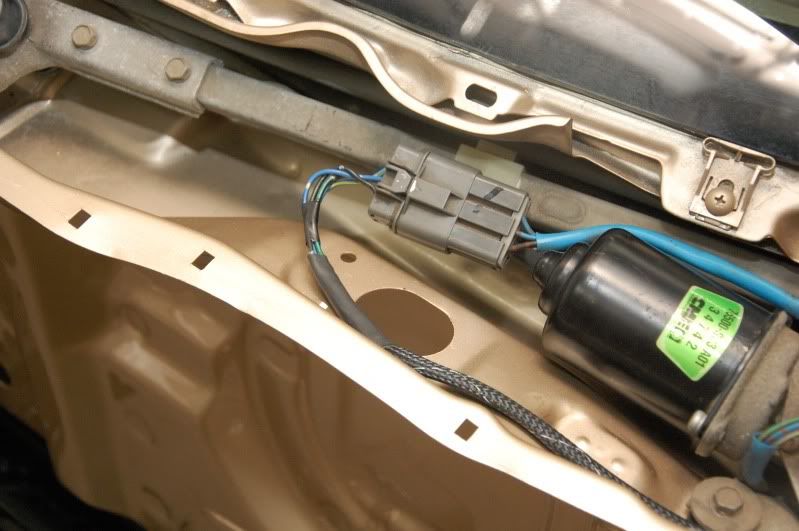
Wiring for the wiper motor! Gotta be able to operate in the rain!
Random pic of the taillights installed.
That side went off really easy, and straight forward. The passengerside was a bit different as the entire headlight harness IS acutally part of the main cabin harness.
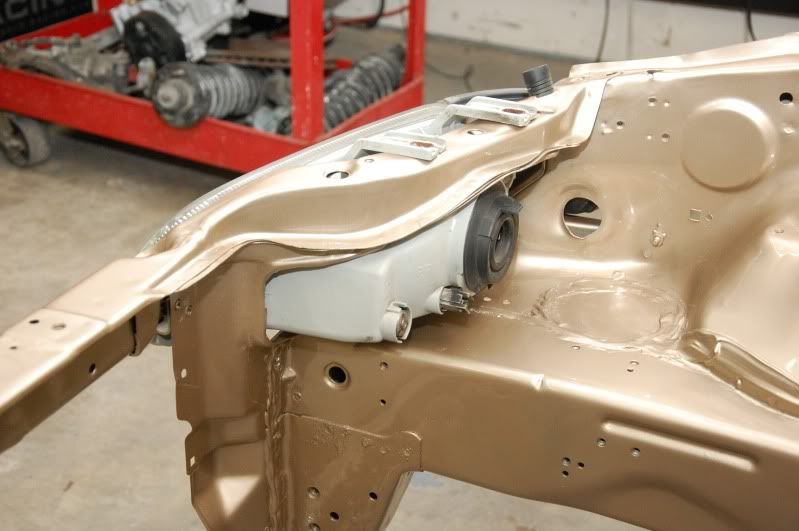
This is the headlight section...
I love the guys at the body shop... I really do... but man, they dropped the ball on this one. I had them trim out the other side so I could run the wiring through it, but they didn't do it on this side.
I chose not to trim it out AFTER the car was painted so I used my ties and would eventually affix it to the outside of it.
I'm working on re-routing the wiring, I had to cut open a lot of it.
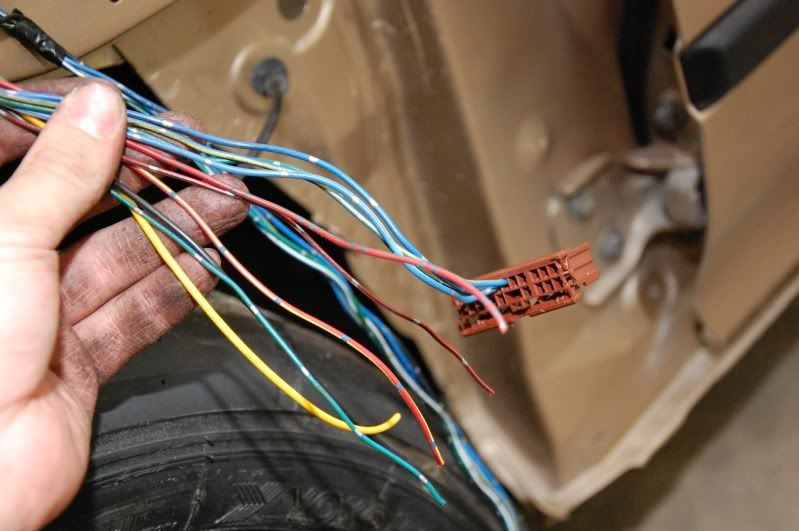
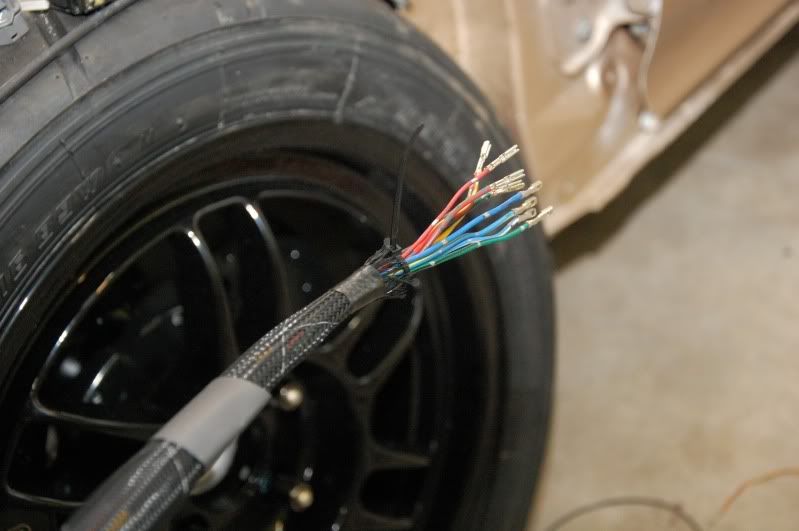
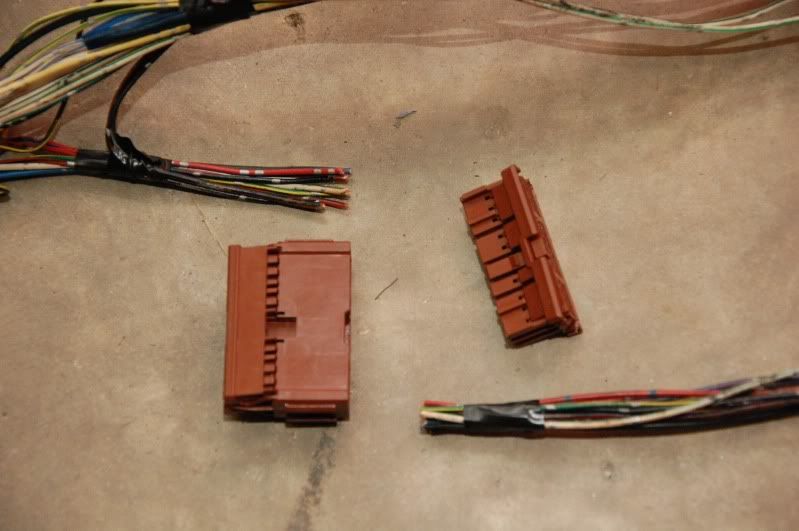
This is a section of the harness where I added a connector. I don't like the face that I can't install or remove this part of the harness without removing the entire cabin harness... so, I added a connector in just like the other side.
Fusebox connectors (these will all stay inside of the car)

This is the same connector that the drive side has.
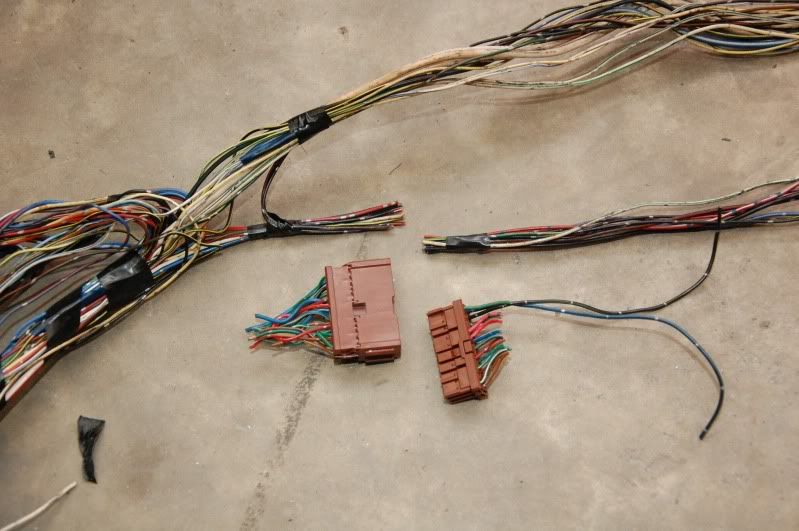
Pins removed and ready to be crimped.
Some of the headlight wiring and grounds.

I got to work and didn't take many pictures of the sleeving process! Sorry!
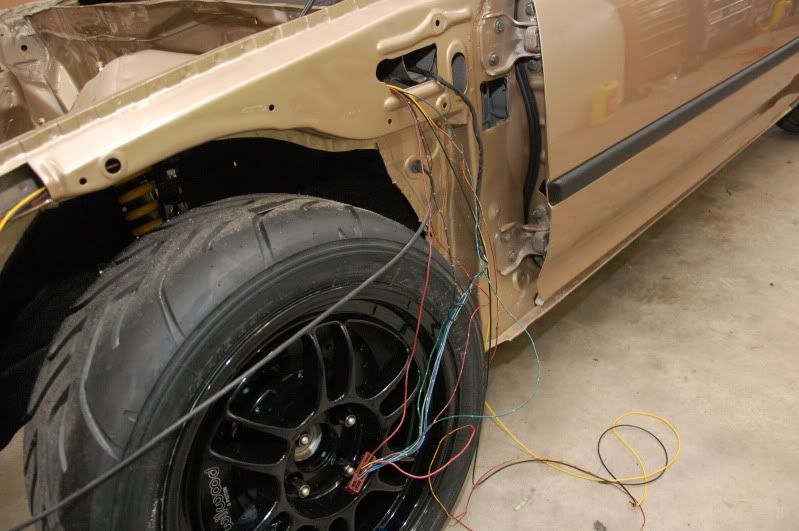
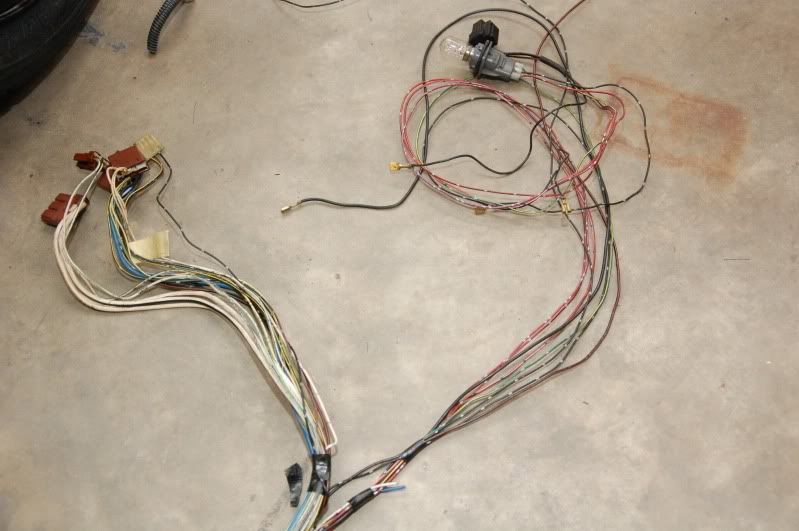
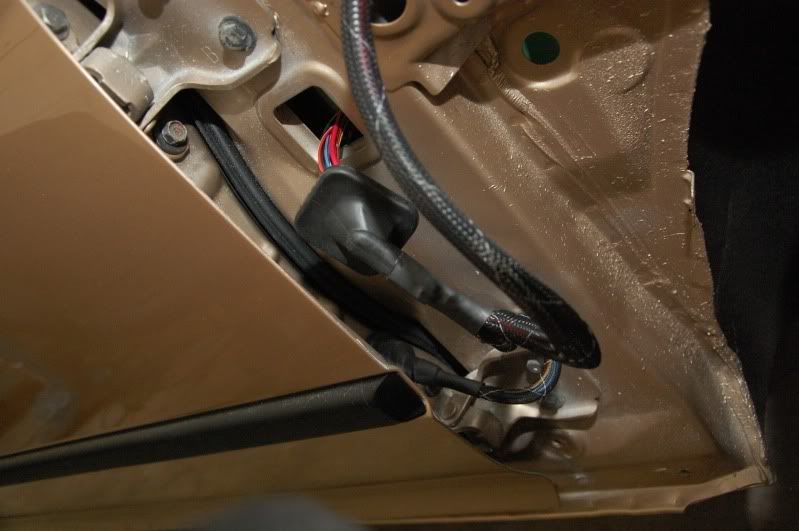
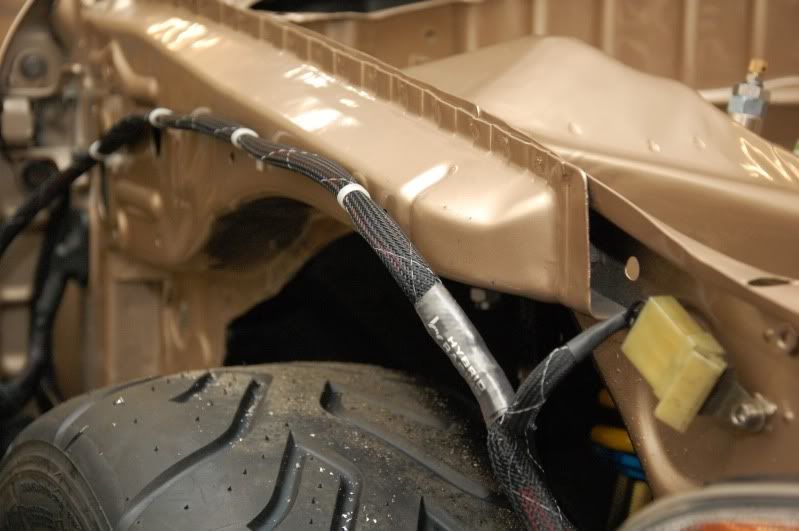
The semi-finished harness... (I've got to pull some slack out of the wires and route the charging harness through the door jam gromet.)

I added the door wiring in the same harness... that way the sides of the harness can be unplugged and removed if need be.

Headlight wiring... (I need another City Light connector!)
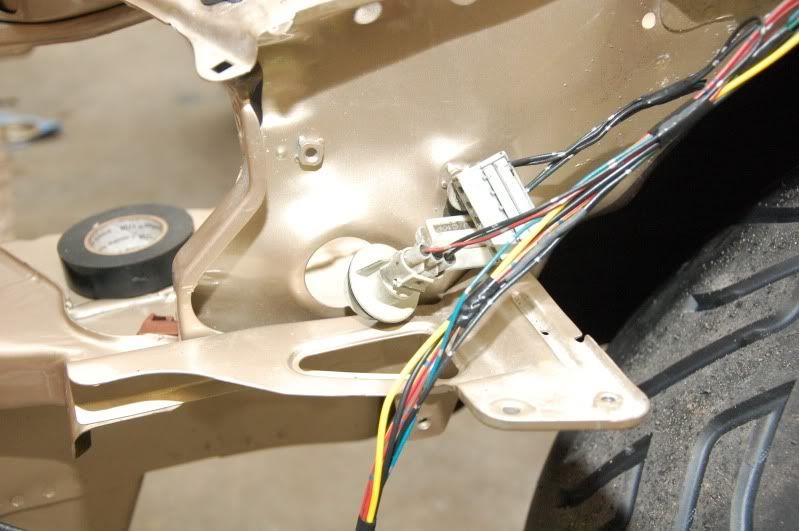
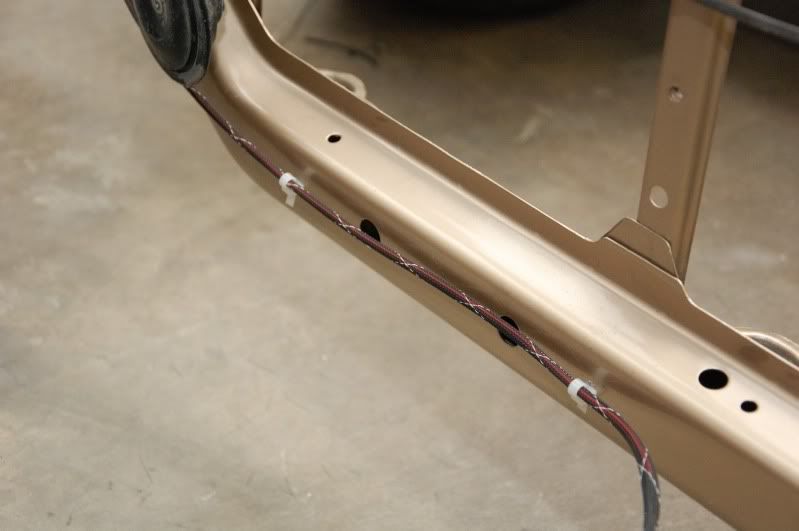
Under the headlight, the fan and horn wiring are together.

and the fan wiring ends here.
I've got some other little things left to do before it's 100% but it's close.
I'll be doing a lot of the interior wiring like this, redoing it all in nylon flame proof sleeving.
Thanks for looking!
-David
I started on the chassis wiring this weekend. I've been wiring for probably the better of 6 or so years so it is really something that I enjoy doing. I have some nice stuff going in this car, especially when I can get the switches and data logger cluster in and mounted.
I basically removed all of the wiring that isn't needed, since this car is going to have a K20, it won't be using any of the factory engine wiring.
Once I laid it all out it was pretty simple.. just like your standard wire tuck.
The Driverside got:
Headlights
Turning Signals
City lights
Ground Junction
OEM Fan switch wiring
Passenger side:
Headlight
Turning Signal
City light
Ground Junction
Horn (to keep the car street legal)
Radiator Fan wiring
Here are some pictures.
I had to remove the fenders and the bumper in order to get in to wire it.
I put the UK glass lights in, along with the clear Stanley turning signals.
Random picture of the underside... lol I love looking at it.
This is the factory harness that I pulled out of the car.. notice that this is separate than the main cabin harness.
This is the trash...
What was left...
I find that the best way to make it work perfect is to mock up everything before you cut or loom anything. So I had everything plugged in first.
I had to add some of my own wire in here for the coolant temp sensor that it mounted in the bottom of our rad.
Much of the slack gets cut out towards the end.
I used some pins to cut and repin the factory connector so I didn't have to solder anything.
I also used OEM type plug zip tie stays to keep the wires in line. I don't like to use screws or any of that stuff.
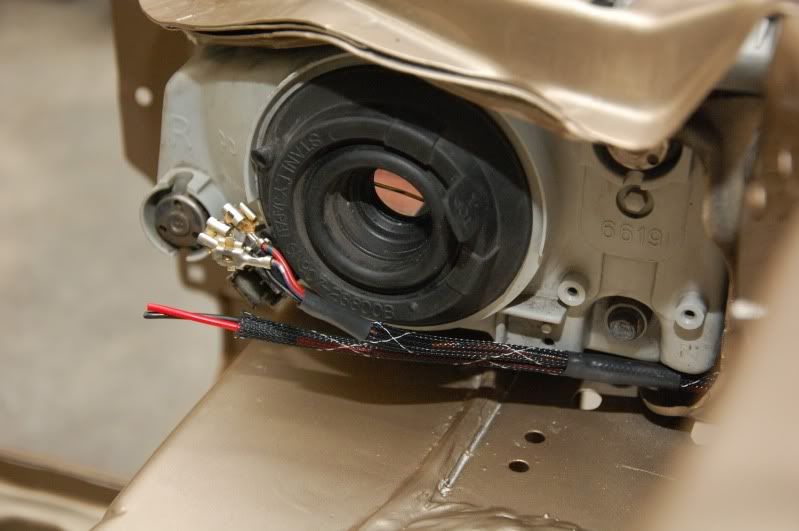
Headlight done.
Fan switch wiring ran down the frame...
Everything plugged in!
The hole that got enlarged... it's too big. I'll make a grommet for it to seal it up once I can run the wiring to the door.
Wiring for the wiper motor! Gotta be able to operate in the rain!
Random pic of the taillights installed.
That side went off really easy, and straight forward. The passengerside was a bit different as the entire headlight harness IS acutally part of the main cabin harness.
This is the headlight section...
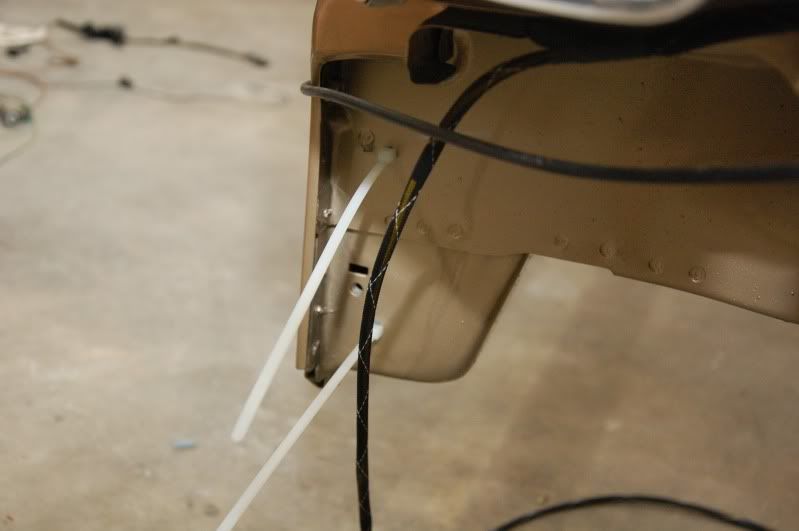
I love the guys at the body shop... I really do... but man, they dropped the ball on this one. I had them trim out the other side so I could run the wiring through it, but they didn't do it on this side.
I chose not to trim it out AFTER the car was painted so I used my ties and would eventually affix it to the outside of it.
I'm working on re-routing the wiring, I had to cut open a lot of it.
This is a section of the harness where I added a connector. I don't like the face that I can't install or remove this part of the harness without removing the entire cabin harness... so, I added a connector in just like the other side.
Fusebox connectors (these will all stay inside of the car)
This is the same connector that the drive side has.
Pins removed and ready to be crimped.
Some of the headlight wiring and grounds.
I got to work and didn't take many pictures of the sleeving process! Sorry!
The semi-finished harness... (I've got to pull some slack out of the wires and route the charging harness through the door jam gromet.)
I added the door wiring in the same harness... that way the sides of the harness can be unplugged and removed if need be.
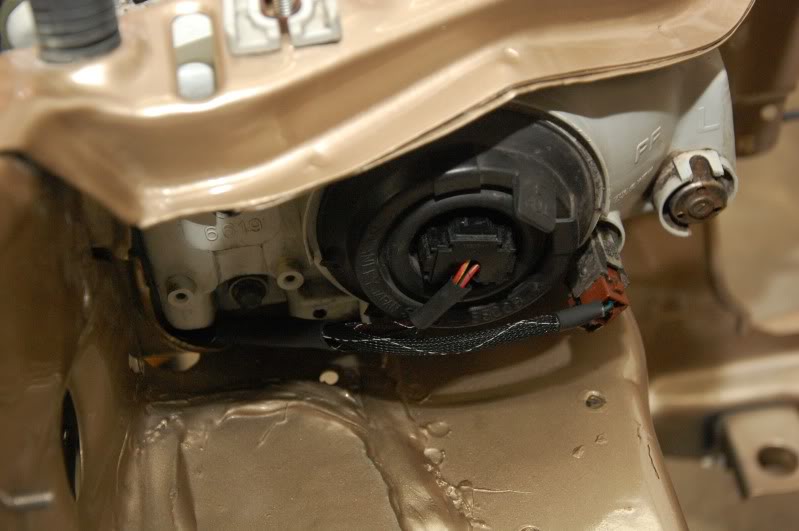
Headlight wiring... (I need another City Light connector!)
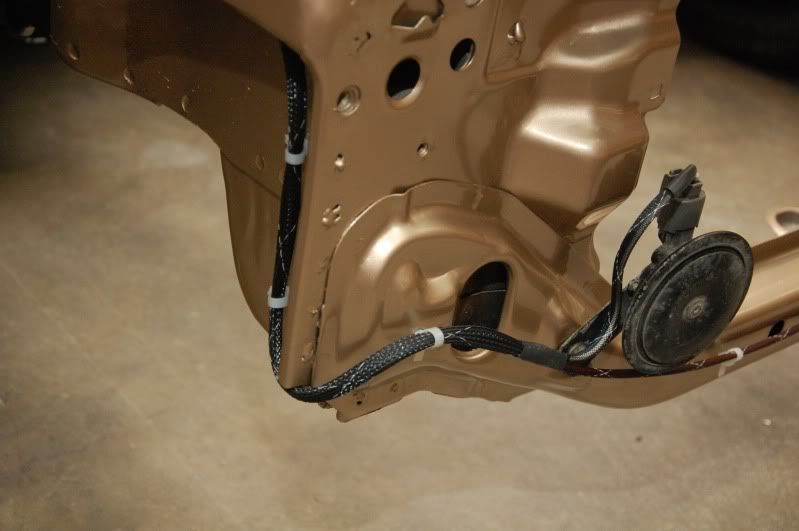
Under the headlight, the fan and horn wiring are together.
and the fan wiring ends here.
I've got some other little things left to do before it's 100% but it's close.
I'll be doing a lot of the interior wiring like this, redoing it all in nylon flame proof sleeving.
Thanks for looking!
-David

 06-01-2010, 03:29 AM
#250
Honda-Tech Member
Join Date: Jul 2004
Location: Not in Cali, US
Posts: 702
Likes: 0
Received 0 Likes
on
0 Posts
This car is coming out amazing! Let me know how you like your wilwood kit I've got the 4 piston setup on my street car and its great I'm thinking about the 6 piston for my rex.