
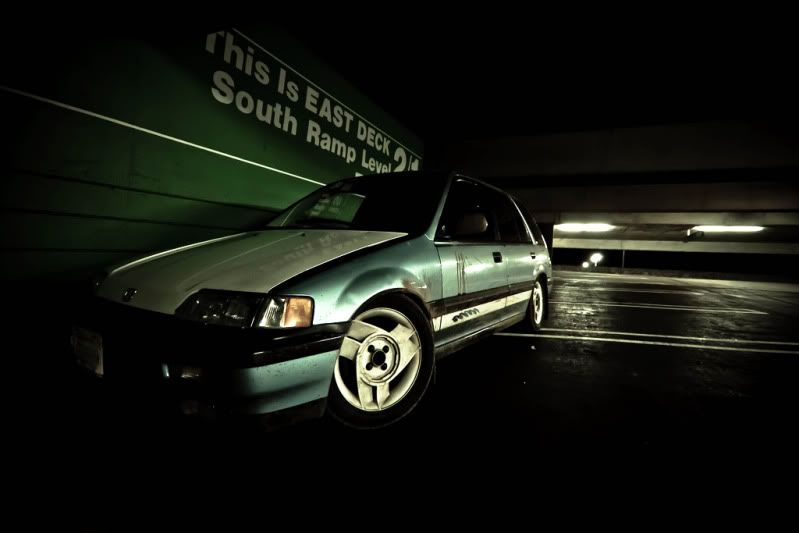
eklum's 91 4wd Civic wagon .
 01-04-2011, 12:14 AM
#301
Honda-Tech Member
Thread Starter
thanks a lot . countless hours have been spent under in and around this thing im hoping i dont let you honda techers down this year hopefully ill have her painted by late spring
im lookin into getting my konis revalved or just buying new ones lol maybe something thats more suitable for a more agressive track/road racing platform i need something that can take potholes a little better and something i can ride slammed and not compensate to much handling characteristics , i love riding lowered but every time i lower my car it handles like **** on the twistys
im lookin into getting my konis revalved or just buying new ones lol maybe something thats more suitable for a more agressive track/road racing platform i need something that can take potholes a little better and something i can ride slammed and not compensate to much handling characteristics , i love riding lowered but every time i lower my car it handles like **** on the twistys
 01-07-2011, 03:36 PM
#302
Honda-Tech Member
Thread Starter
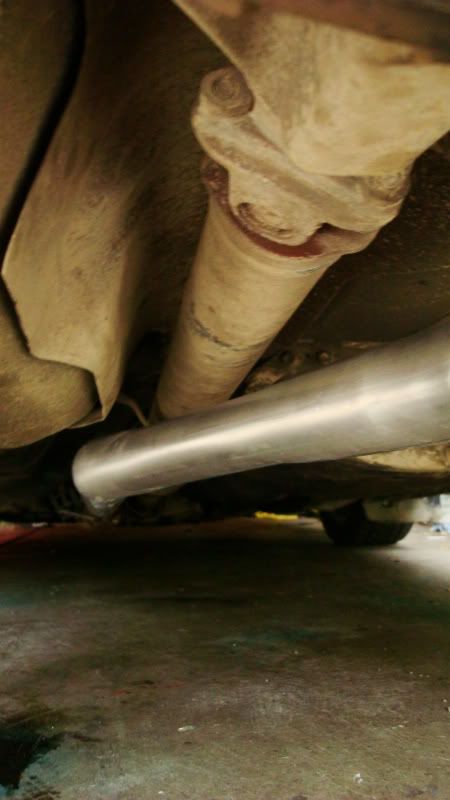
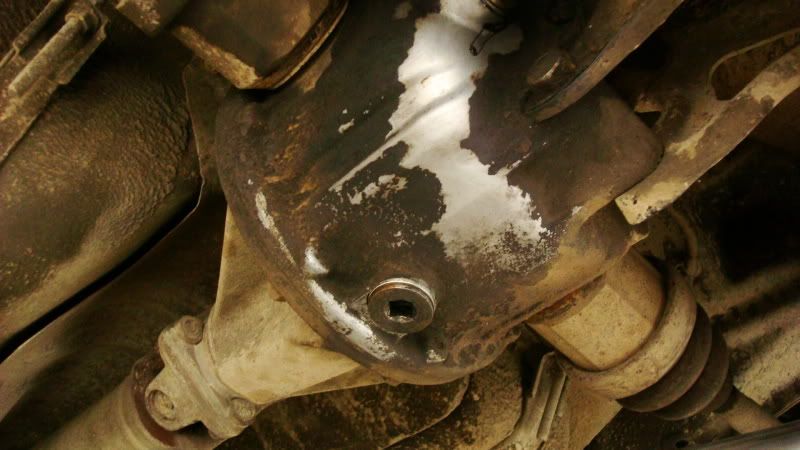
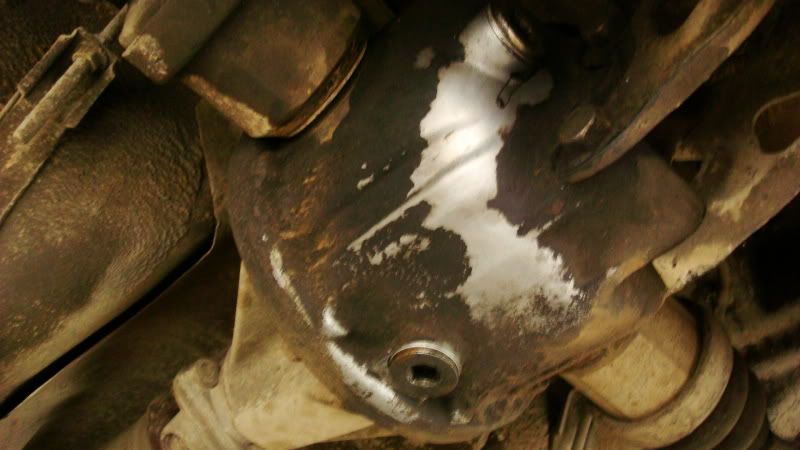
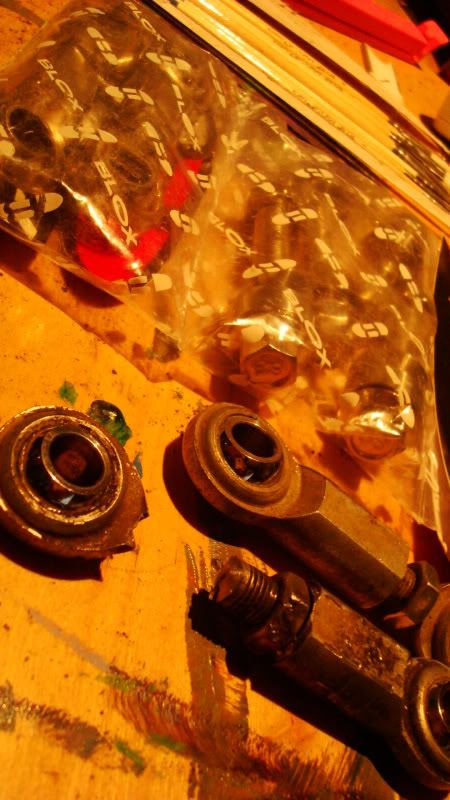
i took pictures of the dif if you want specific shots or measurements let me know

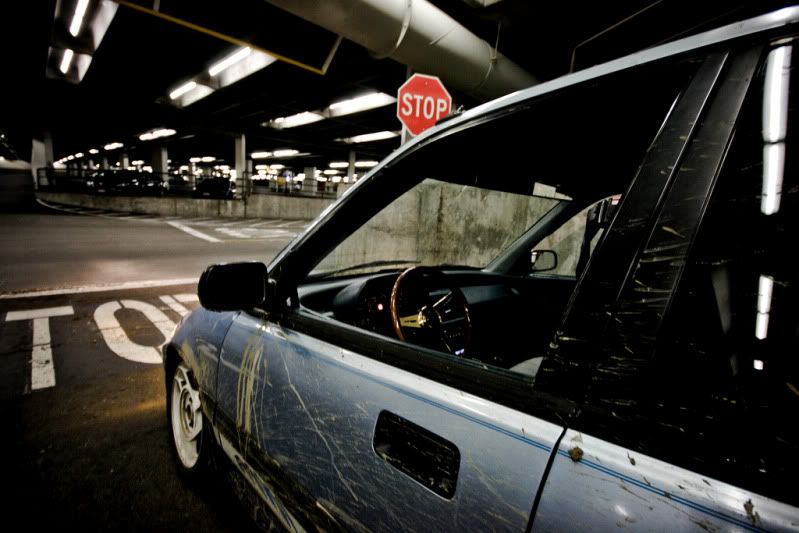
hatin *** parking meter " FAIL "
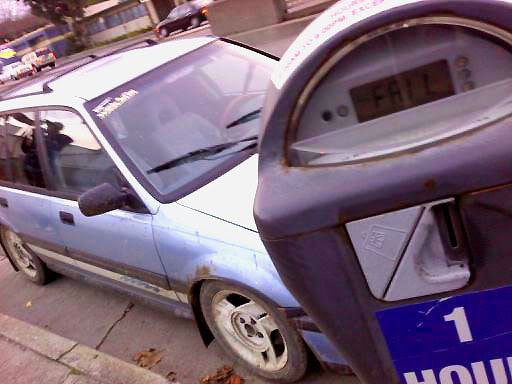
hatin *** parking meter " FAIL "


 01-15-2011, 01:04 PM
#306
Honda-Tech Member
Thread Starter
so i been having problems with second gear since i got the tranny put on steady grinding when i shift at high revs. really annoying.
any who so i did some research and found a lot of different threads on the subject of which gear oil to choose and i read a lot of pos. and negative feedback on just about every gear oil
i ended up choosing redline lightwieght shock proof
i drained and started filling until the new stuff came out in an attempt to flush a little bit put in the reccomended amount of quarts took it for a spin and wallaa.
my second gear isnt racing fast shifting smooth but its def. not grinding at all
so heres my offical vouch for that. Redline Lightwieght shock proof is expensive as **** but i think it will pay for its self as time goes by ...
ill do a follow up after like 3k miles.. but so far so good.
 01-16-2011, 01:45 PM
#308
Honda-Tech Member
Join Date: Oct 2005
Location: Vancouver, BC, Canada
Posts: 140
Likes: 0
Received 0 Likes
on
0 Posts
Looks great ! I'm glad you stuck with the car even after the accident and made it better then it's ever been. Props to you bud.
01-24-2011, 11:24 AM
#309
Honda-Tech Member
Thread Starter
thanks a lot man! yeah its impossible to let her go :D i love her to much and i have to much planned for it not to follow through regardless of the barriers in the way.
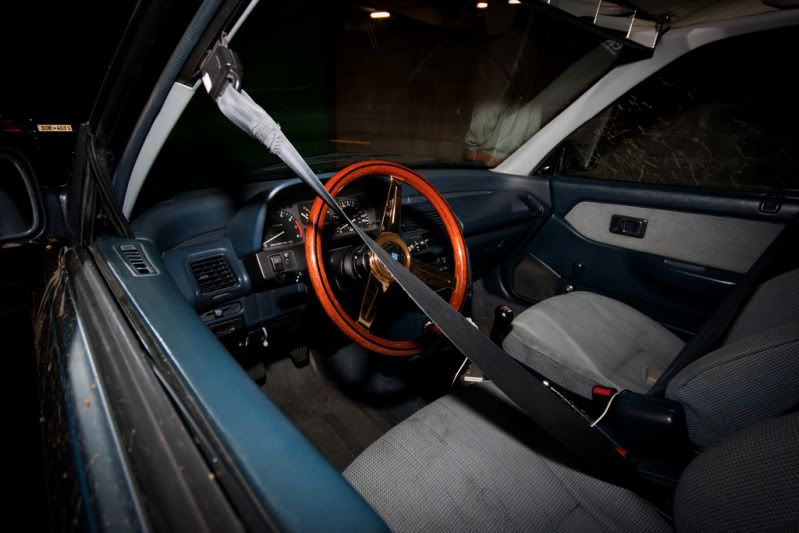
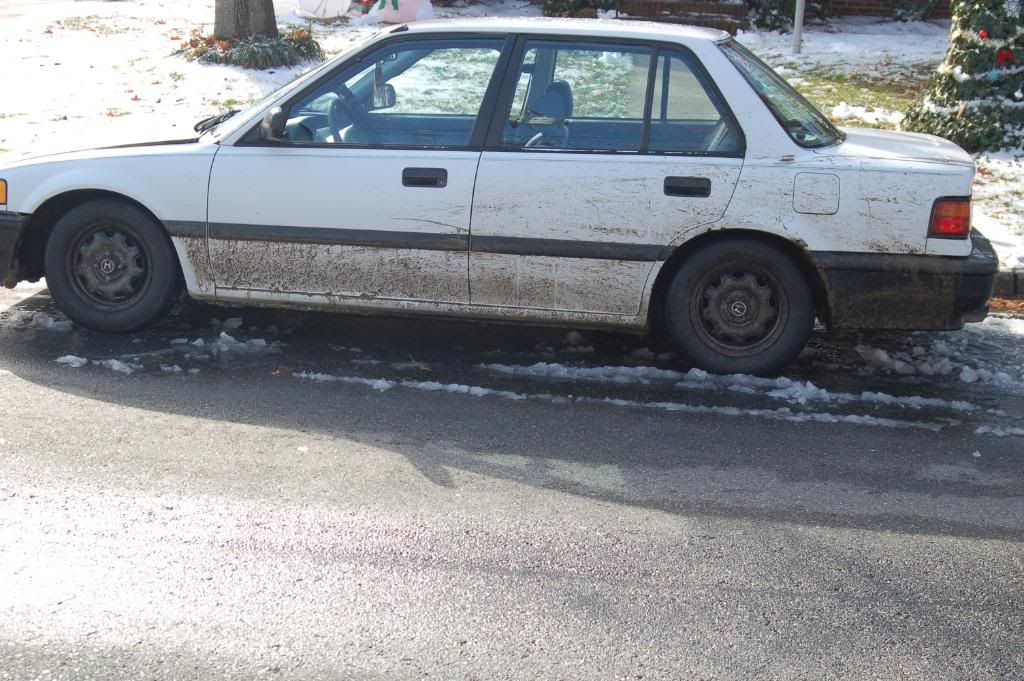
heres a few new shots of the interior beacuse i spent like 2 hours cleaning that bitch steam cleaning seats lifting 20 yr old *** sweat stains lol


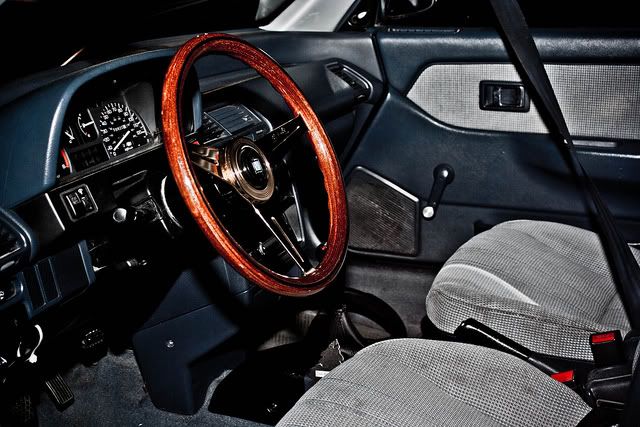


last shot got ****ed up by my dirty *** mirror
thanks for lookin ! out for feedback dont be shy
heres a few new shots of the interior beacuse i spent like 2 hours cleaning that bitch steam cleaning seats lifting 20 yr old *** sweat stains lol
last shot got ****ed up by my dirty *** mirror
thanks for lookin ! out for feedback dont be shy
 01-24-2011, 03:21 PM
#311
Honda-Tech Member
Thread Starter
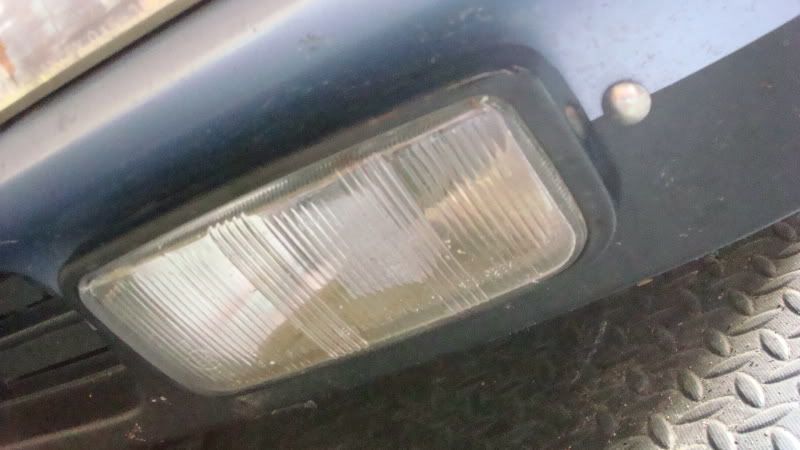
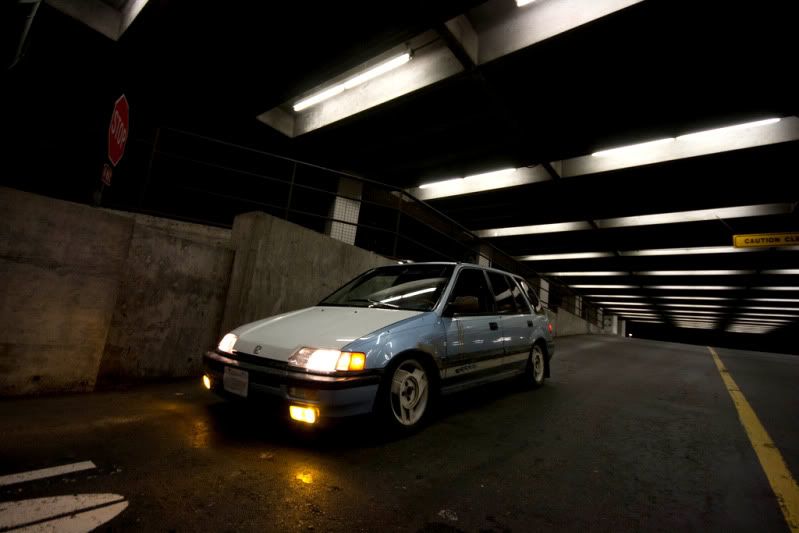
after cleaning my entire garage and searching high and low i gave up on finding the foglight bezels i been looking for and went to pick and pull and got two sets of them for 2$
 that was way easier than rearanging my entire garage.. lol
haha yeah it is kinda off.. my homies just getting into taking pictures its a learning expieriance lol make tripod level
01-28-2011, 12:03 PM
#313
Honda-Tech Member
Thread Starter
lol thanks i get a lot of feed back on these rims idk what car they are off of unfortunetly i got them from some dude with a miata awhile back.


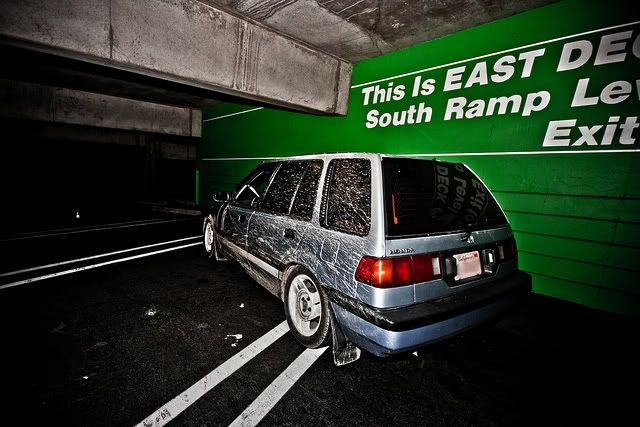
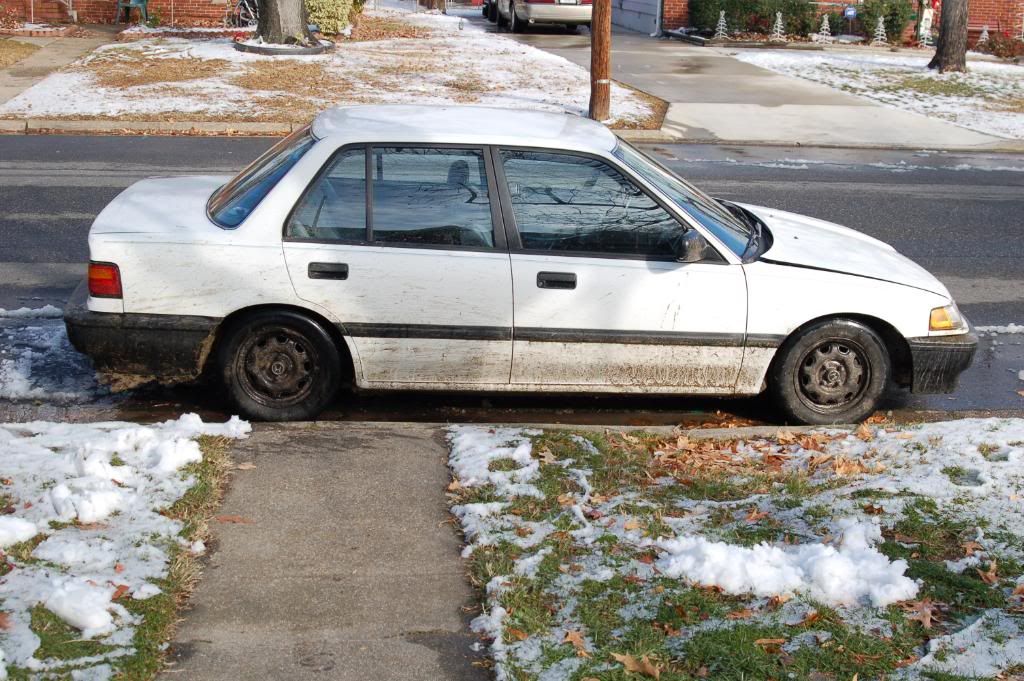
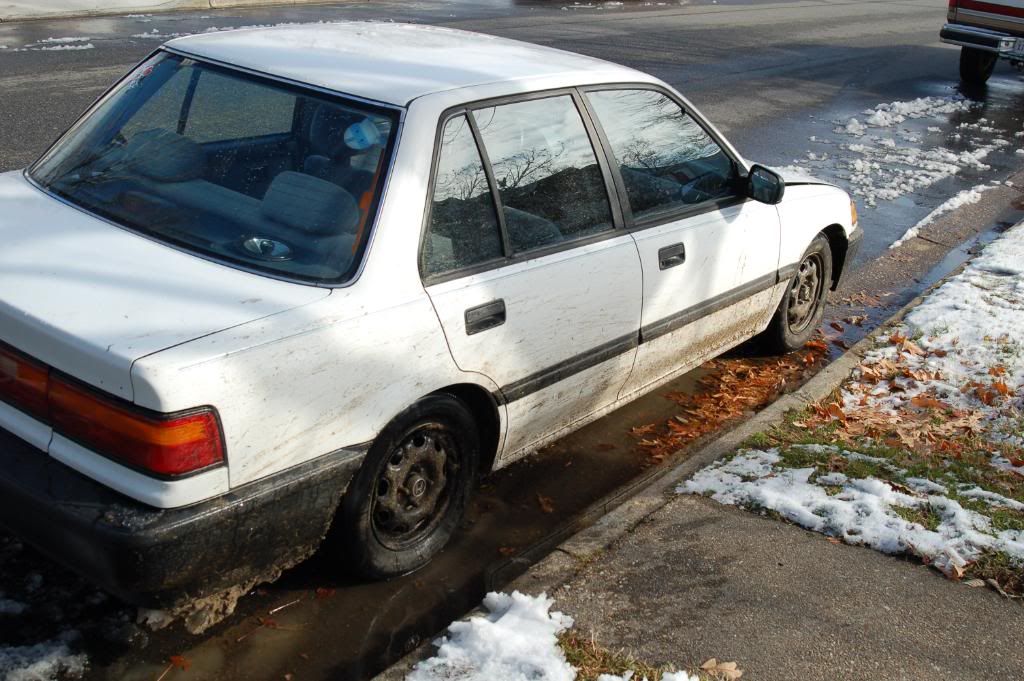
YEESS i got a cool roll over picture 260 k clean title BOOOYAA
YEESS i got a cool roll over picture 260 k clean title BOOOYAA
01-28-2011, 12:04 PM
#314
Honda-Tech Member
Thread Starter
does anyone think that carriage bolt (tomount the fogs)is tacky ? lol idk if i should trip off it or not whats your opinion?
Last edited by eklum; 01-28-2011 at 01:34 PM.
01-29-2011, 11:09 AM
#315
Honda-Tech Member
Thread Starter
w~~0_12.JPG)
+69.16$ just ordered a set of Wicked Tuning Rear Toe arms i was gunna go with the more expensive spherical bushing PWJDM but i decided to save the $120 difference and go with the cheapest one i could find mostly due tome needing the part asap because my tires wear at avery alarming rate and there is a very violent vibration coming from the rear after speeds of 50 mph me and a few friends came to the conclusion using the excessive tire wear as evidence that may be the reason for the vibration -
Good news i been working at my new job so part updates will be coming every week im trying to get my **** togather before wekfest in febuary so i should be ordering lots of goodies so stay tuned for updates! thanks for stopping by!
total:
$6565.66


 02-04-2011, 07:52 PM
#319
Honda-Tech Member
Thread Starter
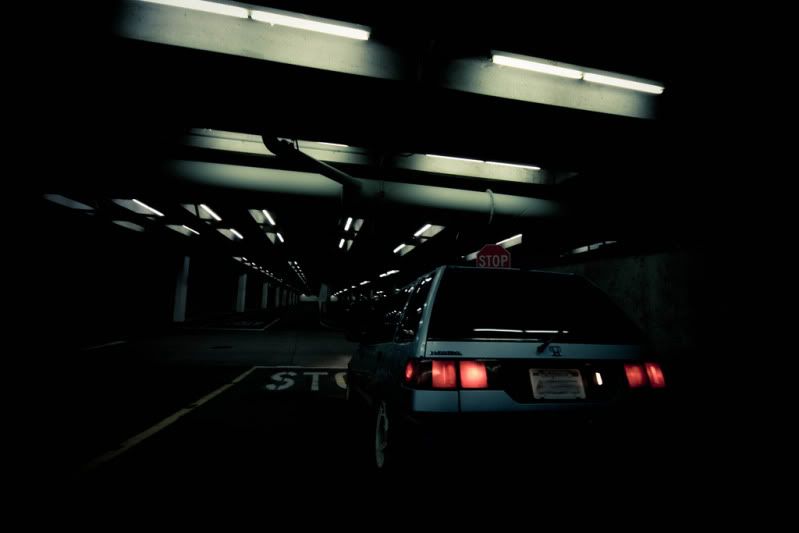
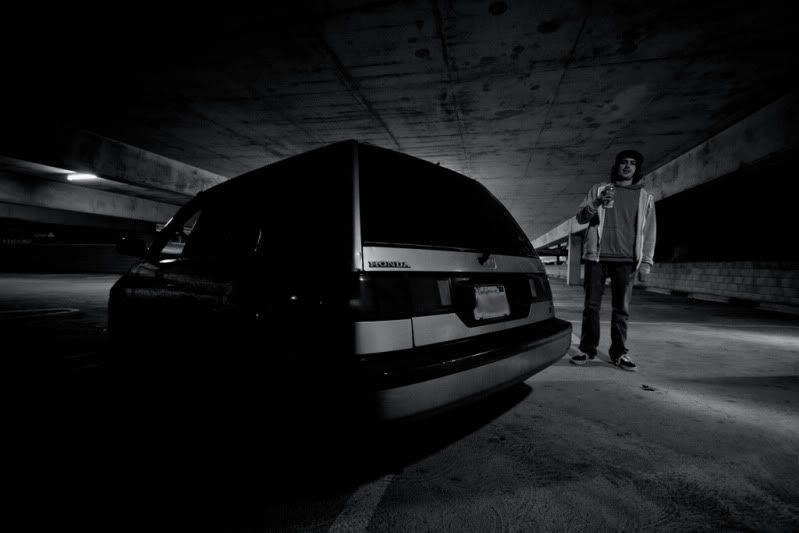
damn no love on my photoshoot!?! lol ima have to tell my photographer to do a better job next time.. ha!
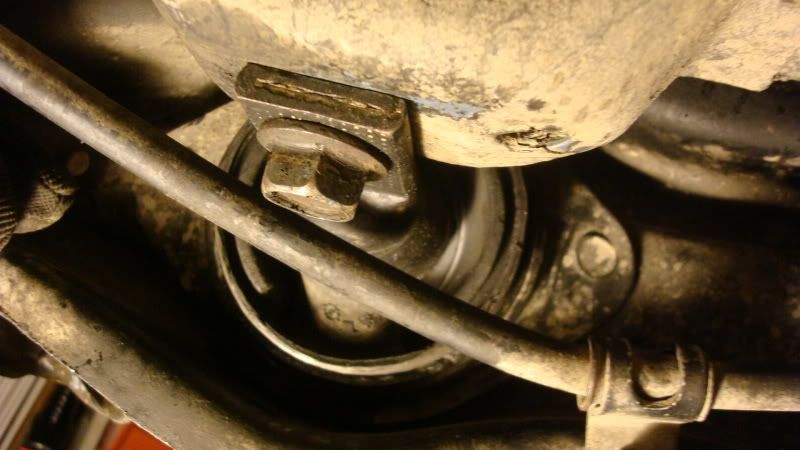
so i have been encountering a really violent vibration in my rear end after speeds of 60mph or so i replaced my toe arms with adjustable arms and i just got done installing rear trailing arm bushings as mine were shot... i mean they were ripped and disconnected ... having never done this before it took me a good while to get my ***** up and do it (i was gunna take it to a shop but they wanted 350-500$ because its 4wd its supposedly harder ( bullshit ) )
any ways. so i saw this video..
http://www.youtube.com/watch?v=hPTDzrxqoOo
n i was like theres no reason i cant just do this all with hand tools i was concerned about how long this would take and what it would take to do by your self without the special tool that all you honda techers are always talking about.. YOU DONT NEED ****!
Heres the tools i used.
wrench / rachet combo.
12mm(brake line secure bolts)
14mm (upper camber arm , rear toe arm bolts)
17mm(Rear trailing arm bushing bolts)
19mm(Lugnuts)
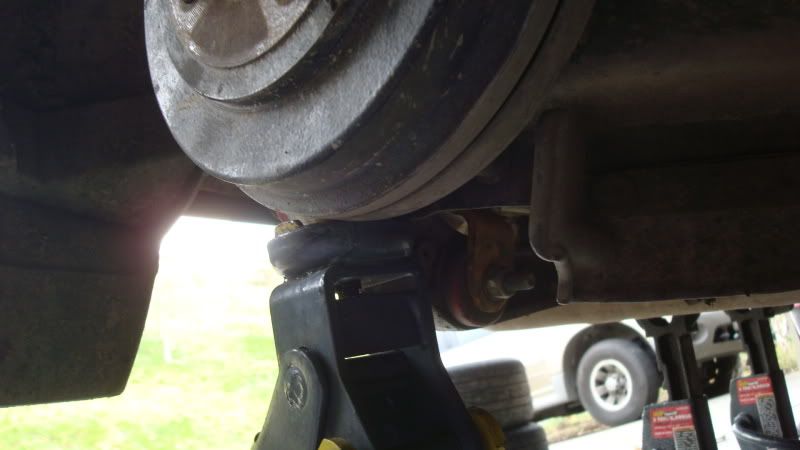
Step1::Loosen lugnuts, Jack up car , SECURE YOUR CAR WITH JACKSTANDS OR BRICKS
Step2 ::
Disconnect rear toe arms
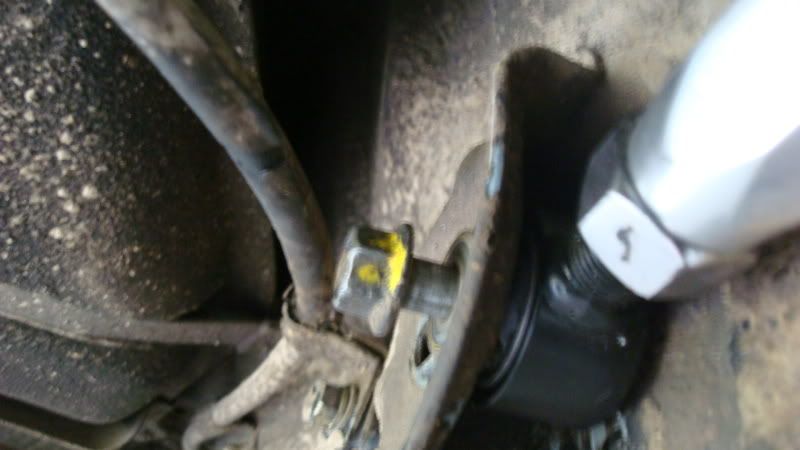
your gunna need to jack up your TA to get the bolt attached to the toe on the TA side
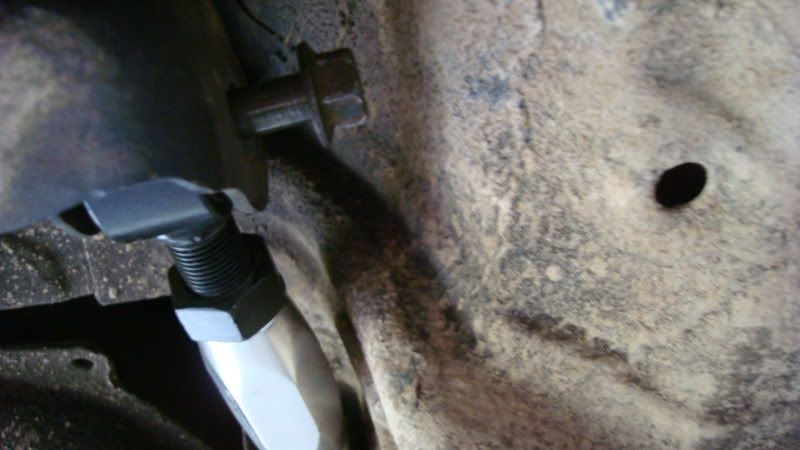
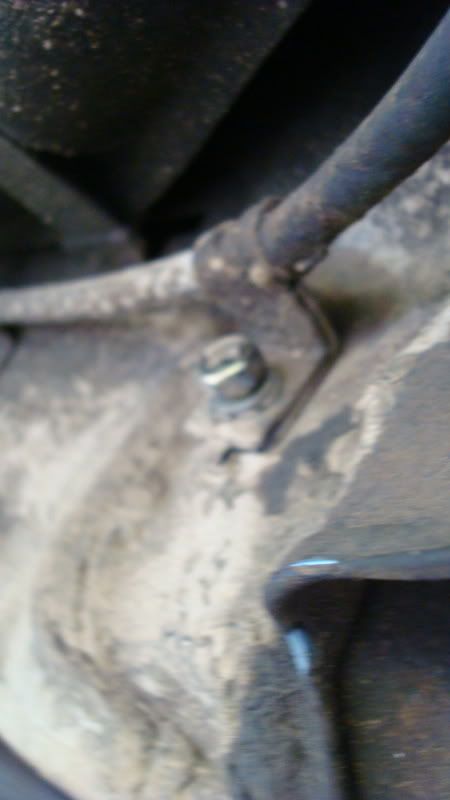
Step 3:: disconnect camber arm
Step 4::disconnect the brake lines from the trailing arms ( dont open the line just take the bolts off the trailing arm so you dont damage them and their out of the way..)
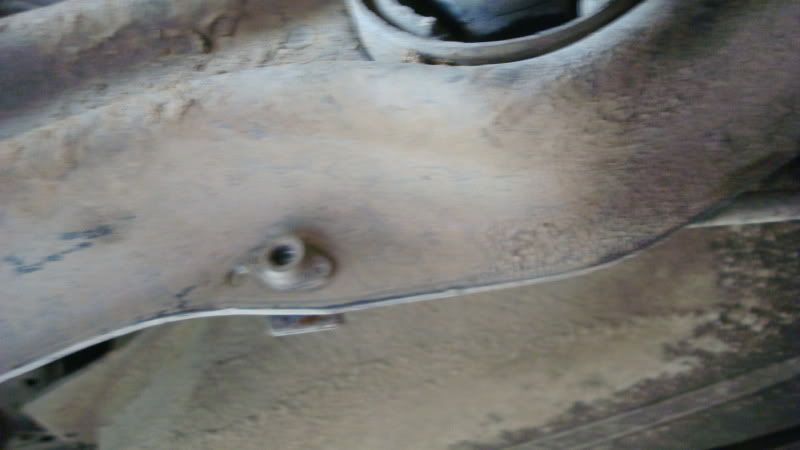
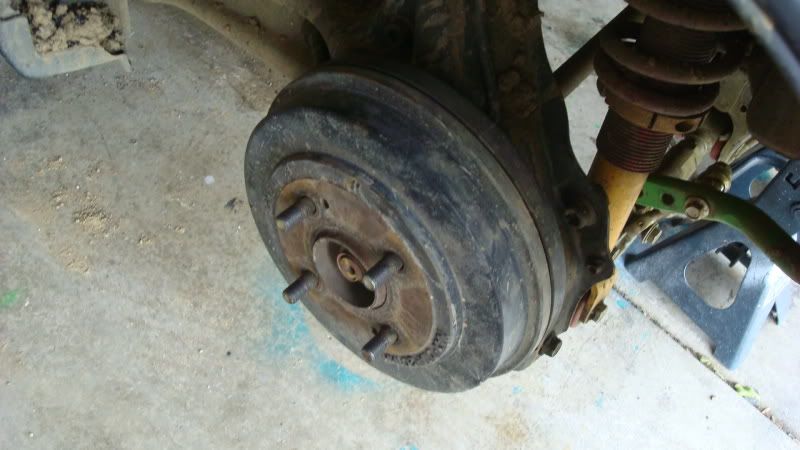
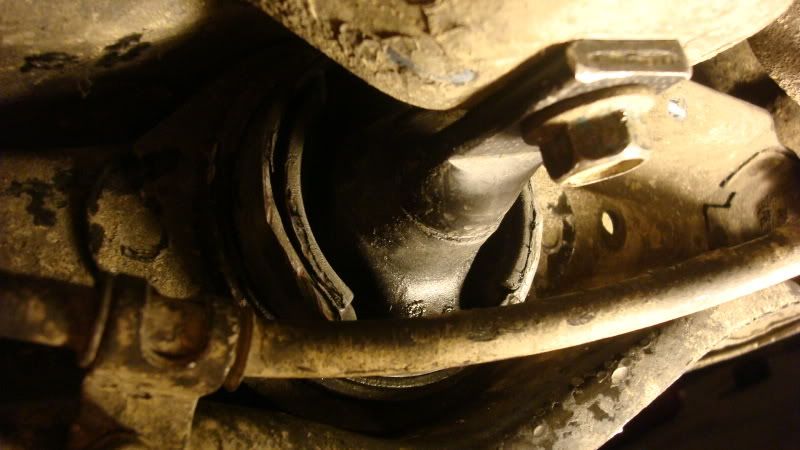
Step 5::disconnect the RTA bushing bolts
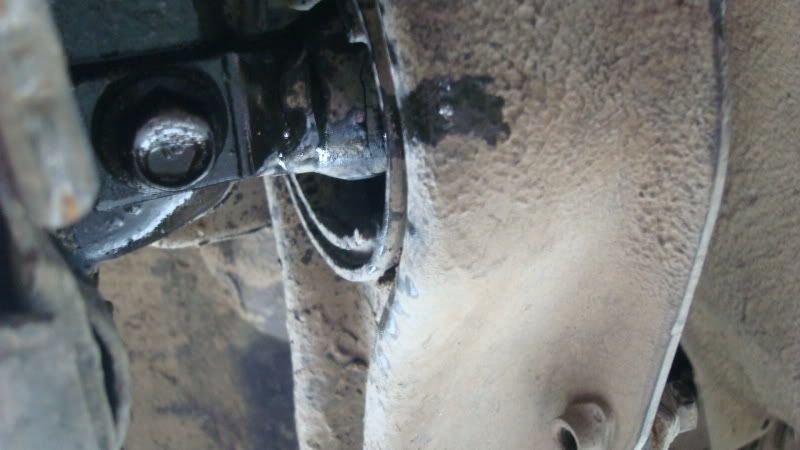
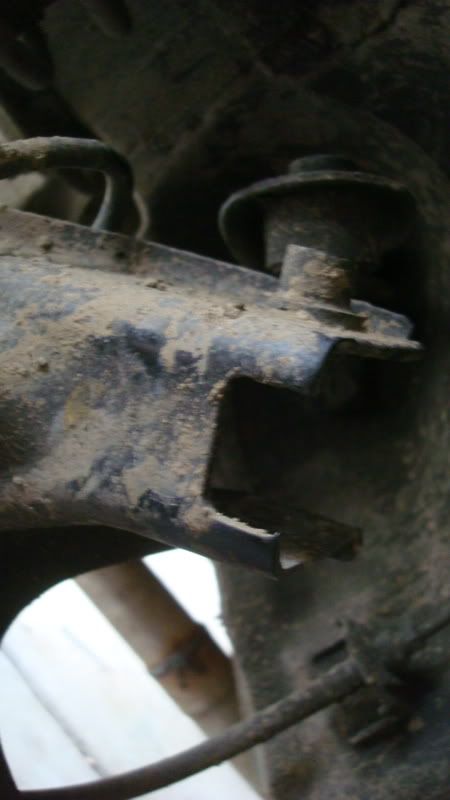
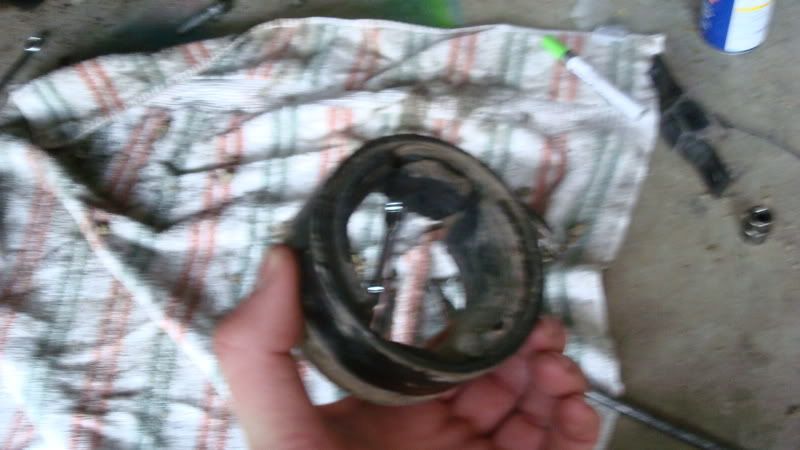
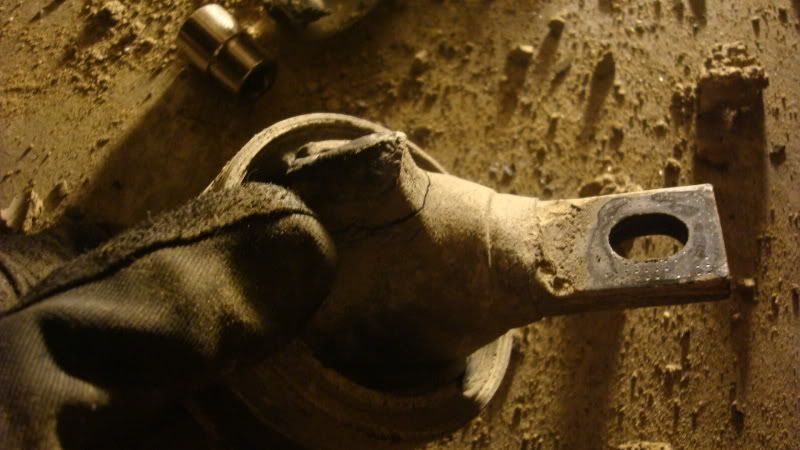
Step 6:: get your hammer and hammer out teh old bushings
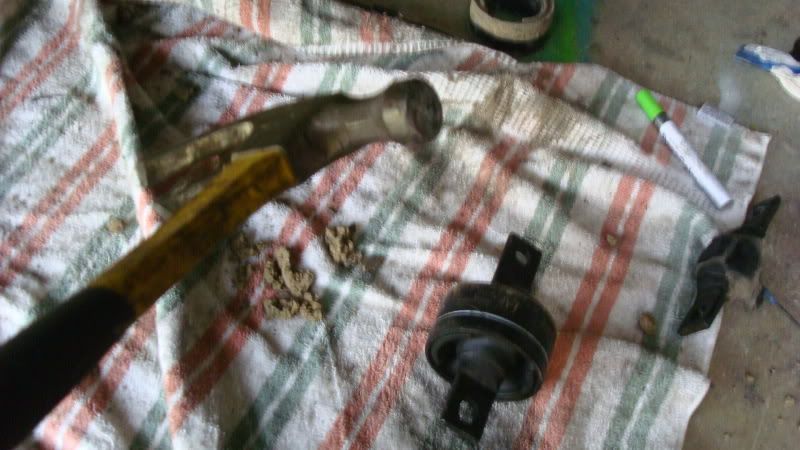
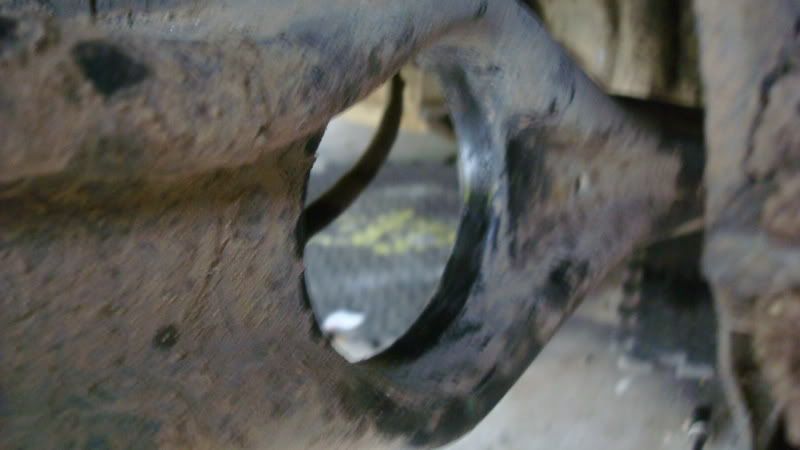
heres what was left of my existing bushing lol!
Step 7:: ( this isnt recommended) i had to grind down a lil bit of the new bushings metal since i wasnt using a tool i made a little groove to make it slide in easier
step 8:: allign your bushing making sure its the same angle as the old one ( this step is kinda stupid as most of us have lowered vehicles your going to want a little angle on your bushing) what i did was had it off to the side a little bit to compensate for the lowered hieght and a way to check to see if your stressing your bushing is kinda tedious but hey it pays to have your **** perfect.. . i jacked up the RTA and saw how stressed it was after it was at the hieght it would be traveling and made it so it would ride straight once on the ground i know this is kinda confusing and im a little bit drunk.. but hopefuly my \pictures help..
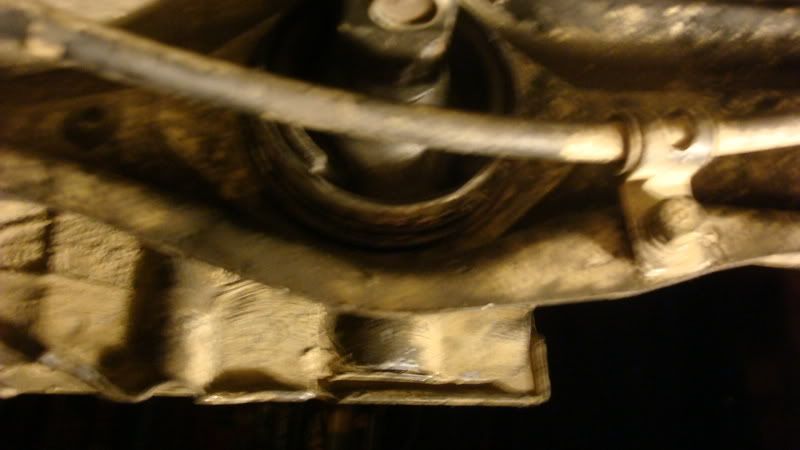
step9:: hammer in your bushing until it is alligned with the little grey line ( if your new bushings has them )
Step 10 : jack up the arm and since we're having our bushing sitting sideways getting the bolt in is a little difficult
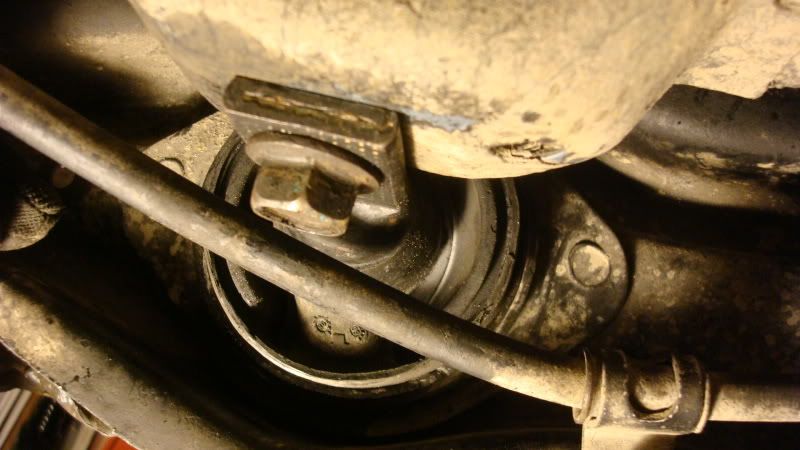
Step 11:: tighten the 17mm bolts until your bushing is secure..
step 12 reconnect all arms and tightnen to spec.. pretty much everything is at about 50 ft lbs torque.
step 13:: test drive and enjoy
 out wit the old in wit tha neww

thanks for stopping by on my never ending proccess towards success!
so i have been encountering a really violent vibration in my rear end after speeds of 60mph or so i replaced my toe arms with adjustable arms and i just got done installing rear trailing arm bushings as mine were shot... i mean they were ripped and disconnected ... having never done this before it took me a good while to get my ***** up and do it (i was gunna take it to a shop but they wanted 350-500$ because its 4wd its supposedly harder ( bullshit ) )
any ways. so i saw this video..
http://www.youtube.com/watch?v=hPTDzrxqoOo
n i was like theres no reason i cant just do this all with hand tools i was concerned about how long this would take and what it would take to do by your self without the special tool that all you honda techers are always talking about.. YOU DONT NEED ****!
Heres the tools i used.
wrench / rachet combo.
12mm(brake line secure bolts)
14mm (upper camber arm , rear toe arm bolts)
17mm(Rear trailing arm bushing bolts)
19mm(Lugnuts)
Step1::Loosen lugnuts, Jack up car , SECURE YOUR CAR WITH JACKSTANDS OR BRICKS
Step2 ::
Disconnect rear toe arms
your gunna need to jack up your TA to get the bolt attached to the toe on the TA side
Step 3:: disconnect camber arm
Step 4::disconnect the brake lines from the trailing arms ( dont open the line just take the bolts off the trailing arm so you dont damage them and their out of the way..)
Step 5::disconnect the RTA bushing bolts
Step 6:: get your hammer and hammer out teh old bushings
heres what was left of my existing bushing lol!
Step 7:: ( this isnt recommended) i had to grind down a lil bit of the new bushings metal since i wasnt using a tool i made a little groove to make it slide in easier
step 8:: allign your bushing making sure its the same angle as the old one ( this step is kinda stupid as most of us have lowered vehicles your going to want a little angle on your bushing) what i did was had it off to the side a little bit to compensate for the lowered hieght and a way to check to see if your stressing your bushing is kinda tedious but hey it pays to have your **** perfect.. . i jacked up the RTA and saw how stressed it was after it was at the hieght it would be traveling and made it so it would ride straight once on the ground i know this is kinda confusing and im a little bit drunk.. but hopefuly my \pictures help..
step9:: hammer in your bushing until it is alligned with the little grey line ( if your new bushings has them )
Step 10 : jack up the arm and since we're having our bushing sitting sideways getting the bolt in is a little difficult
Step 11:: tighten the 17mm bolts until your bushing is secure..
step 12 reconnect all arms and tightnen to spec.. pretty much everything is at about 50 ft lbs torque.
step 13:: test drive and enjoy
out wit the old in wit tha newwthanks for stopping by on my never ending proccess towards success!


 02-05-2011, 06:13 AM
#321
Flattery Will Get You Everywhere
Join Date: Jan 2009
Location: dayton ohio
Posts: 1,557
Likes: 0
Received 0 Likes
on
0 Posts
02-05-2011, 10:17 AM
#322
Honda-Tech Member
Thread Starter
nah im good. lol
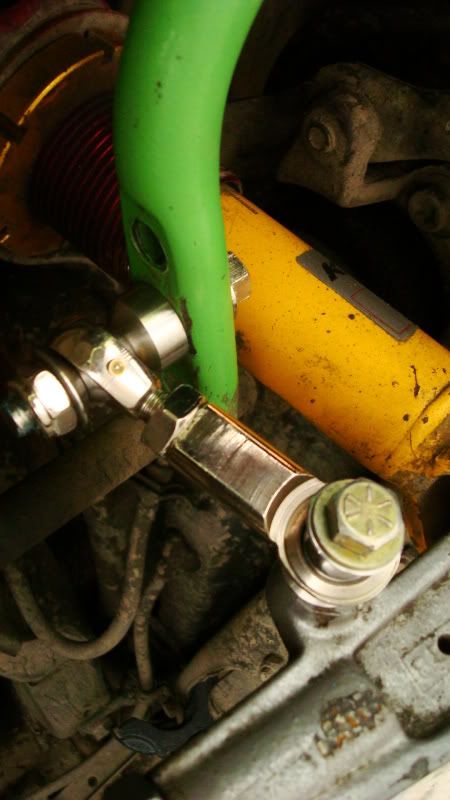
the suspension is
koni yellow/ground control
ground control extended top hats in the rear
ST rear sway w/ blox endlinks
ST rear lca w/ camber adjustment
wicked tuning rear toe arm
and that is it i think..
the suspension is
koni yellow/ground control
ground control extended top hats in the rear
ST rear sway w/ blox endlinks
ST rear lca w/ camber adjustment
wicked tuning rear toe arm
and that is it i think..
 oh no what happened?!