
DIY Ek Maps Lights In Your Del Sol
 09-24-2008, 05:30 AM
#1
Honda-Tech Member
Thread Starter
iTrader: (5)
Join Date: Dec 2006
Location: Eastcoasting It
Posts: 1,636
Likes: 0
Received 0 Likes
on
0 Posts
Ek Map Light Install On Your Sol
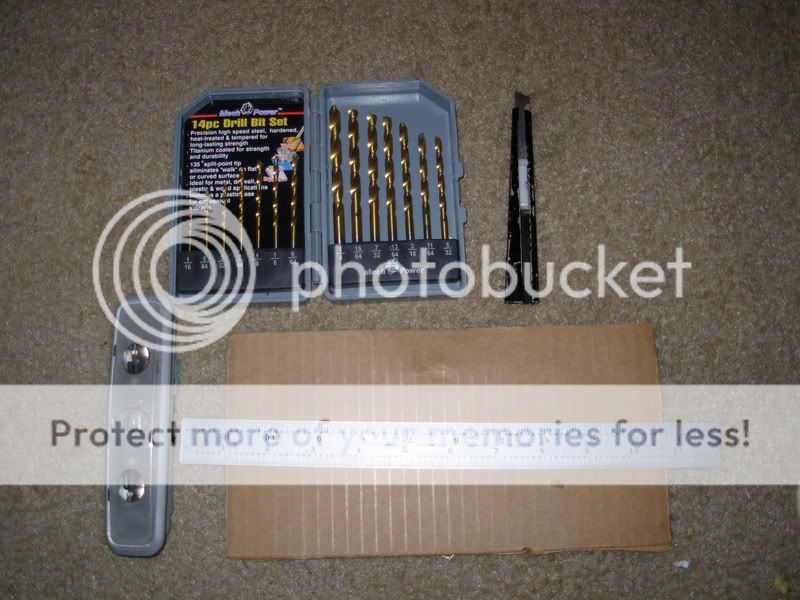
Materials
*Maplight assembly, Part #34256-SR3-901ZB
*Ruler
*Cardboard box
*Grease Pen
*Box Cutter/dermal
*Wire
*Wire Cuter/Pillars
*Flat-head Screwdriver
*Philip's Screwdriver
First Get all your materials ready so you won't waste time or go crazy looking for them.
Second part is to get into your sol. Start taking out the caps from the visors. You use you flat head to take out the Screws holding the visors. There should be 4 on each.

It should look like this with the visors out.

Get you Philip's screwdriver and take out the two Philip's screws holding the visor panel. Once you get the out pull it down. Take it to you work area. Get your ruler ready and start to measure the ek map light. Height should be 1inch width is 5-1/8. Cut it out of your cardboard box sheet. Now you have your template. Place your template over the center panel.
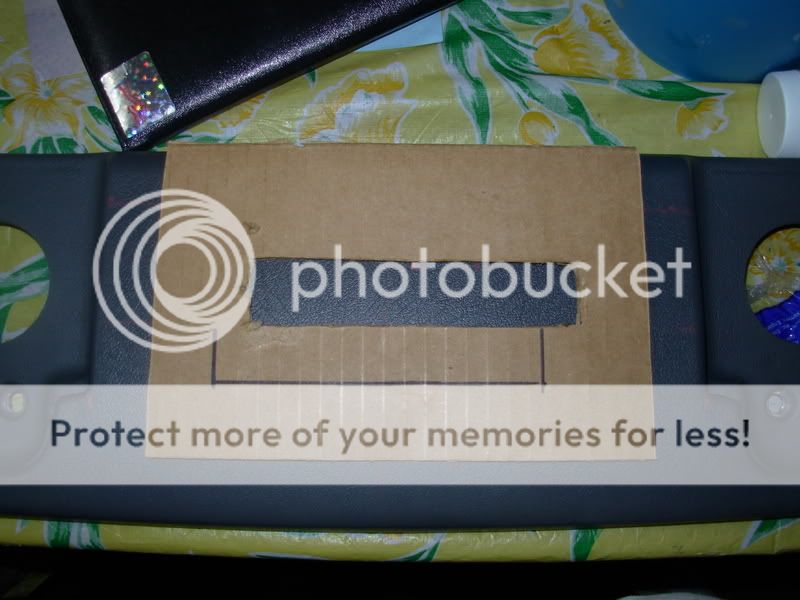
Now take the you grease pen and shad-in or X of the cut out area. The take you Box cuter or Dermal and cut out the shade area. I used i a box cuter it should look like this.
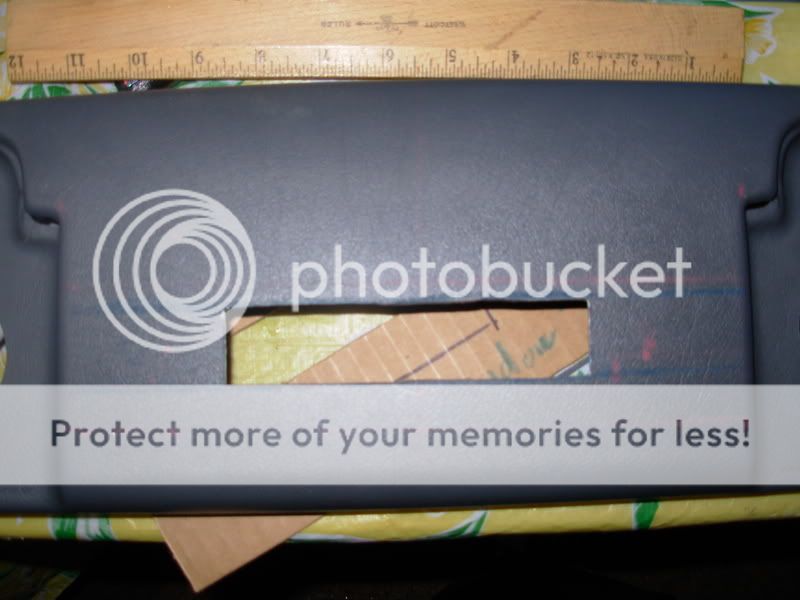
It should snap in place. If it doesn't fit look where it need to be shave down a little.

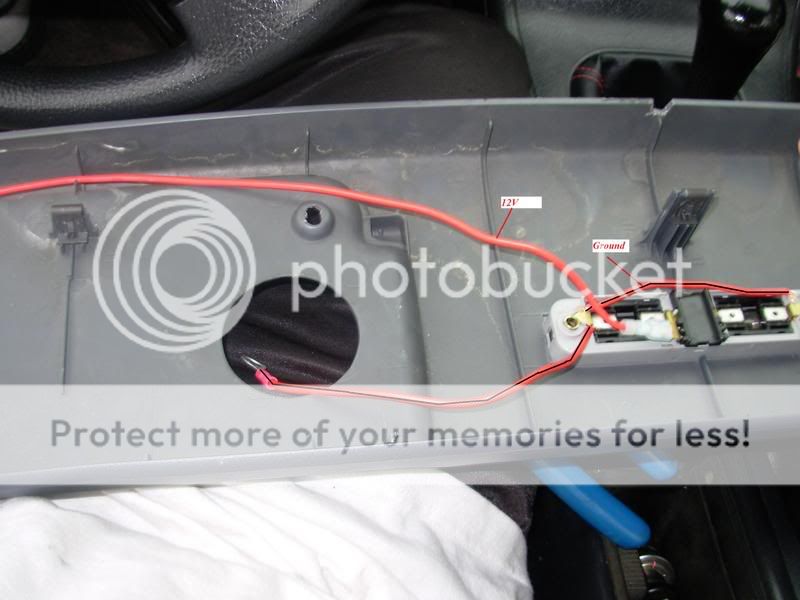
Here my Favorite part doing the wiring. Get you wires make 3 lengths. 1 about 3-4 feet. Two about 5 inches. On the ek map light uses the mounting screws for ground we don't need screws since the light snaps in place. Some may want to use the if you do get a 1/8 drill bit and drill two holes. Those of you that want to drill holes you don't need the 2-5 inch wires. Those of you that don't want to drill the two peaces of wires are for the ground. You can pry the metal tabs and stick the ground wires and push it down. It will hold for the one that are concerned. It will look like this
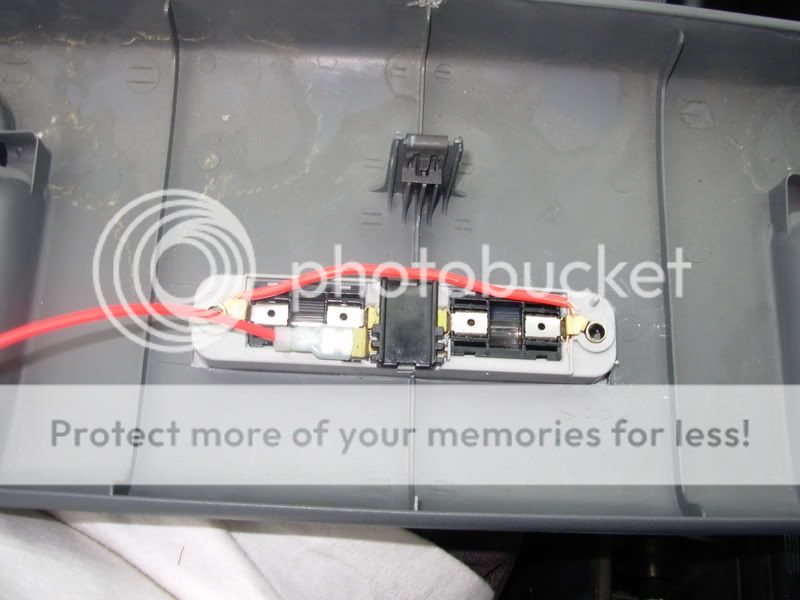
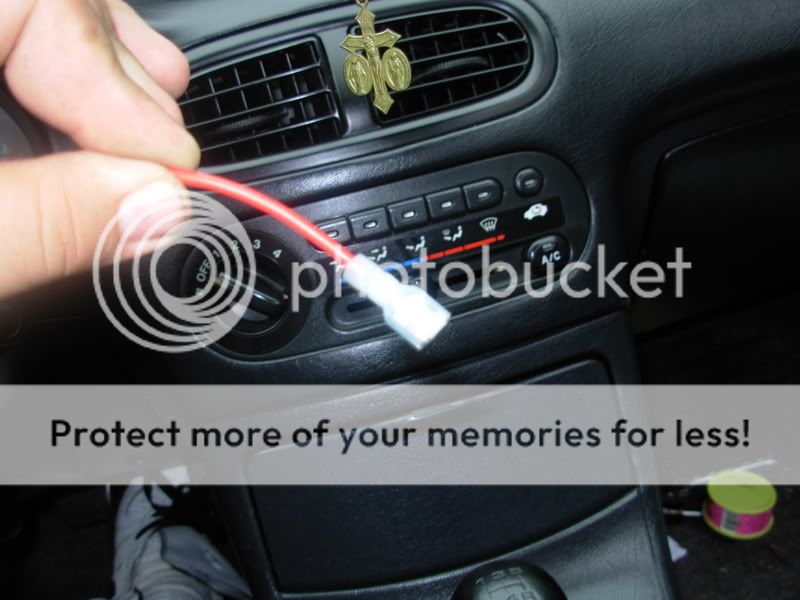
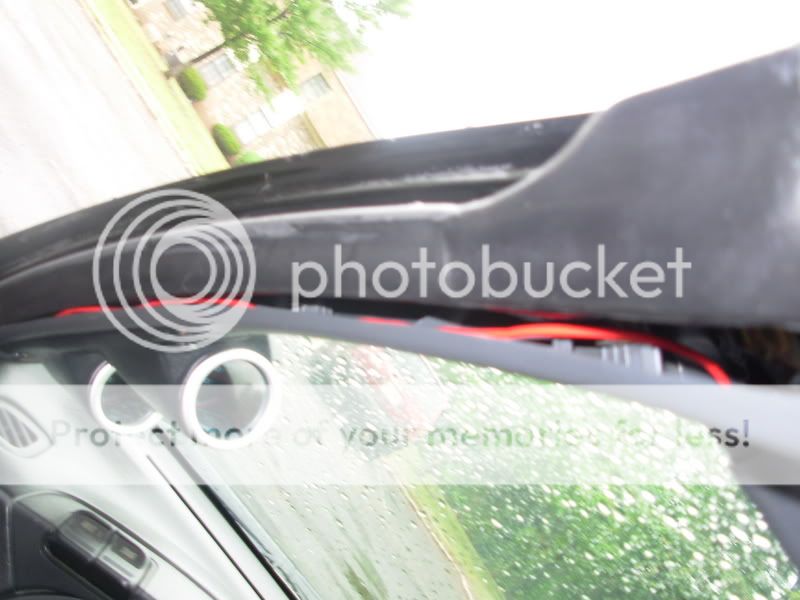
Now for the the long wire you want to hook up two Slot connectors on each end. This will be the 12v wire. One end is hook up to the tab on top of the map light. It can get ran down the drive pillar so you can hook it up to slot A of the fuse box.

Now put everything back. When you put the driver visor back you want to connect the ground to on of the screws. Tighten everything up and look back and enjoy your map light.
Here are pictures of it installed.
Off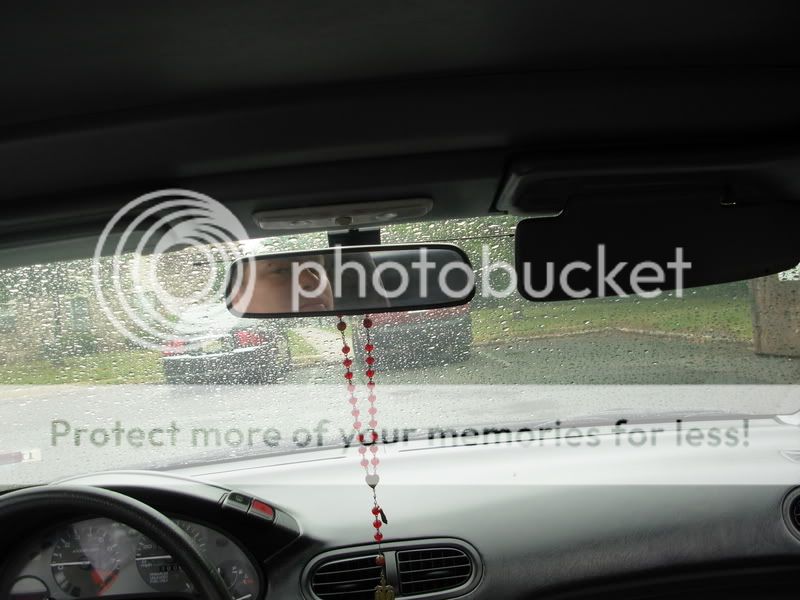
On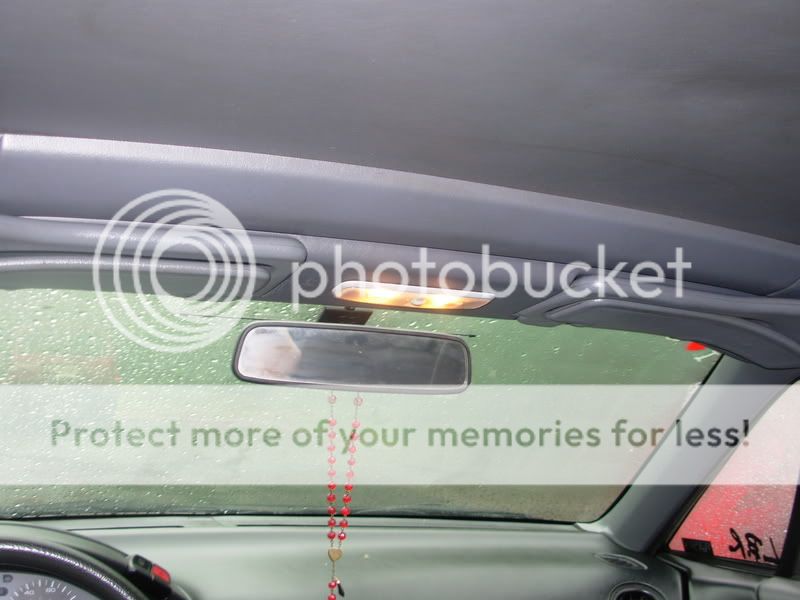
Materials
*Maplight assembly, Part #34256-SR3-901ZB
*Ruler
*Cardboard box
*Grease Pen
*Box Cutter/dermal
*Wire
*Wire Cuter/Pillars
*Flat-head Screwdriver
*Philip's Screwdriver
First Get all your materials ready so you won't waste time or go crazy looking for them.
Second part is to get into your sol. Start taking out the caps from the visors. You use you flat head to take out the Screws holding the visors. There should be 4 on each.
It should look like this with the visors out.
Get you Philip's screwdriver and take out the two Philip's screws holding the visor panel. Once you get the out pull it down. Take it to you work area. Get your ruler ready and start to measure the ek map light. Height should be 1inch width is 5-1/8. Cut it out of your cardboard box sheet. Now you have your template. Place your template over the center panel.
Now take the you grease pen and shad-in or X of the cut out area. The take you Box cuter or Dermal and cut out the shade area. I used i a box cuter it should look like this.
It should snap in place. If it doesn't fit look where it need to be shave down a little.
Here my Favorite part doing the wiring. Get you wires make 3 lengths. 1 about 3-4 feet. Two about 5 inches. On the ek map light uses the mounting screws for ground we don't need screws since the light snaps in place. Some may want to use the if you do get a 1/8 drill bit and drill two holes. Those of you that want to drill holes you don't need the 2-5 inch wires. Those of you that don't want to drill the two peaces of wires are for the ground. You can pry the metal tabs and stick the ground wires and push it down. It will hold for the one that are concerned. It will look like this
Now for the the long wire you want to hook up two Slot connectors on each end. This will be the 12v wire. One end is hook up to the tab on top of the map light. It can get ran down the drive pillar so you can hook it up to slot A of the fuse box.
Now put everything back. When you put the driver visor back you want to connect the ground to on of the screws. Tighten everything up and look back and enjoy your map light.
Here are pictures of it installed.
Off
On
Last edited by Nbboy7; 06-20-2020 at 11:42 AM.

 09-24-2008, 12:46 PM
#4
<TABLE WIDTH="90%" CELLSPACING=0 CELLPADDING=0 ALIGN=CENTER><TR><TD>Quote, originally posted by riceburnerryan »</TD></TR><TR><TD CLASS="quote">nice write up... i have a eg hatch, so wont be doing this, but def a good write up</TD></TR></TABLE>
I did a maplight writeup for an EG.
https://honda-tech.com/zerothread?id=1721535
I did a maplight writeup for an EG.
https://honda-tech.com/zerothread?id=1721535
Trending Topics


Thread
Thread Starter
Forum
Replies
Last Post
real human VTEC
Honda Civic / Del Sol (1992 - 2000)
26
09-02-2005 04:50 AM