
DIY: Moon cut valve cover for GSR, ITR heads.. Very detailed!
 07-26-2007, 10:03 AM
#1
Figure'd I'd post this for the civic guys who has GSR and ITR swaps.
<FONT COLOR="Red"><FONT SIZE="3">DIY: Moon cut valve cover!</FONT></FONT>
Tools needed:
Valve Cover
Drill
1/8 bit
3 1/2" hole saw<----- Seems to be the perfect size
Pilot bit holder thingy (don't know the exact name, sorry)
Hammer
Punch (or Phillips screw driver)
A buddy (or a vice)
Optional: A file to smooth down the edges.
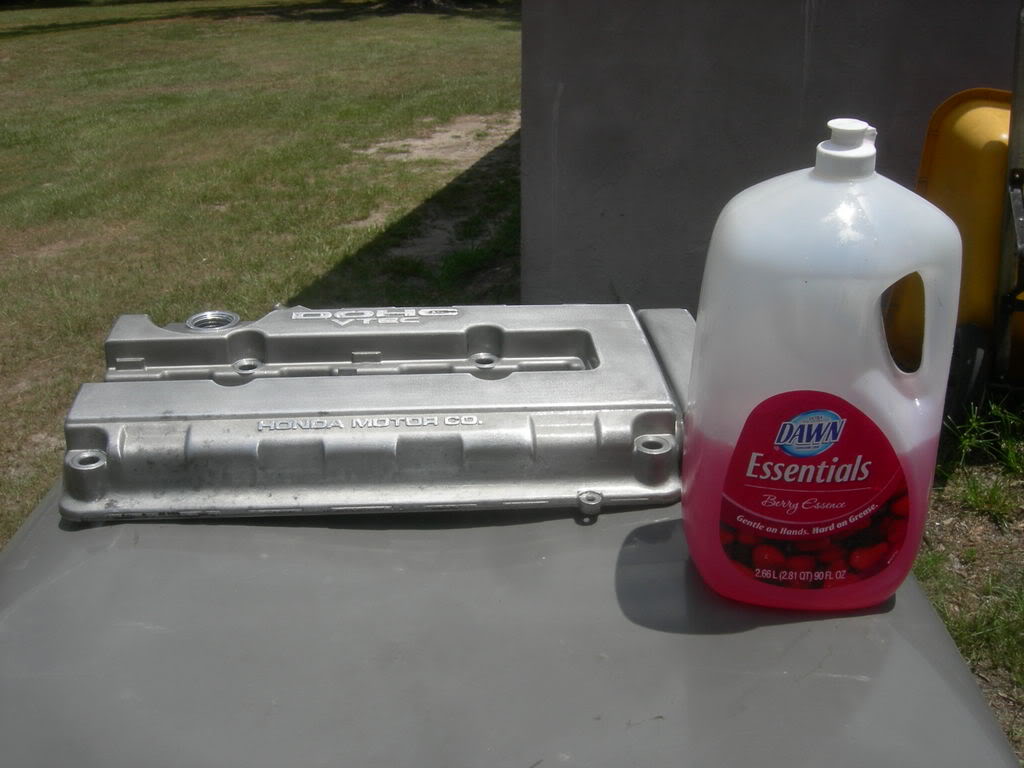
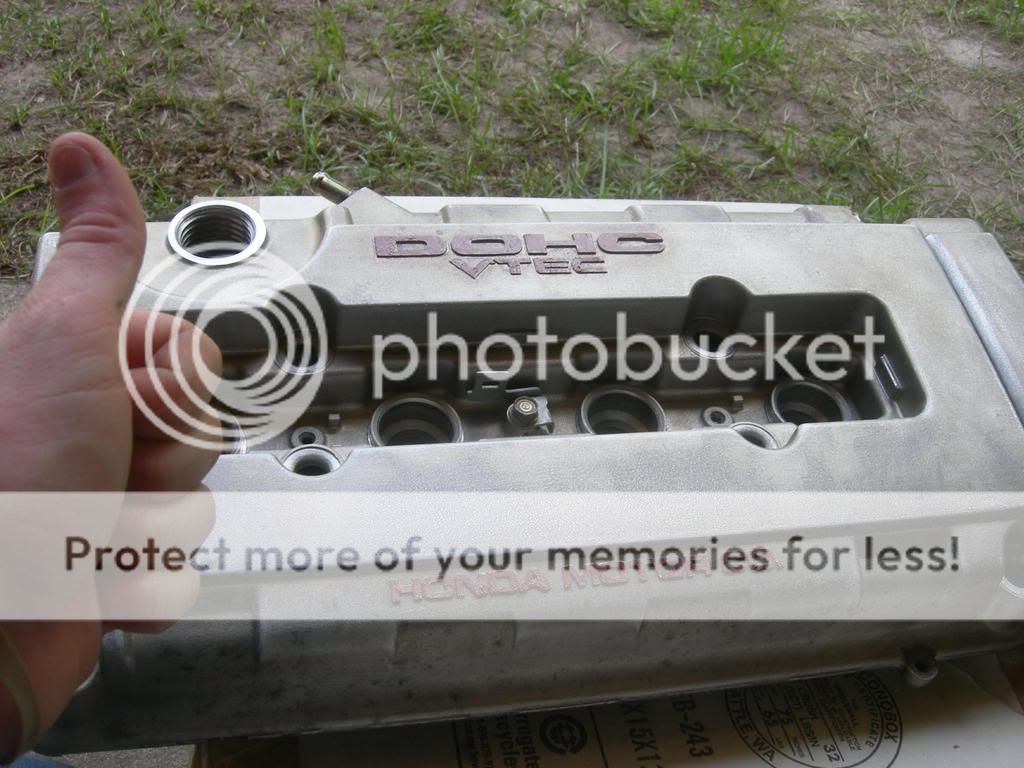
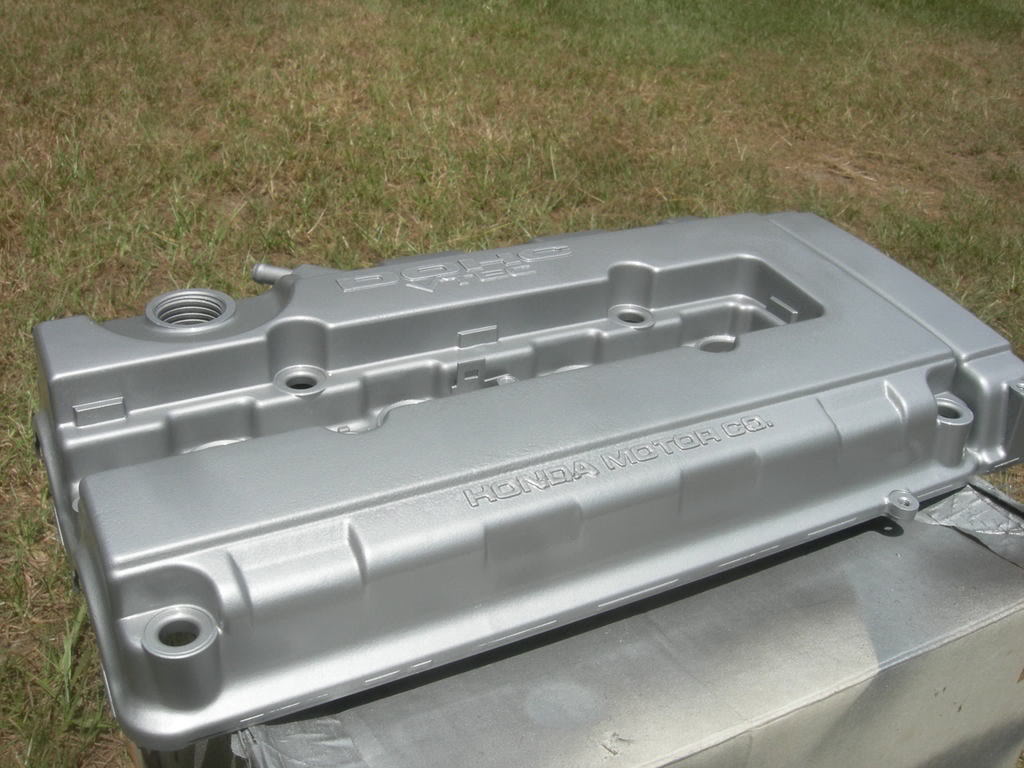
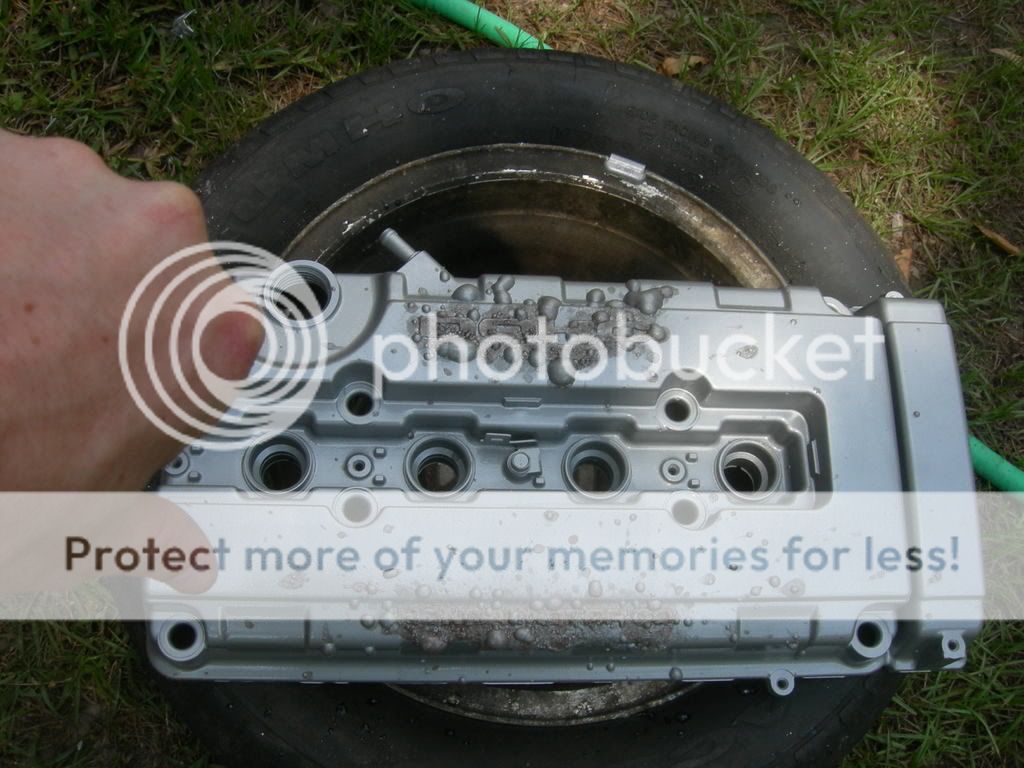
Step 1: Locate your valve cover, remove it and get your tools ready to modify your valve cover!!!
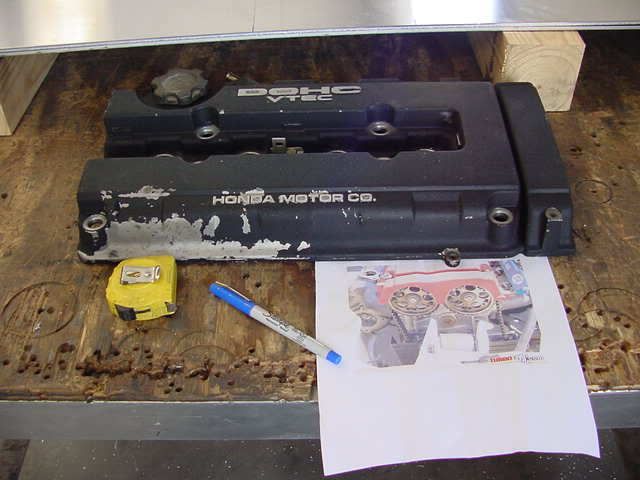


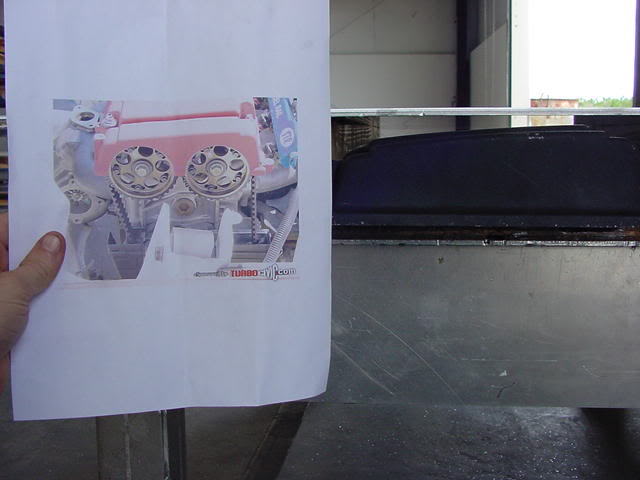
What your starting out with. I used the pic as a size reference for the cam gears.
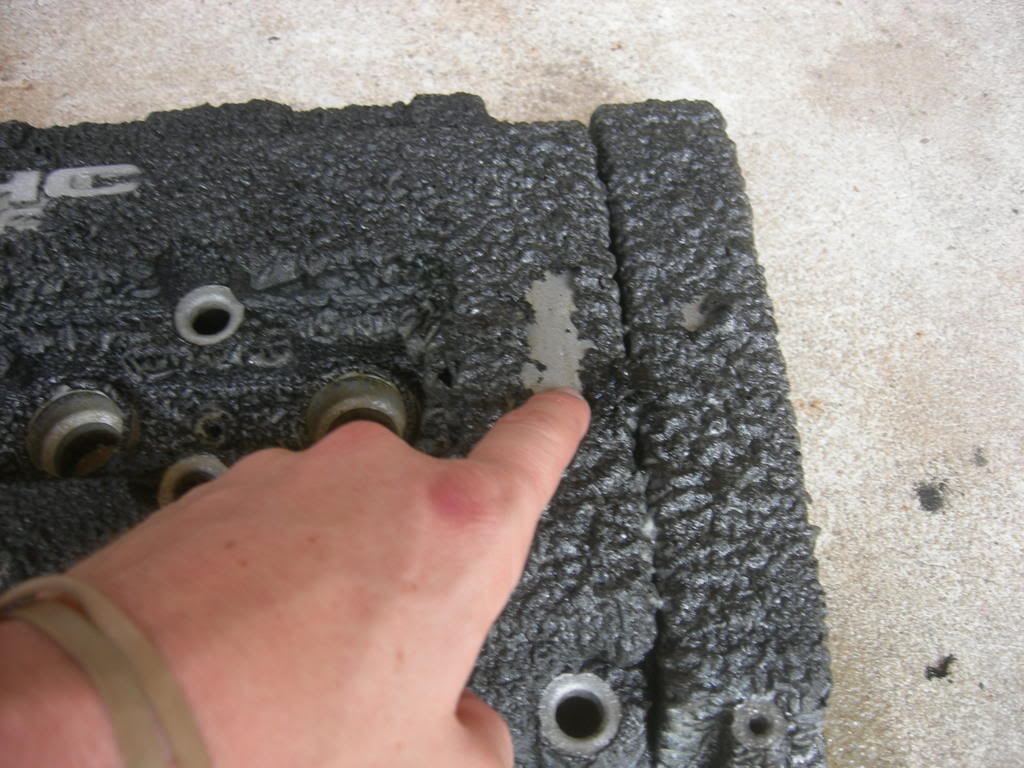
Step 2: Measure to find the center of the cams. To the center of the lil slot, it's 2 5/8", approx. May be a 1/16th off or so.

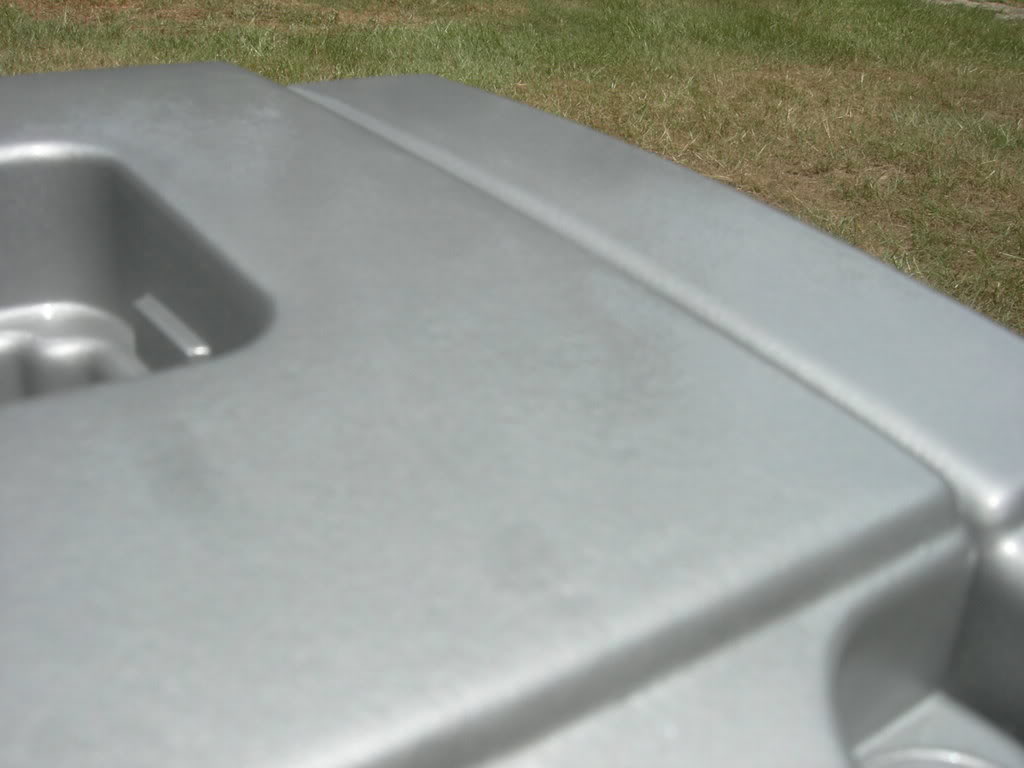
Step 3: Indent the valve cover where your going to drill, and drill a pilot hole. I made my indentions, using the hammer and a punch, about at the top of the lil ridge on the valve cover. Reference t3h pic plz.

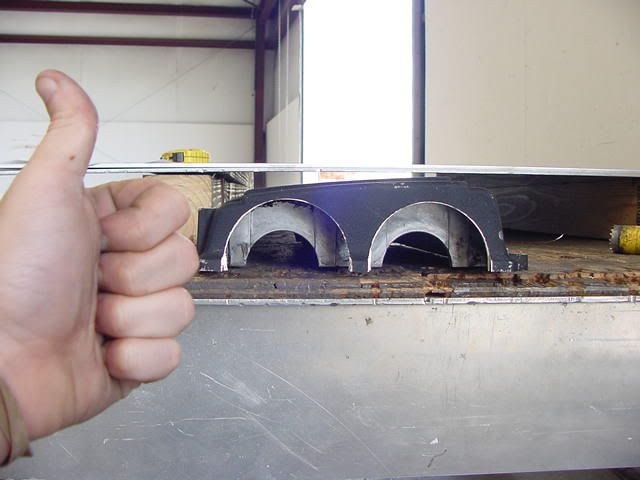
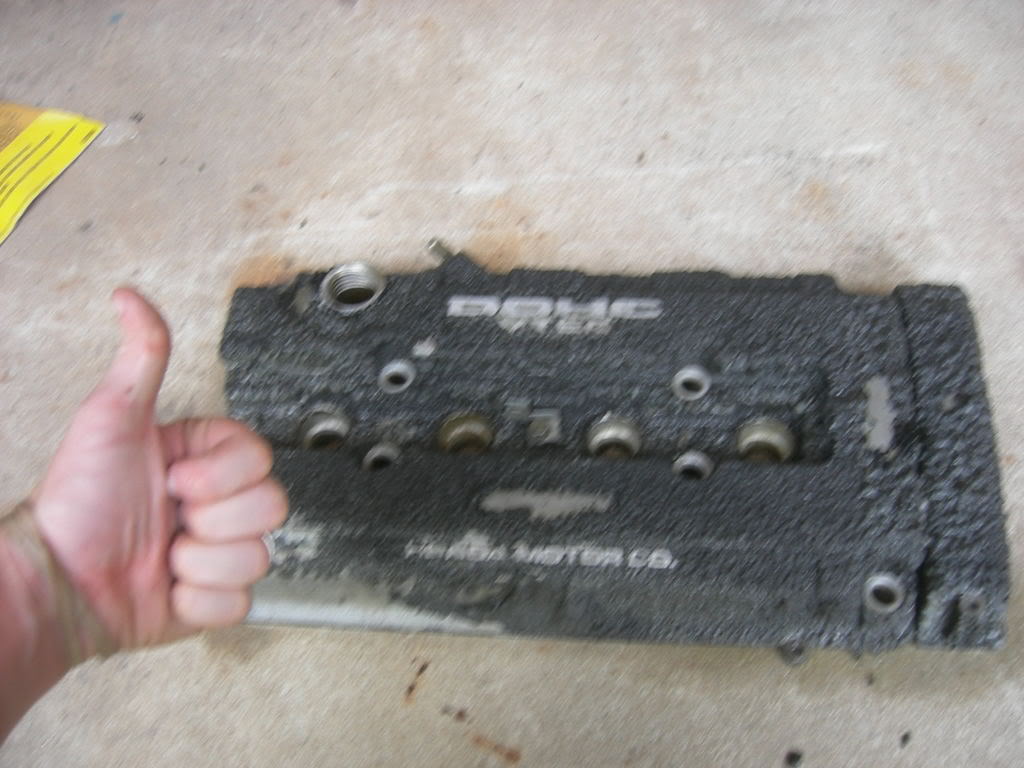
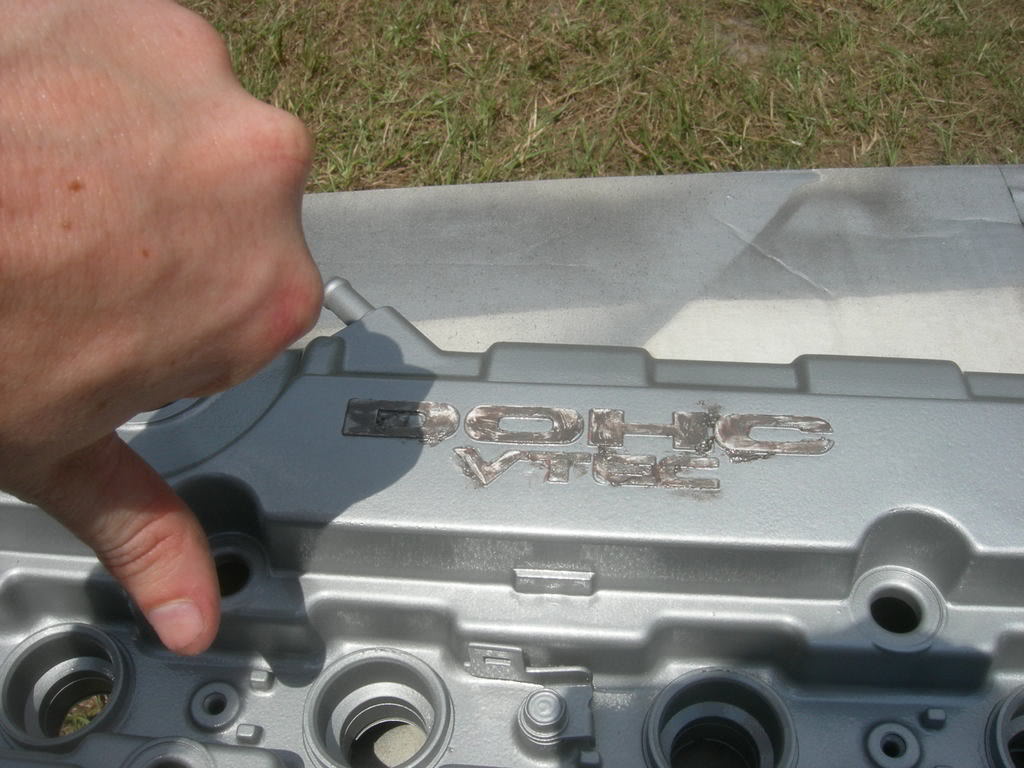
Step 4: Put the hole saw on the drill w/the pilot bit. Using a buddy or a vice (I used my good friend Dan) secure the valve cover so it won't move, muster up some courage and start cutting the valve cover. Maybe you'll end up with something like this.

You know I gotta throw a thumbs up in there
Step 5: Optional: Using a file, file down the sharpe edges till they are smooth. Don't want to possibly knick your timing belt when you re-install your valve cover. his may keep you from possibly cutting youself too, but who cares: Your finger will heal for free, you'd have to BUY a new timing belt Plus chics dig scarzz
Step 5 (or Step 6 if optional step is used): Clean the valve cover. Don't want any bits of metal in your engine do you? I didn't think so. Clean it as best as you can.
And.................... Well, I did this about 30 mins ago, and I won't be installing my head untill next weekend, so no finished pics of it on the car, but I'll update whenever I can.
Hope this works for you guys. I didn't see a DIY detailed enough for my liking, so maye this will help somebody one day
If you see anything that could add to this DIY and make it more helpful, by all means, let me know and I'll change it.
Enj0y!
Modified by mac_24_seven at 6:38 AM 8/1/2007
Modified by mac_24_seven at 6:38 AM 8/1/2007
<FONT COLOR="Red"><FONT SIZE="3">DIY: Moon cut valve cover!</FONT></FONT>
Tools needed:
Valve Cover
Drill
1/8 bit
3 1/2" hole saw<----- Seems to be the perfect size
Pilot bit holder thingy (don't know the exact name, sorry)
Hammer
Punch (or Phillips screw driver)
A buddy (or a vice)
Optional: A file to smooth down the edges.
Step 1: Locate your valve cover, remove it and get your tools ready to modify your valve cover!!!
What your starting out with. I used the pic as a size reference for the cam gears.
Step 2: Measure to find the center of the cams. To the center of the lil slot, it's 2 5/8", approx. May be a 1/16th off or so.
Step 3: Indent the valve cover where your going to drill, and drill a pilot hole. I made my indentions, using the hammer and a punch, about at the top of the lil ridge on the valve cover. Reference t3h pic plz.
Step 4: Put the hole saw on the drill w/the pilot bit. Using a buddy or a vice (I used my good friend Dan) secure the valve cover so it won't move, muster up some courage and start cutting the valve cover. Maybe you'll end up with something like this.
You know I gotta throw a thumbs up in there
Step 5: Optional: Using a file, file down the sharpe edges till they are smooth. Don't want to possibly knick your timing belt when you re-install your valve cover. his may keep you from possibly cutting youself too, but who cares: Your finger will heal for free, you'd have to BUY a new timing belt
Plus chics dig scarzz Step 5 (or Step 6 if optional step is used): Clean the valve cover. Don't want any bits of metal in your engine do you? I didn't think so. Clean it as best as you can.
And.................... Well, I did this about 30 mins ago, and I won't be installing my head untill next weekend, so no finished pics of it on the car, but I'll update whenever I can.
Hope this works for you guys. I didn't see a DIY detailed enough for my liking, so maye this will help somebody one day
If you see anything that could add to this DIY and make it more helpful, by all means, let me know and I'll change it.
Enj0y!
Modified by mac_24_seven at 6:38 AM 8/1/2007
Modified by mac_24_seven at 6:38 AM 8/1/2007
 07-26-2007, 10:28 AM
#5
Honda-Tech Member
<TABLE WIDTH="90%" CELLSPACING=0 CELLPADDING=0 ALIGN=CENTER><TR><TD>Quote, originally posted by mac_24_seven »</TD></TR><TR><TD CLASS="quote">Figure'd I'd post this for the civic guys who has GSR and ITR swaps.
</TD></TR></TABLE>
what about b16 swaps?
good write up though, i have to repaint my valve cover soon, i'l most likely do this prior to the paint.
saved on my favorites!
</TD></TR></TABLE>
what about b16 swaps?
good write up though, i have to repaint my valve cover soon, i'l most likely do this prior to the paint.
saved on my favorites!
07-26-2007, 10:38 AM
#6
<TABLE WIDTH="90%" CELLSPACING=0 CELLPADDING=0 ALIGN=CENTER><TR><TD>Quote, originally posted by philosofy1 »</TD></TR><TR><TD CLASS="quote">
what about b16 swaps?
good write up though, i have to repaint my valve cover soon, i'l most likely do this prior to the paint.
saved on my favorites! </TD></TR></TABLE>
Can somebody verify the valve cover for the B16 is the same as the GER and ITR?
I think it is, but I'm not 100% sure.
what about b16 swaps?
good write up though, i have to repaint my valve cover soon, i'l most likely do this prior to the paint.
saved on my favorites!
</TD></TR></TABLE>Can somebody verify the valve cover for the B16 is the same as the GER and ITR?
I think it is, but I'm not 100% sure.
07-26-2007, 10:46 AM
#7
Honda-Tech Member
<TABLE WIDTH="90%" CELLSPACING=0 CELLPADDING=0 ALIGN=CENTER><TR><TD>Quote, originally posted by mac_24_seven »</TD></TR><TR><TD CLASS="quote">
Can somebody verify the valve cover for the B16 is the same as the GER and ITR?
I think it is, but I'm not 100% sure.</TD></TR></TABLE>
all b-series vtec heads have the same valve cover.
Can somebody verify the valve cover for the B16 is the same as the GER and ITR?
I think it is, but I'm not 100% sure.</TD></TR></TABLE>
all b-series vtec heads have the same valve cover.
Trending Topics
07-26-2007, 10:58 AM
#8
<TABLE WIDTH="90%" CELLSPACING=0 CELLPADDING=0 ALIGN=CENTER><TR><TD>Quote, originally posted by philosofy1 »</TD></TR><TR><TD CLASS="quote">
all b-series vtec heads have the same valve cover.
</TD></TR></TABLE>
Co Signed.
Awesome write up
all b-series vtec heads have the same valve cover.
</TD></TR></TABLE>
Co Signed.
Awesome write up
07-26-2007, 11:47 AM
#11
Honda-Tech Member
Join Date: Feb 2007
Location: Stay away from my car,, CA, USA
Posts: 2,638
Likes: 0
Received 0 Likes
on
0 Posts
Pretty good. A simple thing, but a good DIY nonetheless
07-28-2007, 11:50 AM
#13
DIY: Painted valve cover.. Part 1
This isn;t really a DIY, per se', it's more of a pictage type thing of how things can be going so well, then turn bad so quickly.
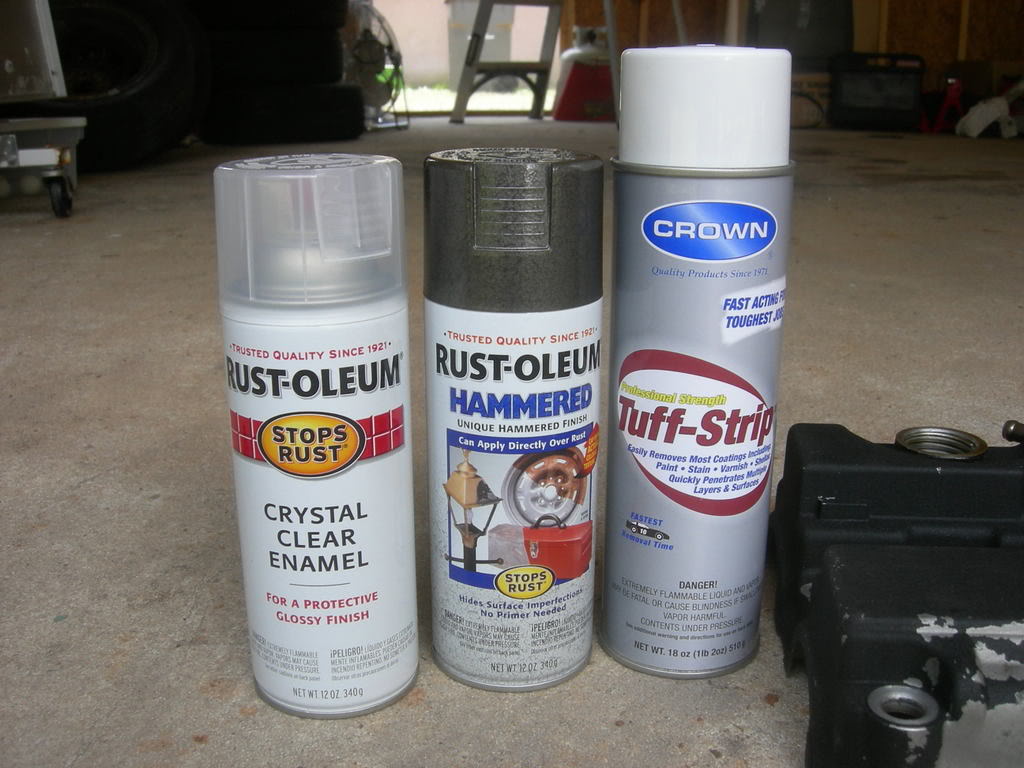
It started out well.. I bought my supplies.

Time to try out paint remover.. Never used the stuff before. As soon as I finished spraying it, I took the following pics.. AWESOME STUFF!!!!

OH yeah!!! Things are going niceely.
Just using the hose, it comes off this easy...
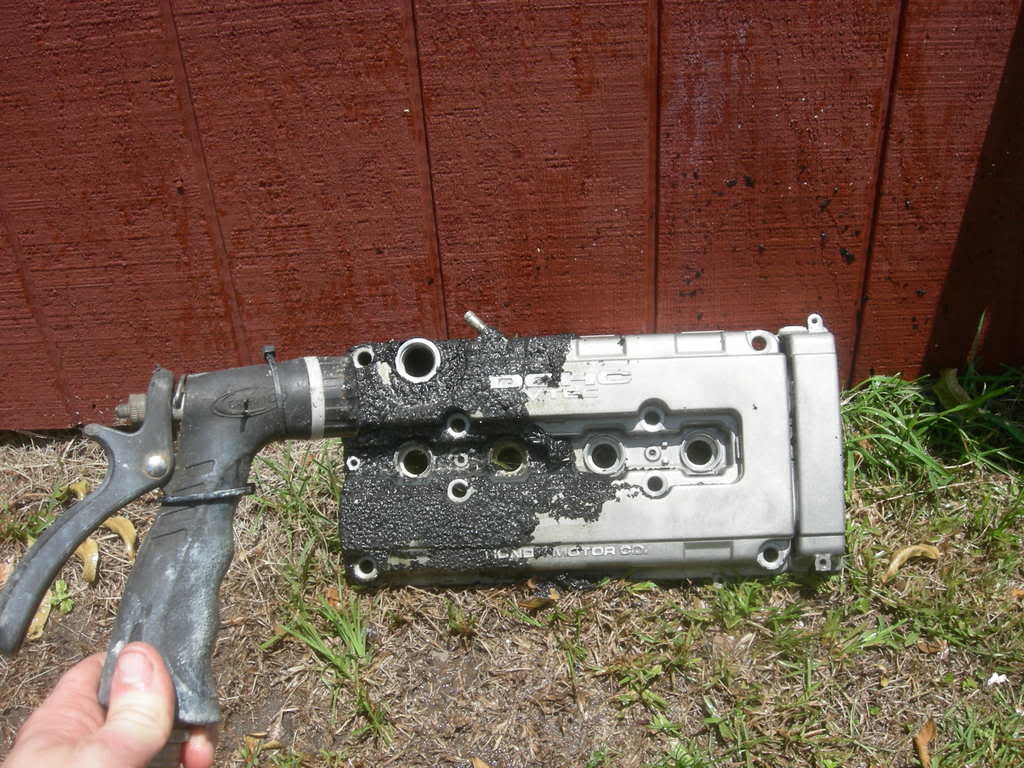
And finishing sparying it..

Sweet, this is going good.
Time to wash it off with some dawn to remove any oils and whatnot.
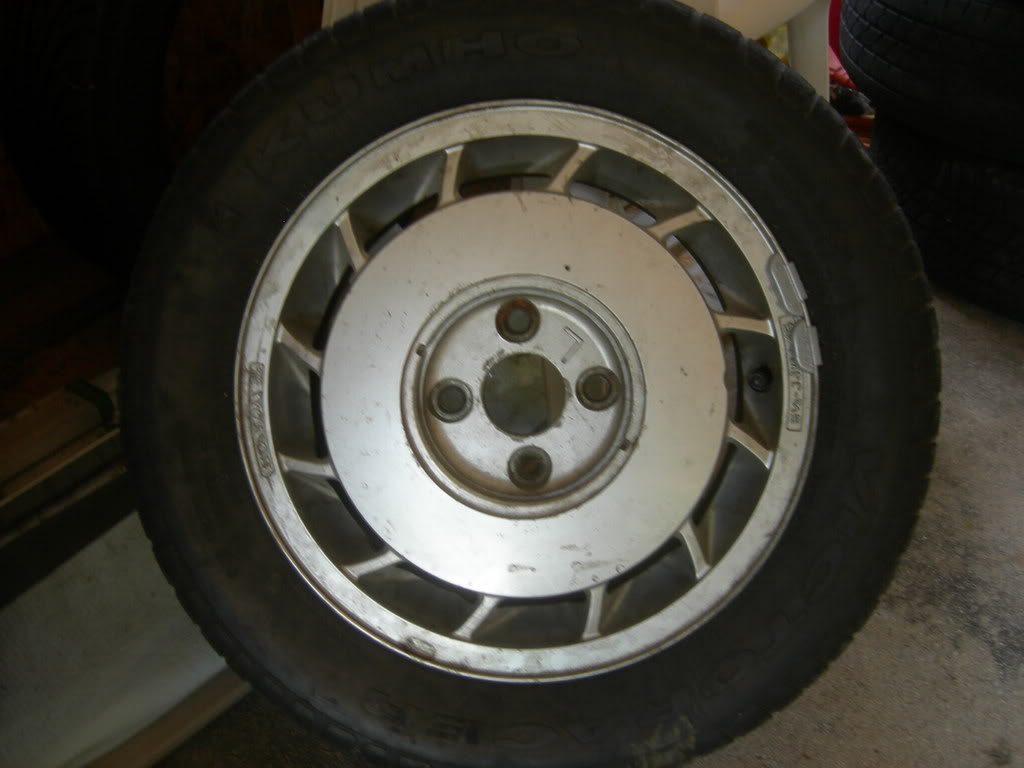
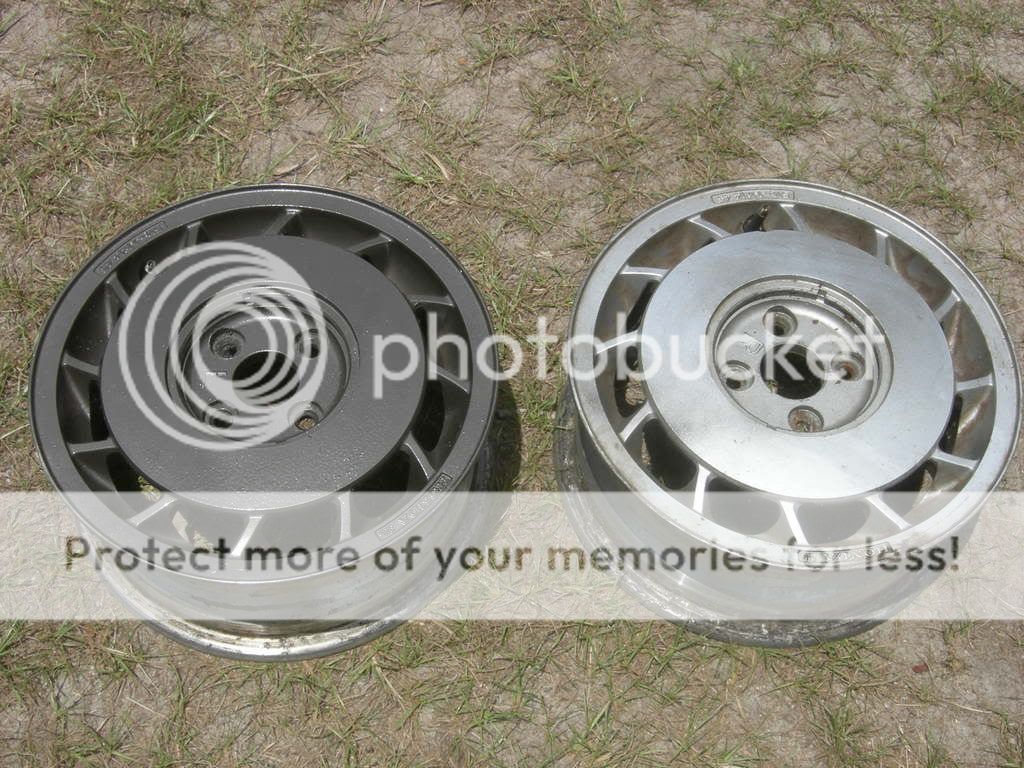
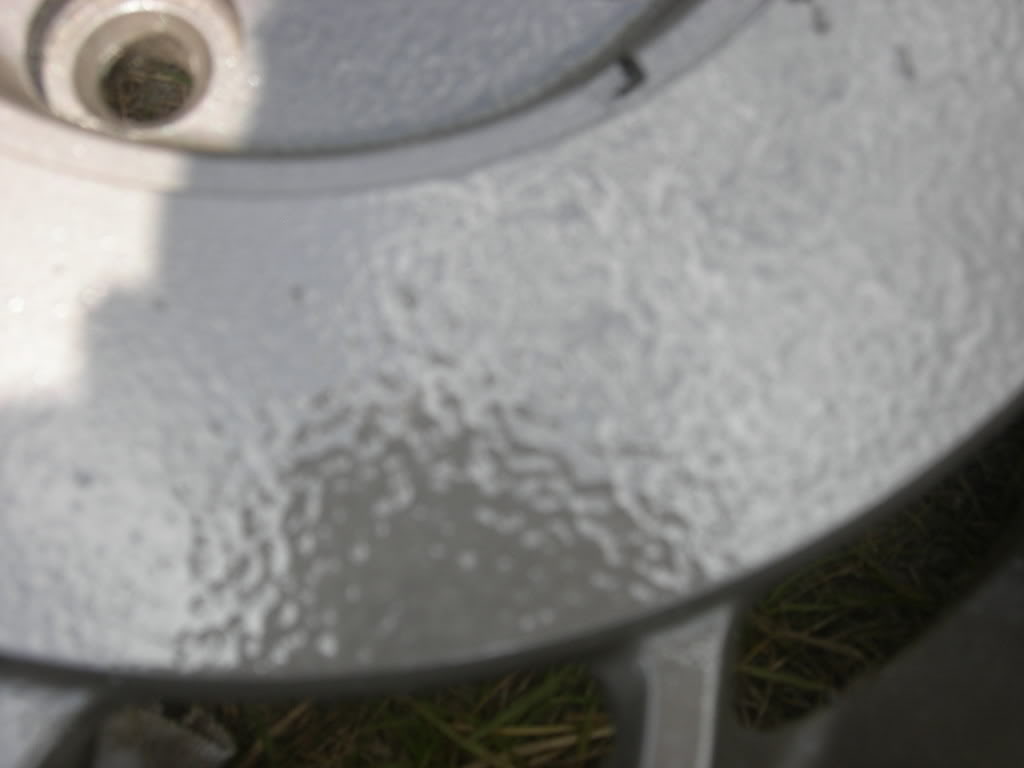
Now, I had to wait for it to dry.. So, I decided to play with some old wheels Andrew has...
Before spray...
After spray.. Sick
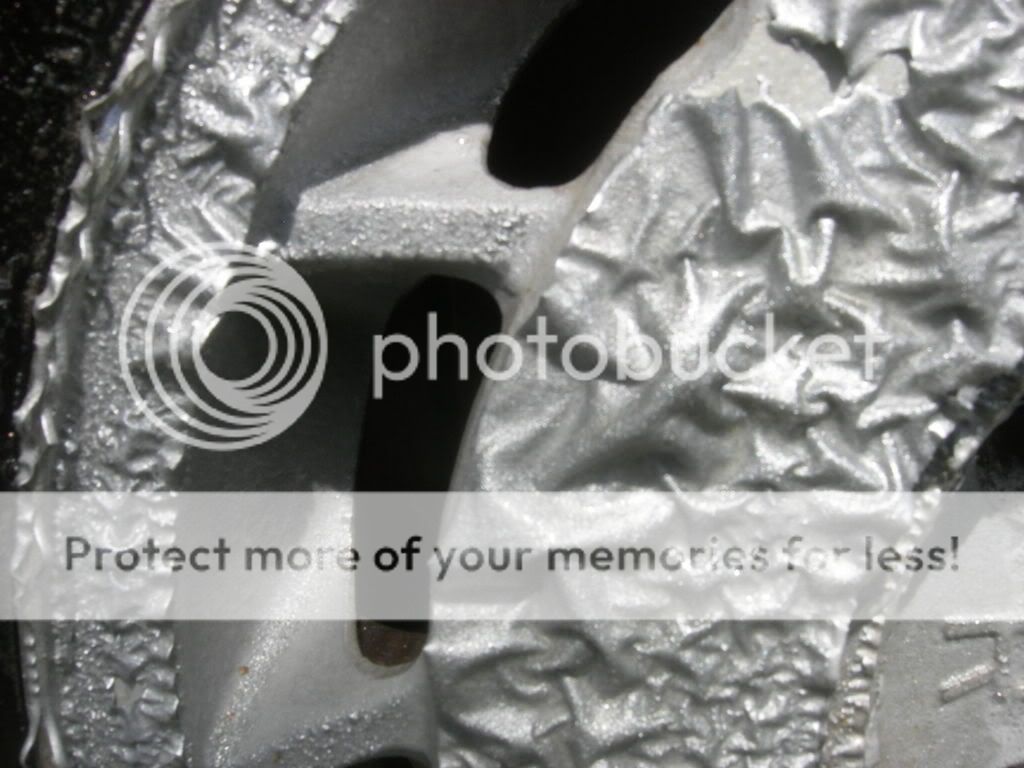

and after a quick spray with the hose..
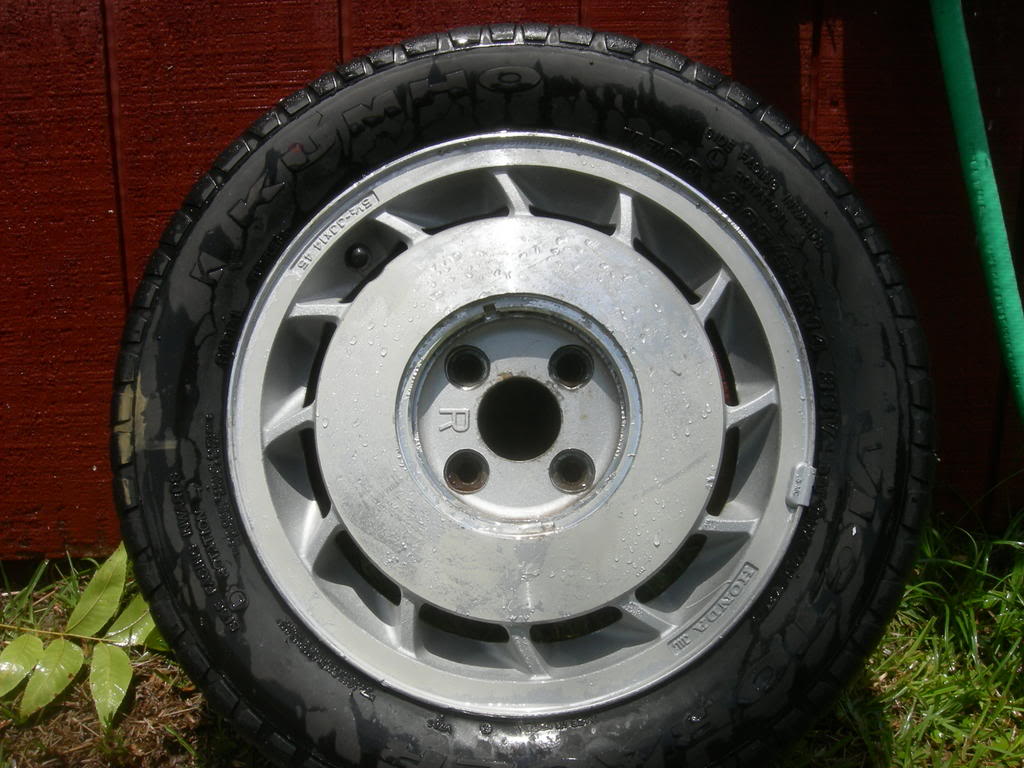
Sweet

OK, back to the valve cover.. It's dry now (hott day in Florida BTW)
So, I needed something to put over the letters on the valve cover, so when I spraye, I could just spray the letters and when I"m done, wipe it off nice and clean.
Not having any jelly or anything, I found some.. Lipstick!! Little did I know that this seemingly, innocent sitck of lipstick would ultimately be my un-doing......
Lipstick applied
Gotta throw the thumbs up in there
So, before I sprayed my valce cover, I wanted to see what it was gonna look like.. So I sptayed another old wheel of Andrews.
Maybe he won't mind
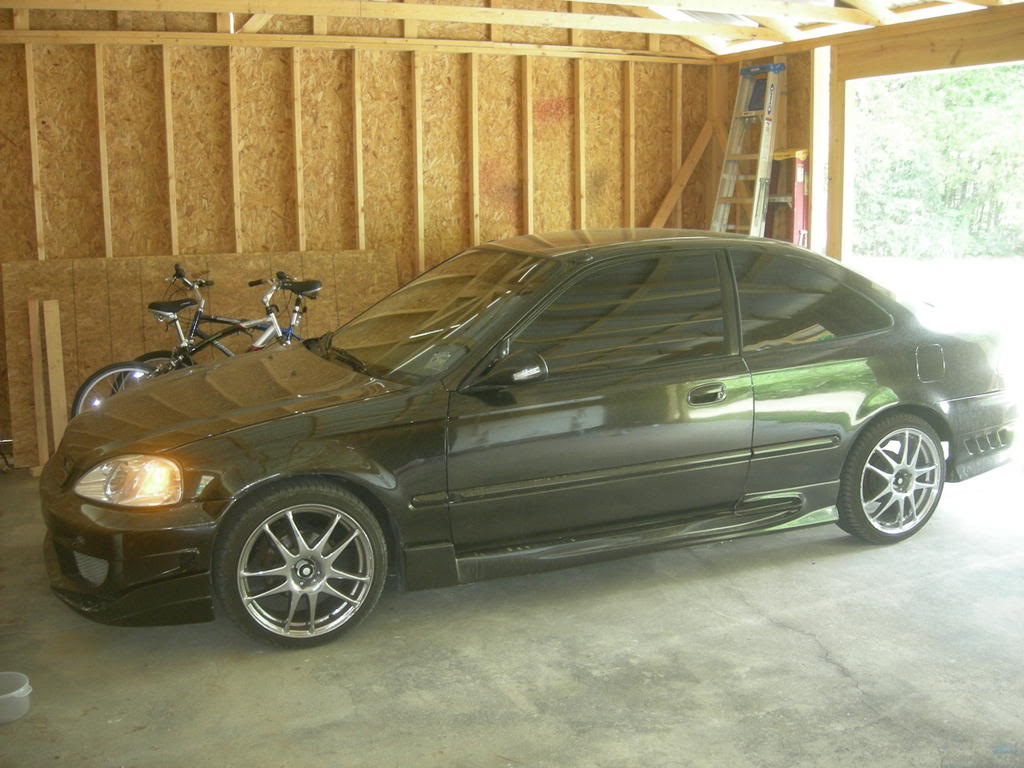
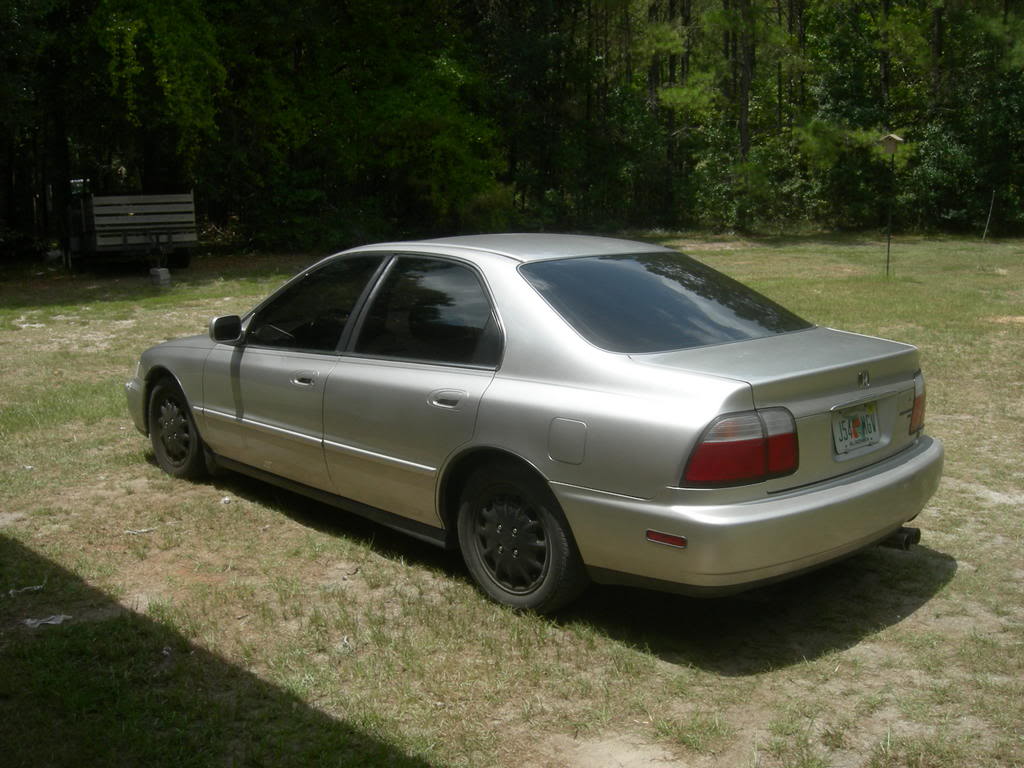
After painting that wheel, on my way back to my valce cover, I figured I"d take a pic of my wifes Accord and my buddy's civic..
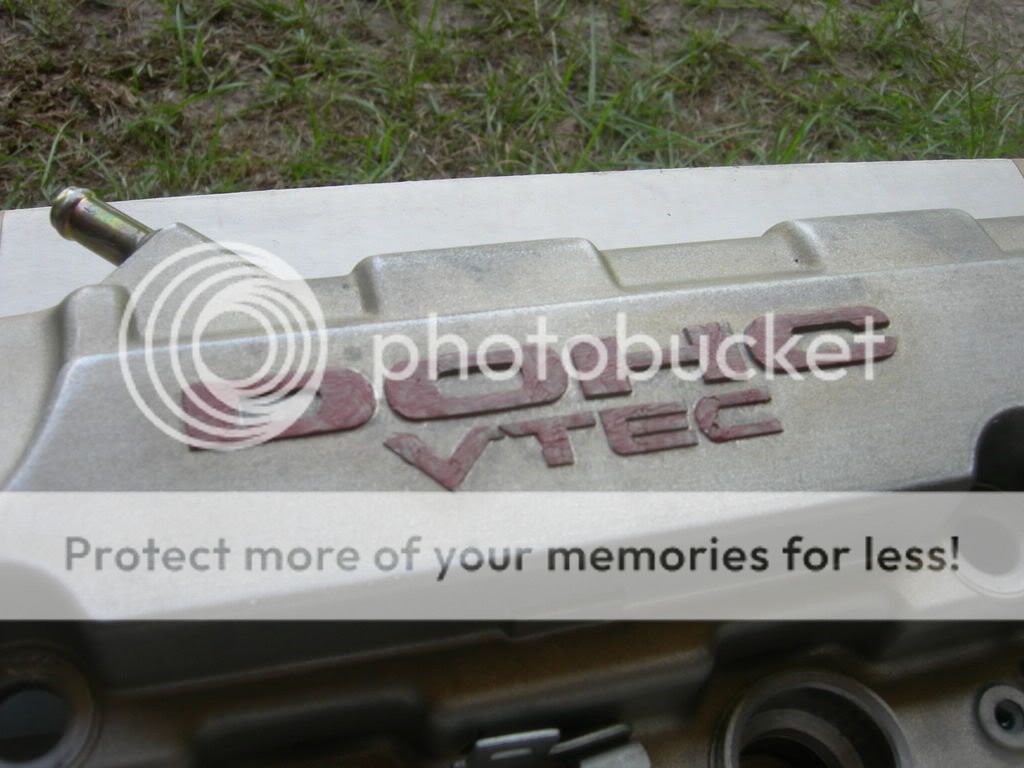
SO I put the first coat of paint on my valve cover.
It's suppose to look liek thing.. hammered Bronze.

Doesnt look very hammered.
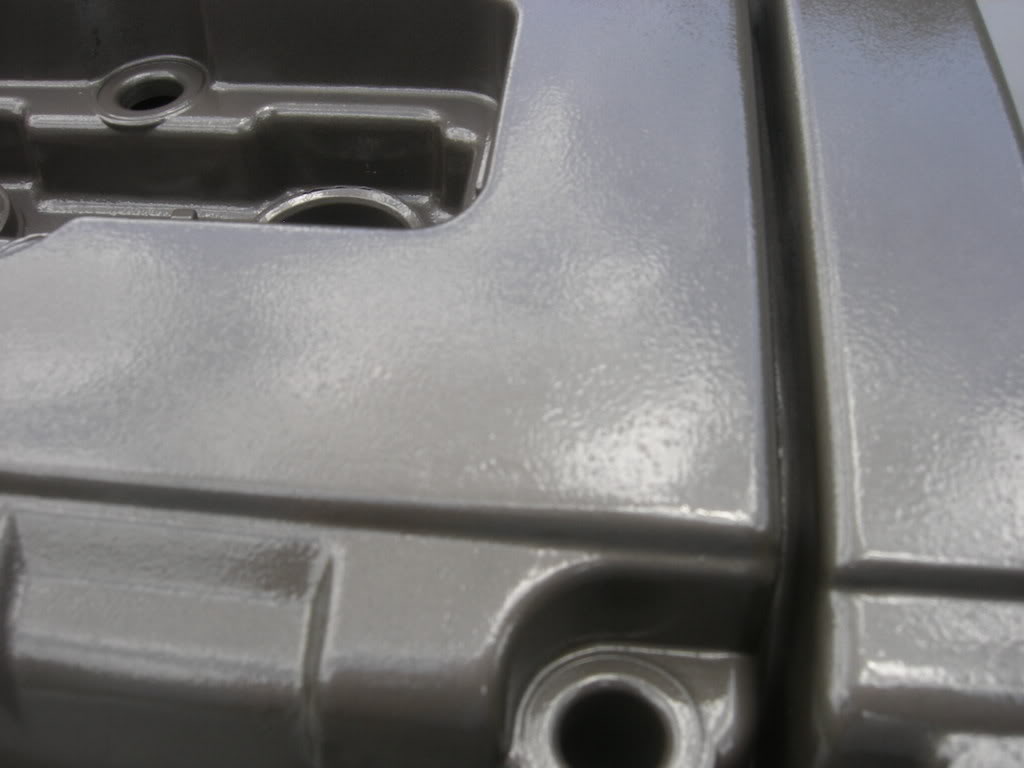
So I sprayed 2 moer coats on it and.. well, I just wasnt feeling it at all. SO, back to lowes I go to get some more paint. I get a much lighter hammered steel paint.
Somewhat hammered looking. Ehh, not really. But I ilked it better than the bronze-ish stuff.
SO, after 2 coats of that, it's time to remove the lipstick/p[aint from the letters on the valve cover.
Some TP to wipe it off with.

DANGER!!!! I'm an effin' idiot. Sometimes I should just stop while I'm ahead. But nooooooooooooooooooooooooooo....
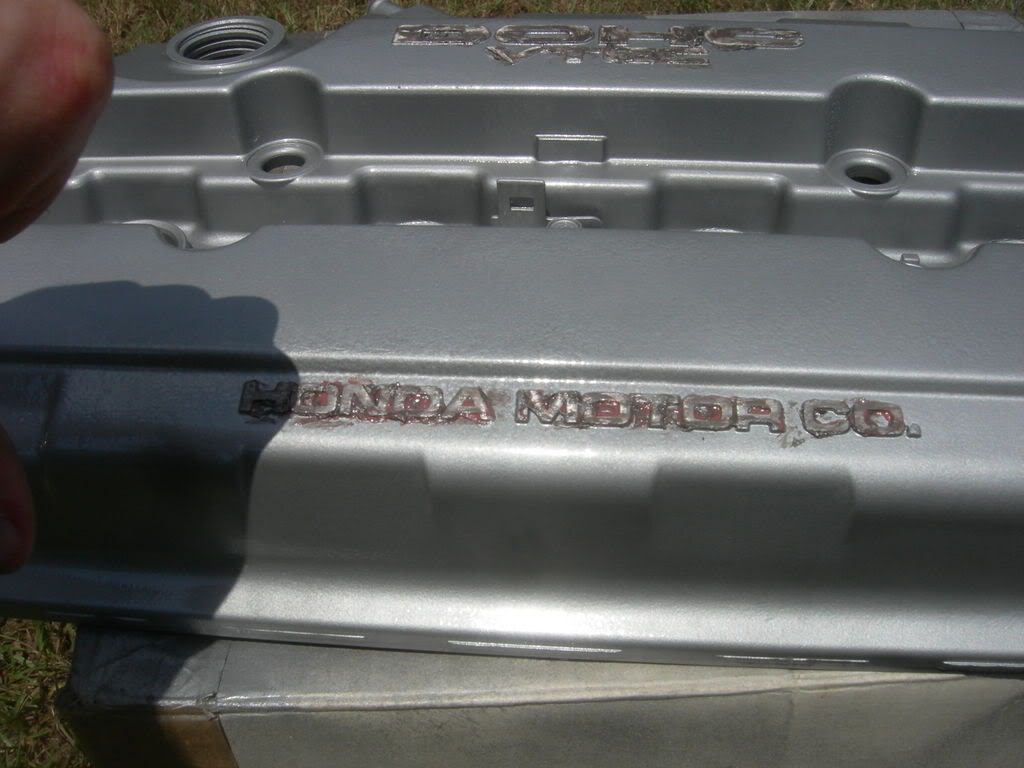
So, damnit... I've messed it up. Thats ok though, I've got my handy dandy paint remover stuff! I'll just spray it, reove the paint, and re-spray it again.
WRONG!
I ran out of stuff.
<sighs>
SO.... This is what I have now
And after some more spraying..


Cliffs..
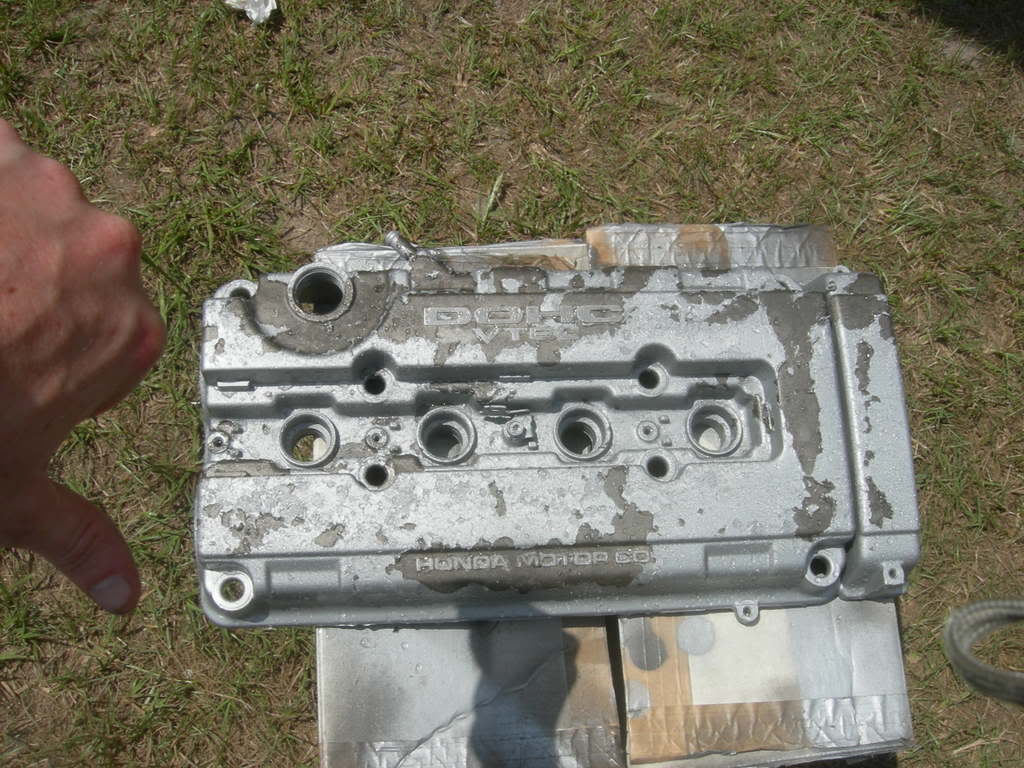
Beginning:
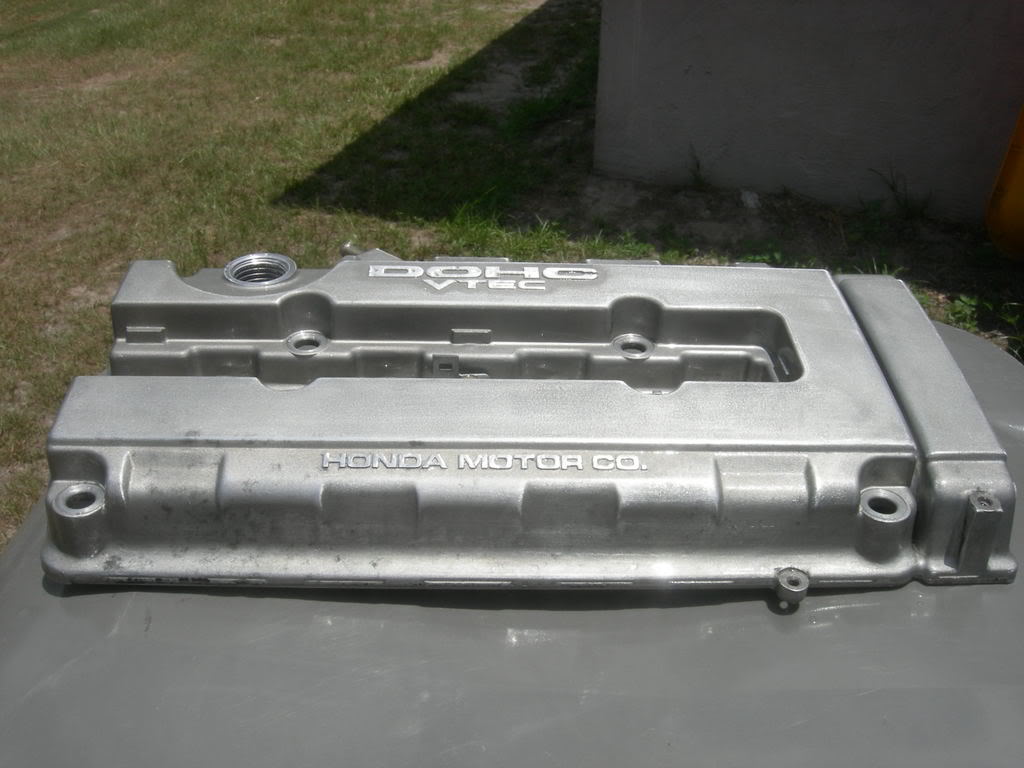
After paint remover:
After the bronze.

After the gray.
After I become more of an idiot.
So... yeah What can I say? I'm a n00b Something that can be so easy can turn wrong very quickly.. Always remember that when your working on a car or anything, really.
Maybe I should have just wet with the wrinkle ITR red
Enj0y!
This isn;t really a DIY, per se', it's more of a pictage type thing of how things can be going so well, then turn bad so quickly
. It started out well.. I bought my supplies.
Time to try out paint remover.. Never used the stuff before. As soon as I finished spraying it, I took the following pics.. AWESOME STUFF!!!!
OH yeah!!! Things are going niceely.
Just using the hose, it comes off this easy...
And finishing sparying it..
Sweet, this is going good.
Time to wash it off with some dawn to remove any oils and whatnot.
Now, I had to wait for it to dry.. So, I decided to play with some old wheels Andrew has...
Before spray...
After spray.. Sick
and after a quick spray with the hose..
Sweet
OK, back to the valve cover.. It's dry now (hott day in Florida BTW)
So, I needed something to put over the letters on the valve cover, so when I spraye, I could just spray the letters and when I"m done, wipe it off nice and clean.
Not having any jelly or anything, I found some.. Lipstick!! Little did I know that this seemingly, innocent sitck of lipstick would ultimately be my un-doing......
Lipstick applied
Gotta throw the thumbs up in there
So, before I sprayed my valce cover, I wanted to see what it was gonna look like.. So I sptayed another old wheel of Andrews.
Maybe he won't mind
After painting that wheel, on my way back to my valce cover, I figured I"d take a pic of my wifes Accord and my buddy's civic..
SO I put the first coat of paint on my valve cover.
It's suppose to look liek thing.. hammered Bronze.
Doesnt look very hammered.
So I sprayed 2 moer coats on it and.. well, I just wasnt feeling it at all. SO, back to lowes I go to get some more paint. I get a much lighter hammered steel paint.
Somewhat hammered looking. Ehh, not really. But I ilked it better than the bronze-ish stuff.
SO, after 2 coats of that, it's time to remove the lipstick/p[aint from the letters on the valve cover.
Some TP to wipe it off with.
DANGER!!!! I'm an effin' idiot. Sometimes I should just stop while I'm ahead. But nooooooooooooooooooooooooooo....
So, damnit... I've messed it up. Thats ok though, I've got my handy dandy paint remover stuff! I'll just spray it, reove the paint, and re-spray it again.
WRONG!
I ran out of stuff.
<sighs>
SO.... This is what I have now
And after some more spraying..
Cliffs..
Beginning:
After paint remover:
After the bronze.
After the gray.
After I become more of an idiot.
So... yeah
What can I say? I'm a n00b Something that can be so easy can turn wrong very quickly.. Always remember that when your working on a car or anything, really.Maybe I should have just wet with the wrinkle ITR red
Enj0y!
07-28-2007, 04:38 PM
#17
Junior Member
Join Date: Apr 2005
Location: Middle of Nowhere, Wyo, US of A
Posts: 402
Likes: 0
Received 0 Likes
on
0 Posts
What you should've done before the lipstick incident was take some emory cloth to the lettering then got some masking tape and a razor, tape off the lettering, and cut the excess tape from the lettering. Sprayed the v.c. and removed the tape, that way the lettering would be nice and silver, and you would've got between each letter But I enjoyed the DIY
But I enjoyed the DIY