When you click on links to various merchants on this site and make a purchase, this can result in this site earning a commission. Affiliate programs and affiliations include, but are not limited to, the eBay Partner Network.
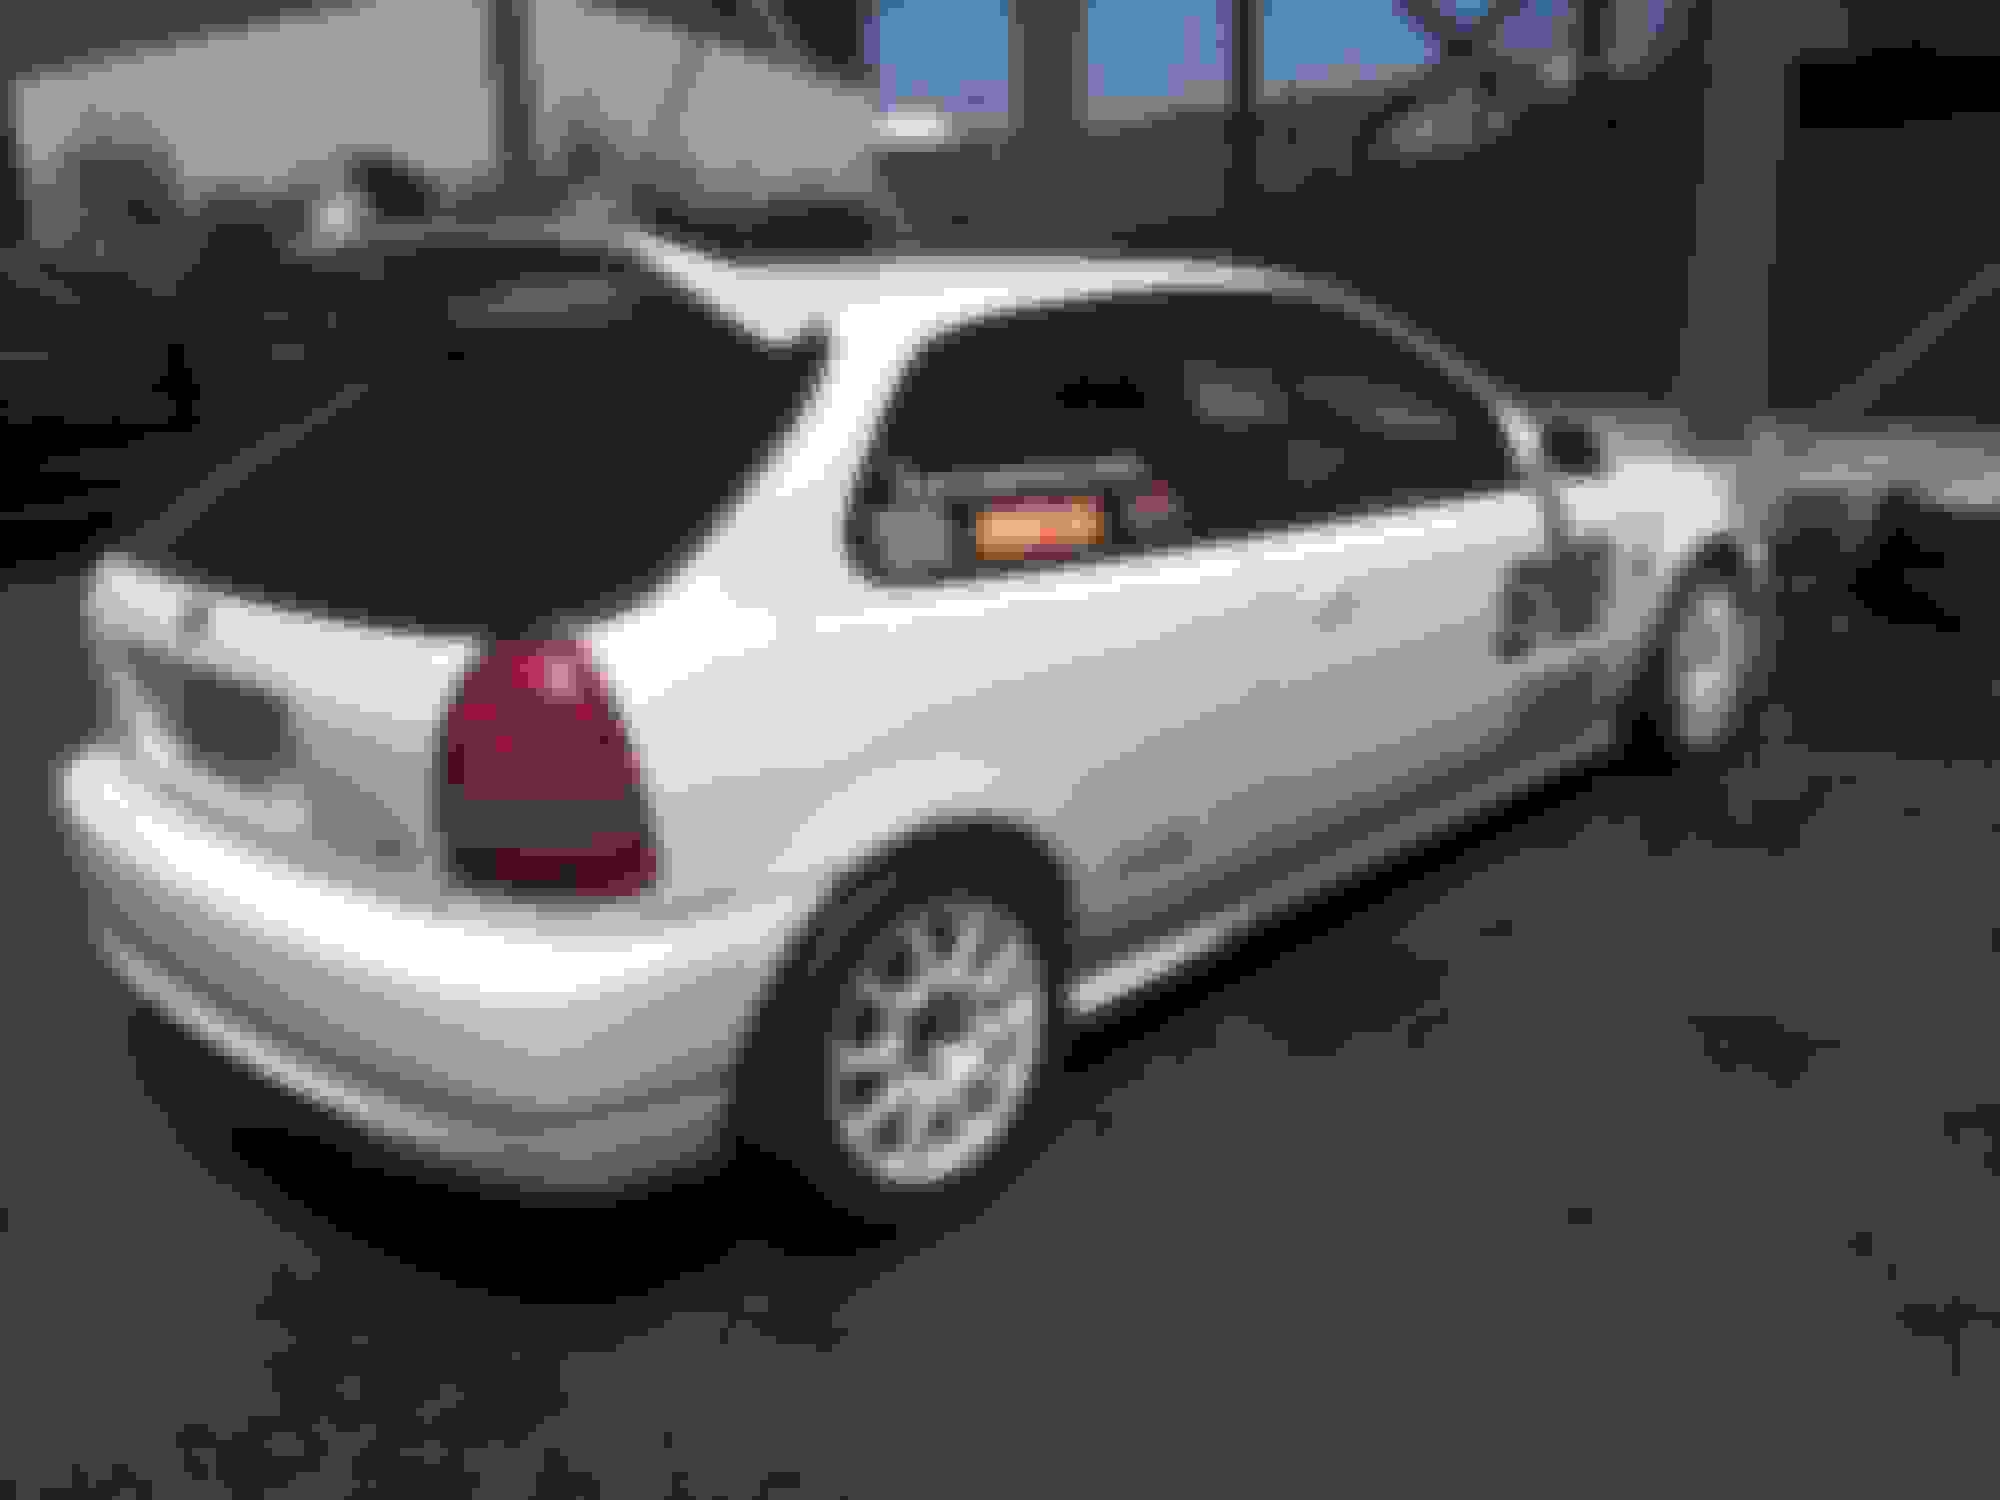
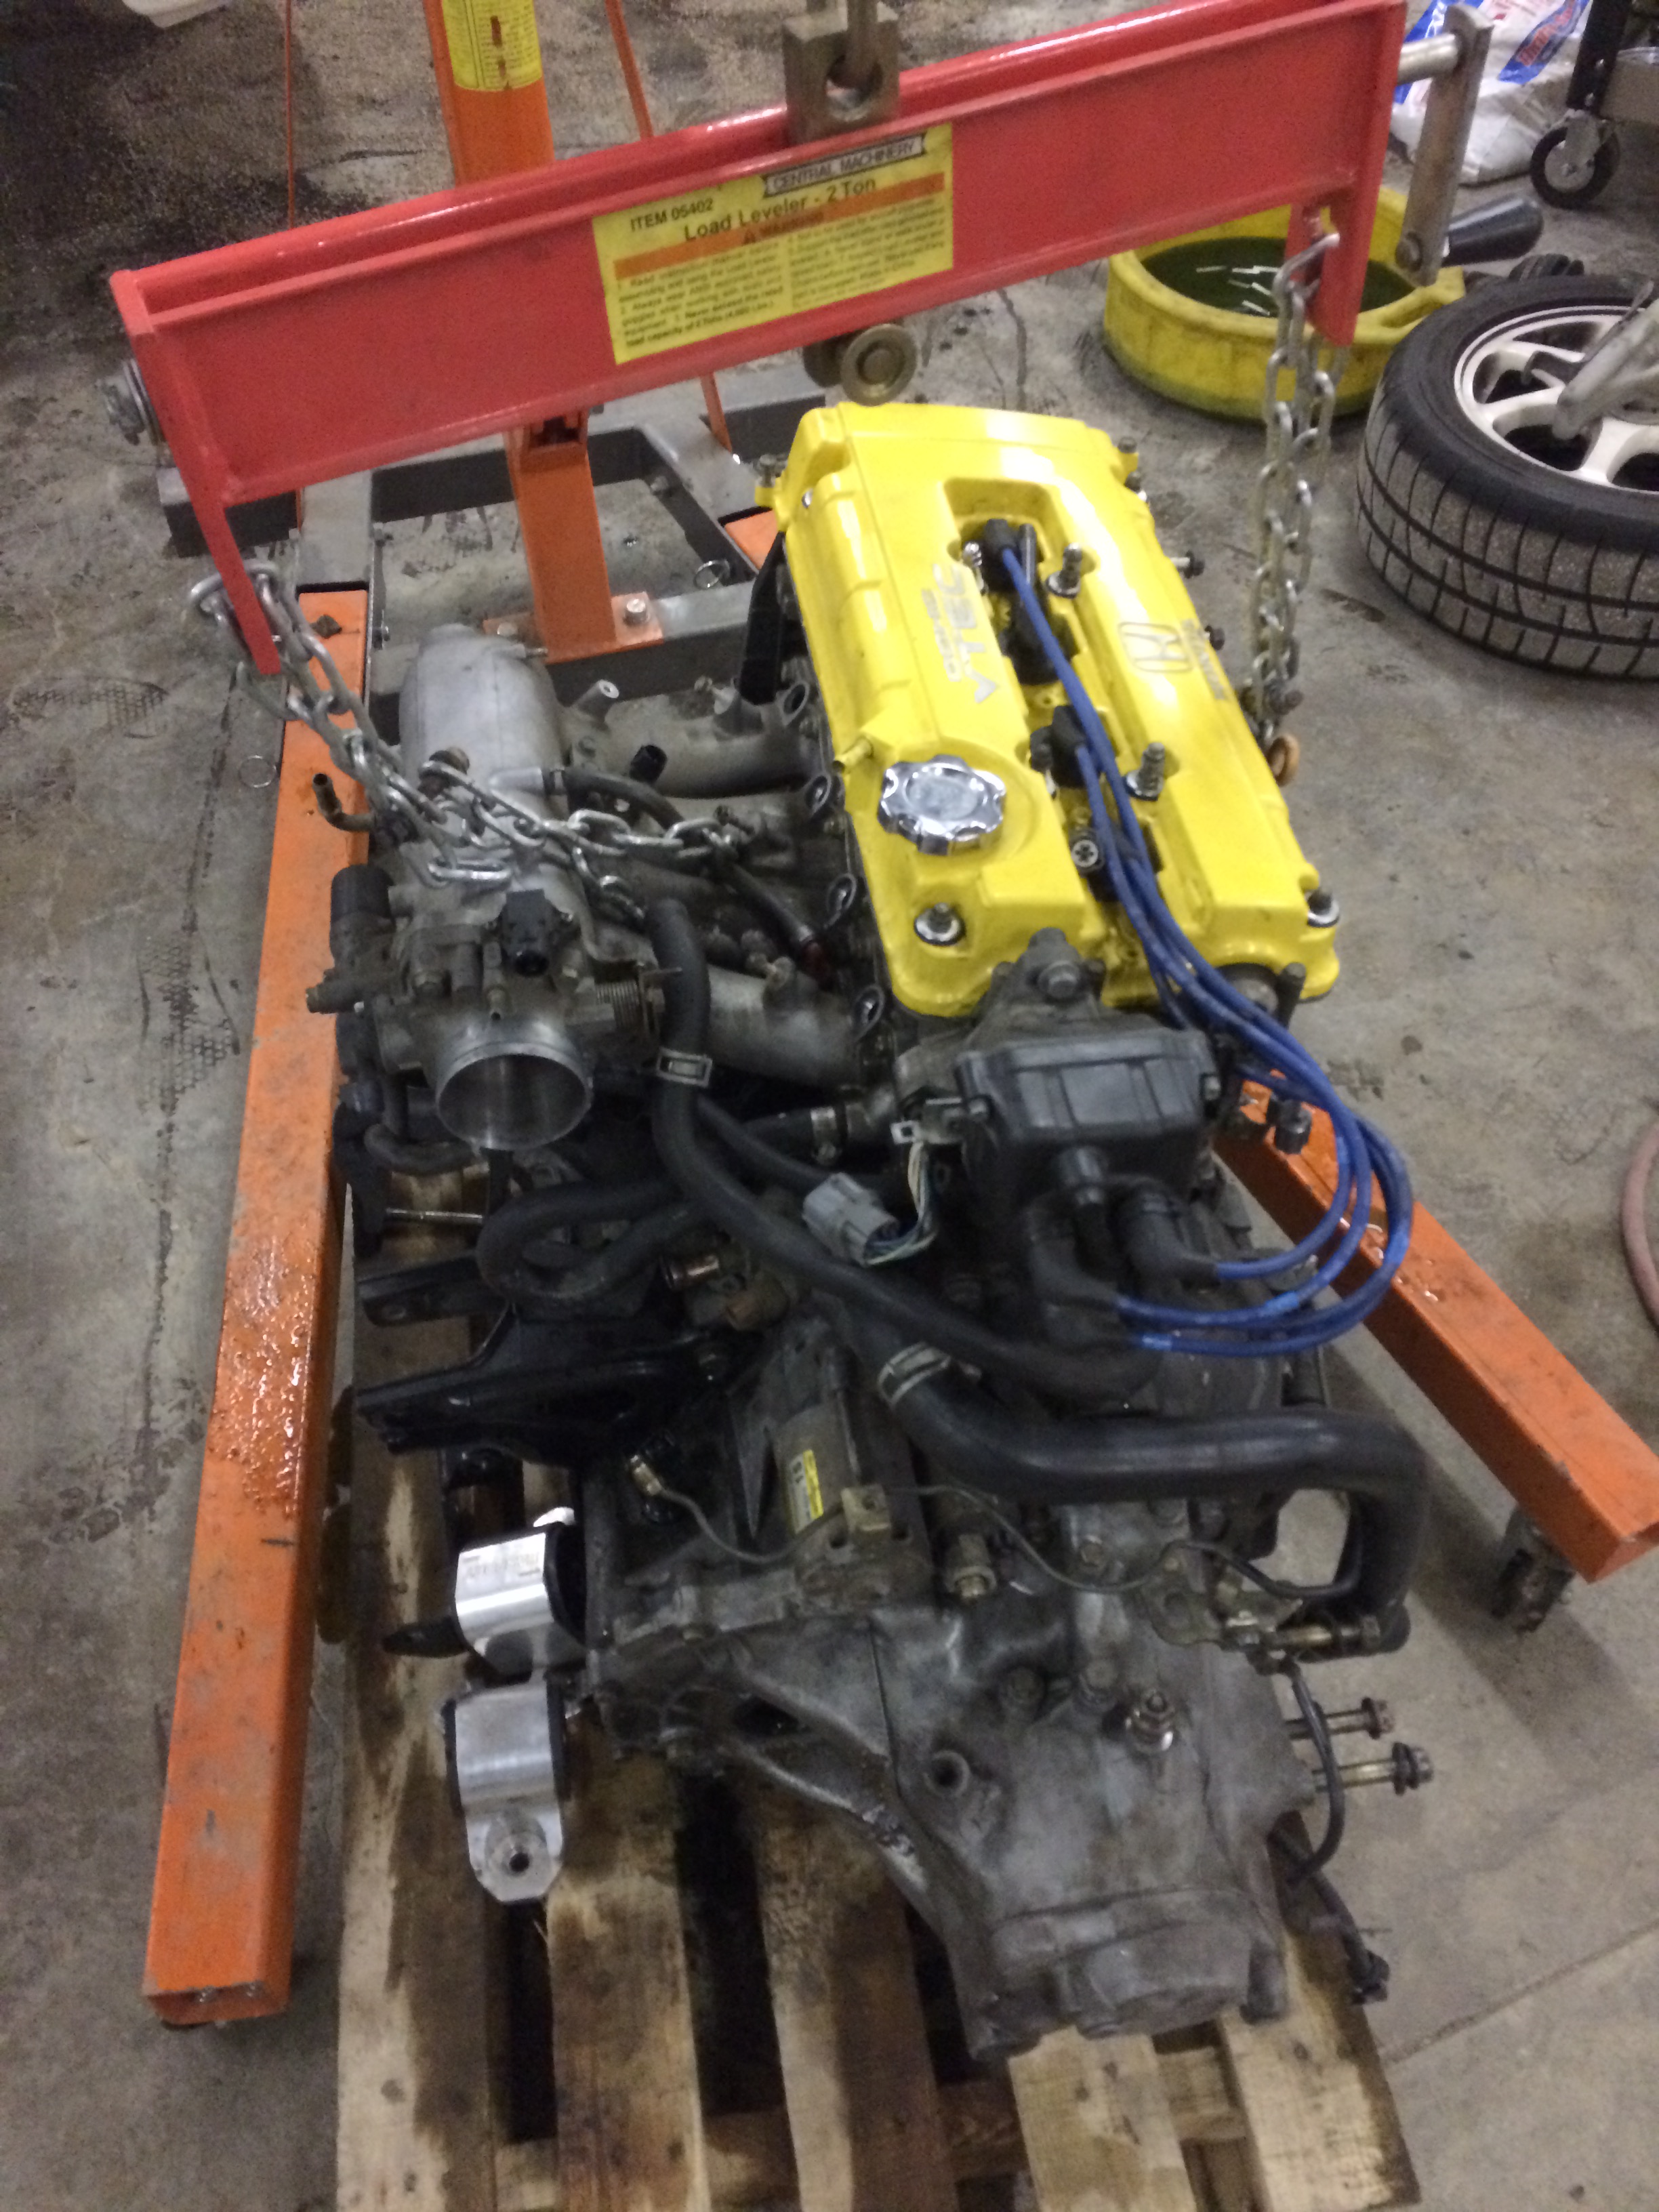
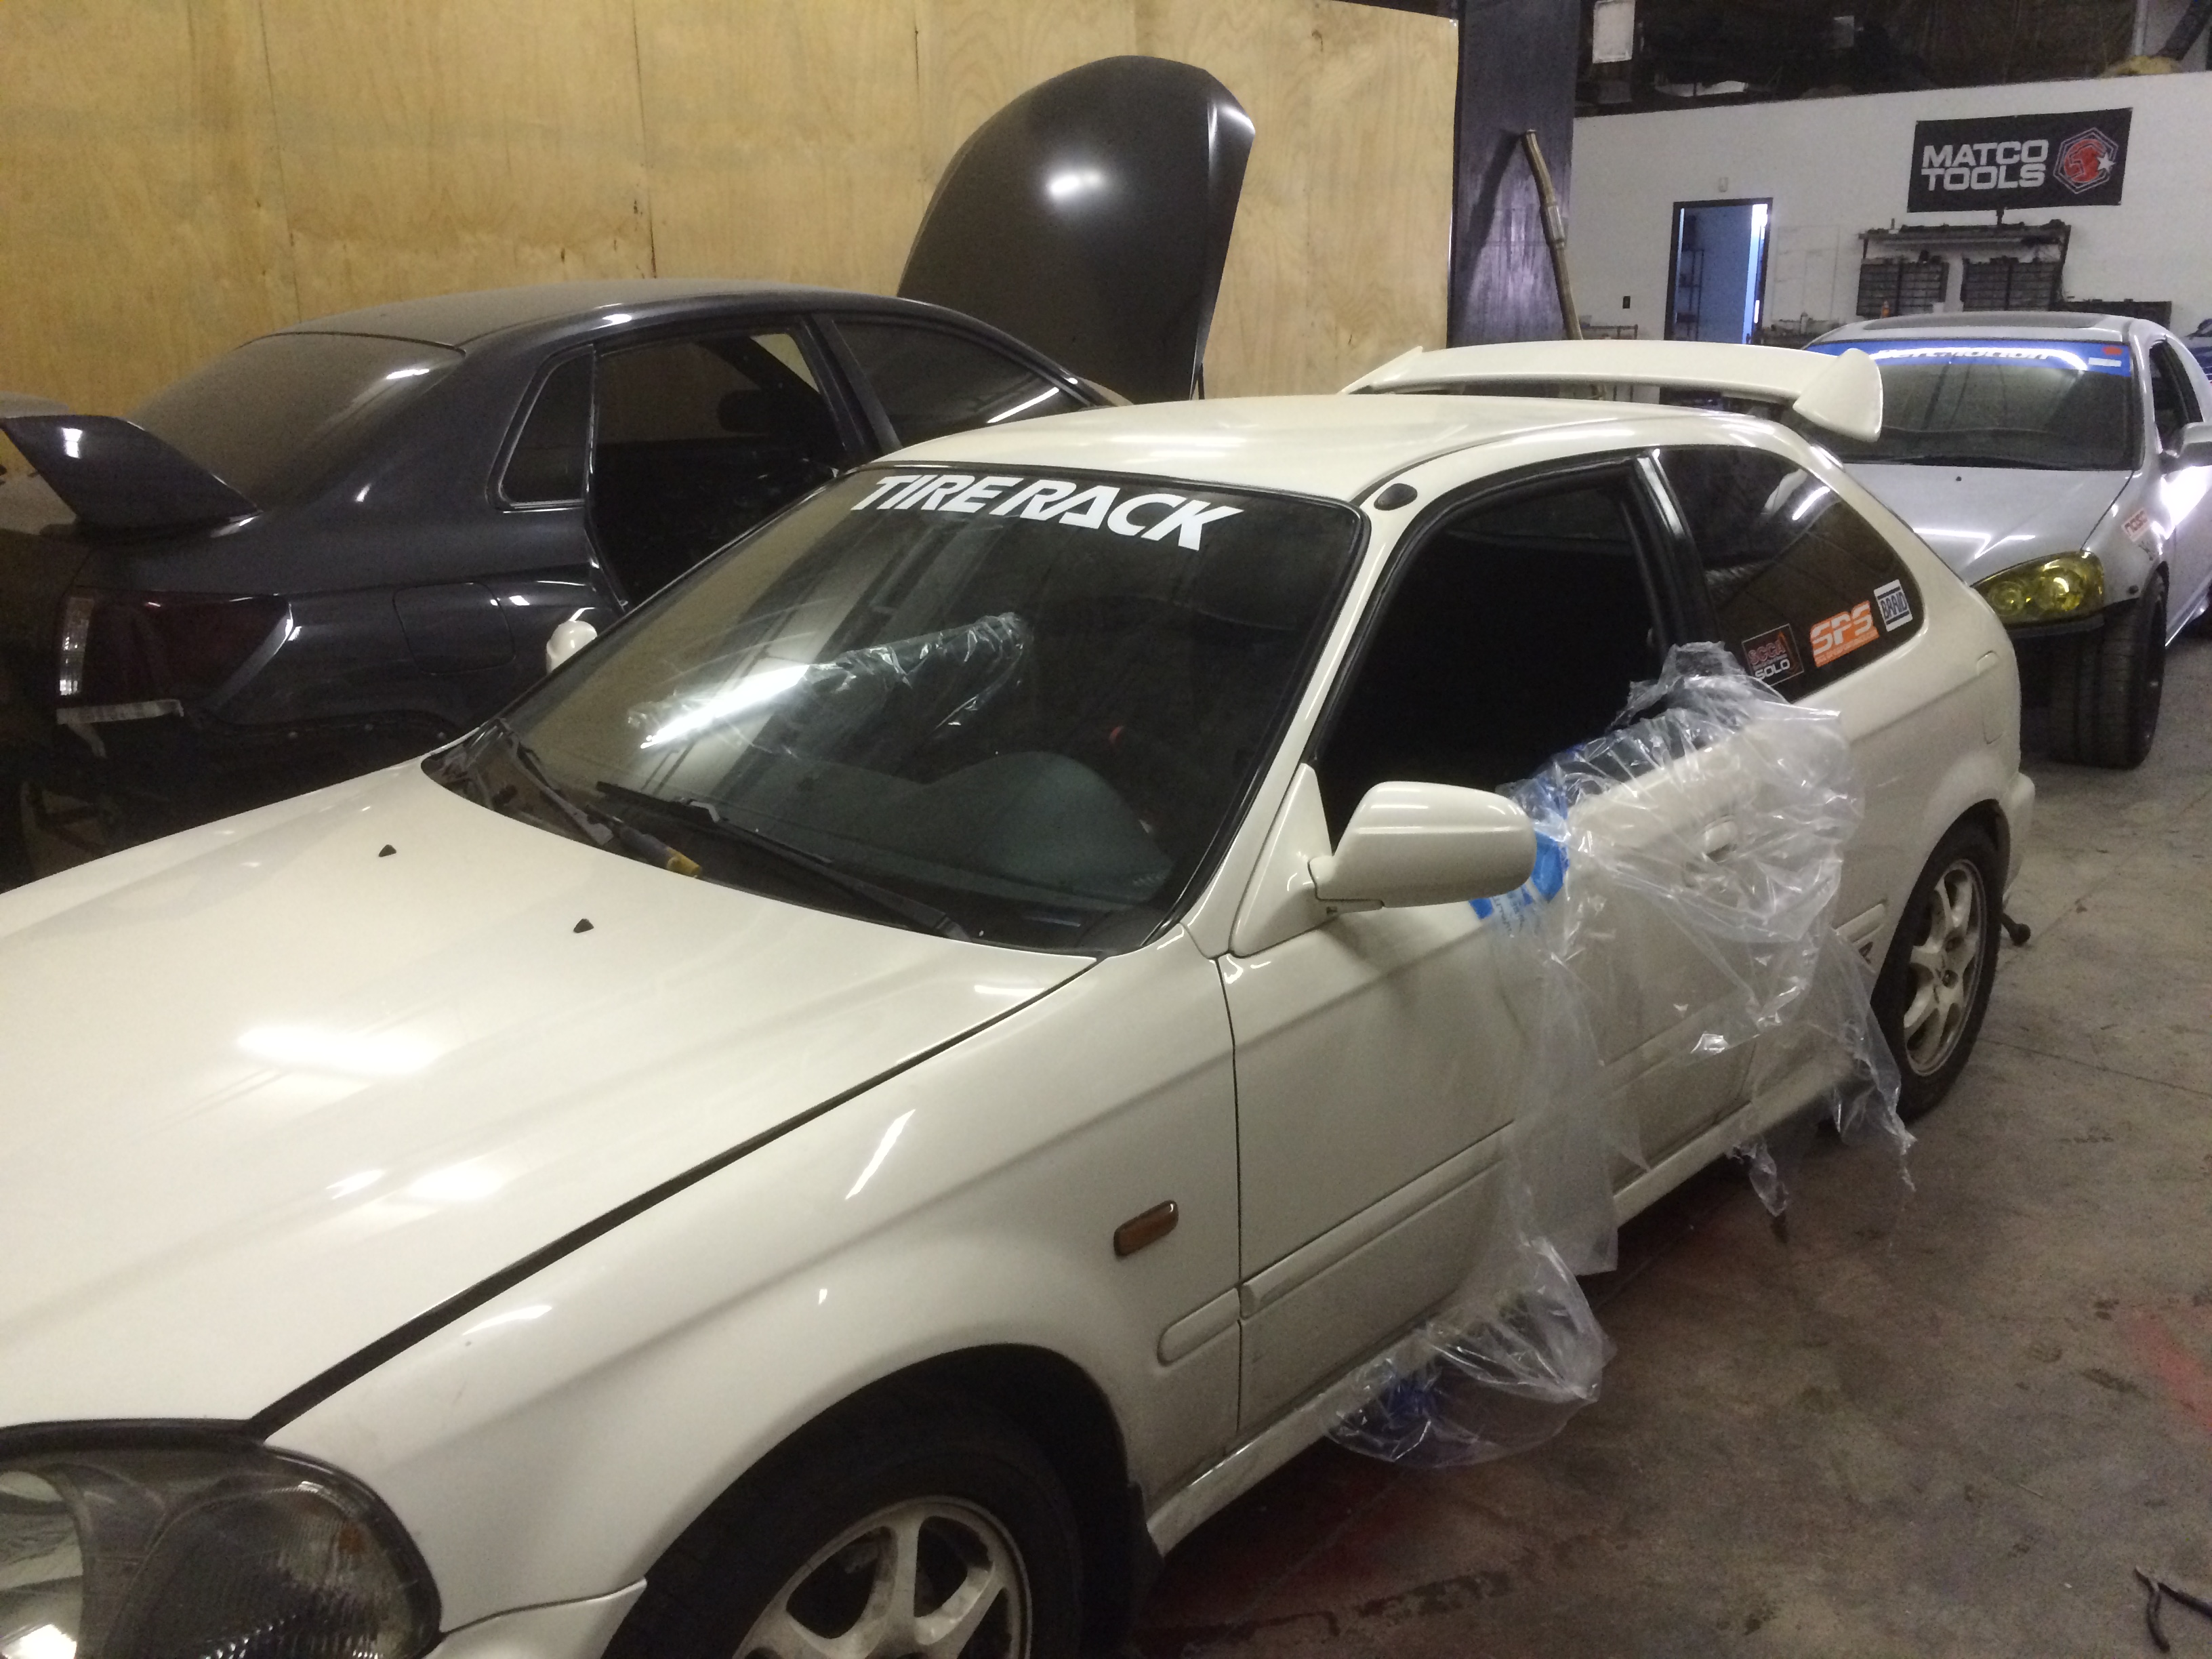
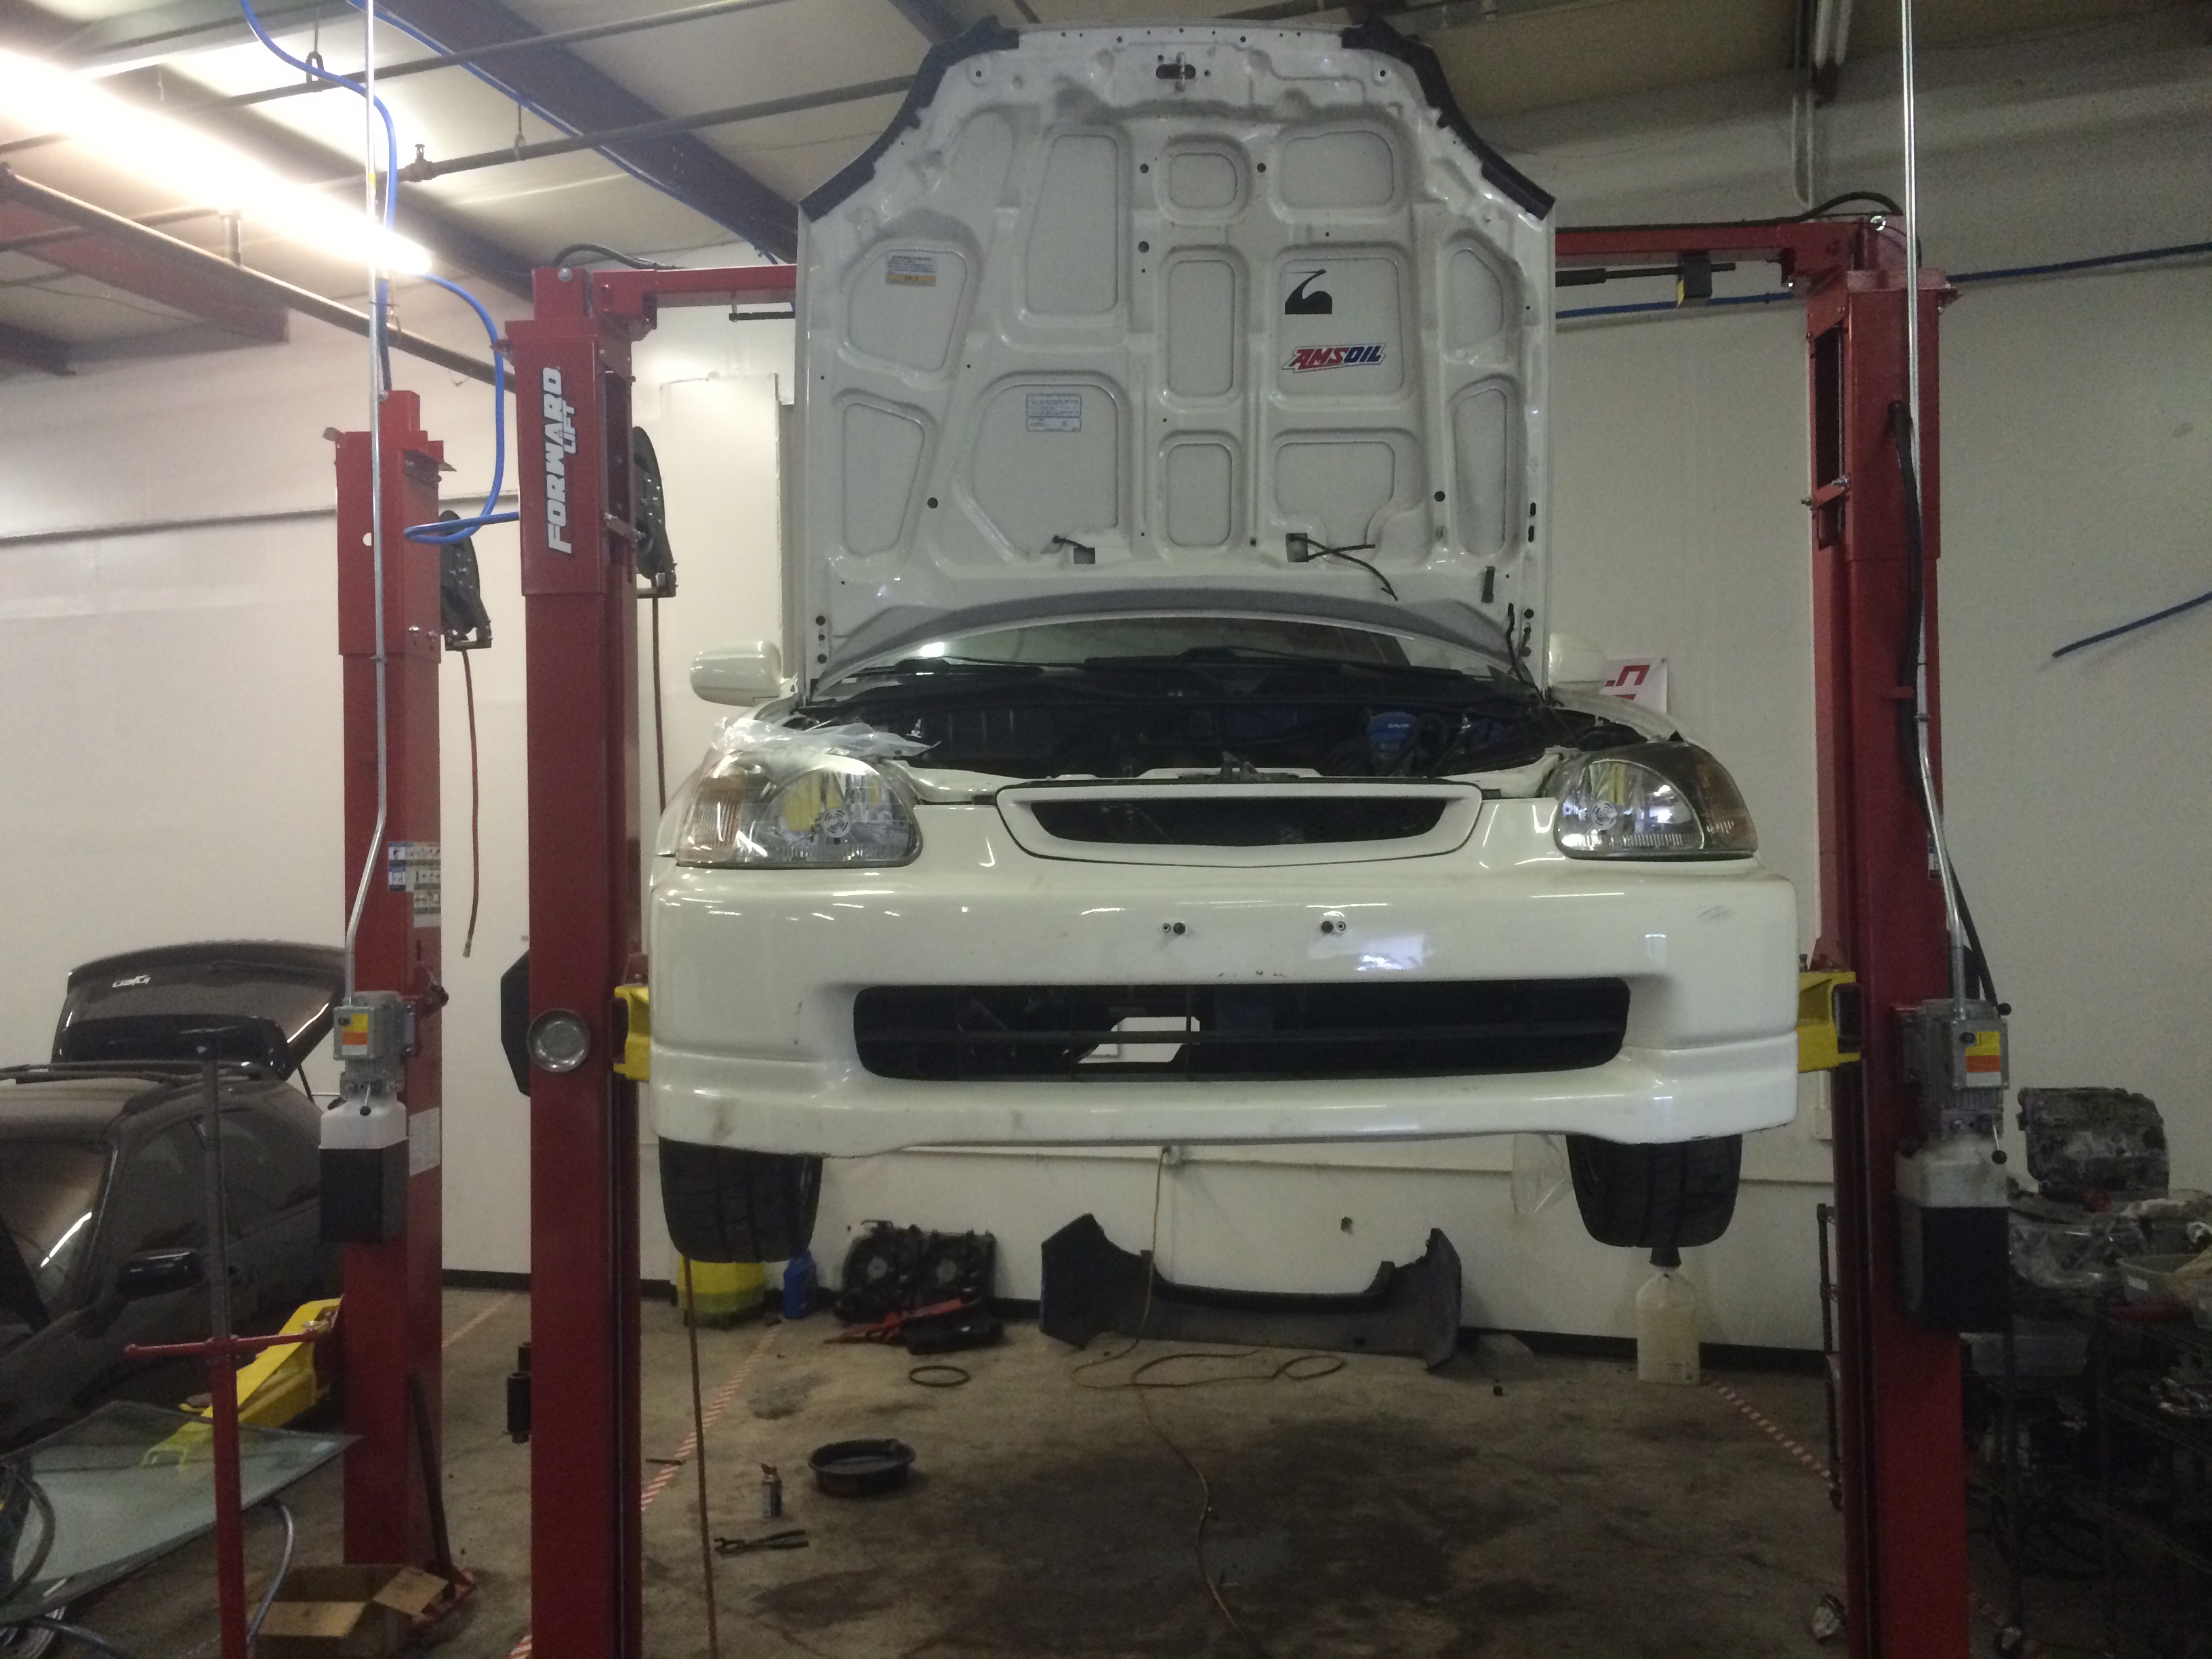
Today, the good guys over at All Speed Innovations pulled the B16B out of the CTR and loaded it onto a pallet for shipment to its new owner. I must say that I really loved this powertrain. While it was no torque monster, something about ringing it out to 9000 rpm that always seemed to put a smile on my face.
Torco Trans/Diff Fluid. MFactory recommended running 50:50 MTF/RTF for my application with the helical.
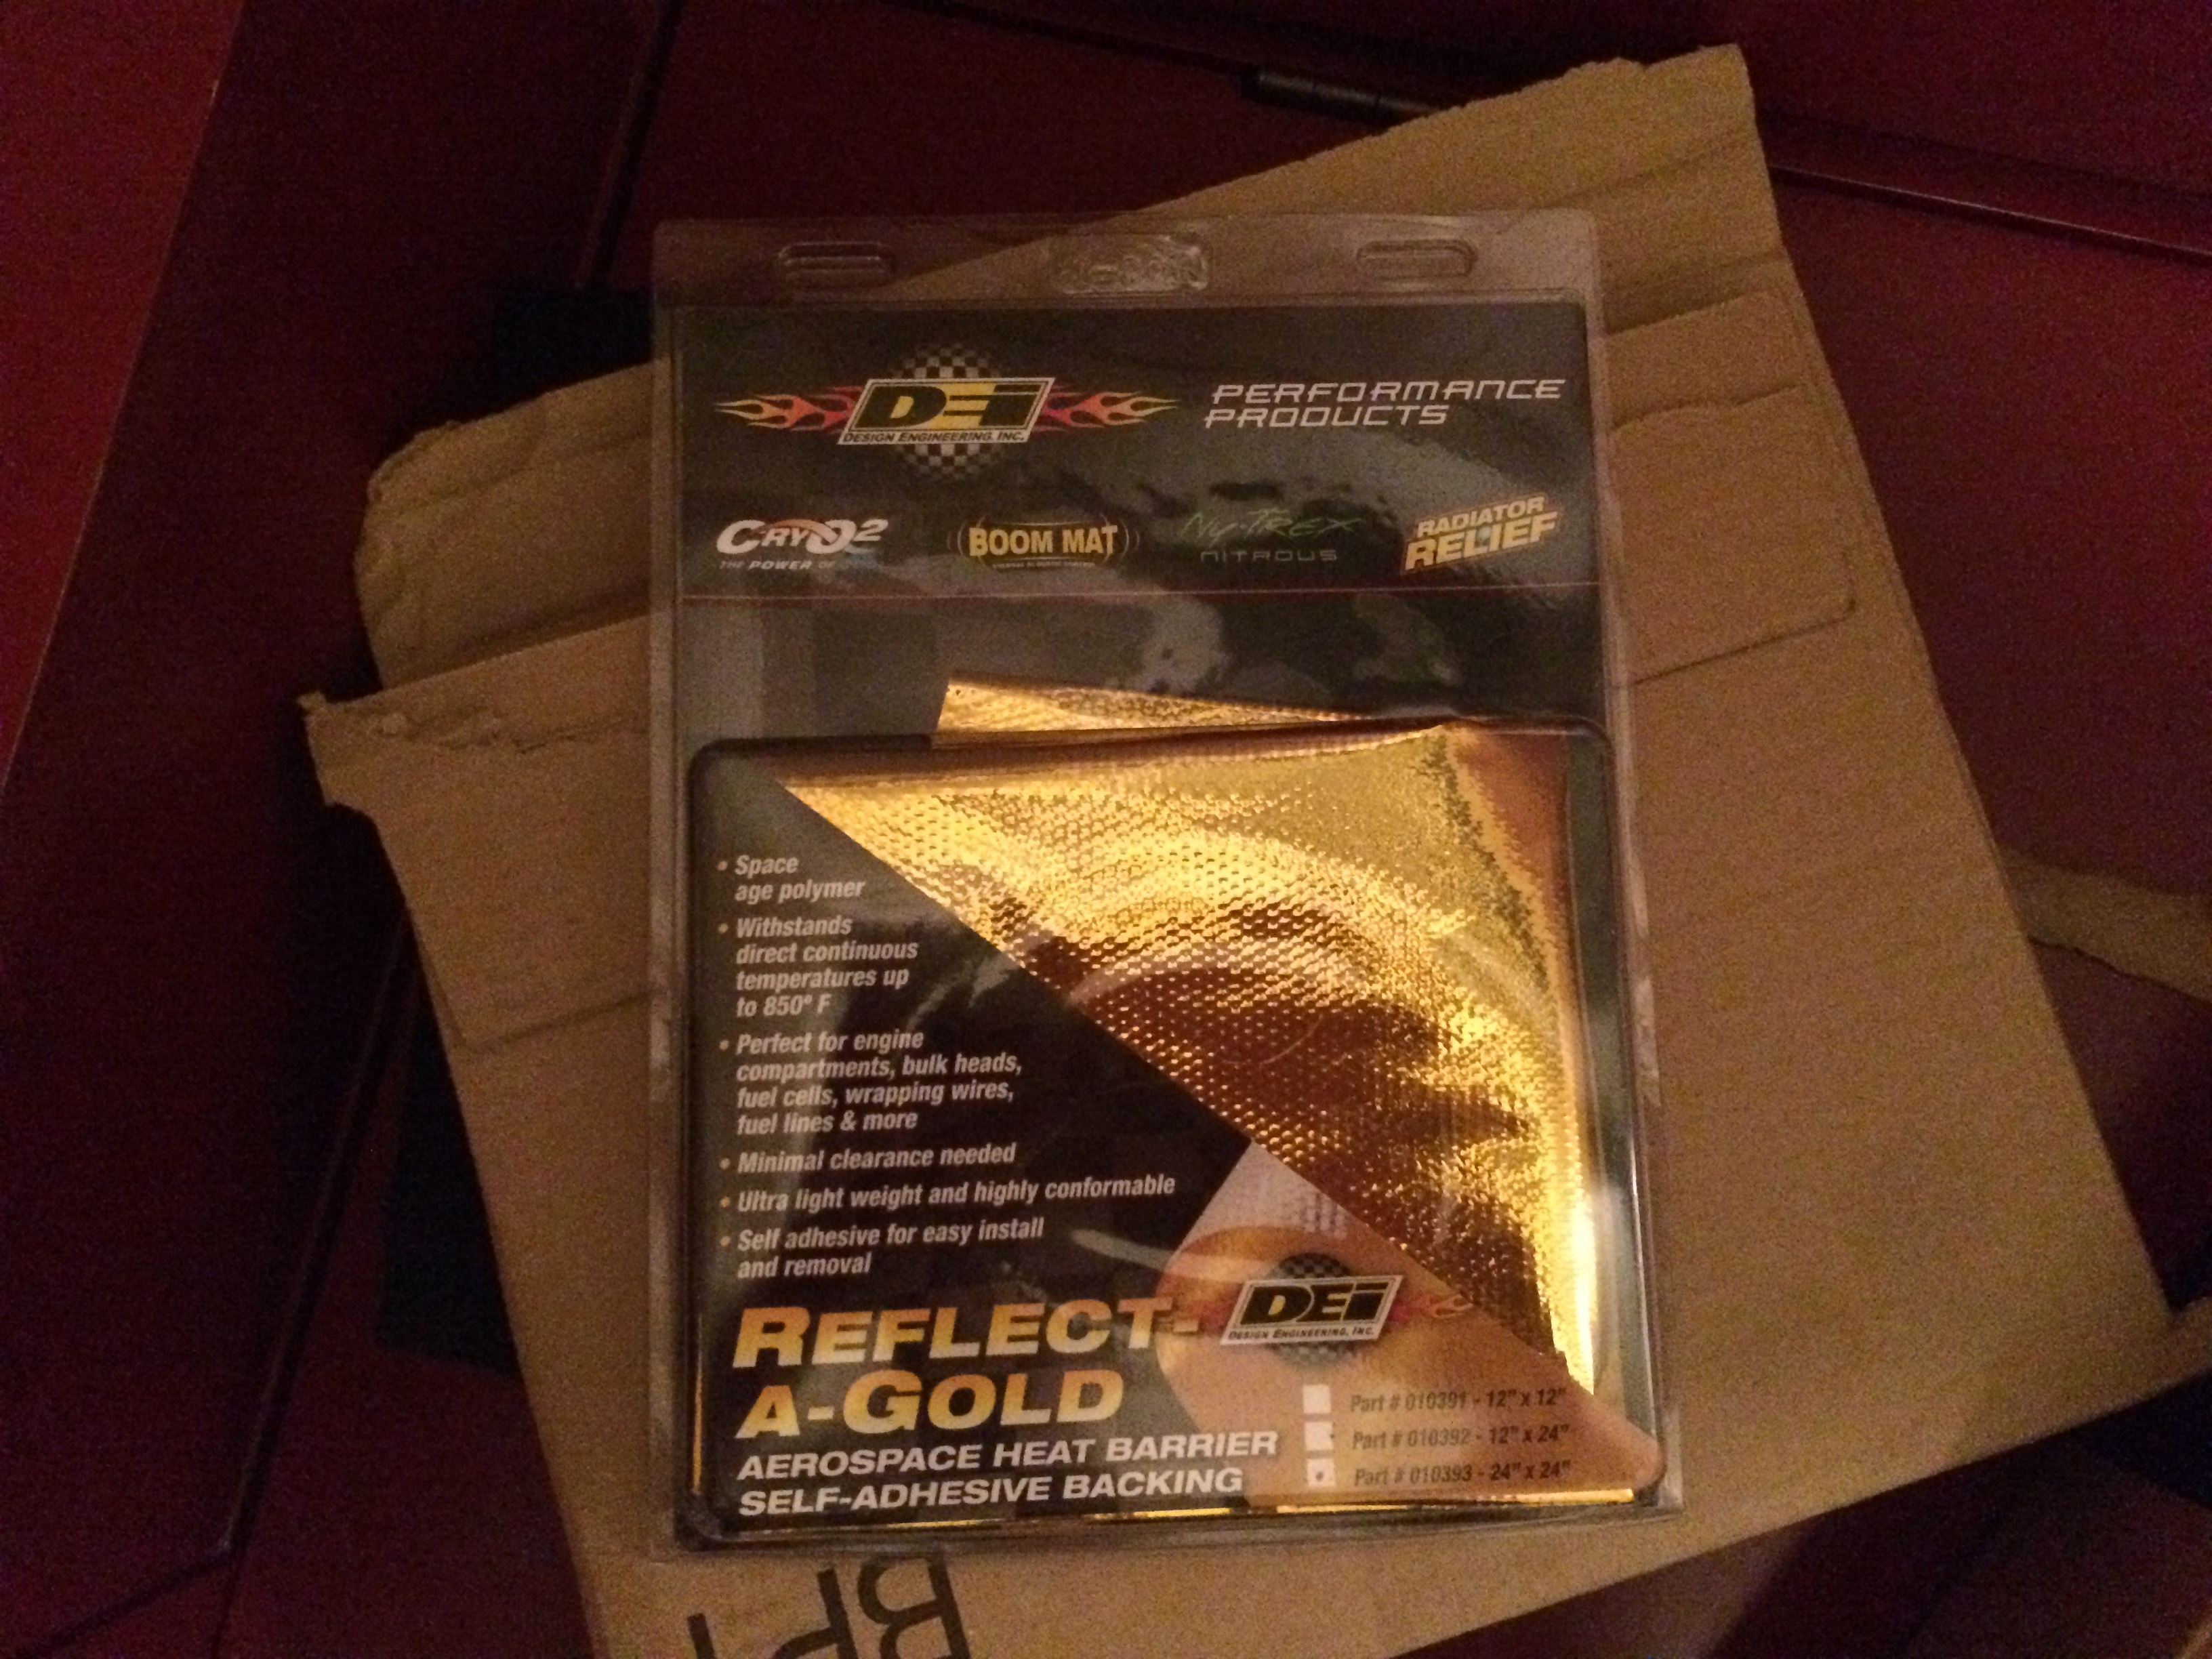
DEI Gold Heat Foil. I have another sheet already, but we plan to wrap the front of the IM, the intake box we make, and maybe along the firewall by the header.
And yes they are truly beautiful, especially in person.
If you do decide to grab a set, call All Speed Innovations in Lebanon, OH. They are BRAID dealers and can get you squared away. Ask for Pat, and tell him that you saw them on their shop Civic!
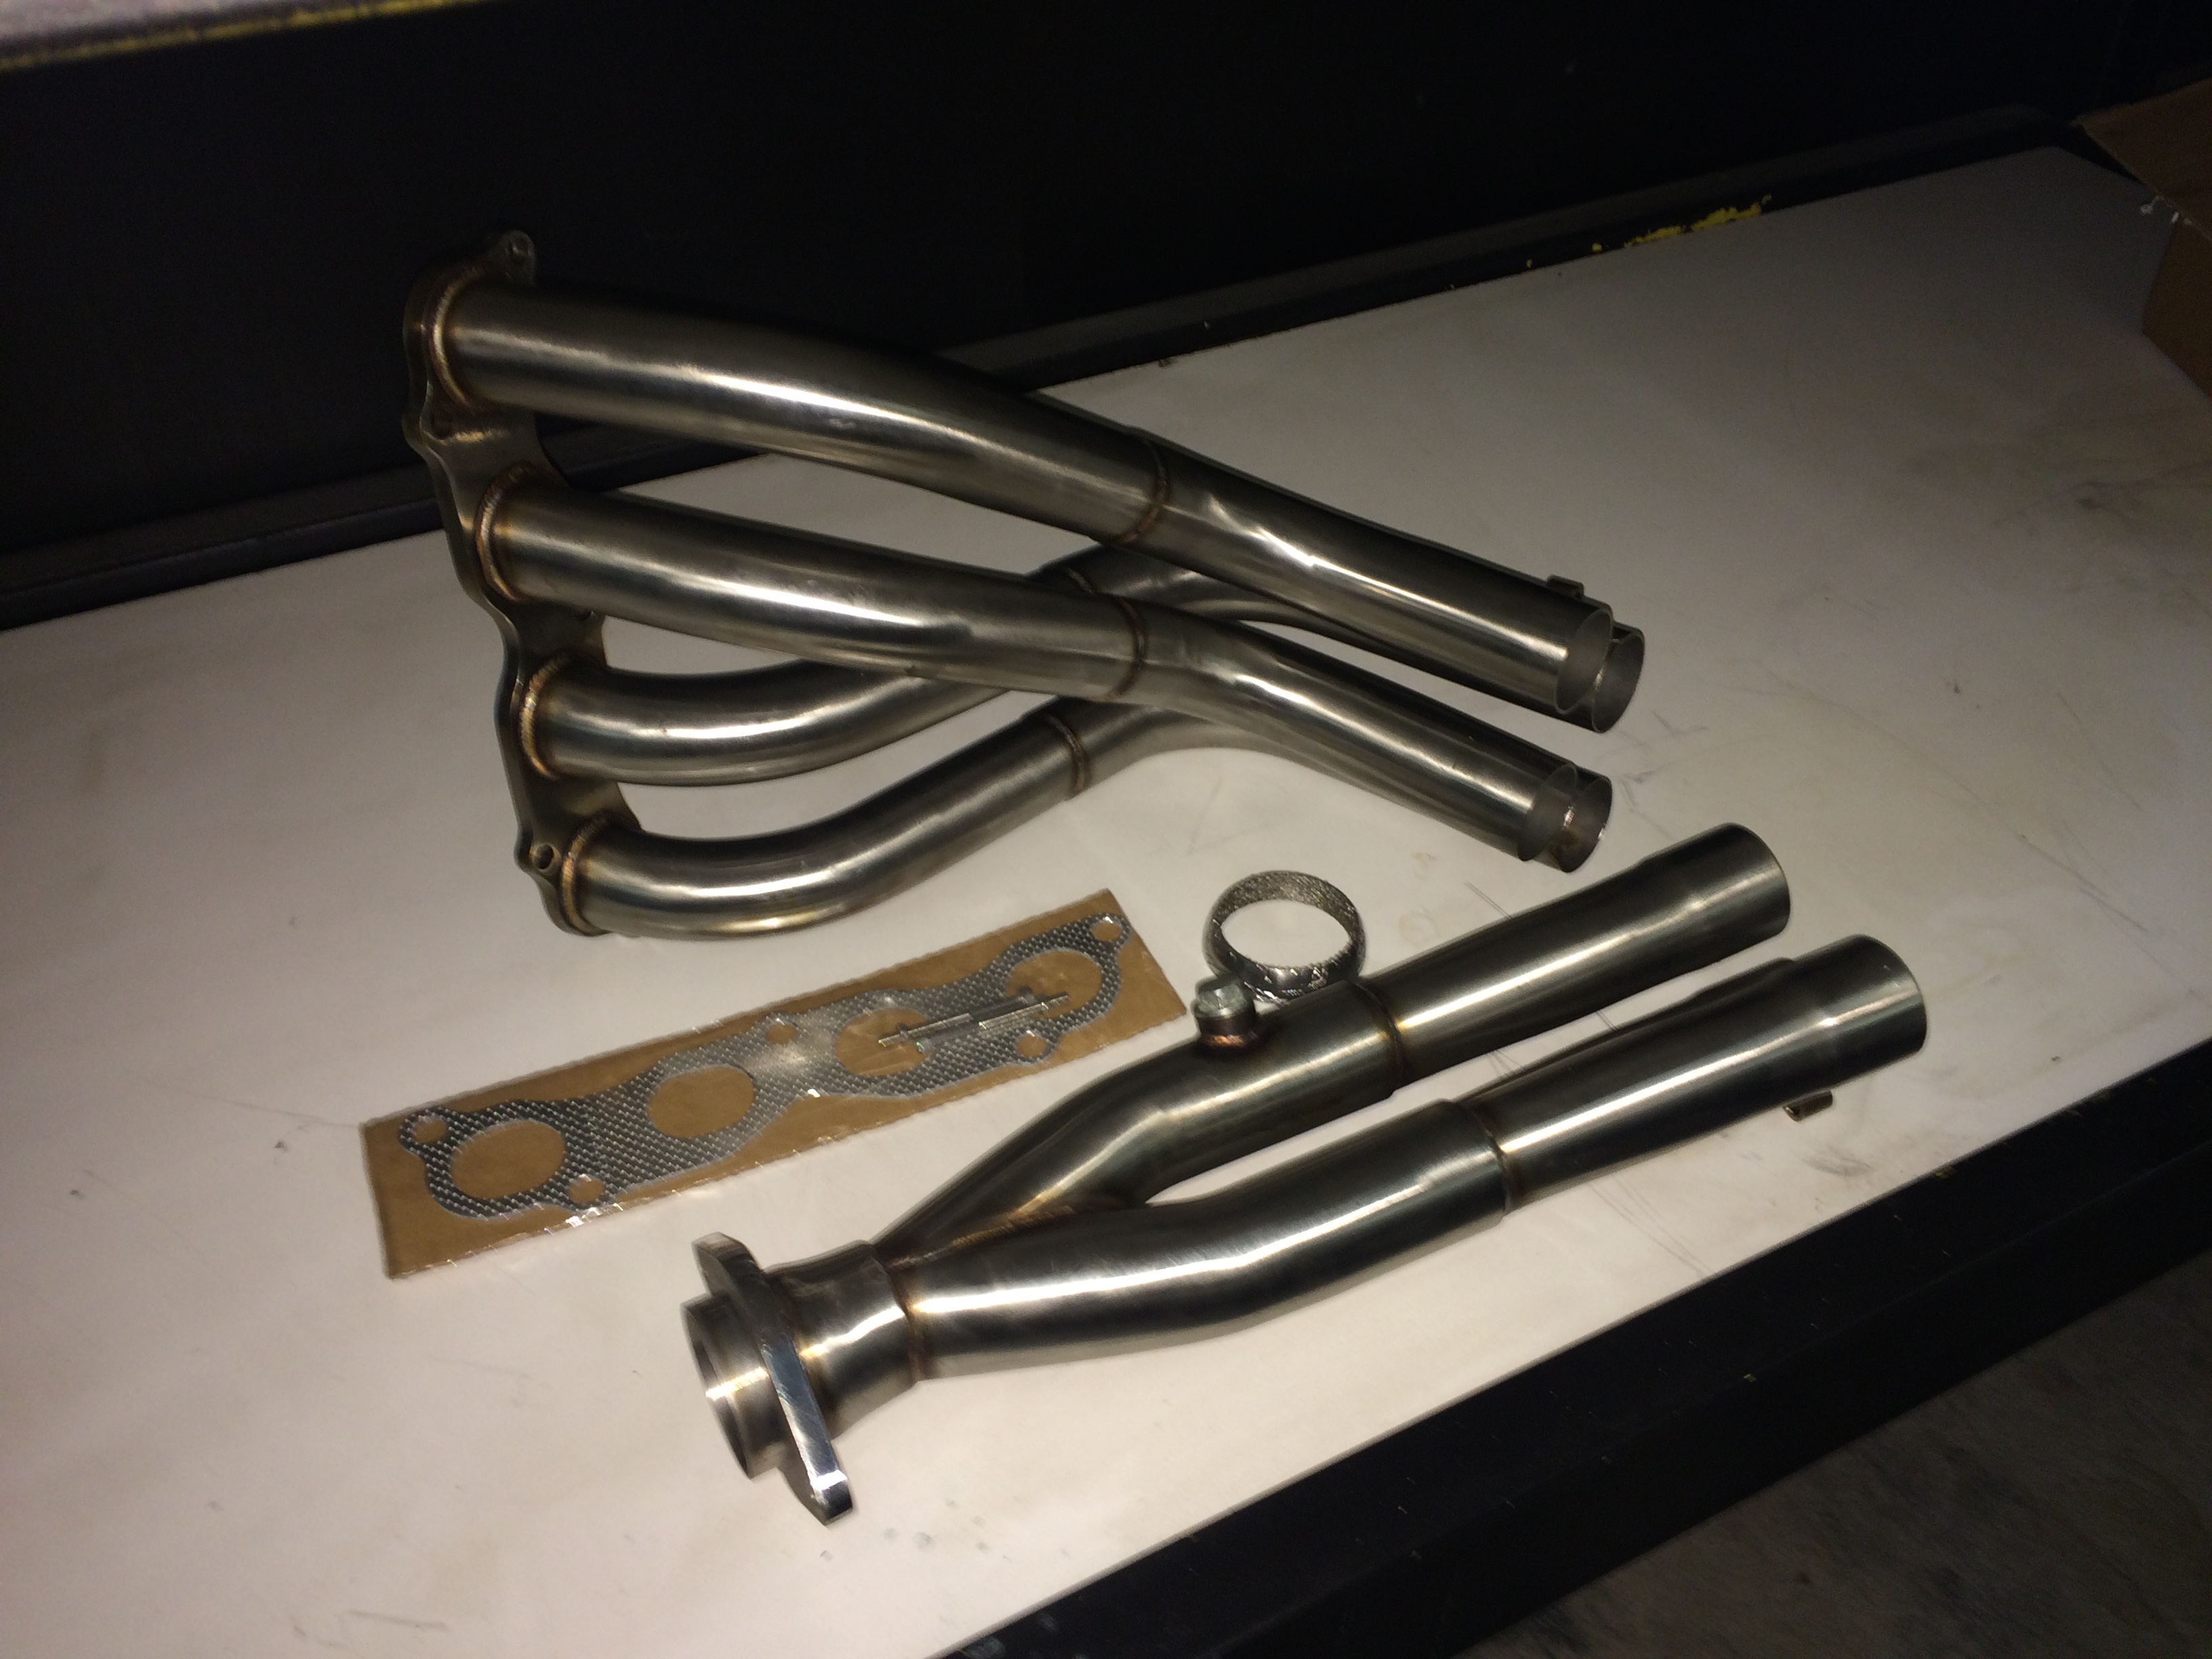
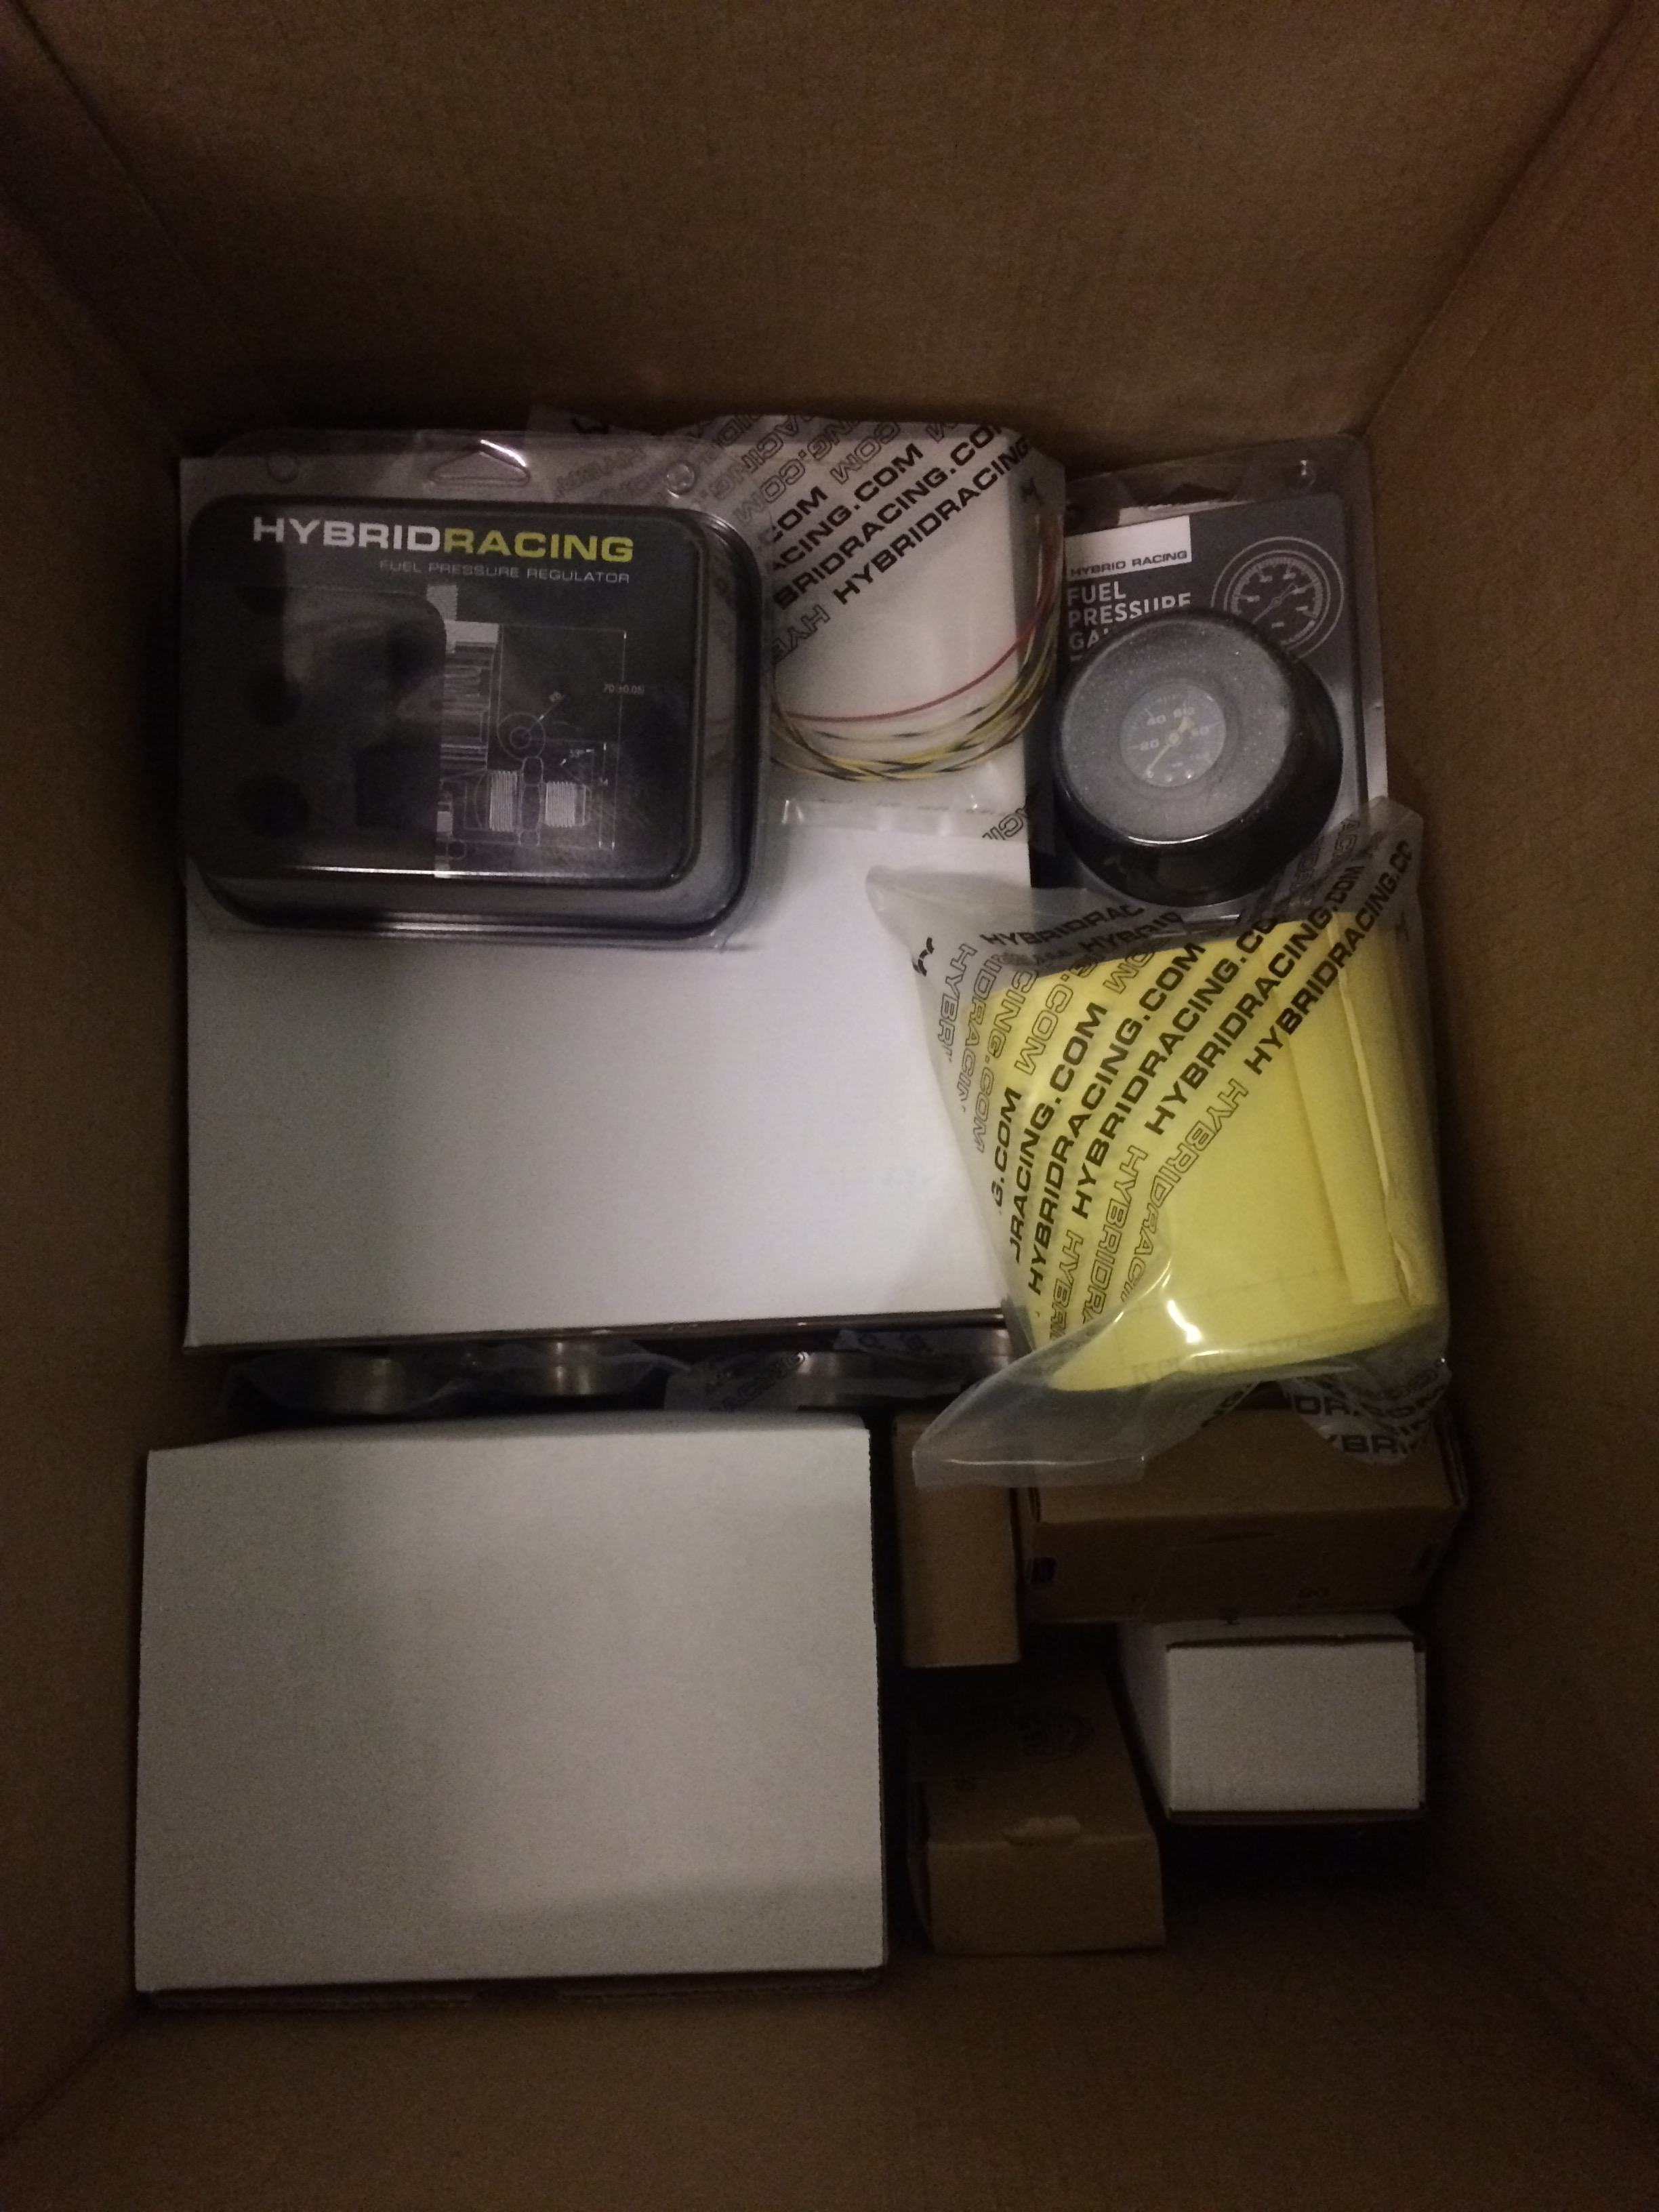
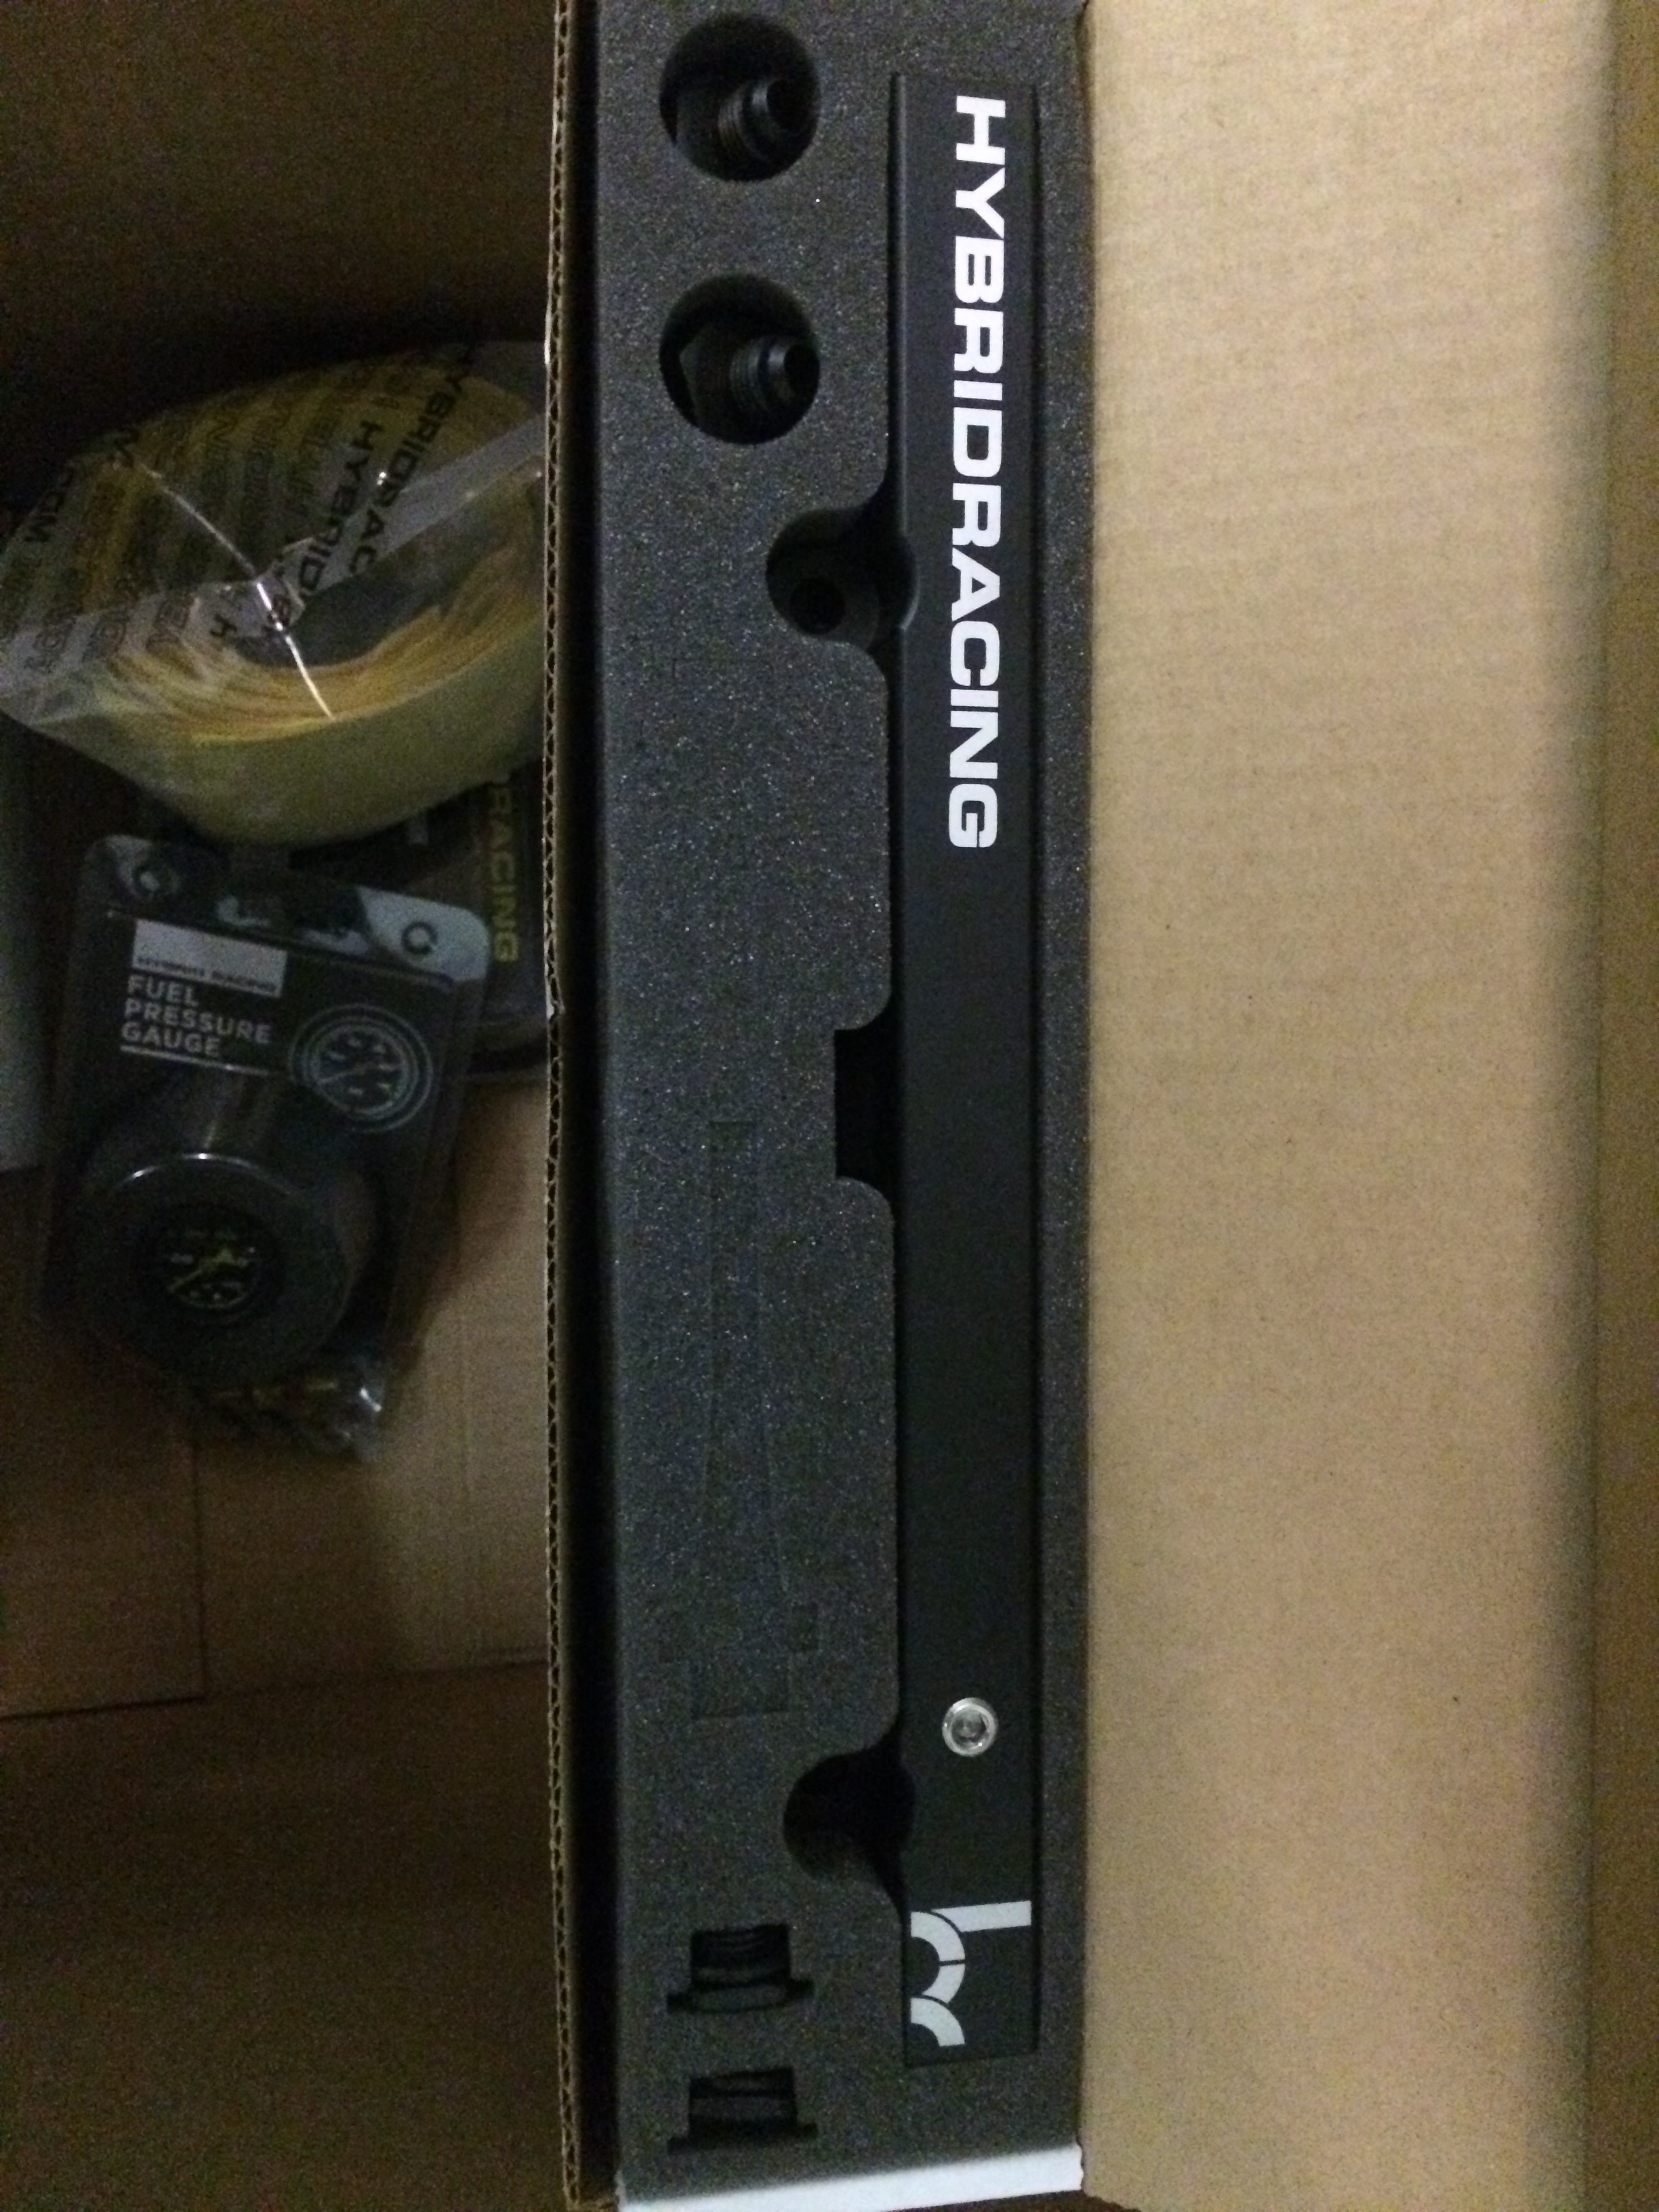
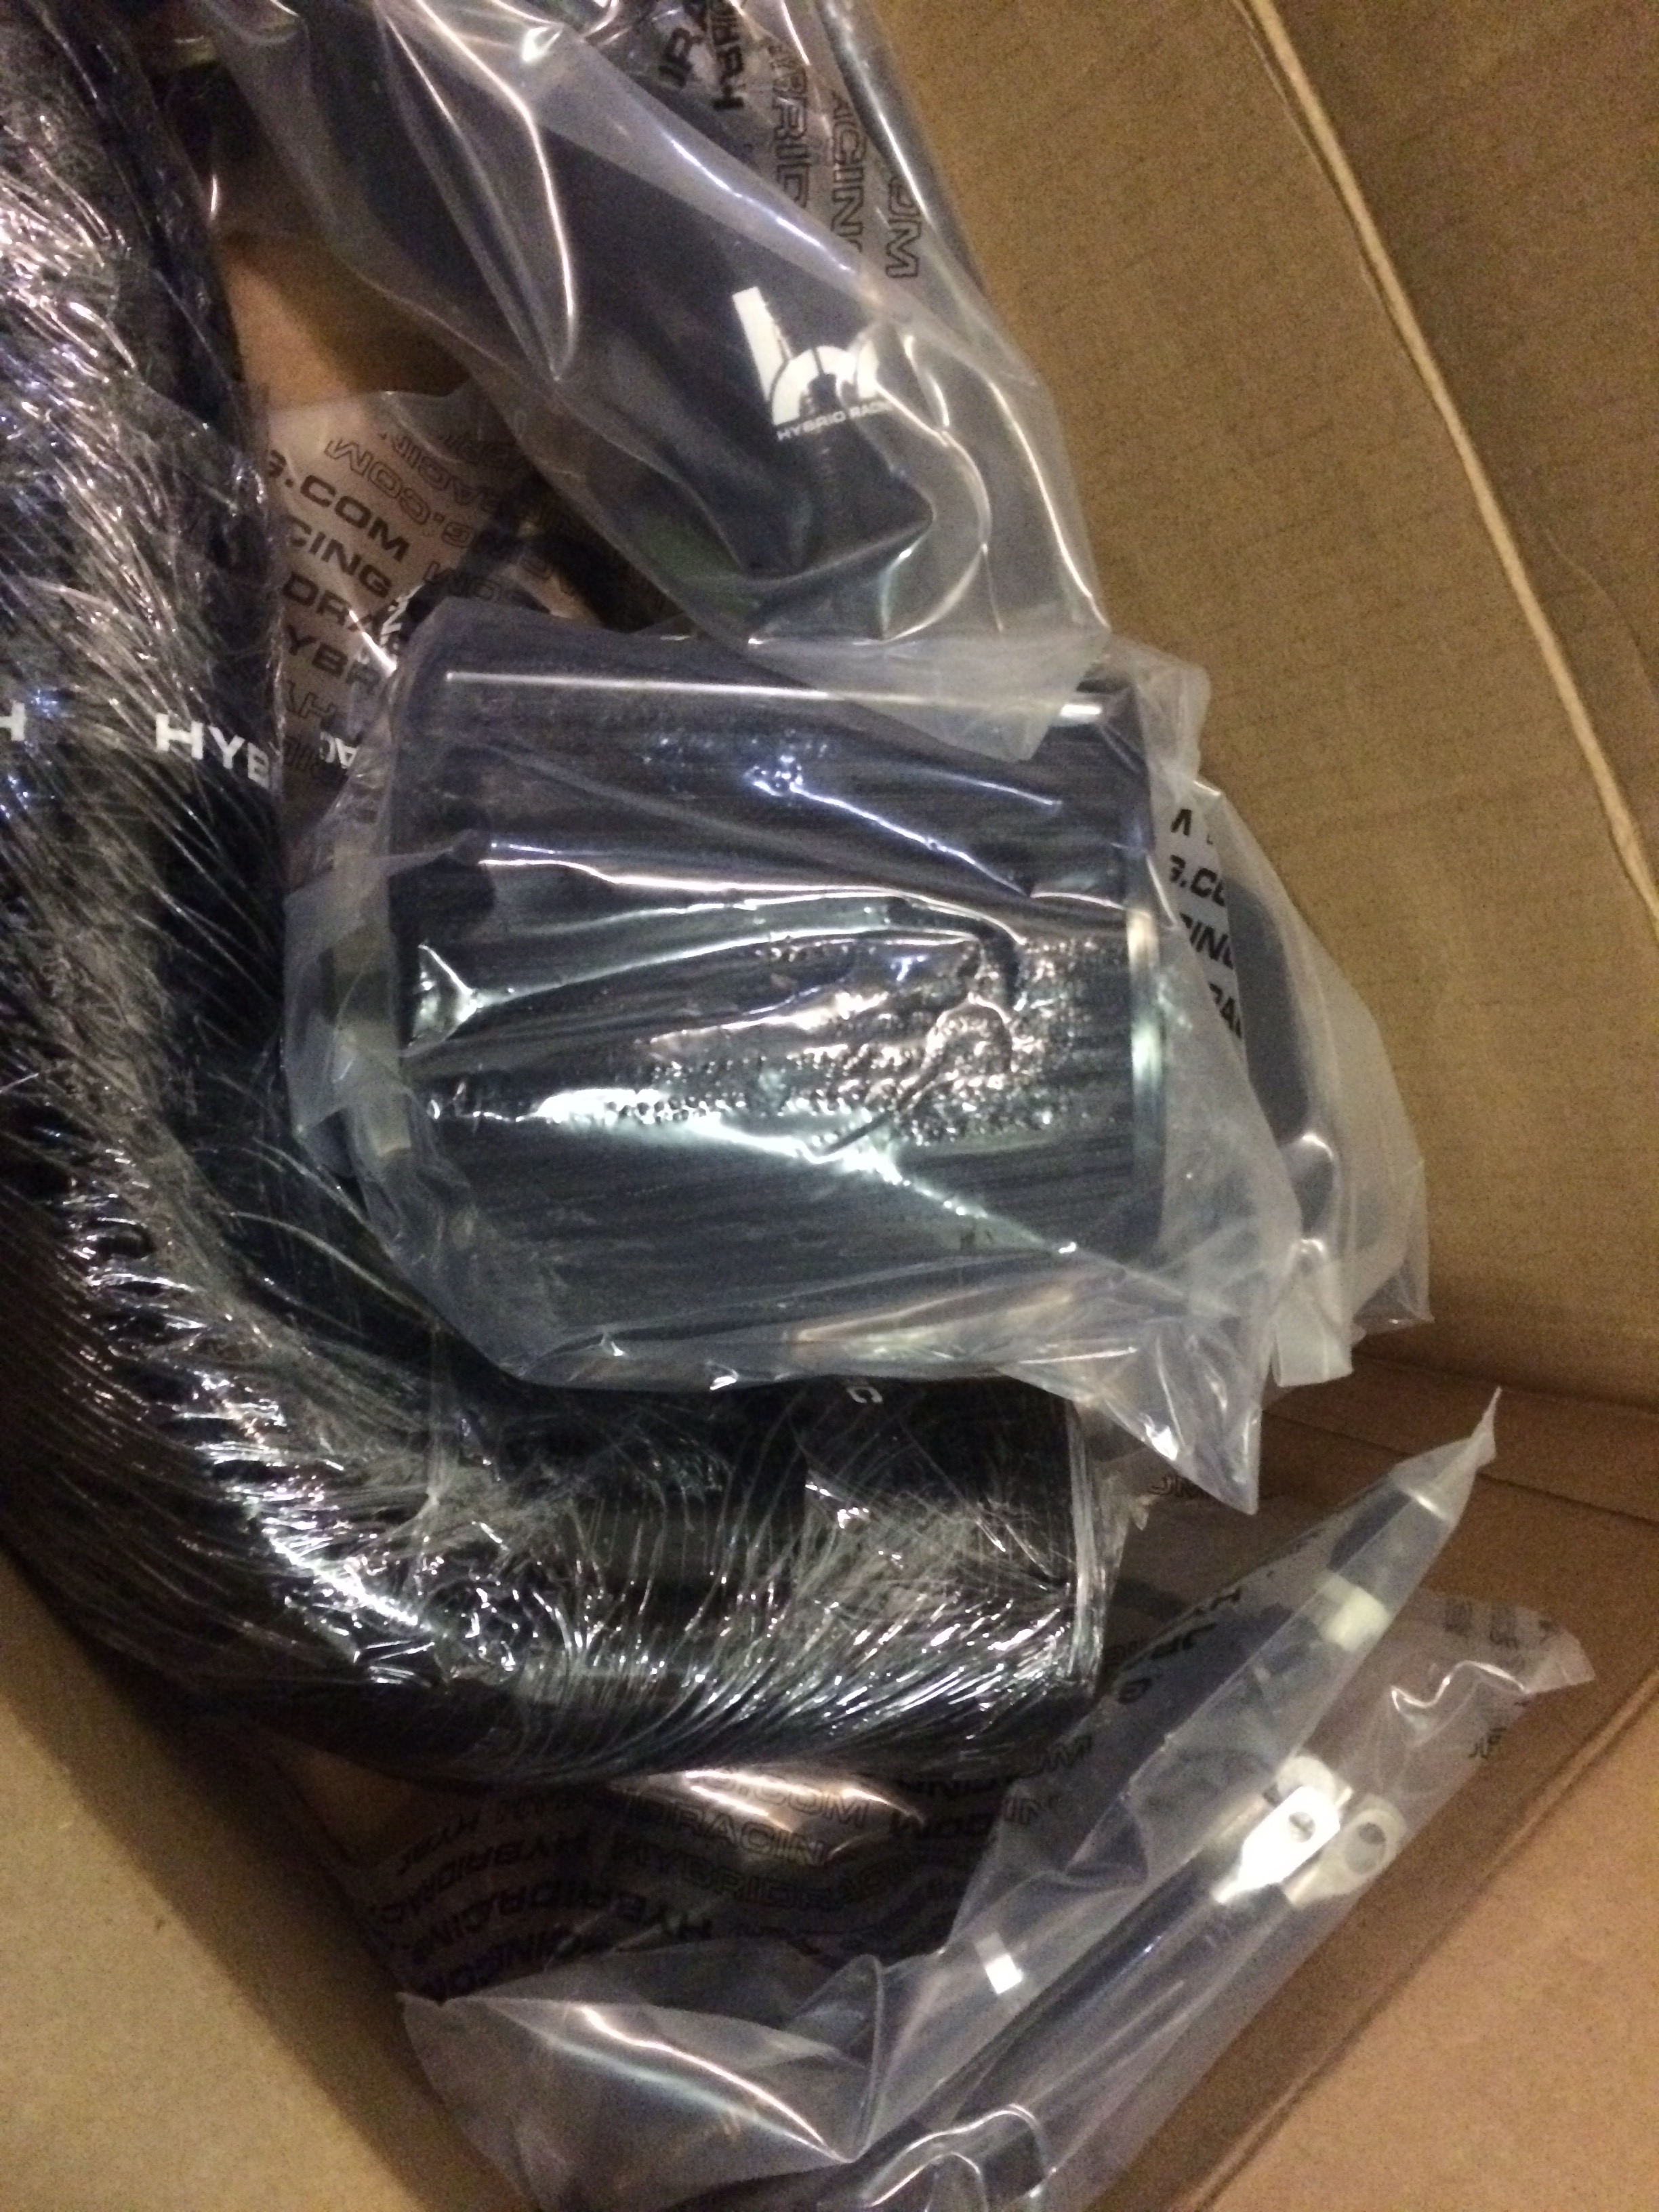
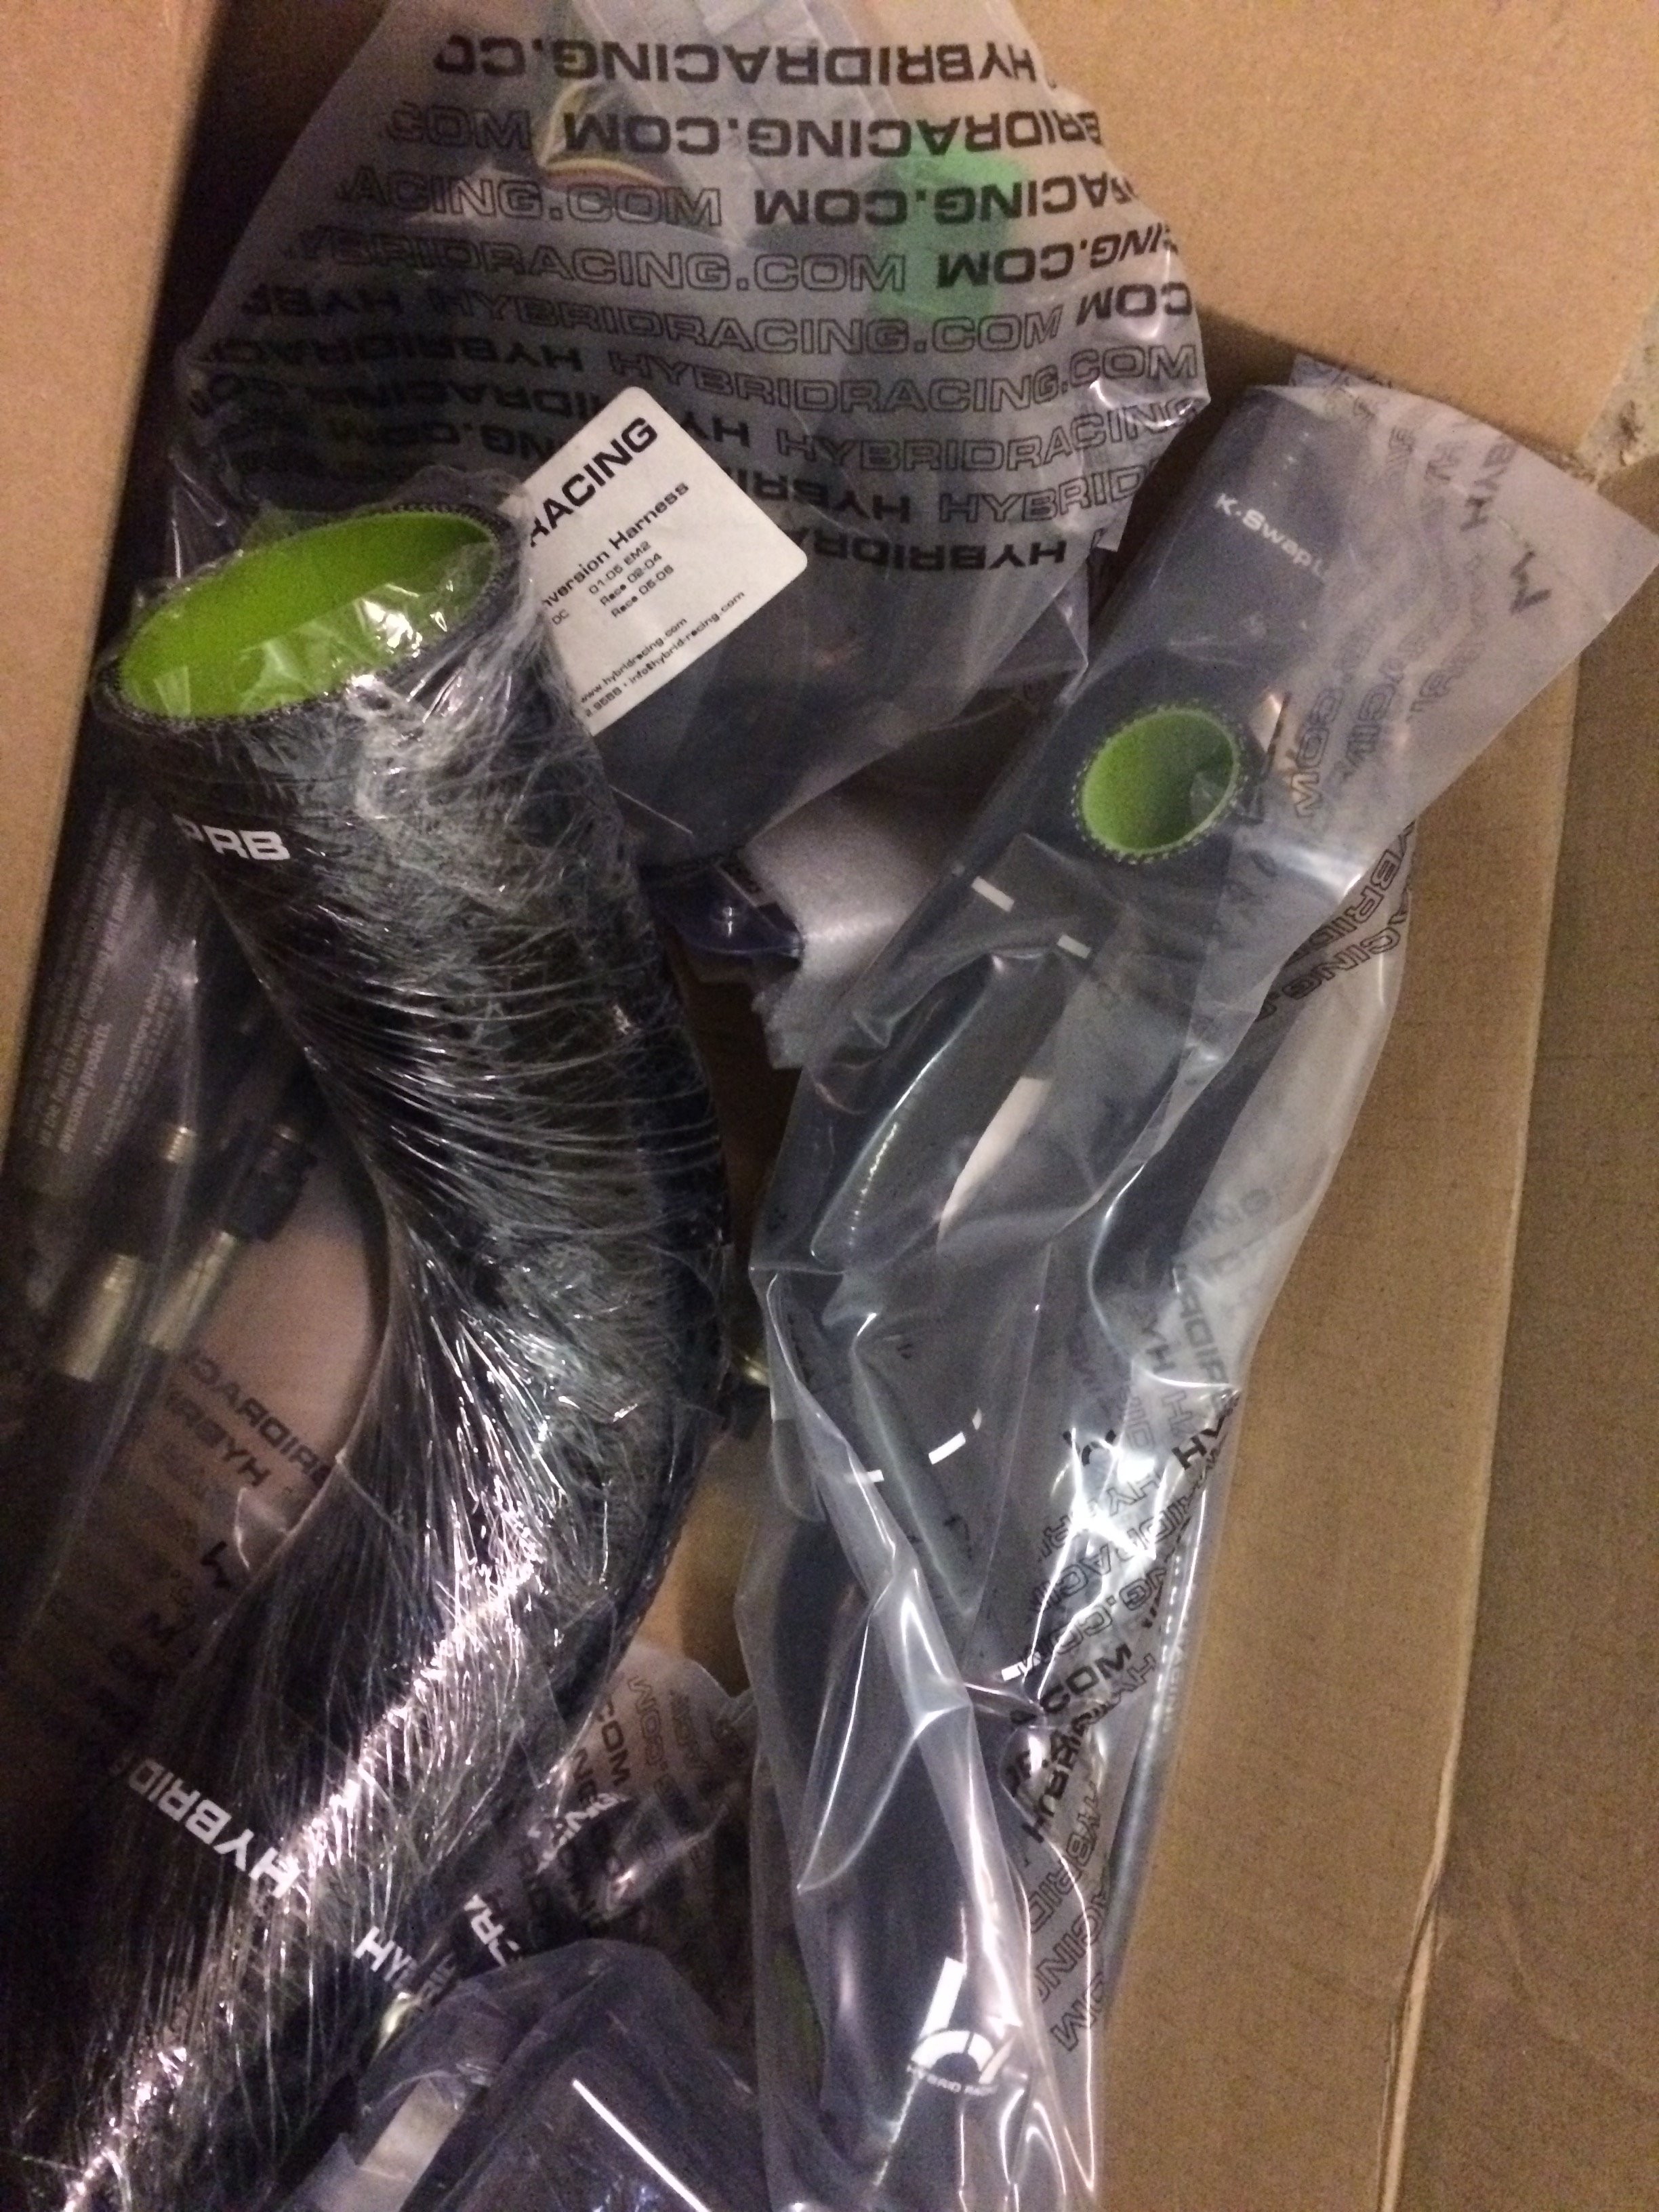
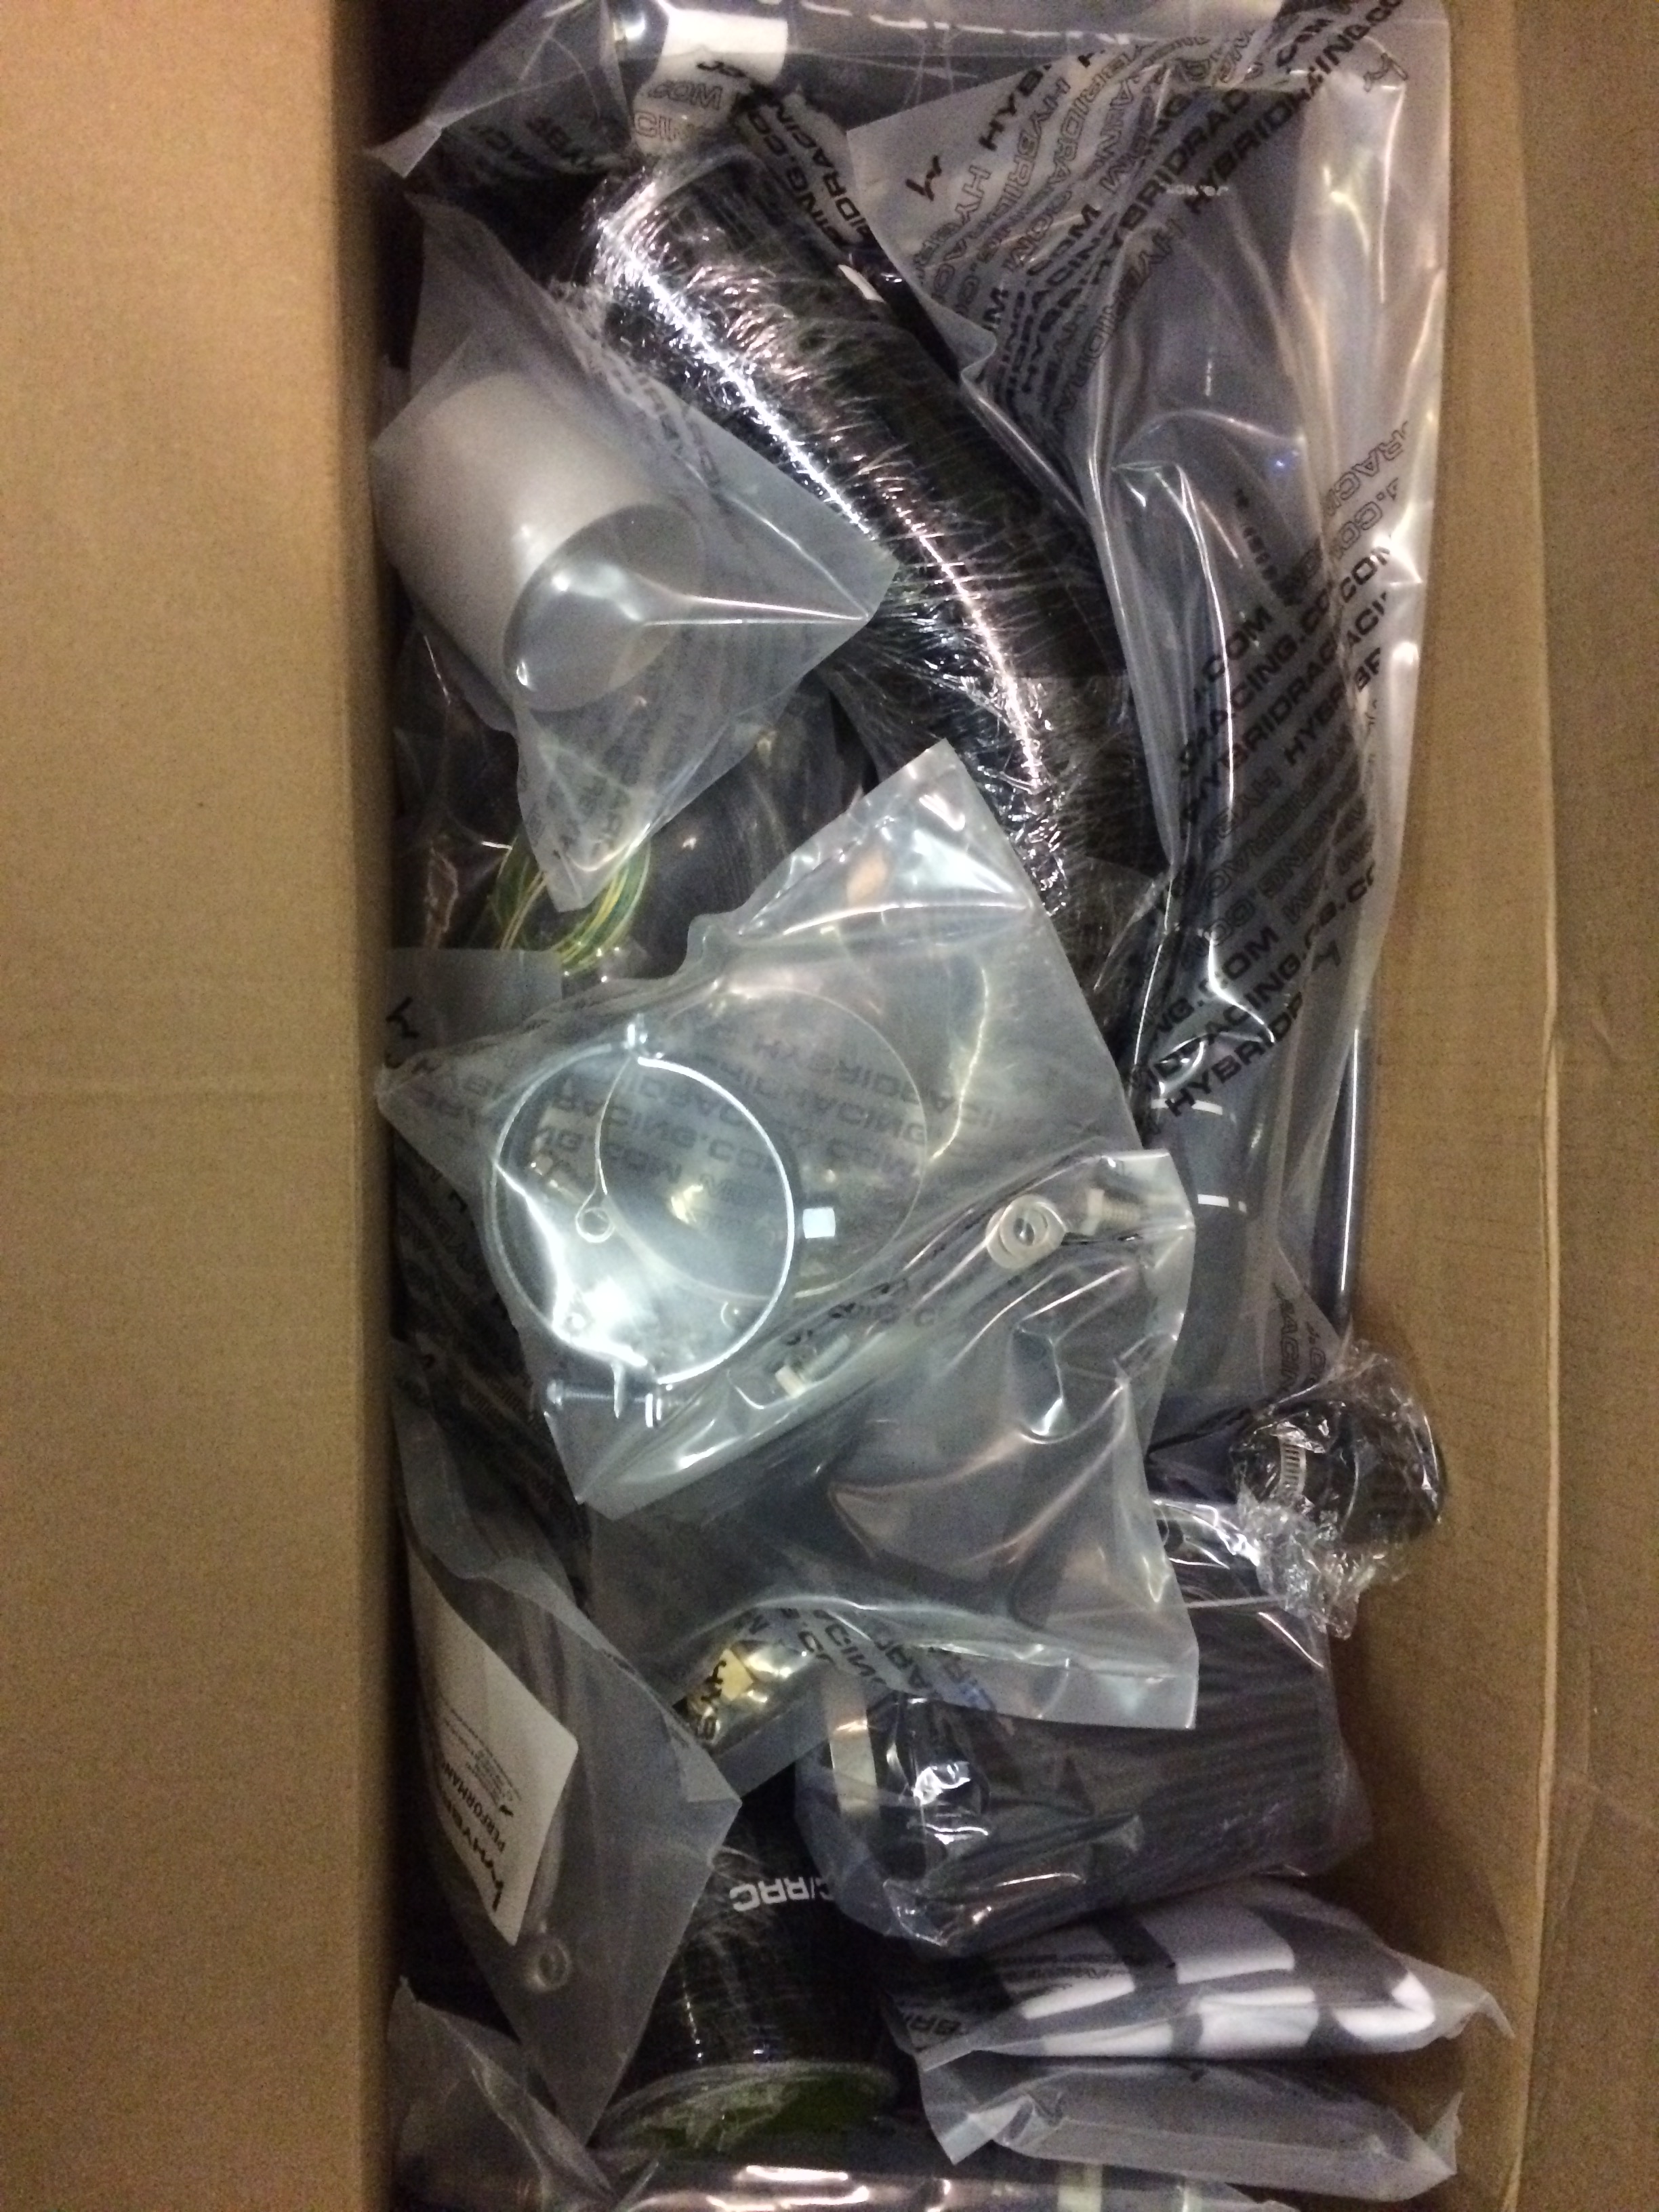
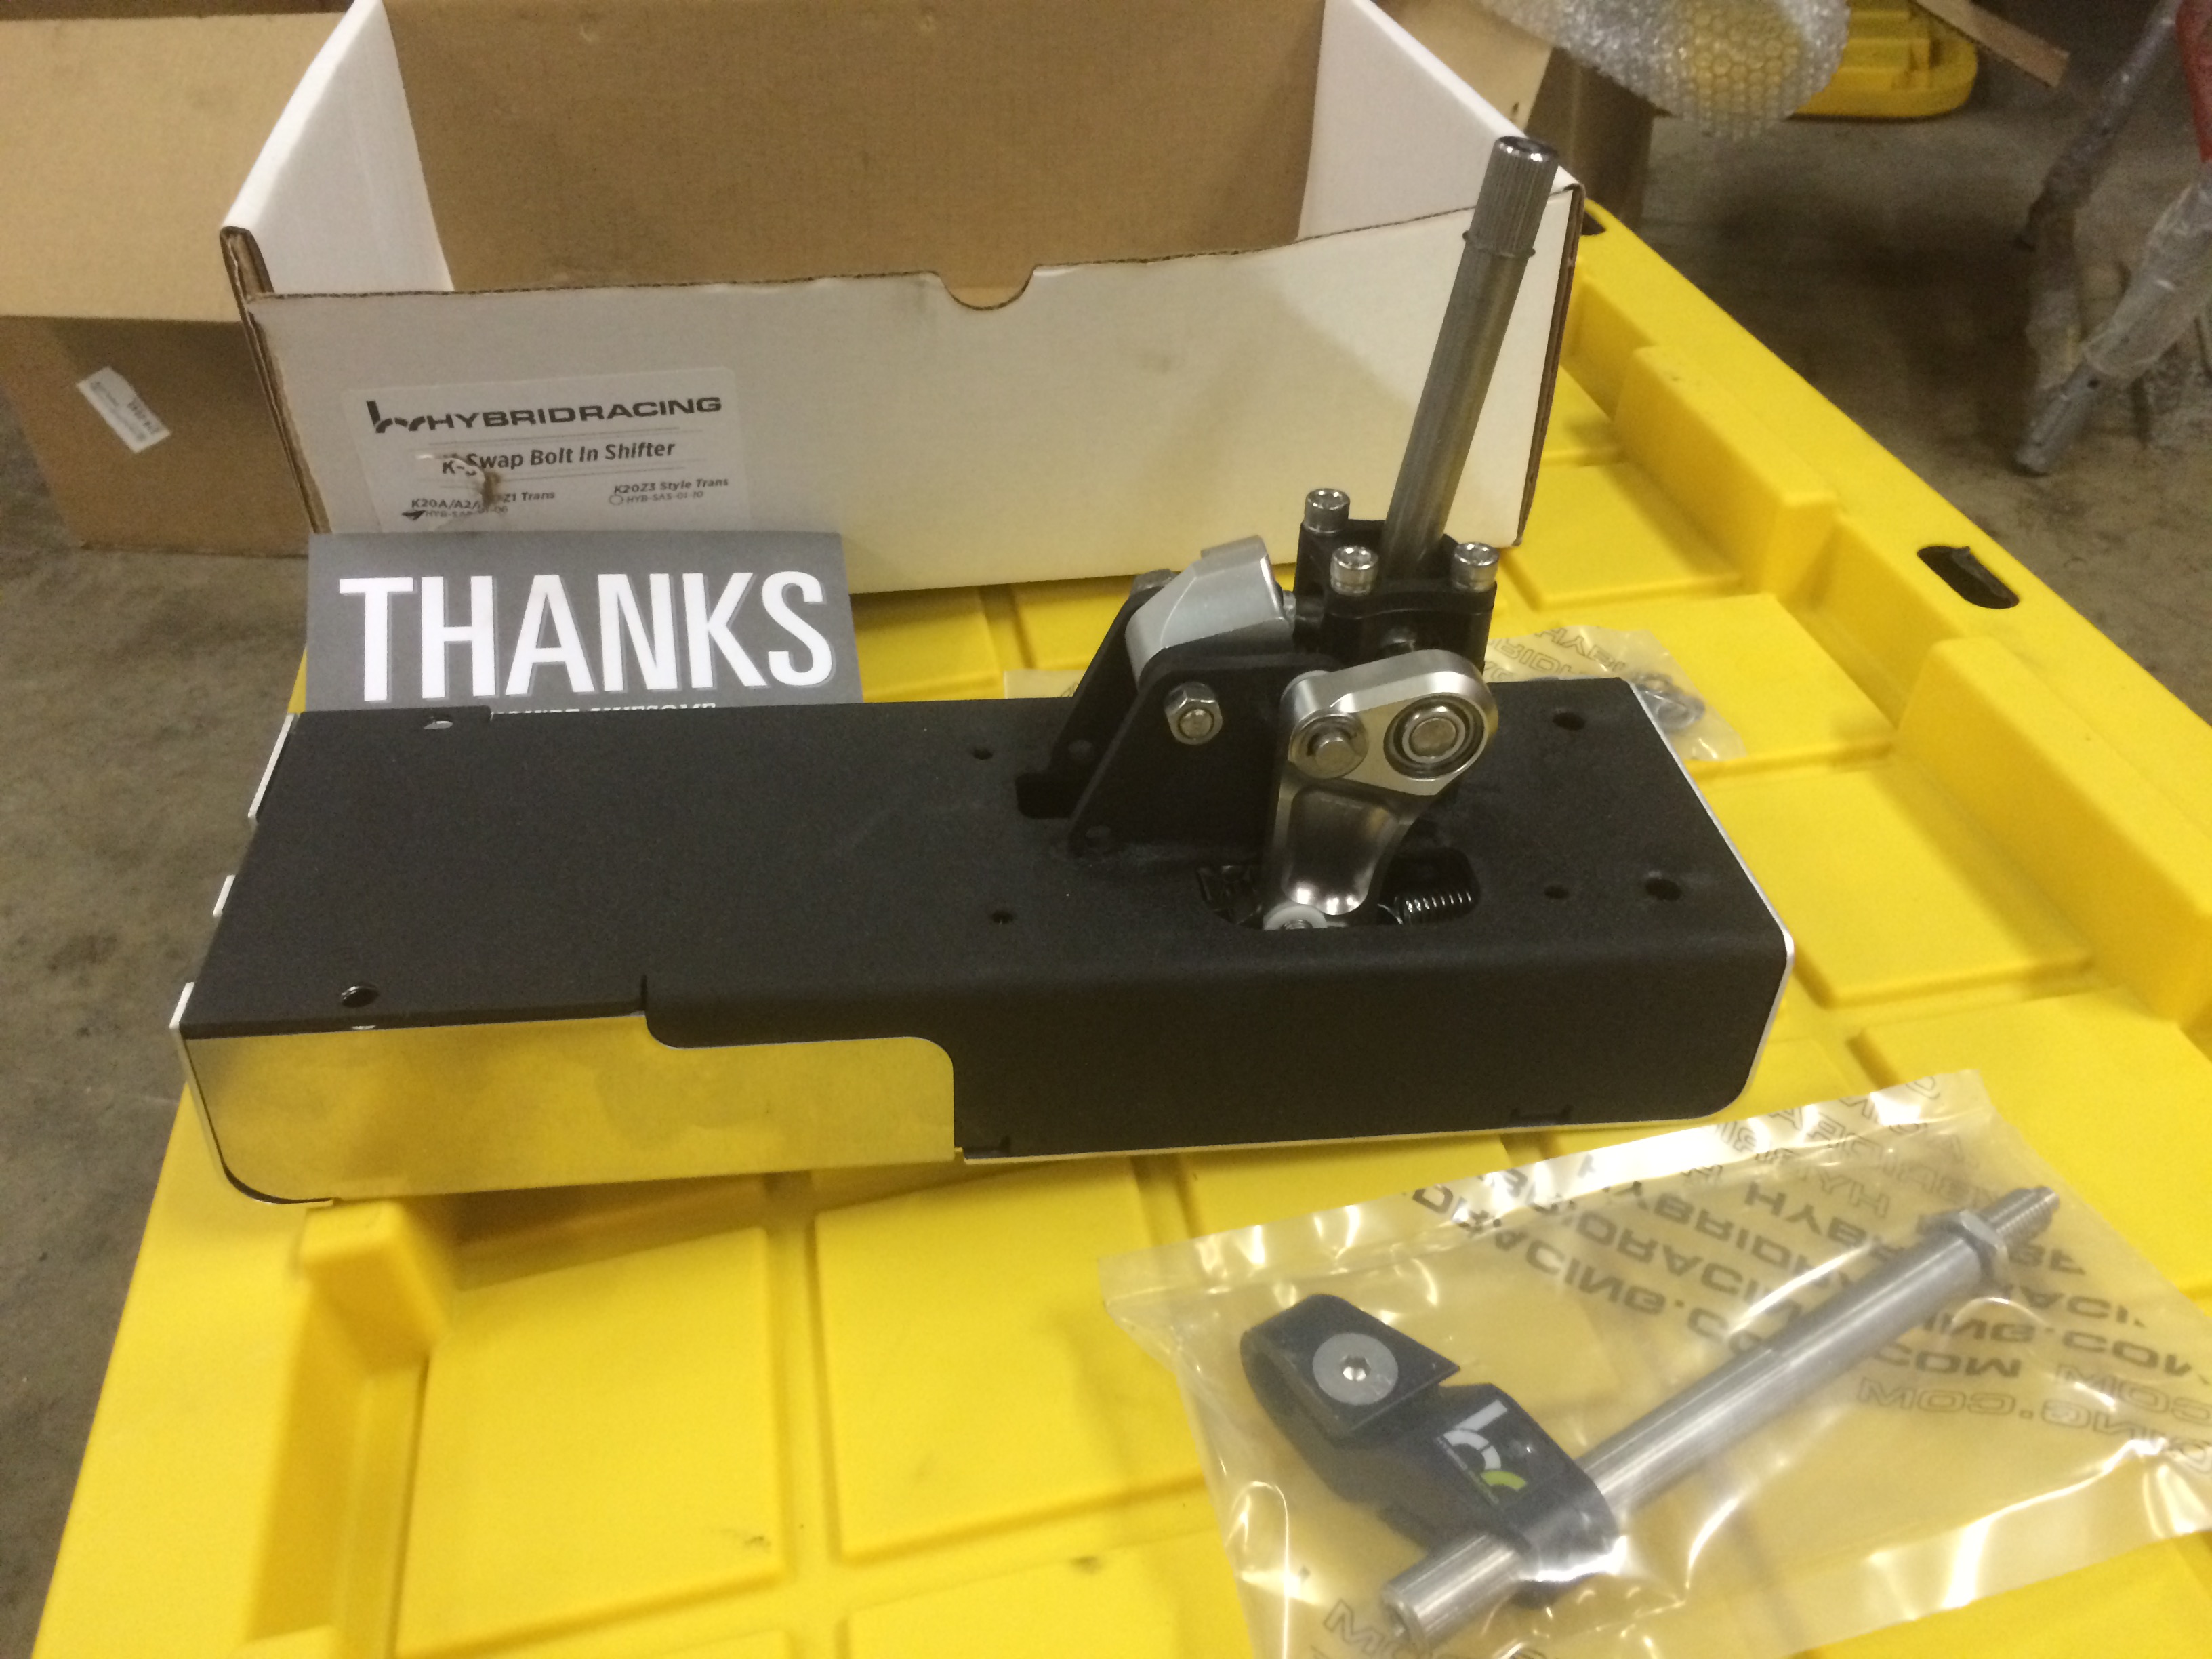
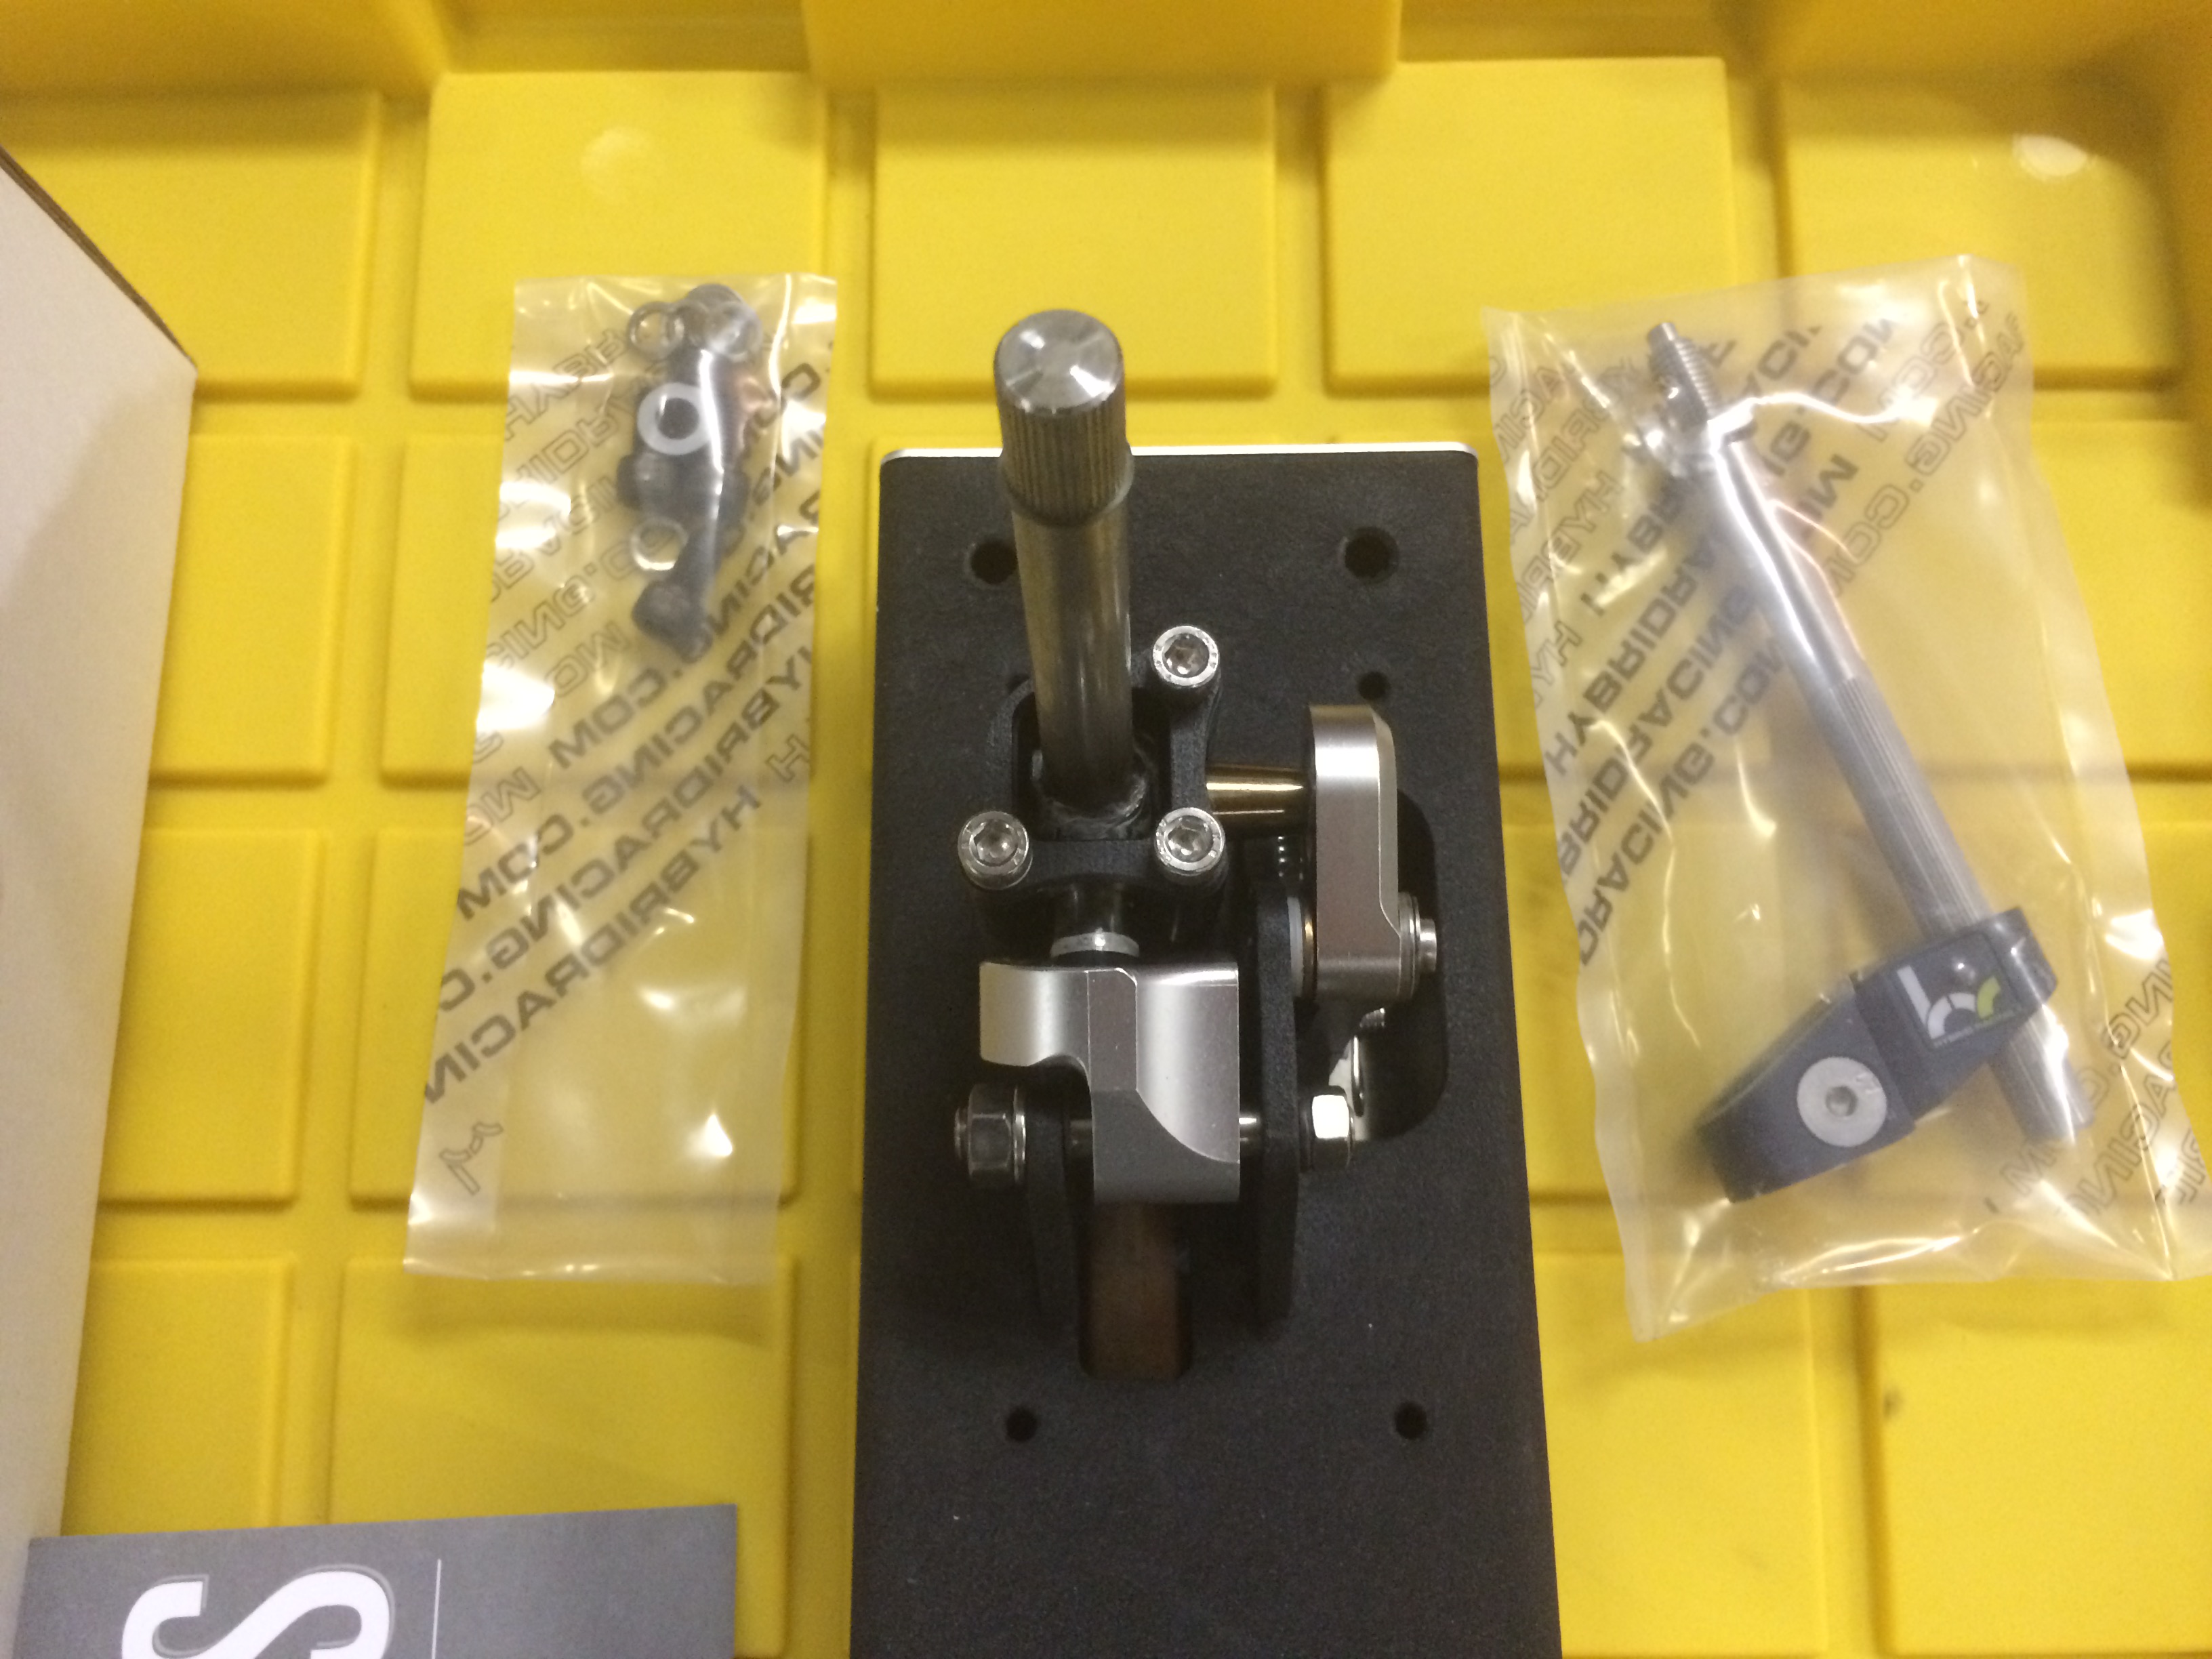
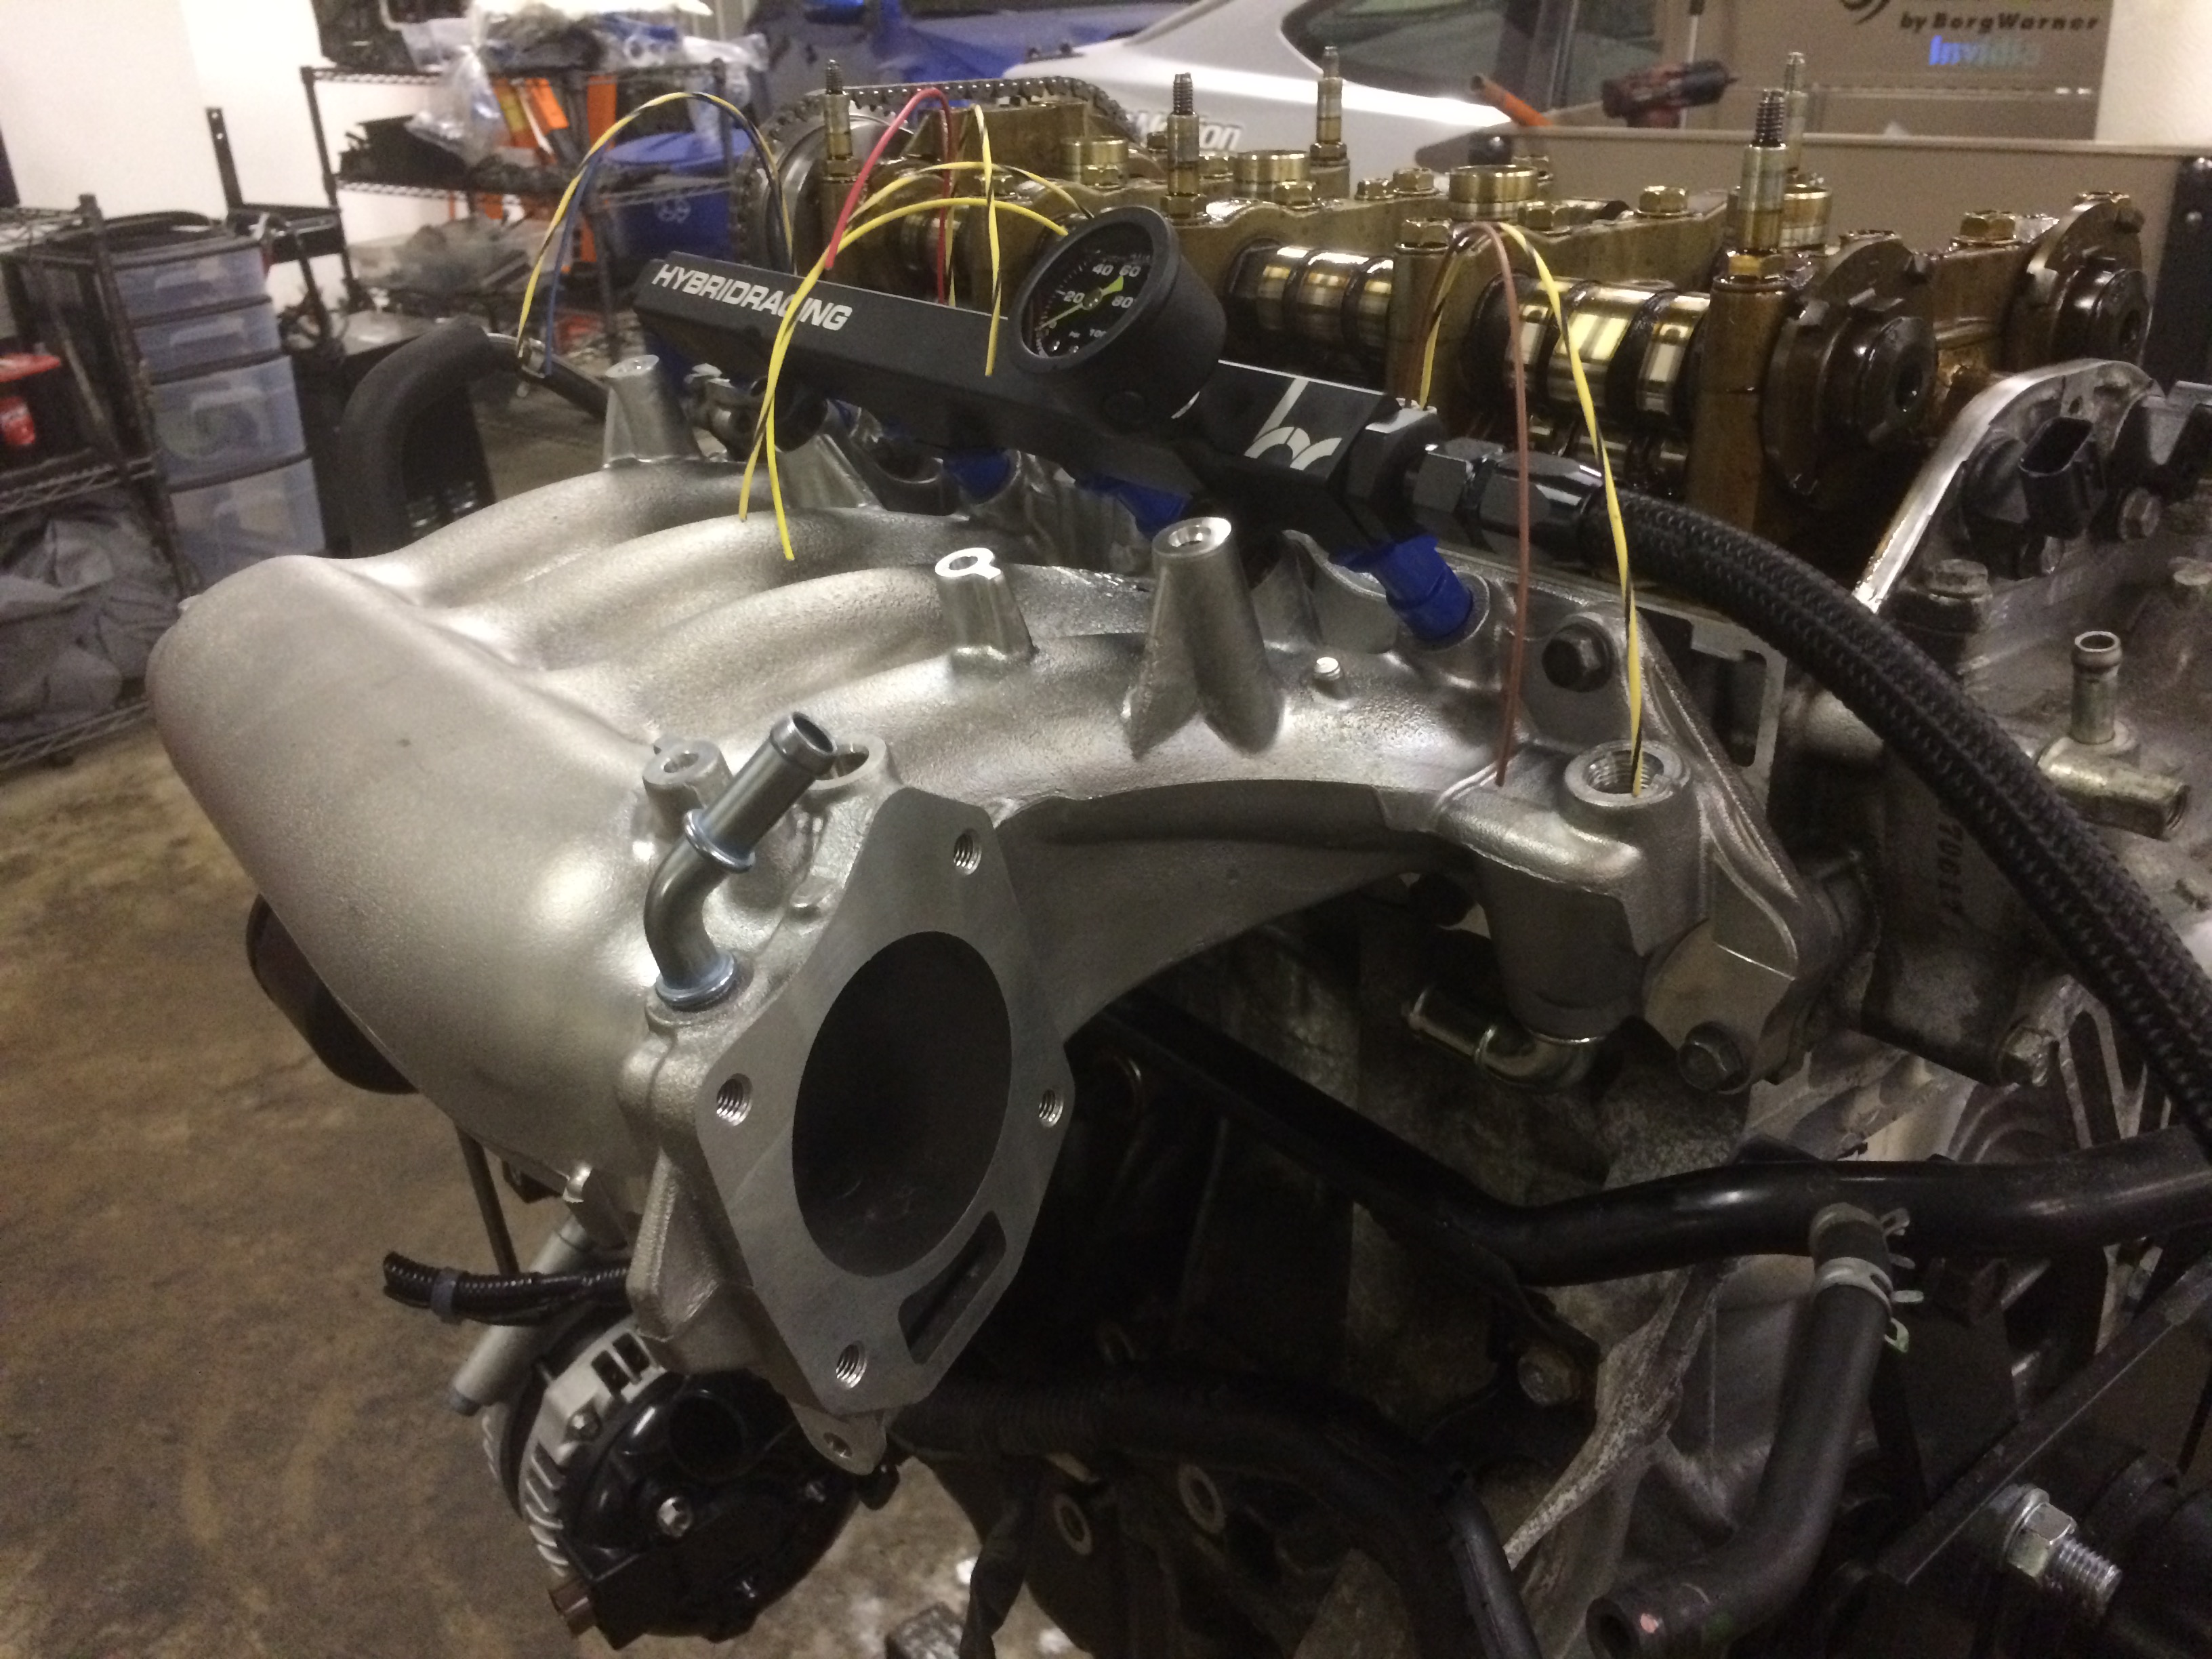
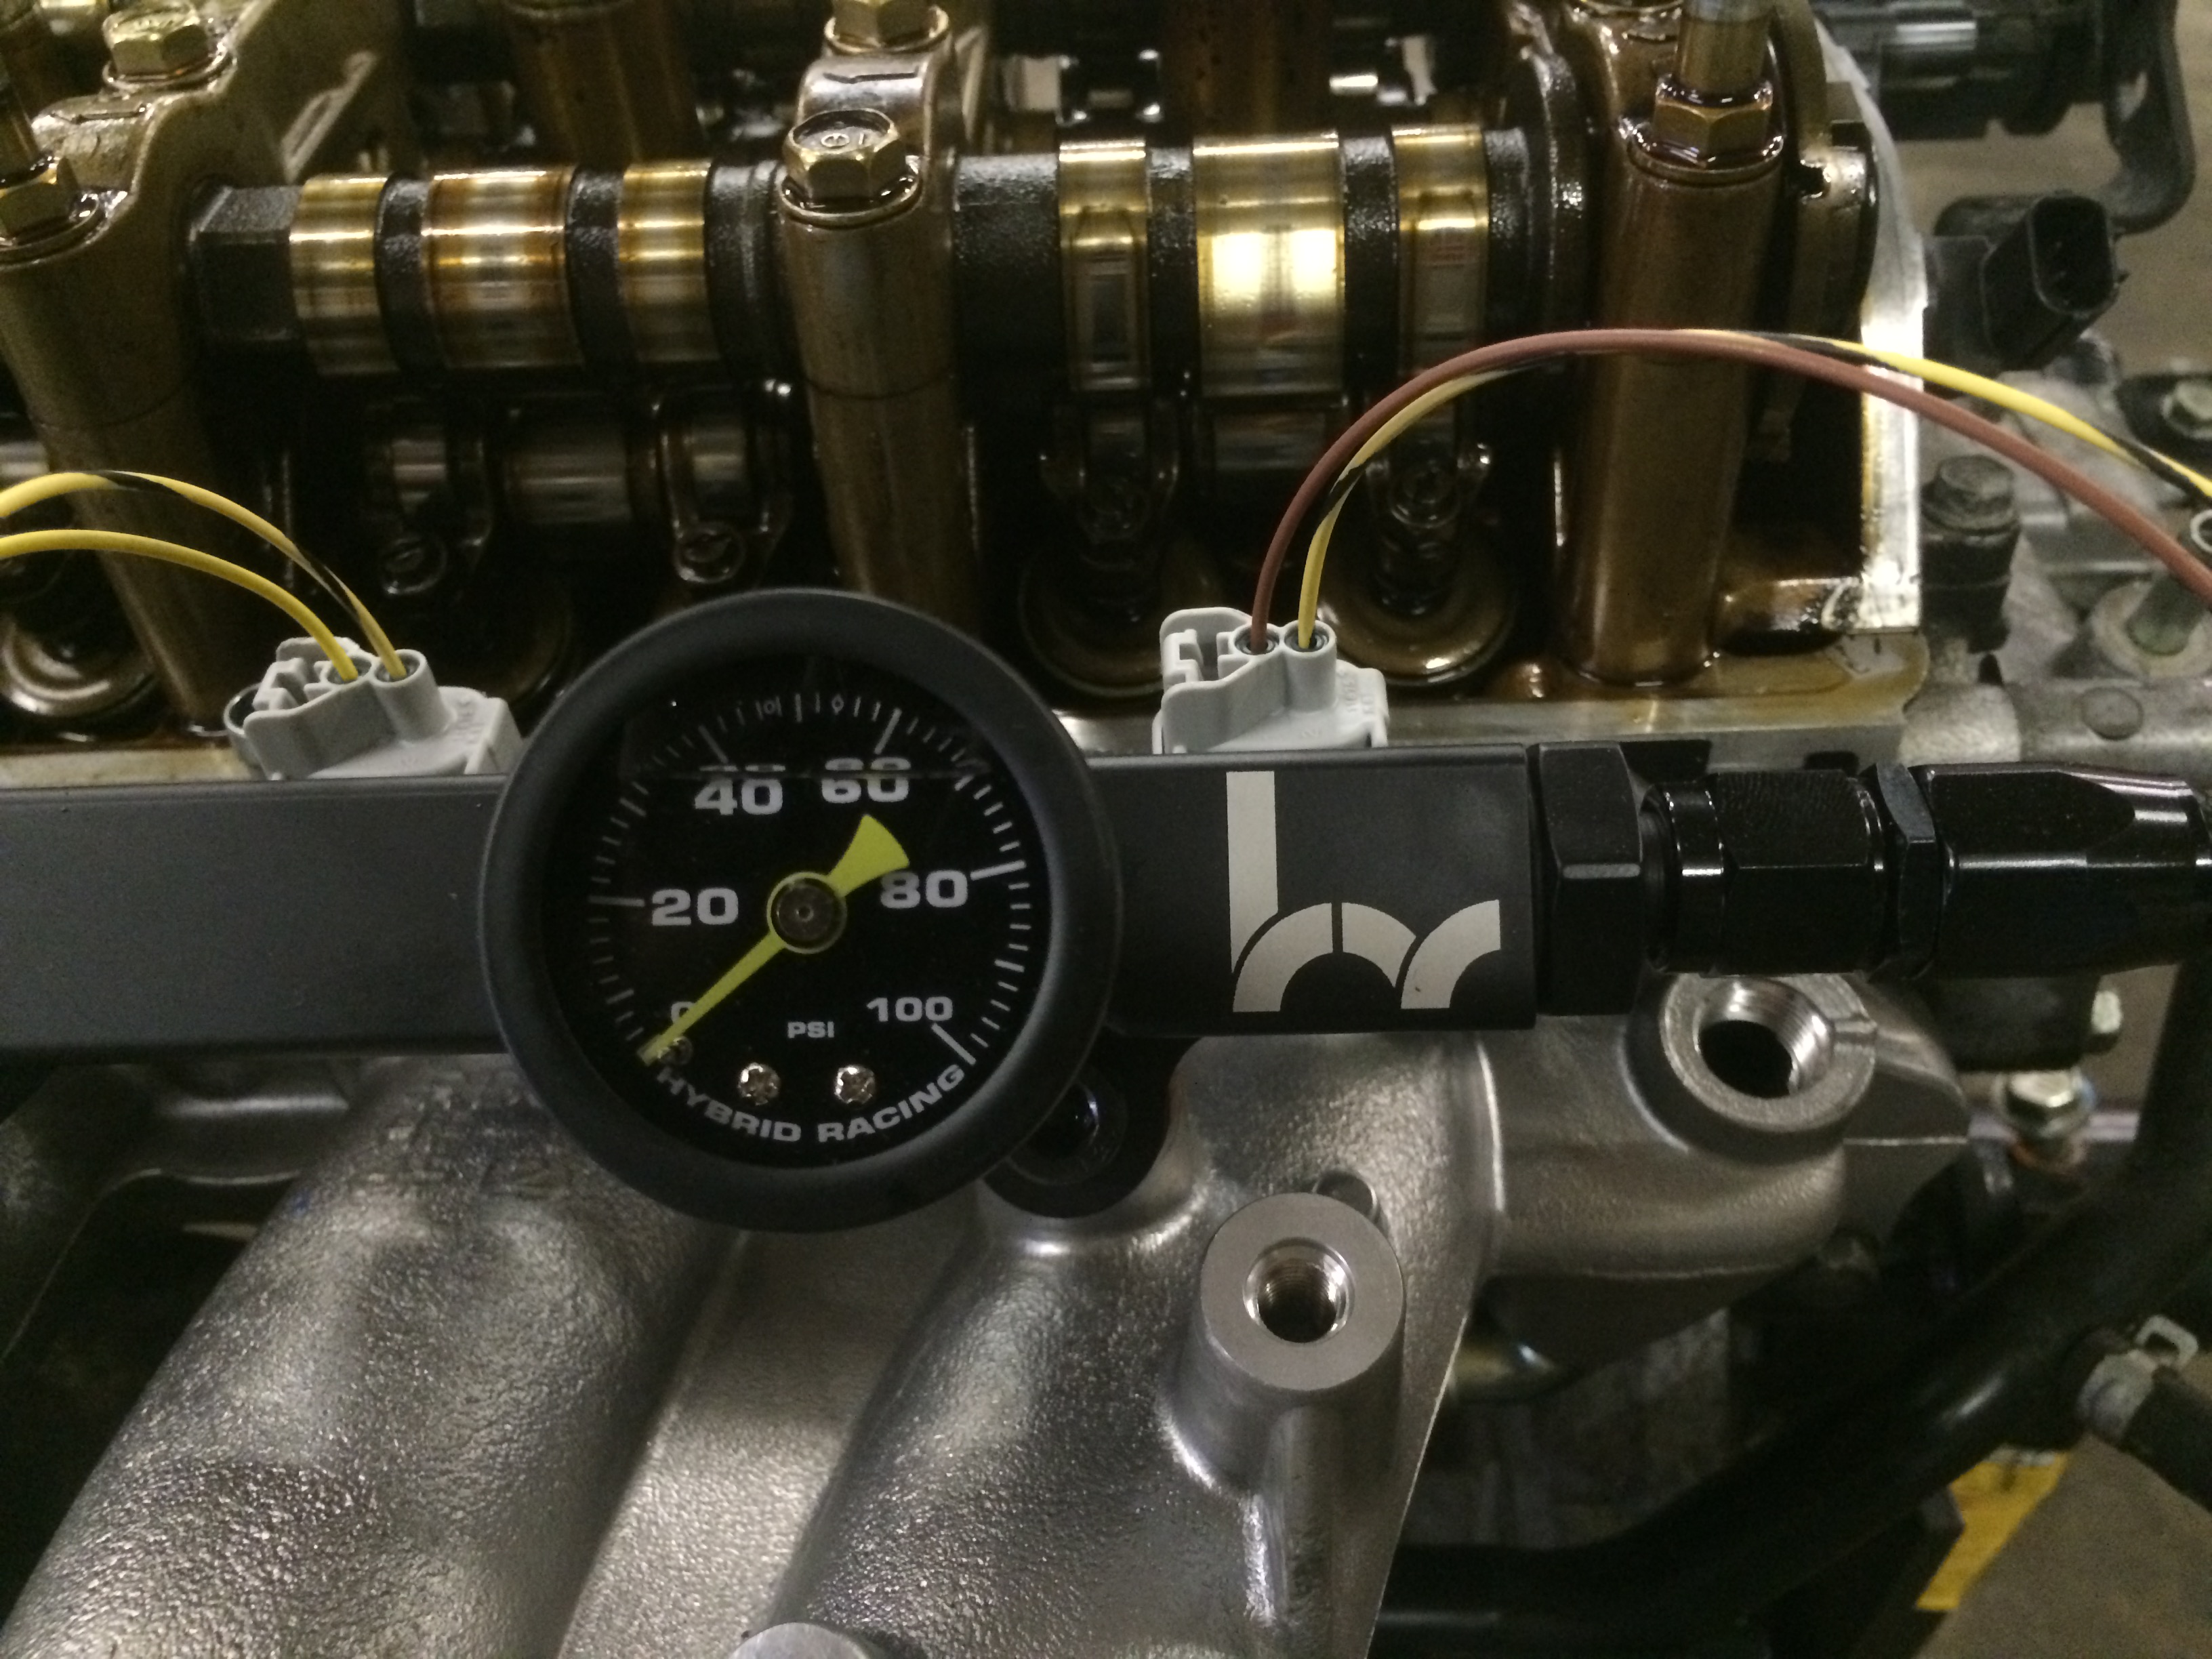
Some goodies from Hybrid Racing showed up late last week! Along with a few other parts that I had ordered.
Parts that have arrived in this shipment;
Shifter Cables
Clutch Line Kit
AC/PS Removal
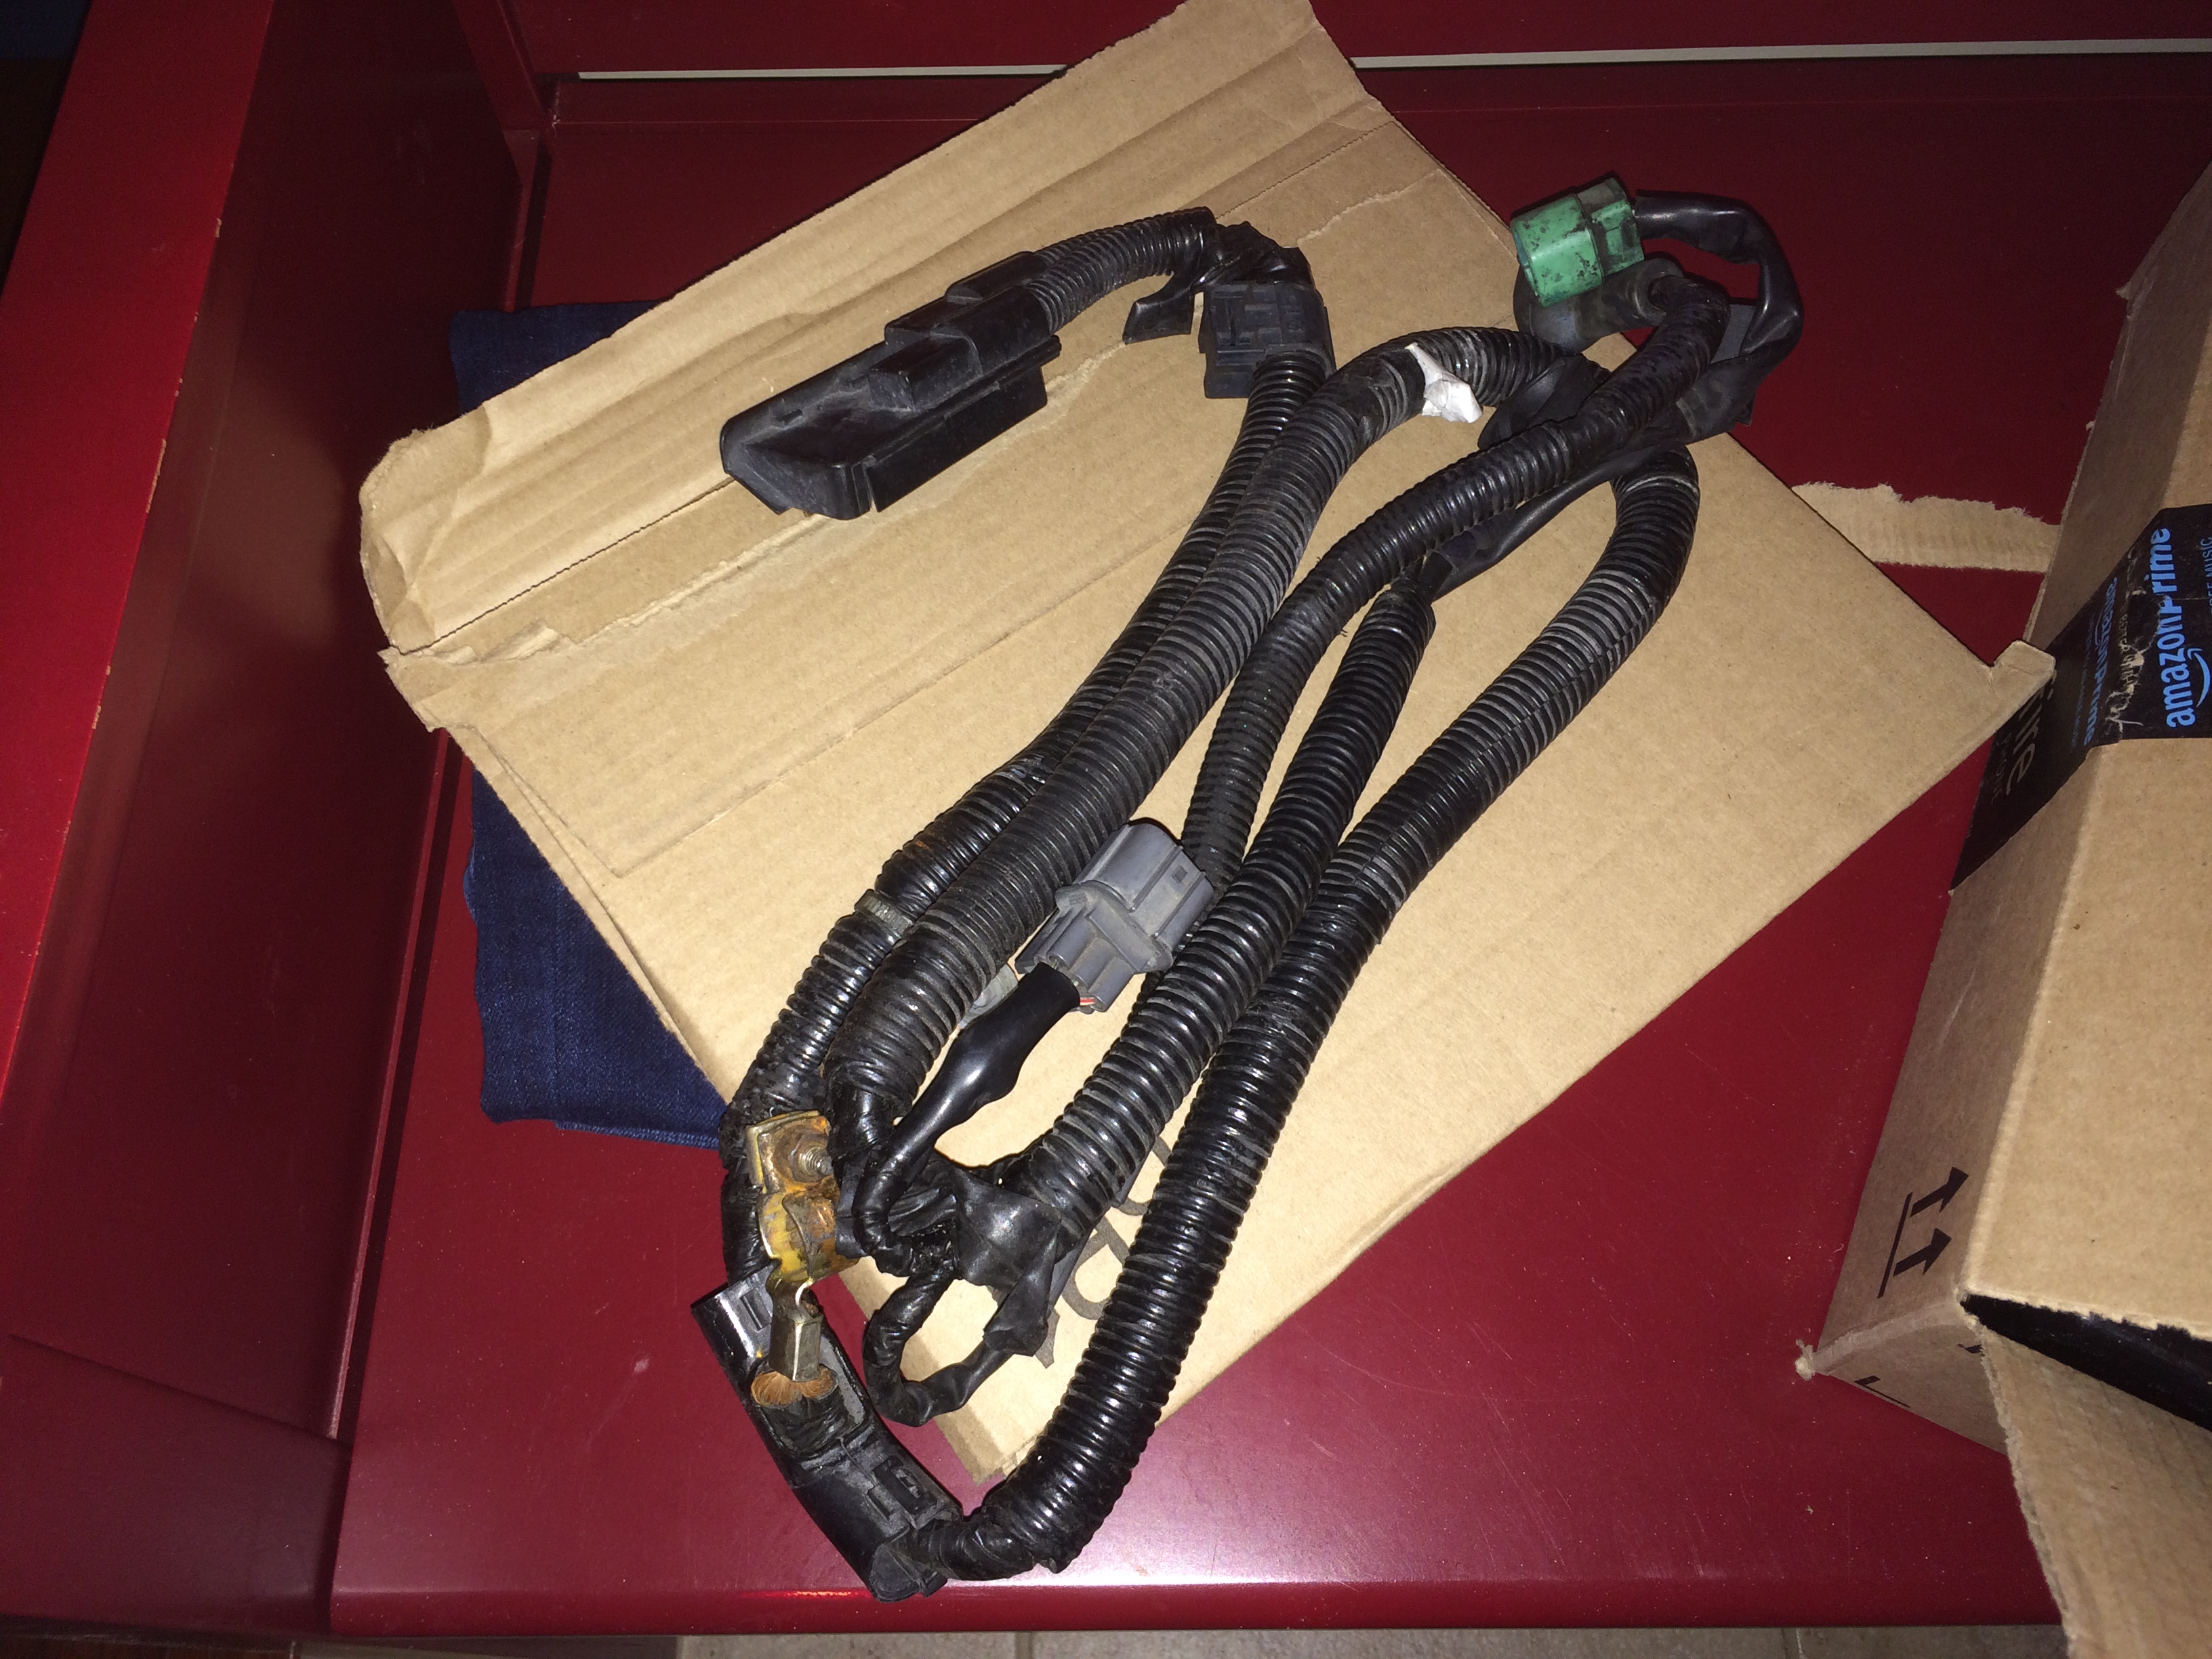
V4 Conversion Harness
Radiator Cap
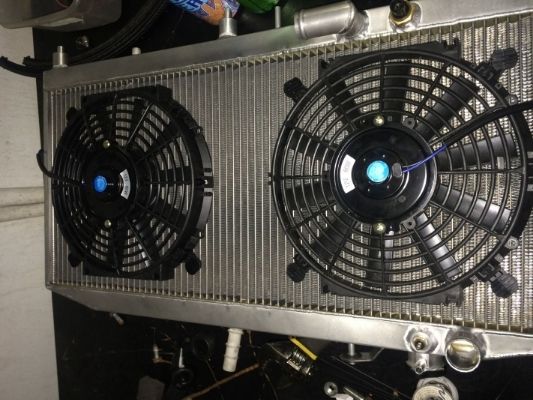
Slim Radiator Fans (x2)
Radiator Hoses
Coolant Temp Sensor
Coolant Switch
Radiator Bracket
Tucked Fuel Line Kit
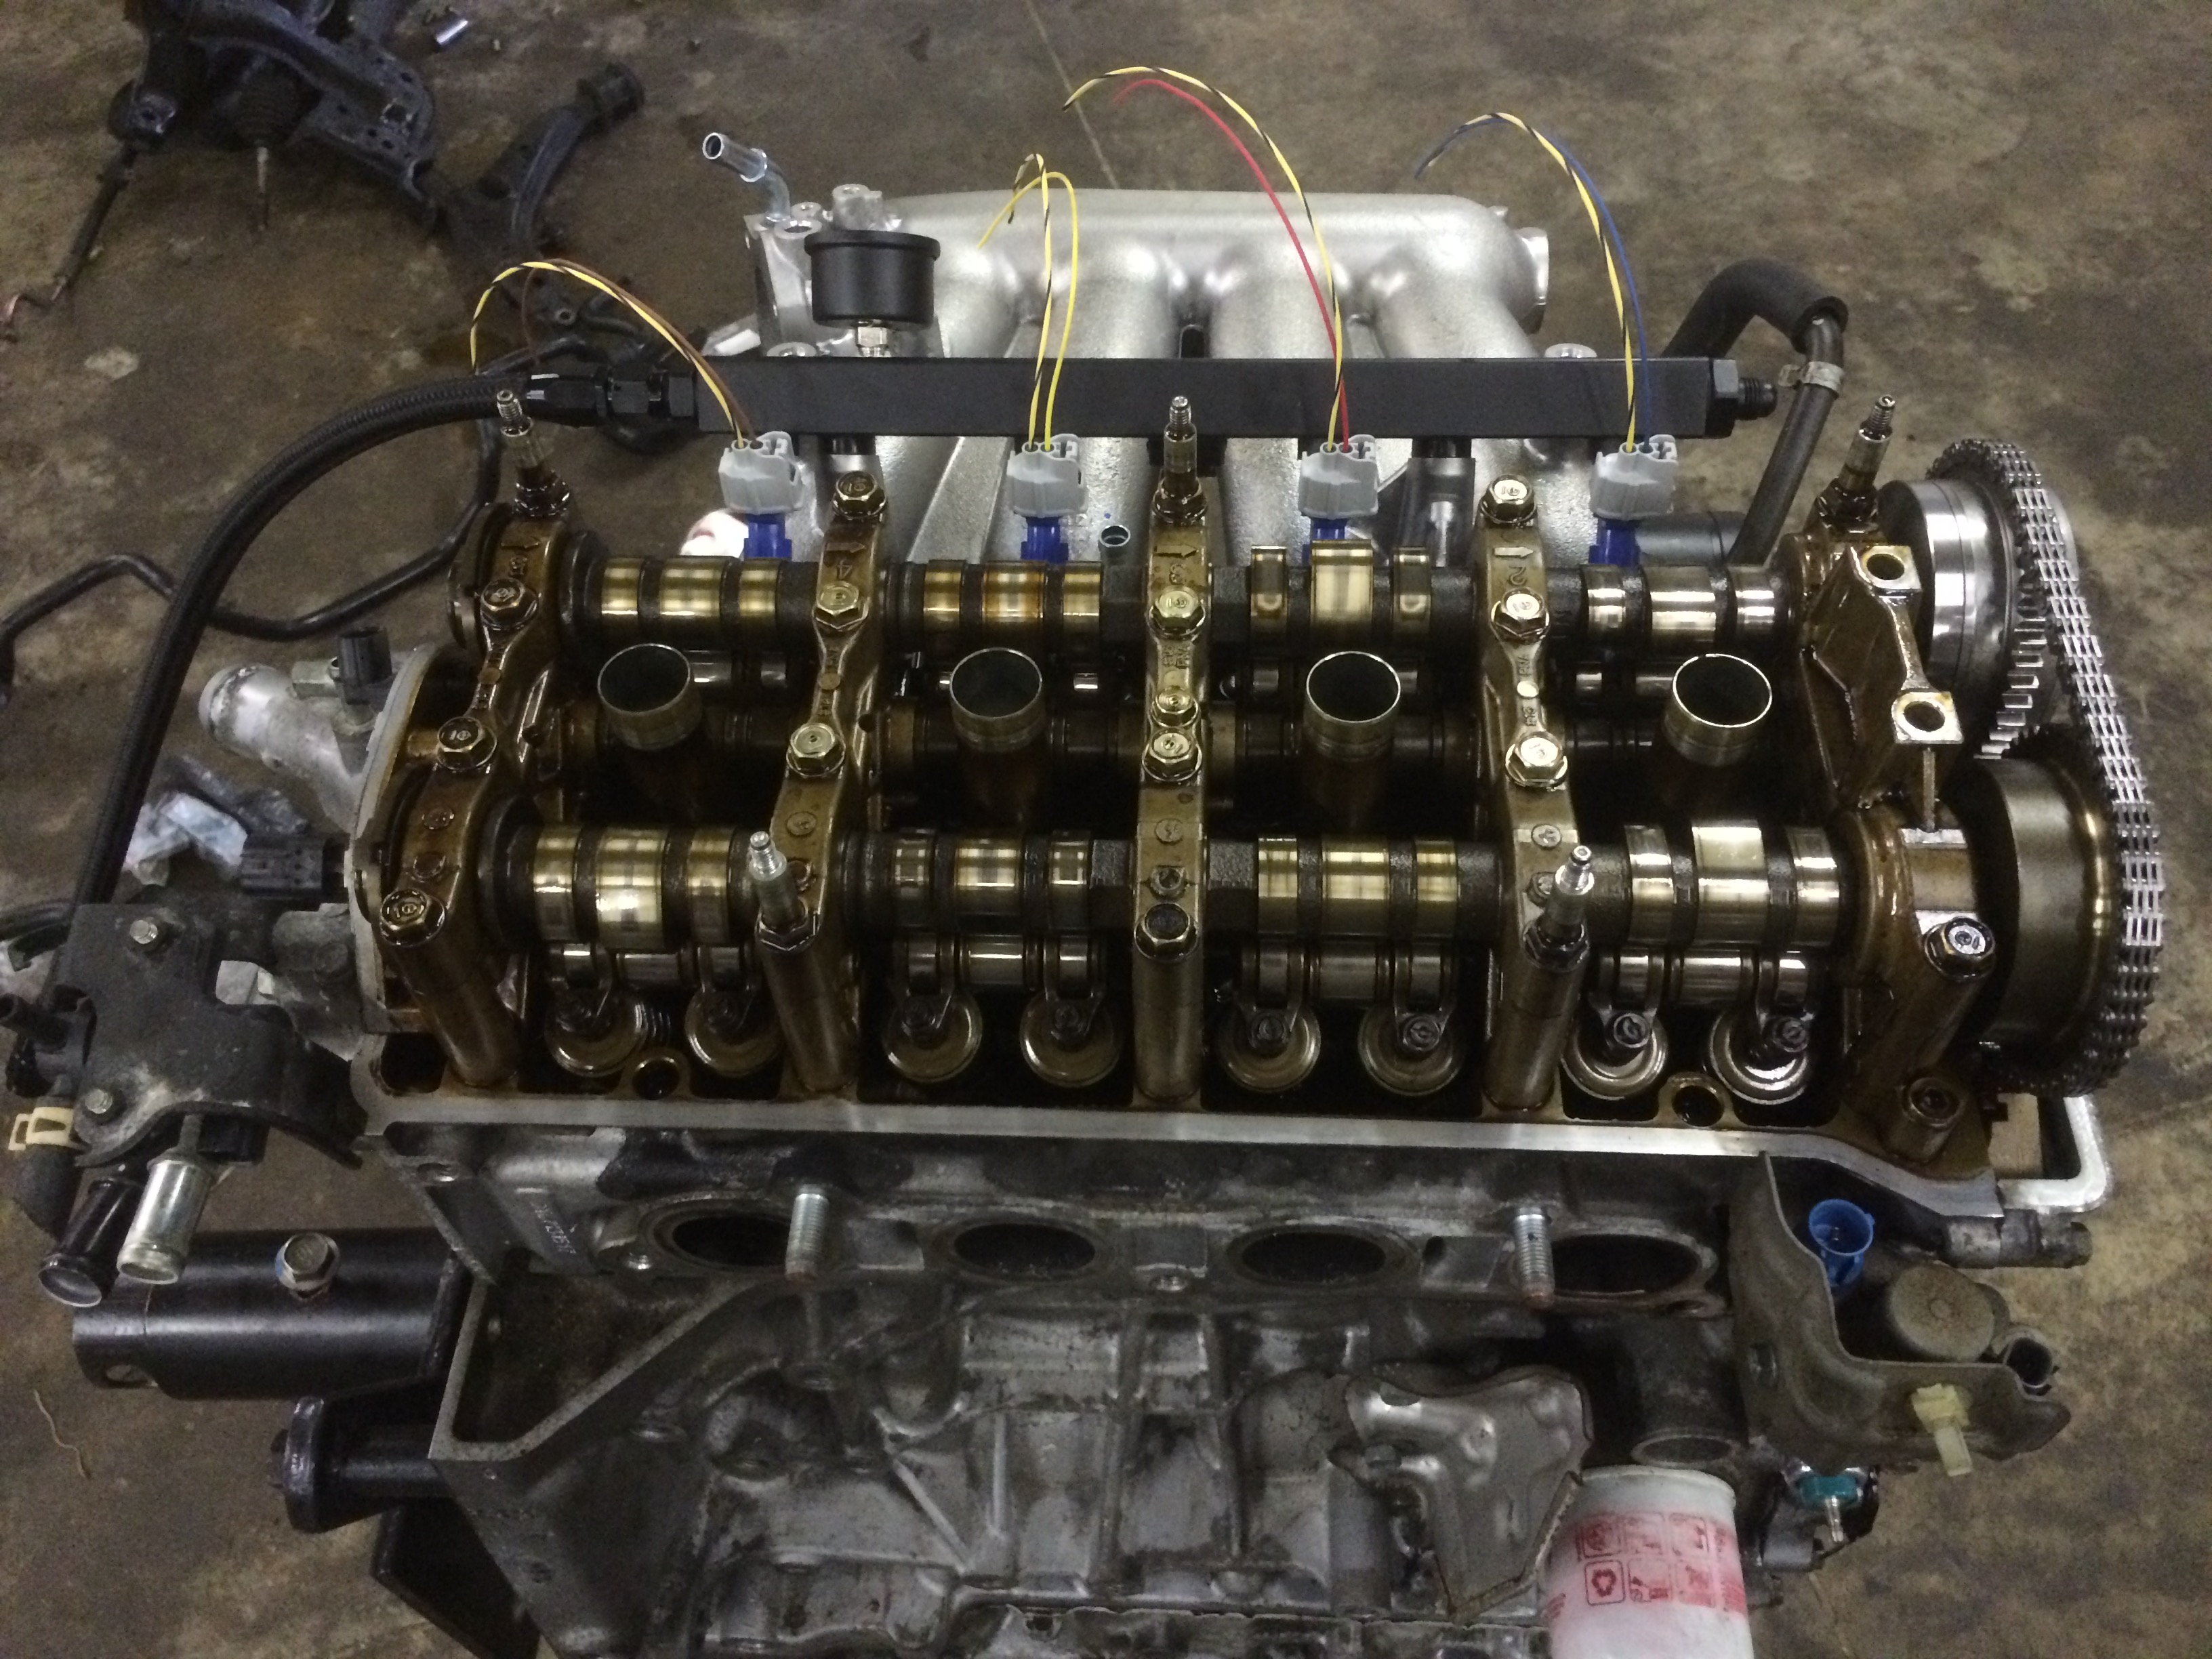
RDX Injectors and Clips
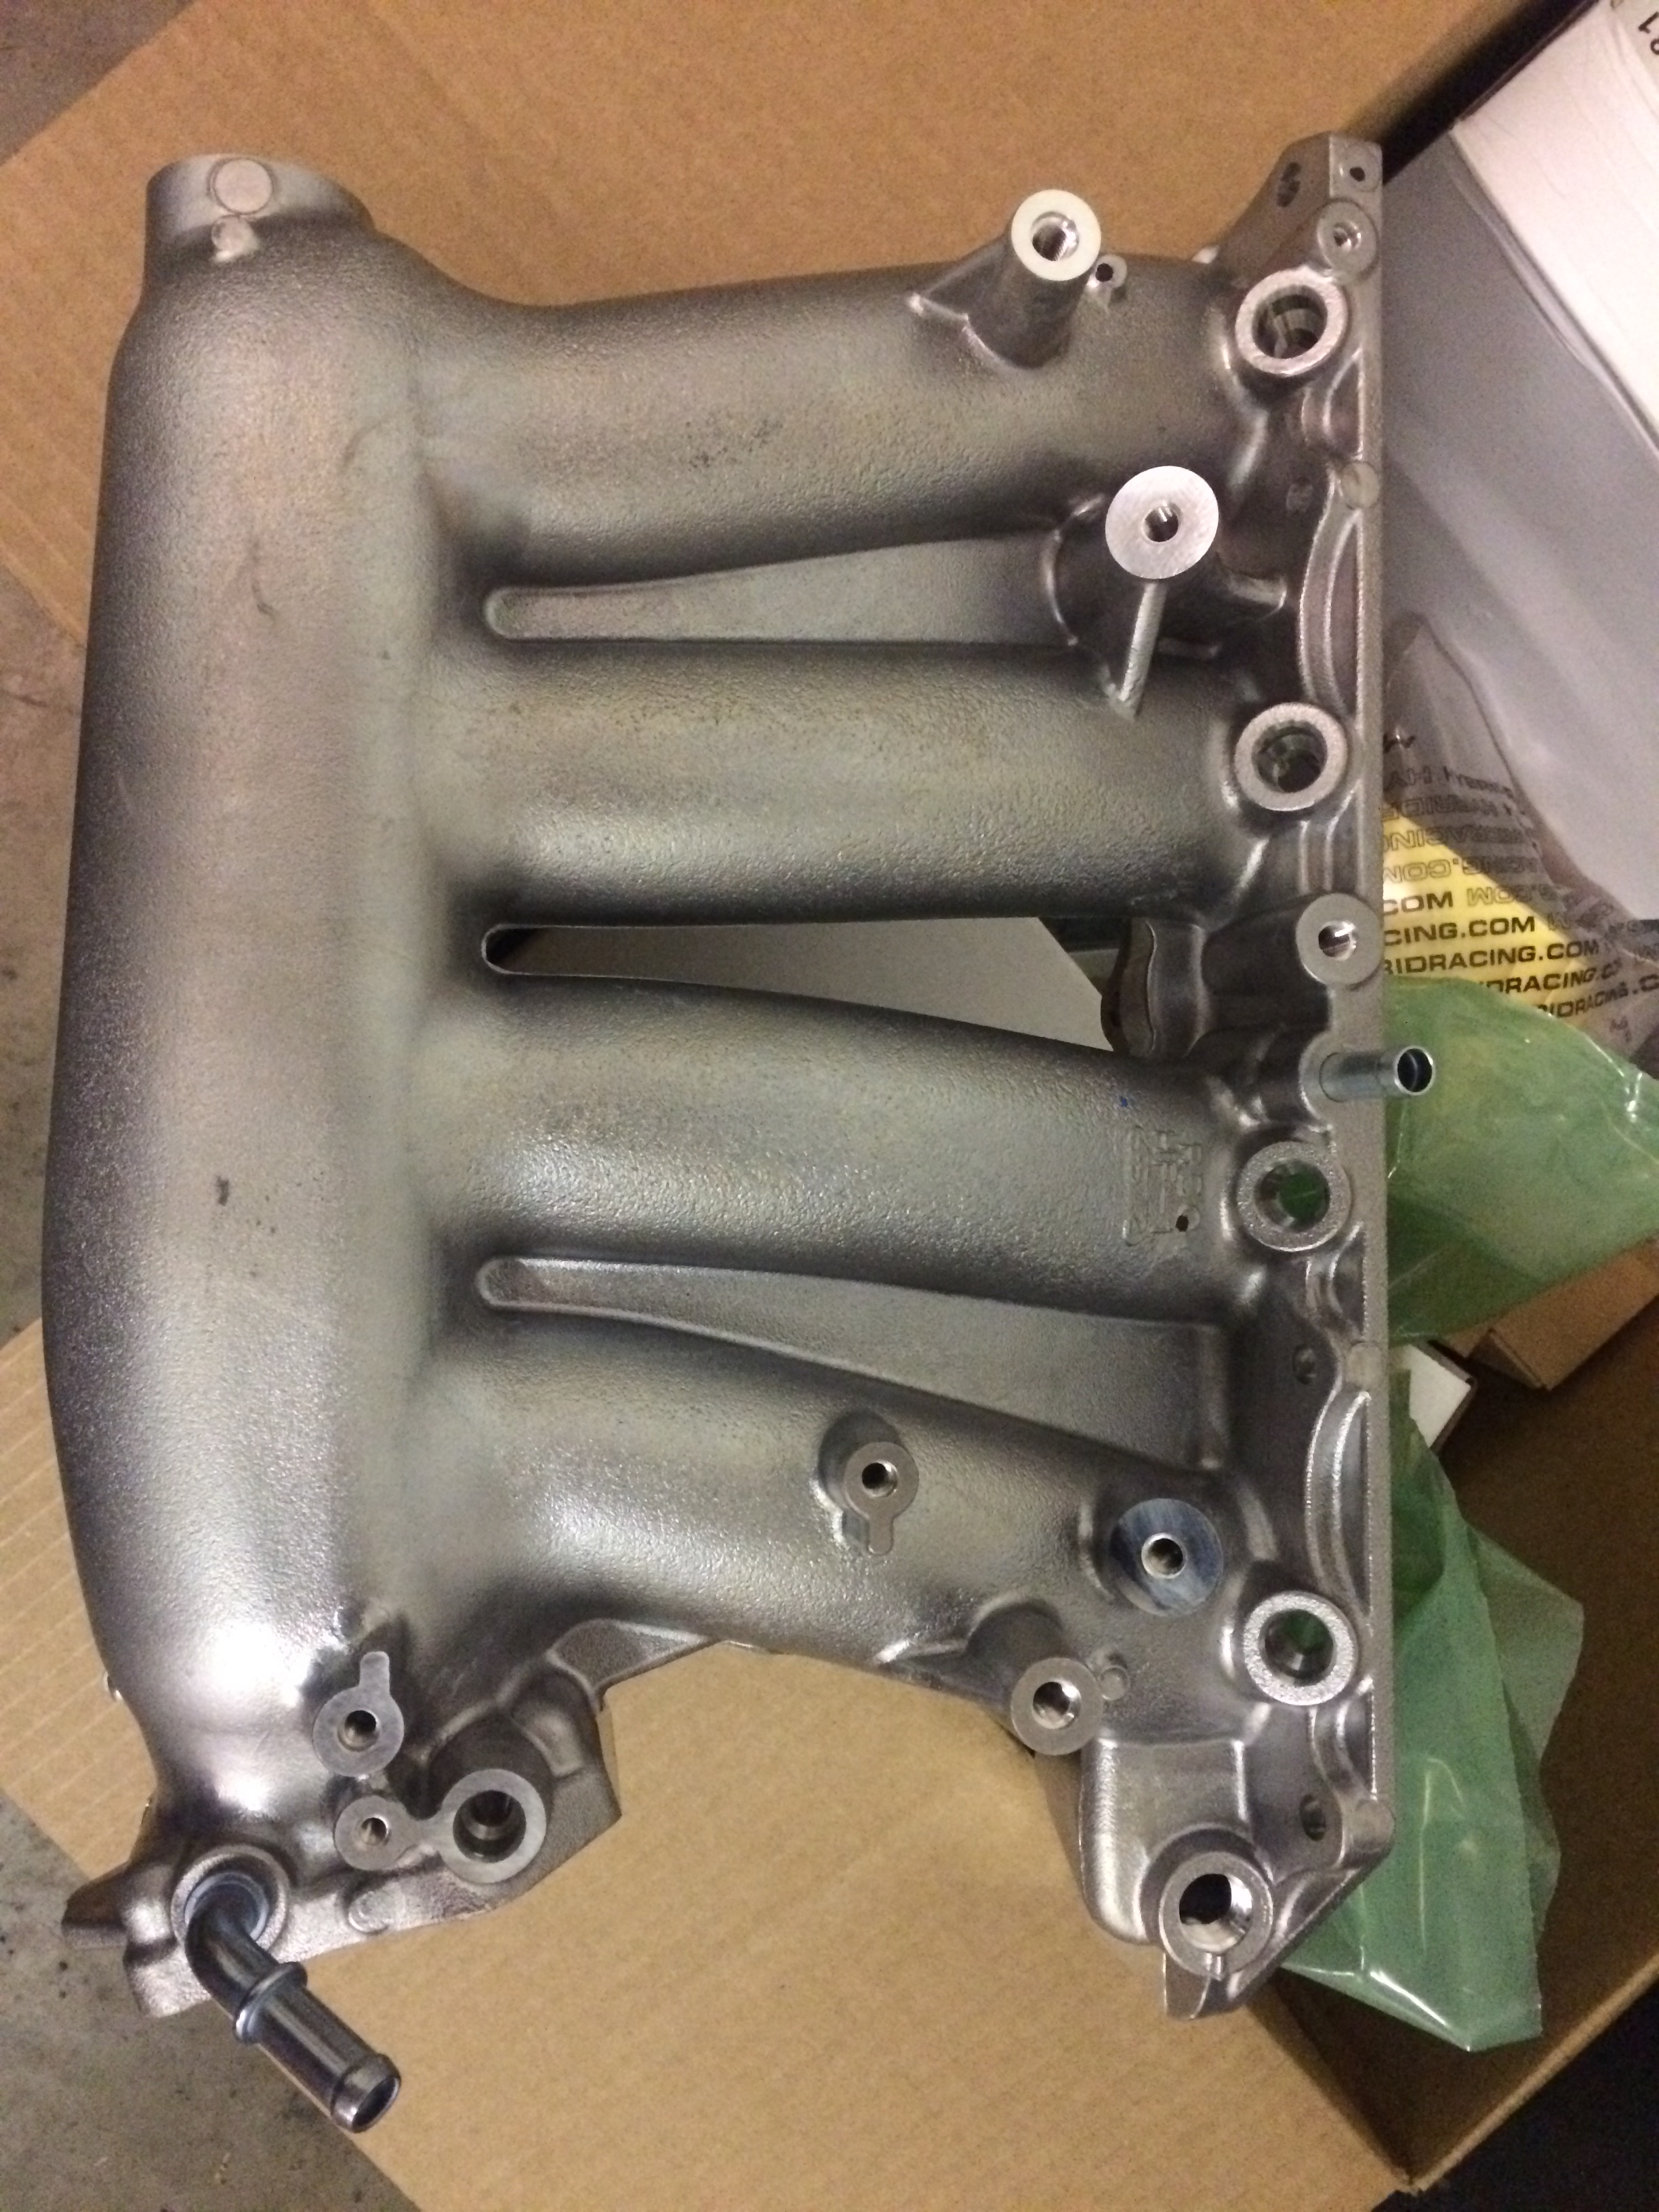
RBC Intake Manifold
Throttle Cable
Grounding kit
Shift ****
Cold Air Intake
Miss. Swag
Still waiting on;
Bolt-In Shifter Kit
Griffin Full-Sized Radiator
70mm Throttle Body
6″ Filter and Velocity Stack
Throttle Position Sensor
Hytech Pinned VTC Gear to 45*
K20A2 Oil Pump
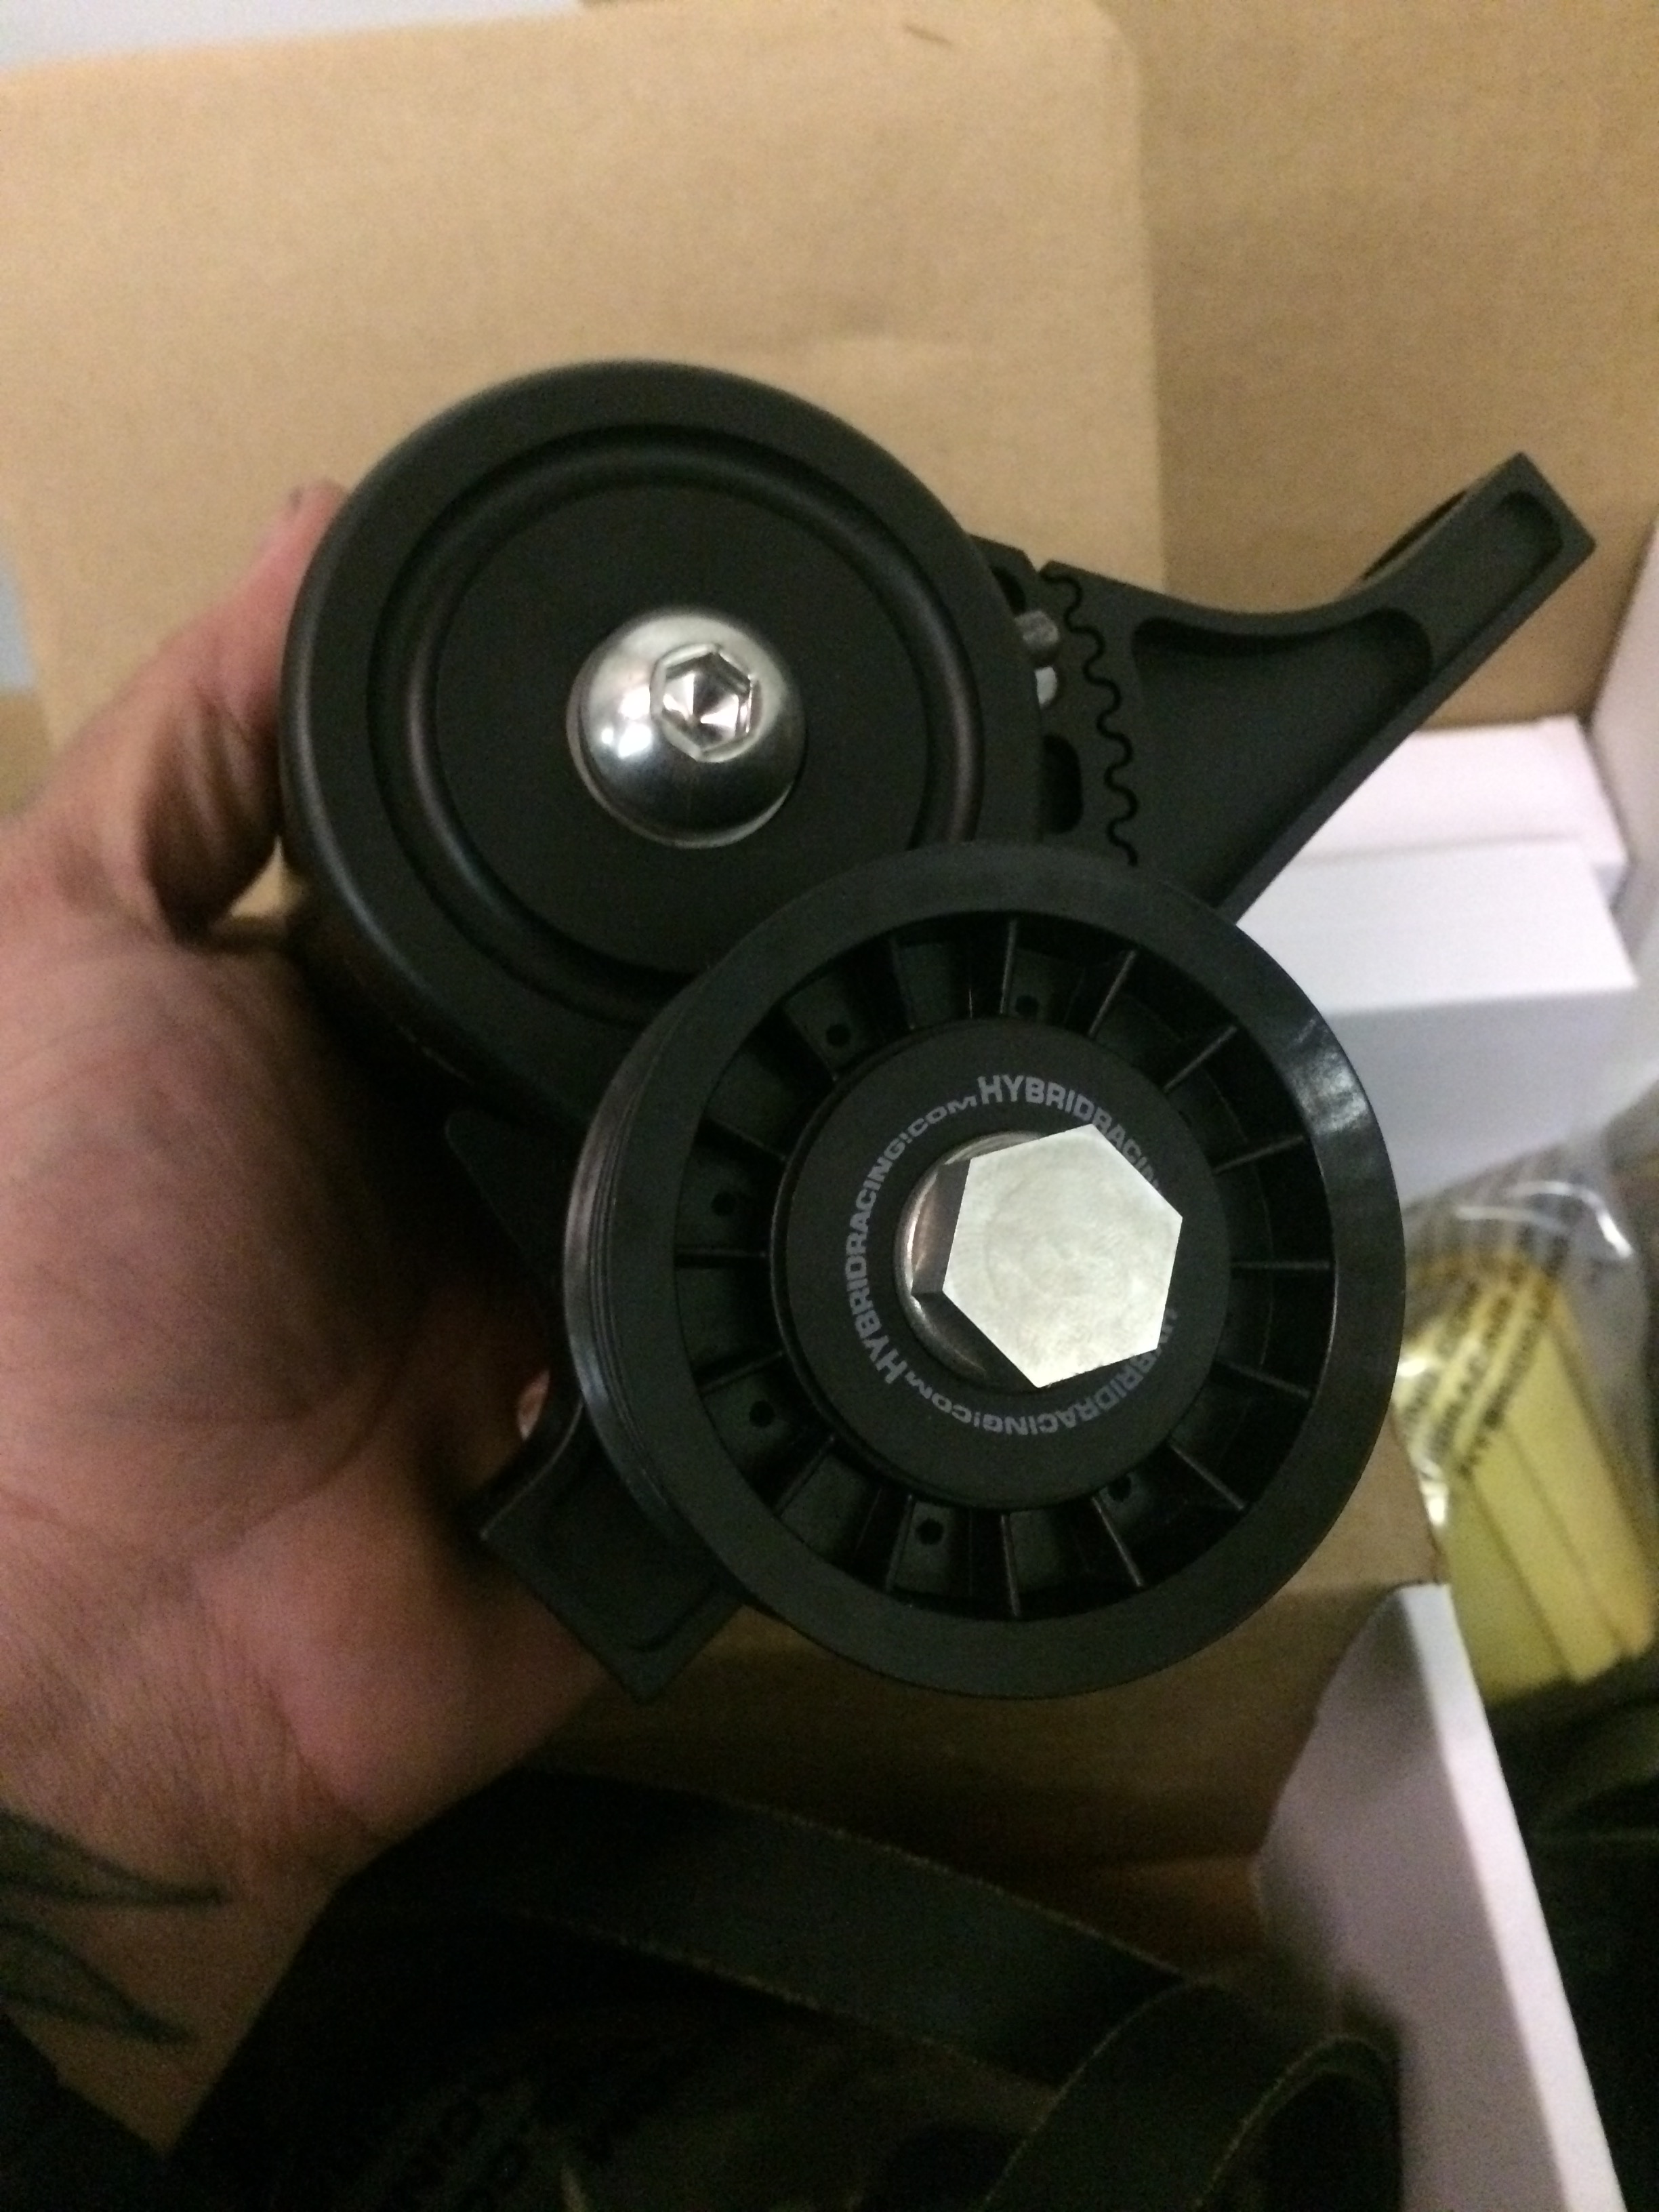
K20A2 Timing Belt Tensioner
Other parts that were recently received;
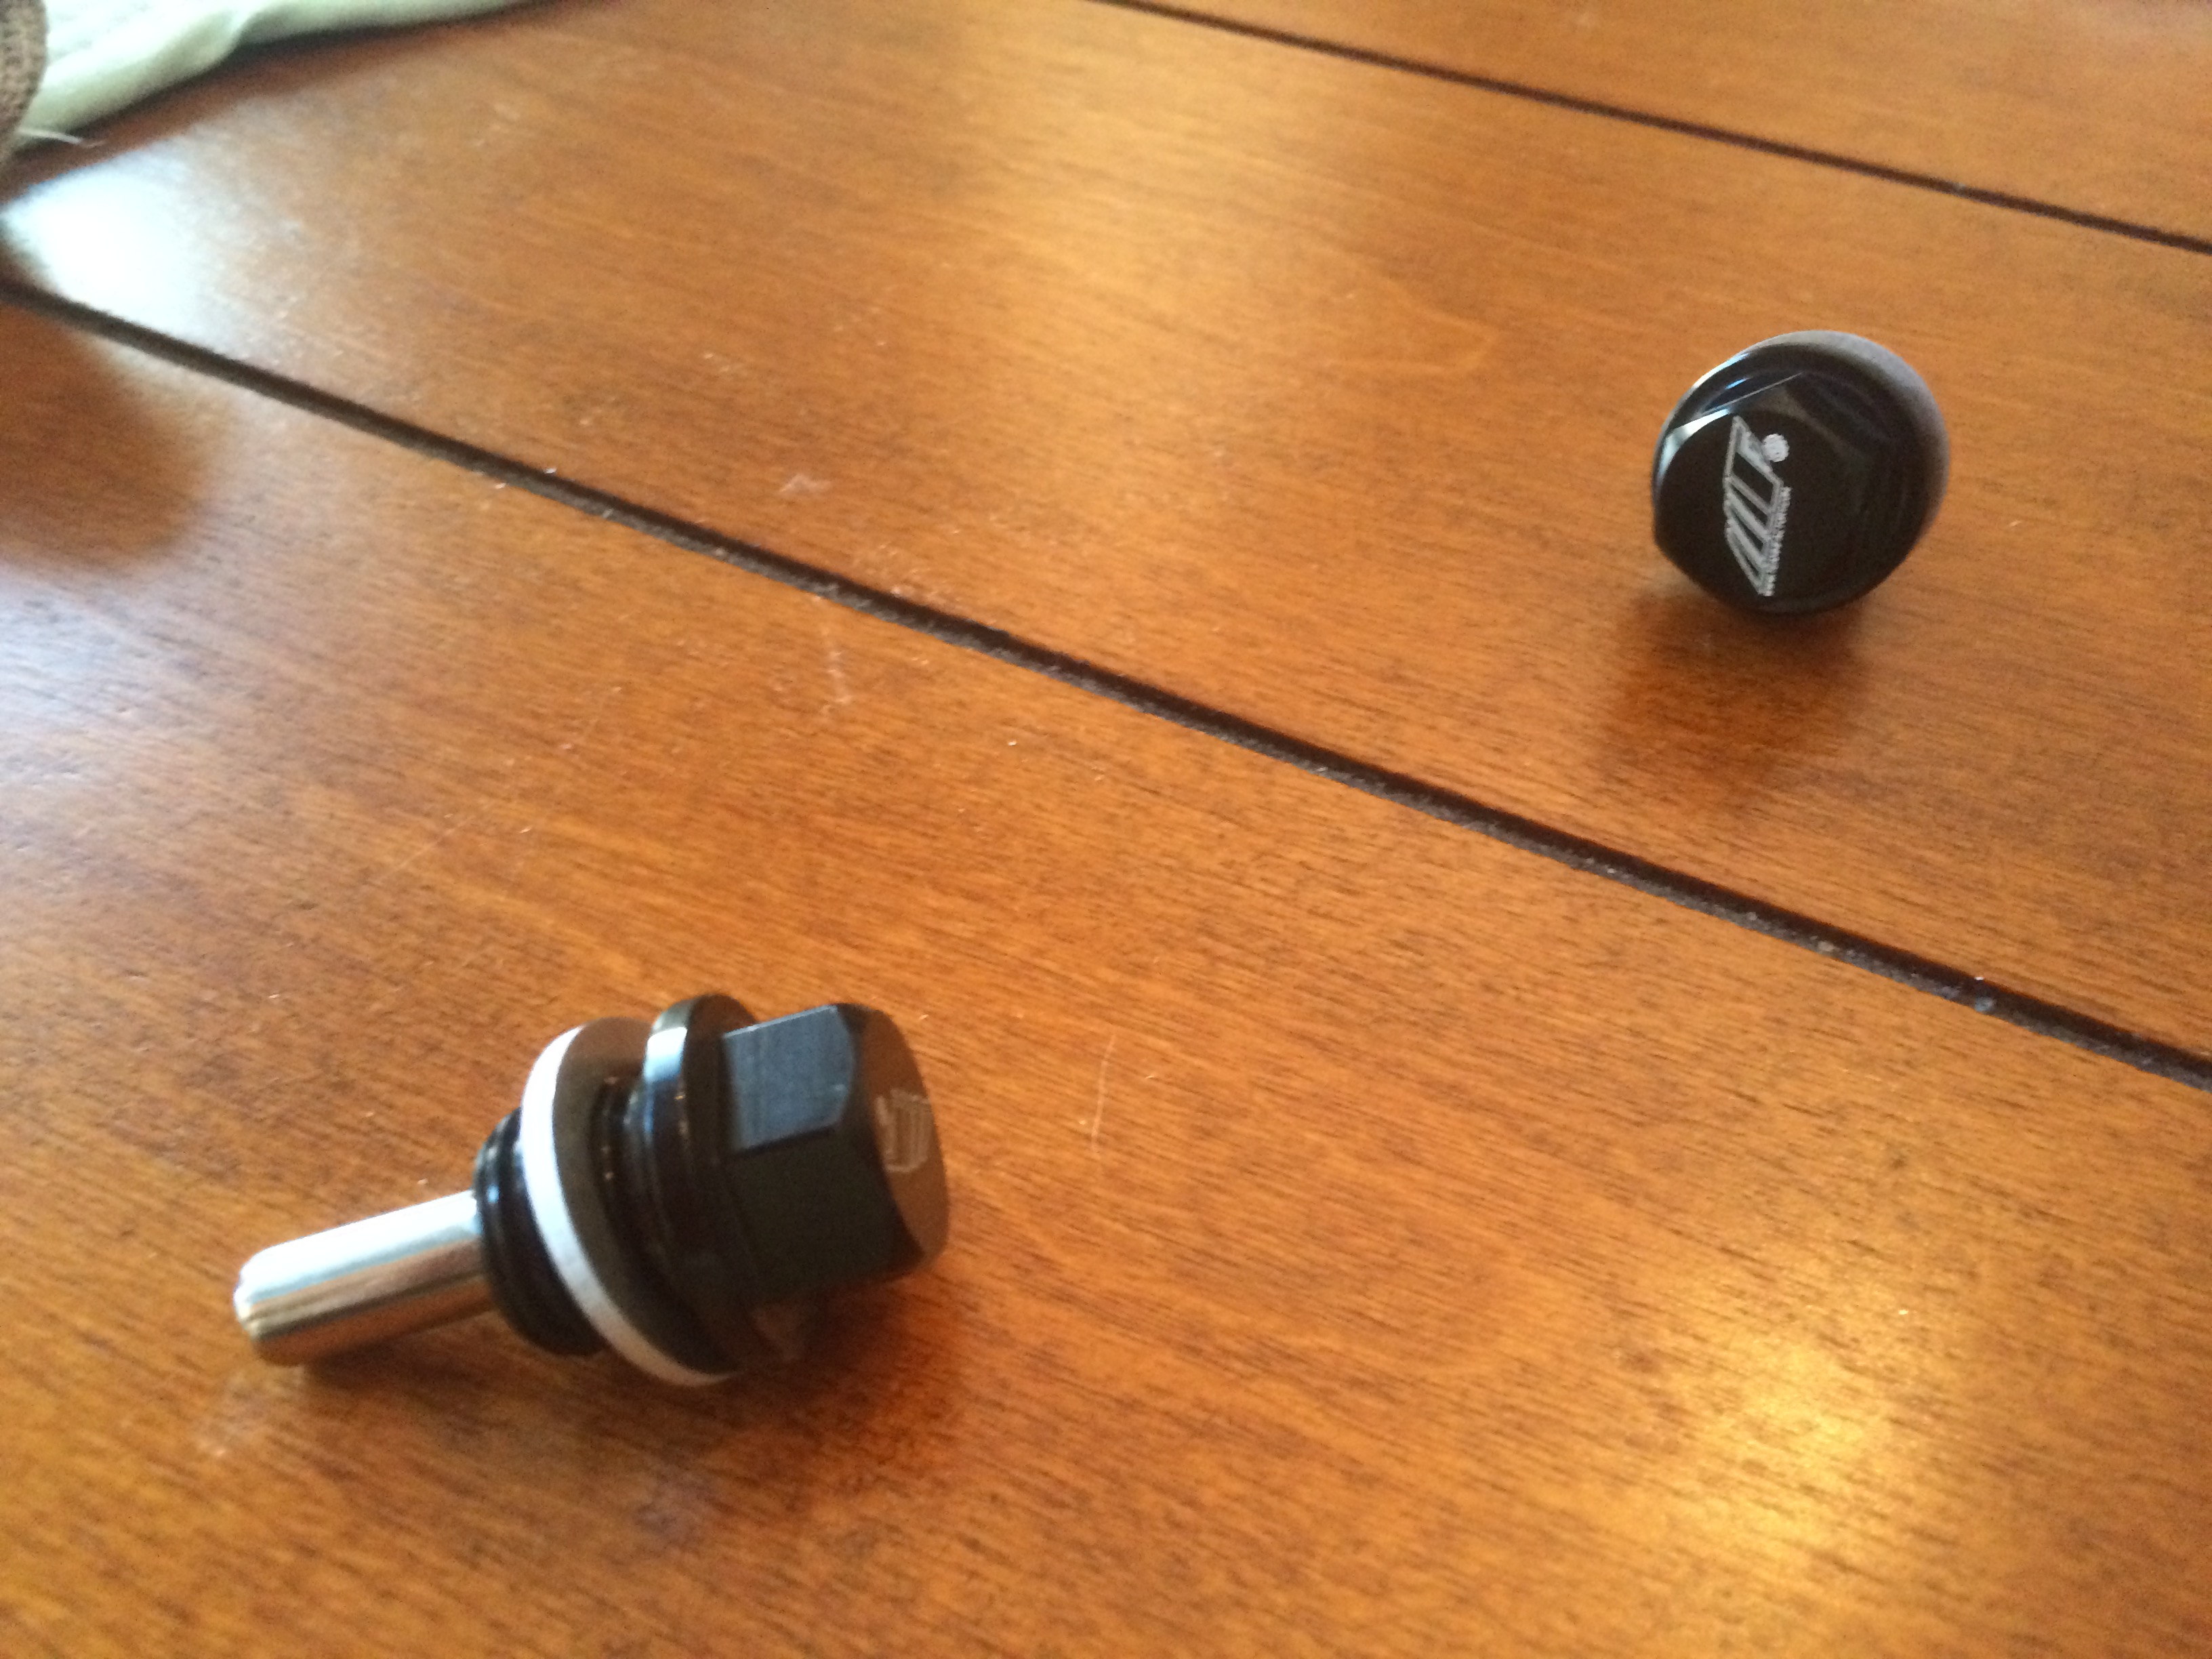
MFactory Magnetic Drain Plug Set
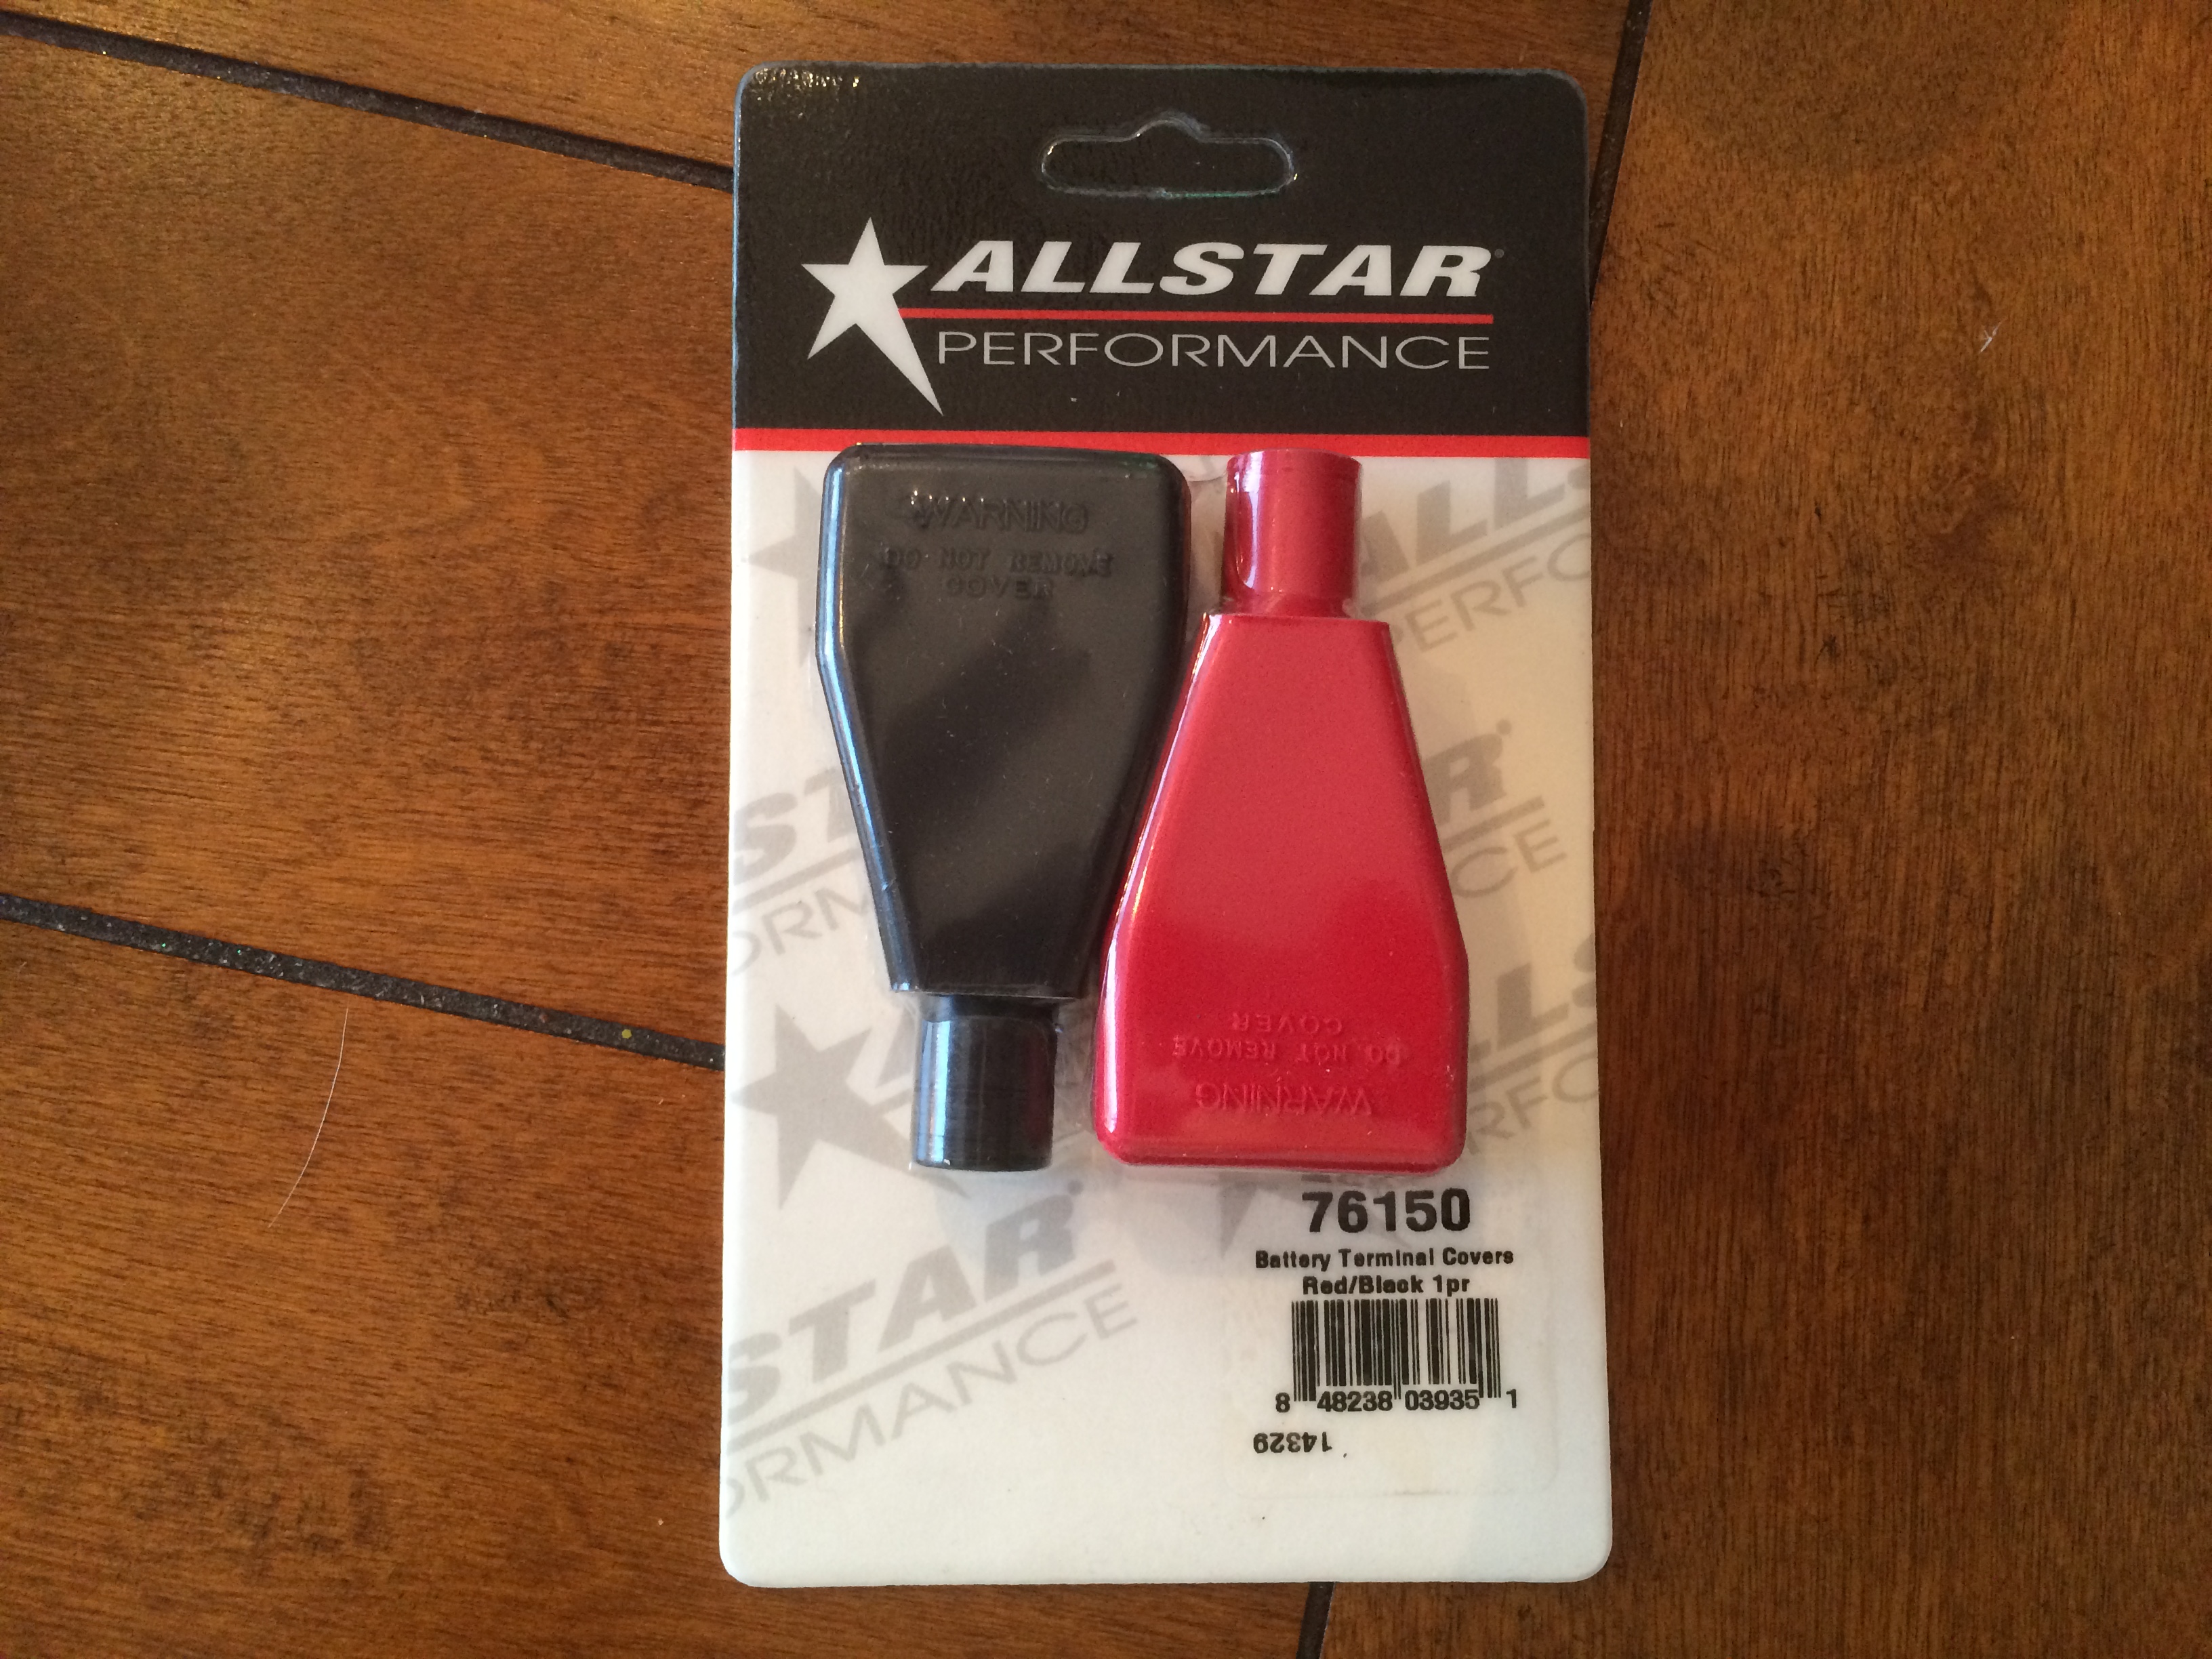
Battery Terminal Covers
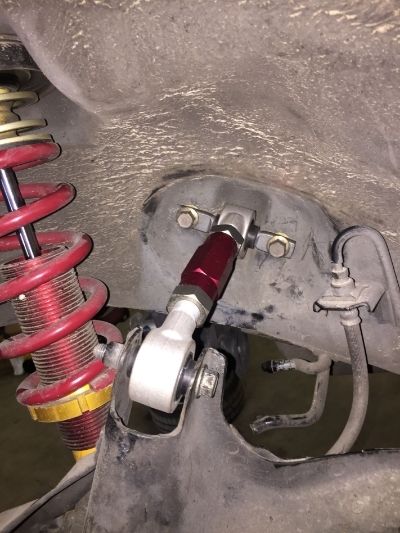
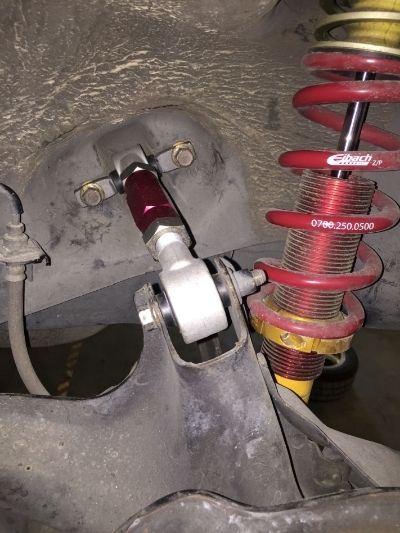
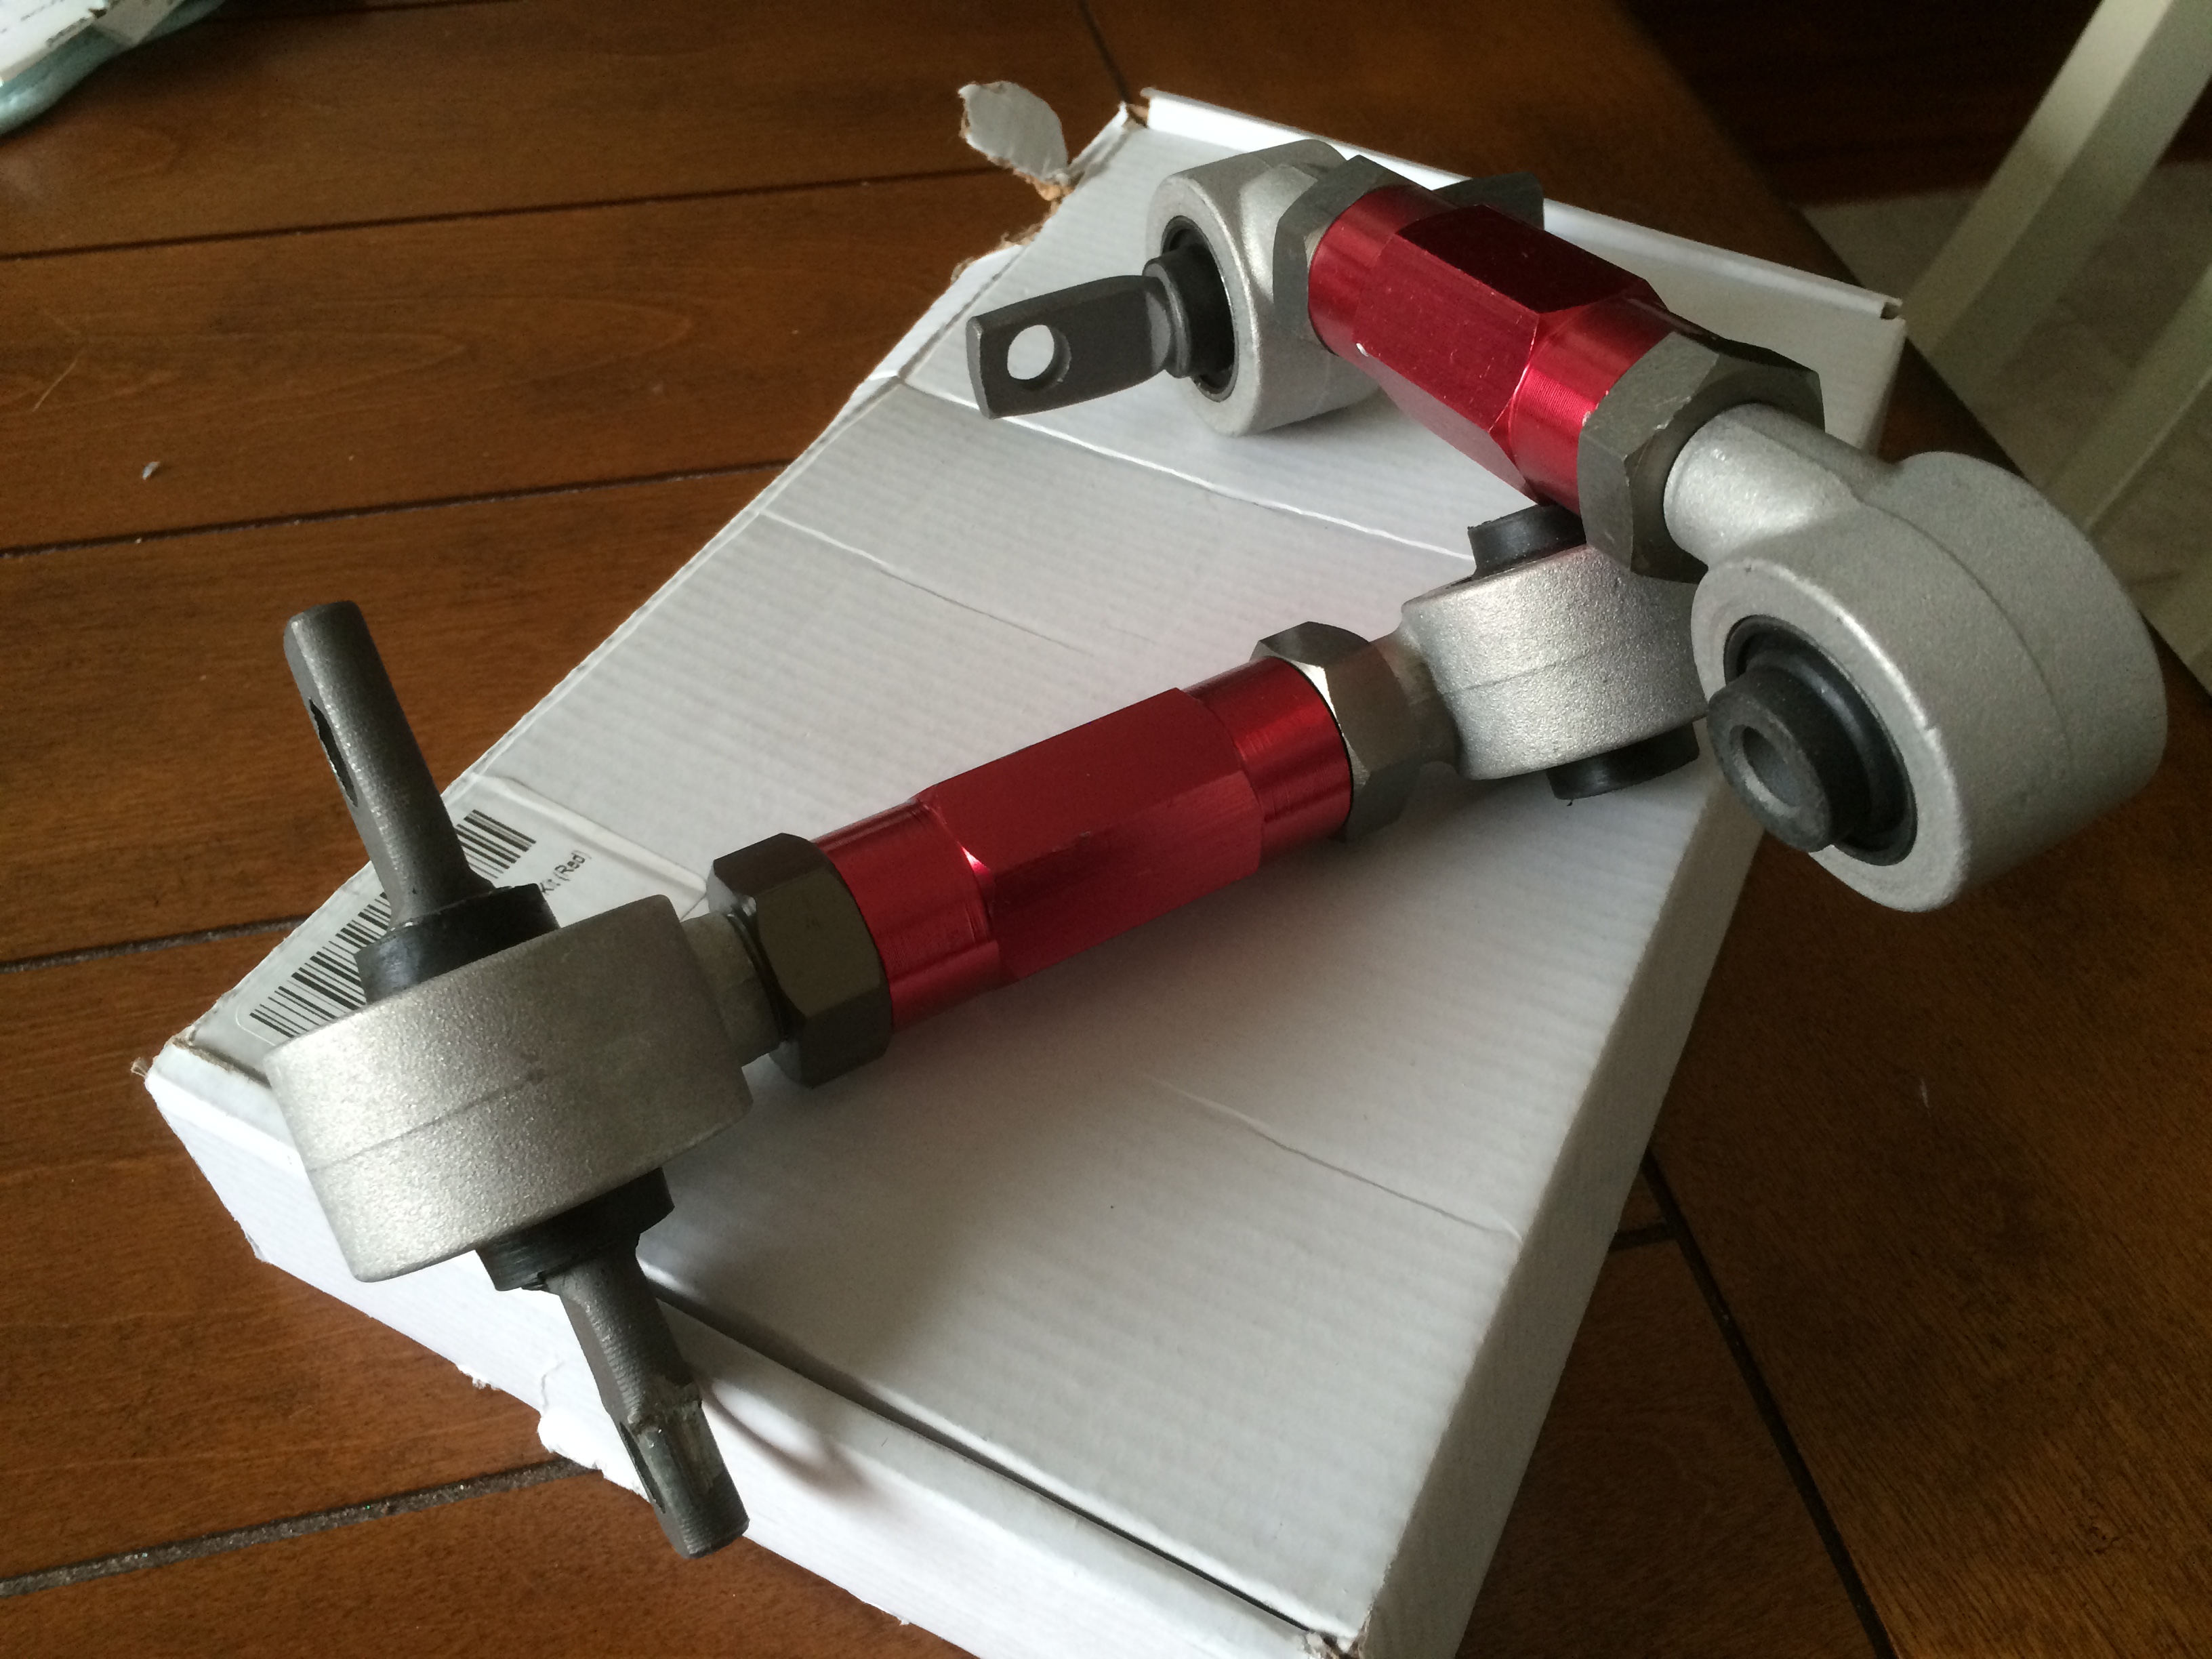
Upgr8 $25 Rear Camber Kit (figured it was worth a shot)
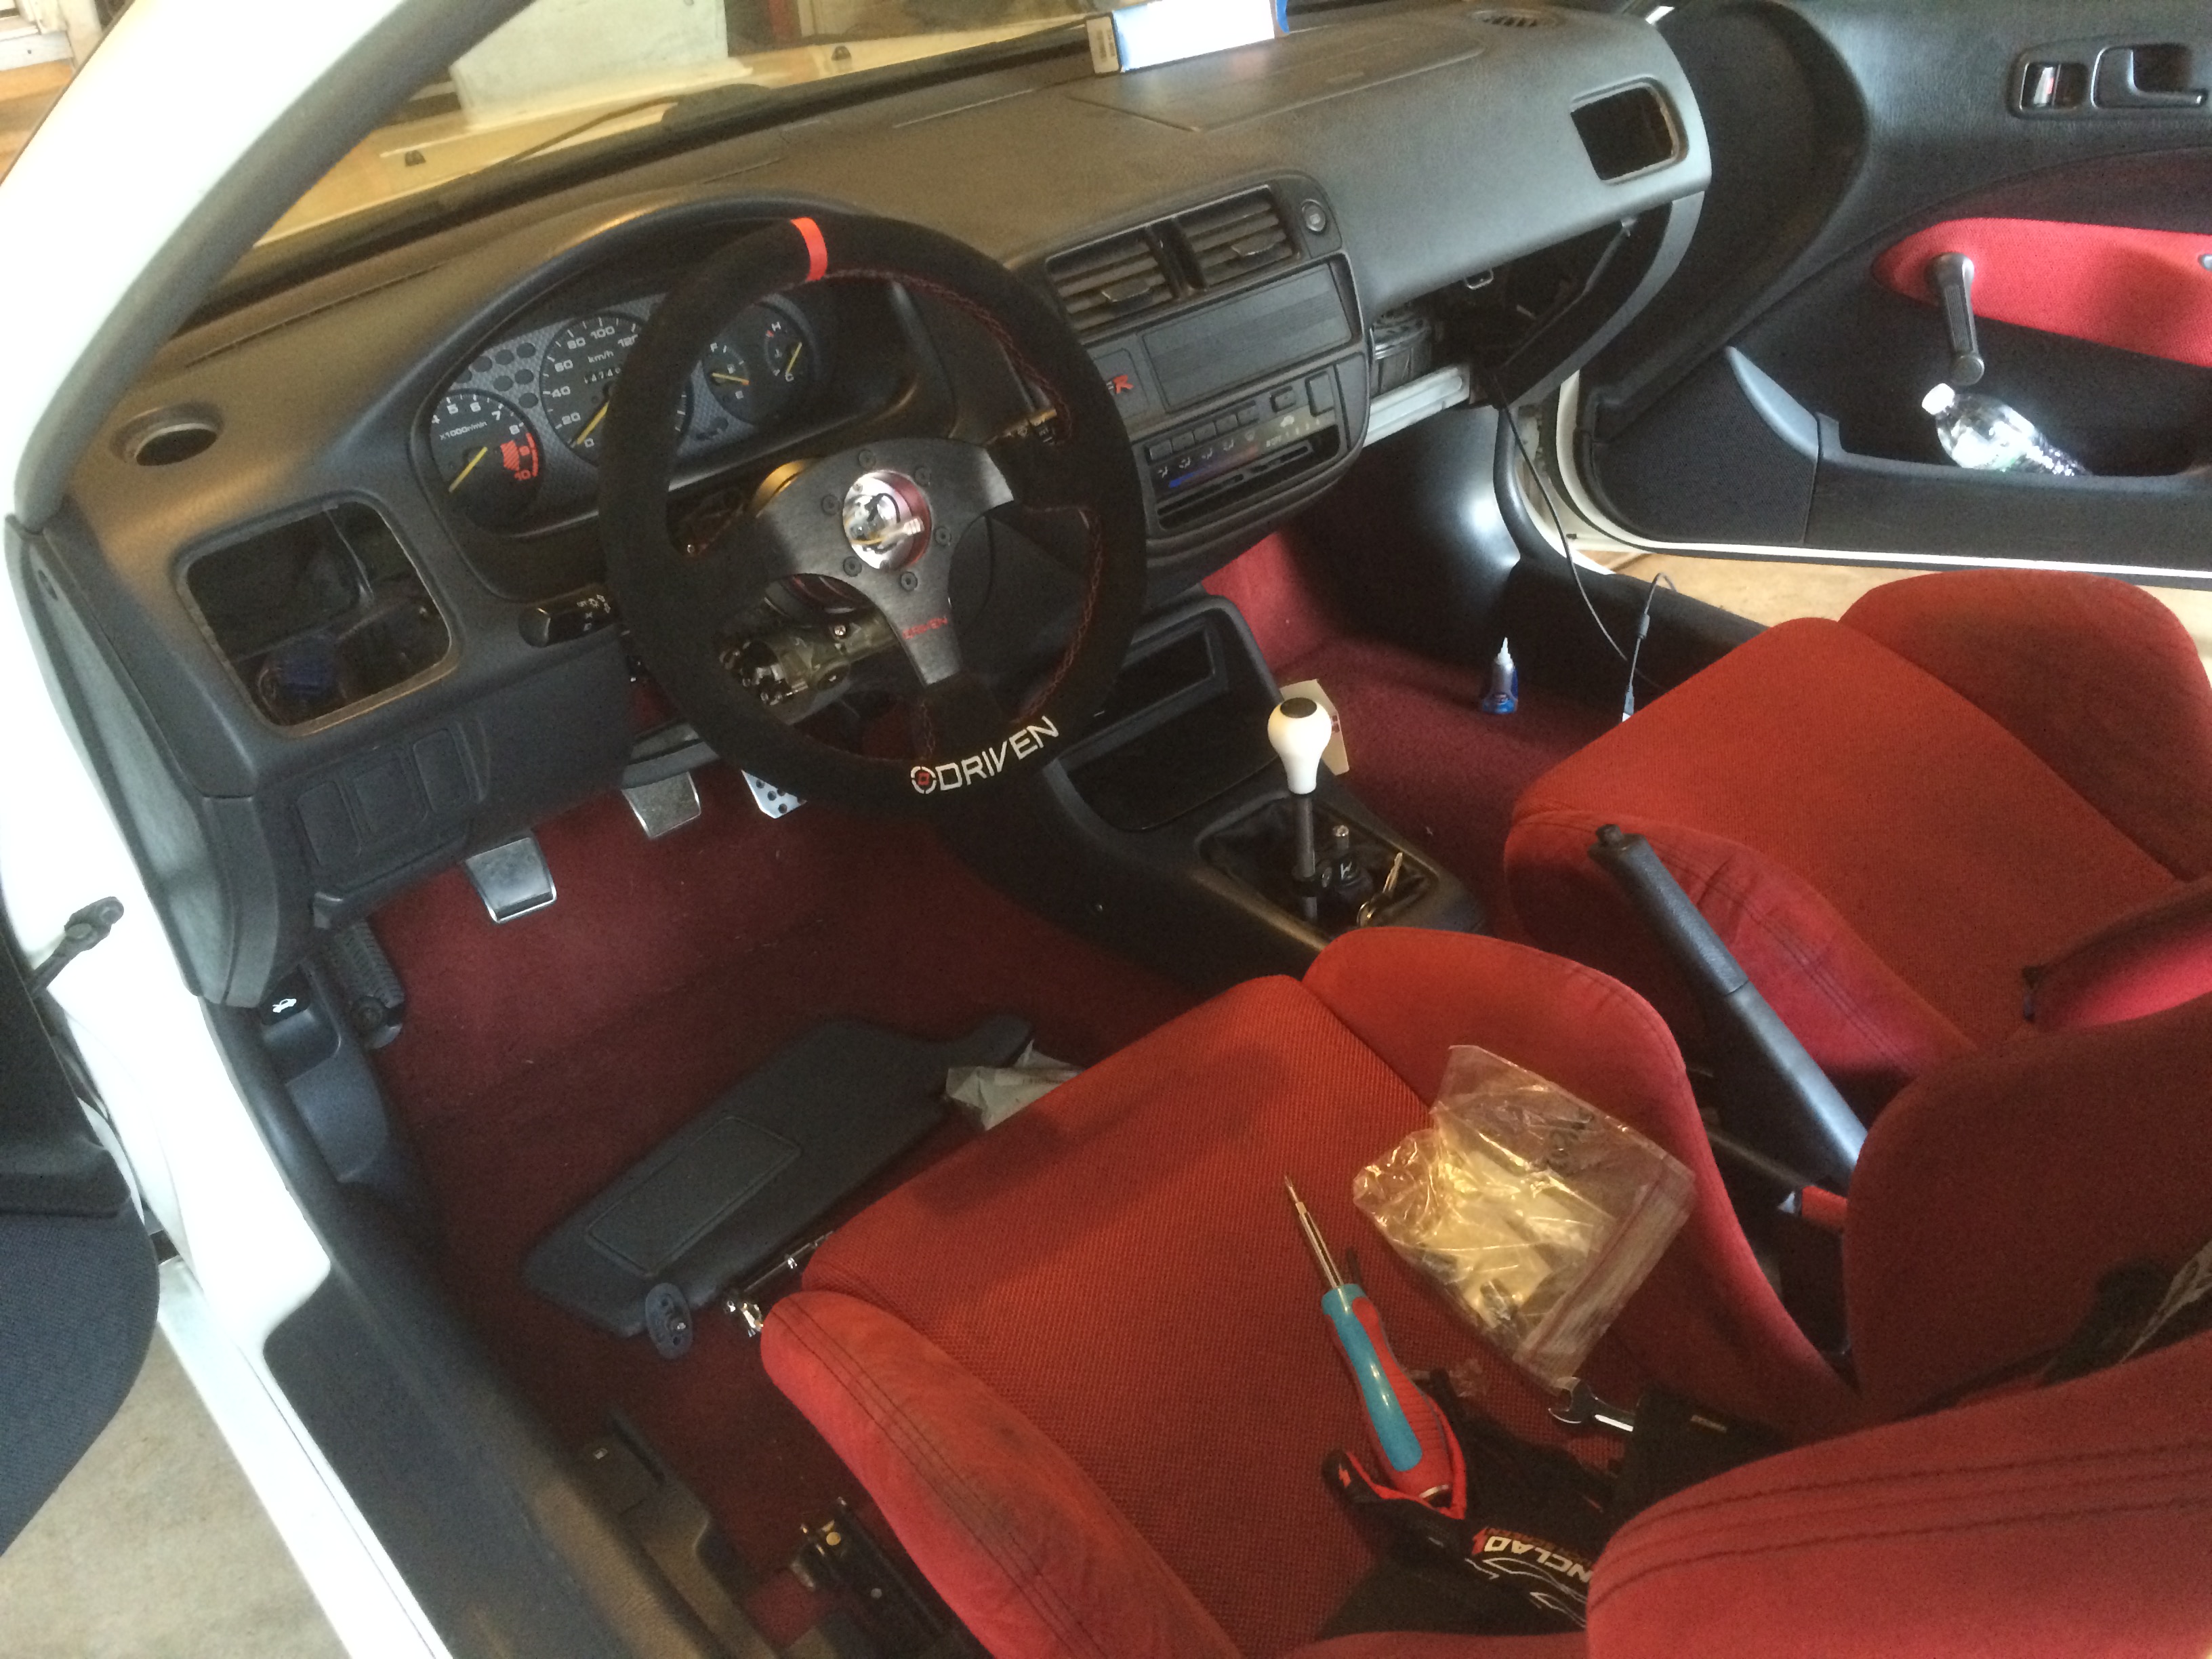
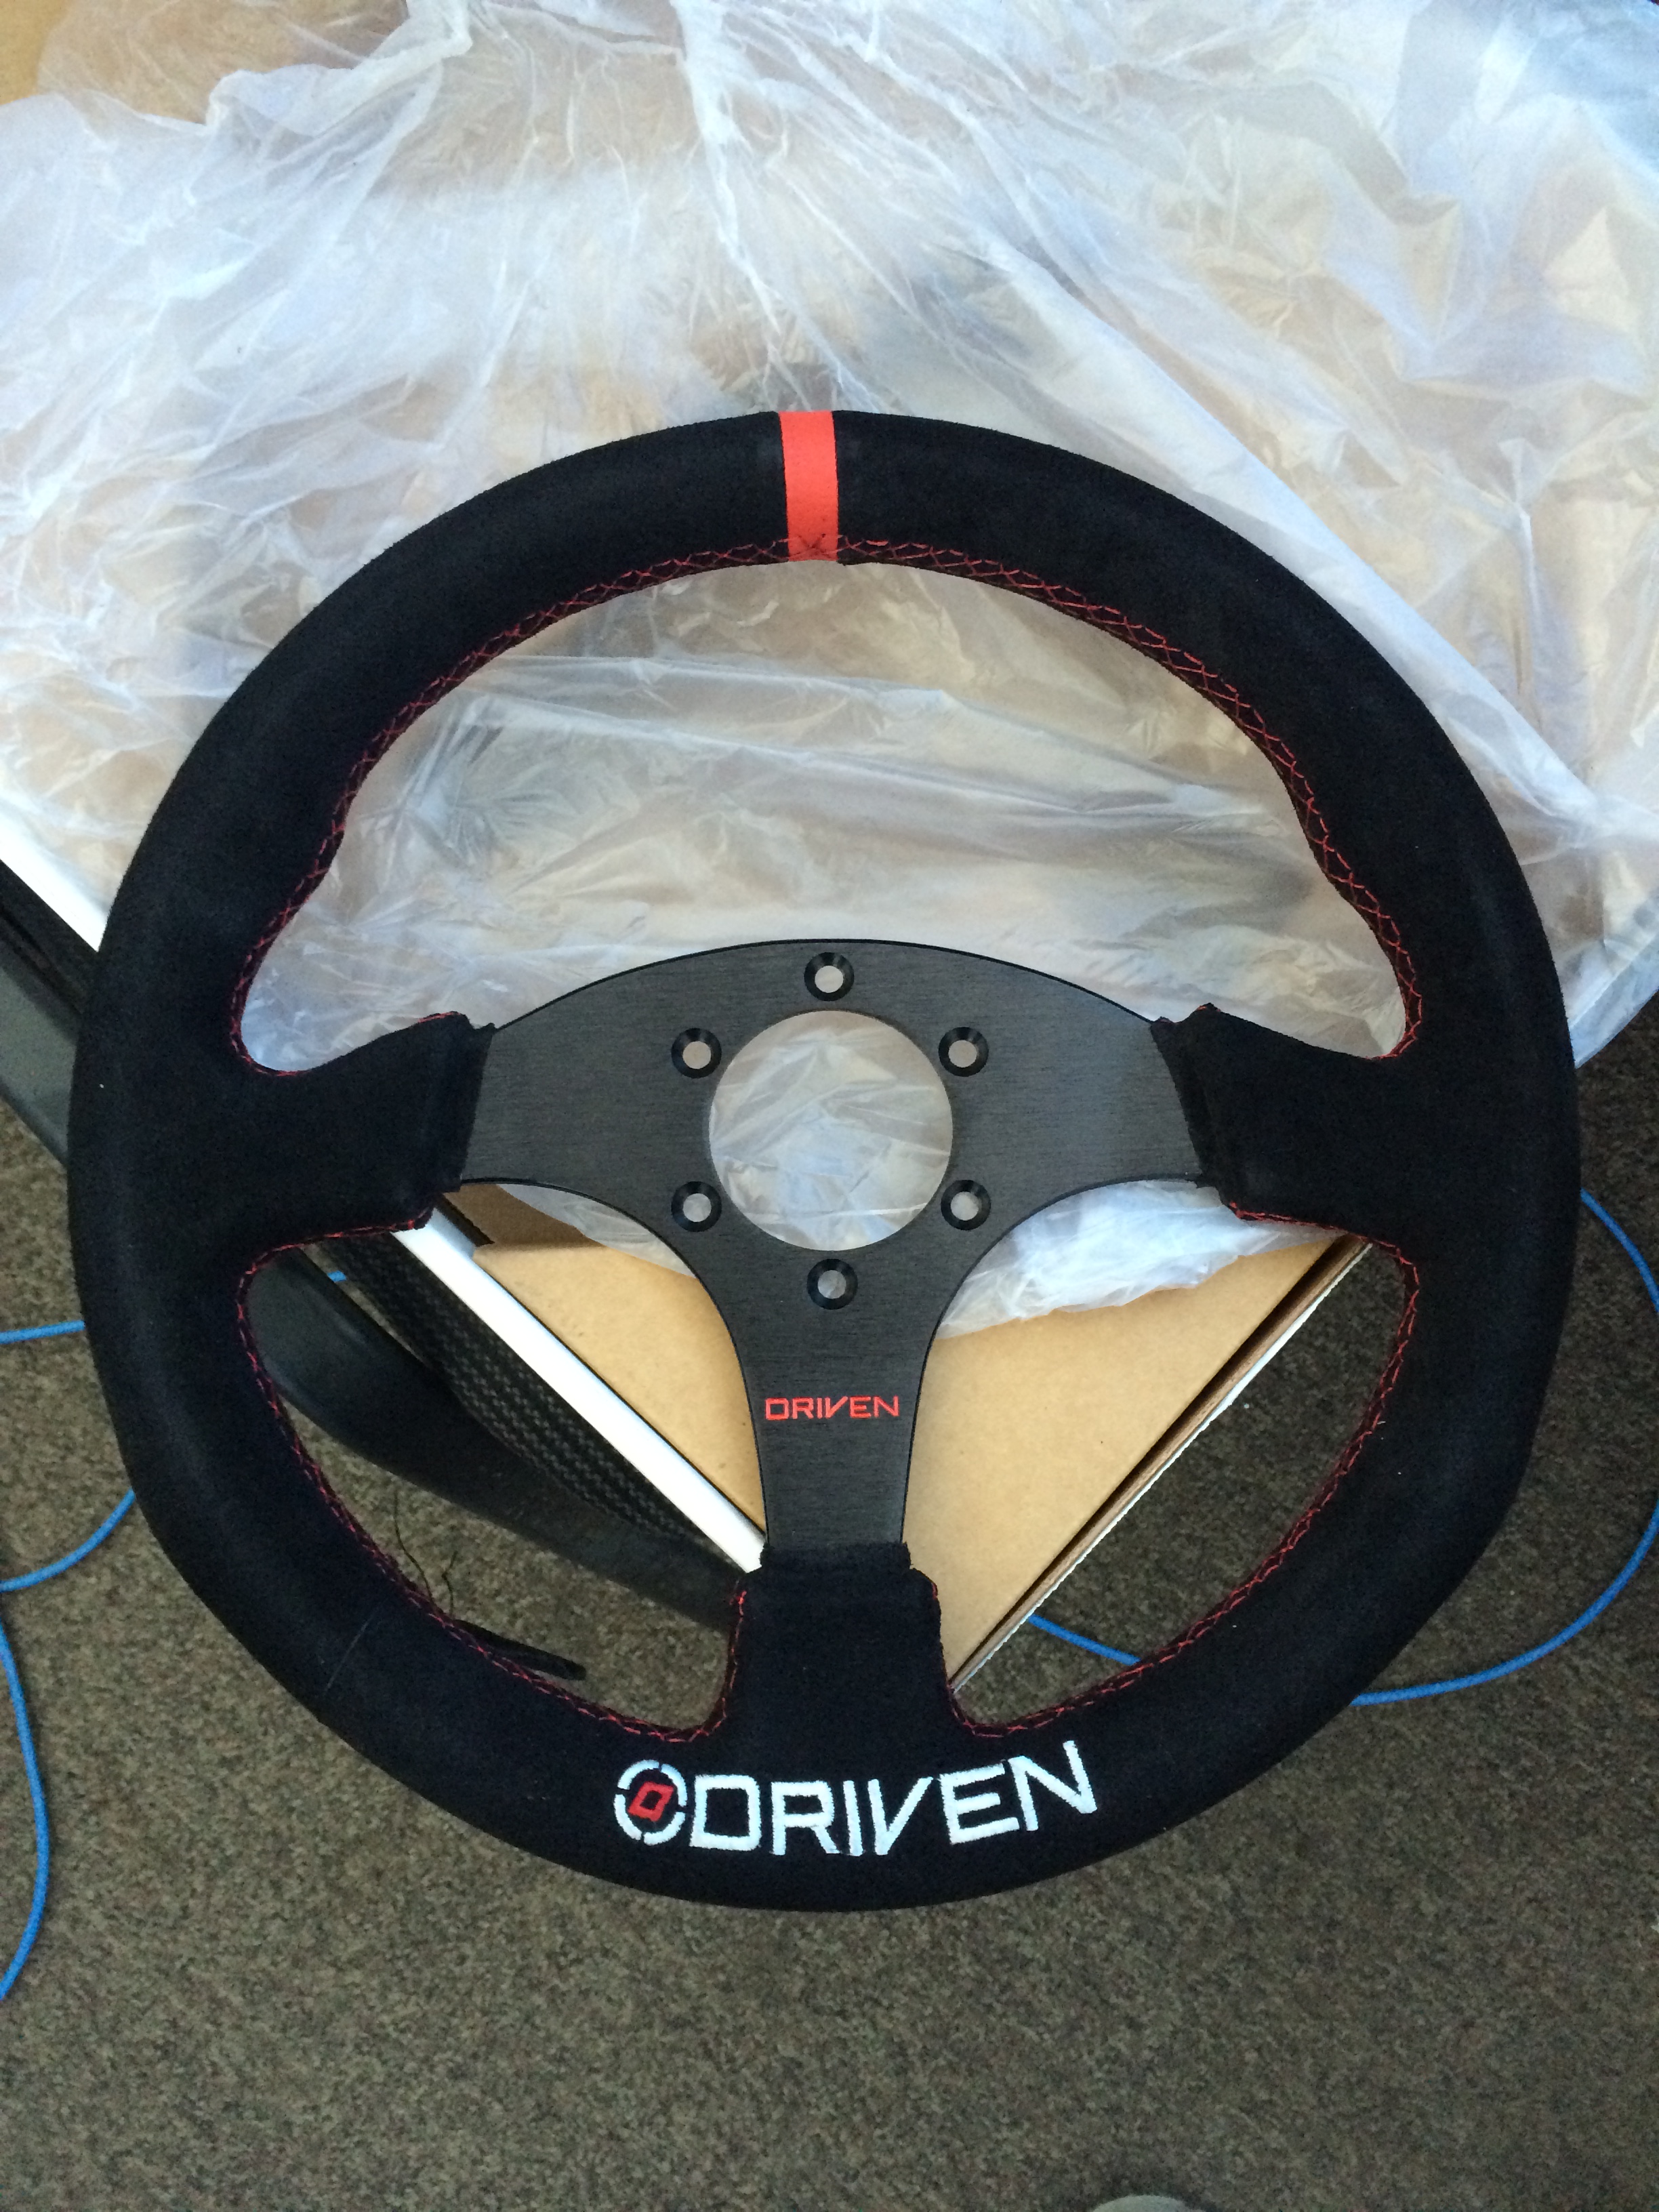
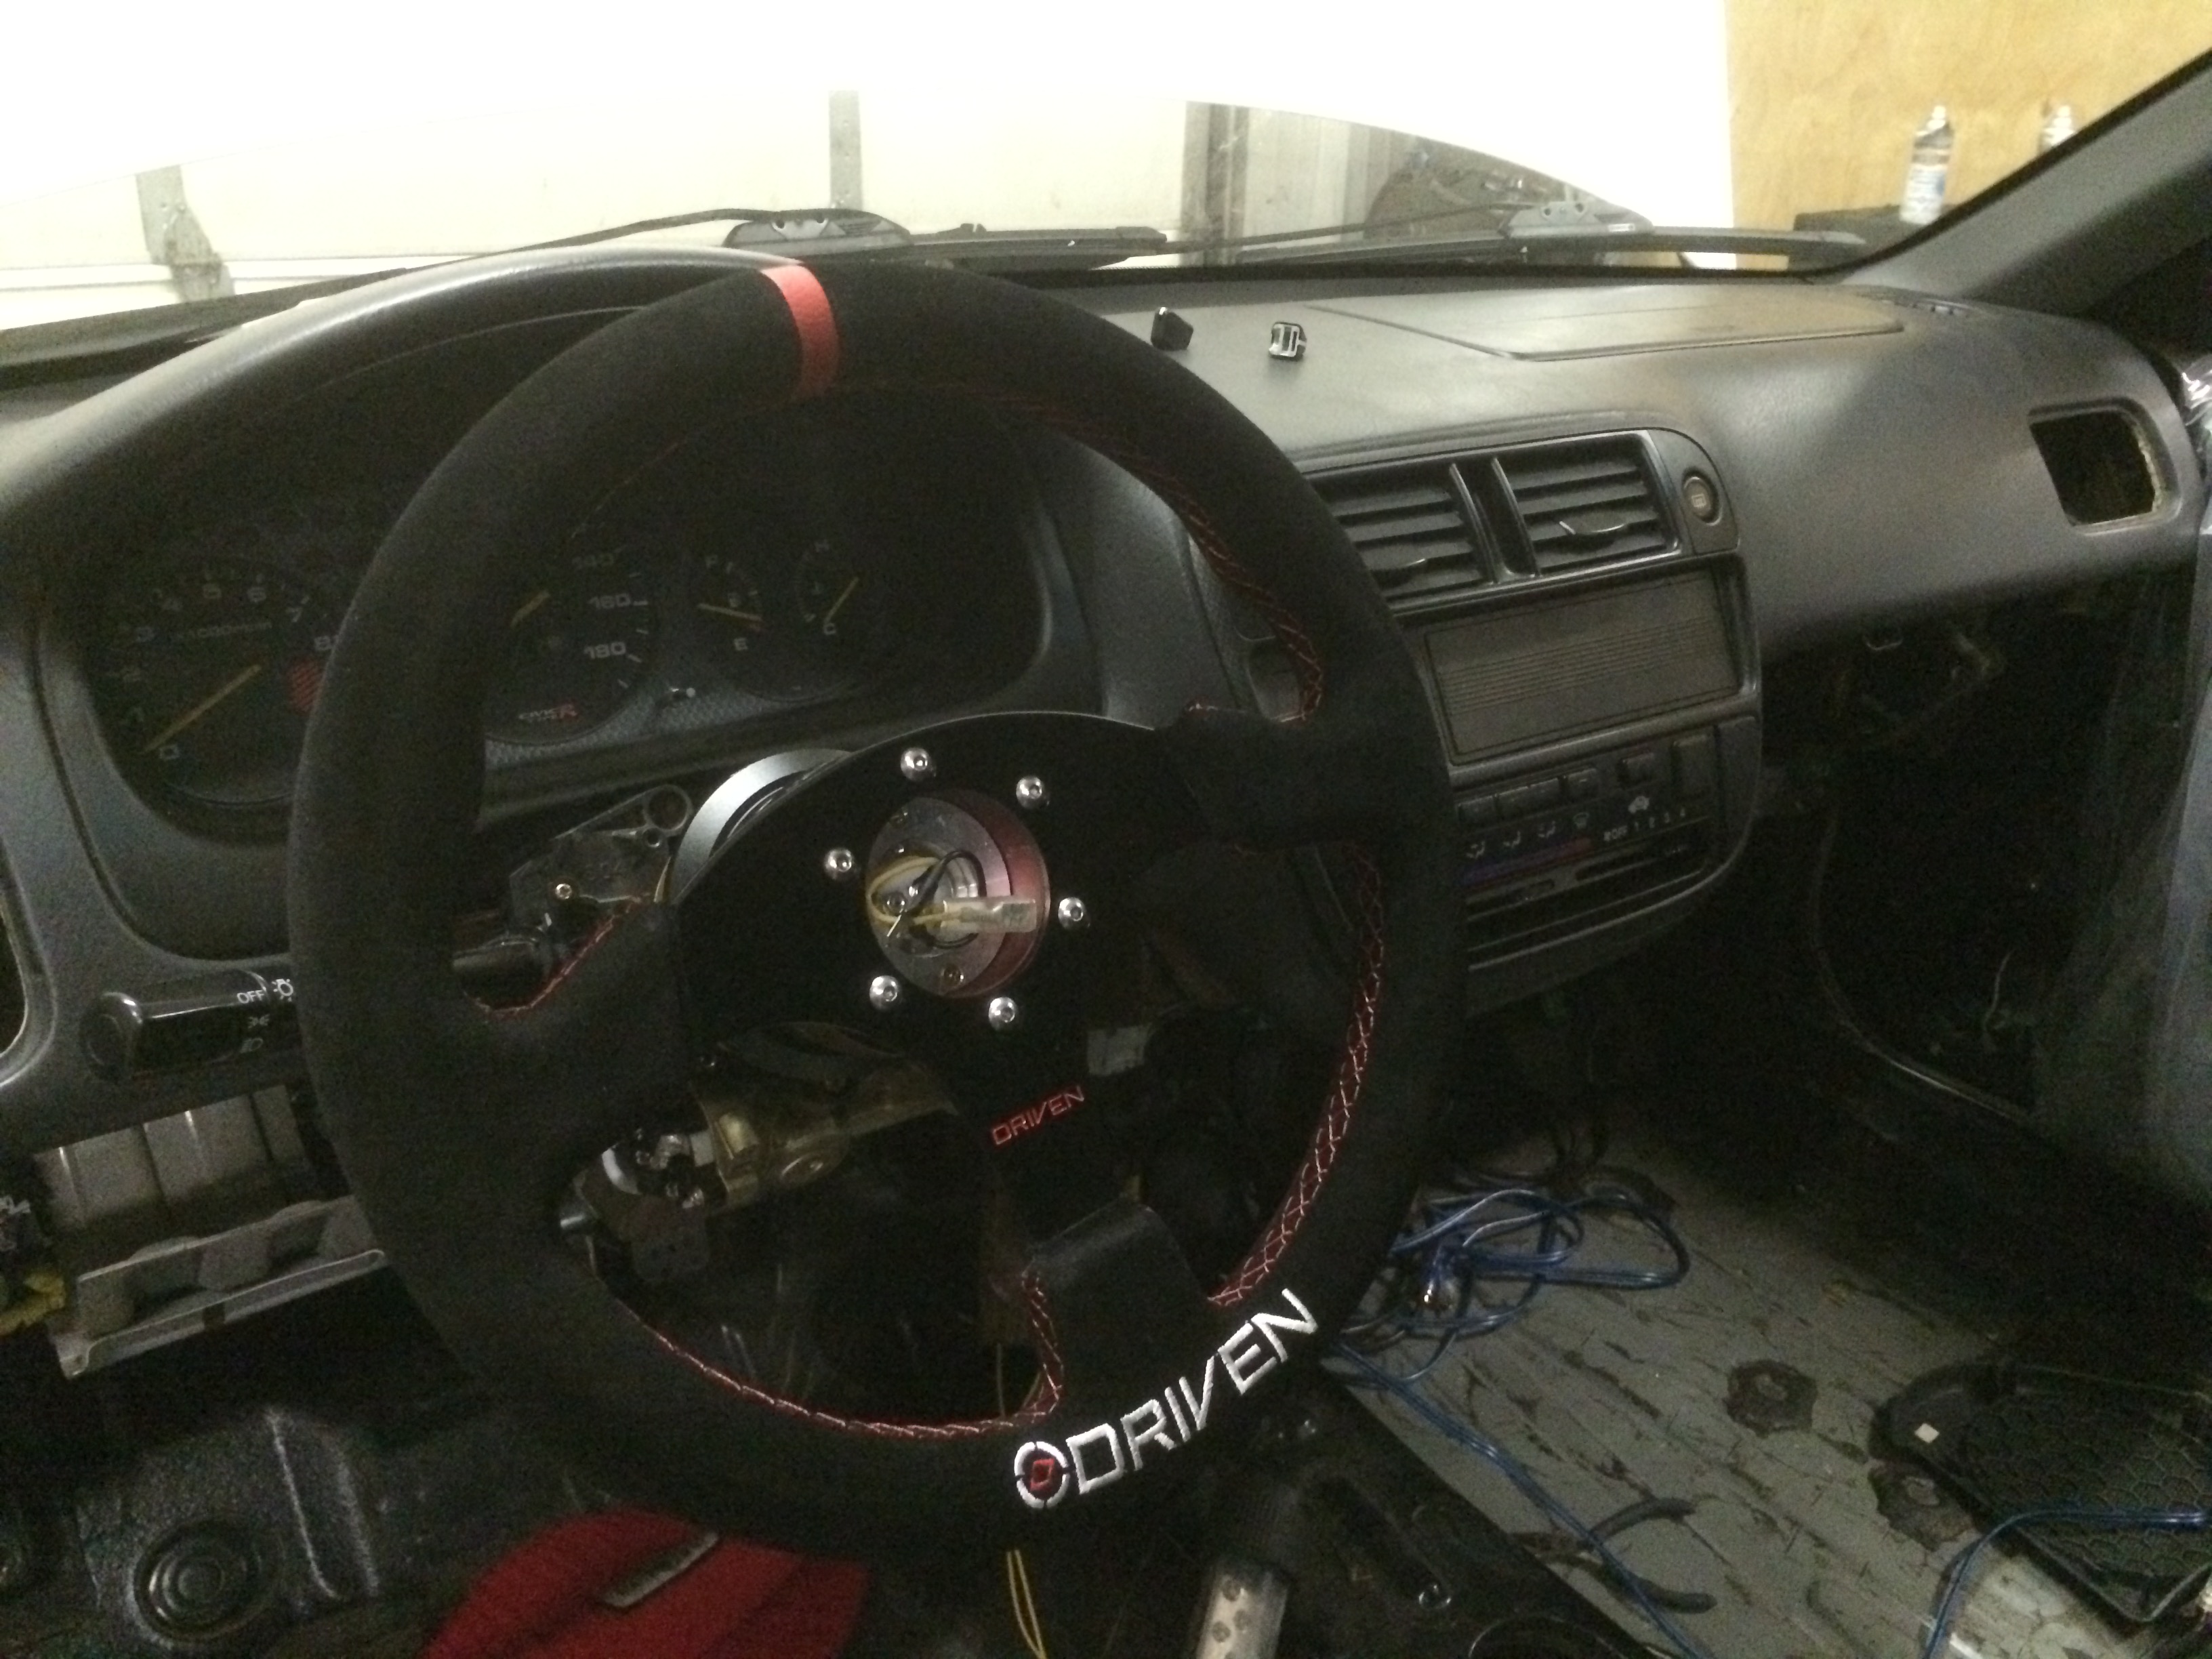
Another quick update. My new steering wheel arrived today at ASI! They are a dealer for Driven Steering Wheels, so I felt it would be cool to give one a shot. It’s 12.5″ diameter (down from 14″ on the Spoon/Momo wheel I used to have) which should make the quicker GSR rack feel even better. It’s black suede with red stitching and red alignment stripe.
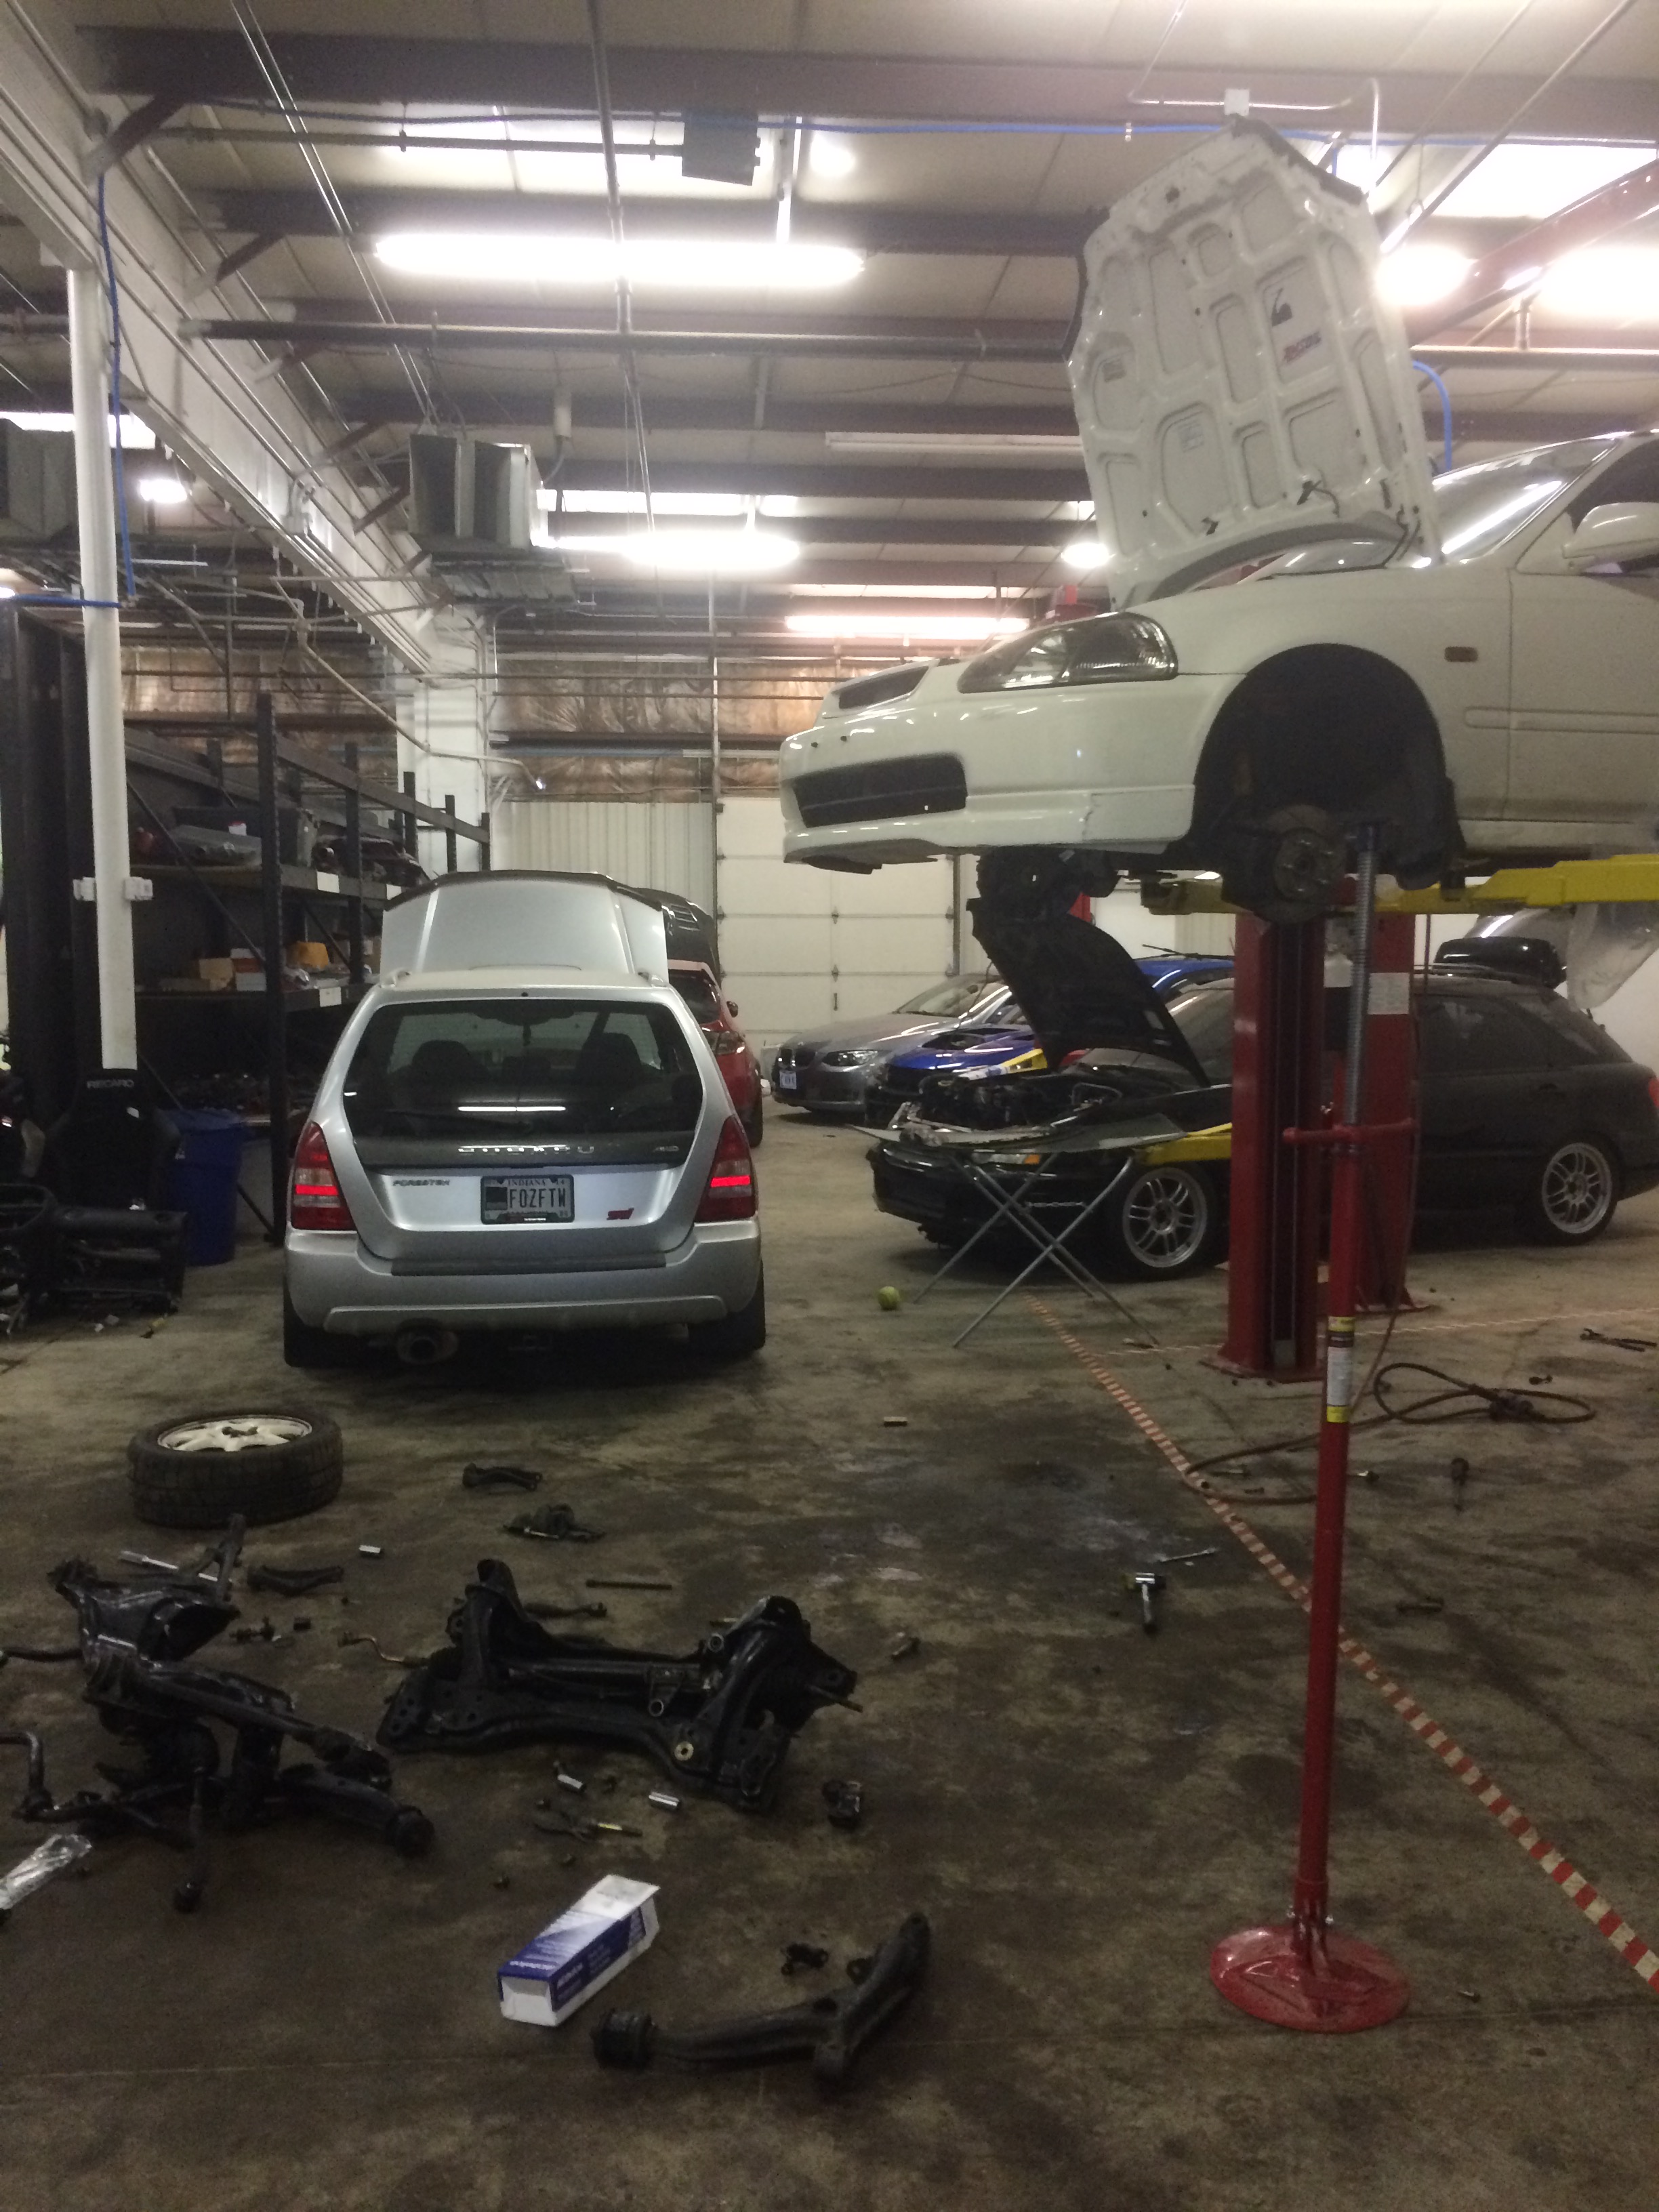
This past weekend, I drove back to Cincinnati to get a little bit of work done on the car. I had some pretty lofty goals that I wanted to accomplish, and wasn�t quite able to get it all done. The biggest let down was not being able to get the DC subframe into the car. Mainly because I didn�t realize that it was missing several bolts and mounts that were needed. Long story short, we removed the EK subframe then had to reinstall it at the end of the day so that we could set the car back on level ground for the cage to be installed. Not ideal, but that�s the way these things go sometimes. Especially when trying to manage from a distance. At least now I know the last few things that are needed to get it completed. Anyway, I did post up some pictures of what we were able to accomplish.
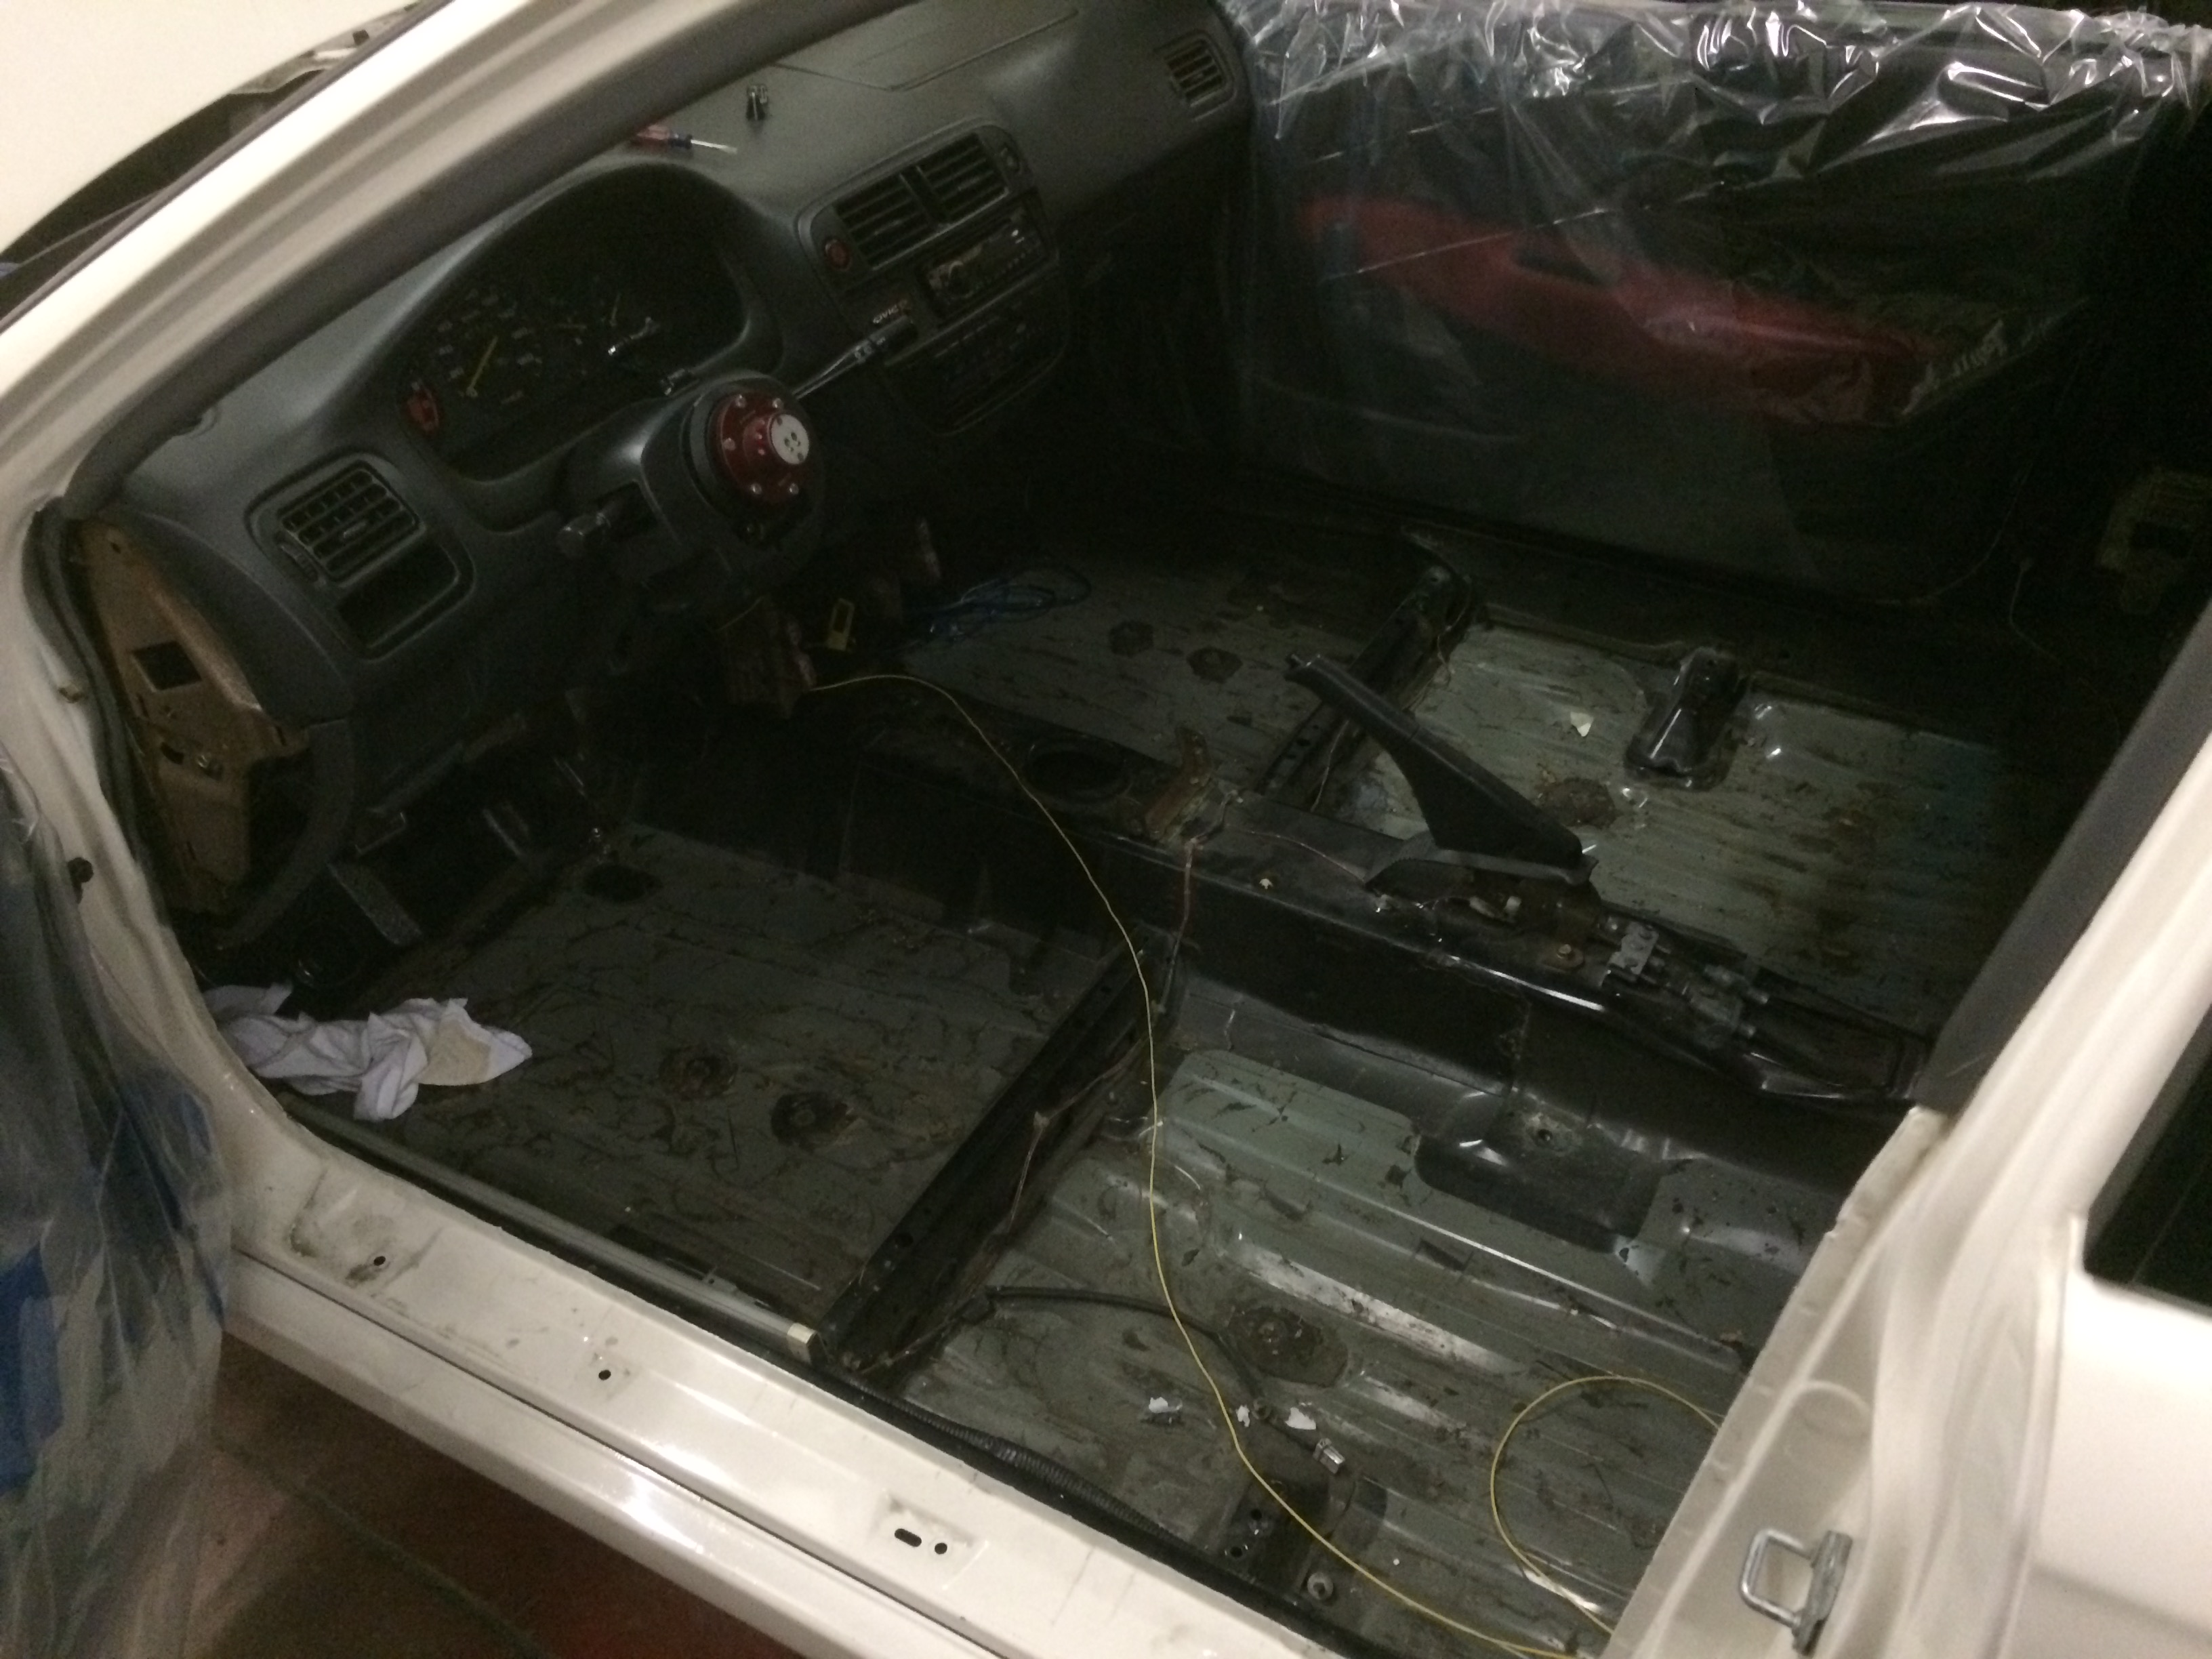
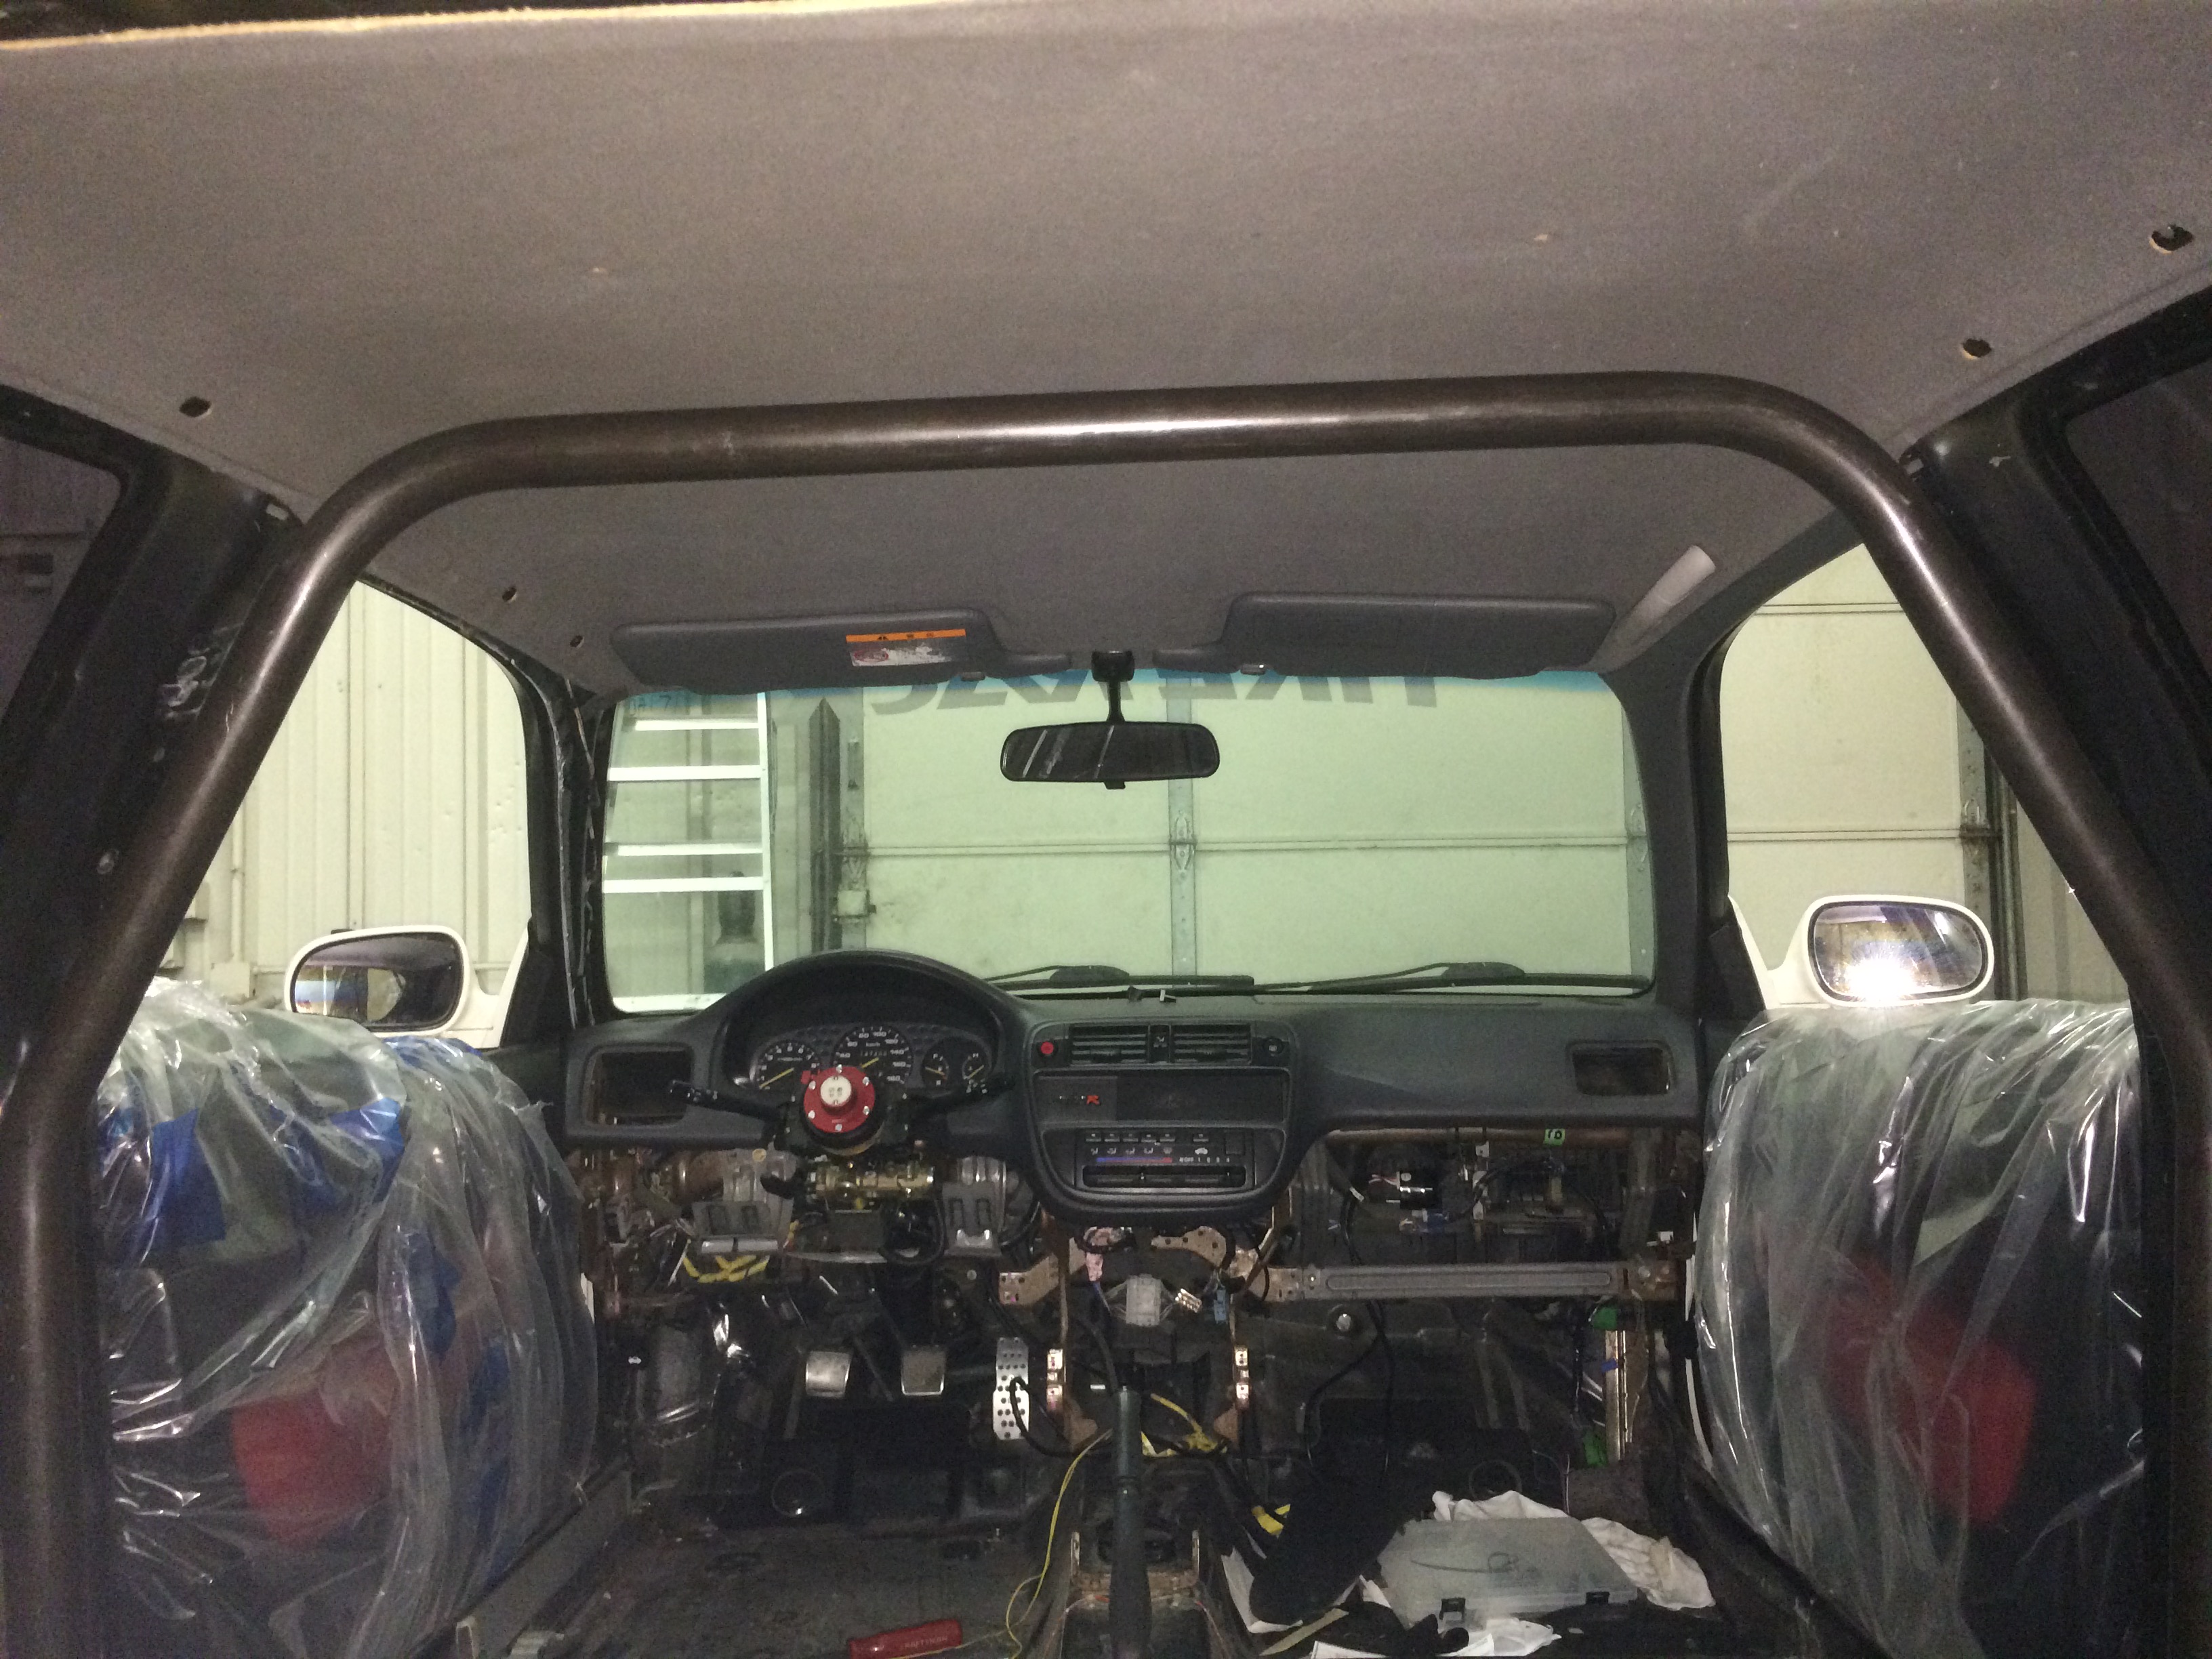
Finished stripping out the interior to prepare for the cage and painting, along with radio and antenna removal.
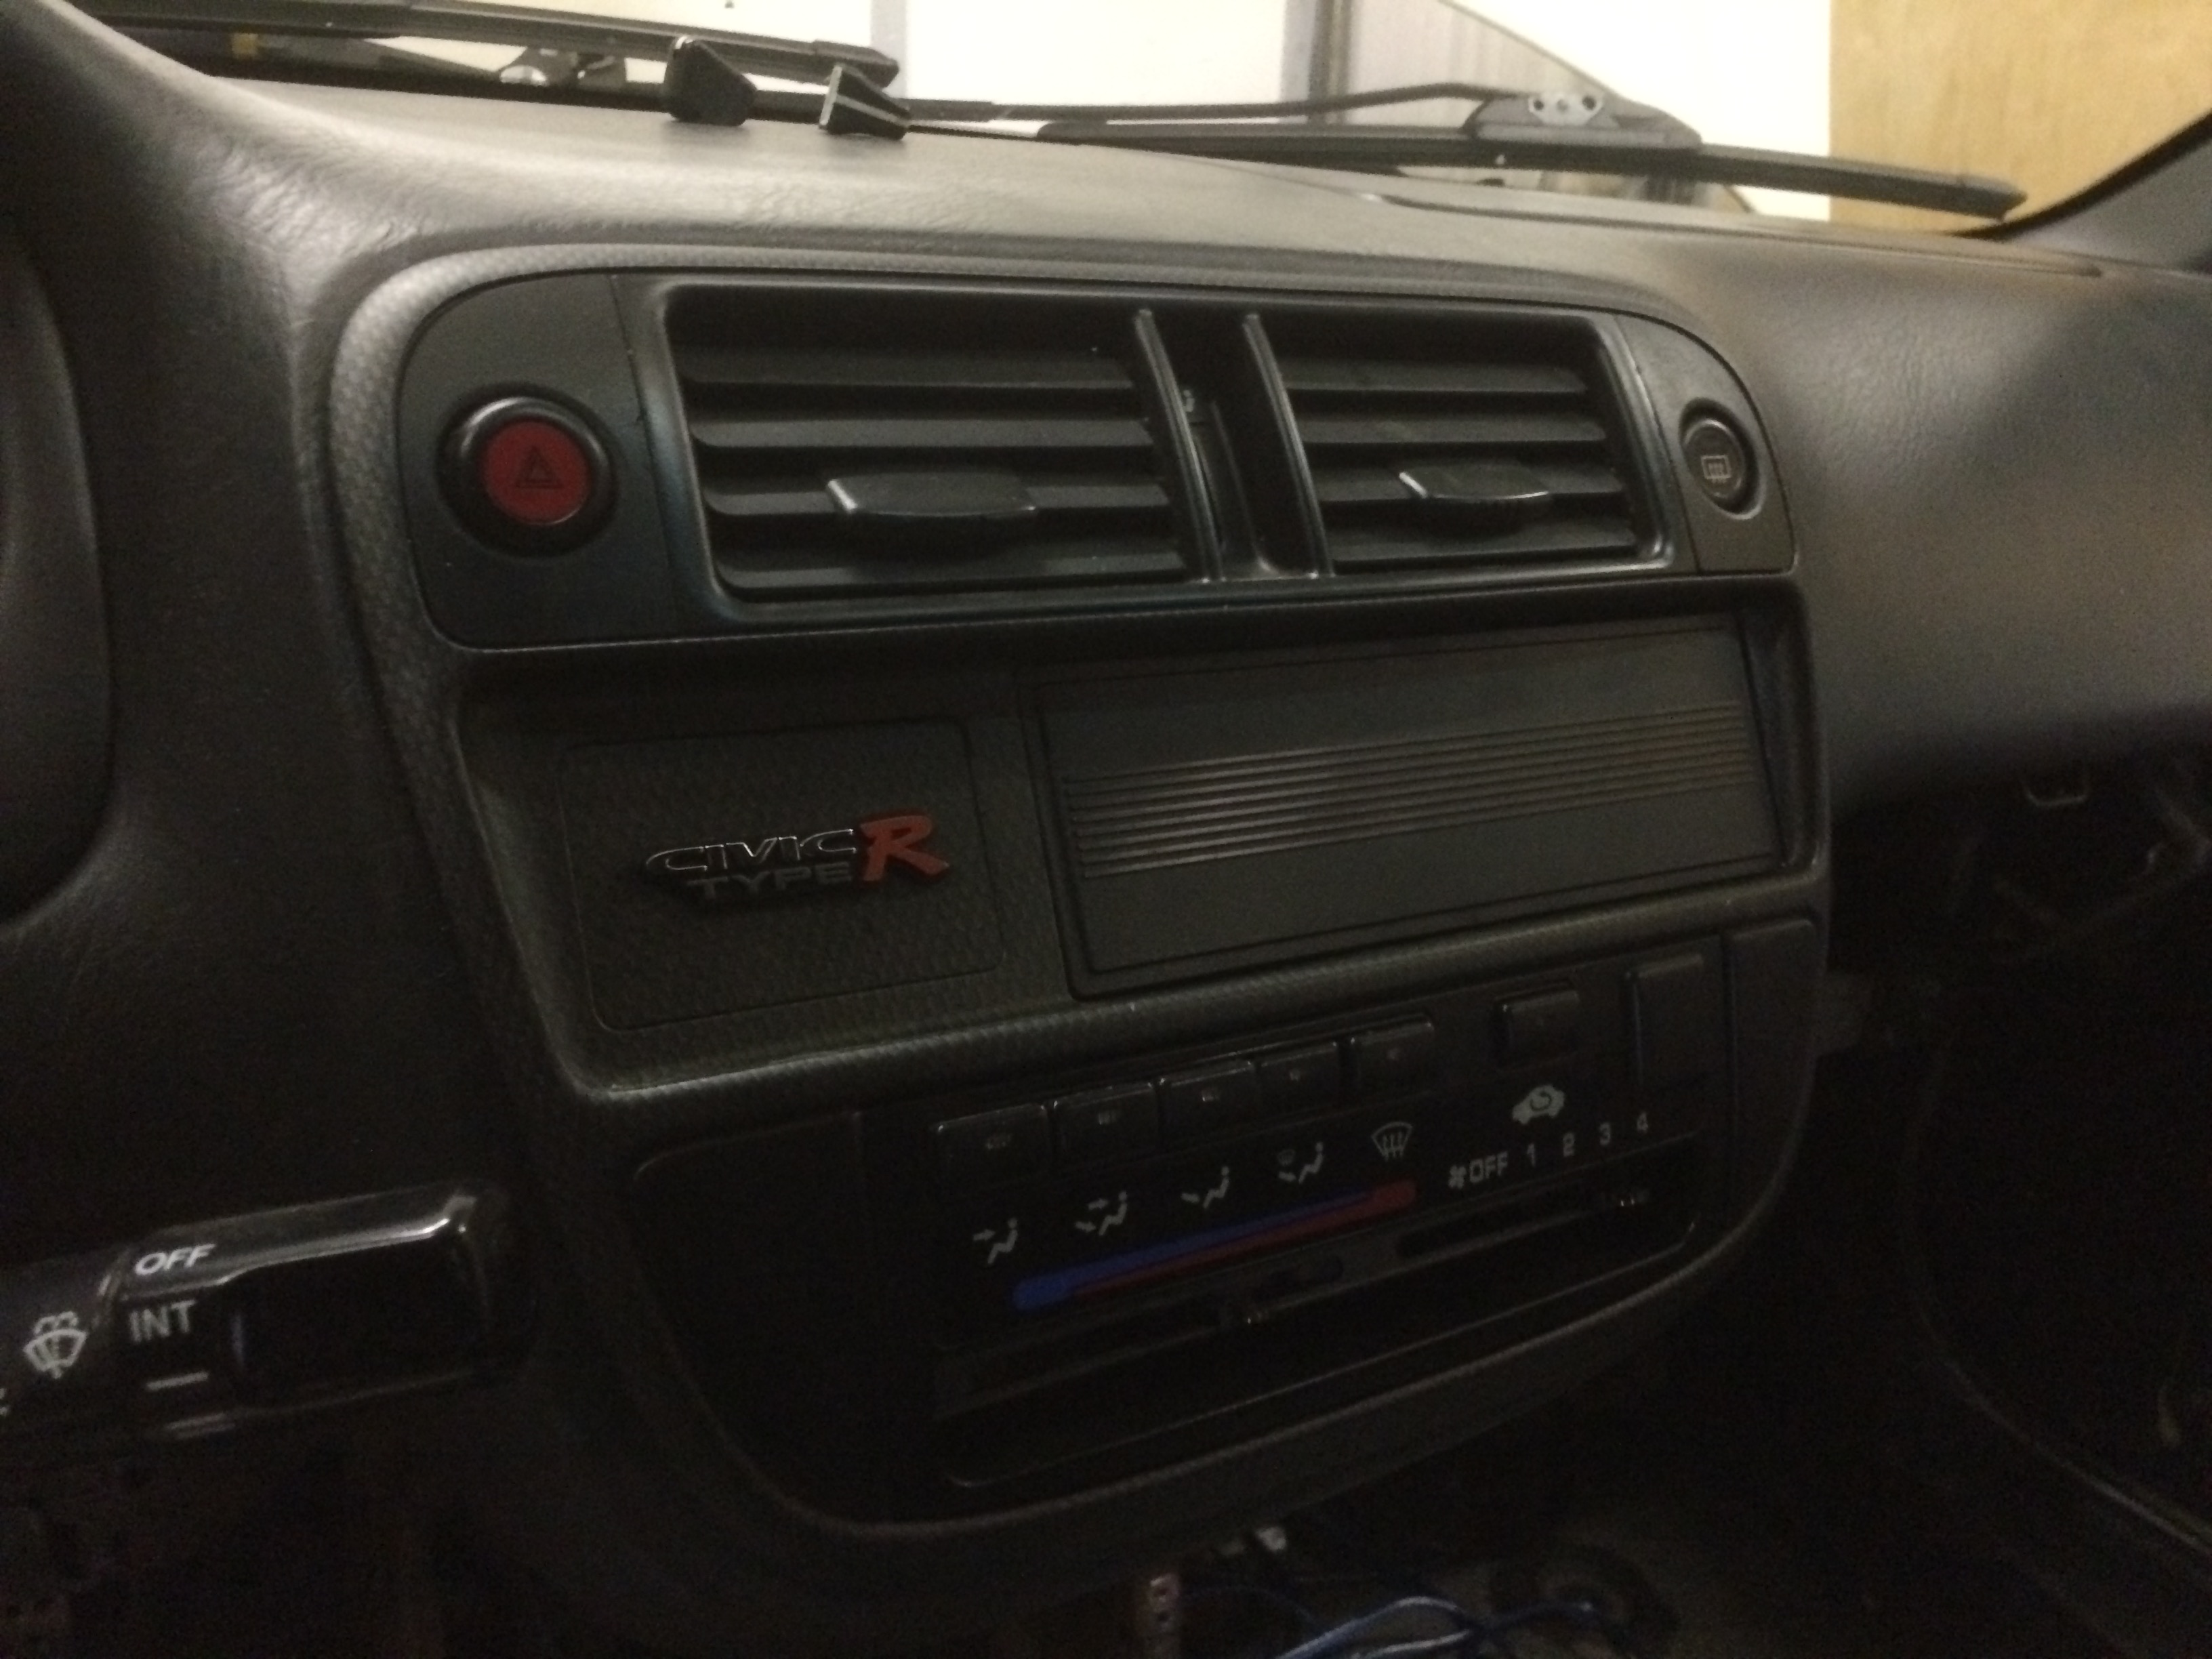
Antenna Delete. To do this, there is a small plug behind where the little cup tray is below the drivers side vent. Unplug that and it pulls right out. I also removed the rest of the wiring from the dash.
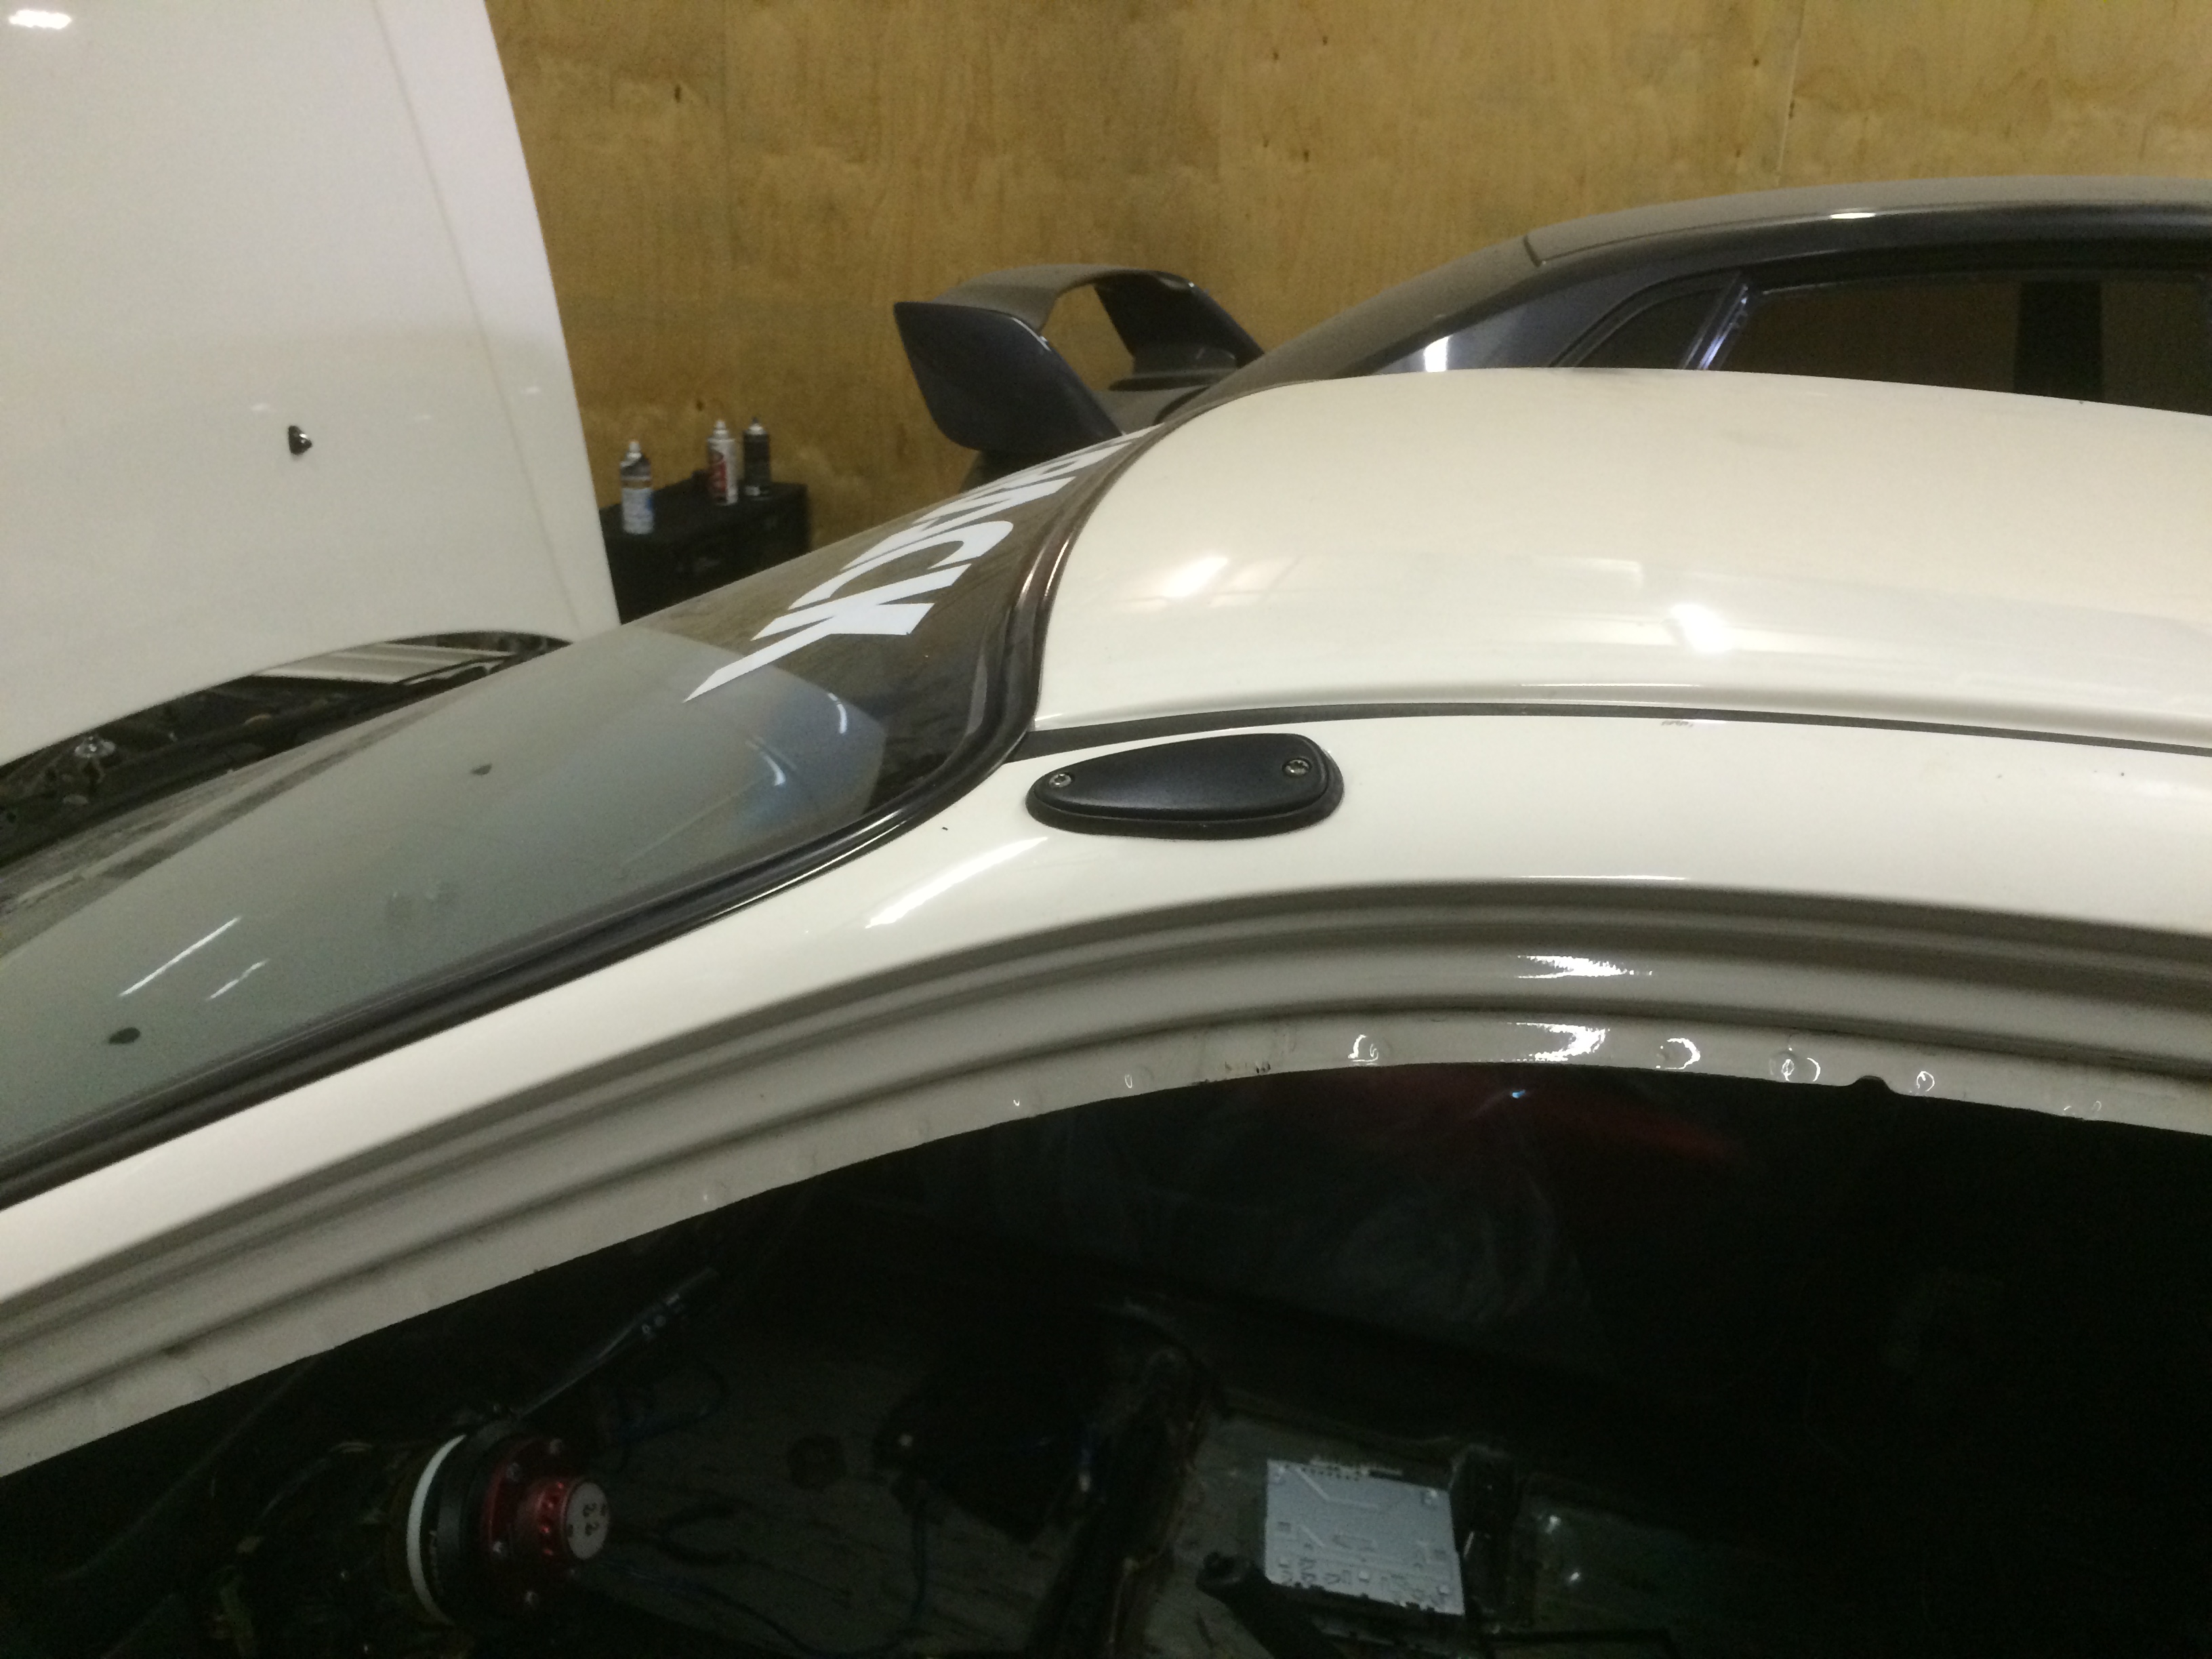
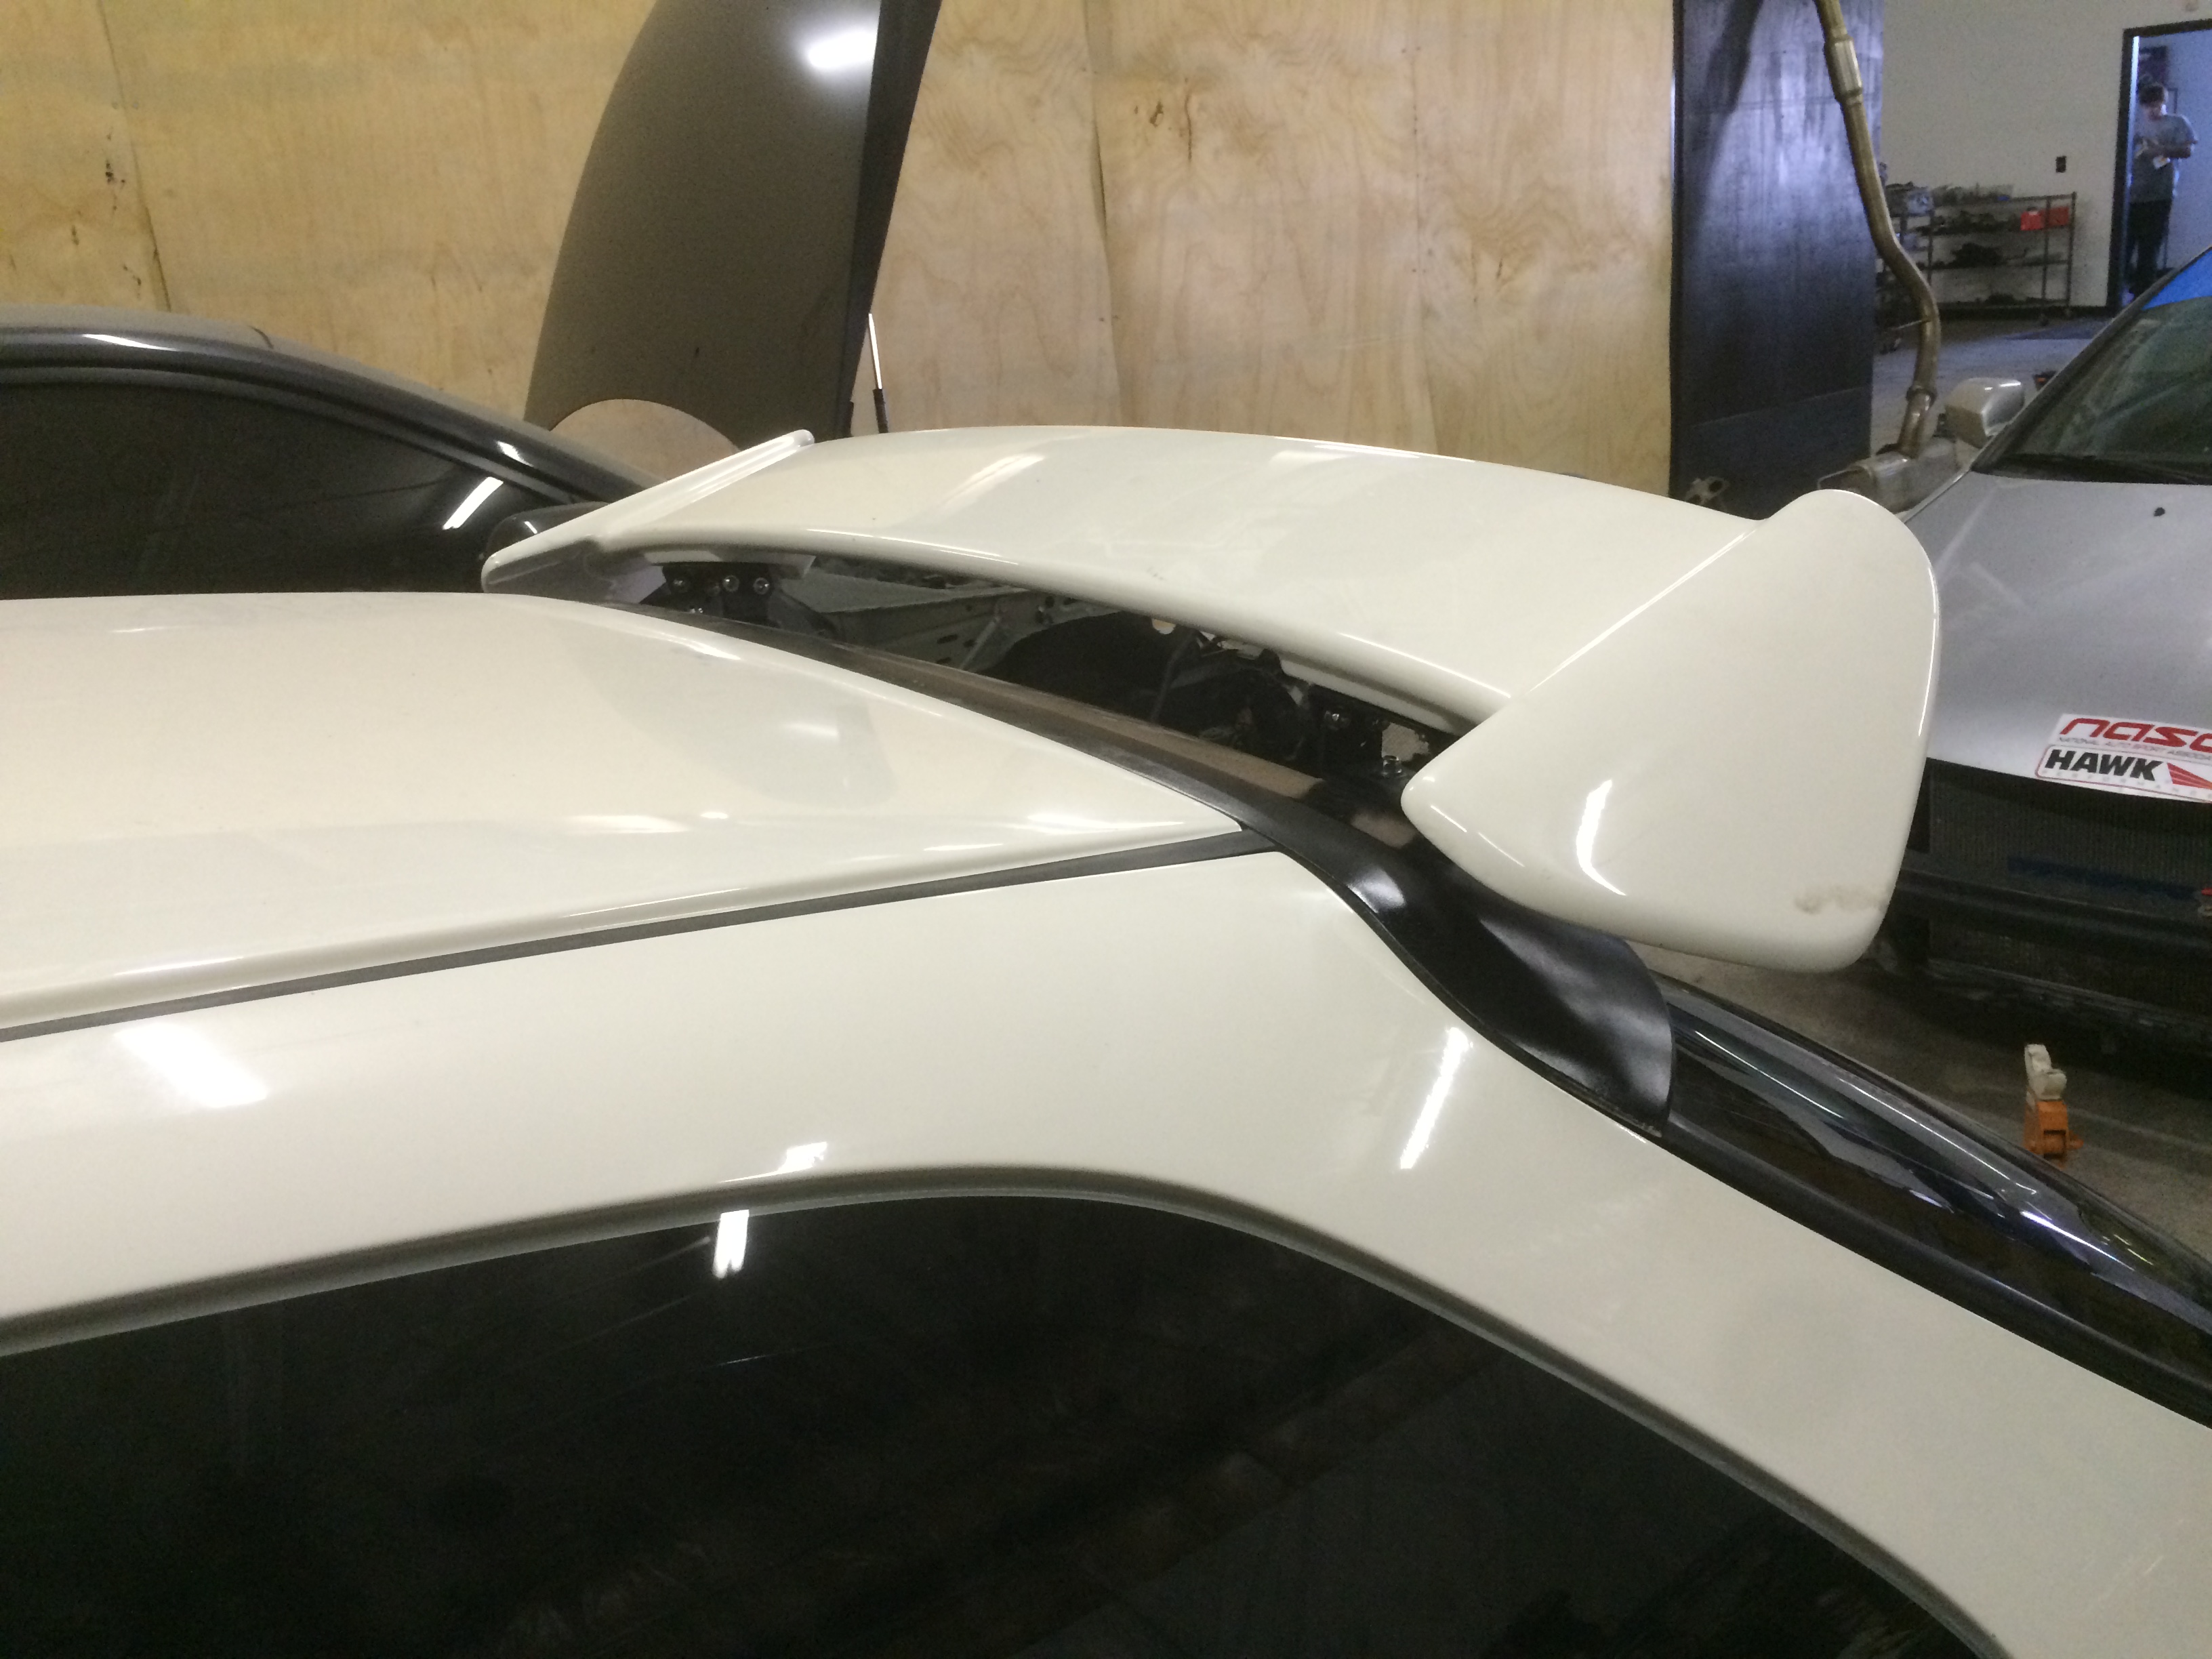
Alex Bracket Wing Risers. The install on these wasn�t difficult, just a little more tedious than I was expecting. Just a slight rake forward for now, but I�ll try a few more aggressive settings for autocross.
Removed the radio and speakers. Future plans are to install a set of SPA Technique gauges Oil Press./Temp. and Water Temp./Trans Temp. Combos. This year�s budget was running tight so I put those on hold for now.
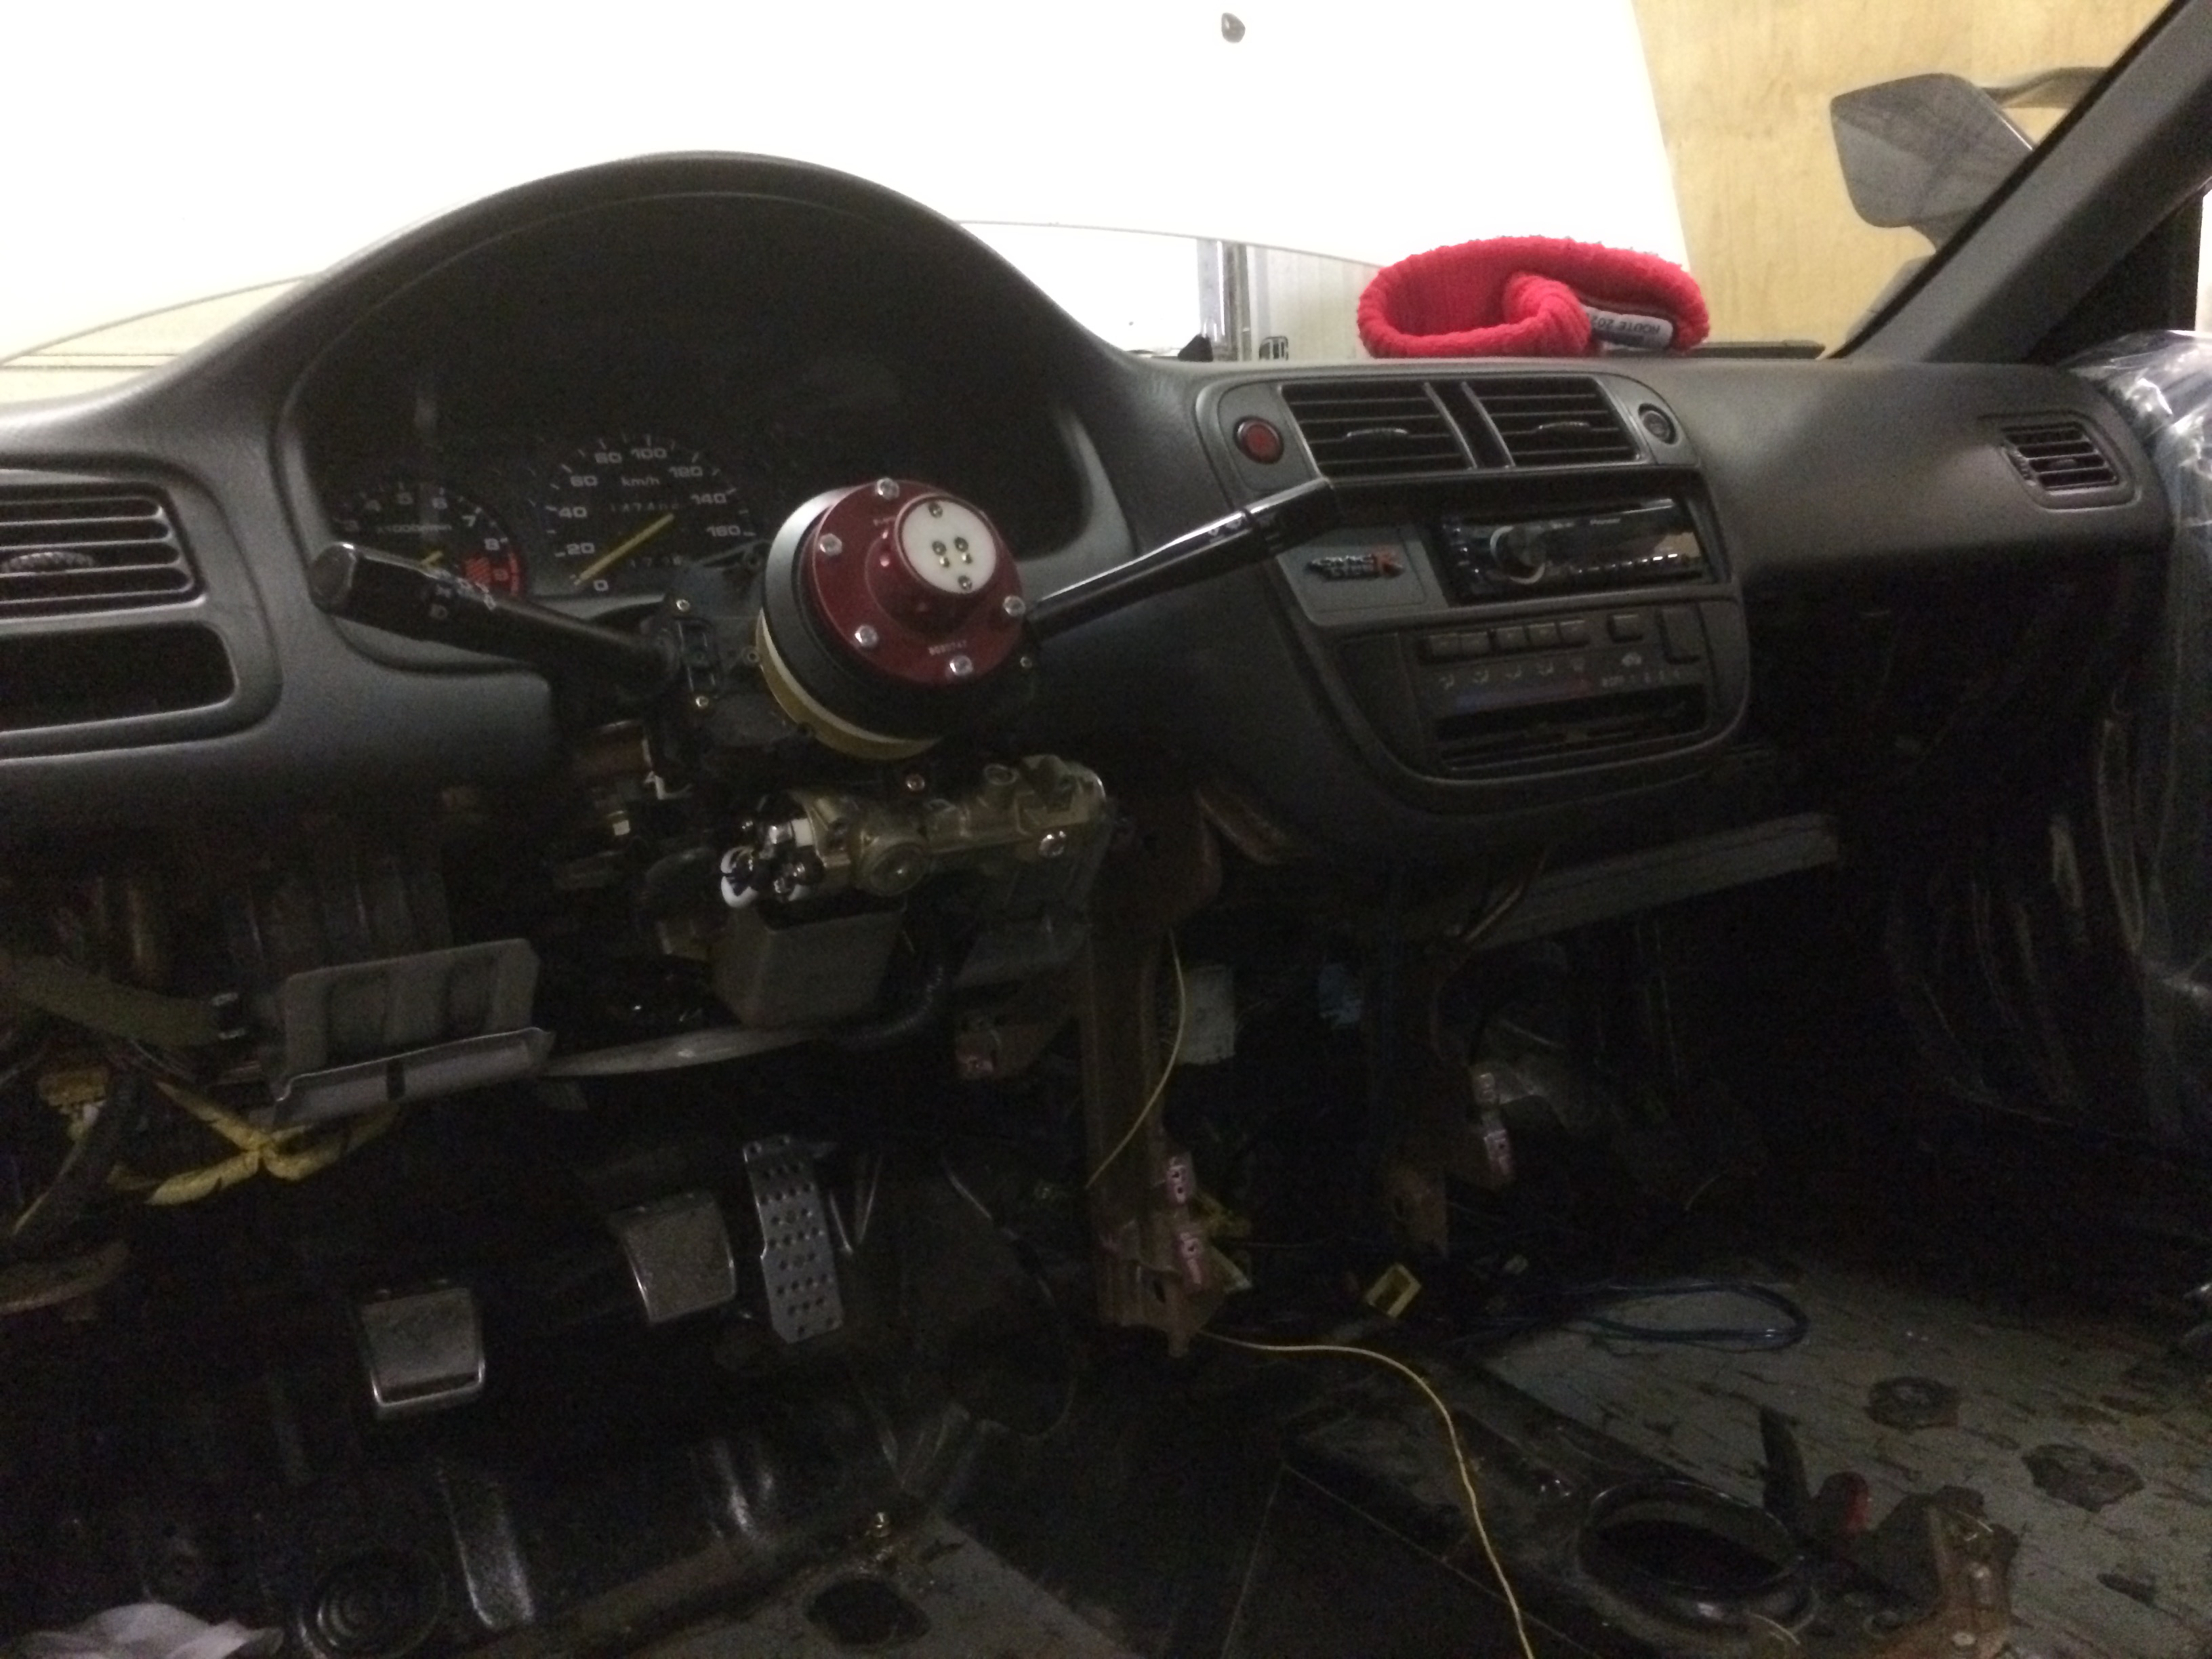
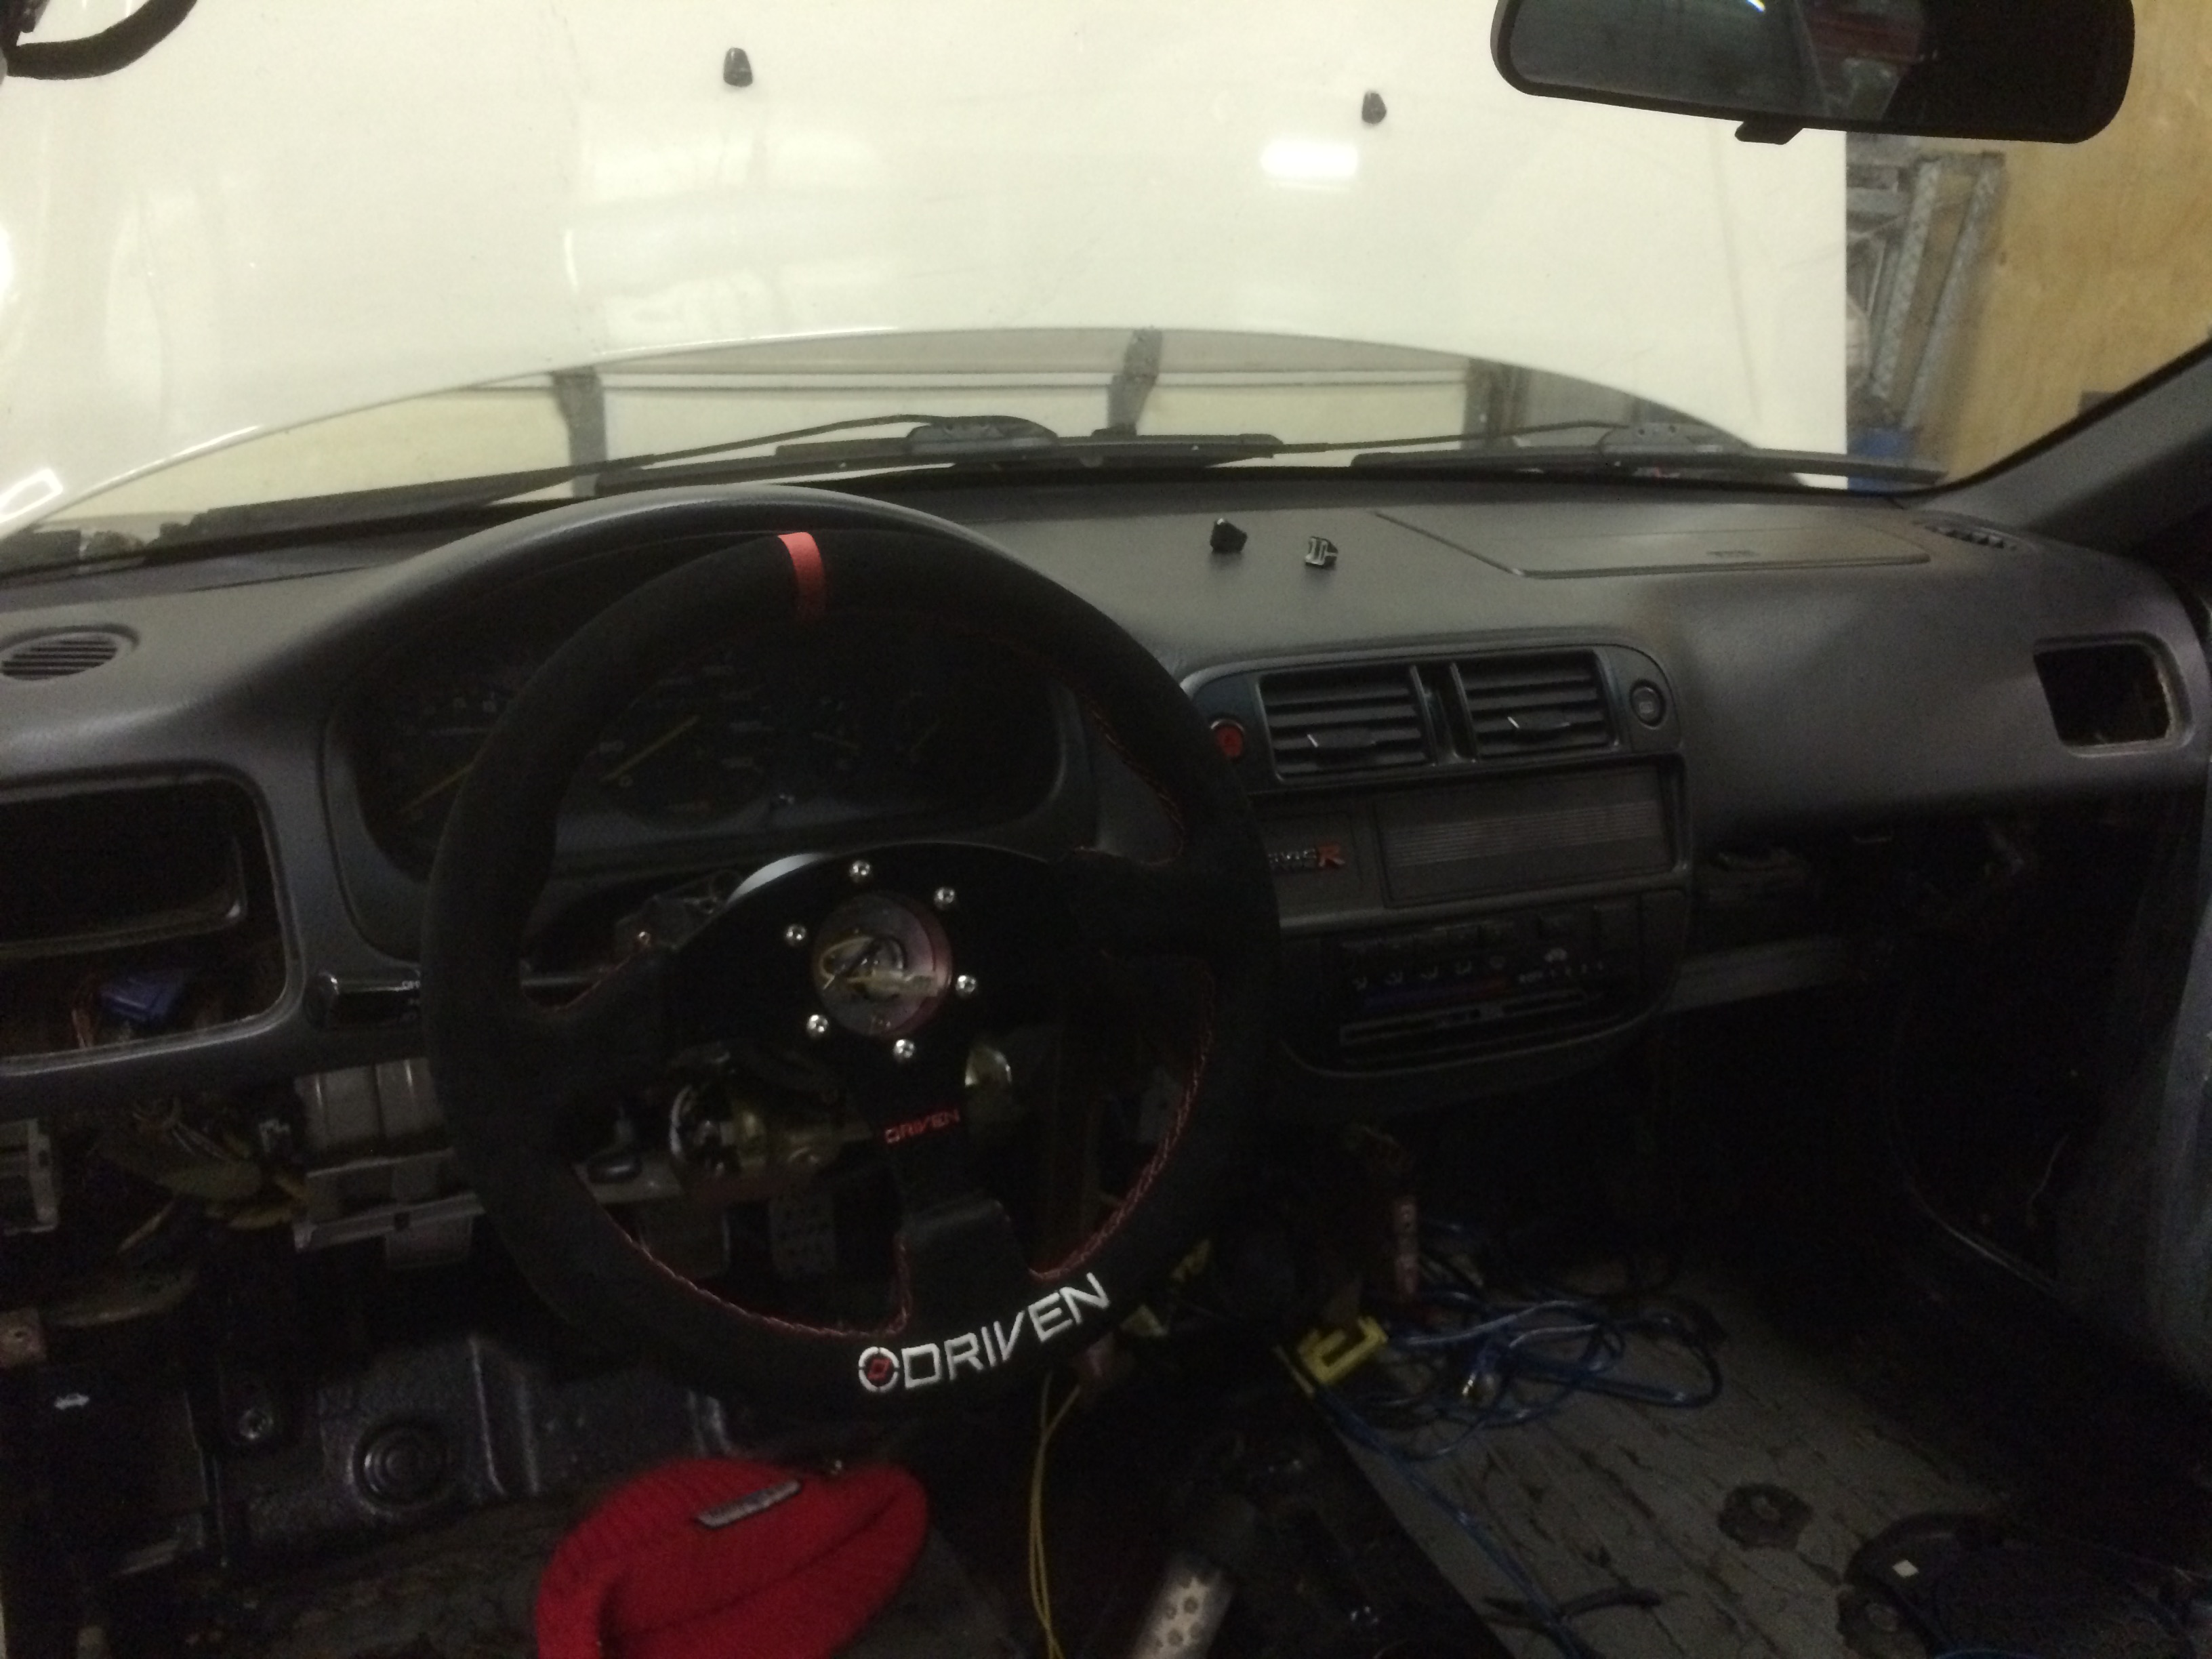
Mocked up the steering wheel. The grip is phenomenal, and the size is perfect. 12.5″ is spot on and fits right in with the cockpit. It really adds a little touch of aggression to the interior. I just ordered new black counter-sunk bolts for it too. I�m not a huge fan of chrome.
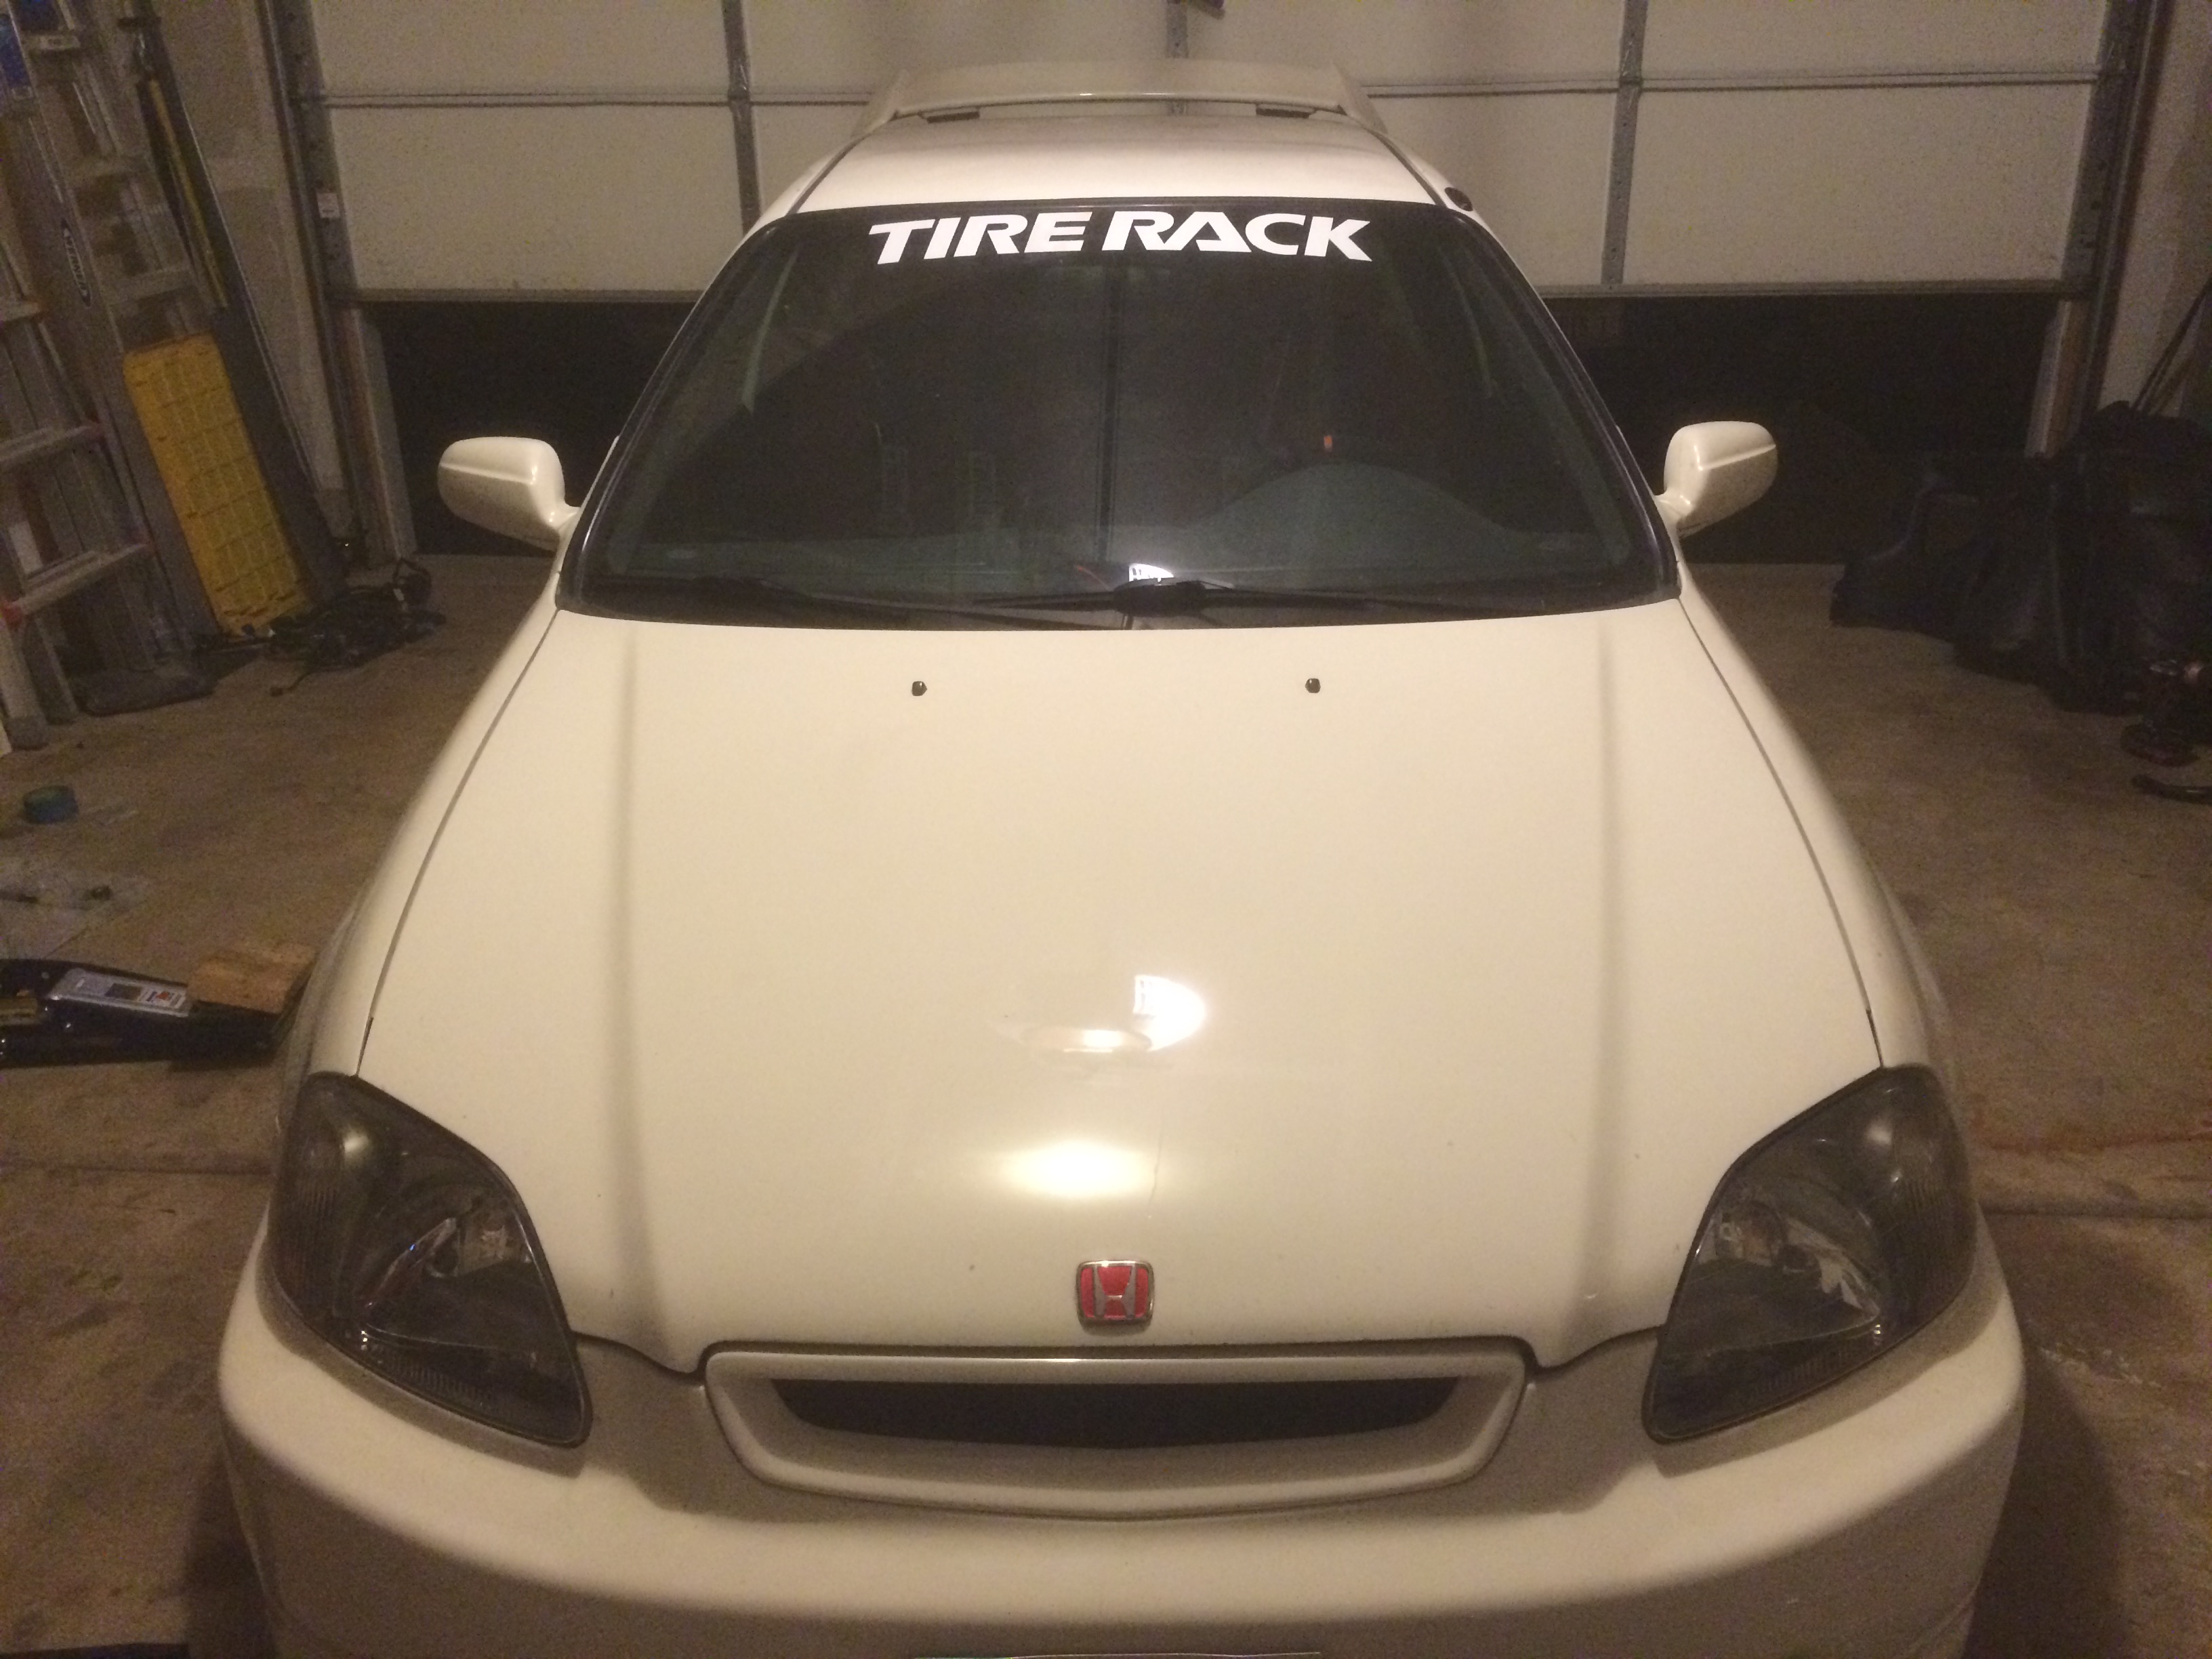
We also removed the JDM Wind Visors. Here is the car as it sits now. The transmission is at the shop with ASI now, and I am ordering up the last few bolts to get the subframe assembled.
The cage is supposed to begin going in this week.
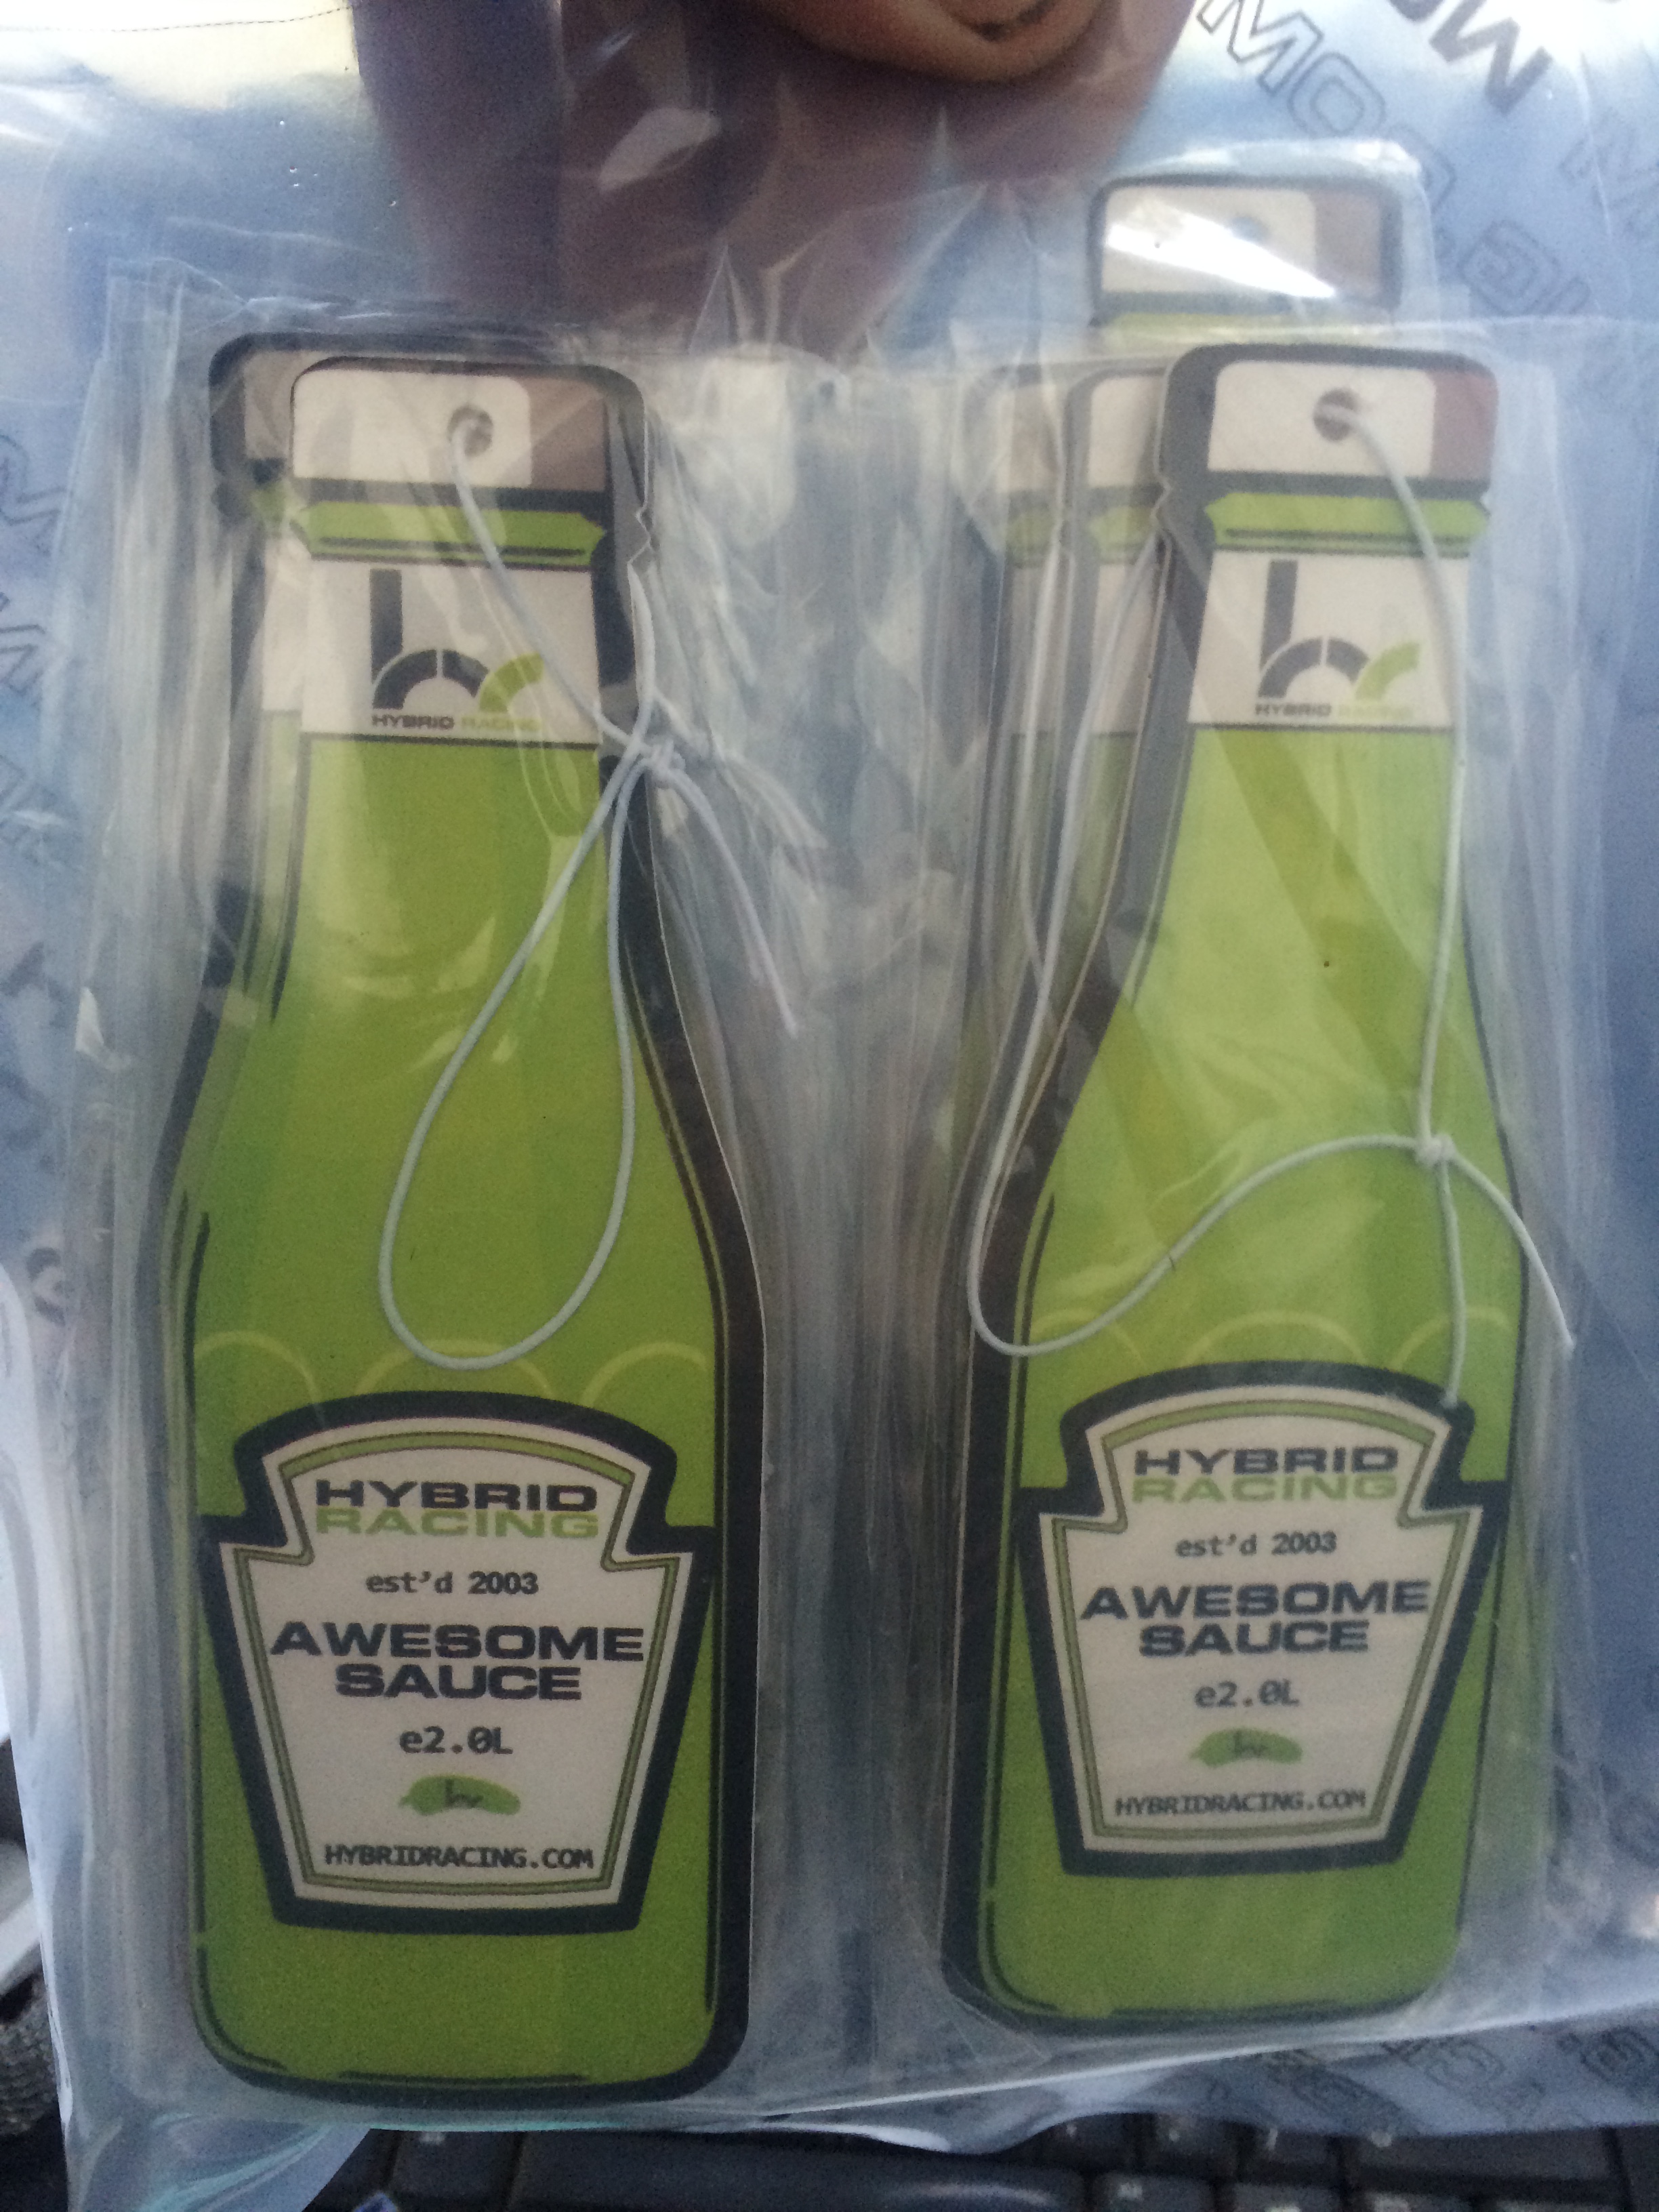
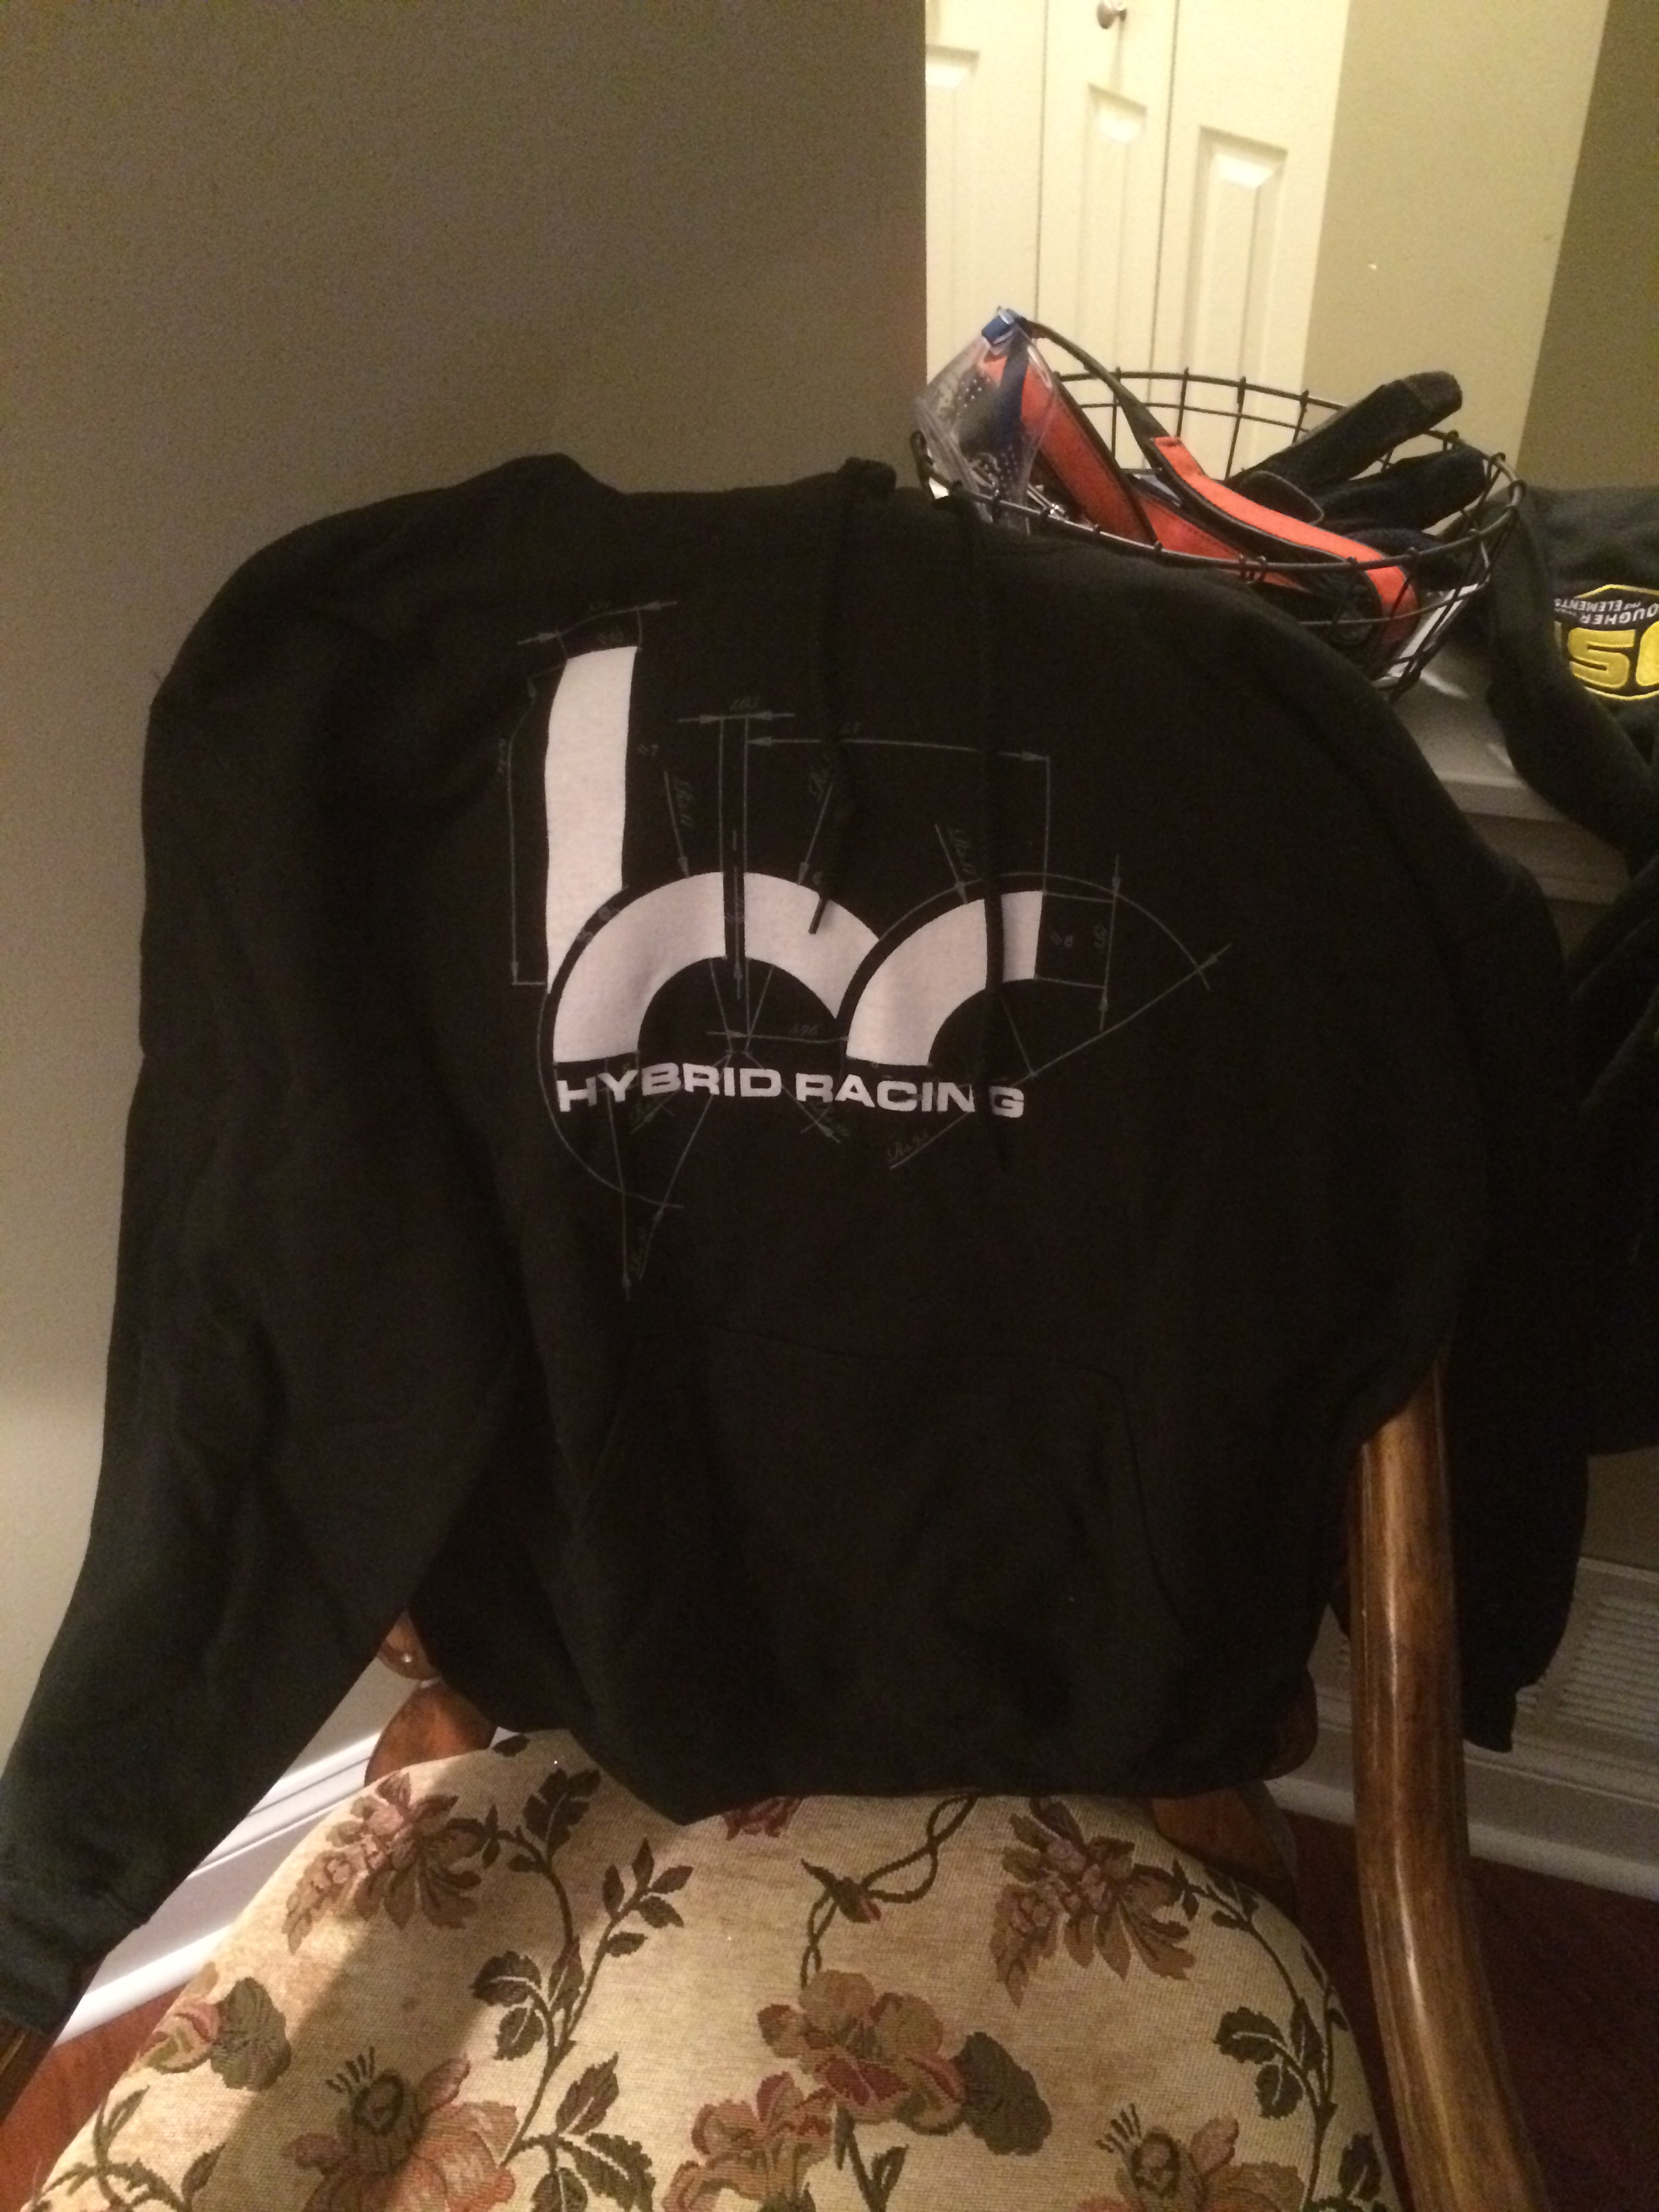
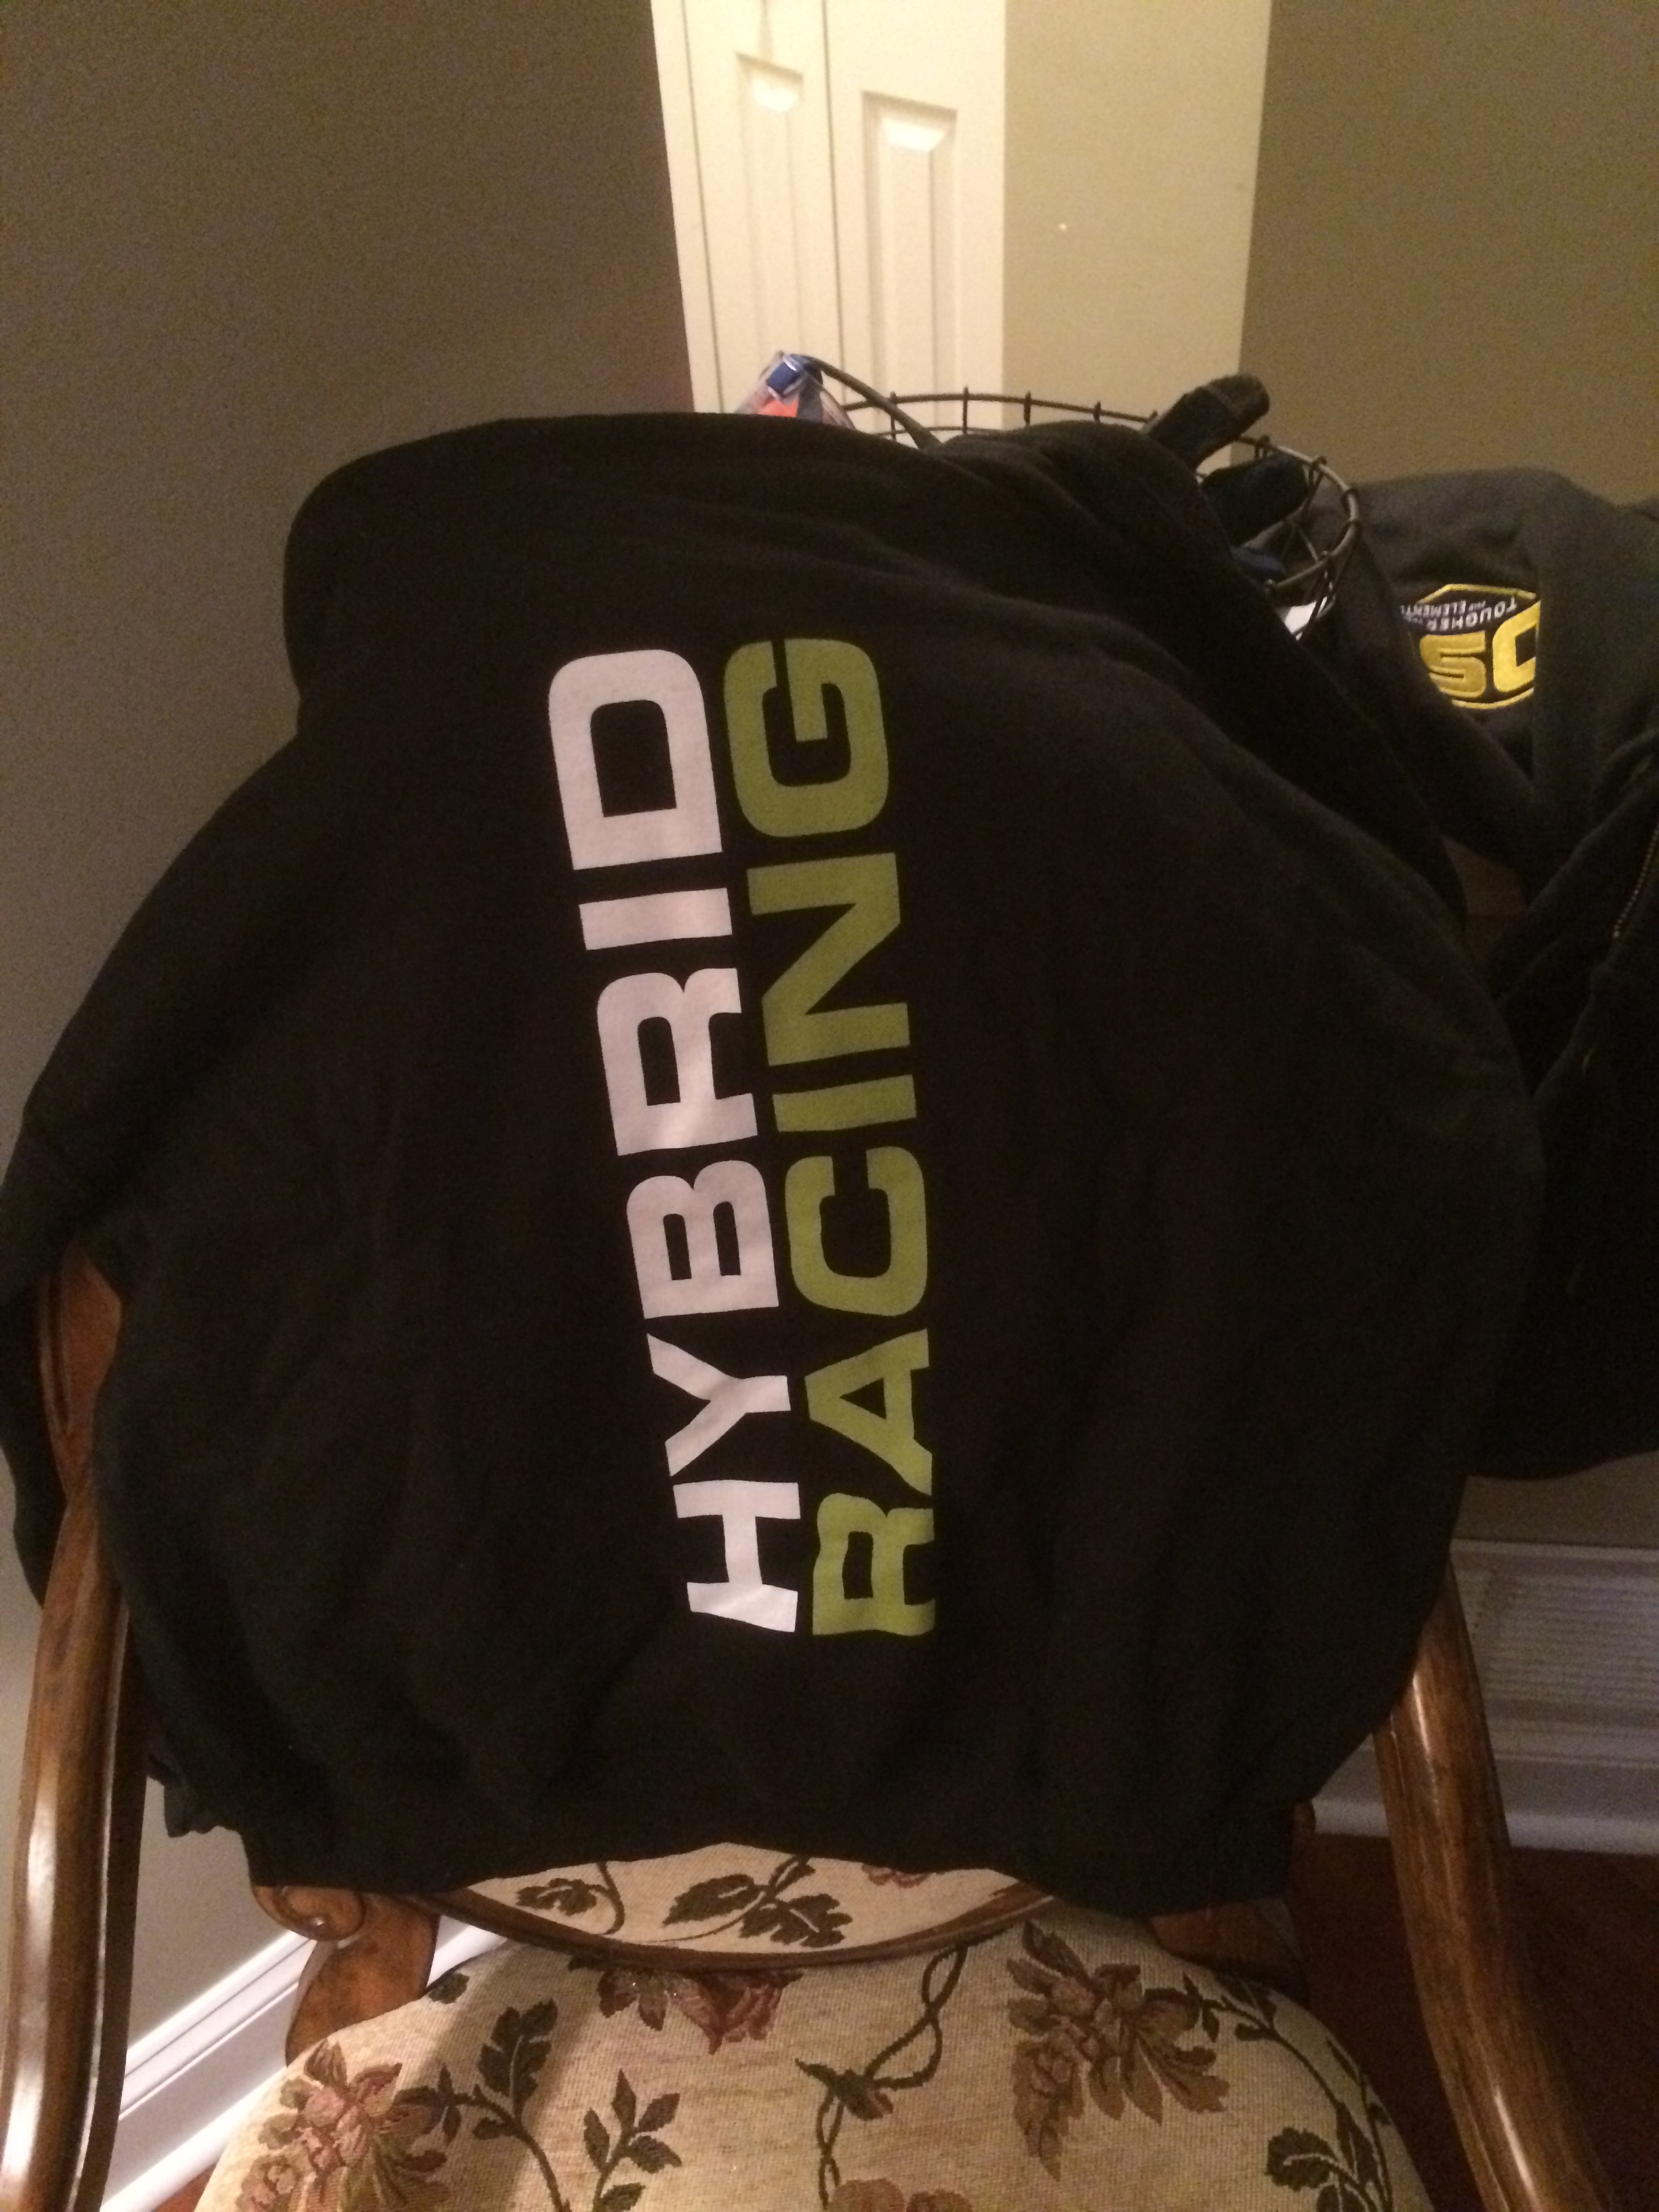
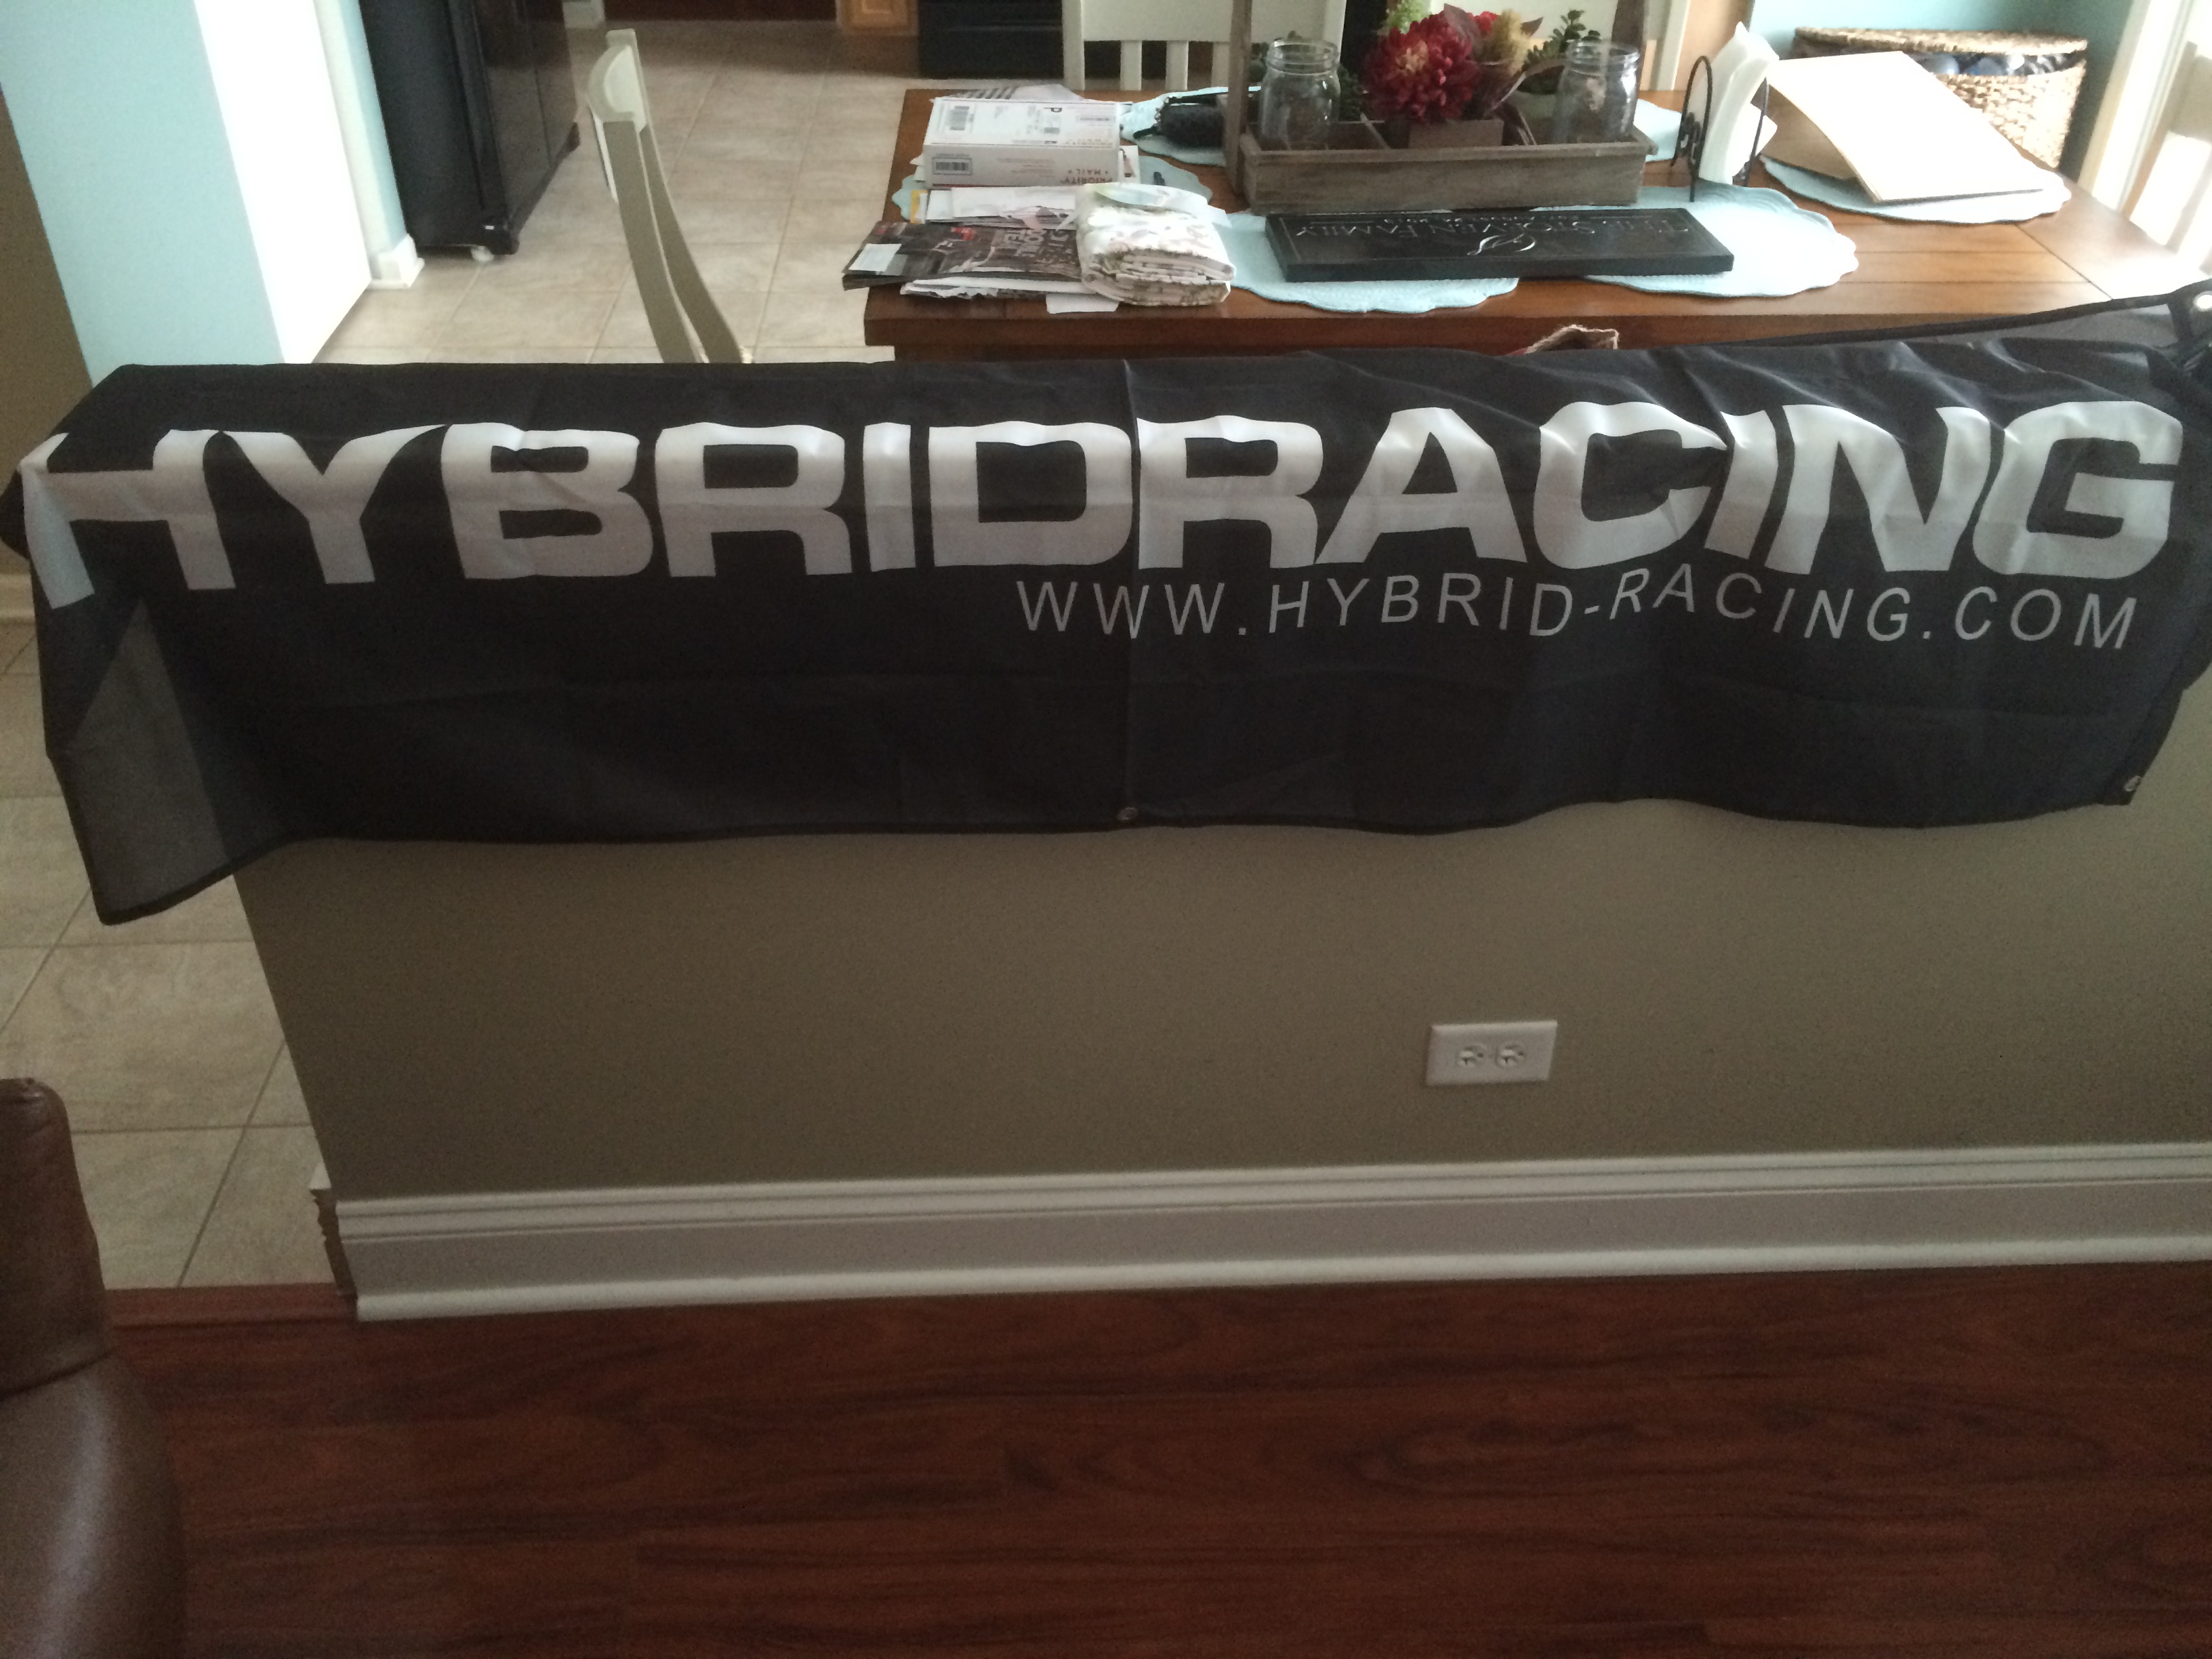
I also unwrapped some of my swag from Hybrid Racing. They sent a banner, hoodie, and two t-shirts. Along with an assortment of stickers.
Hey nice build, just joined up on here, i picked up a 97 ek and im road racing it im just waiting till my trial is done so i can start my build thread . Very clean build, that bseries looked so nice in there lol. Keep it up ill be following for sure
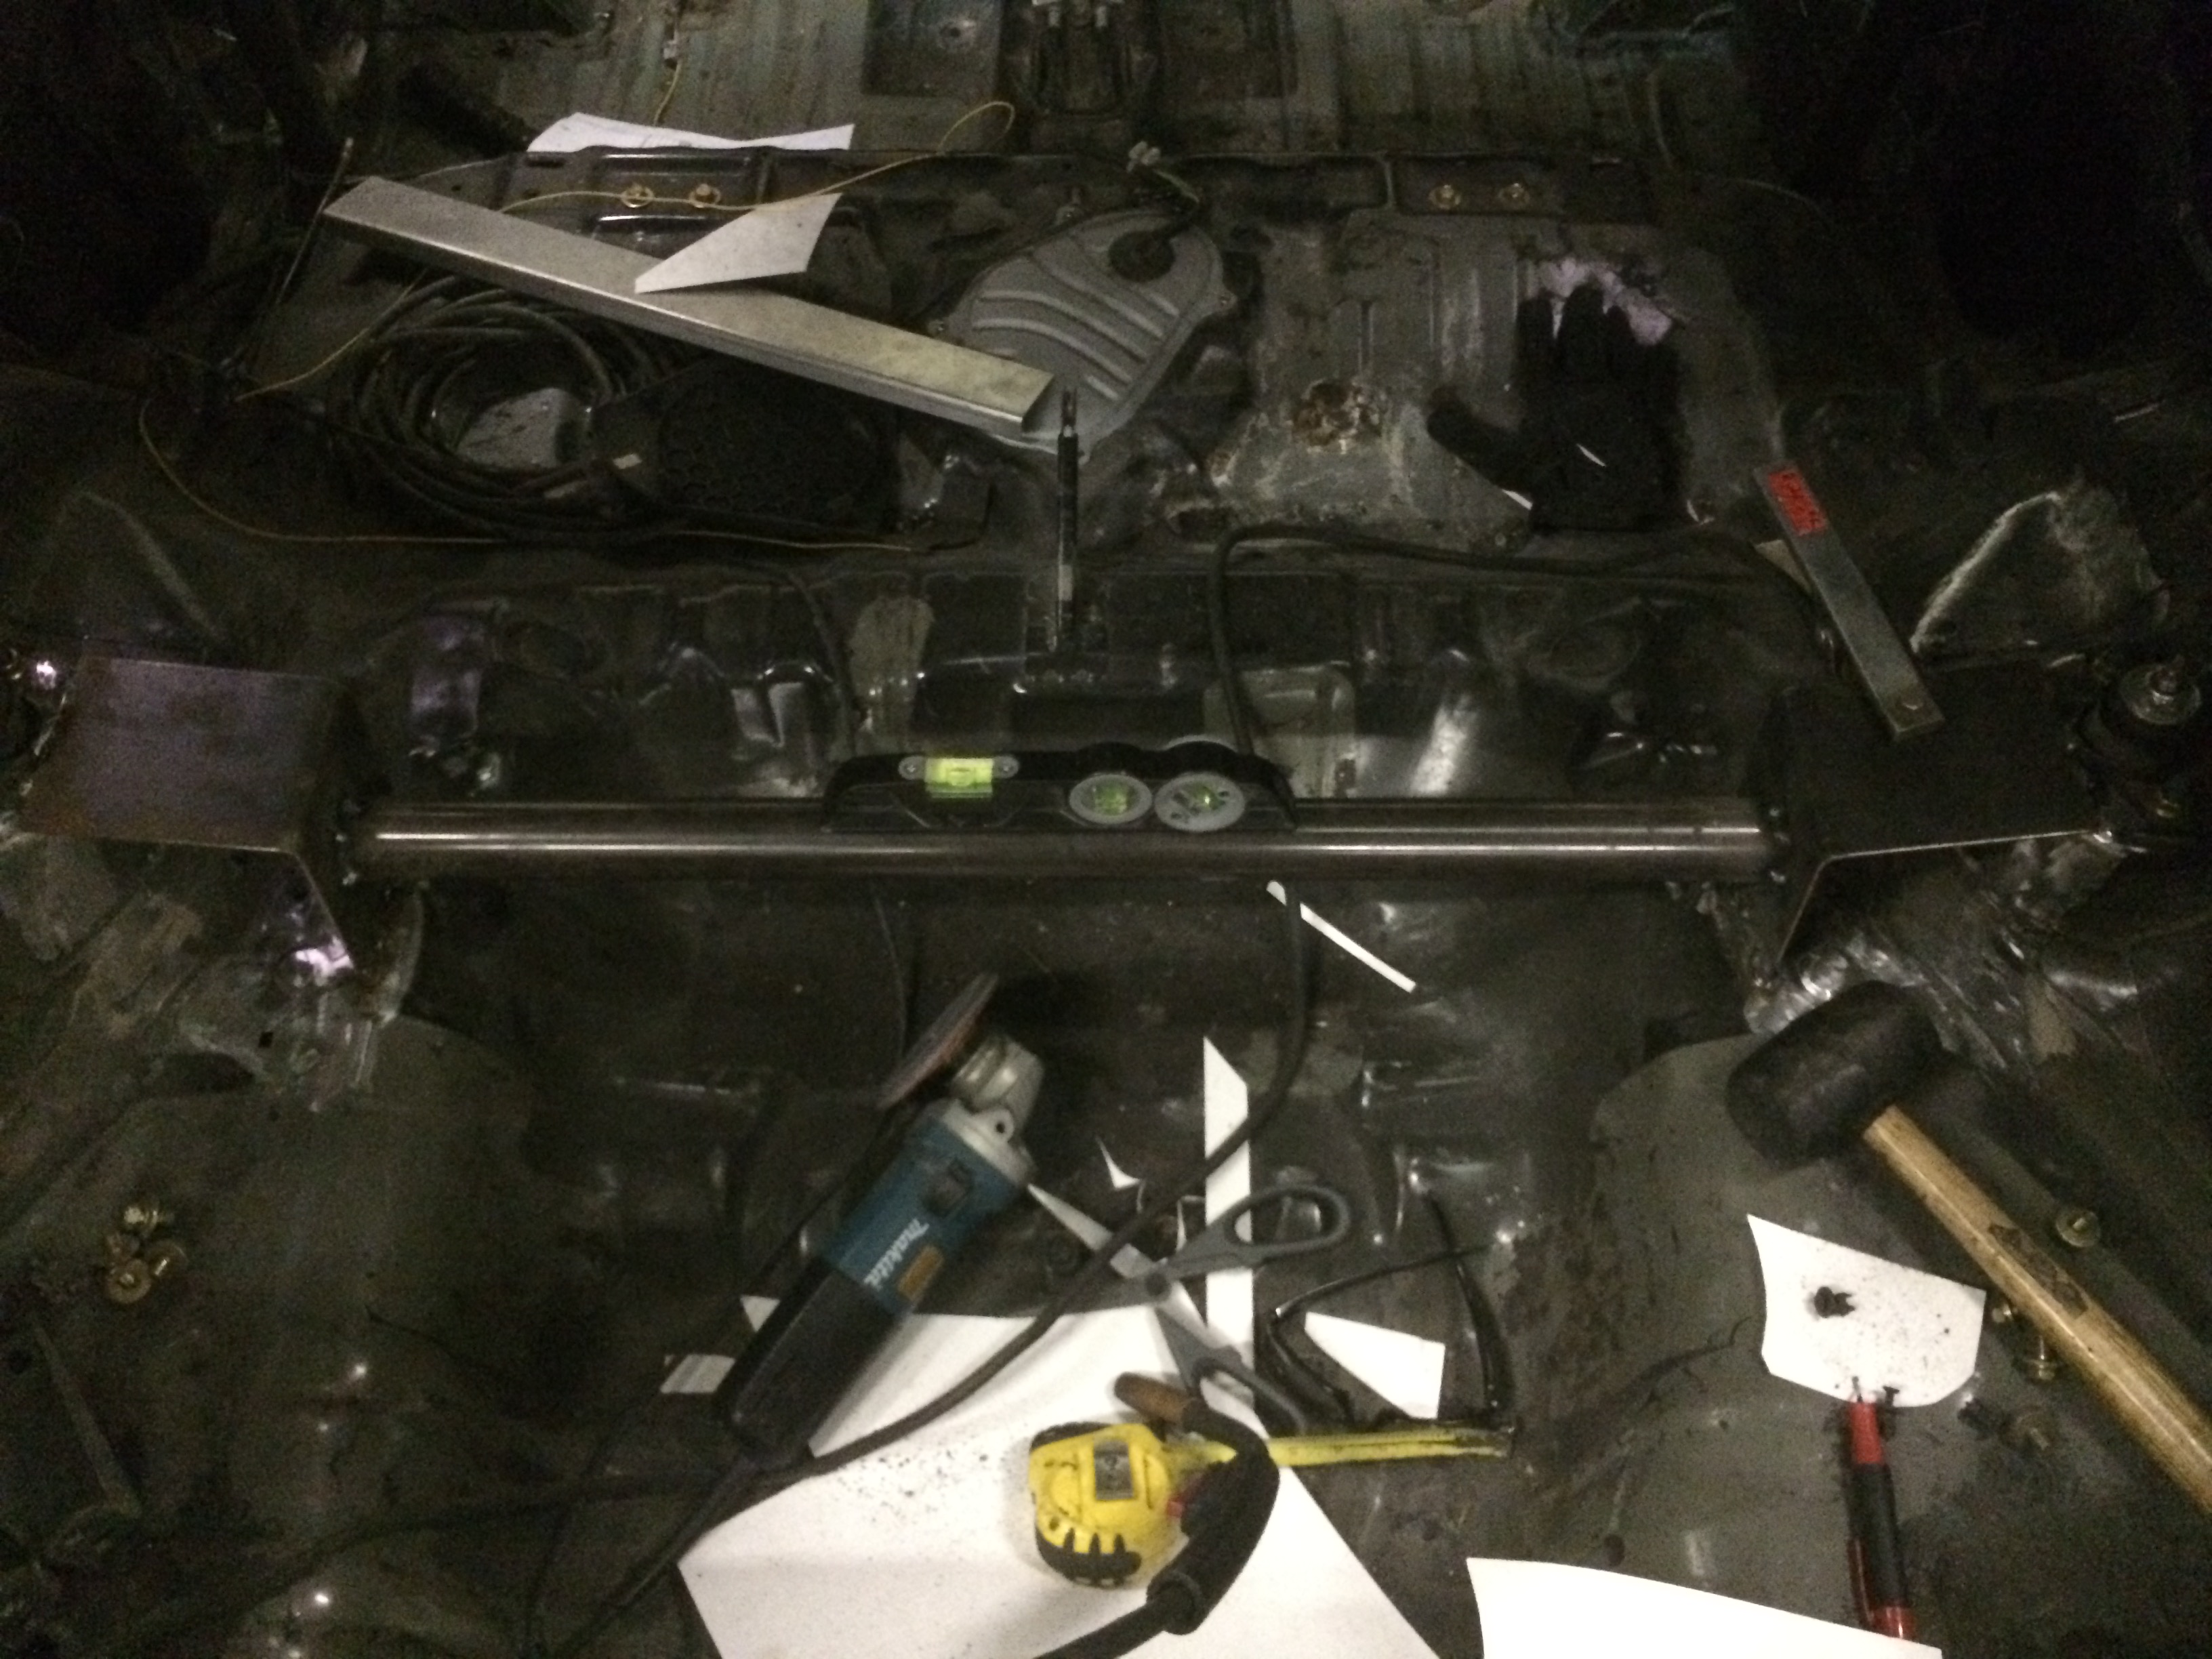
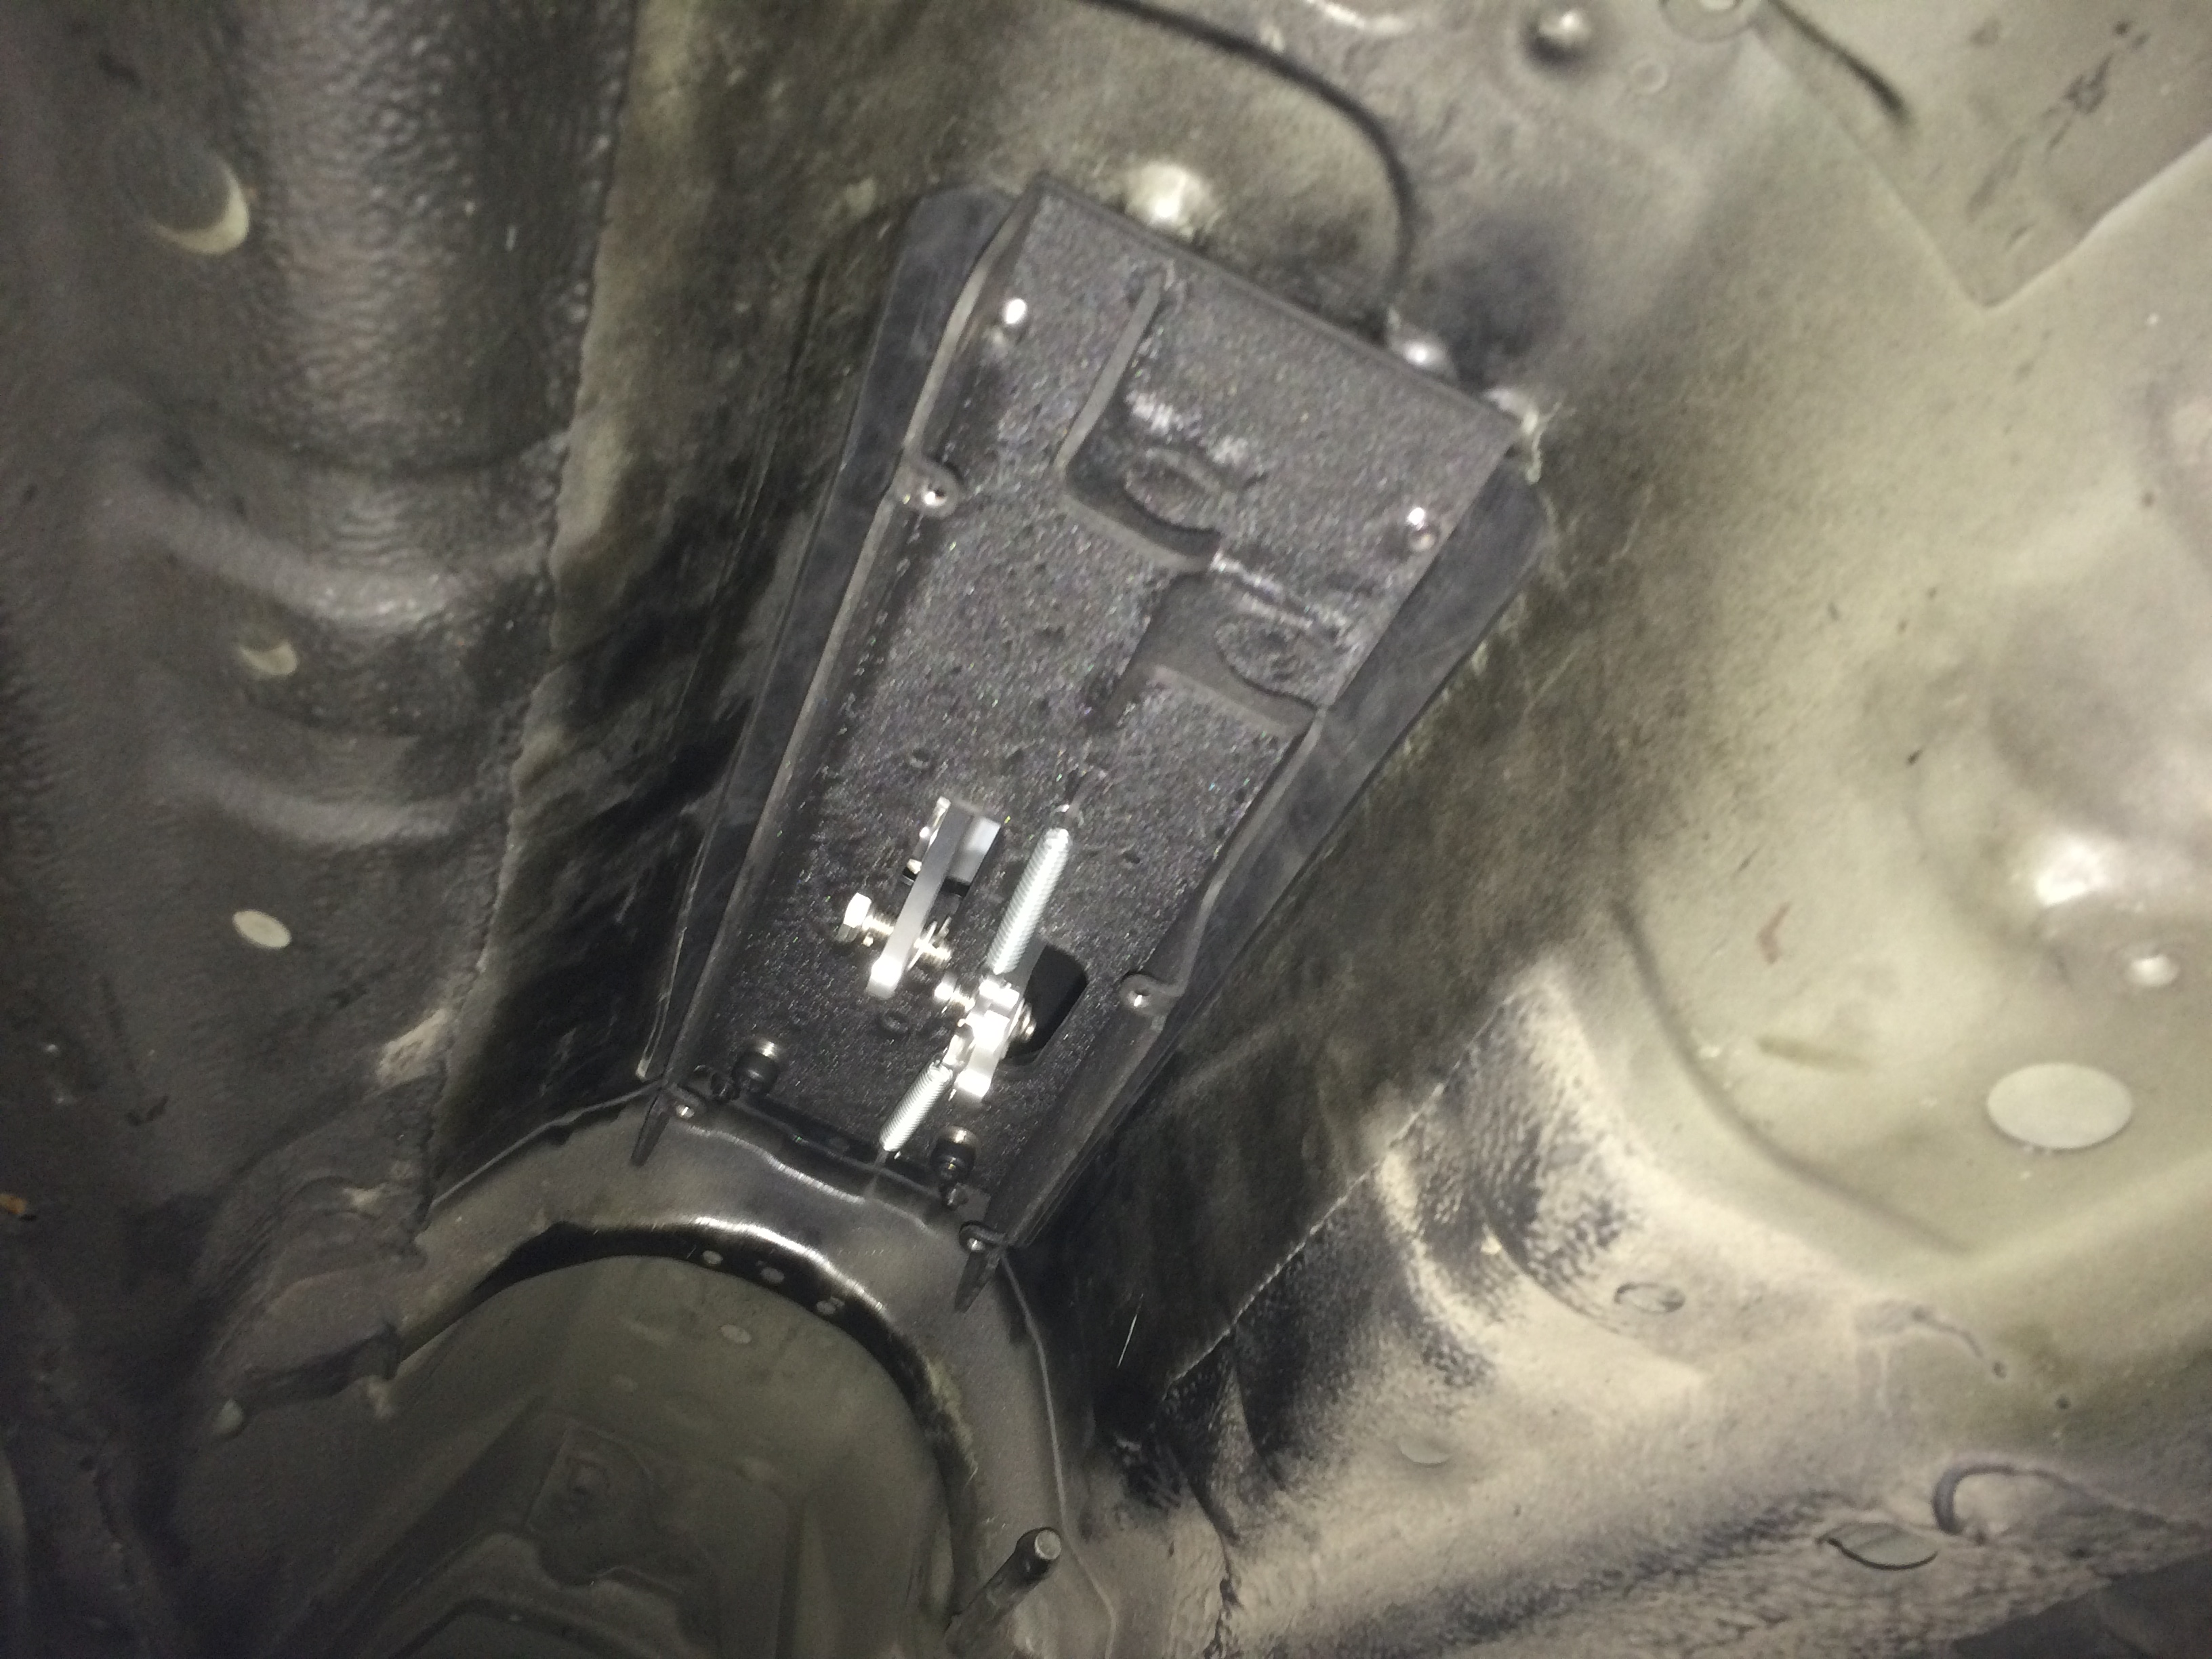
This past weekend I visited ASI to help move things along with the build. Points of focus were; to discuss the cage final design plans, finish engine assembly, install the DC Subframe, and install the new Hybrid Racing Shifter.
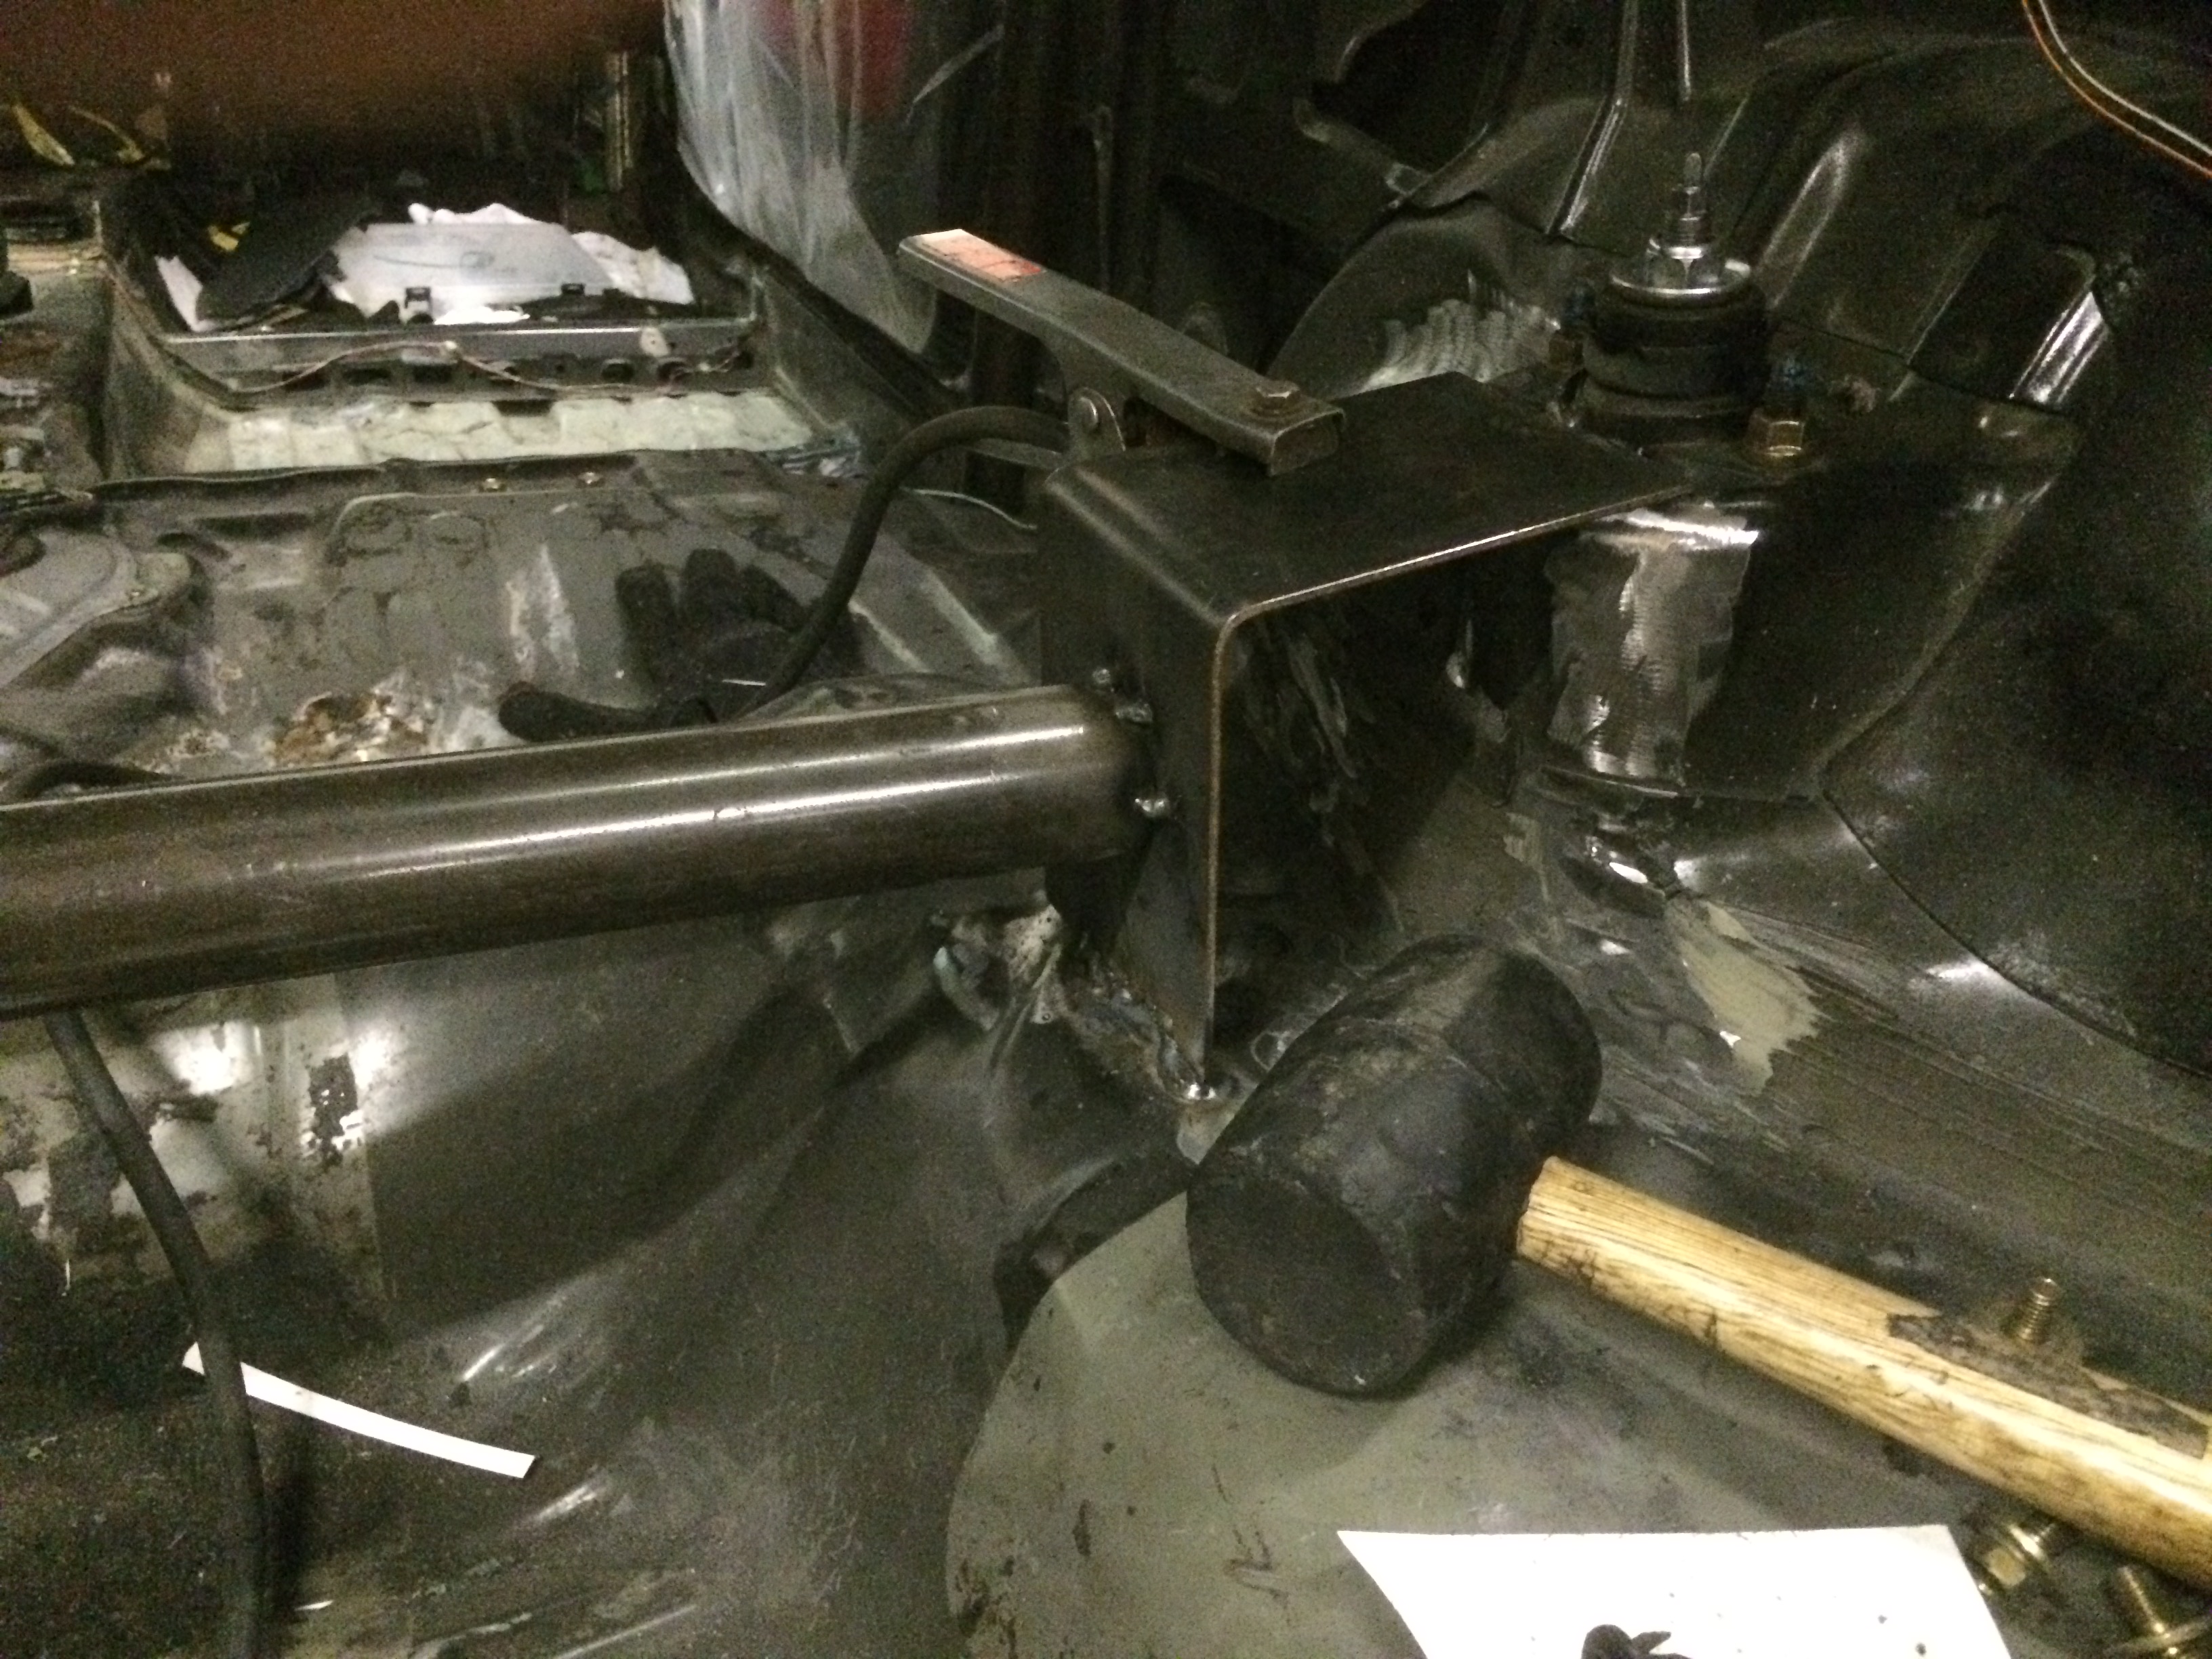
Here is the latest on the cage… Pat discussed how he wasn’t totally impressed with the strength of the rear strut towers and that he felt the best option would be to build rigid boxes with dimpled steel plates as a base to mount against for the rear bars.
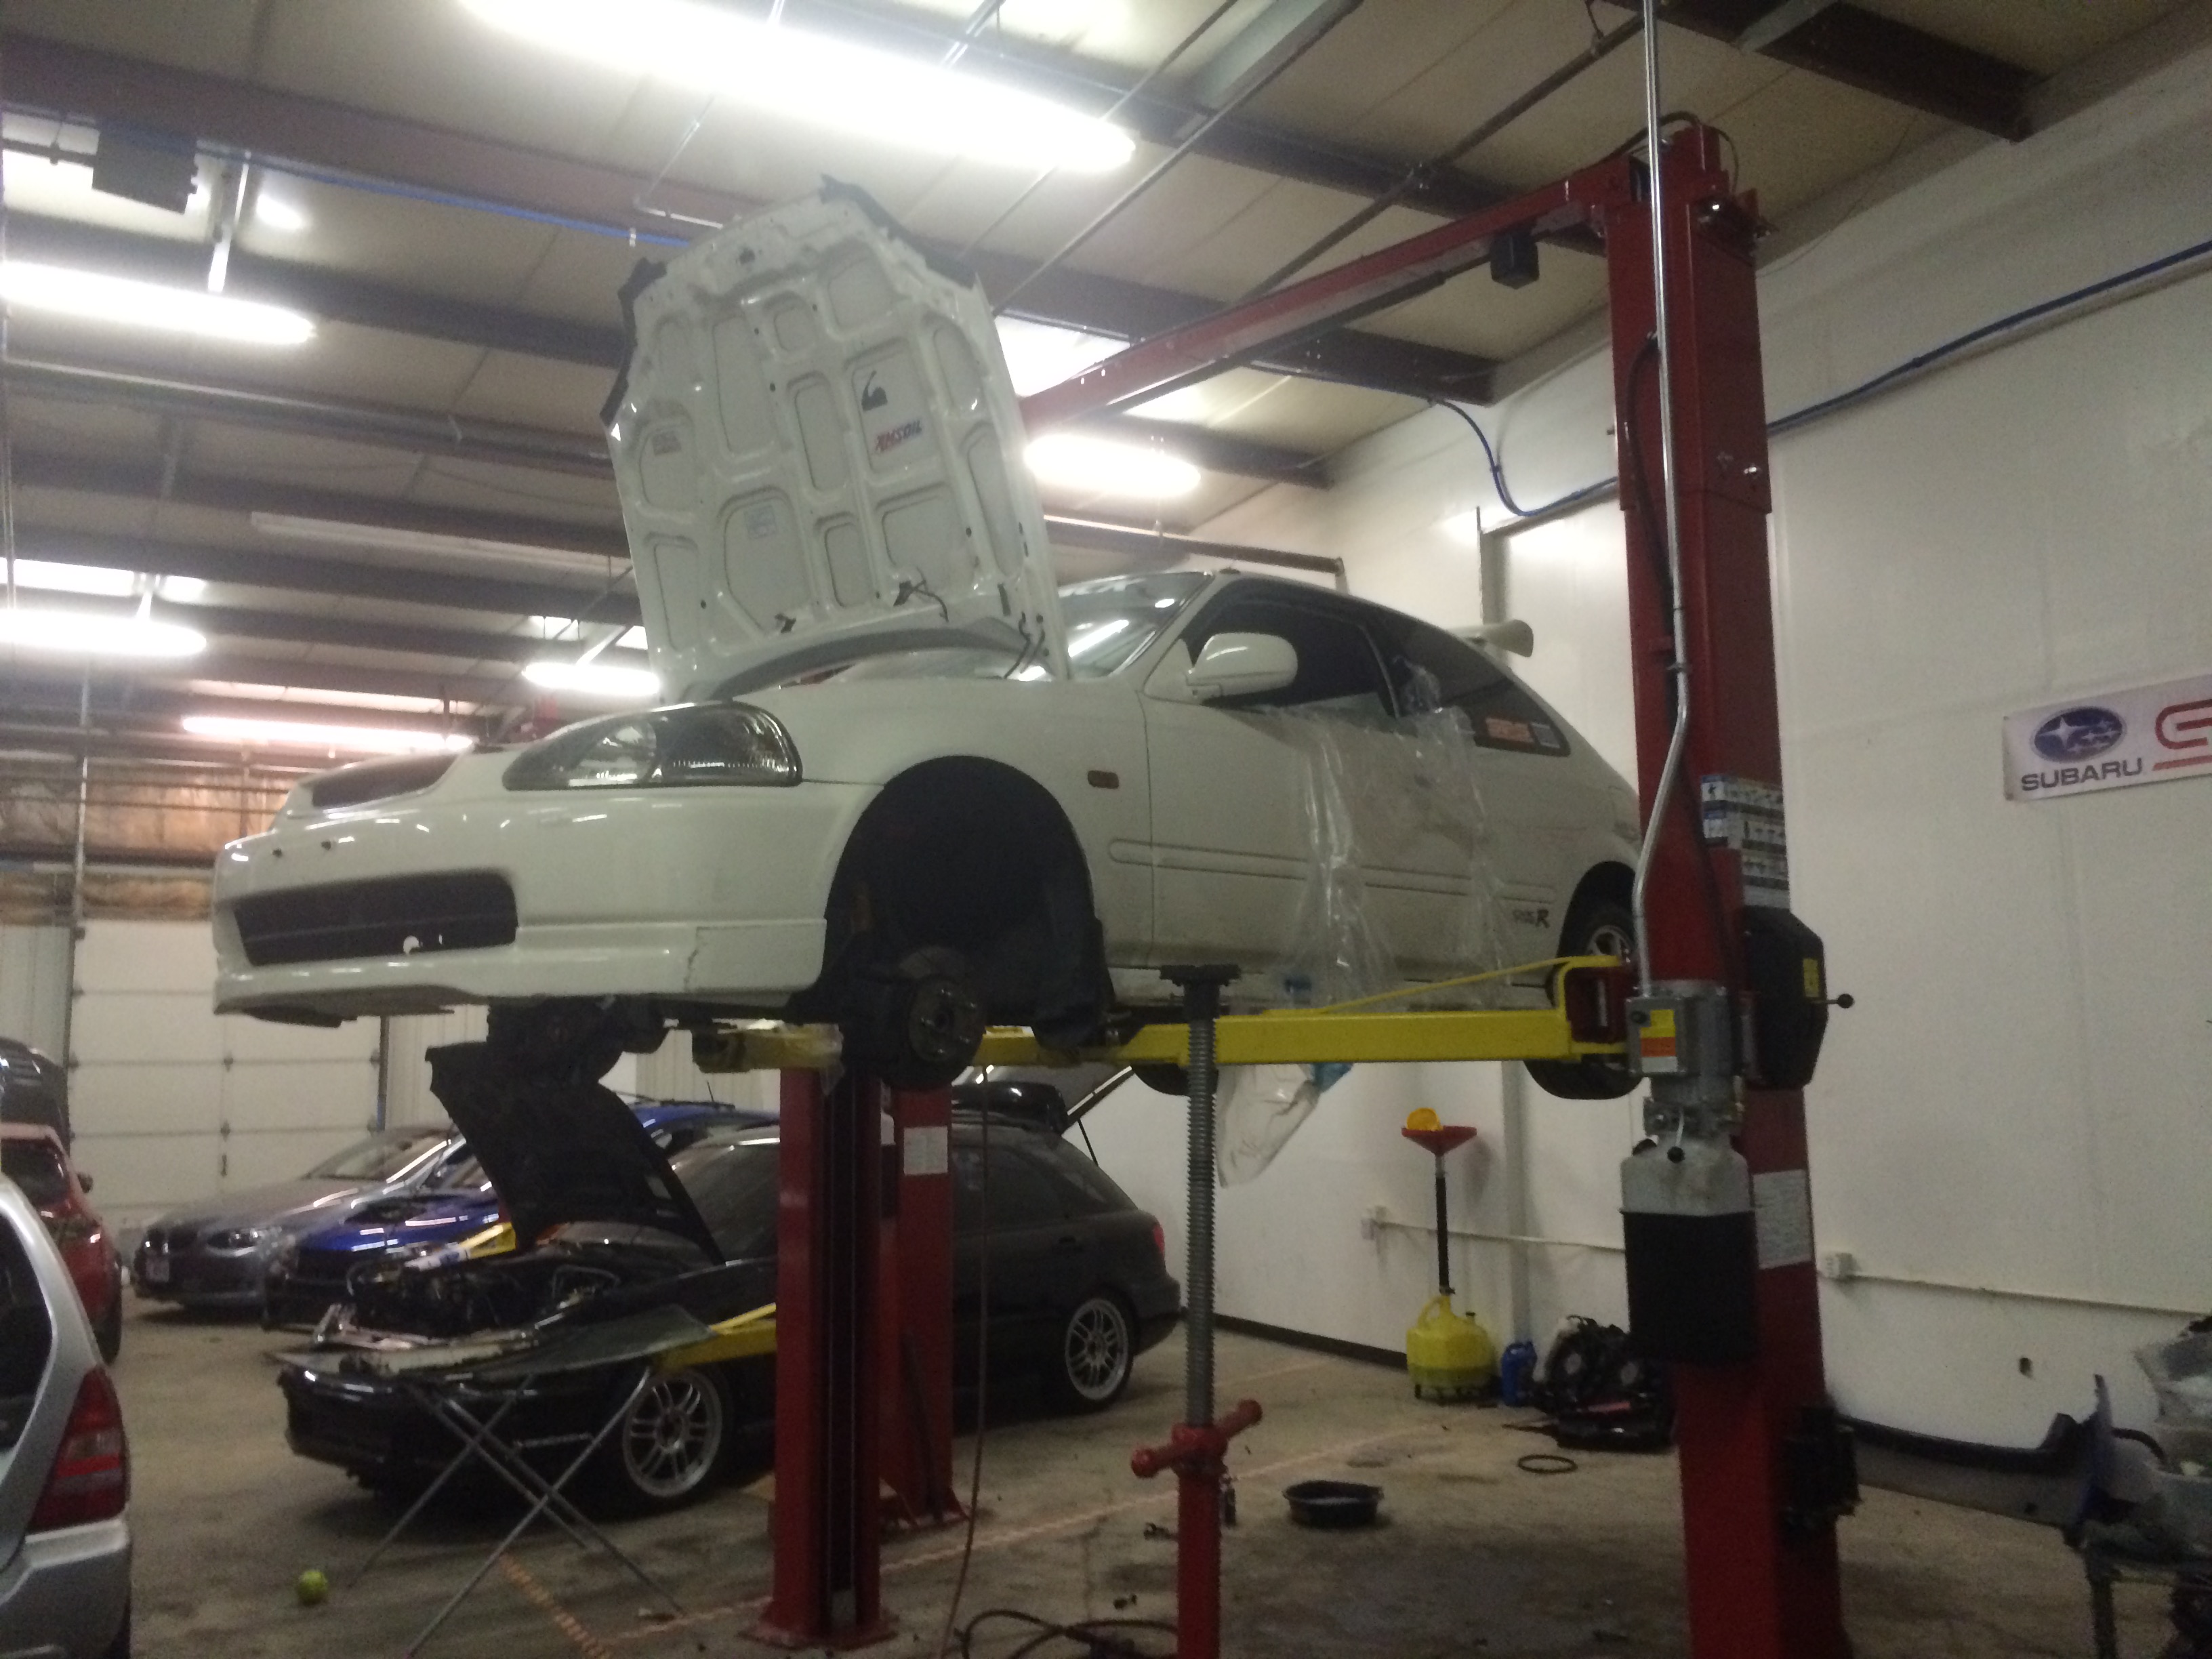
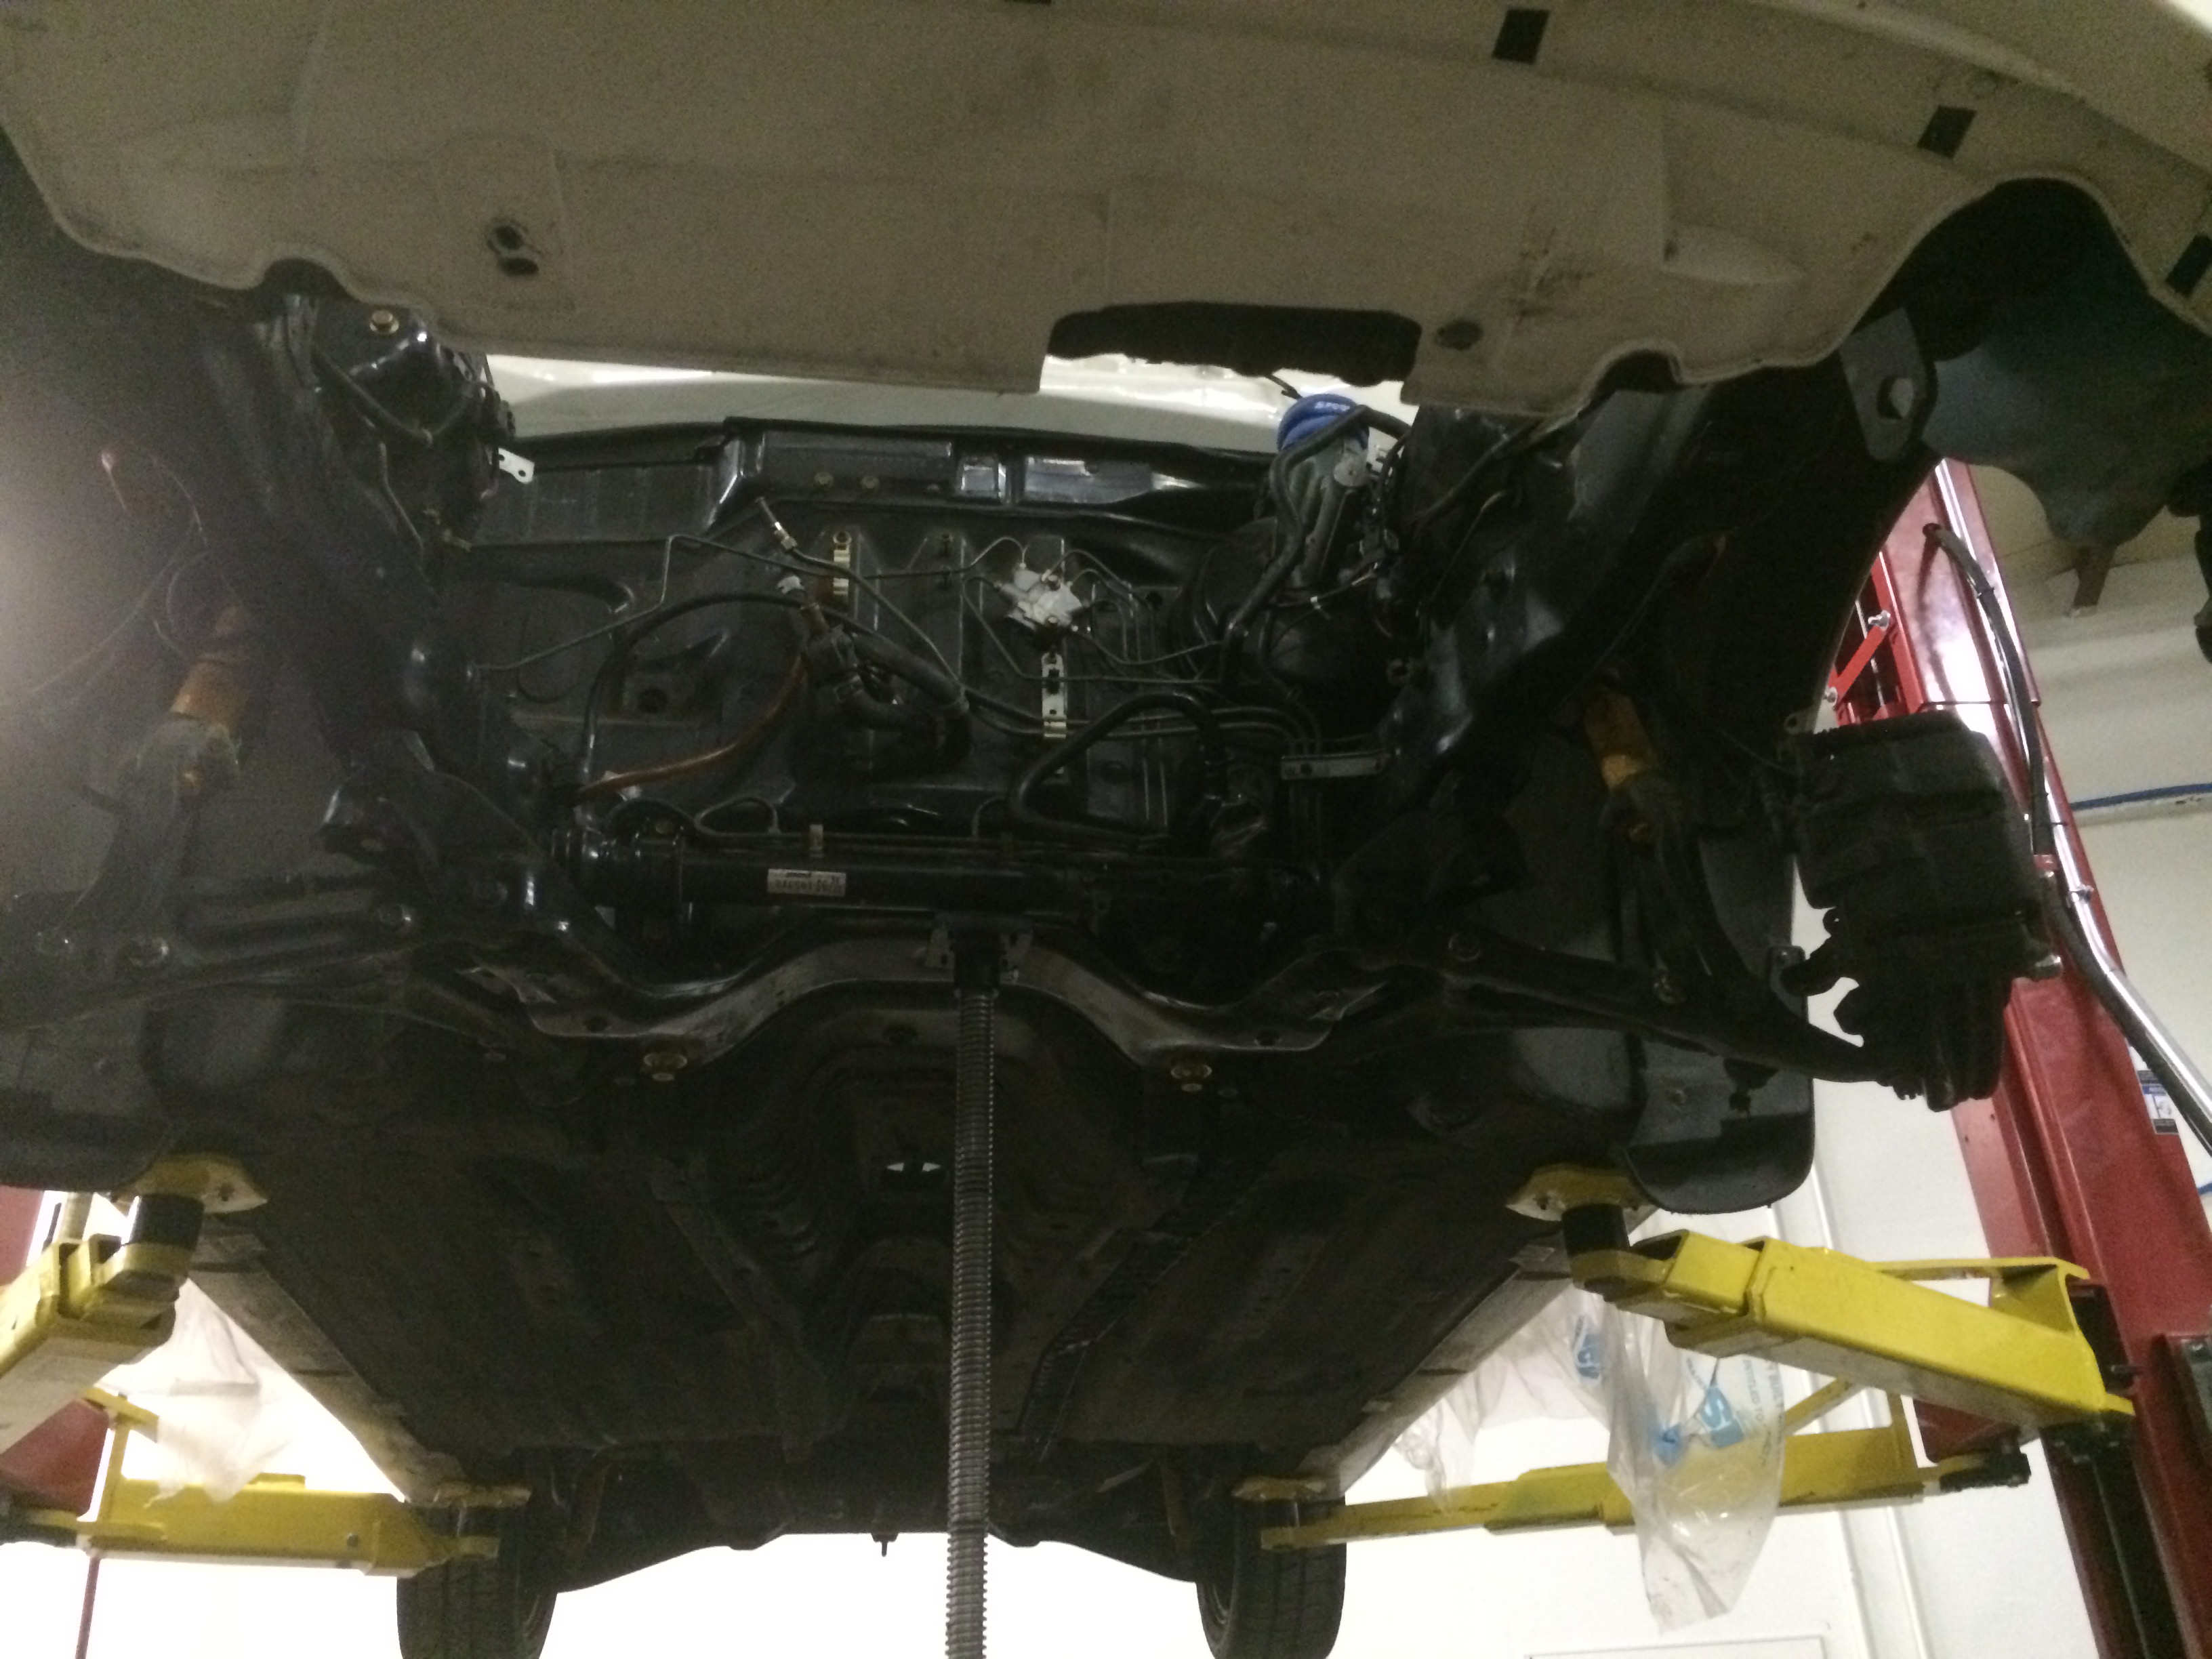
After that, we rolled the car over to the lift so that we could begin work on the subframe and shifter.
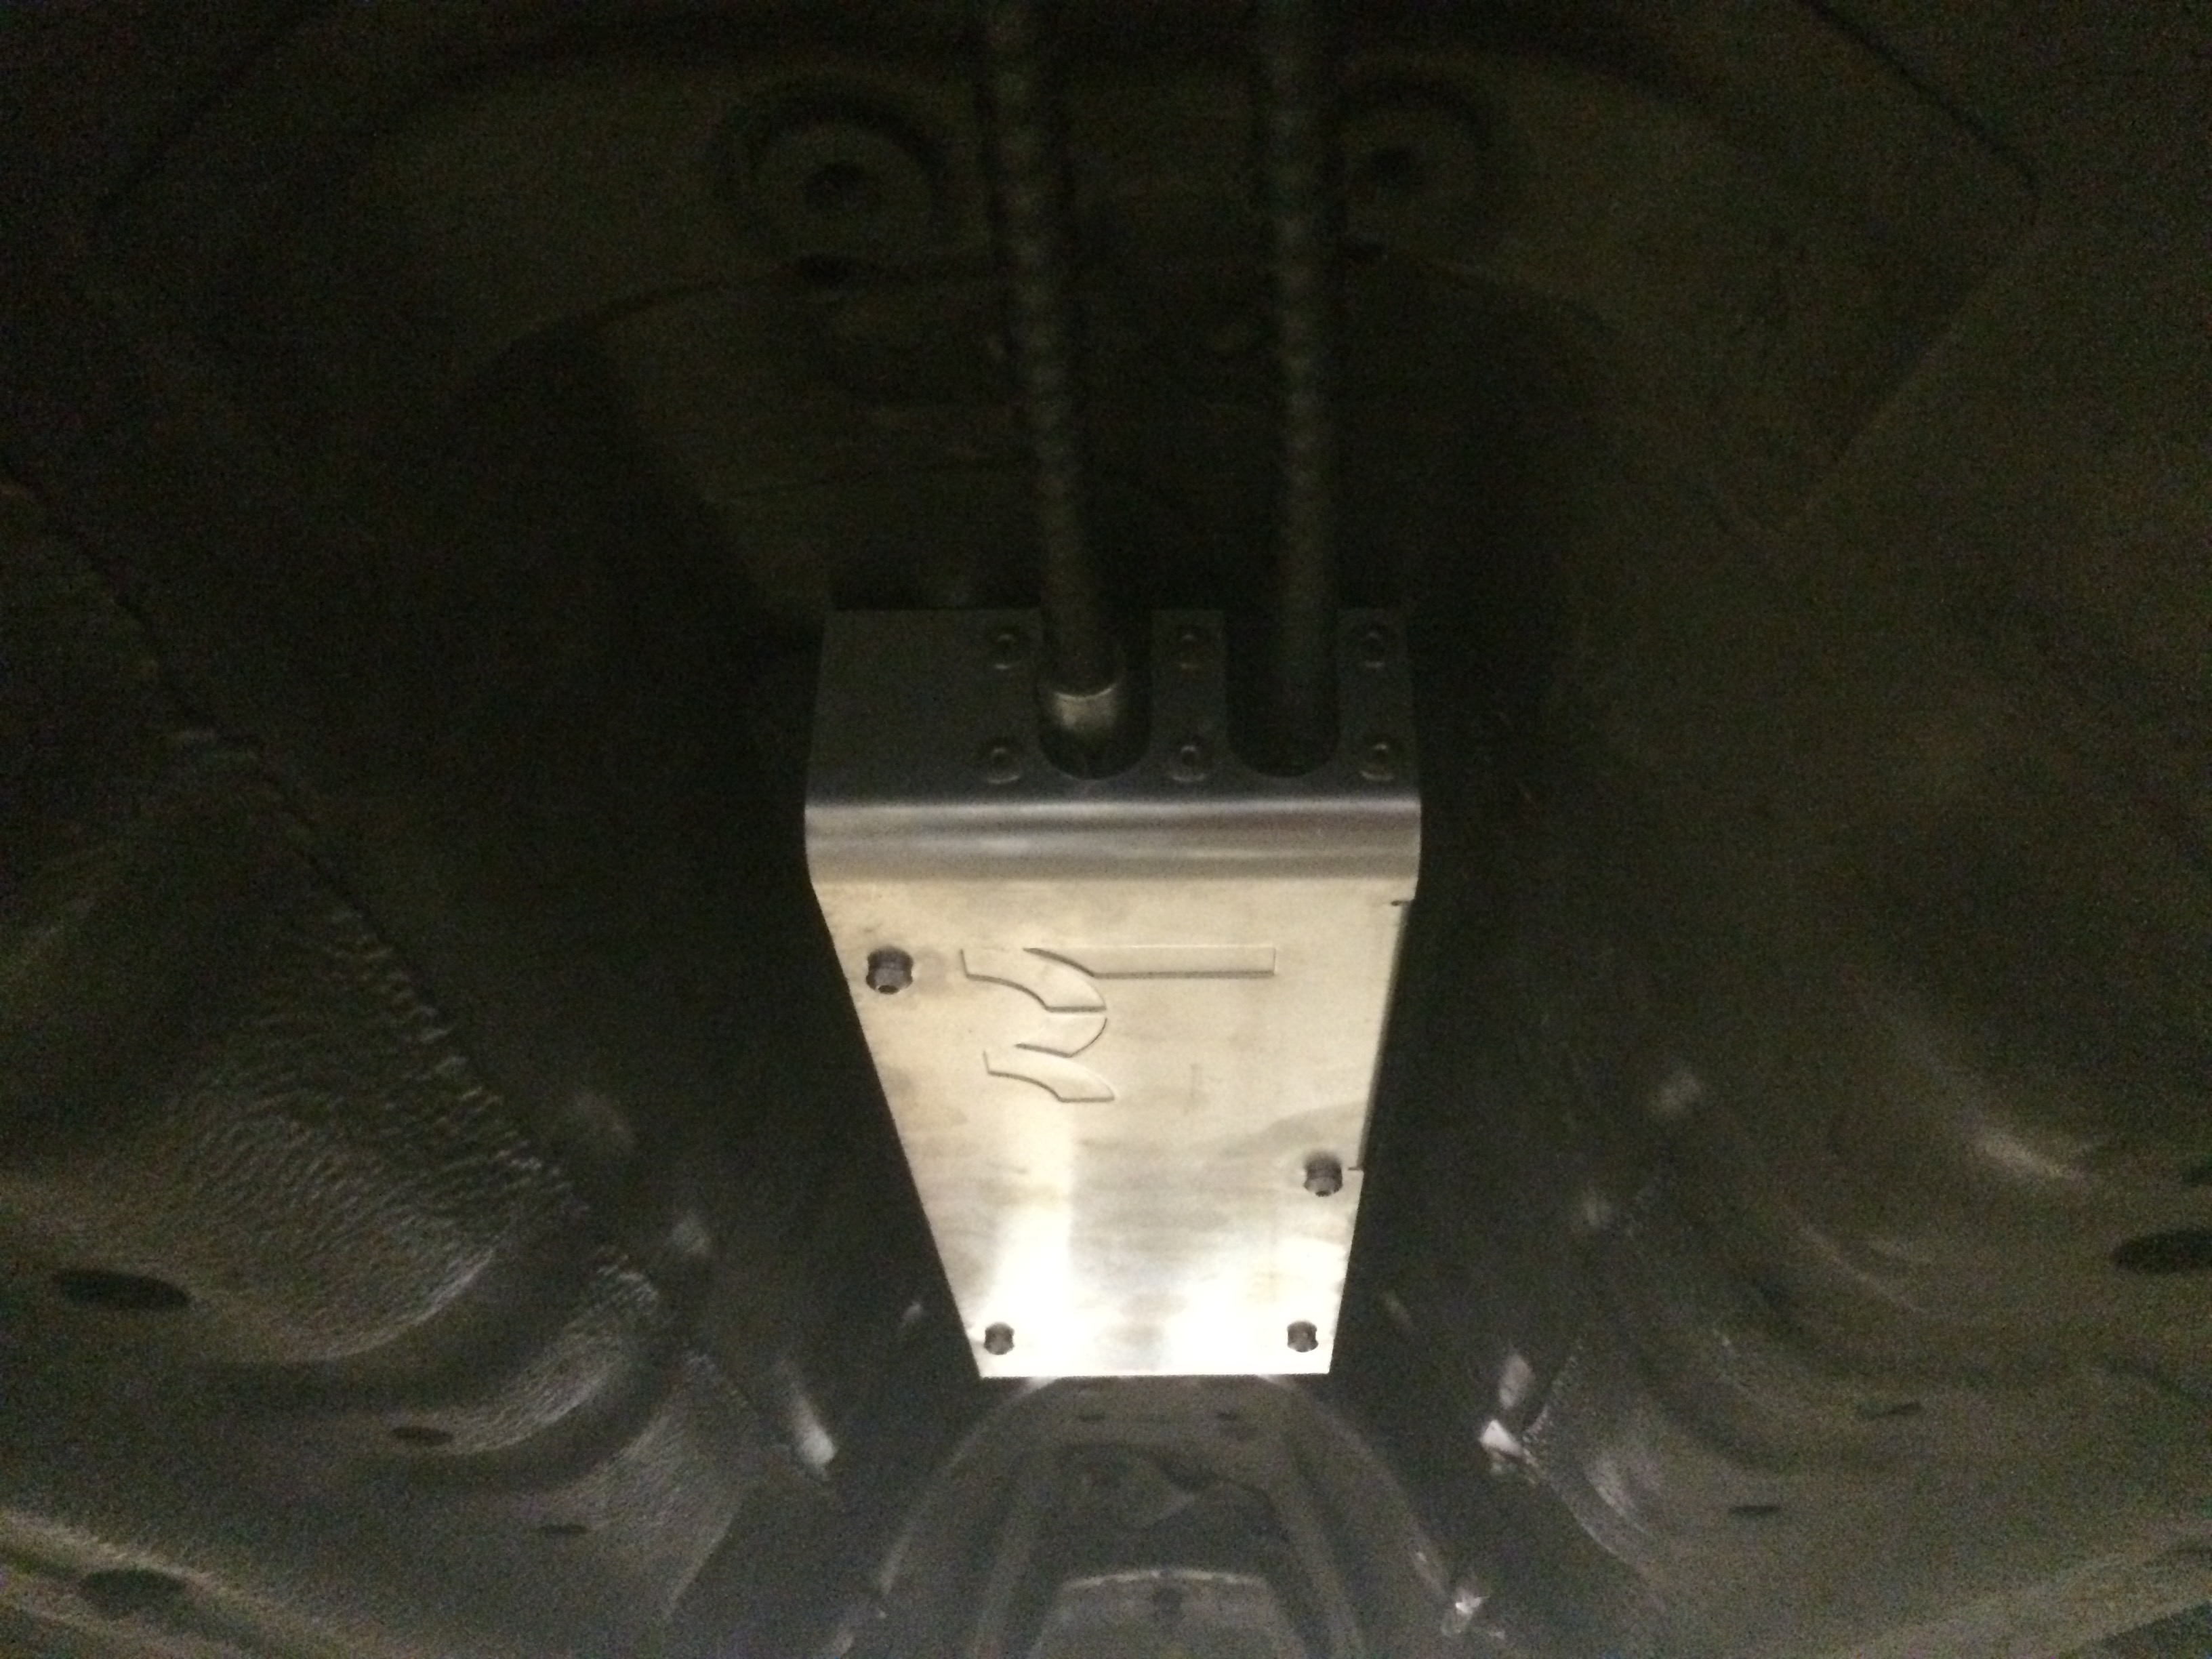
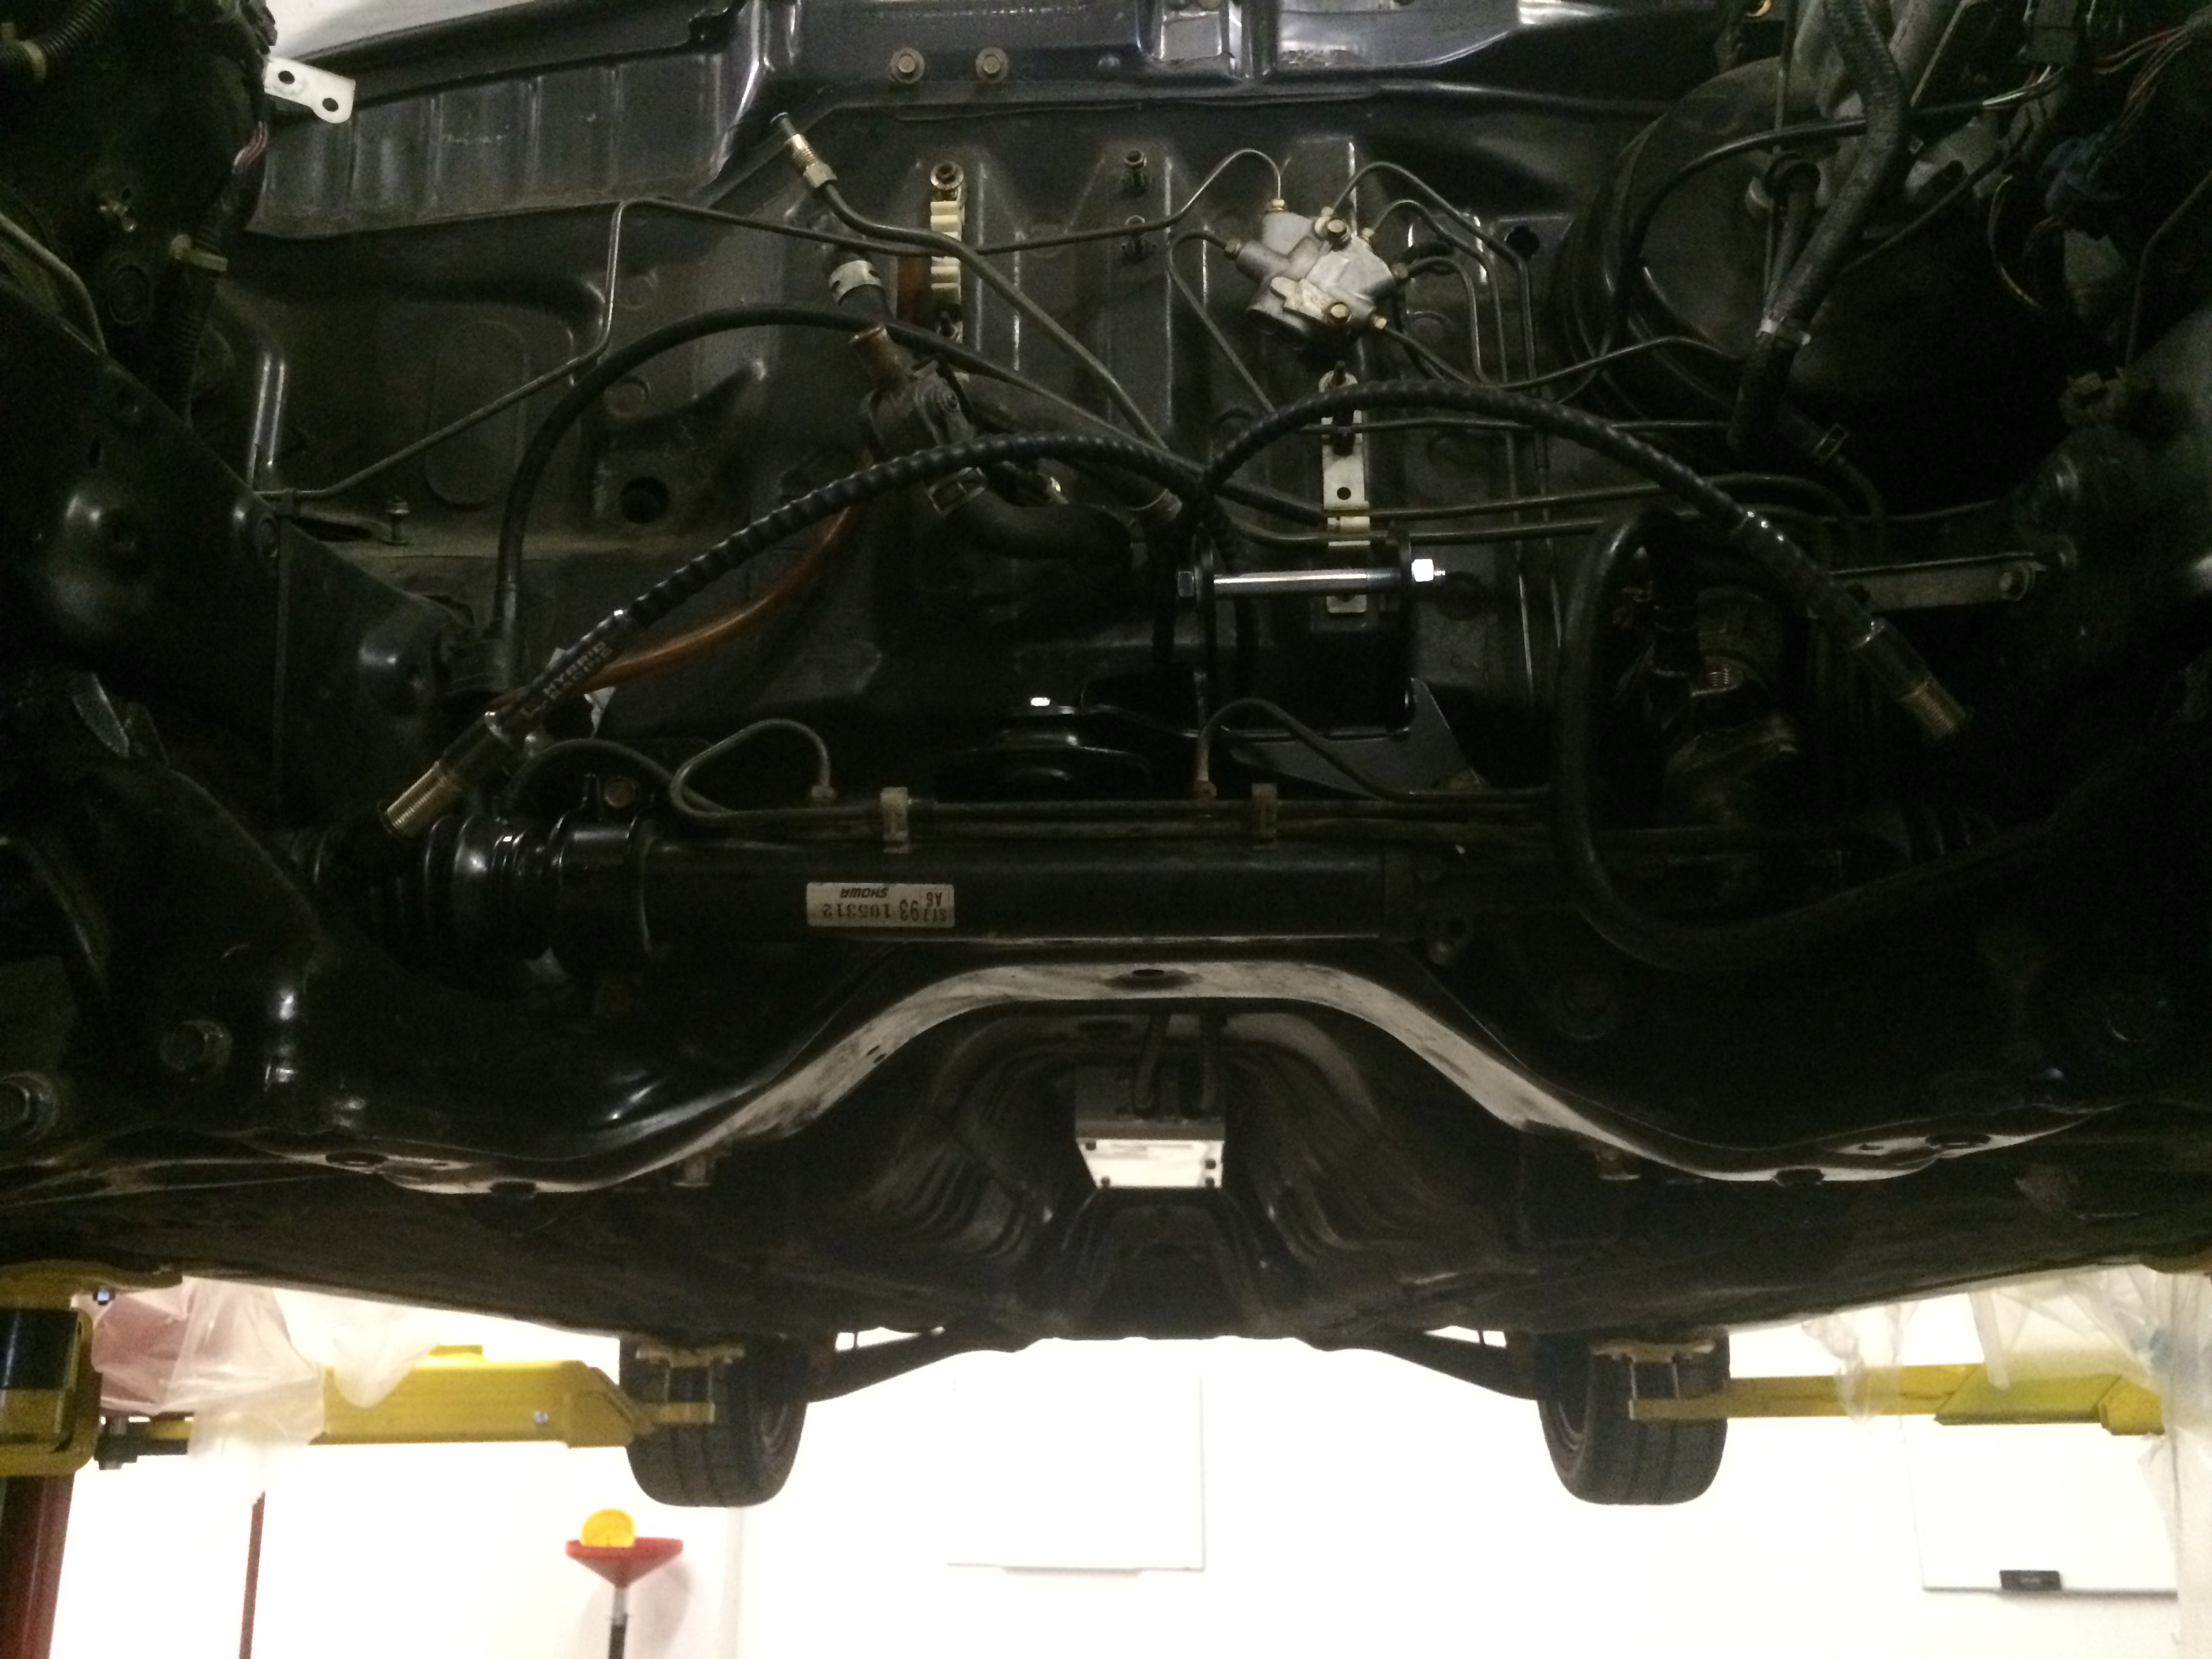
DC Subframe and rack installed
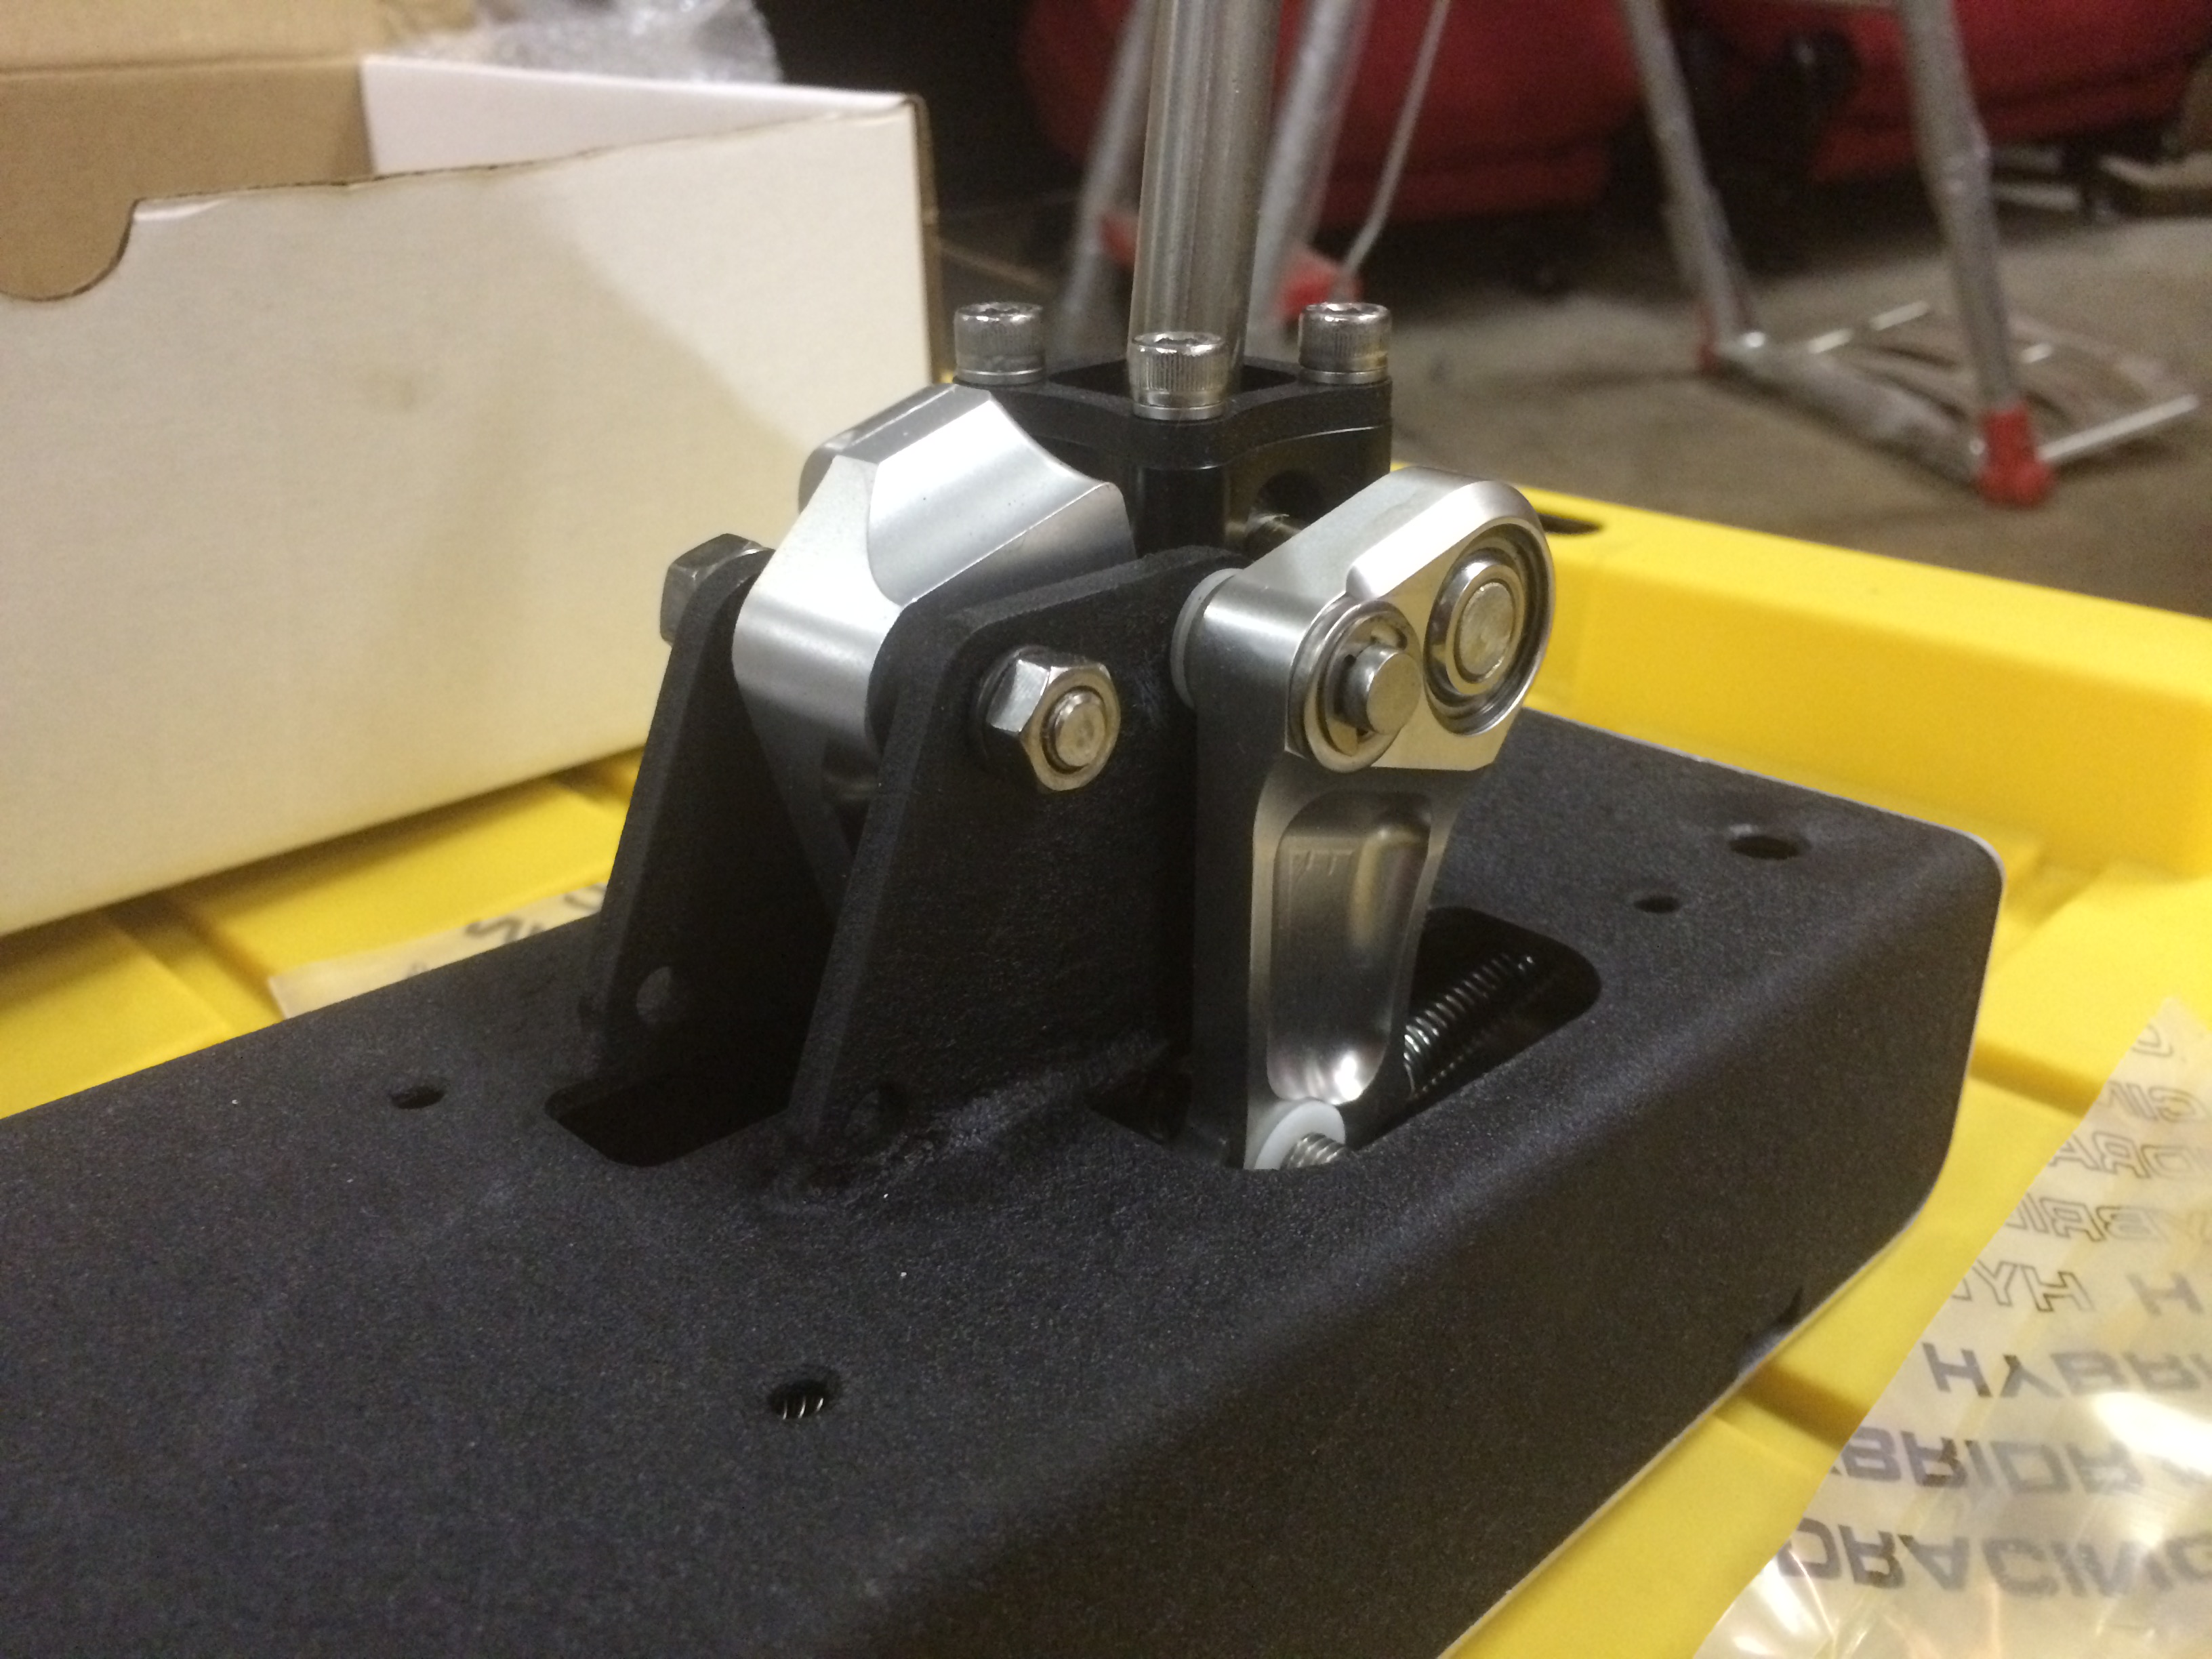
Here are some pictures of the new version Hybrid Racing Shifter. This was one of the first runs of the shifter that was sent out, so fitment wasn’t 100% perfect. We needed to cut the shifter trim out and grind down a corner of the tunnel. I spoke with H-R about it, and they said that fitment issues had been corrected after the first few shifters went out. While this was a frustrating setback, we were able to get it fitted and I’m confident it will be a great shifter.
We sprayed with a coat of paint at this step and let it dry for about an hour before completing the install.
Shifter mounted up.
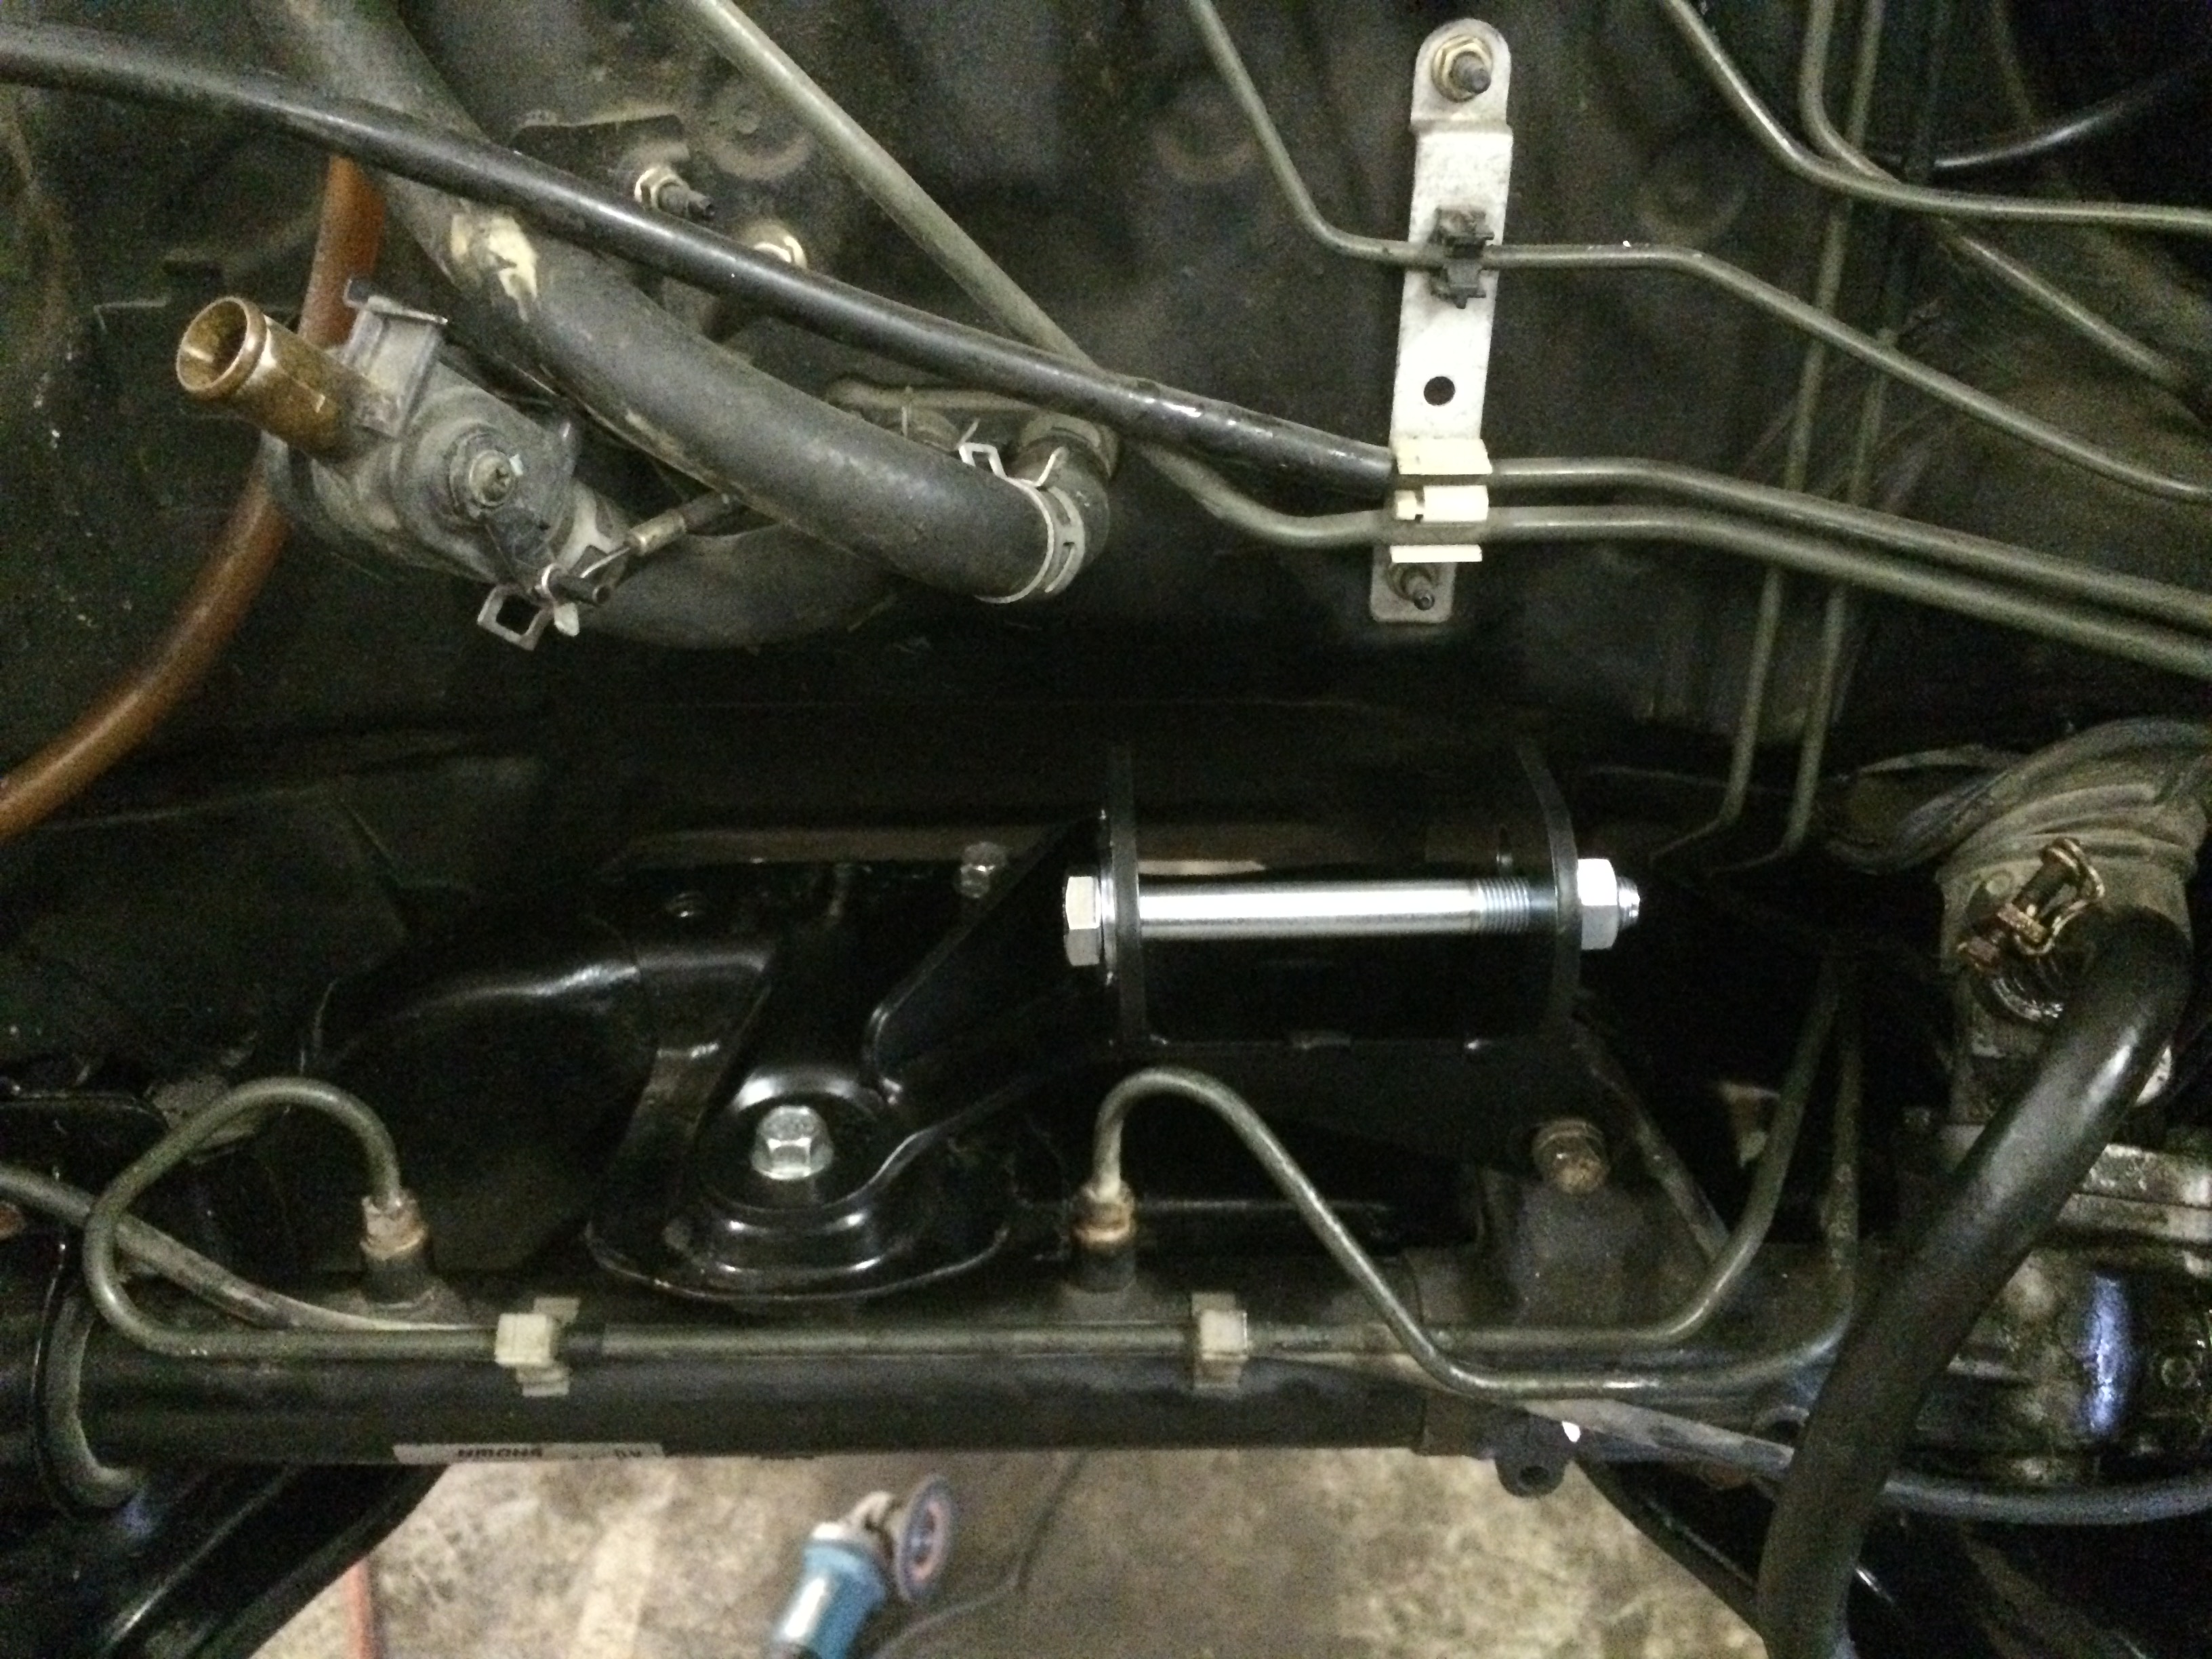
Unfortunately the control arms that I bought did not have the endlink connections and were not going to work with the FSB… I didn’t realize this when I bought them, so I had to order a set of ITR control arms which are now on their way. We began installation of the engine mounting brackets, but when I sold the B16B I included the engine mounts and all hardware with the engine. So we got held up by not having the proper hardware for every bracket to finish the installation.
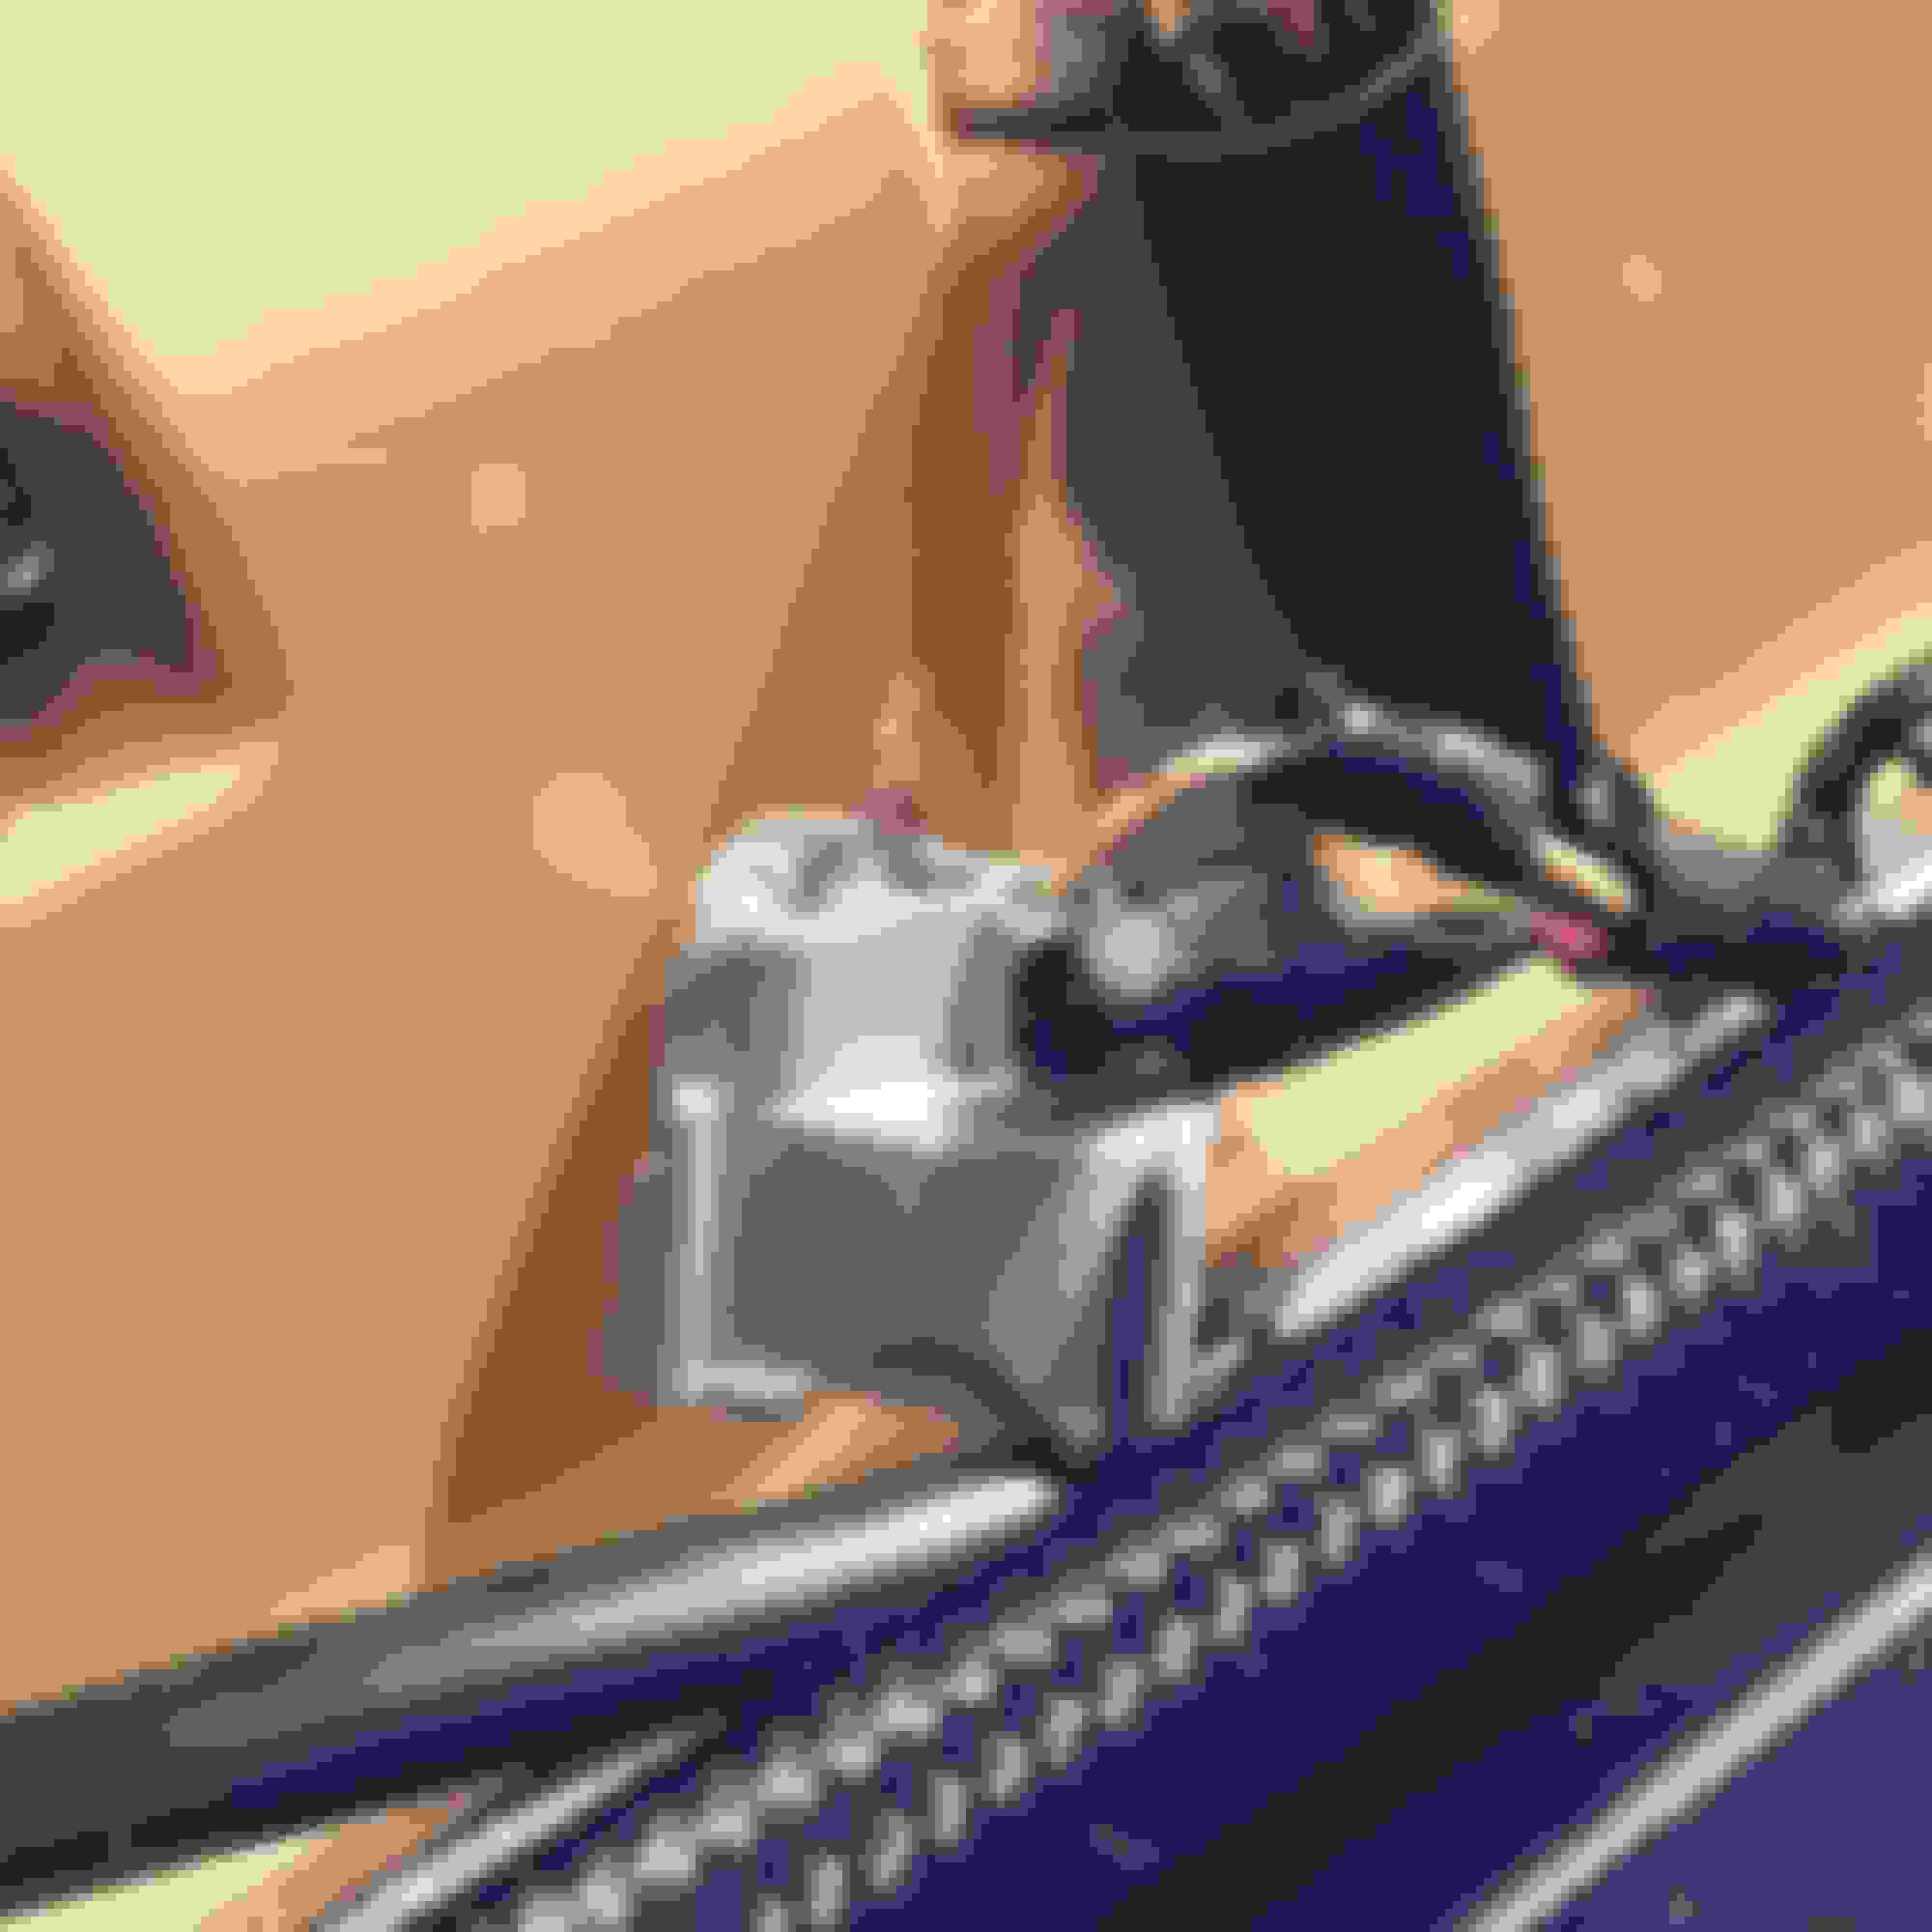
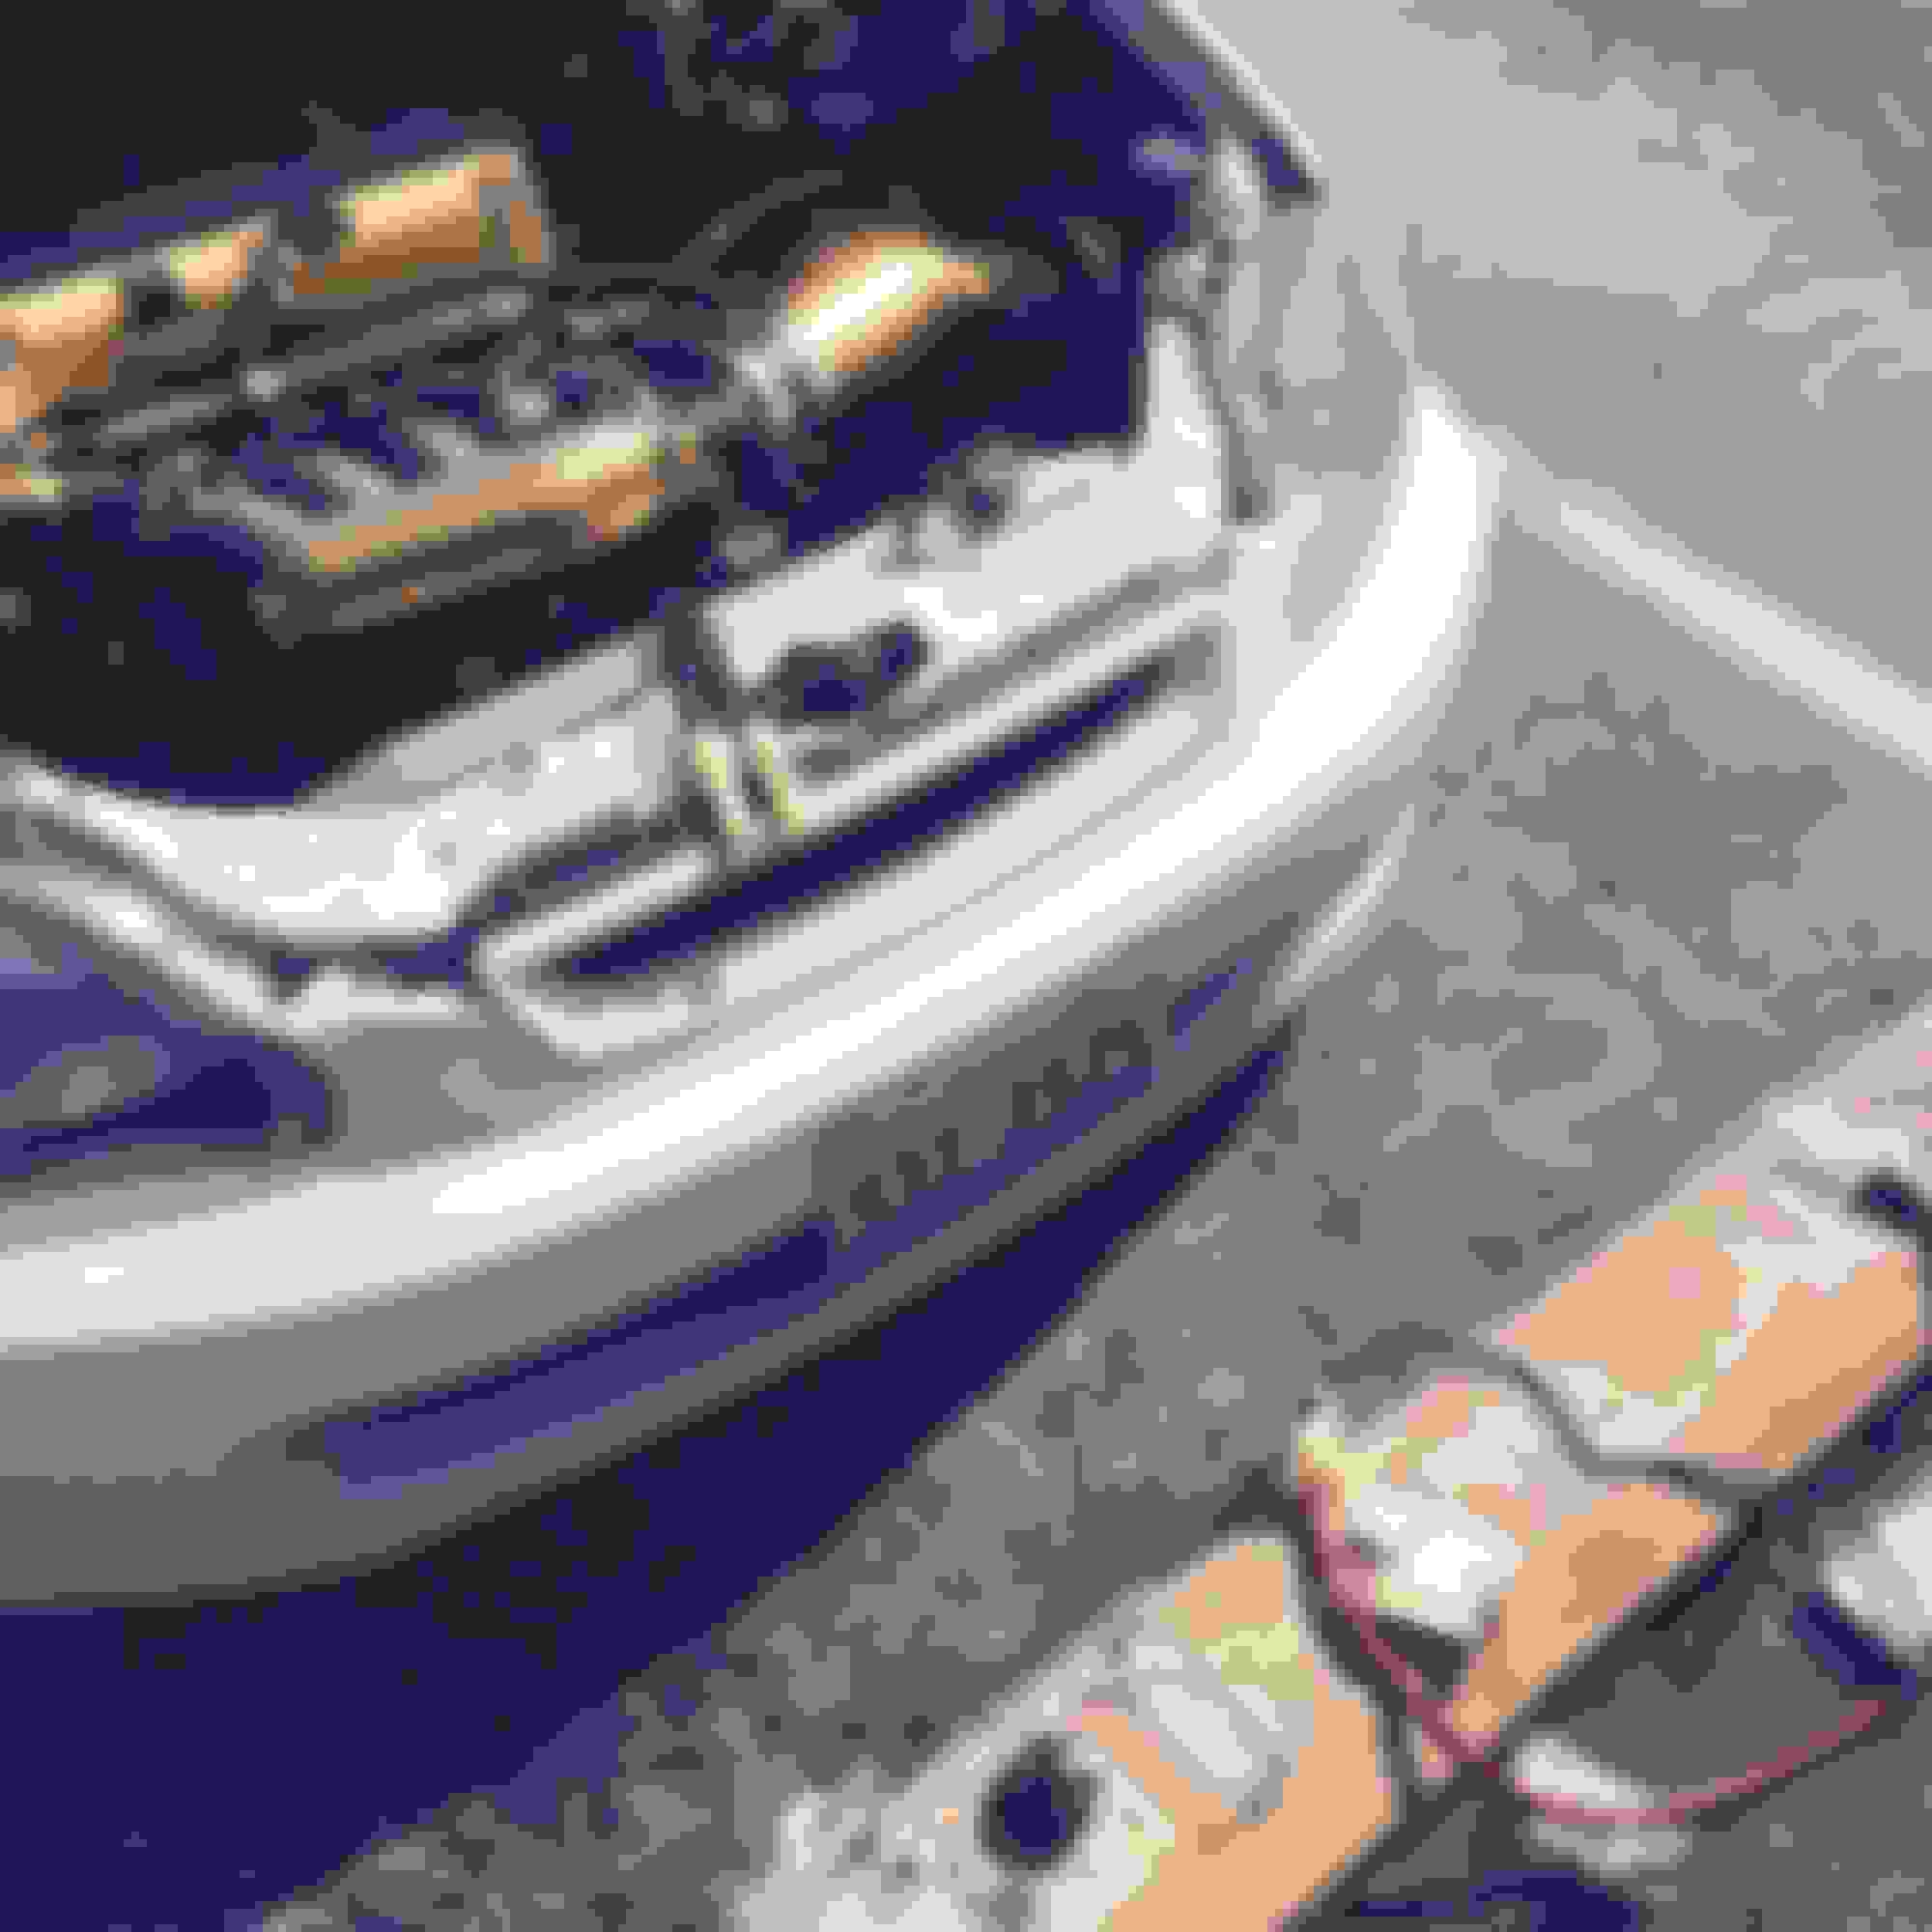
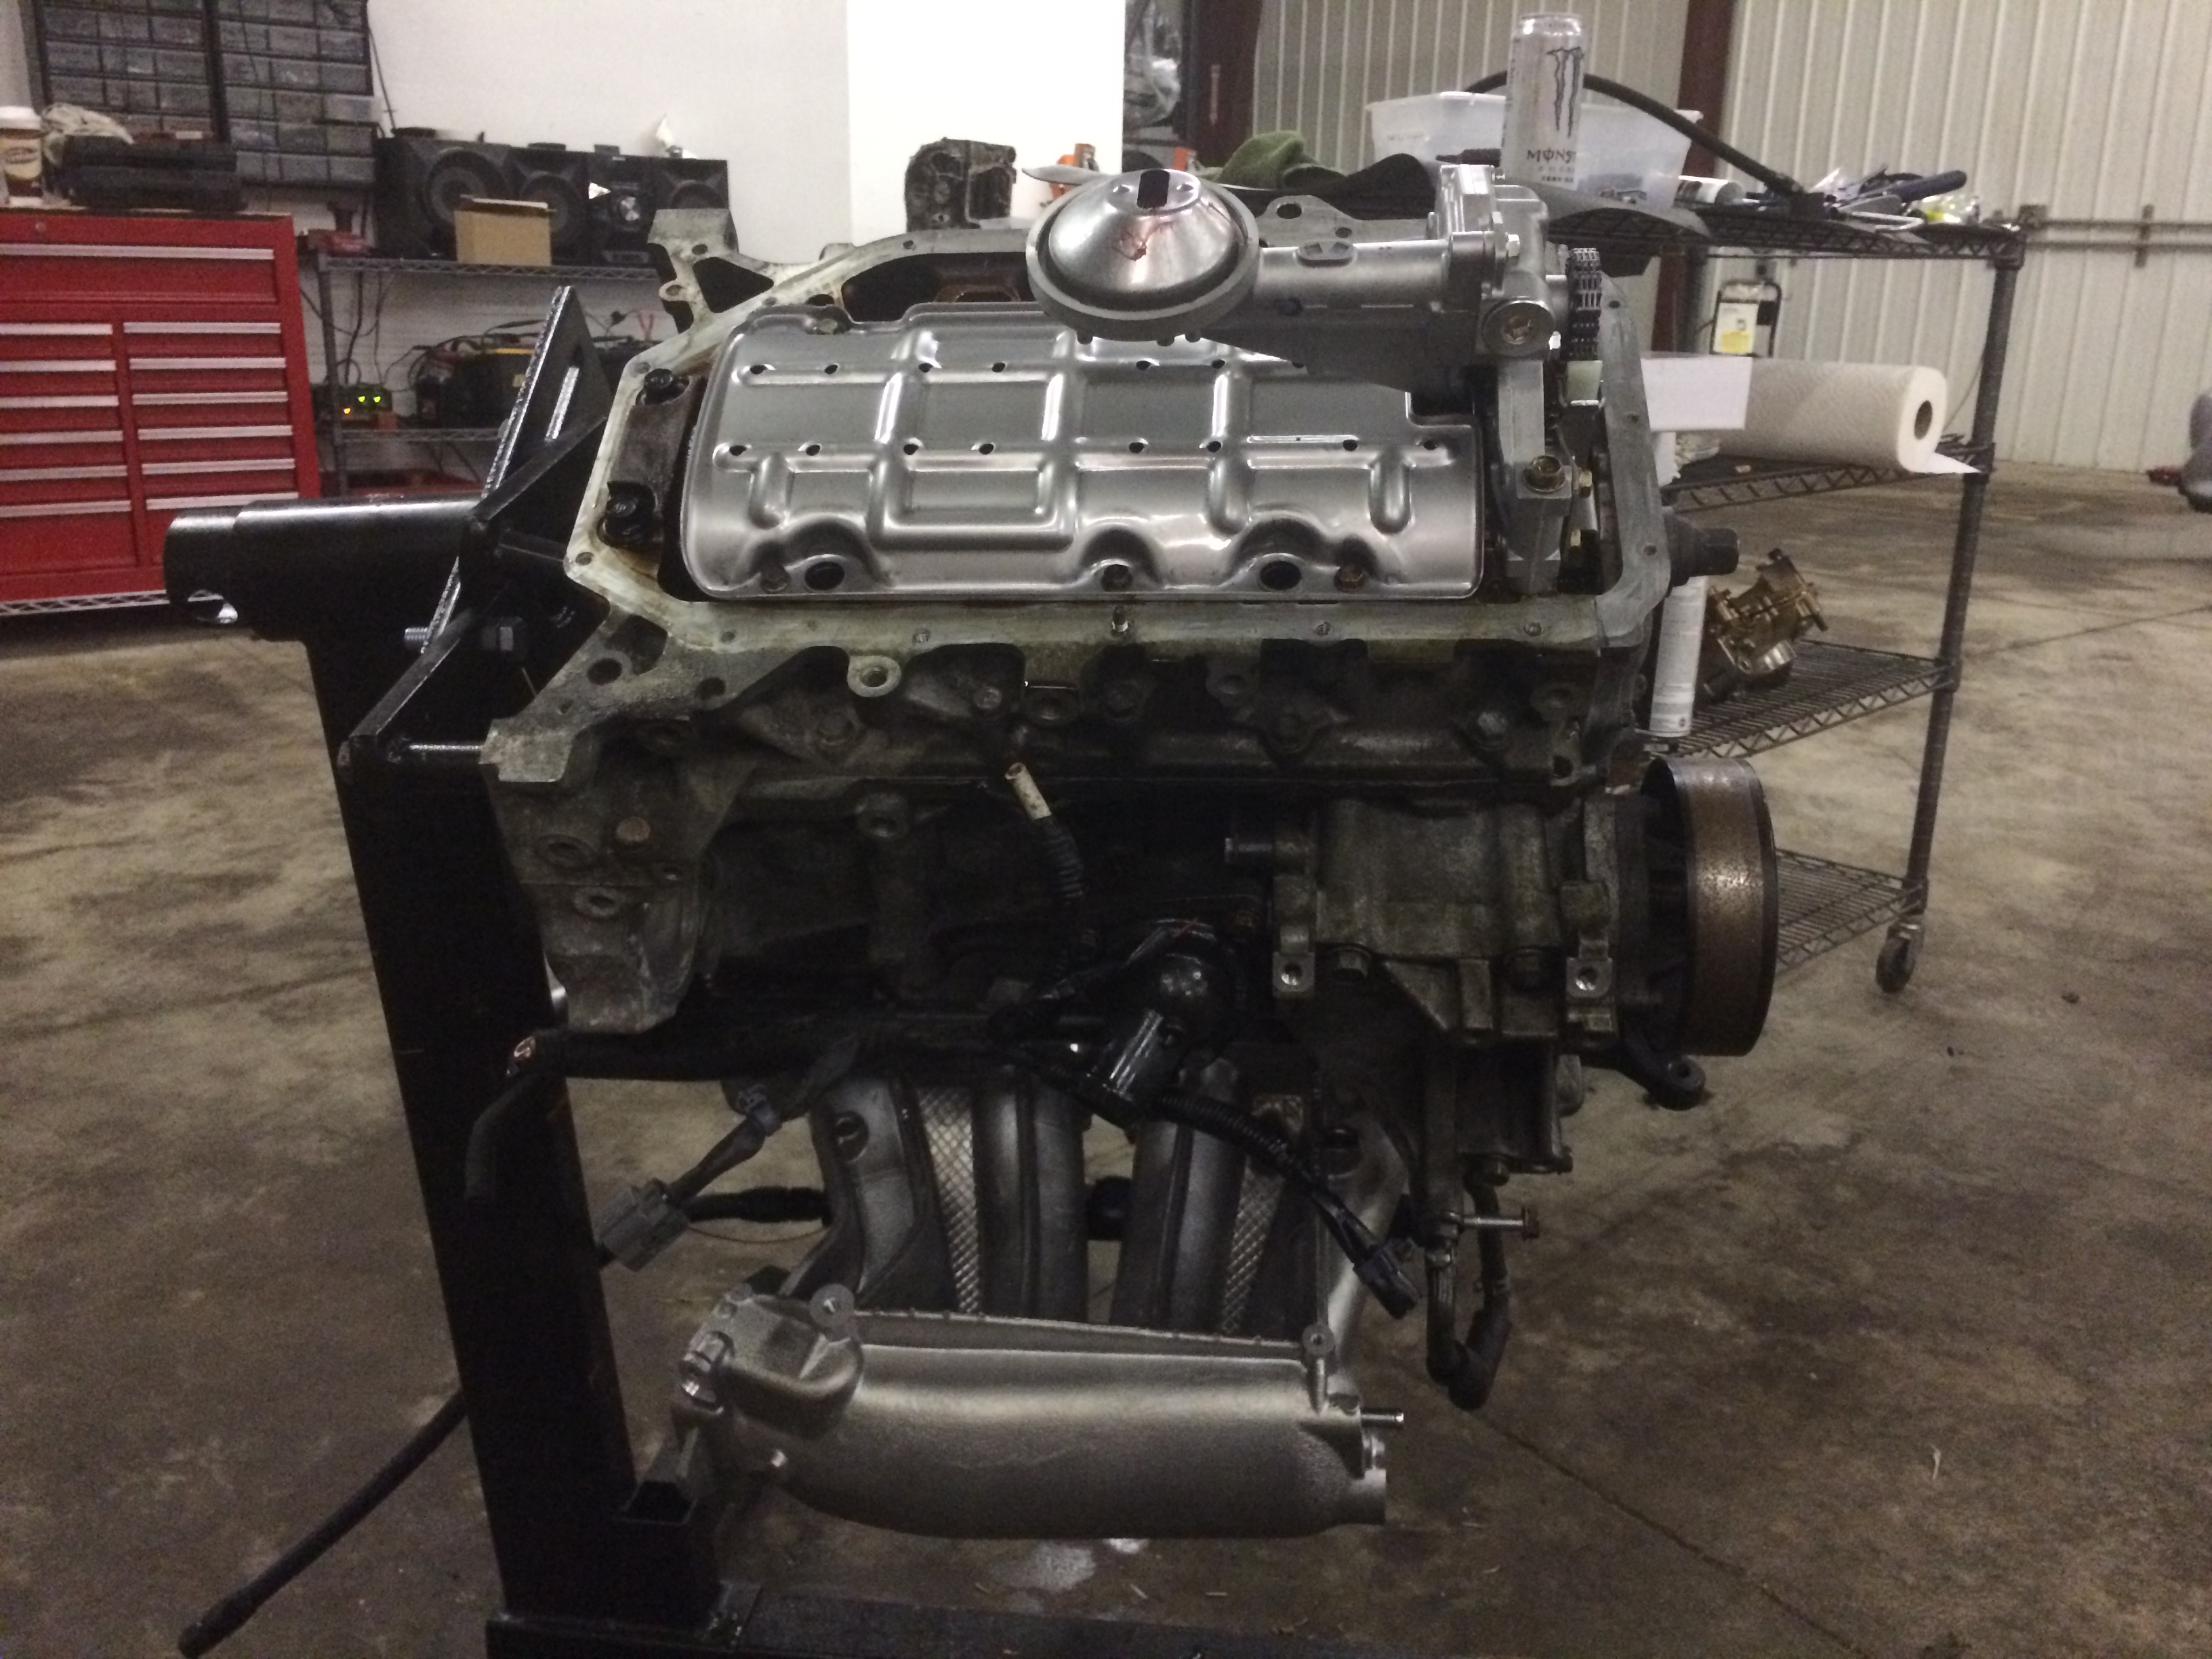
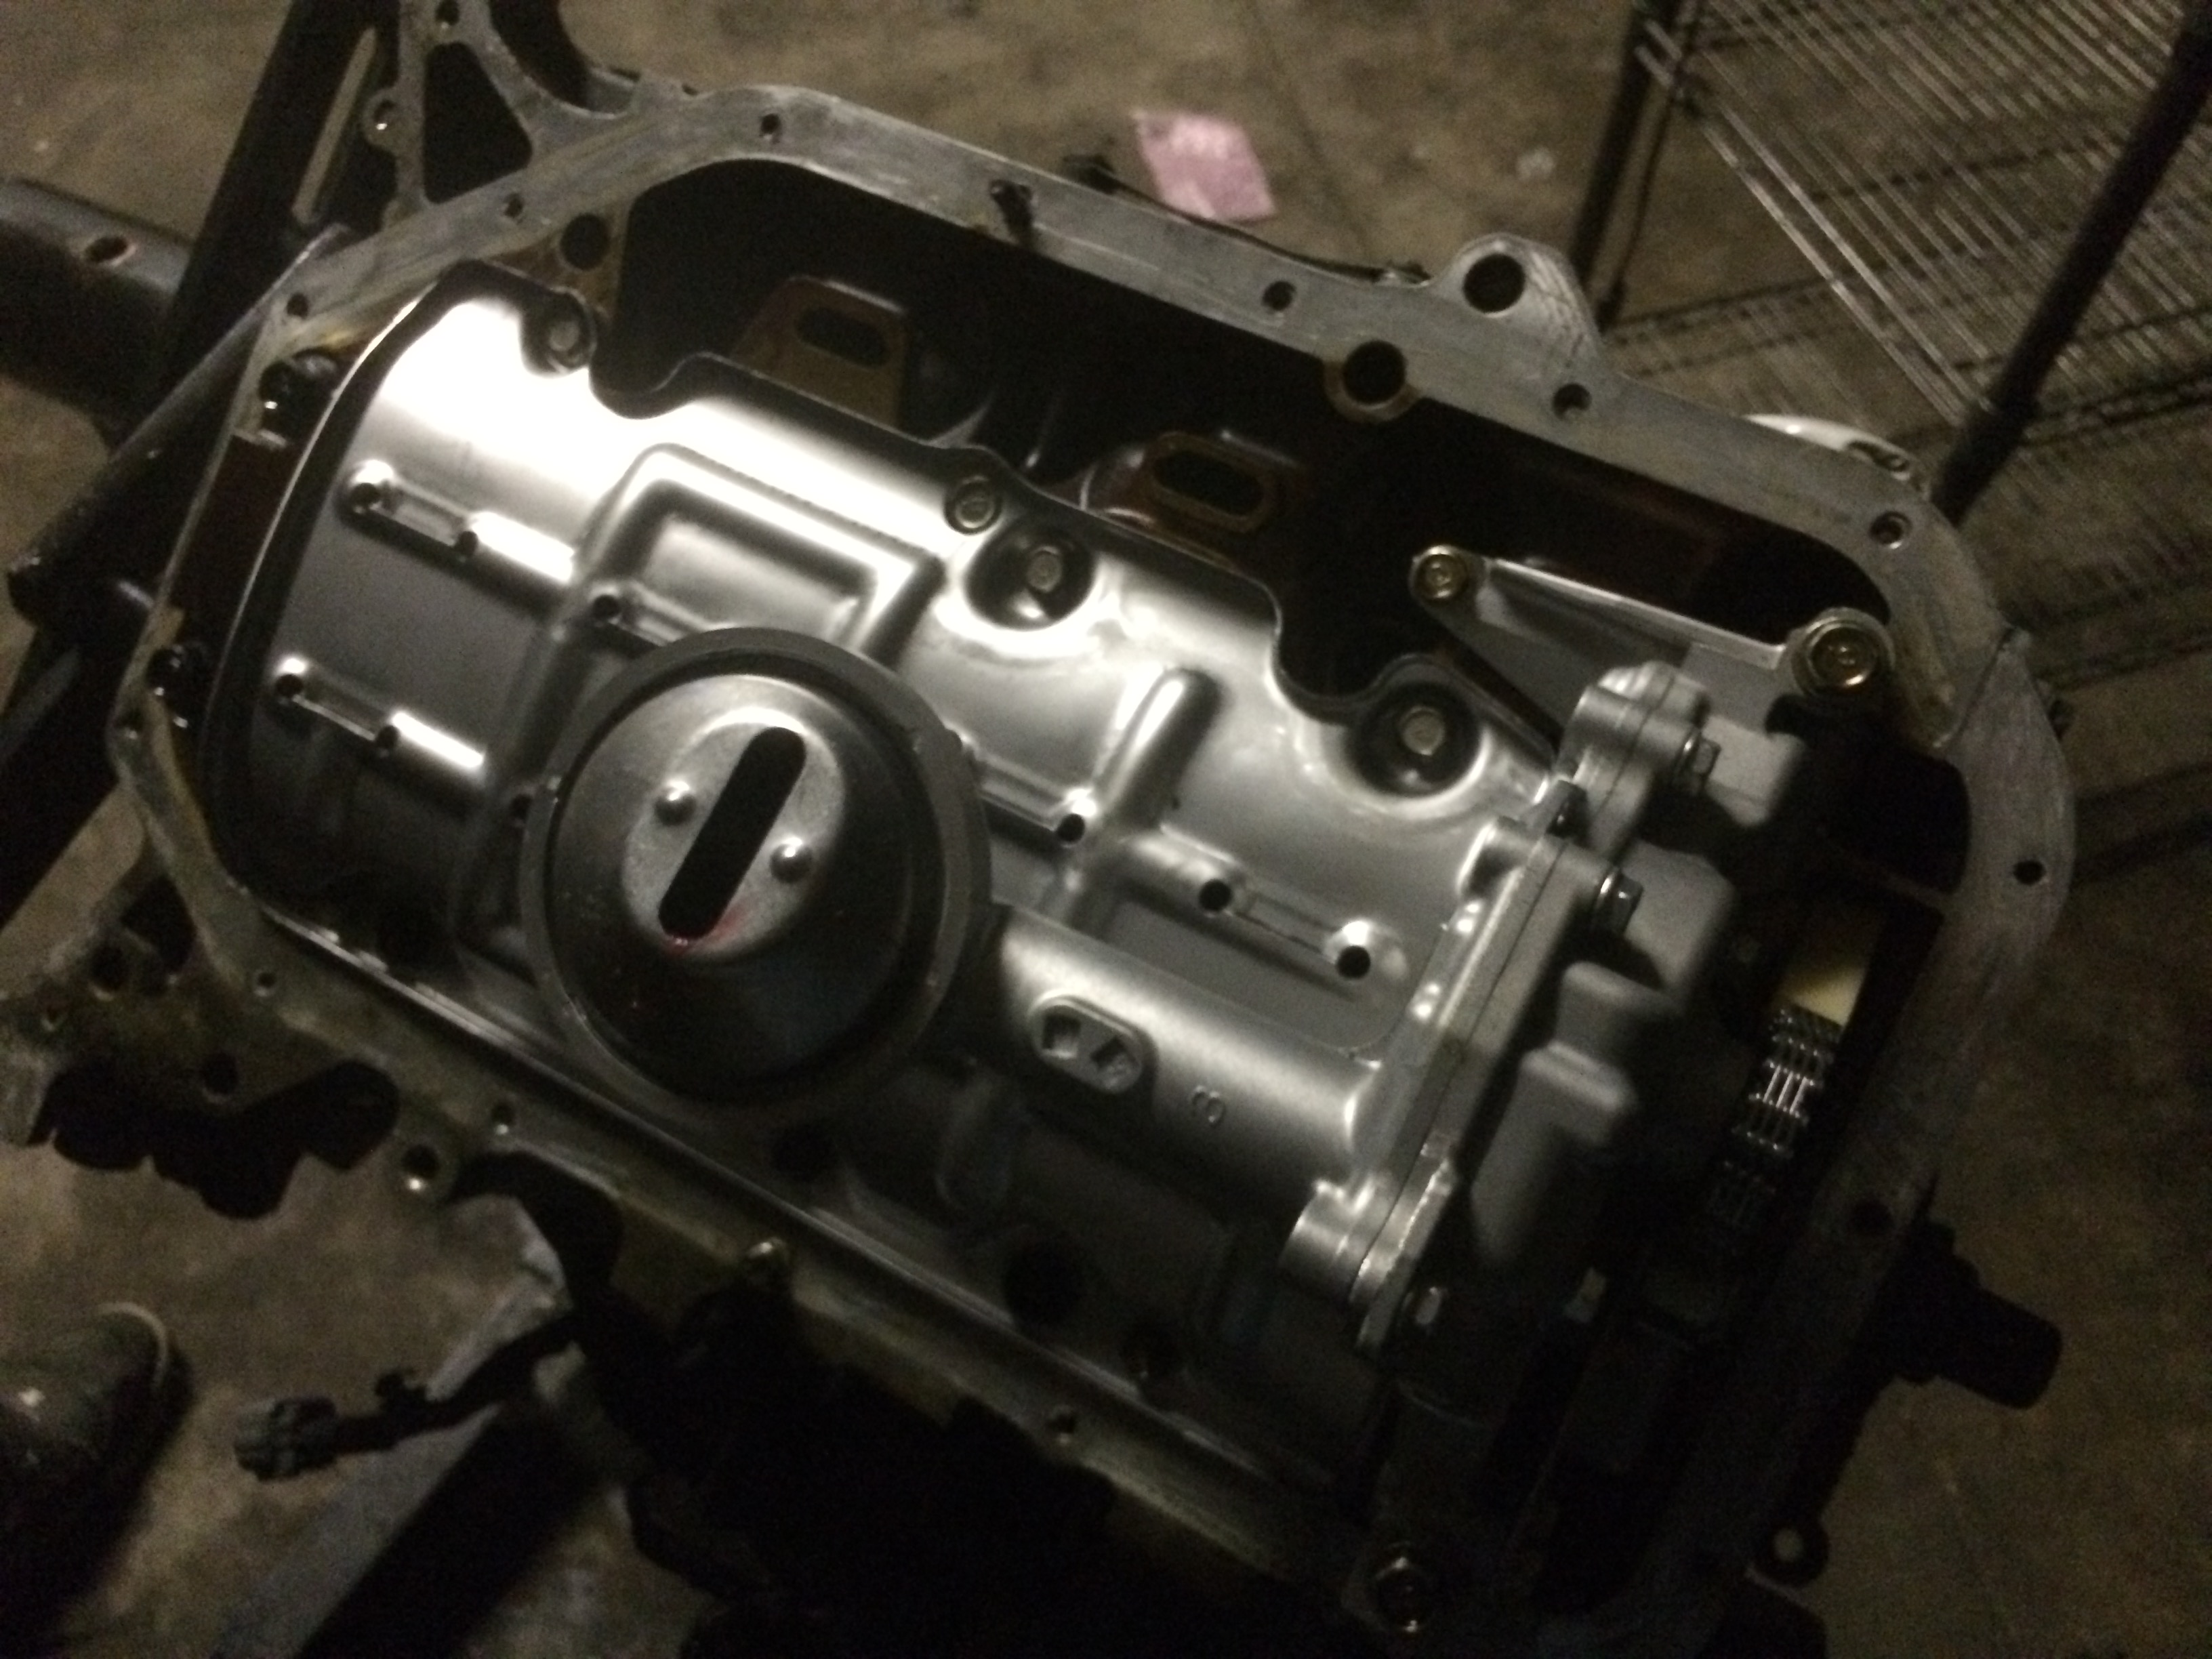
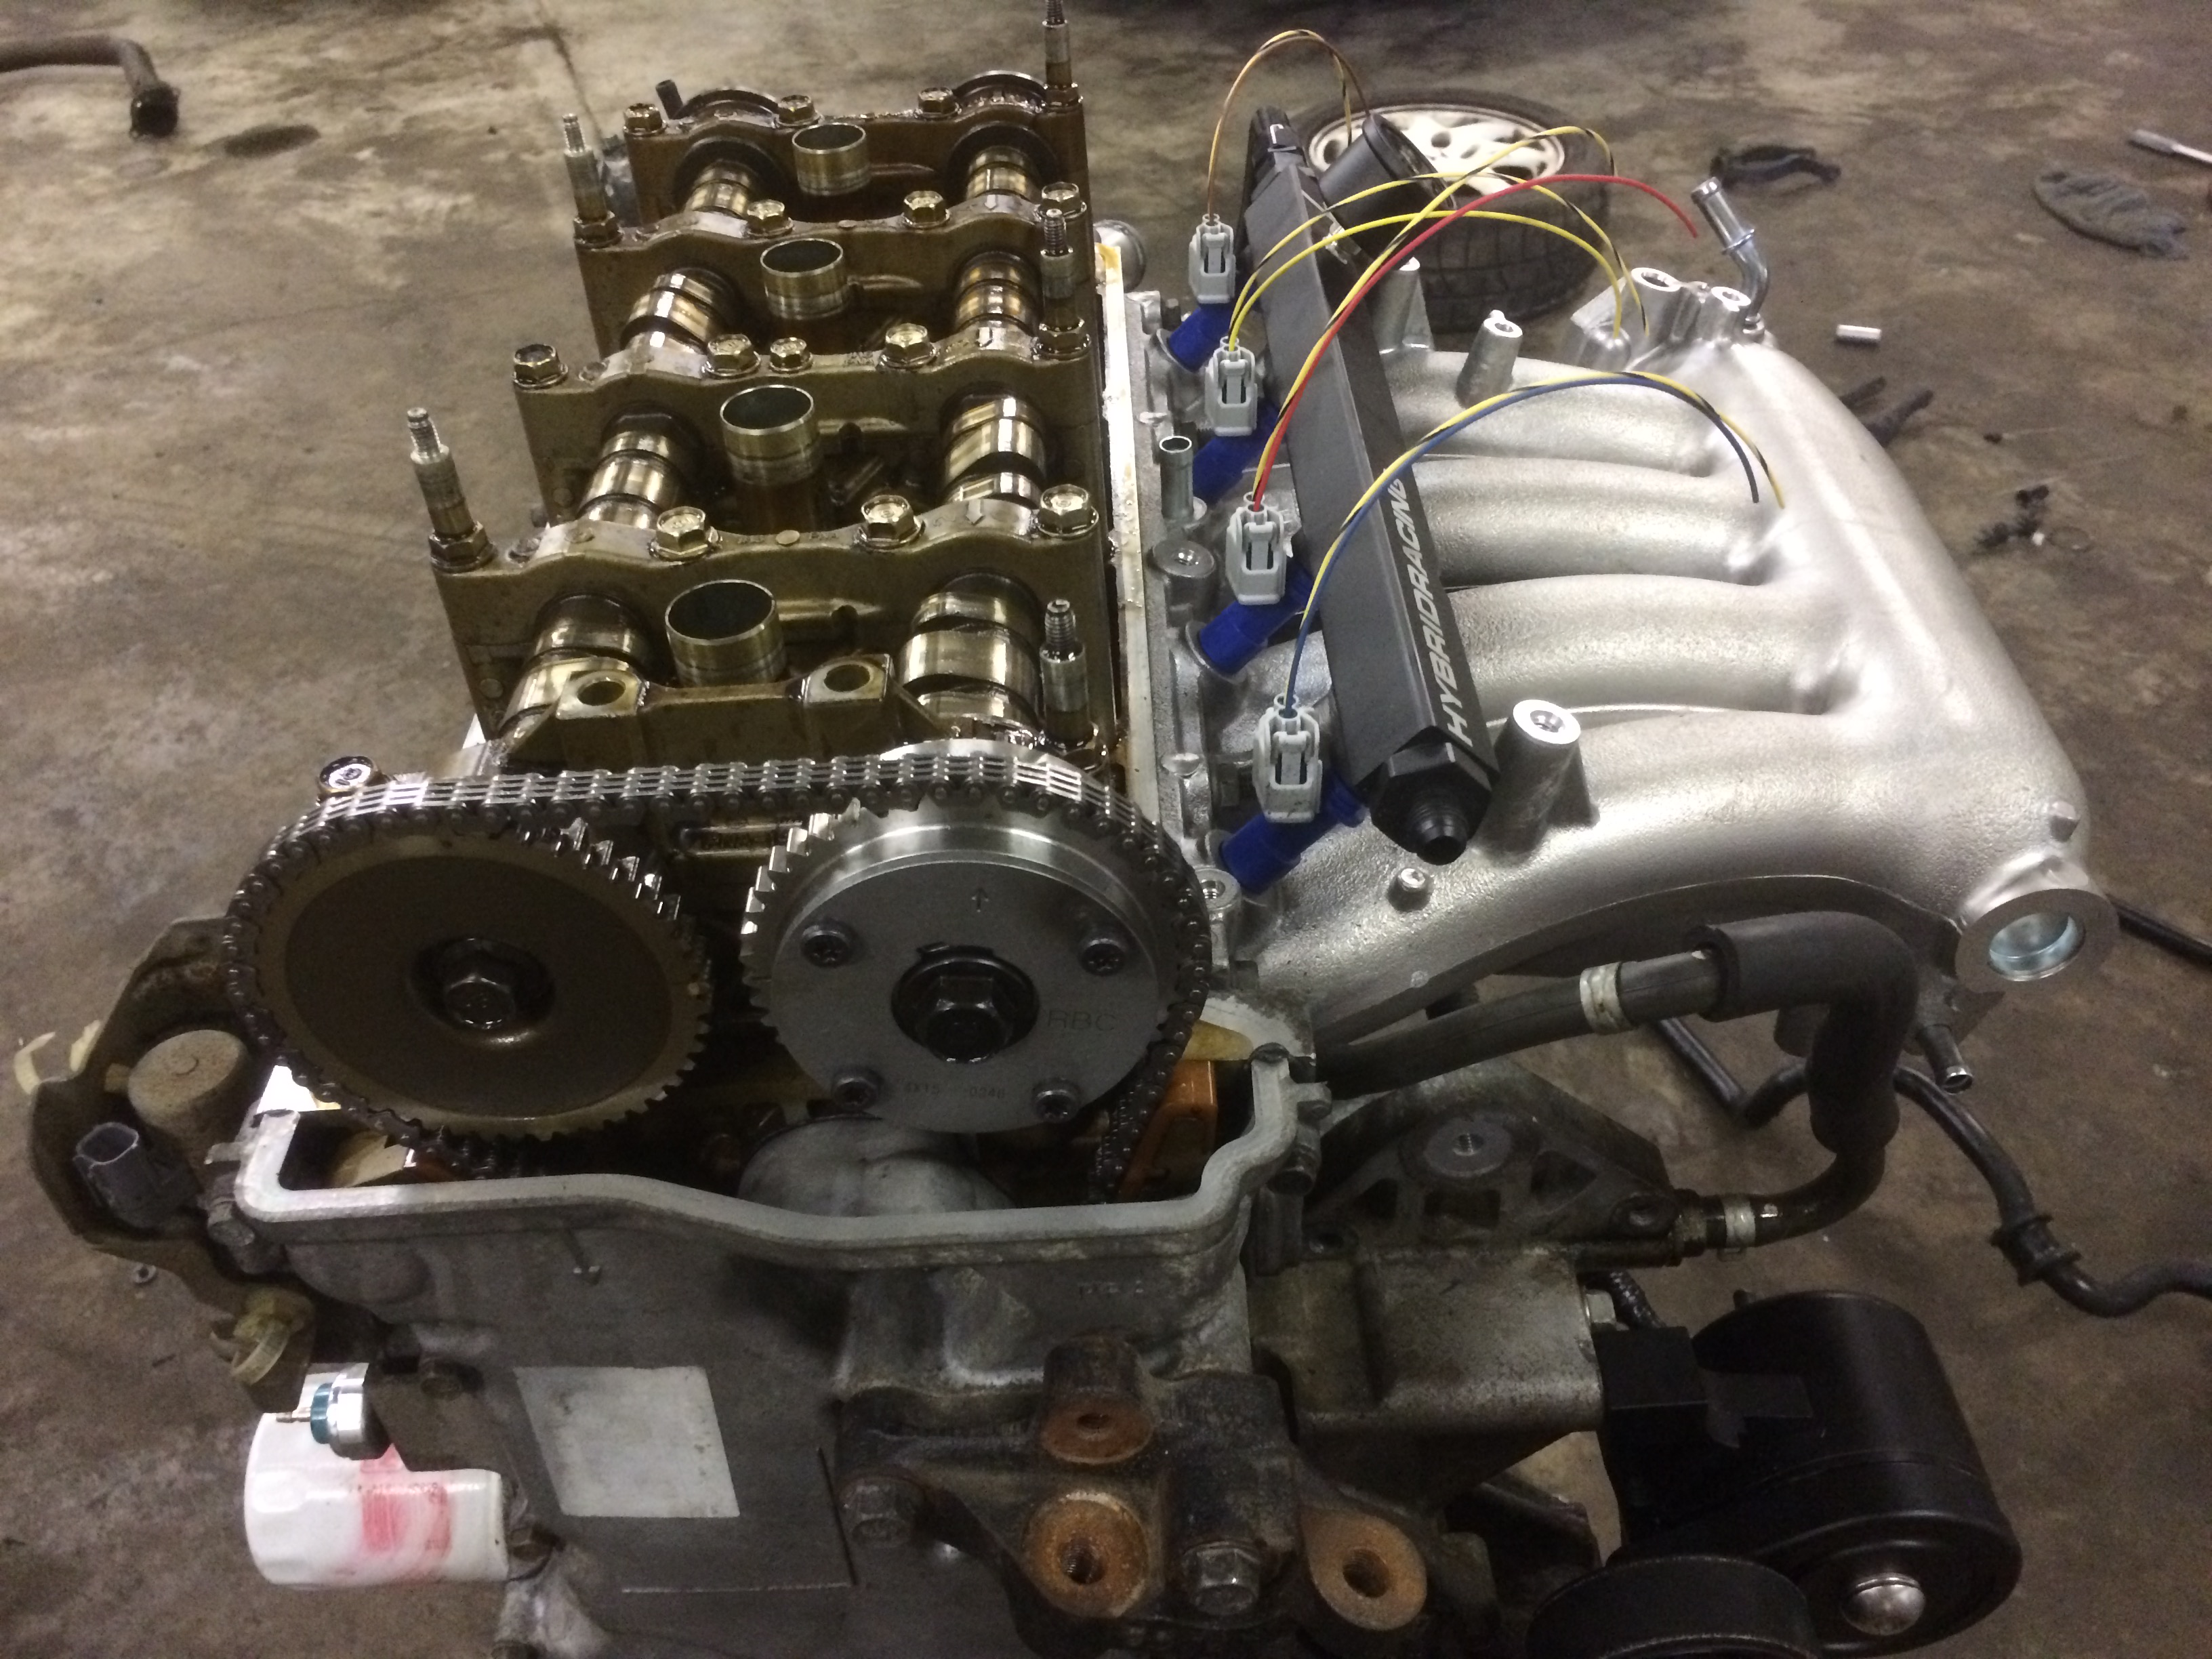
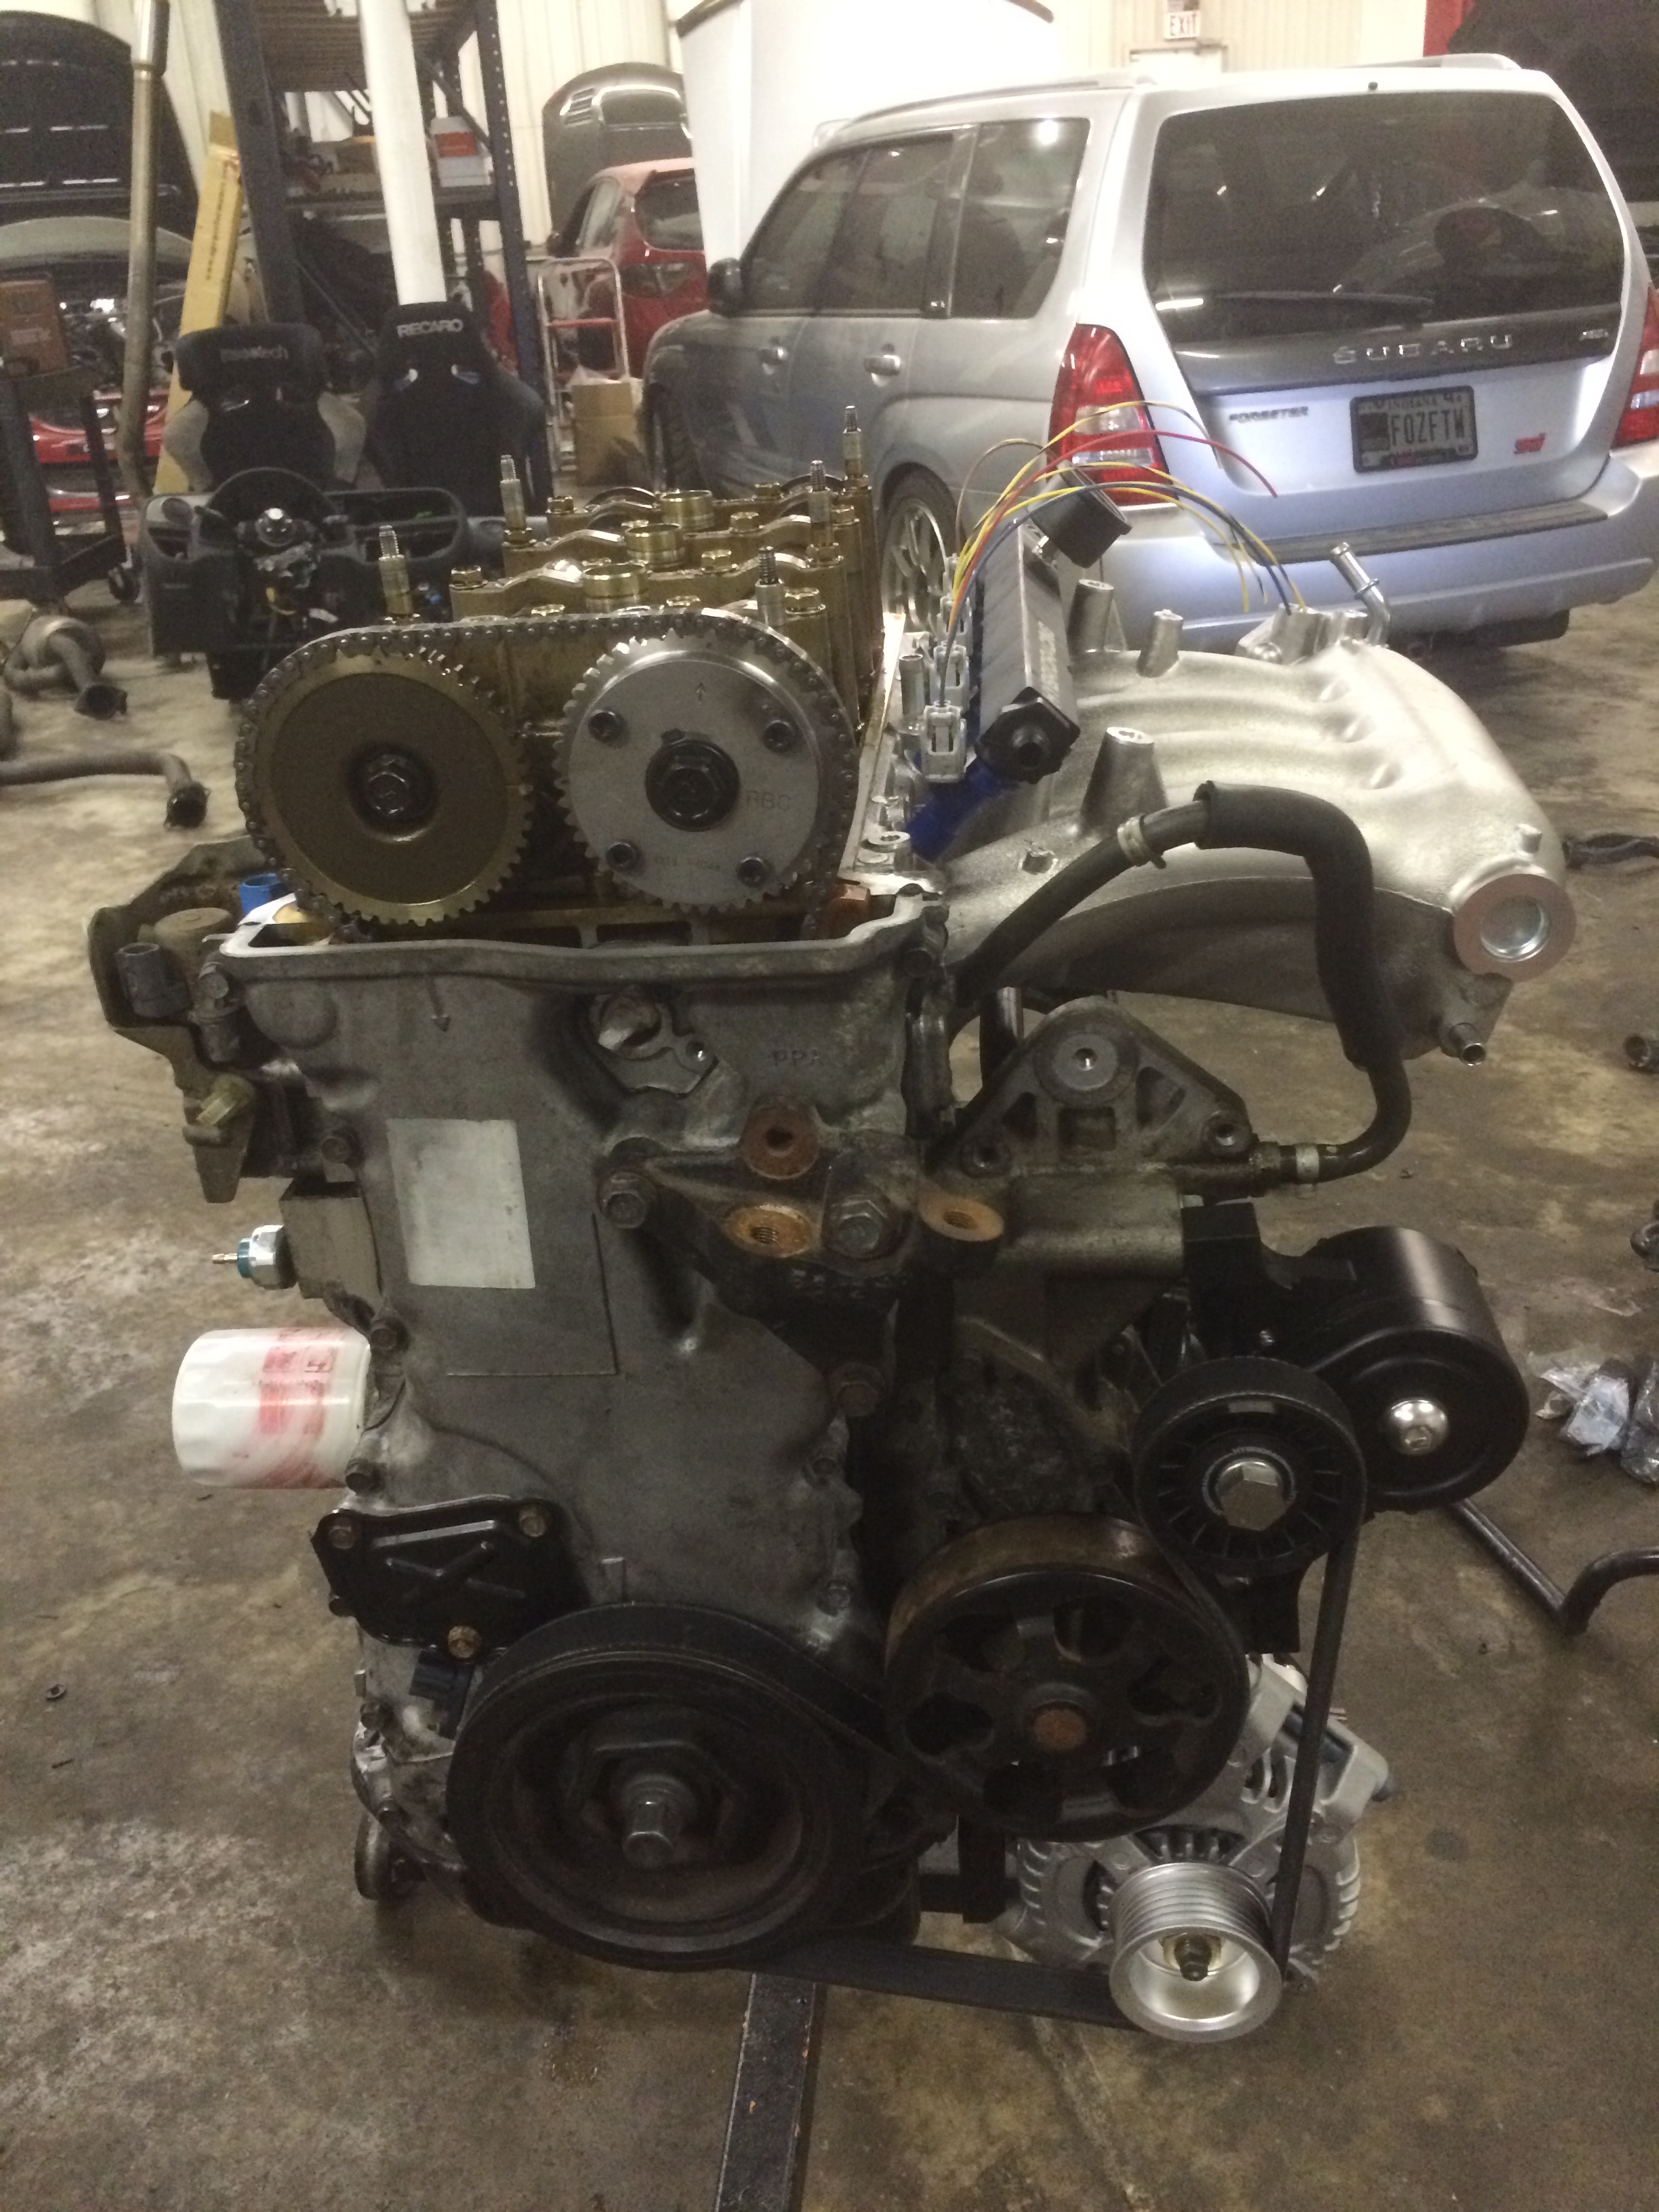
Some engine assembly pictures and other random ones that I took. This shows the K20A2 Oil Pump and Baffle.
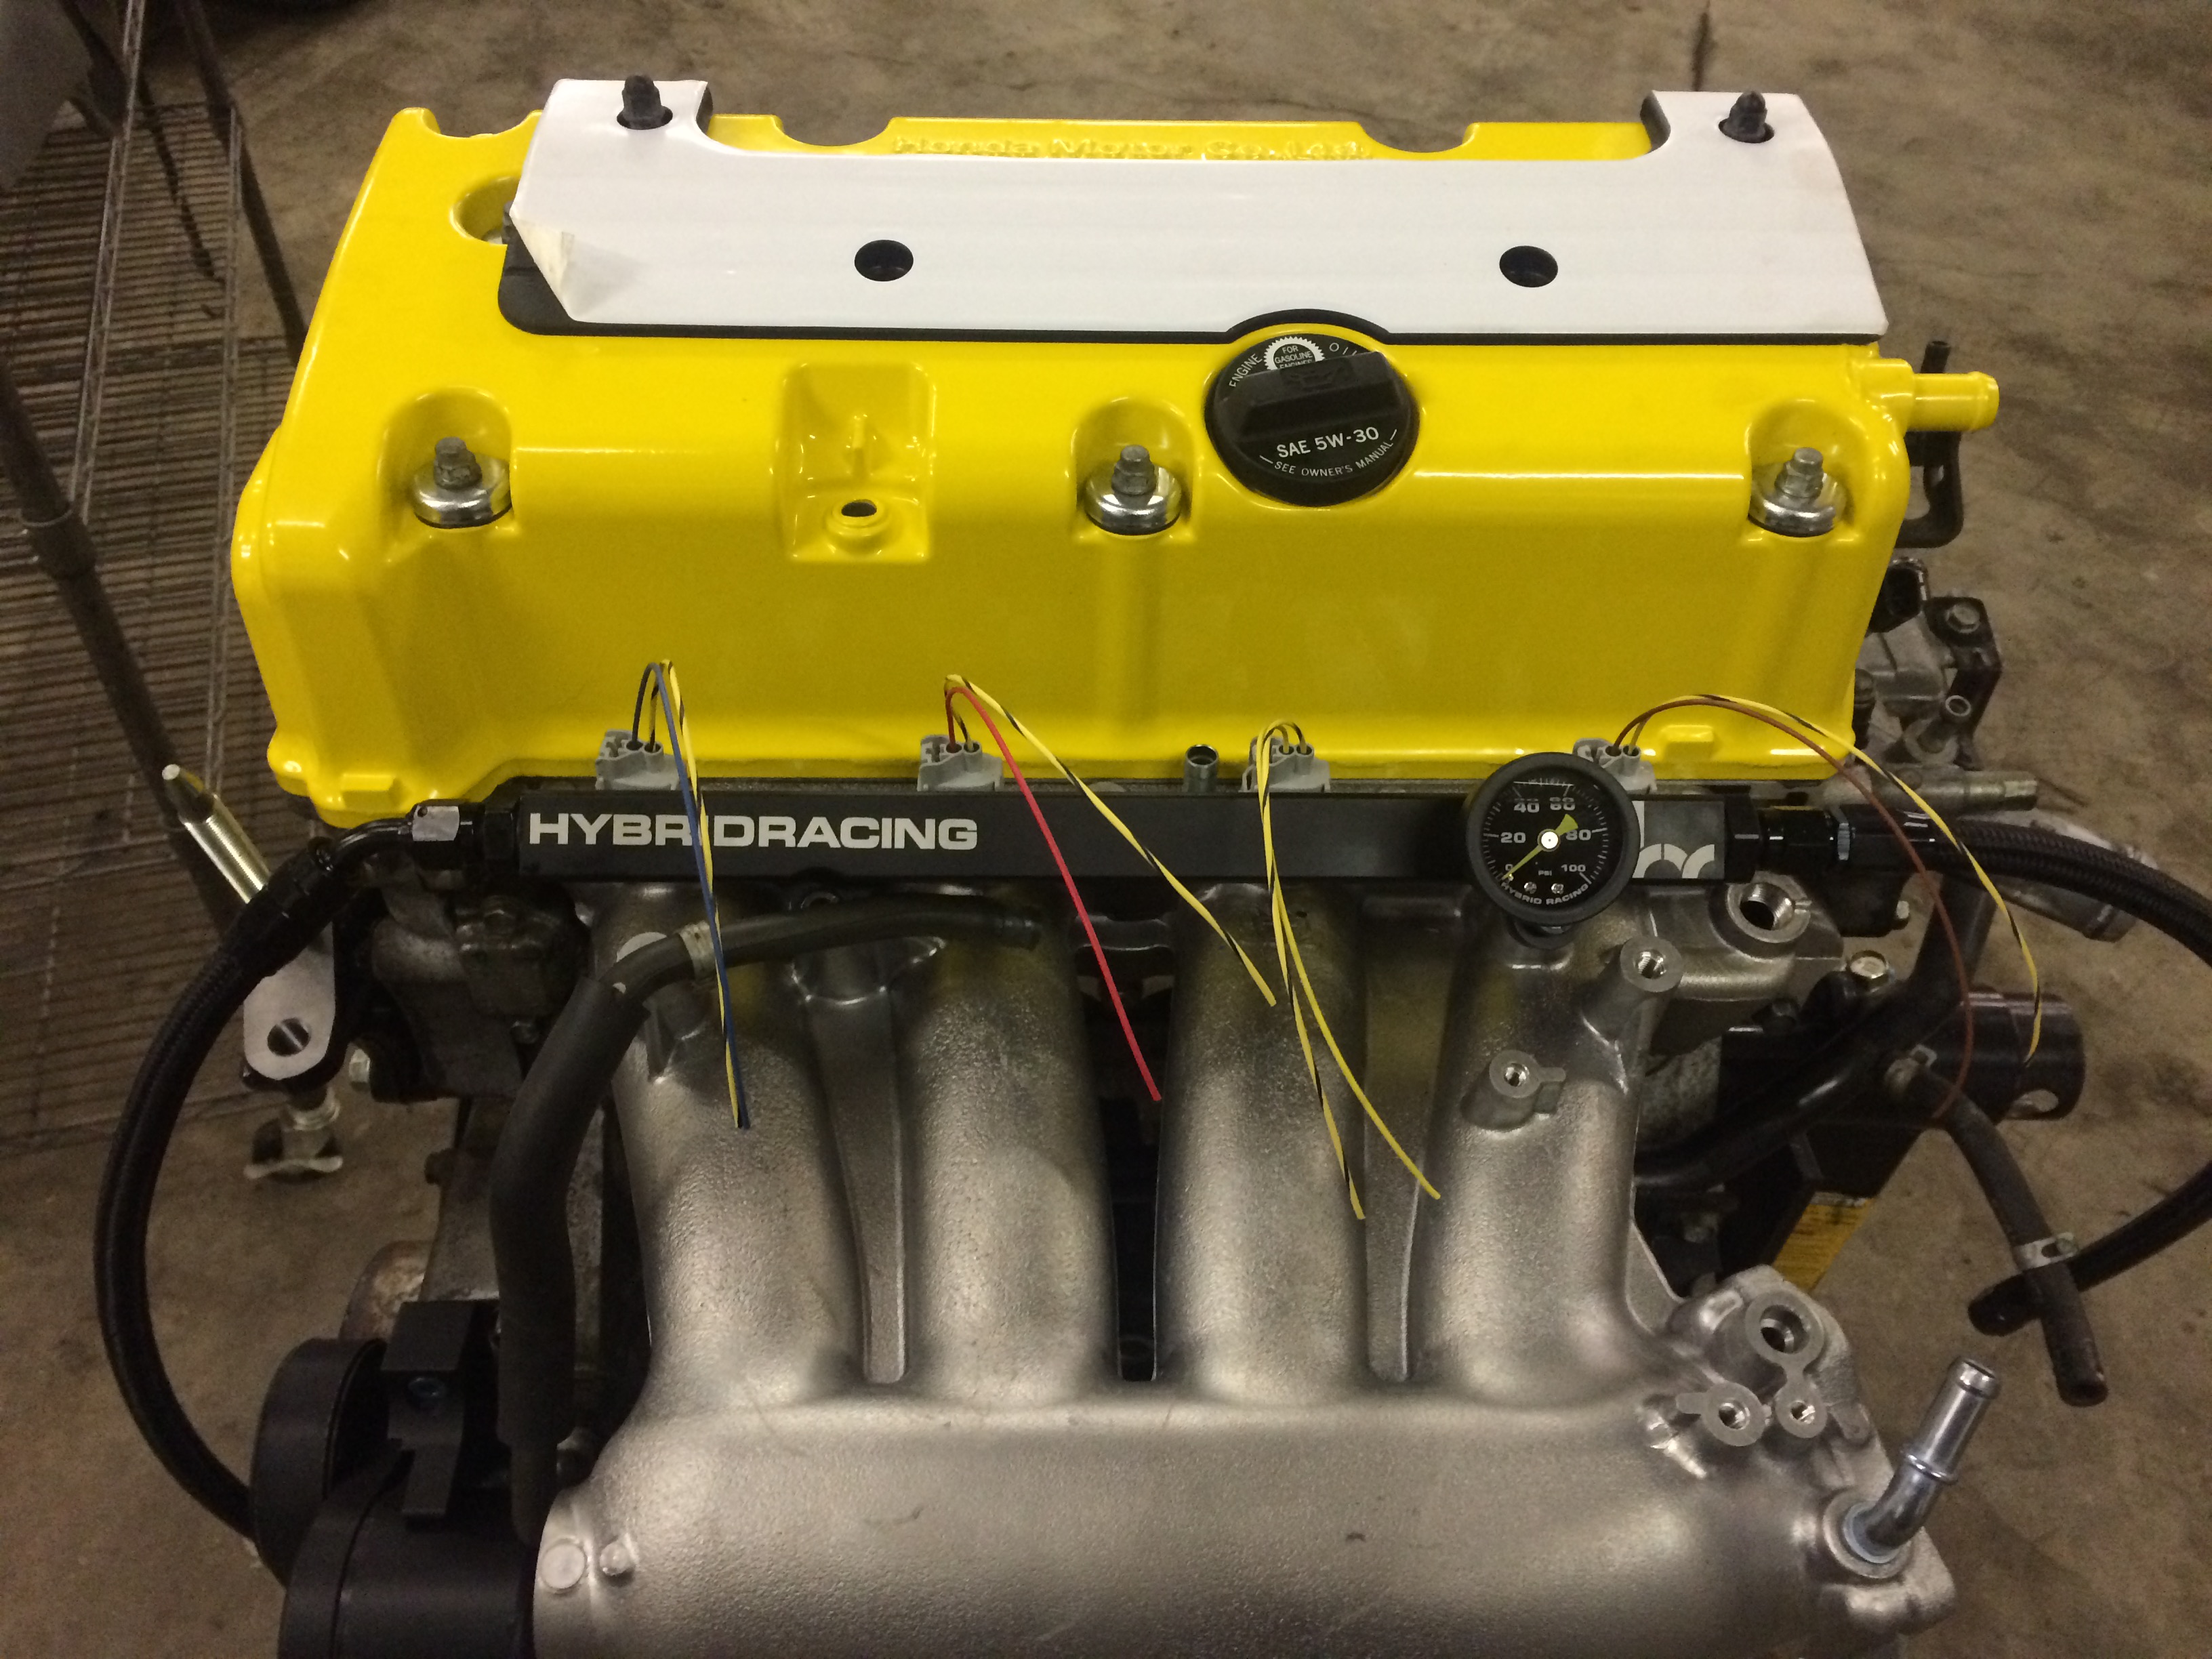
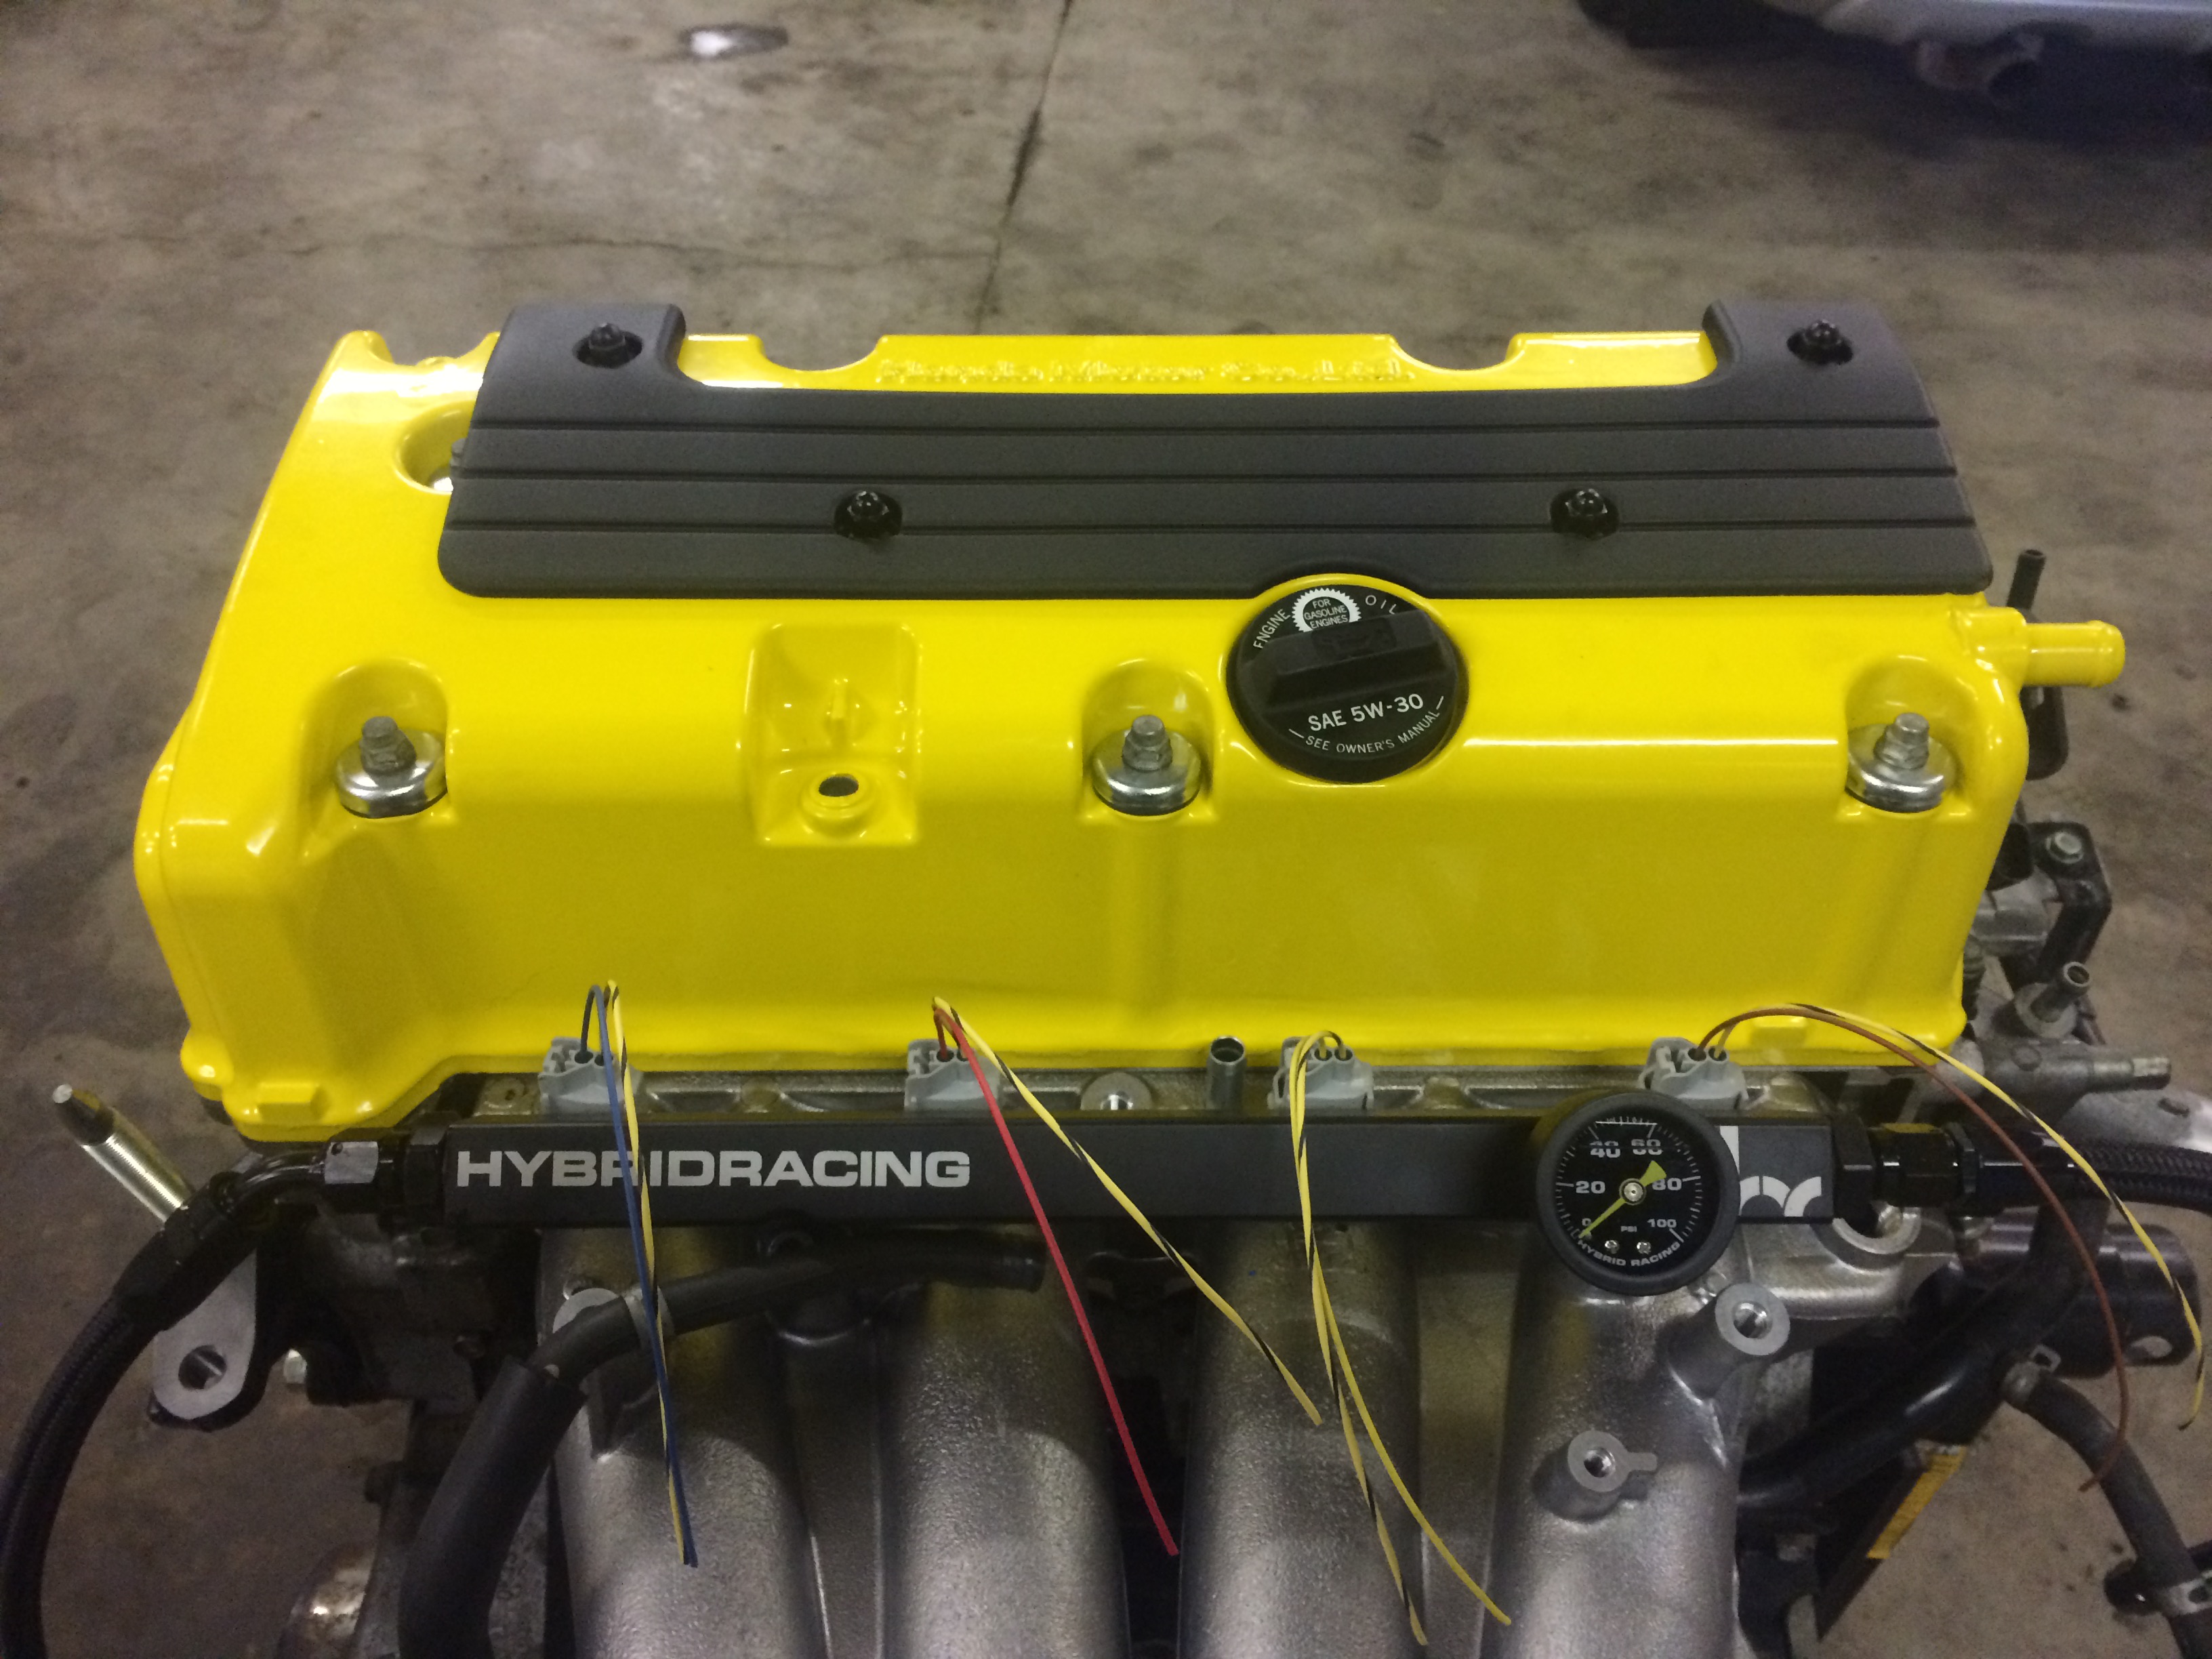
Finished assembly with the newly powdercoated valve cover and Civic Si spark plug cover.
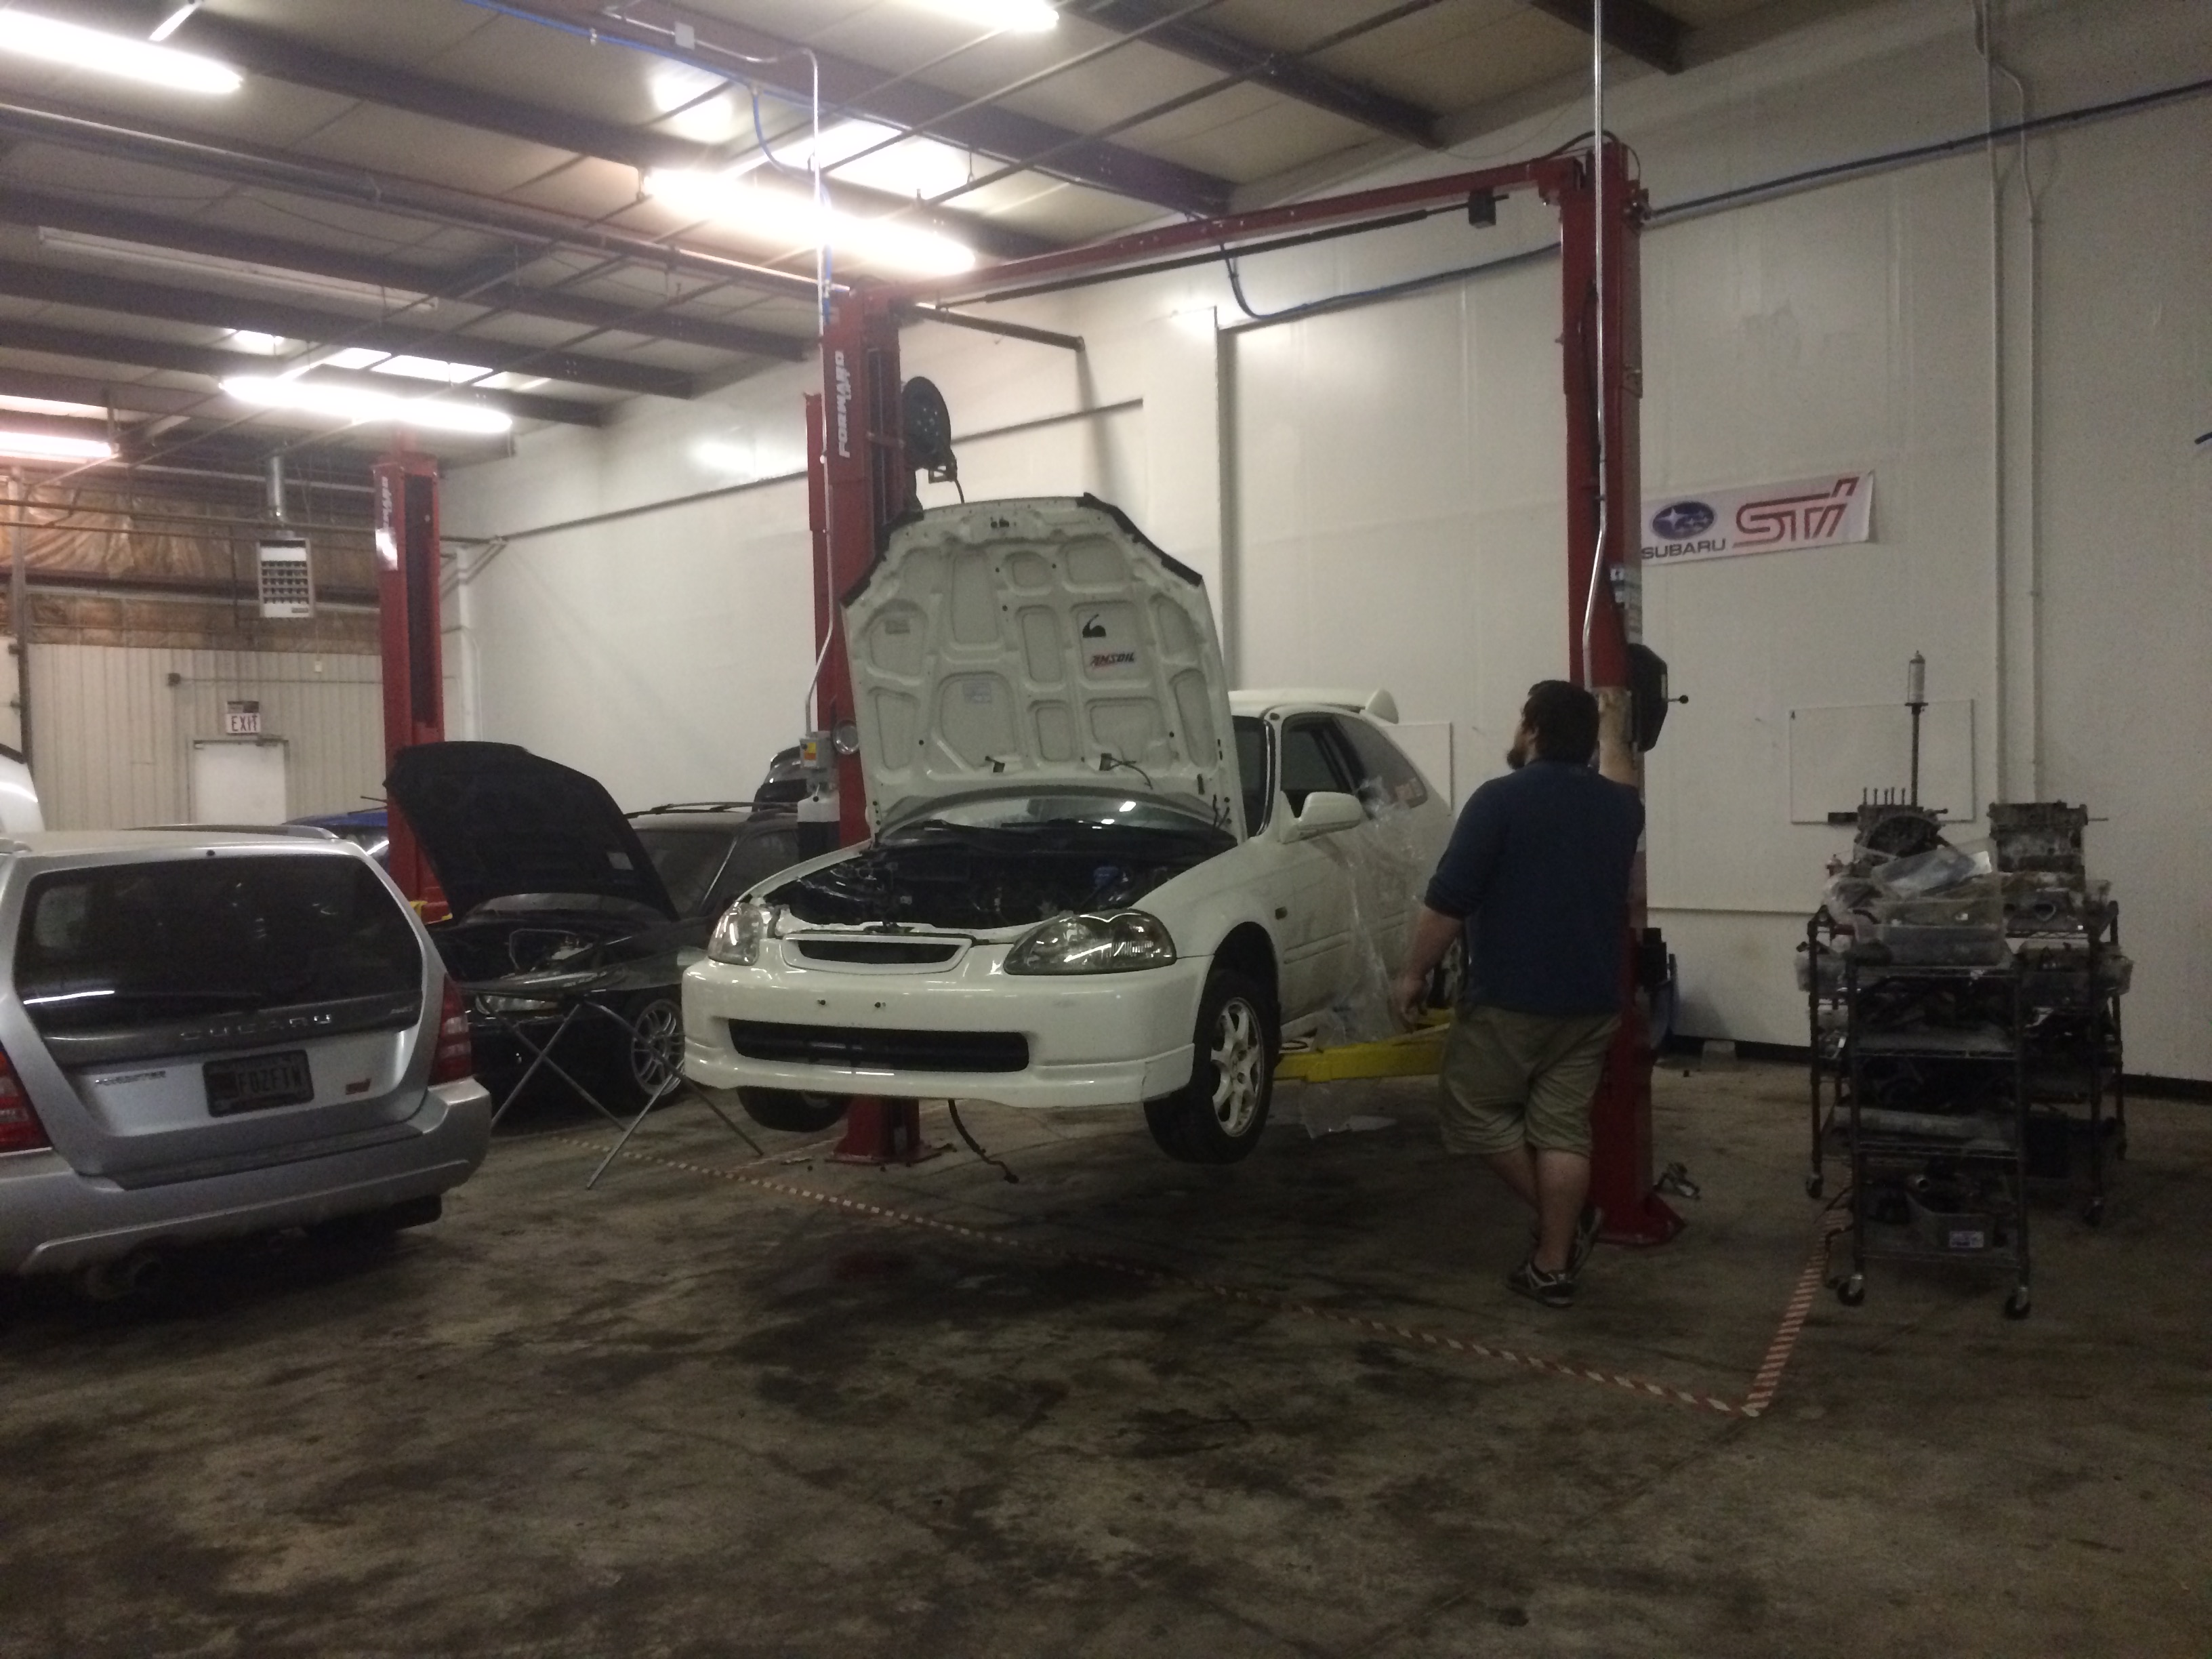
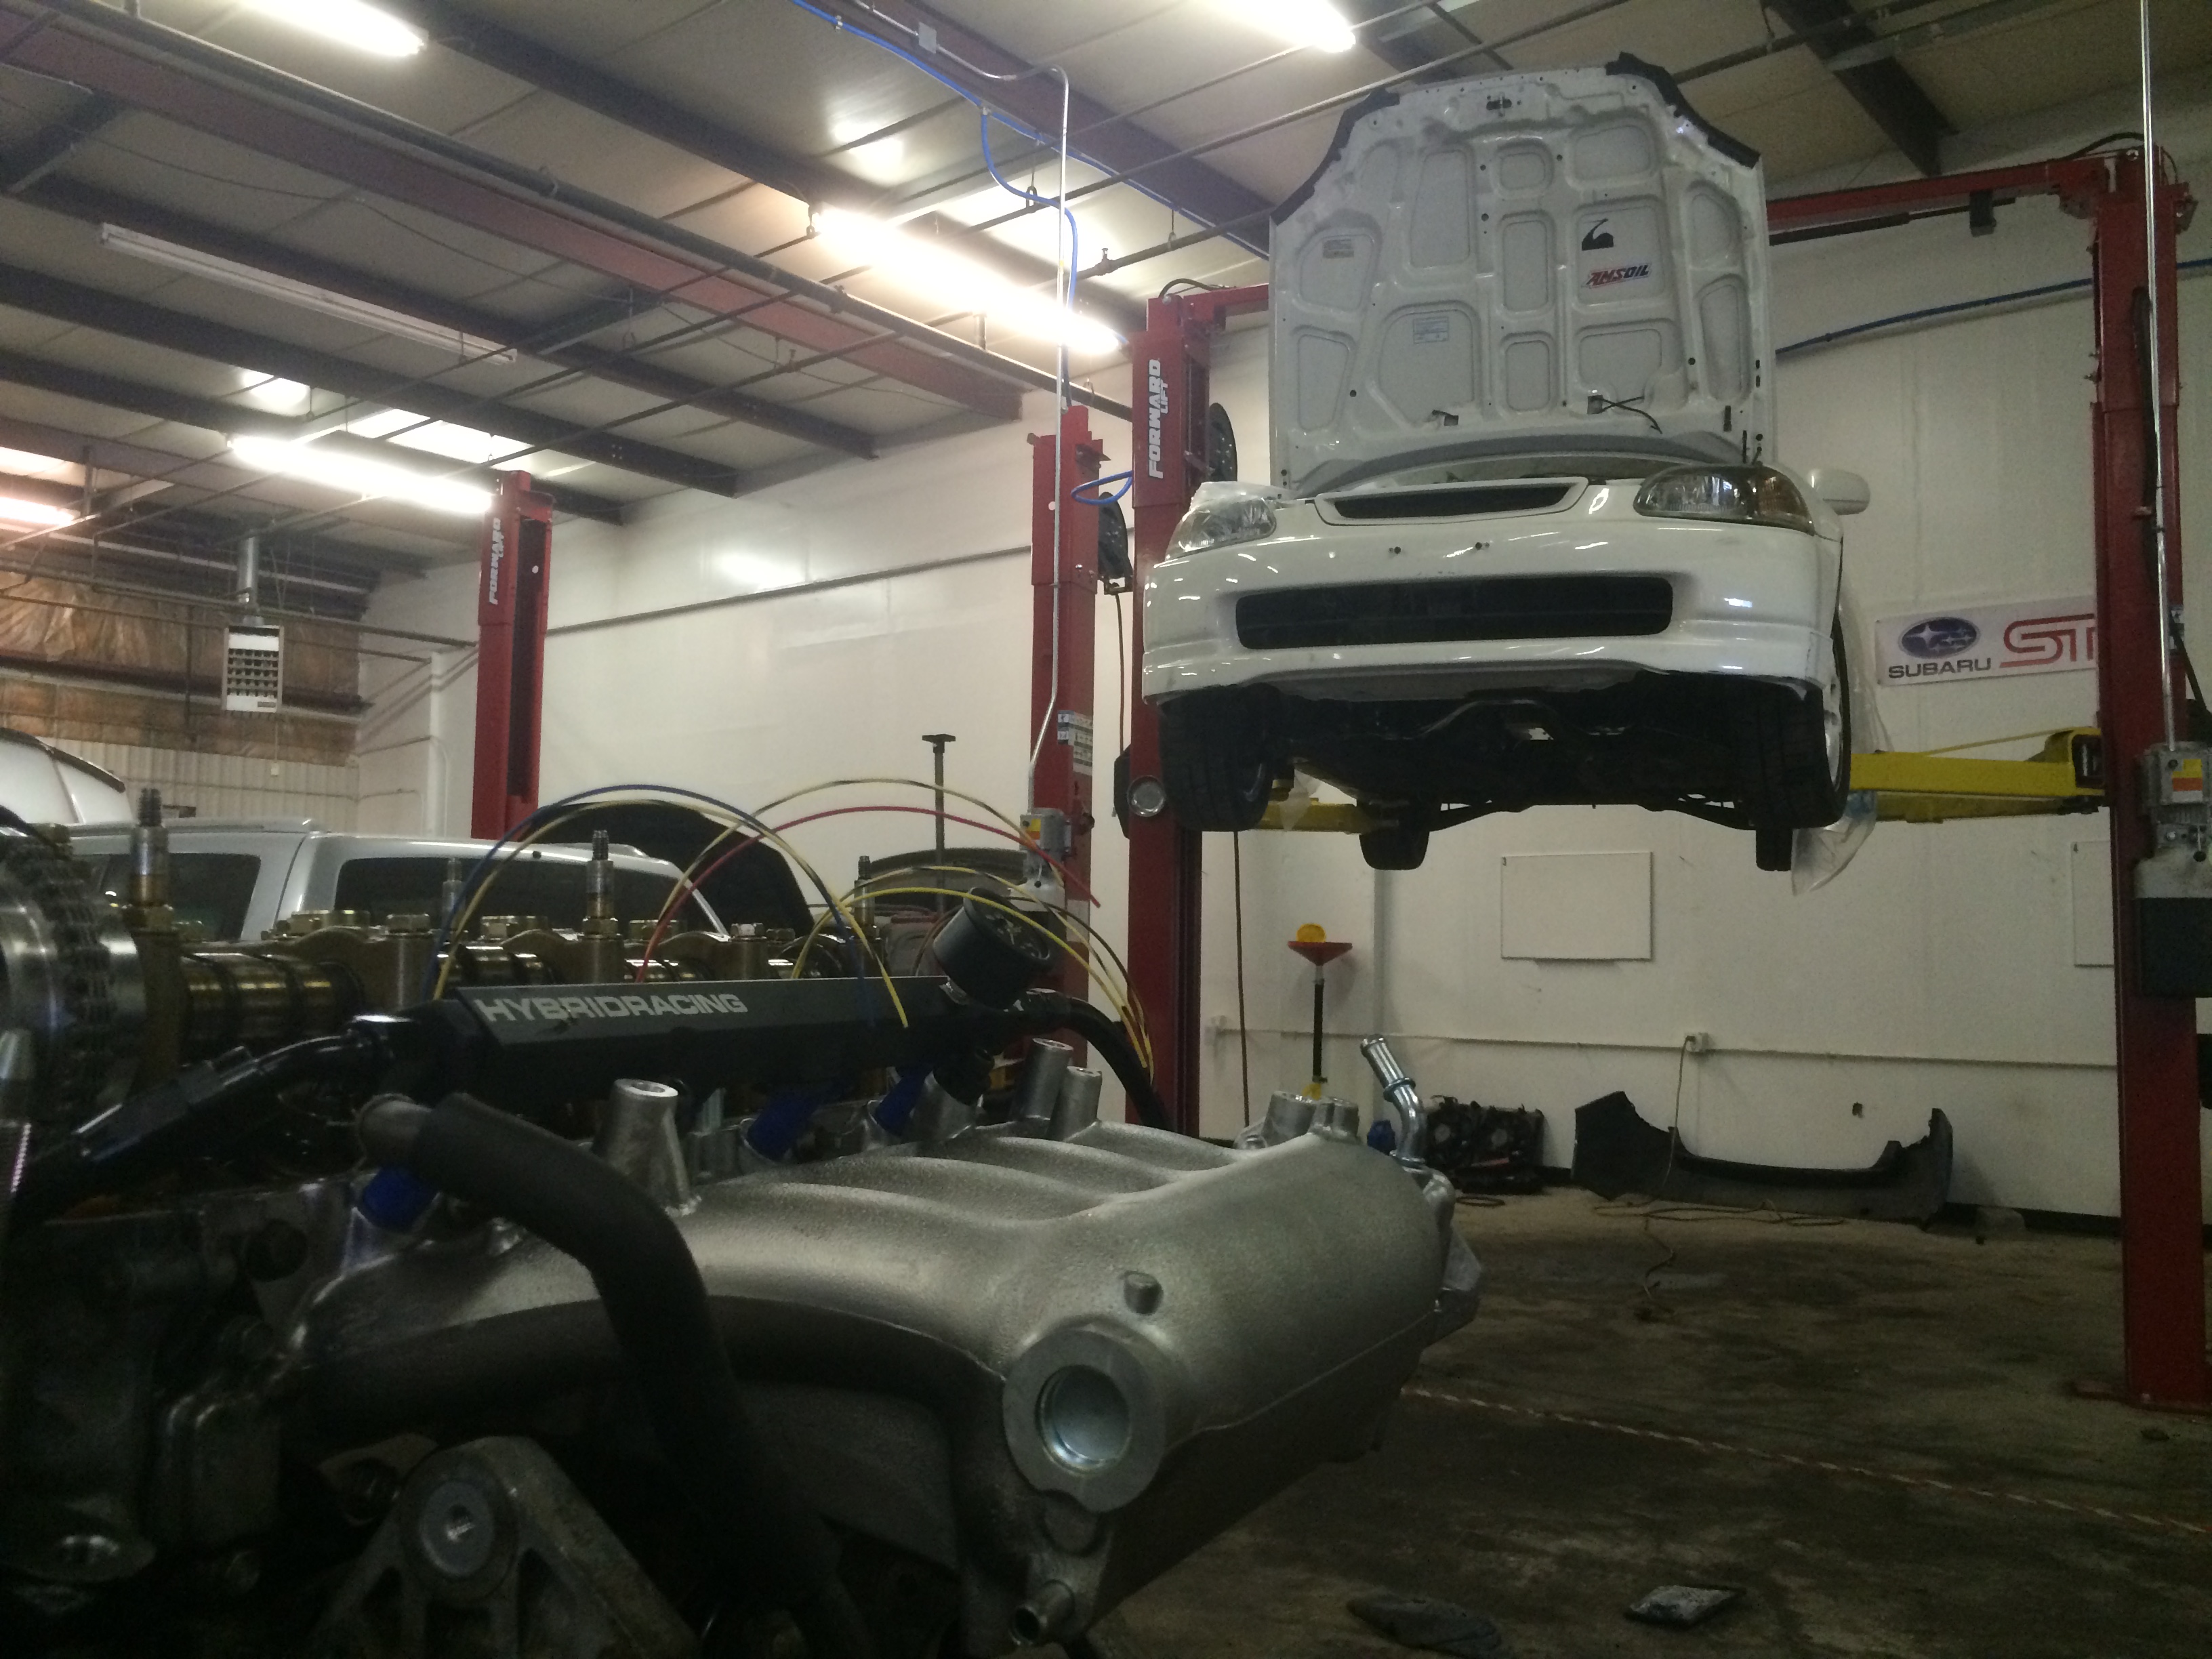
Some shots of the car on the lift. Things are coming together, hopefully the engine can go in the car by the end of this week, along with the ITR control arms and FSB. Then the cage will be next to complete, followed by design and fabrication of the ASI custom 3″ aluminum exhaust.
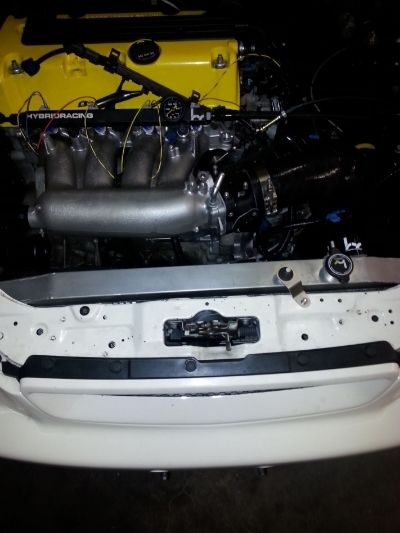
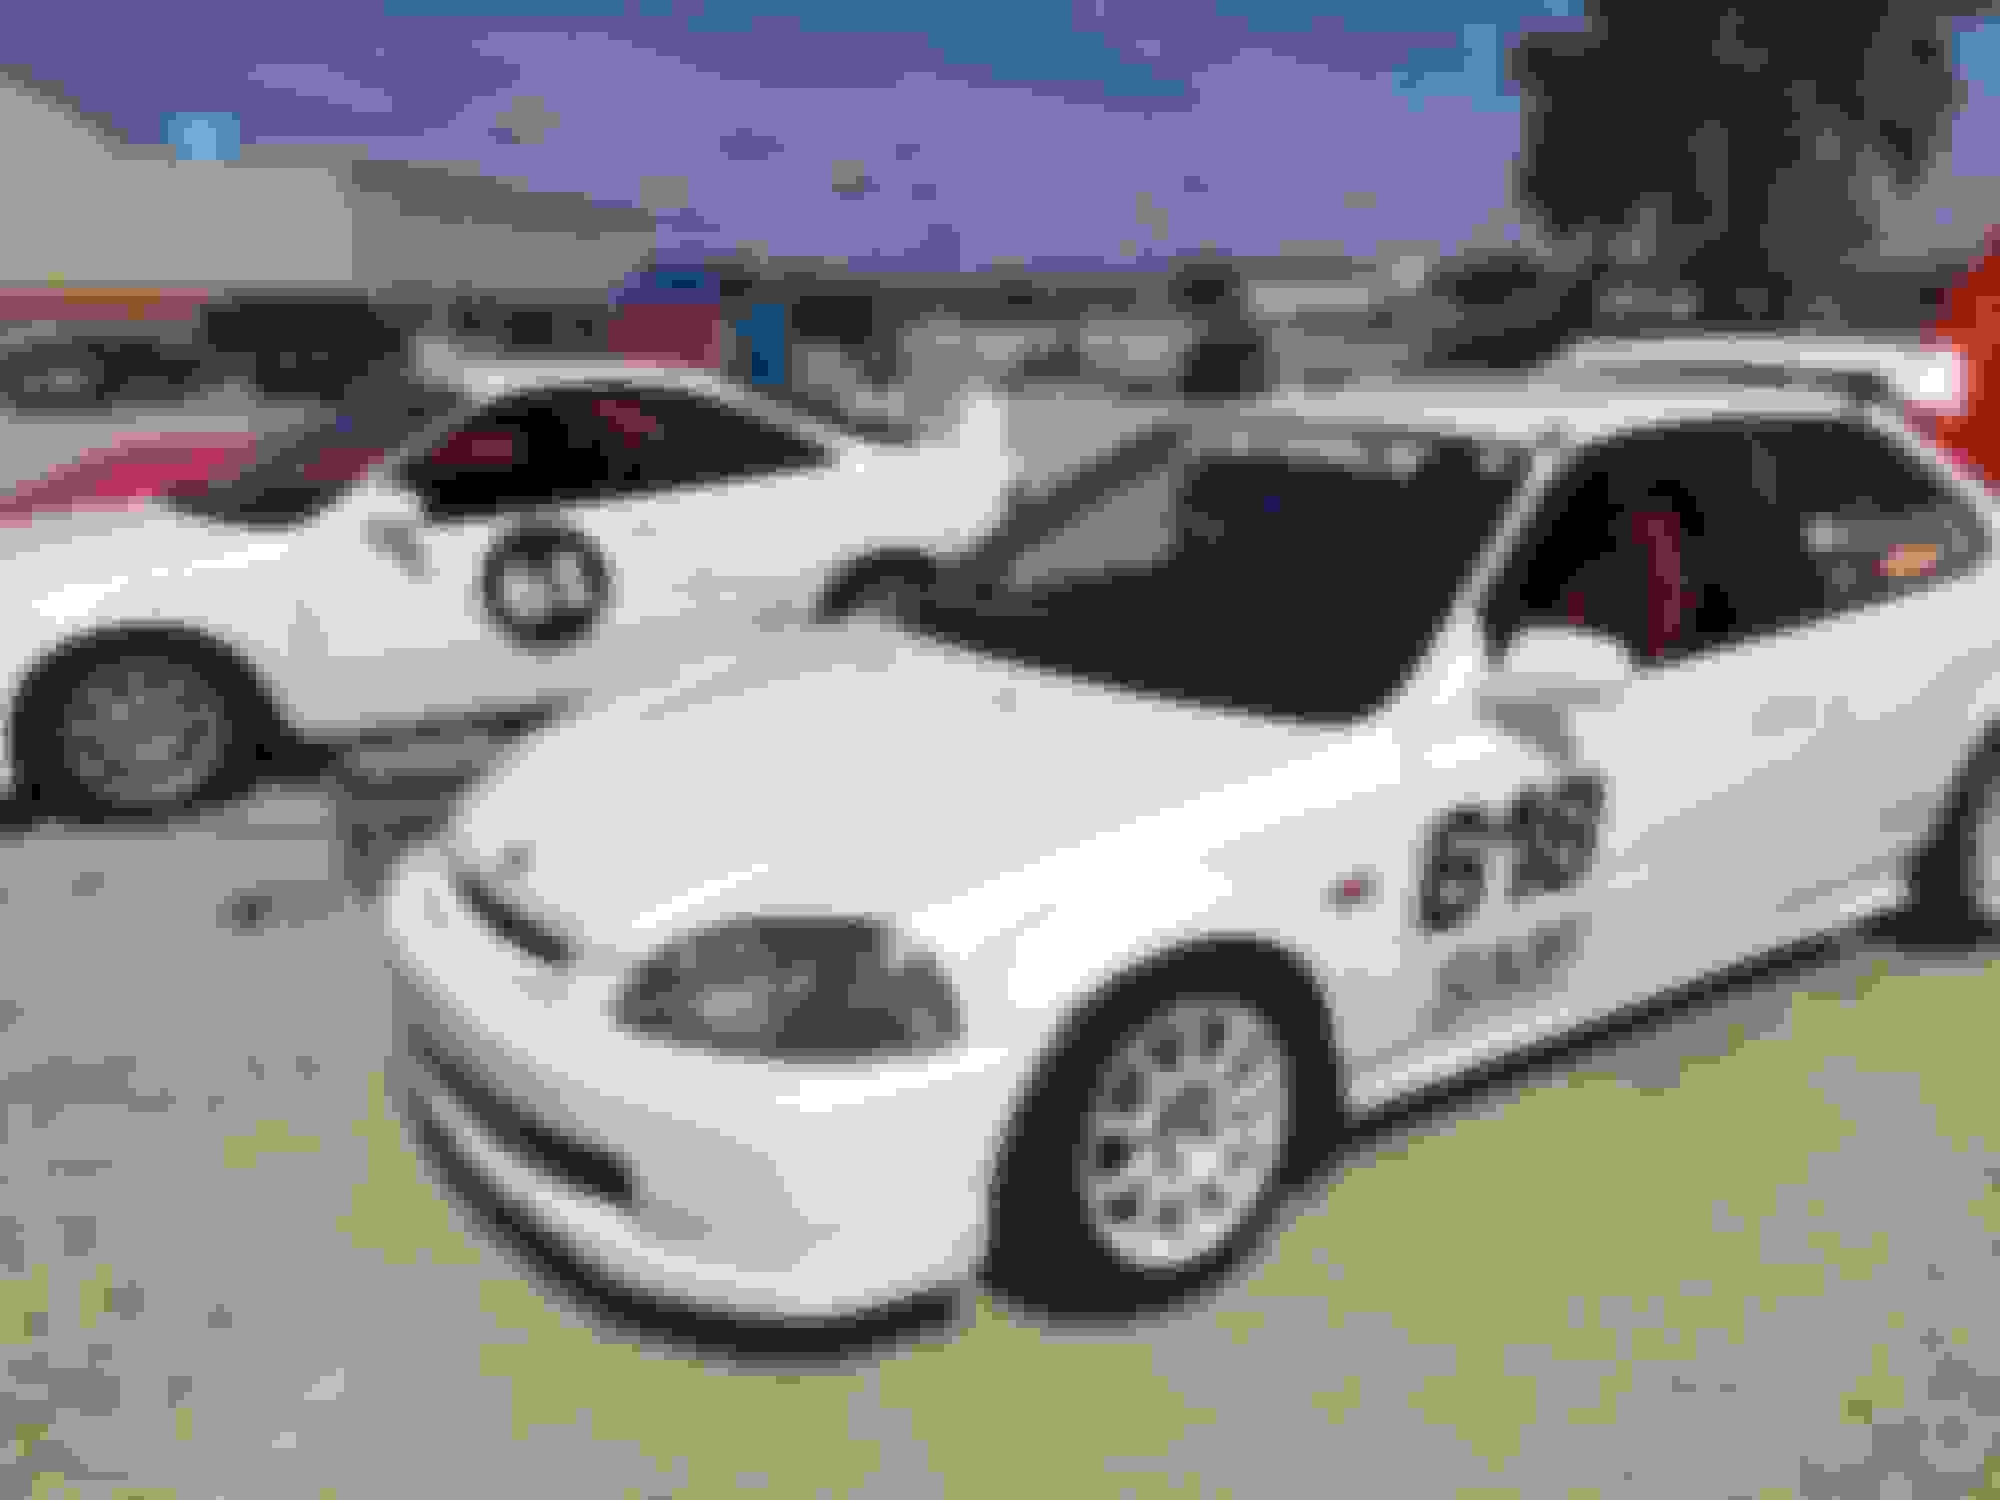
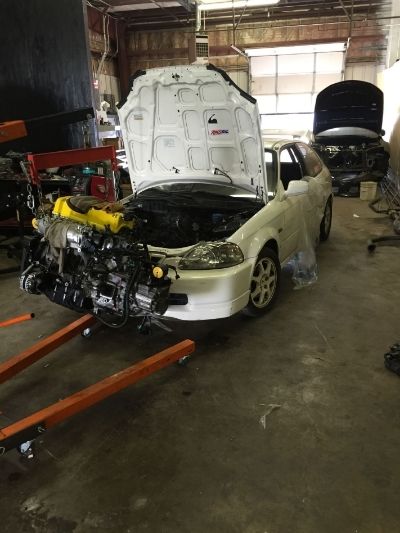
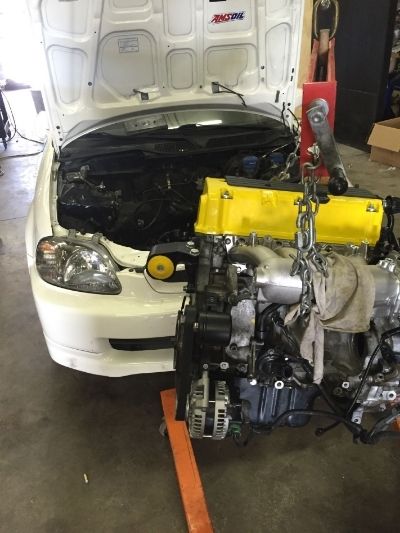
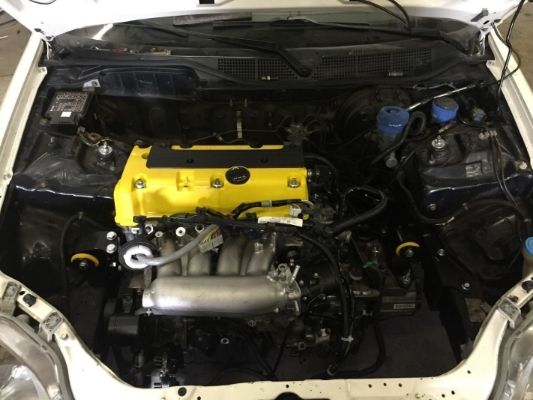
I am happy to say that the new engine is finally in the car! Big thanks to Pat for all of his hard work to get the car to this stage, and we’re hoping to have it back in Chicago for tuning at ProFunction this coming Thursday. I like how we did the yellow valve cover to pay homage to the previously removed B16B. Keeping with the same spirit of the car that was delivered nearly two years ago, just with a new and improved powertrain. ASI will be running the fuel lines and connections, then adding all of the break-in fluids to get the car running hopefully sometime tomorrow.
Last edited by Battle Monkey; 06-21-2015 at 05:25 PM.
In the last month, there have been lots of little things that have slowed progress and caused us to wait for new parts to arrive and prevented completion. Last month, we were about ready to wire up the car when we realized that the “Main Engine Harness” that was purchased back in January was a “Lower Engine Room Harness”… So that sucked and set us back a few days while we waited for a minty fresh one to arrive at the dealership. This past week, we found that we did not have the half shaft that we needed to make everything work. Along with the fact that apparently nobody makes a damn heater hose for a K24 in an EK… Kind of insane, but if it was easy then it wouldn’t be fun .
Anyway, I won’t ramble on for too long, I will let the pictures do most of the talking.
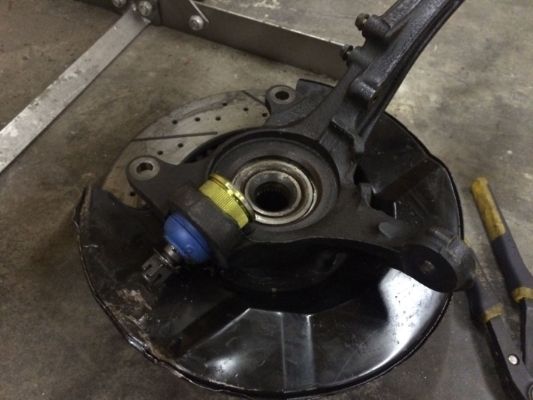
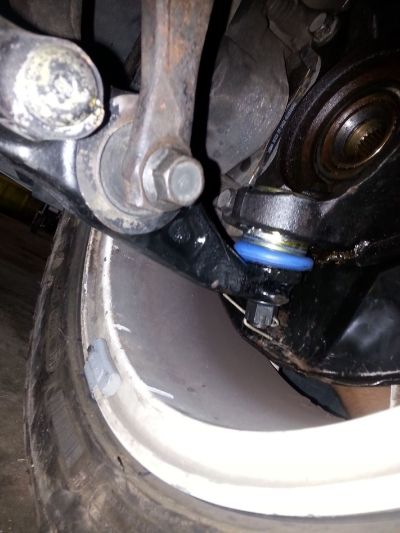
New ball joints and Rear Camber Kit are in.
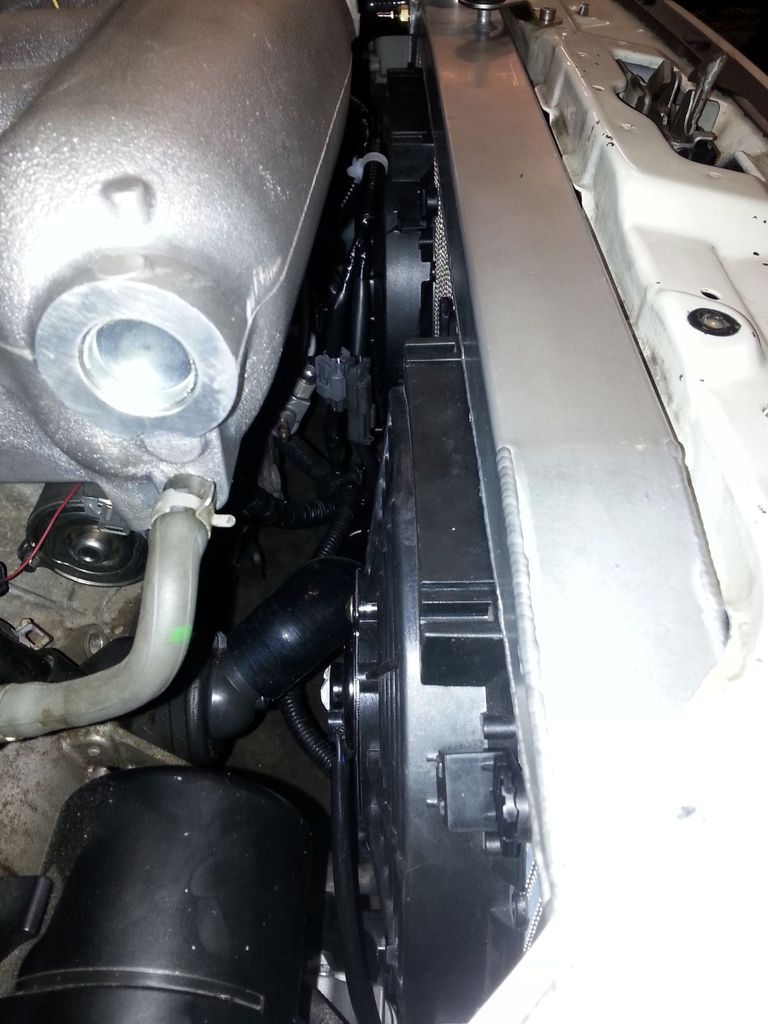
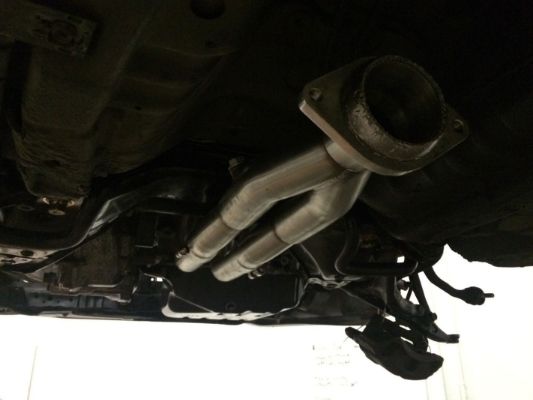
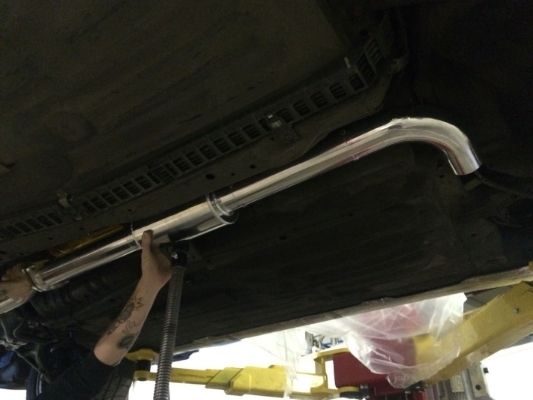
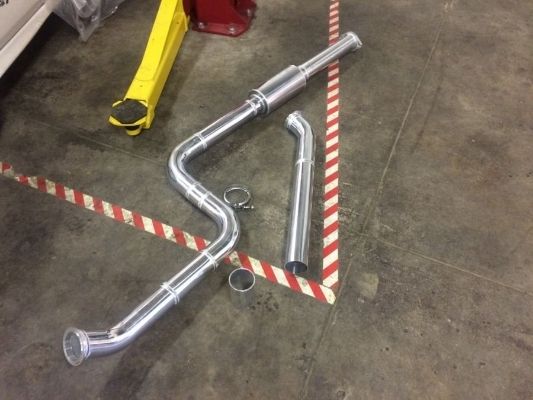
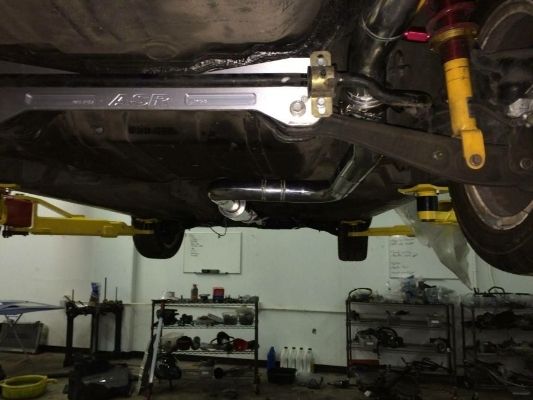
Radiator and custom aluminum exhaust
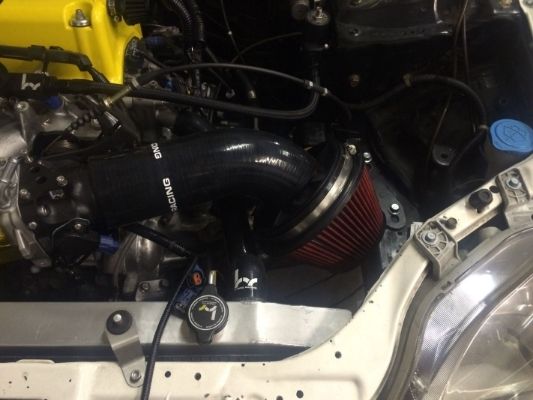
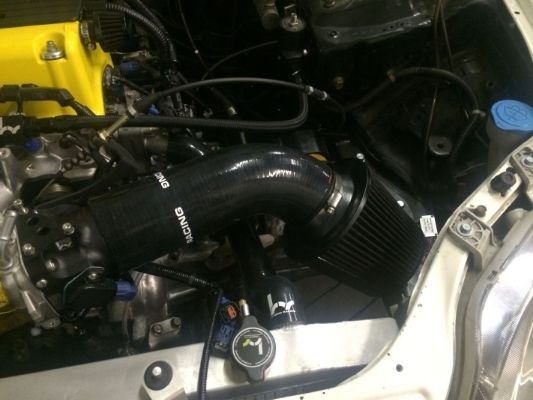
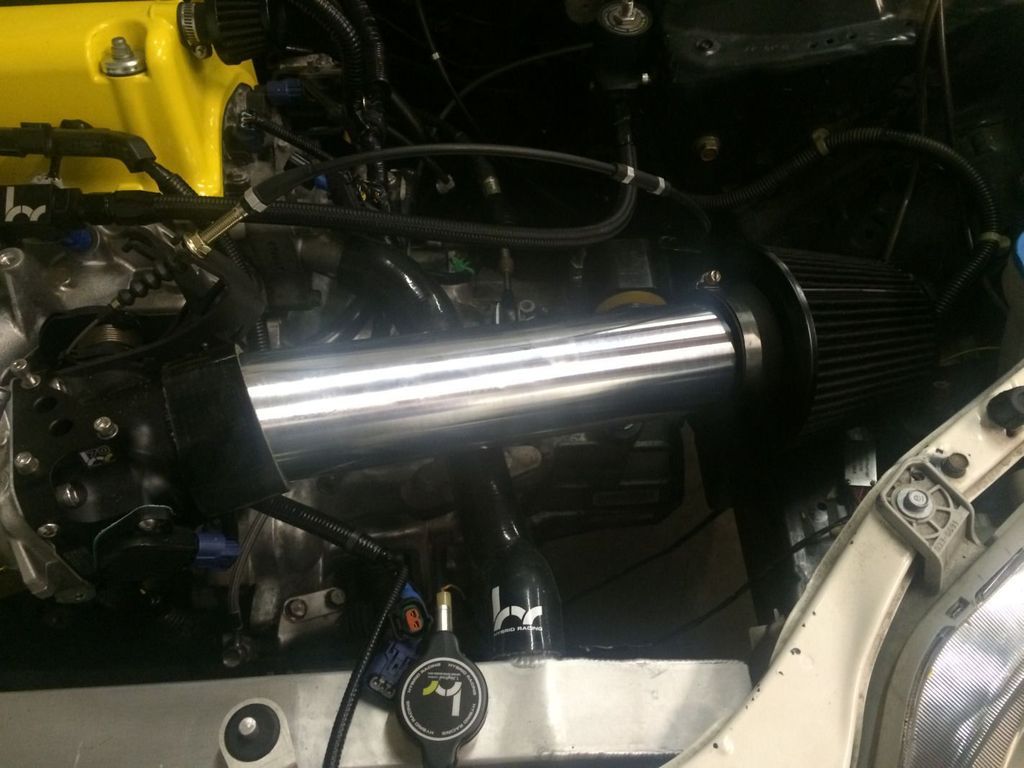
The CAI was rubbing on the washer fluid tank and causing the tubing to kink, so we started exploring out SRI options. We cut the long CAI silicone tubing down to create a short ram in #1 and #2, with #1 having a 6″ filter with velocity stack. Then for #3 it is just a rudimentary aluminum tube mock-up.
Last edited by Battle Monkey; 06-21-2015 at 06:14 PM.
Well, it has been over 6 months since I left my car in Cincinnati… While the car certainly should be done by now, we have seen our fair share of hiccups, unforeseen delays, and scheduling issues.
The good news, is that the car is running and seems that the engine is strong and healthy. For those of you who may remember from a while back, my donor engine leakdown numbers were very poor. So from that perspective, things are good.
Everything engine and suspension-wise are completed, with the exception of the intake. The Hybrid-Racing CAI that I had planned to use didn’t fit properly with the washer fluid reservoir still installed, and the hose was kinking. So we have decided to make a custom 3″ aluminum intake with an airbox, wrapped in gold reflective foil. The filter is going to be an AFE 7″ with a 6″ velocity stack inlet. I have always preferred a well-designed short ram for the responsiveness over a CAI, so this should work out better anyway.
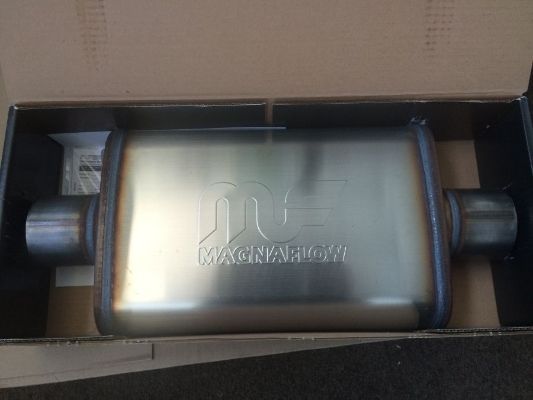
The custom aluminum exhaust is complete, but wayyyy too loud. we couldn’t hear each other from 3 feet away while it was idling… No sanctioning body is going to allow the car to run at that volume. So we’ve decided to make an additional rear muffler section out of stainless steel to give us more options on muffler selection. We’ve decided to go with a Magnaflow oval, and a removable Skunk2 Silencer for street driving. Since I drive the car early in the morning through neighborhoods and small towns to get to local events, the quieter the better. The original design featured a v-band before the rear suspension to leave us this option if needed.
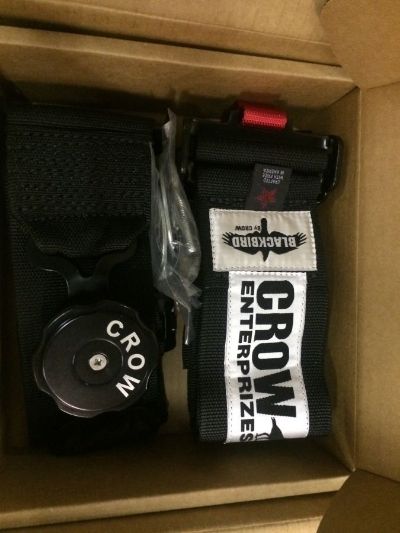
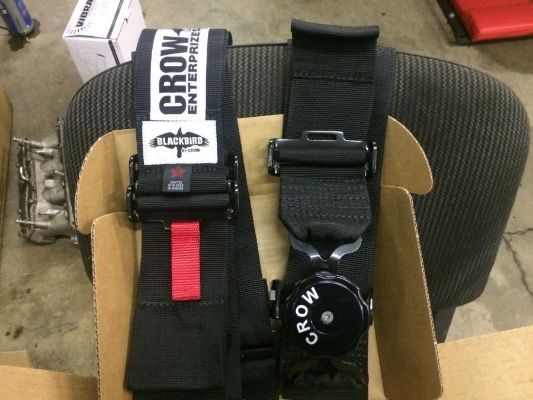
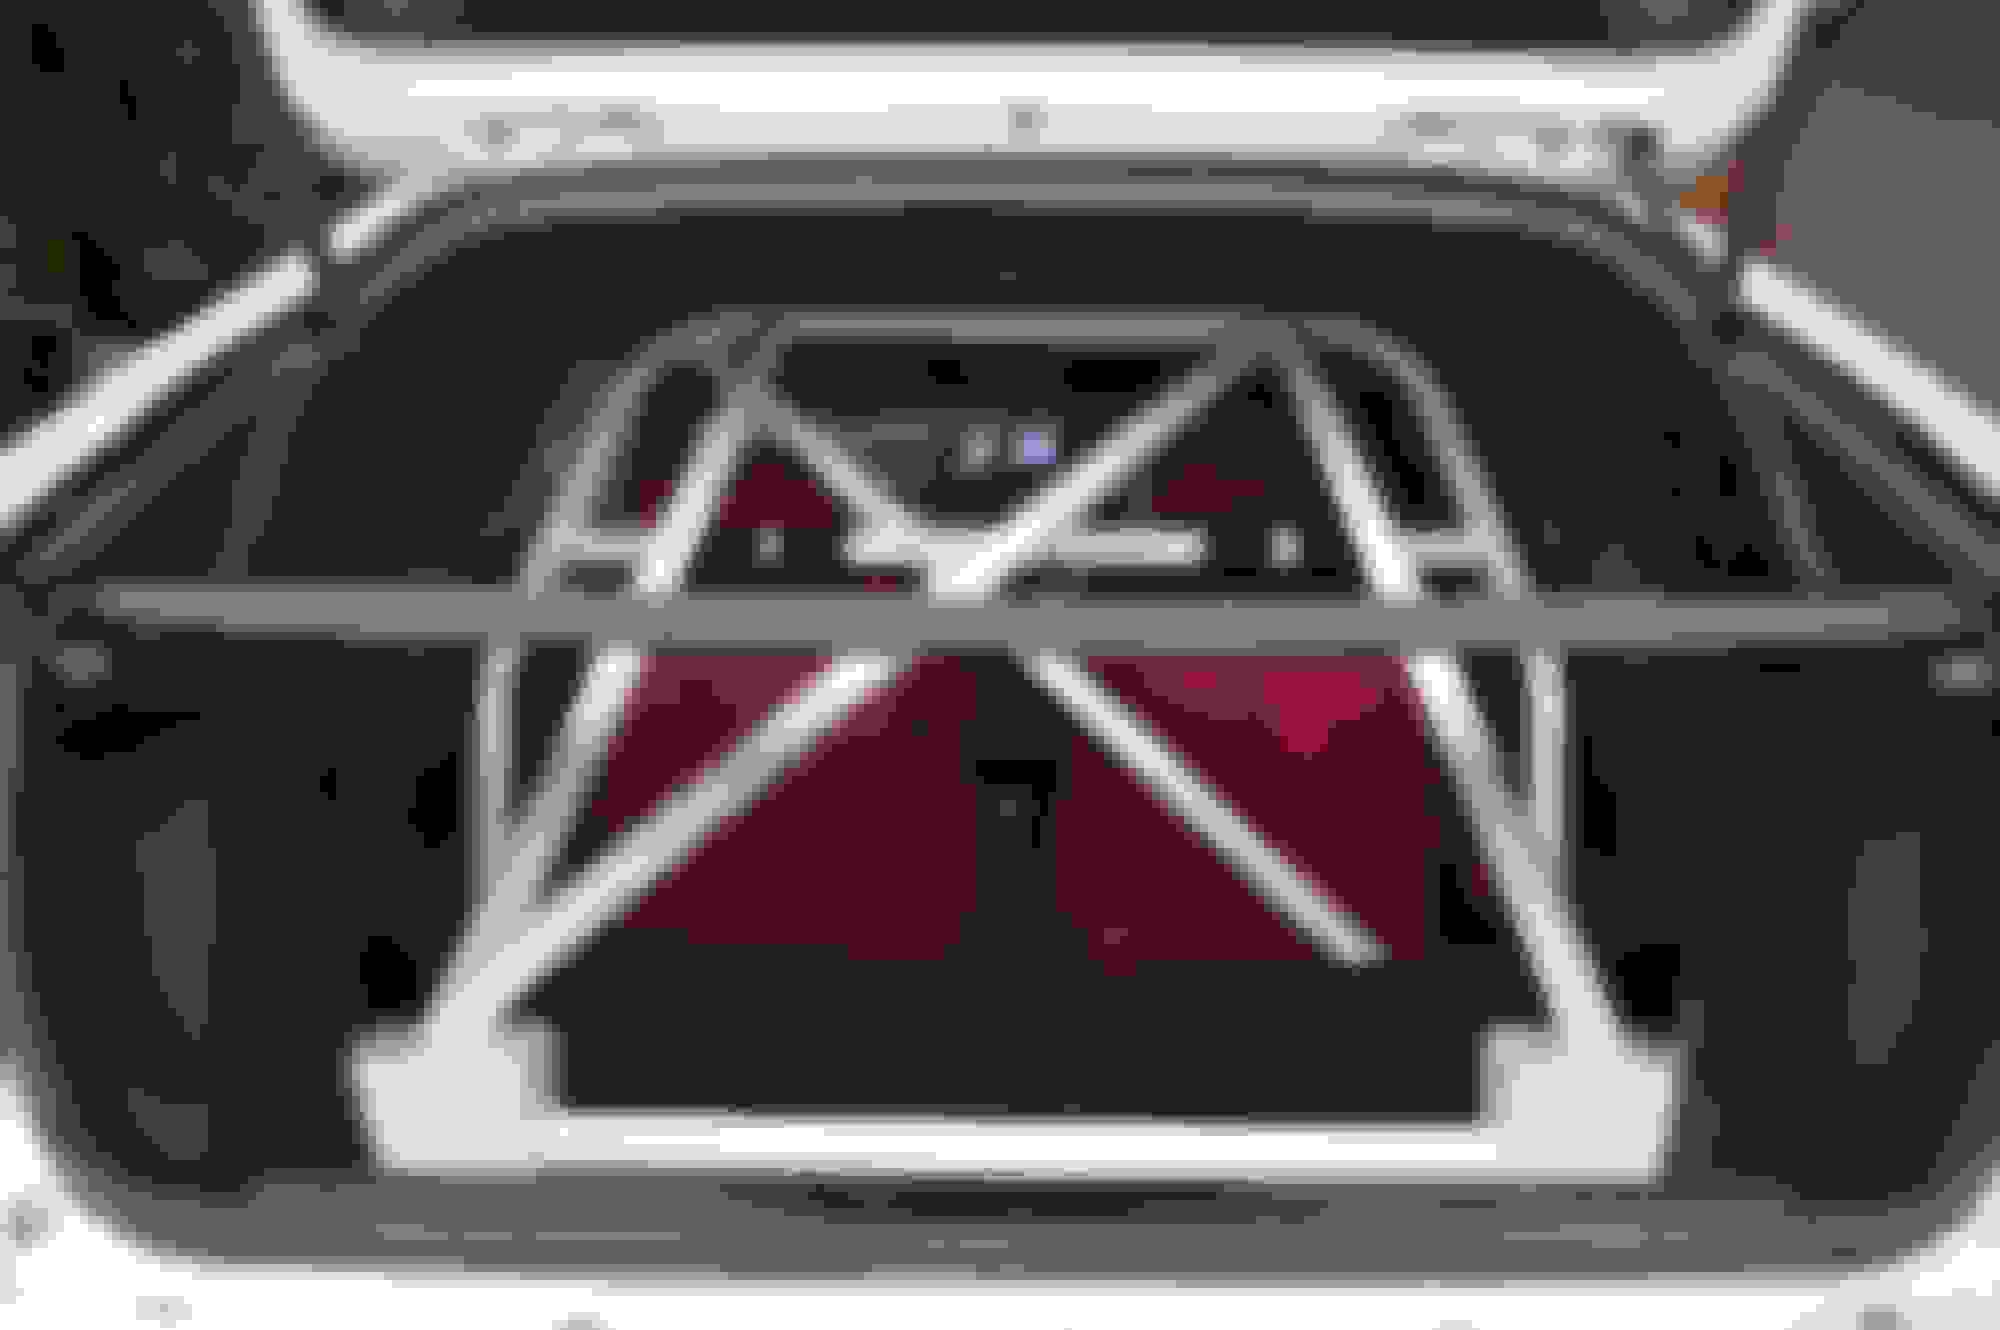
Custom-Ordered Crow Blackbird Camlock Harnesses are in.
The cage is still in progress. The front and rear boxes are now complete. The last time that I was at the shop I realized that the main hoop was bent and tacked in, assuming that no interior plastics were being reinstalled. Being that I want to keep the car clean, this needed to change. I don’t want this to look like a hacked up track car. I want it to be enjoyable to drive on the street, competitive for autocross, and a blast at the track. All while keeping with the spirit of the CTR.
We also decided to run a braided stainless fuel line from the fuel pump to the inline filter.
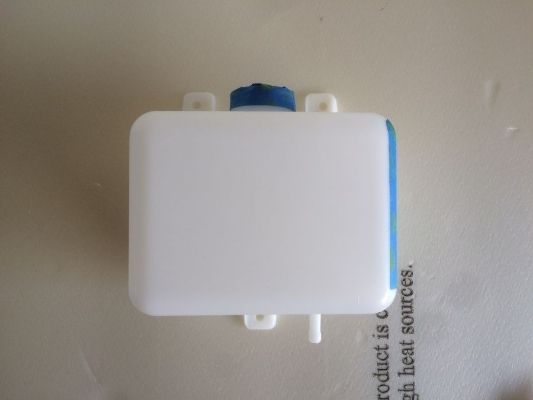
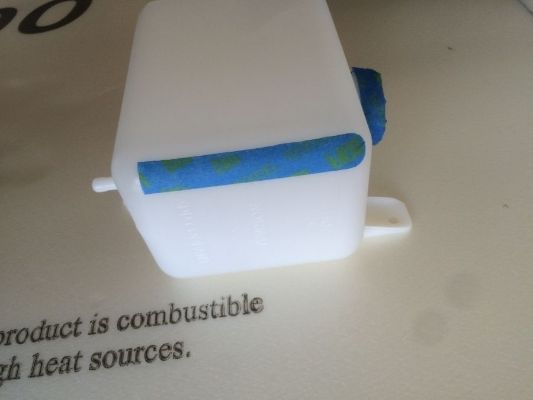
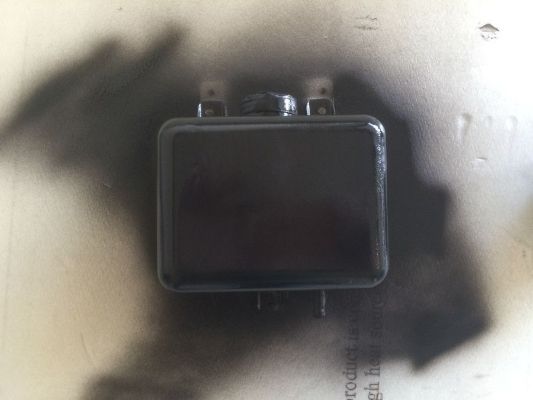
I purchased a small generic coolant overflow tank on Amazon and plasti dipped it black. It will probably be mounted behind the driver headlight on the airbox. I taped off a small section so that I could easily view the fluid level in the tank.
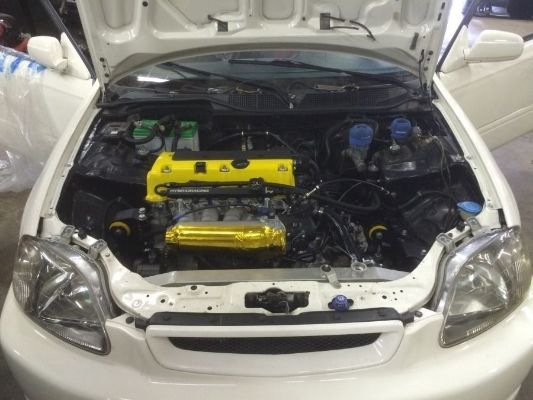
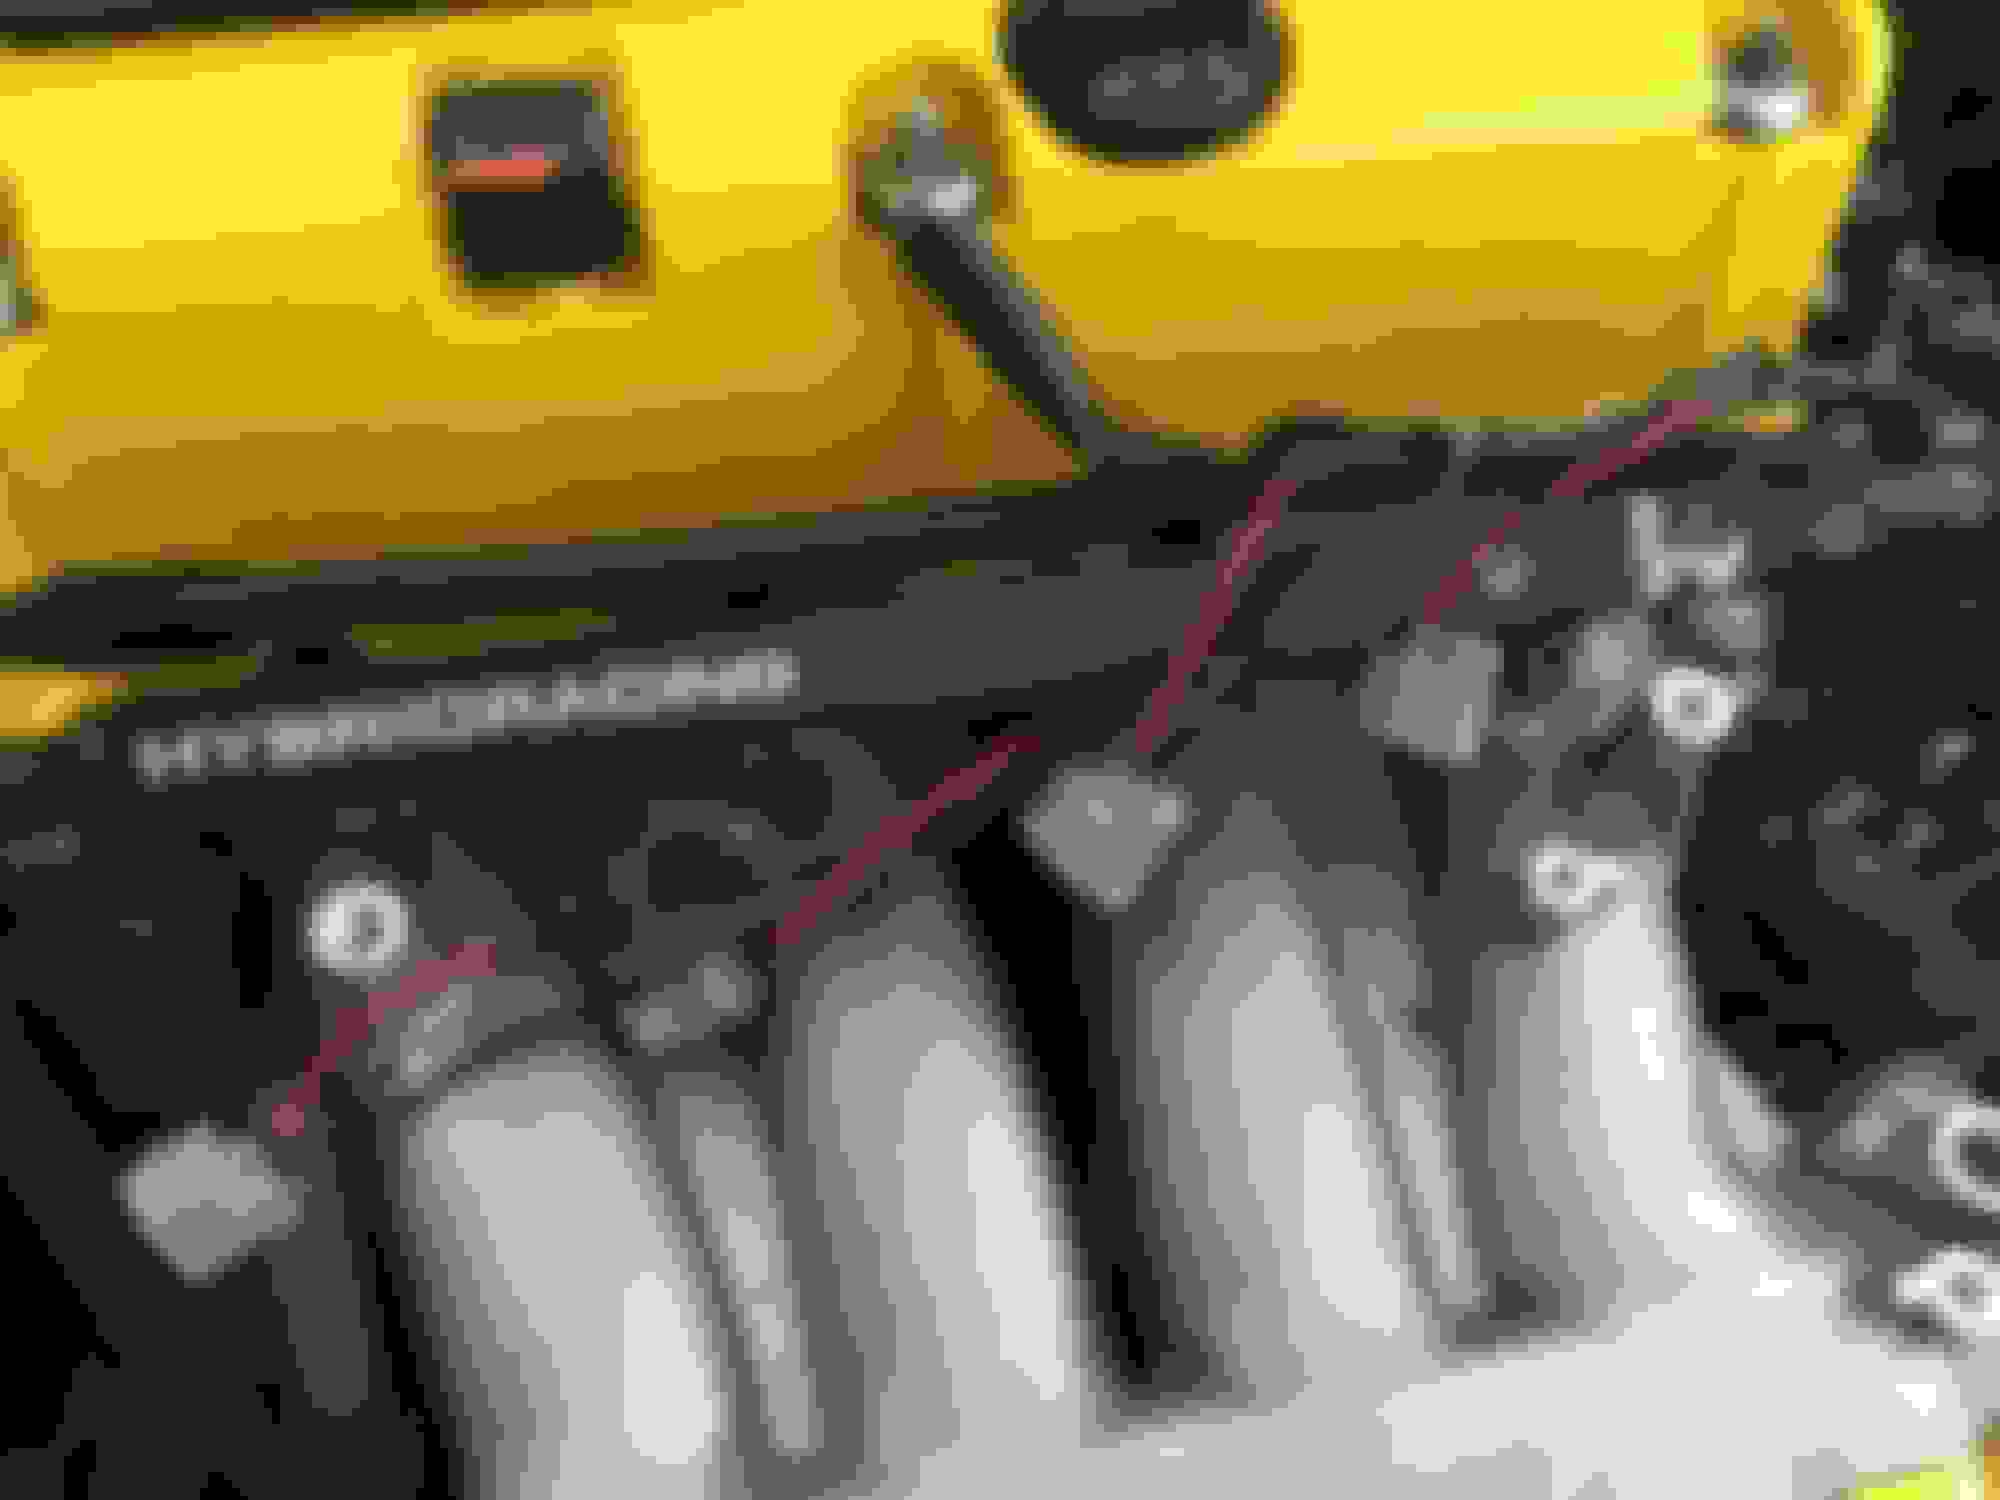
And here’s a quick teaser of the engine bay.
Last edited by Battle Monkey; 06-21-2015 at 06:35 PM.
This past weekend I stopped over at ASI after a day of work travel down to Indianapolis. We made some nice progress on a few different outstanding items that needed to get done.
We got all of the bars mocked up for the cage. All are pictured except for the harness bar, we taped them in place temporarily so that the welder could easily move them to finish weld the various bars.
Well the CTR is finally back in my possession! Last week, I drove a trailer down to Cincinnati to pick it up from ASI. When I got there, there were still a few outstanding items that needed to be addressed before I could take it out of there. We bolted up the wideband O2 sensor, trimmed the hood for clearance, adjusted a few things, topped off and burped the coolant, etc etc.
At about 10PM, we finally were able to load her up onto the trailer and I could begin my 6.5 hour drive home… I got home around 4:30AM, passed out in my bed for 3 hours then woke up for work the next day. I’m glad the car is back in my possession now so that I can get the last few items buttoned up to start racing.
There are a few things still outstanding that I need to address and fix;
– Cage needs better paint coverage
– tap the intake manifold and hook up the Brake Booster
– I either have a vacuum leak, timing is off, voltage/grounding isn’t good, or something along those lines because the car is cutting out at 2500rpm…
– safety harness inside lap belt eye bolts are not installed
– paint the trimmed sections under the hood
– reinstall interior, and trim the rear quarter panels to fit the cage
– change fluids; engine oil, trans fluid, brake fluid
– align the wheels
– Dyno tuning at ProFunction by Mikey
– install new rear brake pads
– fix coolant leak at heater core return hose at the firewall. Looks like the tube is oval-shaped, so must’ve gotten a little crushed and not sealing on the hose properly
– interior fan is not working
More to come on progress with all of these things early next week!
I sprayed the second coat of paint on the cage. Majic White Enamel from the farm store. It actually does a pretty nice job with coverage, no primer, easily sandable, sprays evenly.
There are still a couple of spots that need touching up, but coverage looks pretty good. More updates to come Sunday.
I'm definitely glad to have it back... Although now it's with Mikey @ ProFunction having a final inspection and hopefully a tune tonight! :fingers crossed:
As far as padding on the half cage, I don't know whether it would be necessary since the cage does not sit beyond the b-pillar. If I did add some, it would probably be on the top of the main hoop only. But I don't think it is really needed there either.
So probably won't add any padding unless rules state or there is some strong reason why it is necessary on a half cage.
After an afternoon at ProFunction, the car was finally ready for the dyno.
Some things that we came across that are kindof peculiar;
� When the MAF sensor is bad, the ECU reads 11lbs of boost
� When the TPS sensor is bad, the ECU was preventing 2 cylinders from firing
Additionally, we re-tapped the intake manifold for power brakes, looped my heater hose to get rid of a pesky leak due to the heater core tubing getting all jacked up and destroyed, and fixed the crank issue. It turns out that the crank pulser wheel was installed backwards which was causing my crank issues.
At around 10PM, we strapped the car onto the dyno and Mikey got to work.
So the results� We pushed the car for 15 runs, no smoking, no overheating. It ran phenomenally all night and I was not disappointed. It was really a huge relief to see everything finally come together. HUGE THANKS to both Mikey & John over at ProFunction for working overtime to get me on the dyno yesterday!
245whp/193ft-lb with the rev limit bumped up to 8000rpm
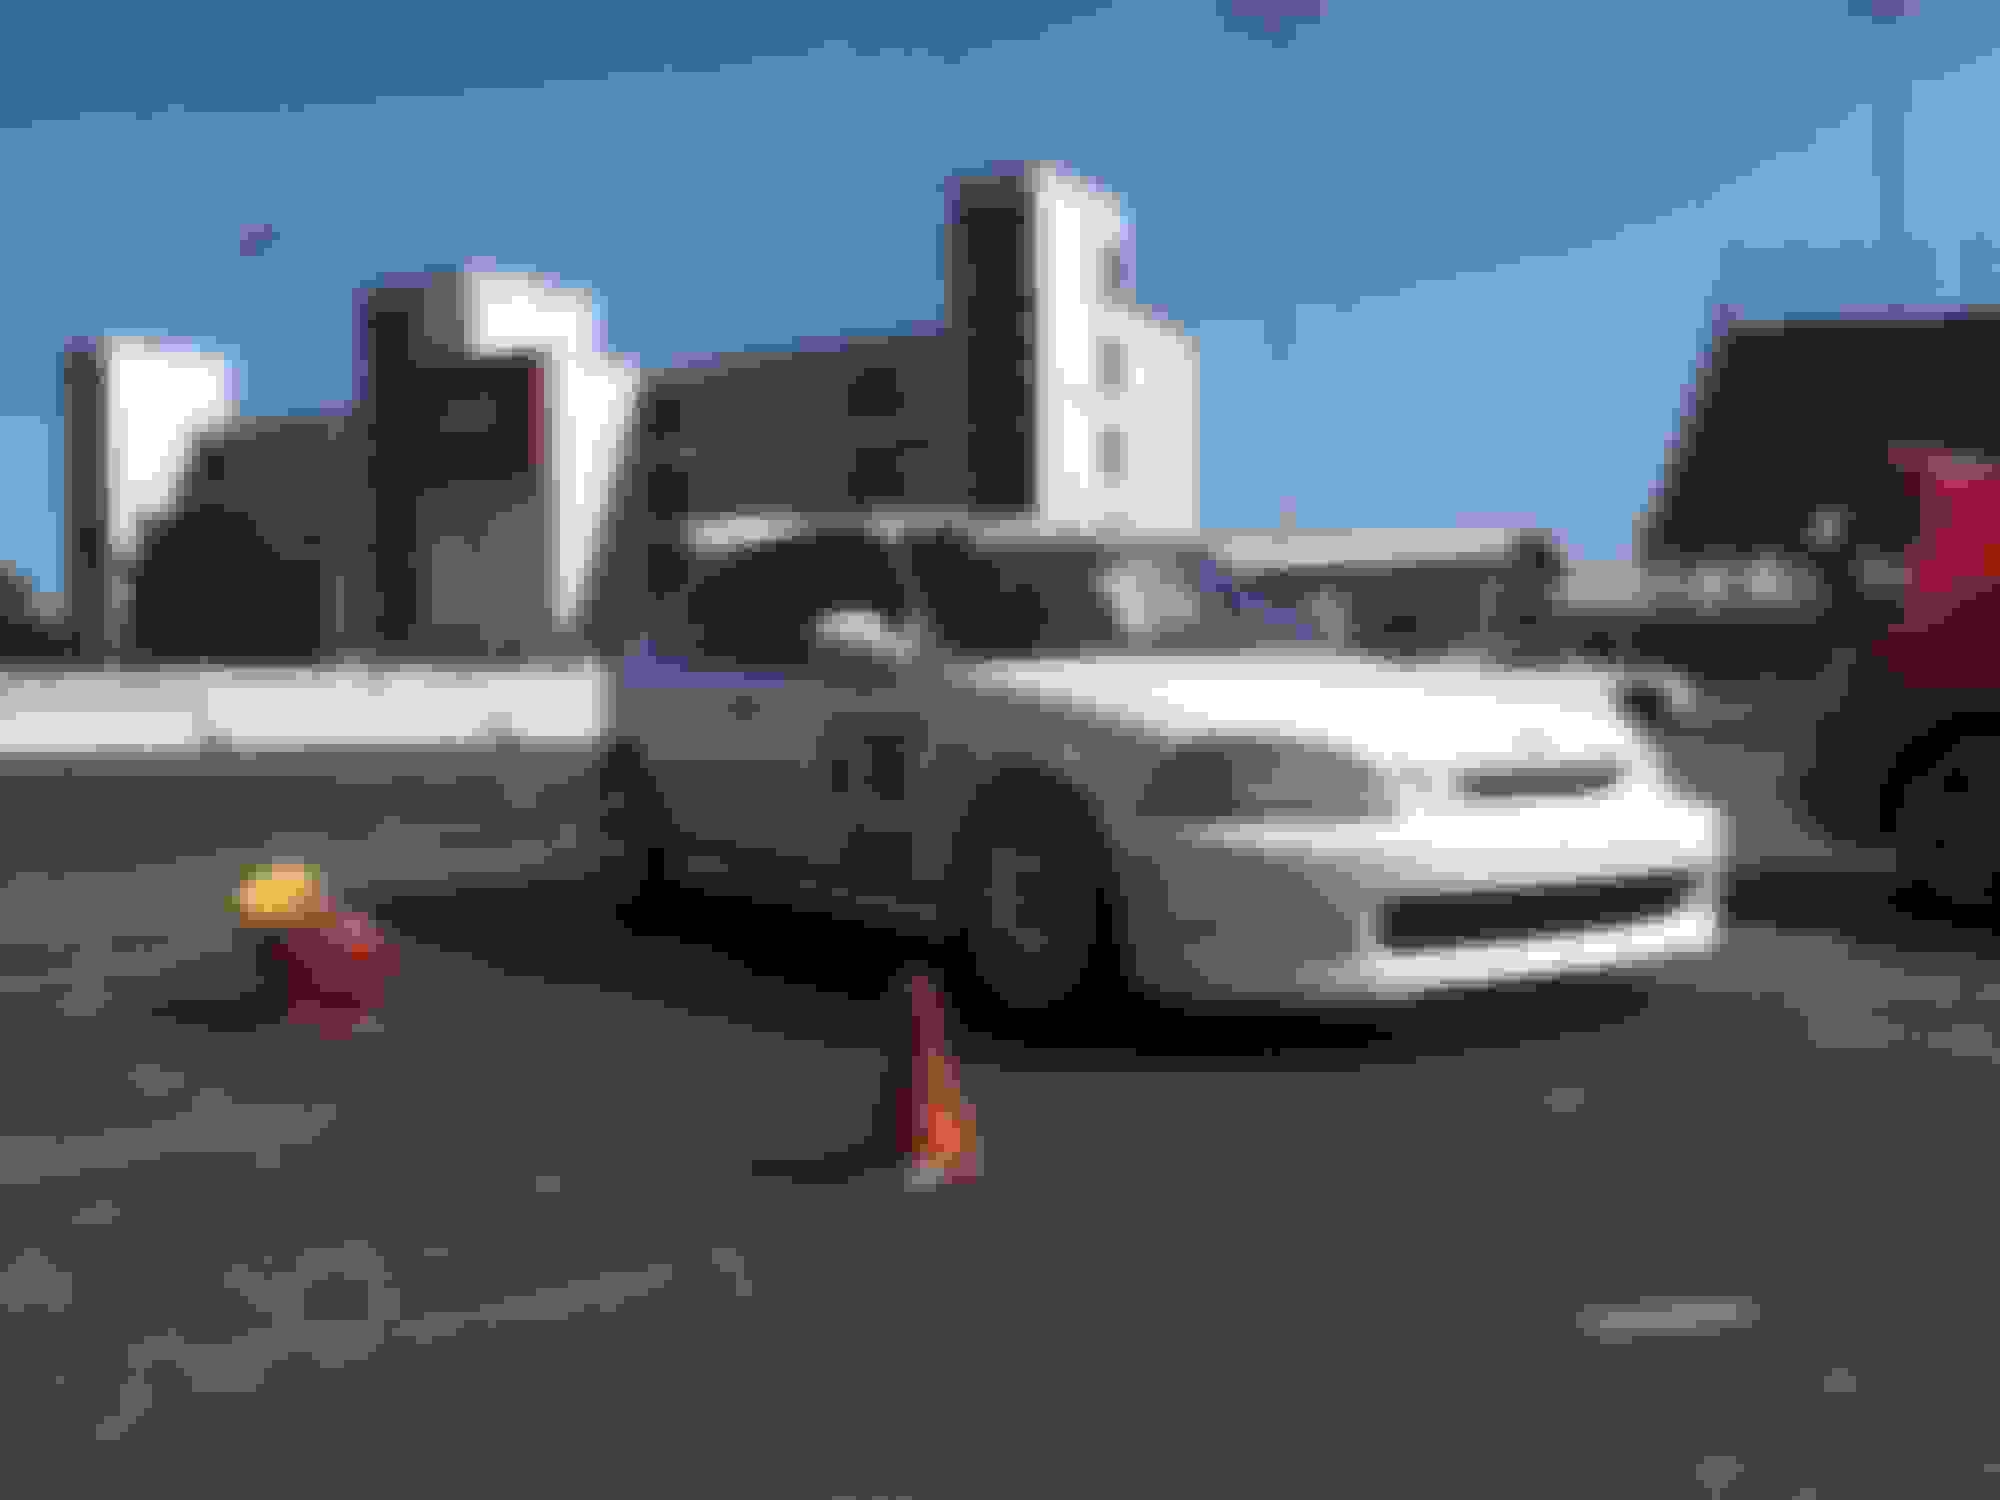
Two weekends ago, I took the CTR out for it’s first weekend of racing after 6 months of being down in the shop. I was eager to get the car out on course and really put it through hell to see what the new setup is capable of. The prior Thursday, we tuned it and got it ready for racing. Saturday morning I drove down to Rantoul, IL for a race with CCSCC and then drove down to STL following that event for a Sunday race with STL SCCA.
First and foremost, the car is a freaking BEAST. It surpassed all of my expectations of how it would perform, and even after 10 months of not racing I was able to shave ~2.5s from where I had been last year. I only predict for things to get better as I tweak the settings and really learn how to drive the car.
Something that was unexpected, is the fact that the previously INSANE OVERSTEER car that the CTR was last season, has now switched to an extremely neutral/slight understeer car. I am really pleased with this, since I would like a car that I could easily (and safely) drive on the track, and I would much rather dial in more oversteer than have to figure out how to remove it. I imagine that the new half cage has a lot to do with this. Along with being able to transfer more weight to the rear tires (ultimately more heat), I added -.2 camber in the rear, and also have the slightly raked rear spoiler. While the half cage is probably the largest contributor, all the little things must be adding up too. I also began my events running the pressures that I had been using last year, 33/30, since I was trying to reduce the oversteer. Once I got comfortable in the car, I shifted the pressures back to neutral and eventually was running them at 30/32. I think that I will wind up running them closer to 28/33 with a slight tweak to damping (softer front and stiffer rear). This should net me the balance shift that this car deserves and the time should really begin to fall off once I figure out all of the tricks of driving it.
Here are a few pictures from the events.
Unfortunately, the first weekend of events did not go without issue. Which is to be expected when racing a car that has undergone the sort of transformation that this one has. At the first event, I lost a couple of bolts on the slip fitting on the header which resulted in the exhaust rattling loose during one of my runs. Not the end of the world, I Was able to get it fixed and finish the event!
On the way back from STL, I did have a scare which led me to think that I may need to trailer the car the rest of the 220 miles from Litchfield, IL. Long story short, one of my injector wires had broken at the solder (huge thanks to Mikey @ ProFunction for helping me source the issue) leading to the car running like crap, vibrating, and even dropping a couple of bolts. Luckily I met some awesome local folks who were car guys, and even better, they were Honda fans :D. I spent a couple of hours at the local O’Reilly, where Eldar was more than helpful in helping me get taken care of. He even offered for me to use some of his personal tools to help me reach some bolts. In the end, I wound up purchasing a soldering iron and all of the necessary collateral pieces to solder the wires back together and get the car back on the road! It’s really cool when you get pinned up against a wall so badly, yet you’re able to pull it together and figure everything out. It looks like my years of working on cars (and, of course, a little help from friends) has really paid off. At least on July 12th 2015 it did.
Well, unfortunately the custom aluminum exhaust that ASI made for me is just not going to work� For the type of racing that I do, it is entirely too loud. The aluminum does a poor job of dampening the sound level, as the pitch was measured at greater than 103dB at one of the events. Not to mention the drone can be quite unbearable for longer drives� By the end of my 6 hour trip back from STL, I pretty much wanted to shoot myself.
Now I am no stranger to louder exhaust and long drives, but this was nuts. The drone was just too much�
I have decided to go ahead and have a new exhaust made from a full pre-bent 3″ stainless steel kit from KTeller. Helping dampen the volume will be two Magnaflow mufflers; a 5″x14″ round in the mid-pipe and a 4″x14″x9″ oval in the rear section. Between the two of these, along with the denser stainless steel tubing, I should have a pretty decent setup. I know that it won�t be silent, but I think that I should have a nice tone and the drone should be cut down significantly compared to the aluminum setup.
I am also on the fence about doing a lobster tail turndown at the rear tip�
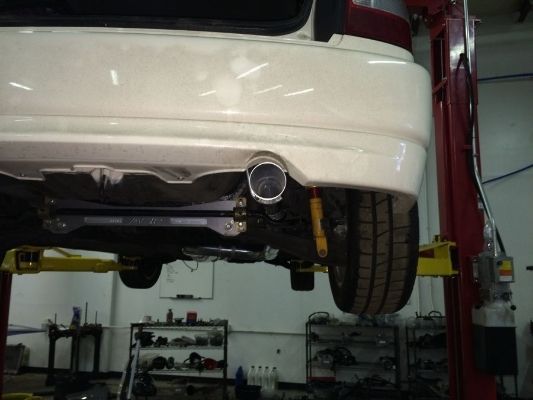
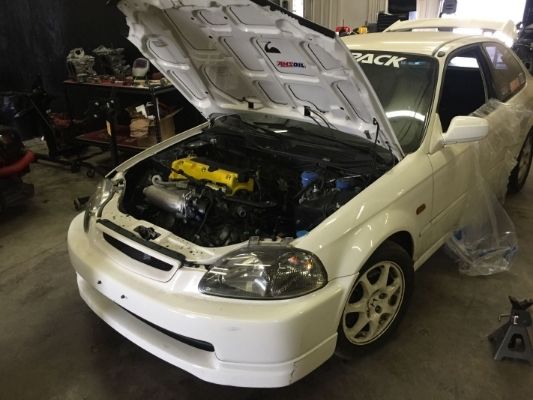
I had ProFunction weld in my new Stainless Steel exhaust system. It�s raw stainless, not polished, and I think it has a nice look to it. Very subtle, almost OEM-looking, and very tame sound. The car is no louder than any other modified car on the street, and better yet, it has a smooth, deep, even tone. It doesn�t have any rasp, and does not have your typical fart-sounding Honda tone. I am very pleased with the results.
After a rough 2015 of setbacks, I am back after it in 2016.
I have a short list of items that I want to knock out before my first event;
� Replace drivers� side RTA bushing
� Swap Spark Plugs
� Add a second top mounting post to my radiator (it keeps rotating under braking, and was touching the frame)
� SOlder in a new set of injector pigtails. That was the major issue that I dealt with last season that created a whole slew of other issues.
� New brake rotors, probably Centric Premium
� And I wouldn�t mind having ProFunction throw the car onto the dyno for 30 minutes to an hour to put it through some abuse and see how everything looks.
Today, I had some spare time so I decided to install the rear plastics back into the car. Since I added the half cage, it wasn�t as simple as just popping them back in. The plastics required a good amount of trimming to make them slip into place. But I also wanted to make sure that it didn�t look like just some hack job Honda. So I trimmed the plastics carefully, and finished out the edges using trim piping.
Before Installing
Trimming the plastic
Fitted into place and reinstalled
Last item for the interior, is that I would like to add a small carpeted piece of wood to the trunk area to cover the spare tire space. Obviously not for when the car is on-track, but for daily use, and a little added compartment for storage.
Hey all, it's been a while since I posted anything. It has been a crazy busy year for work and whatnot, but the car has been out and running. I've managed to hit a handful of events, and have fixed some wiring issues and whatnot. Overall, the car is a blast to drive and I have really been enjoying it. Now I'm too the point where I feel I've gotten comfortable with the car and should be able to begin shaving time off my runs and really becoming more competitive. I've managed to win SMF class in a few of the events I've been to, but I'm still not happy with my raw and index placement. Some videos below of my runs.
I ran poorly at my latest event, mainly because I wasn't used to having so much heat in my rear tires and hadnot adjusted the car to be looser as a result. The below video is from what would've been my fastest run, if I hadn't locked up my brakes on a turnaround. Looking at the timing, I would've shaved 2 seconds off my fastest previous run.
Wiring has been a bit of a problem on this car for a while. So a couple of weeks ago after the car had developed a little bit of bogging once the car was warm on the highway, I decided to run through all of the wiring and fix what needed attention. I knew the injector pigtails needed to get done, so I went ahead and did those. New pigtail
old pigtail from an RSX that we rigged together to get the car running
Old
New
All soldered in and done.I also fixed the headlight wiring. My right headlight stopped working and I was able to trace it to a broken wire on the LED headlight circuit board.
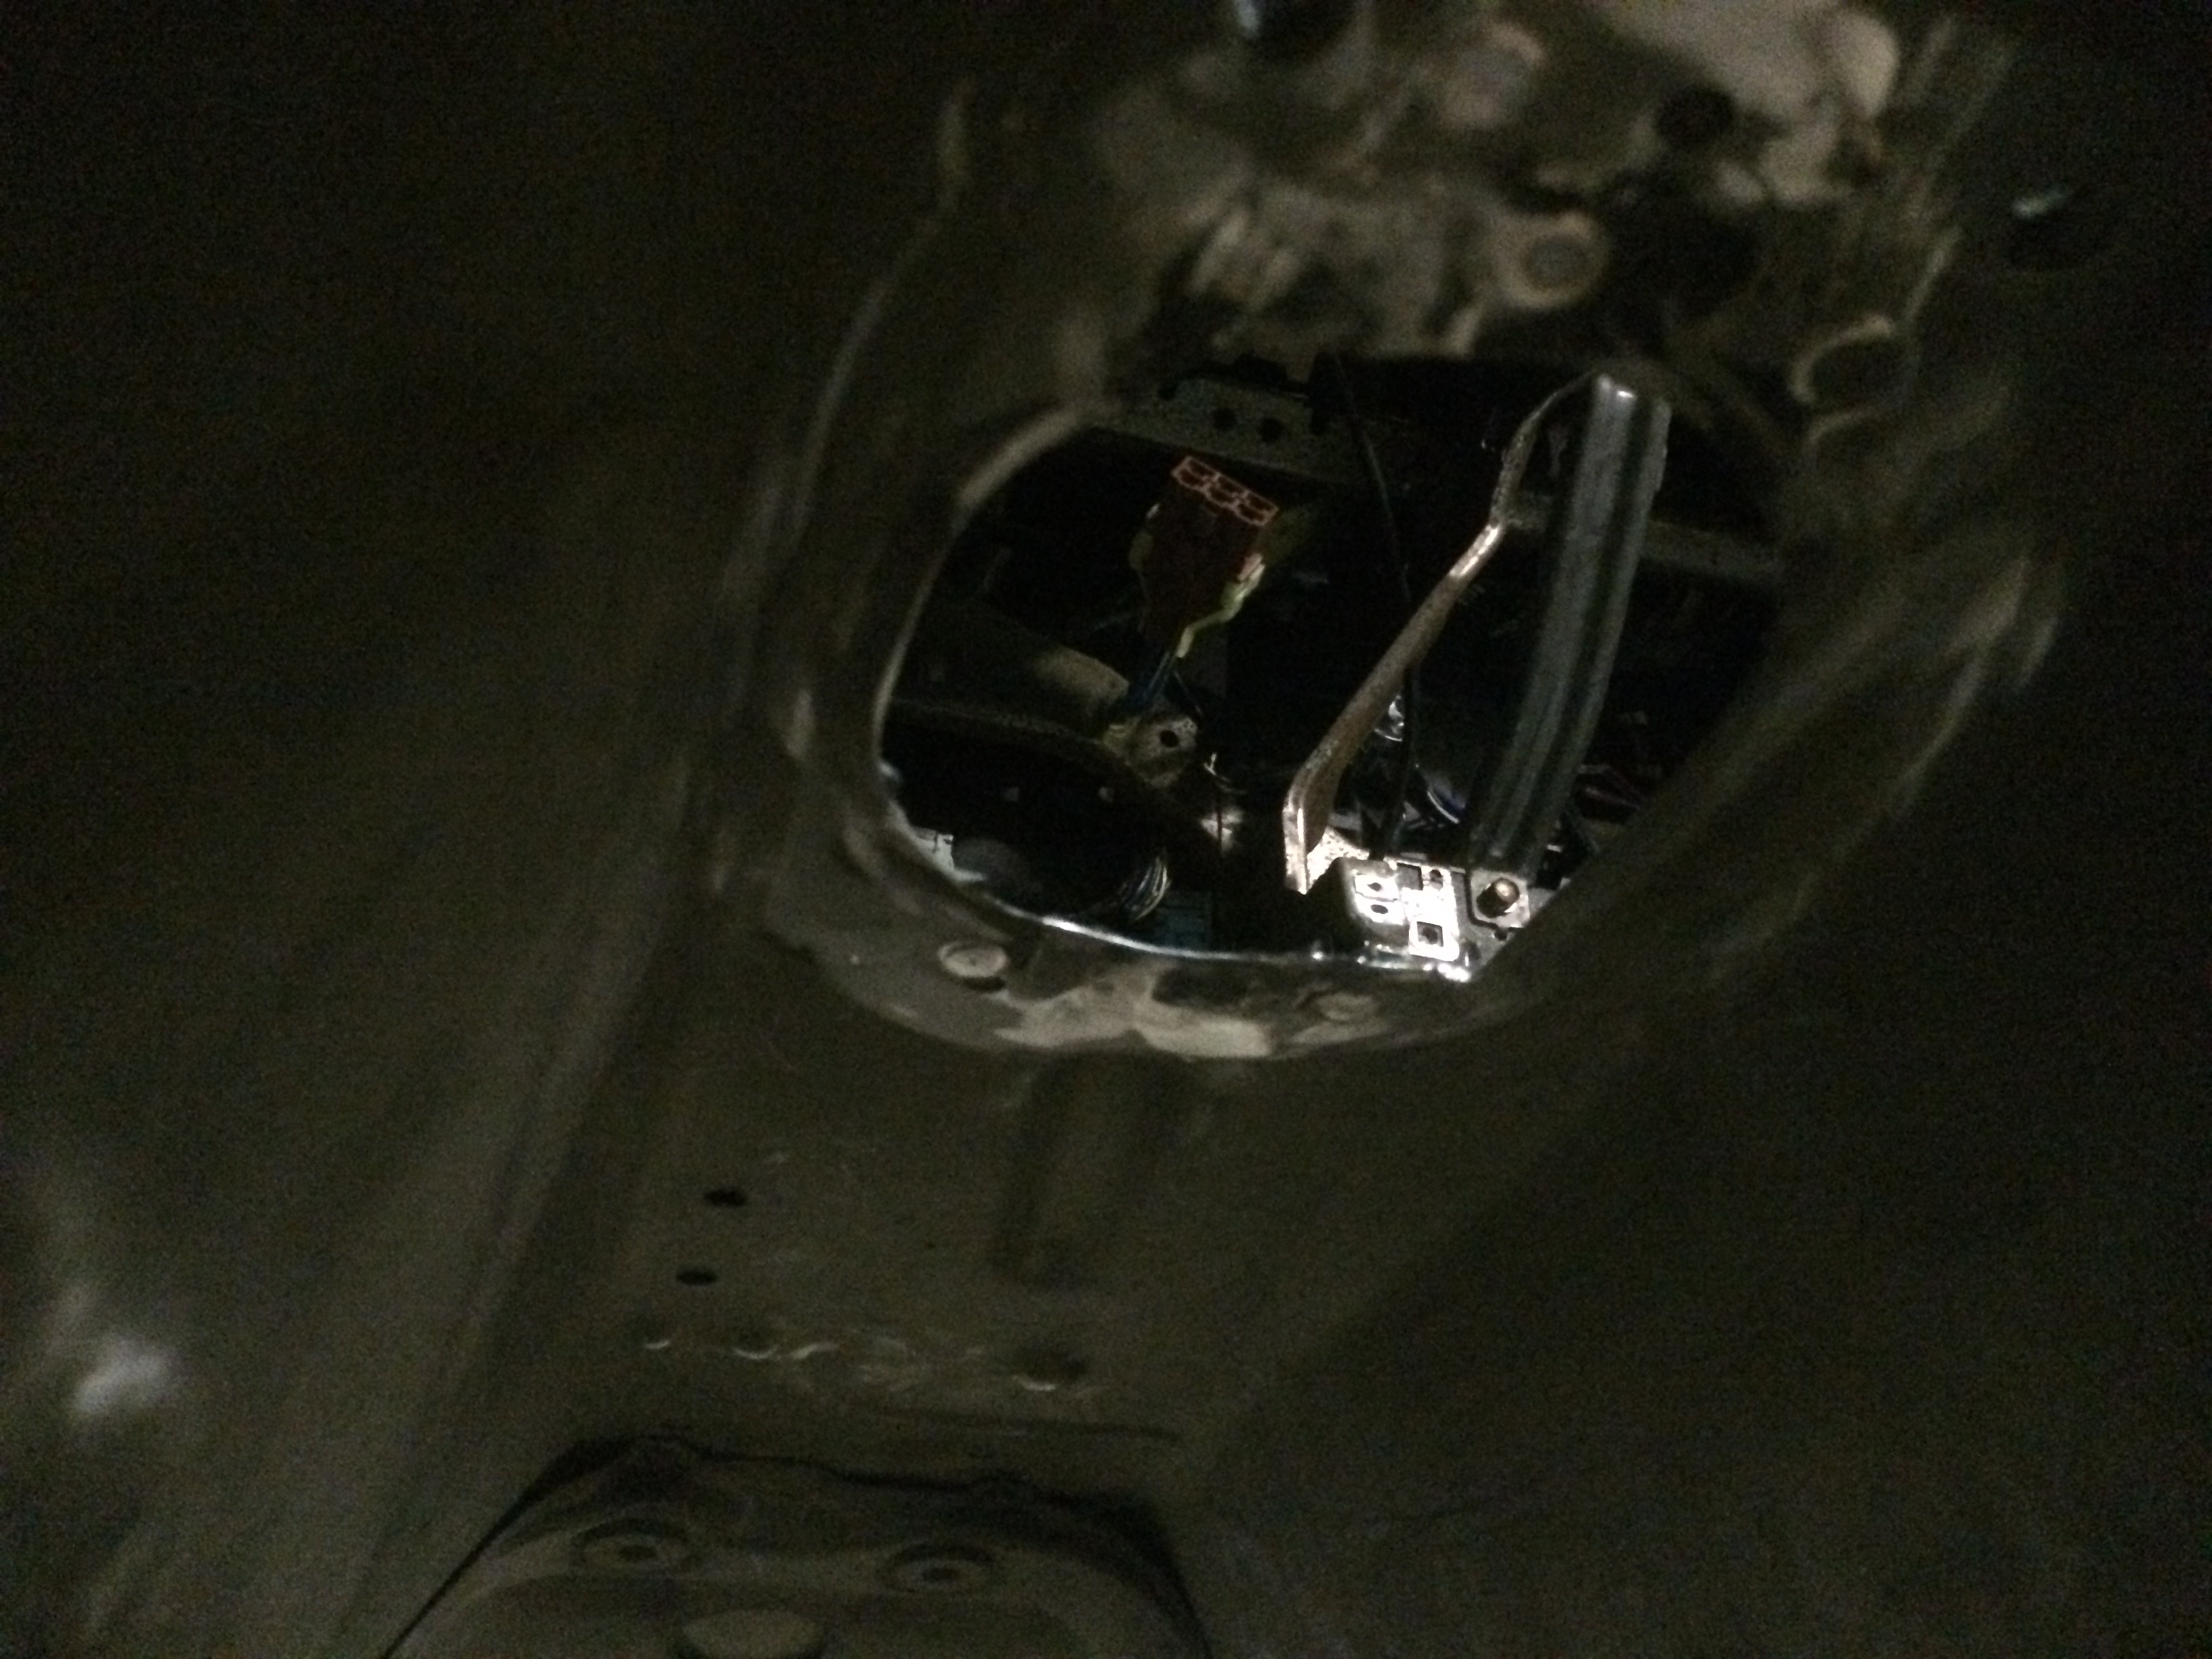
Then I found this jacked up wiring coming off of the fuel pump. I had totally forgotten that the previous owner had wired in this "security measure" where he could pull a connector off the fuel pump to prevent someone from being able to start the car. This was definitely the cause of the bogging I was experiencing. Just from idling for a couple of minutes, this jank *** wiring was too hot to even touch with bare fingers. butt connectors spliced into the fuel pump
connector that had worn through and was too hot to touch
This is the wiring the previous owner had added to the fuel pump wiring... no soldering, all butt connectors.I also finally fixed the wiring on my right side marker light. 100% operational now. Was all butt connectors. I still have some cleaning up to do on these though. removed connector
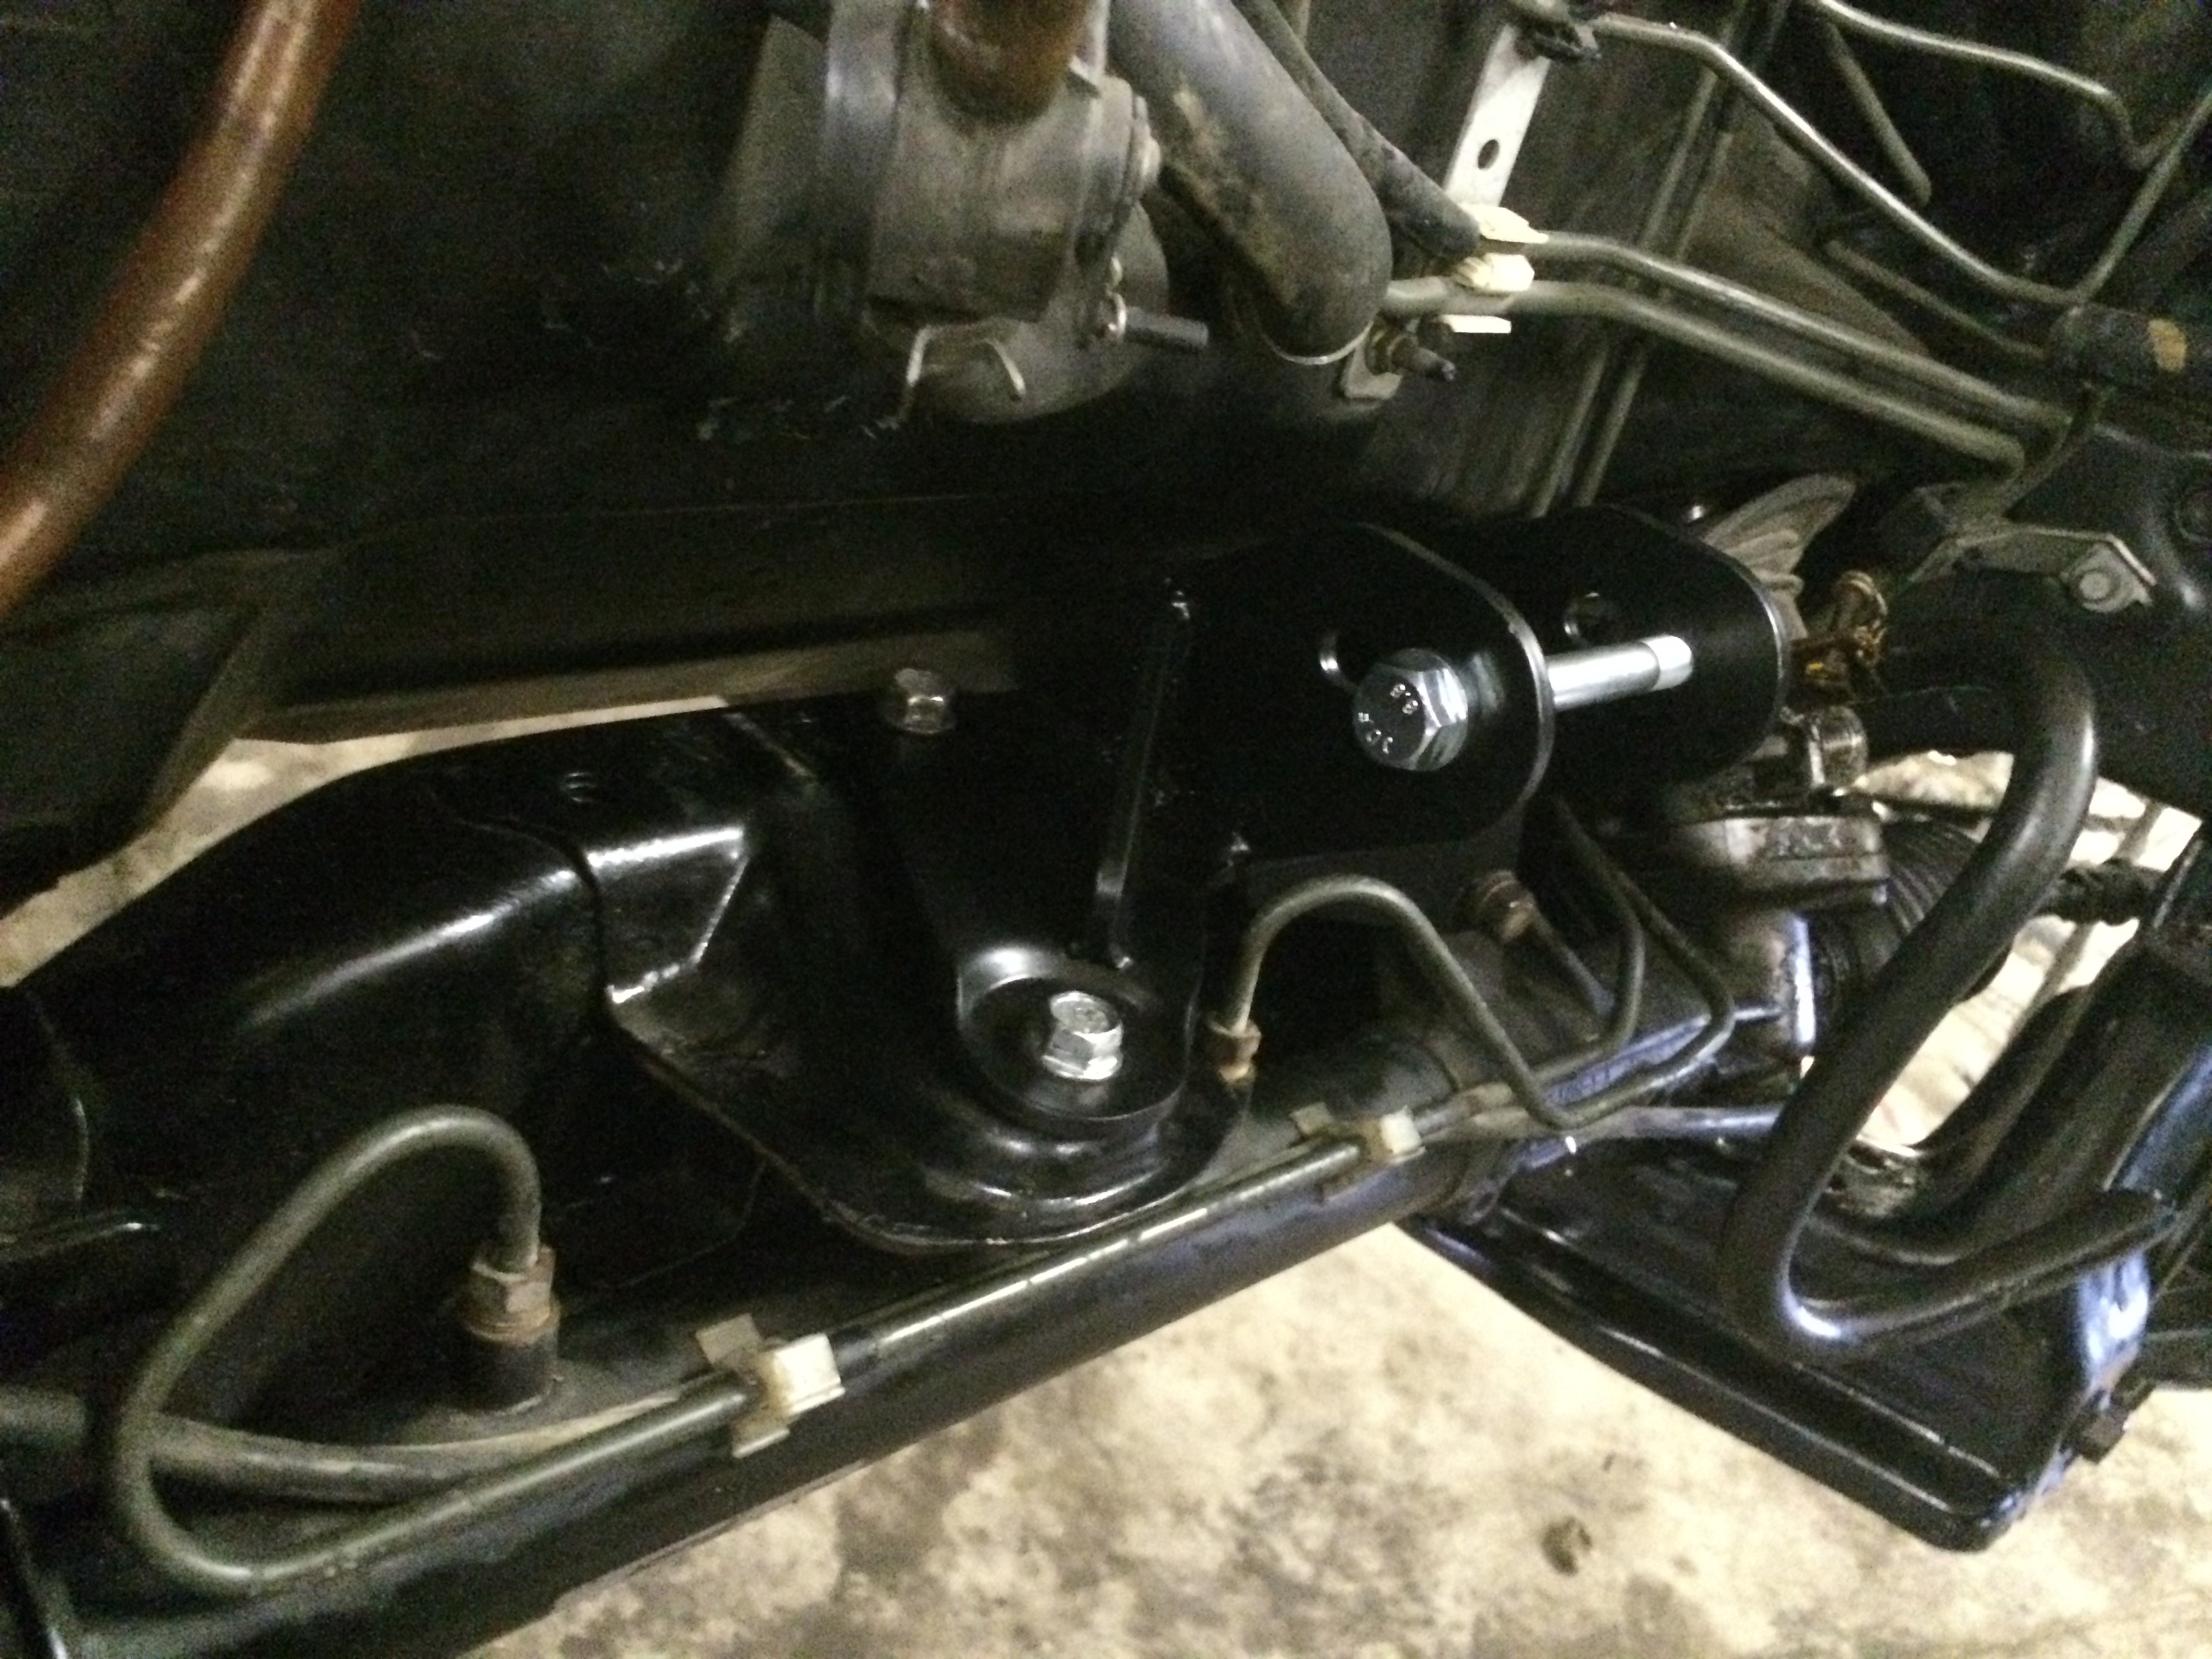
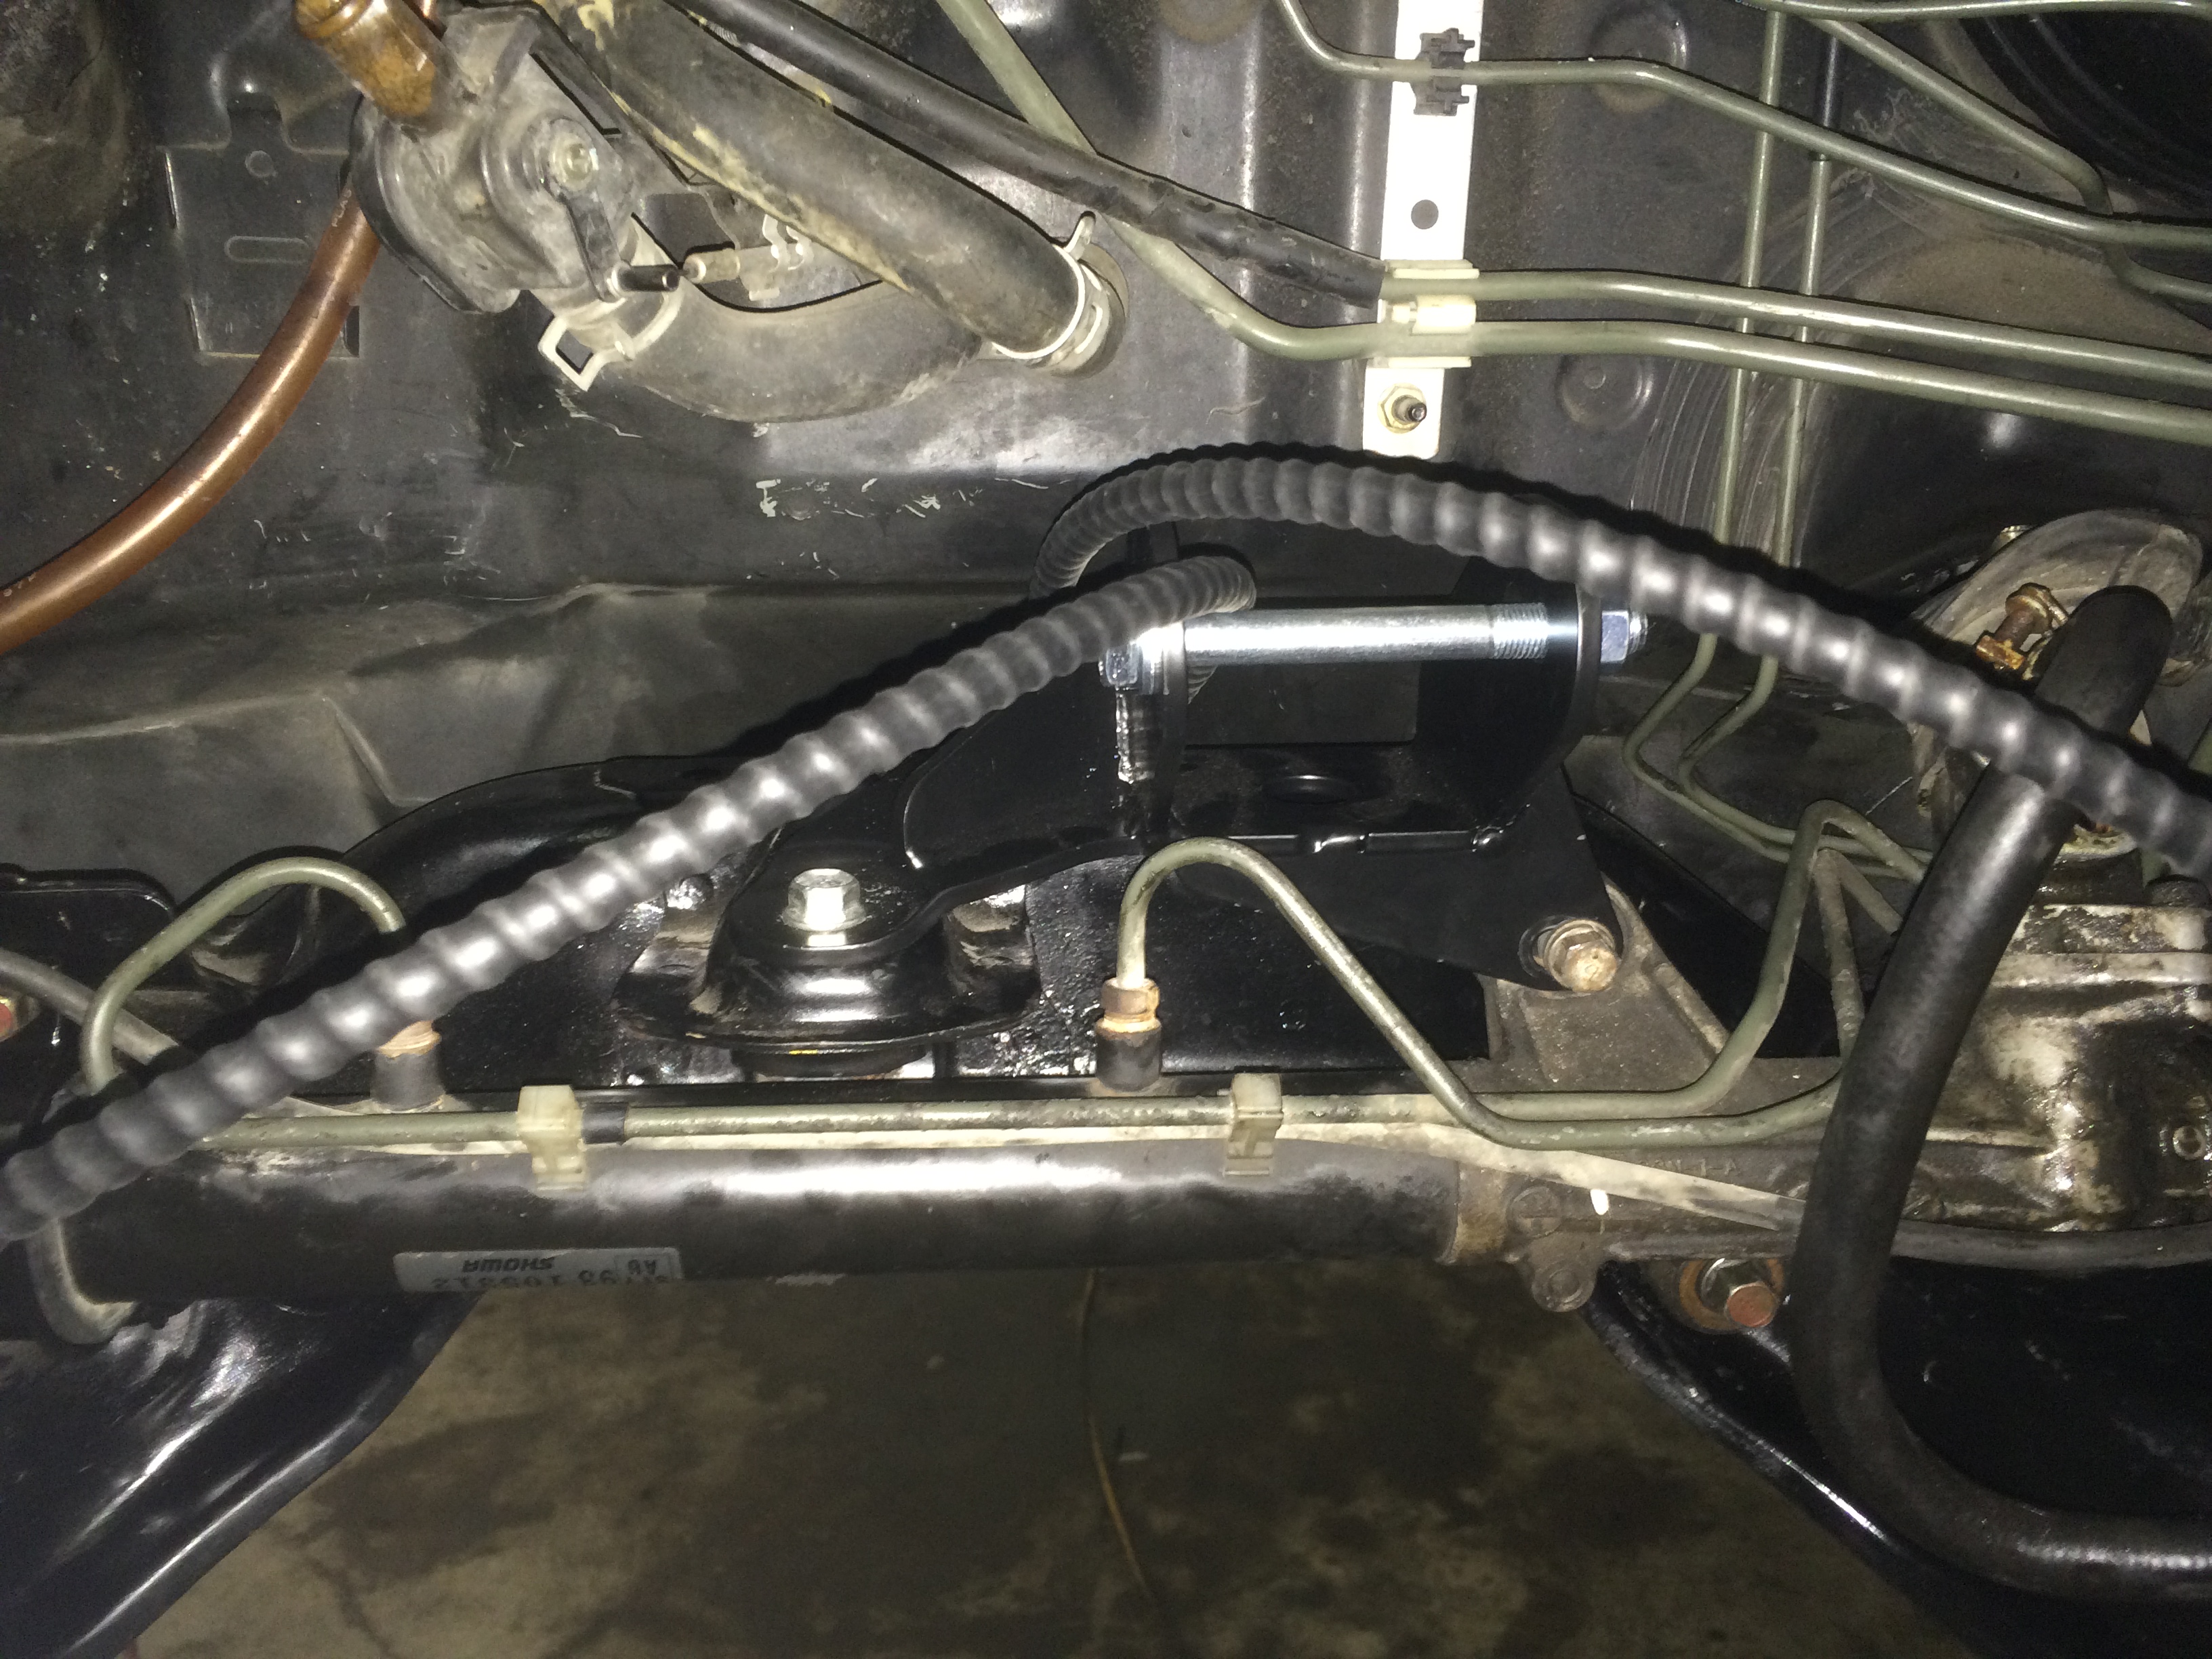
Something that I would also like to do is add a vent to my steering system. Since I have a looped PS rack, it can be a little heavy at times. I was reading online, and think this could be a nice addition to maybe help a little bit, and keep fresh fluid running through the lines. I picked up a small paint sprayer reservoir from HD, along with some brass fittings. Now I need to buy some longer lines and figure out how/where to mount it. It should be able to hold about 4 oz. of reserve fluid for the steering rack. Once installed I will report back with any improvements, if any. I don't expect it to be very dramatic.

 01-24-2015, 05:24 PM


 .
.