Honda: How to Wet Sand Paint
Learn the basics of wet sanding the factory paint on your Honda Civic or Honda Accord. Follow this guide to achieve a smooth, even surface before your next paint job.
This article applies to the Honda Civic/Del Sol (1990-2000), and Accord (1990-2002).
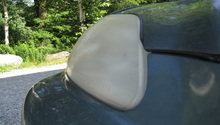
If a normal wash and wax can't bring back the shine or luster of your Honda Civic's or Accord's factory paint job, simply apply a little elbow grease to do the job yourself. Wet sanding your car's paint is very similar to polishing it. The process of wet sanding involves sanding out the top, scruffy layer of the paint to level out its surface. Polishing your car achieves the same effect, except that it requires the use of an abrasive liquid to break down the surface particles of the paint. Wet sanding is a simple and effective process for restoring your car's paint, so read on to learn how to do it.

Materials Needed
- Car wash soap and water mixture in a bucket
- Sandpaper (1,000, 1,500, 2,000 grit)
- Microfiber cloths
- Car sponge
- Car polish
- Scratch removal product
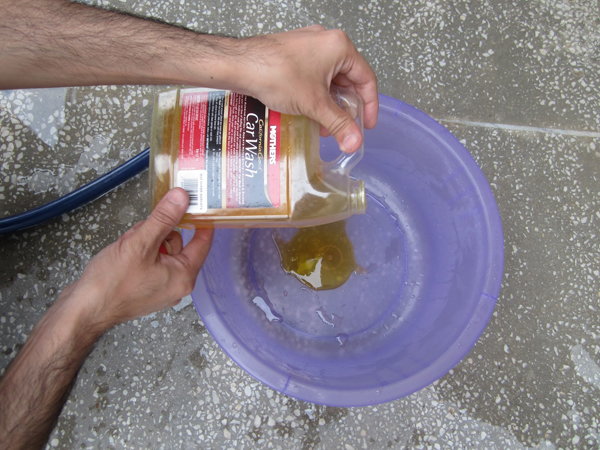
Step 1 – Wash the vehicle
With your choice of car soap, wash your car. Make sure the entire vehicle is free of dirt, grime, and wax.
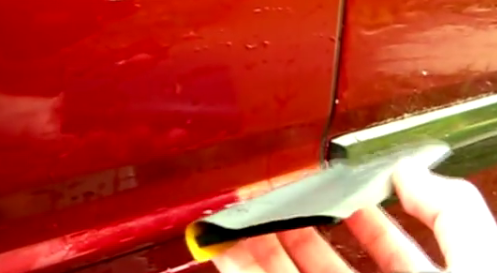
Step 2 – Sand the paint
- Allow the three different grit levels of sandpaper (1,000, 1,500, 2,000) to soak in a bucket of water and soap mixture.
- Wet the area you are about to sand with water.
- Beginning with the 1,000 grit sandpaper, lightly sand the intended area of paint in a small, circular motion.
- Make sure to remove highly visible imperfections, and remember to keep applying water to the surface.
- With the 1,500 grit sandpaper, lightly sand the intended area again. Remove additional imperfections.
- Lastly, with the 2,000 grit sandpaper, lightly sand the intended area once more. Make sure that the surface of the paint is smooth.
- Do not forget to keep the surface well lubricated with the water/soap mixture.
Pro Tip
Change the water in your bucket regularly to reduce buildup of dirt.
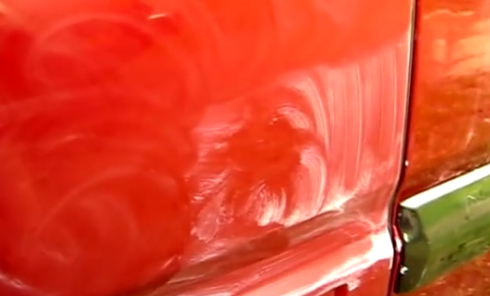
Step 3 – Polish the paint
- Apply a polishing compound to your microfiber cloth, and polish the sanded area in a smooth, circular motion.
- Let the polish dry for at least five minutes
- Then, use a clean microfiber cloth to wipe away the polish. Do so in a smooth, circular motion.
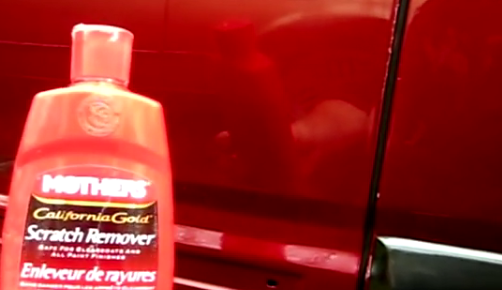
Step 4 – Apply the scratch removal product
- Apply a scratch removal product to your microfiber cloth, and rub it into the polished area in a smooth, circular motion.
- Let the scratch removal product sit for at least five minutes.
- Then, use a clean microfiber cloth to wipe away the excess scratch remover. Do so in a smooth, circular motion.
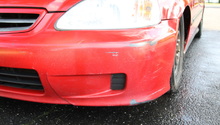
- Rub the area until your paint receives a shiny, smooth surface.
Related Discussion
- Wet Sanding Paint - Honda-Tech.com