Honda: How to Remove Defects in Black Paint
Road debris, dirt, swirlmarks, bird "effluent," and scratches. All of these, and more, will leave marks on your car, especially if it is black. This article covers how to remove those pesky marks, as well as protect the paint and clear coat on your Honda.
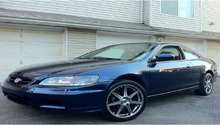
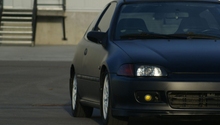
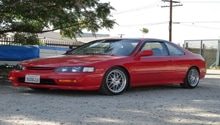
This article applies to the Honda Accord (1990-2002) and Civic/Del Sol (1992-2000).
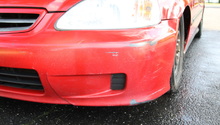
The color black reflects little color. That is why the smallest raindrop mark or swirl markings (millions of tiny scratches on the surface of your car) will show up on your black paint. Even residual water from washing your car can leave marks. Acid rain/etching, scratches, oxidation, and stains also mar or dull the finish of your car. This article provides a step-by-step guide on how to remove surface marks and blemishes, and at the same time, protect the finish on your car. With a fairly small investment, you will be able to keep your Honda's finish at "show car" quality as well as help maintain its value.

Materials Needed
- Car washing materials (water, car soap, bucket, hose, sponge, microfiber towels)
- Clay bar
- Swirl removal compound
- Scratch removal compound
- Finishing polish (optional)
- Glaze product (optional)
- Wax/sealant (optional)
- Polishing machine (optional)
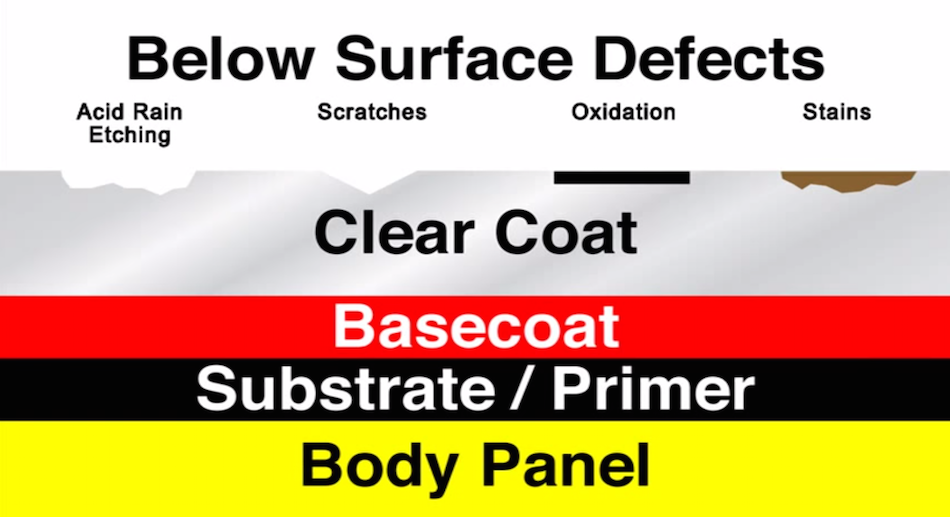
The illustration below shows you the different levels of body finish. The first is the unadorned body panel. A primer is put on to help the base coat adhere to the body panel, as well as to fill tiny imperfections in the body panel itself. The base coat gives the car its color. The clear coat is basically "clear" paint. It acts as the first line of defense for the base coat and gives the paint job a deeper luster. Although 95% of all cars now come with a clear coat application, if your vehicle doesn't have one, this article will still be helpful.
Pro Tip
If you are new to removing swirls and other defects, take it slow. Working too quickly or rubbing too strongly could mar your finish and cause more problems.
Step 1 – Preparation
- Wash and completely dry your car.
- Inspect your vehicle for scratches, swirls and other finish defects.
With the car cleaned and dried, rub the backside of your hand across the paintwork. Does it feel glass smooth, or are there some spots that are coarse or cause your hand to stick? If it's the later, you will want to use clay bar to remove contaminants from the paint work. A clay bar is exactly what it sounds like: a moldable, putty-like substance that removes bonded particulates such as dust, contaminants, and pollution that washing doesn't remove.
- Break the clay bar into small pieces and kneed it to the contour of your hand. This prevents wasting excess material.
- Working one panel at a time, spray the panel with quick detailer or water, and then gently rub the clay bar across the panel. The water lubricates the panel and allows the clay to slide across it without sticking. As you work the panel, it should become increasingly smooth, to the point of being slick.
- Periodically inspect your clay bar. As it pulls the contaminants from the paintwork, the clay itself becomes dirty. The clay should remain clean to work effectively and not mar the finish.
- Once the whole panel feels smooth, dry the panel, confirm that the finish feels contaminant-free and smooth to the touch, and move onto the next panel.
Pro Tip
If you drop the clay on the ground, throw it away; it's done. Otherwise you will be rubbing the panel with whatever filth was on the ground that the clay picked up.
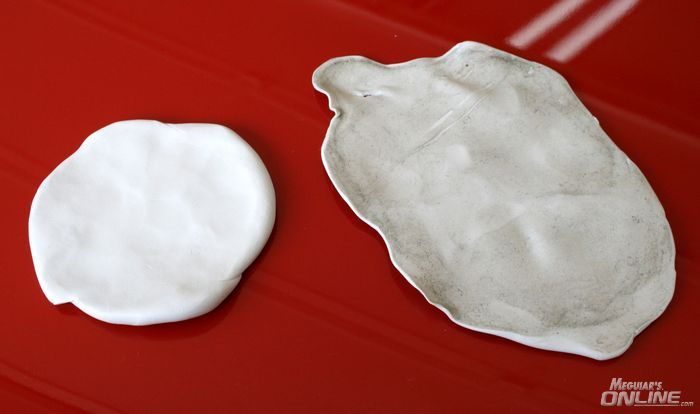
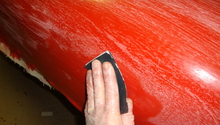
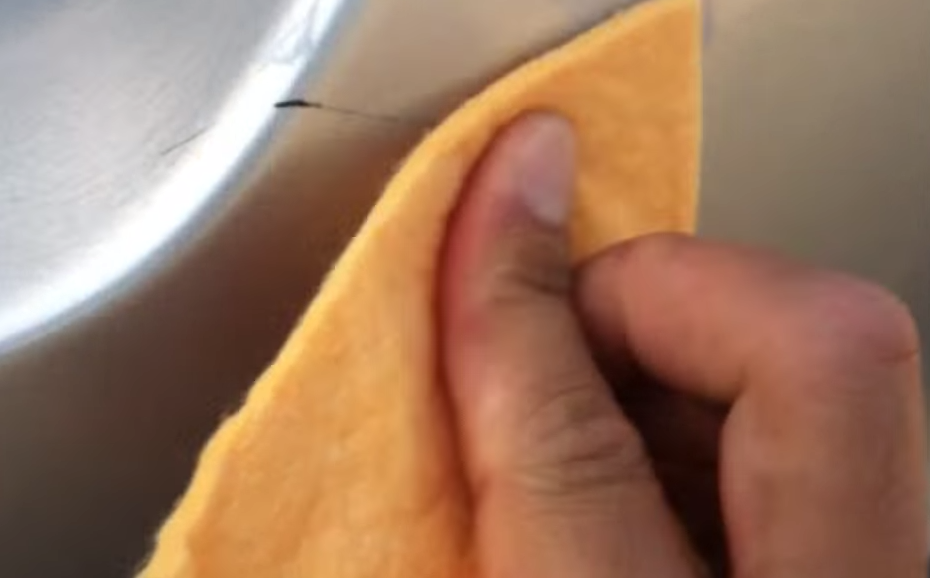
Pro Tip
Once your piece on clay bar resembles the picture above, throw it away. Clay bar is one time use only.
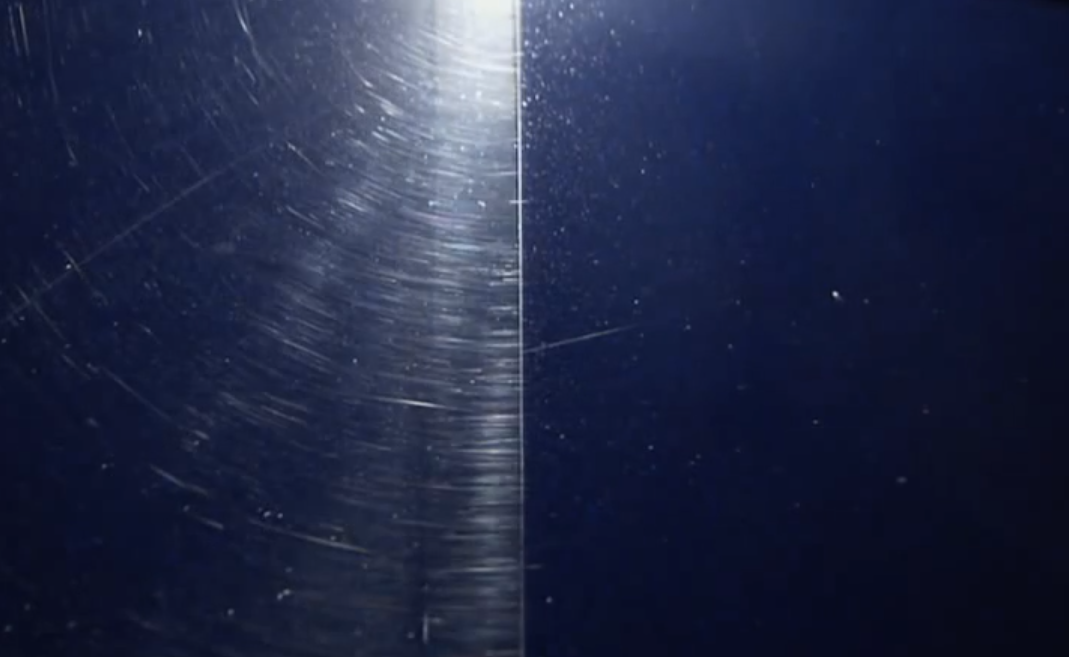
Step 2 – Swirl removal
- Apply the swirl removal compound (e,g. Meguiar's Swirl X) in short circular motions with the polishing pad. The product should be worked into the panel, leaving a hazy finish.
- Wipe it off with a microfiber towel. You don't have to wait for the compound to dry.
- Repeat one or two more times, and the swirls should be gone.
Pro Tip
If using a polisher to apply the product, start with the lowest speed and pressure that you can and work it up accordingly. You do not want to burn the paint.
Step 3 – Larger imperfection removal
- Locate scuffs and marks on your vehicle.
- Apply a dollop of scratch removal compound (e.g. Meguiar's Scratch X 2.0) onto a microfiber towel.
- Vigorously rub the compound into the scratch or blemish to remove it.
Having cut through the majority of the surface imperfections, all that should remain are the more callous issues. They will require a more abrasive polishing compound and technique. Before you start working the panel, give an honest assessment of whether or not the imperfection can be corrected through polishing. Some defects are simply too large, or would require repairs and refinishing of the panel. Run your hand over it; if your hand or fingernail catches the imperfection, it may be a paint chip, not a scuff.
Pro Tip
Identify the difference between an imperfection that can or cannot be corrected with polishing; this will minimize excess work.
Step 4 – Polishing and waxing (optional)
Now that you've dedicated the time, expense, and effort to bring the black paint on your Honda to a "show car" level, you'll want to keep it that way. Once you've removed the blemishes, you'll want to apply a finishing polish to remove any residual coarseness, top with a glaze product (works like wax, offers extra paint depth and shine), and then apply wax or sealant to your car.
How often? That depends. For washing, if you live near the ocean, in the woods, or in an area of high air pollution, once a week would be good. If you live in an area with no tree sap, bird droppings, or dead bugs, try once a month. Otherwise, wash twice a month.
Waxing? Again, it depends. Here's a general guide:
- Summer: Every 4-6 weeks
- Fall: Every 8-12 weeks
- Winter: Every 4-6 weeks
- Spring: Every 8-12 weeks
A good "field test" is to place a few drops of water on your hood. If the water beads tightly, you're OK. If it doesn't, it's time to wax.

Related Discussions, Site, and Video
- Detailing FAQ - Honda-Tech.com
- Polish Like a Pro - CarandDriver.com
- How to Polish Your Car - YouTube.com
- Wax Discussion - Honda-Tech.com
- Polishing Compound Chat - Honda-Tech.com