Honda: How to Install Keyless Remote
Learn how to install a keyless remote in four simple steps.
This article applies to the Honda Accord and Civic (1990-current).
Installing a keyless remote kit in your Honda is a relatively simple task. First, it is important to research the types of kits available and to discover which kit is best for you. After you purchase the best kit for your needs, installation involves accessing the wires that operate the door locks, attaching those wires to the controller that comes with the kit, and testing the system.

Materials Needed
- Wiring diagram for your Honda (correct model and year)
- Soldering gun and solder
- 10mm socket and wrench
- Electrical tape
- Wire-bundling material
- Wire-insulation removal tool
- Multi-meter
- Keyless remote kit
- Phillips screwdrivers, various sizes
You will be grafting wires from the keyless remote controller to the wires that electrically operate your Honda's door locks, trunk, parking lights, and audio speaker, depending on the kit you purchased.
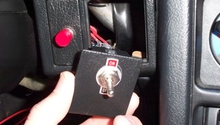
Step 1 – Gain access
Remove the plastic covering from underneath and around the steering column of the car. On some Honda models, there may be a metal kick plate in addition to the plastic shrouding. Both components can be removed with a 10mm socket.

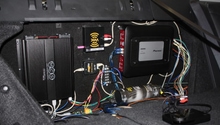
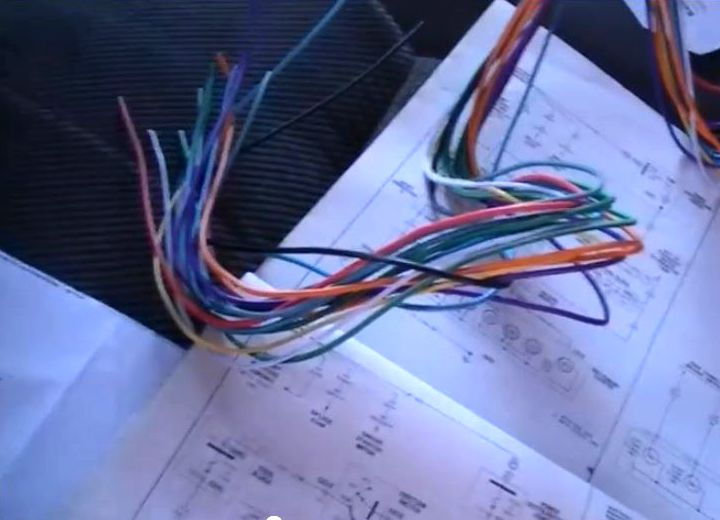
Step 2 – Match up wires
Using the wiring diagram for your car, determine which wire harness powers the door locks and other devices. Using the wiring diagram from the keyless remote kit, determine which wires match the lock, light, and audio wires on the car’s wire harness. If possible, use the color codes to match up the wires. Red (or white) is usually power, black is ground, etc. Use a multimeter to find a wire that is constantly on and supplying power (e.g., a trunk light wire).
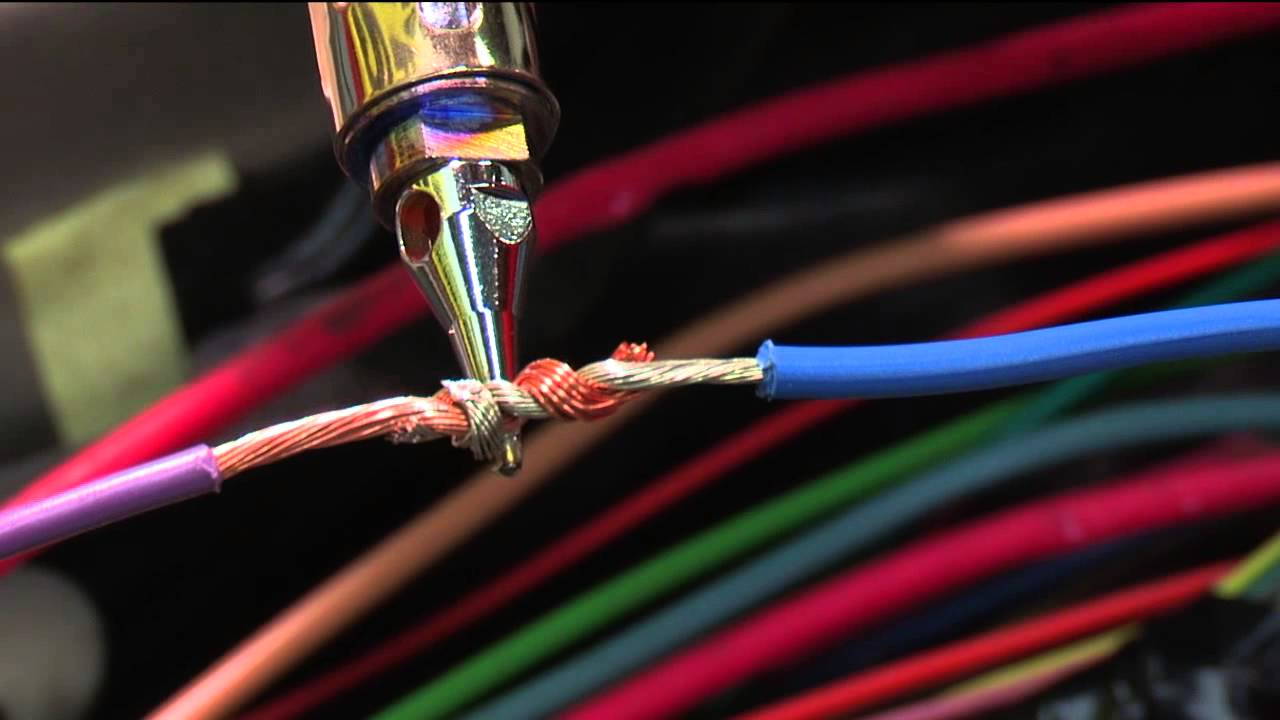
Step 3 – Soldering
There's no need to cut wires. Instead, strip a small section of insulation off of each appropriate wire in the wire harness and solder the corresponding wire from the keyless remote controller/power to that wire.
Step 4 – Test the system
After you have soldered all of the necessary wires, test the system with the key fob that came with the kit. If you need to re-solder a wire, bind the previously-soldered wire with electrical tape to avoid shorts. After you’re confident the system works properly, bind up the soldered areas with electrical tape, then bundle all wires together. Secure the bundle and the controller to the area around the steering column. Re-attach the plastic covering underneath and around the steering column.
Featured Video: 2001 Honda Civic Aftermarket Keyless Entry Install
Related Discussions
- Accord Keyless Entry Discussion - Honda-Tech.com
- Keyless Entry Troubleshooting - Honda-Tech.com