Honda Civic: Why is My Trunk Leaking?
A trunk leak is never good. Water can damage your trunk liner, and ruin anything you store in the trunk. Before attempting to resolve the issue, be sure you figure out where the leak is coming from. You don't want to replace unnecessary parts. So ontinue reading to diagnose, and repair the leaking trunk in your Civic.
This article applies to the Honda Civic (1992-2000).
Water can leak into your trunk from several places. A worn taillight gasket or trunk seal are the most common reasons why your trunk is leaking. Before you can resolve the issue, you first must diagnose where the leak is originating from. You'll need someone to help you do this. Once you identify where the leak is, you can resolve the common causes on your own with tools you likely already have.
Step 1 – Determine where the leak is
You know your trunk is leaking, but you don’t know from where. Before you can fix the problem, you first must identify where the leak is. The best way to do this is with a friend’s help.
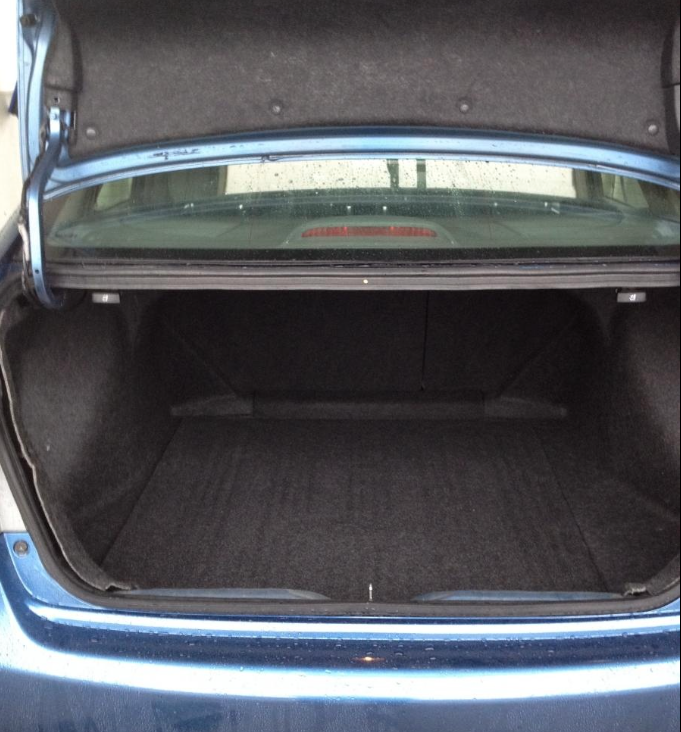
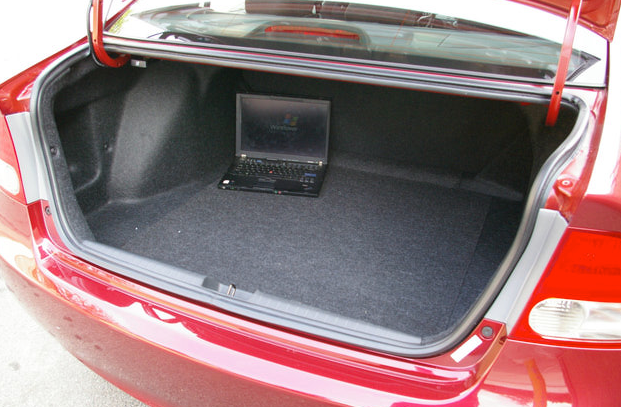
- Remove everything in your trunk. This includes any items you store in it, the trunk lining, false floor (if there is one), etc.
- Use a towel to dry the interior of your trunk.
- From the inside of your car, fold down the back passenger's seat.
- Either you or a friend will need to sit in that location with a flashlight. You or your friend should shine the light inside the trunk.
- Test to locate the leak. Pour water on and around your trunk. Start at your taillights as a faulty seal is a common reason, and then pour water around the edge of the trunk.
- Pinpoint where the leak is. The person inside should be able to locate the leak. Once you have identified the source of the leak, you can diagnose the potential problem and resolve it.
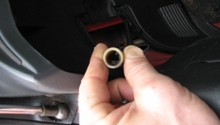
Step 2 – Replace tail light gasket
A leaking tail light gasket is the number one reason why your trunk is leaking. You can get two gaskets for between $30 to $50. This is an easy problem to resolve, and there’s no reason why even a novice DIY-er can’t do this on his/her own. Even if only one gasket is leaking, consider replacing the other one as well.
- Remove the rear paneling from inside the car. Push in and pop out the small round black clips.
- Use 8mm socket to remove six nuts holding the panel in place.
- Remove the old bulbs.
- Disconnect the wiring beneath the old gasket. You will not need to use force to disconnect this wiring.
- Remove the old gasket.
- Install the new gasket. There are guide holes to help you install the gasket properly.
- Use a small drop of silicone or other type of adhesive to attach the gasket in place.
- Reassemble in reverse. Reconnect wiring beneath gasket, replace bulbs, re-install six nuts holding panel in place, and re-install round clips.

Step 3 – Replace trunk seal
Water can leak into your trunk because of a worn out trunk seal. Replacing the old seal with a new seal is fairly simple, and a new seal costs between $20 to $40. Your auto parts store may refer to this seal as weather-stripping. To install a new trunk seal:
- Remove the old strip by pulling the rubber away from its channel.
- Clean the channel, and remove the old adhesive. You may need to scrape away this adhesive with a small wire brush. Be careful not to scratch the surface of your trunk as you remove this adhesive.
- Clean the channel. You can use warm water and soap.
- Install the new seal. The upper edge of the seal must face toward the outside of the trunk. The seal will fit if you install it backward, but it will not create a watertight seal and your trunk will still leak.
- Add adhesive as you install the seal. You don’t want to add adhesive to the entire channel, then install the seal because the adhesive may start to dry, and not hold the seal in place. Doing it as you go means the adhesive will tightly attach the seal to the channel.
- Cut the ends of seal to remove overlap. Cut carefully. There should be about a one-quarter inch overlap when you’re done.
- Apply adhesive to this seam. Hold the ends together for a minute or two, and then insert into the channel.
- Close and open the trunk to make sure the seal will stay in place, and that no adhesive is visible. If so, wipe away the adhesive with a towel.
- Leave the trunk open until the adhesive fully dries. This may take an hour.
Step 4 – Inspect other problematic areas
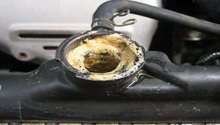
- A faulty seal around the bottom of your radio antenna can cause water to leak into your trunk (if your antenna is on the trunk). Unscrew the antenna, remove the old seal, clean its channel, add adhesive, replace seal, and re-install the antenna.
- If a bolt holds your spare tire into place, then water can leak into your trunk via this bolt hole. Tightening the bolt can help seal this bolt hole. If the bolt is gone, replacing it can also help seal this bolt hole.
- A worn trunk lock or handle seal can let water leak into your trunk, but this is uncommon.
Related Discussions, and Videos
- Trunk leak gurus - Honda-Tech.com
- How to fix a trunk leak on a 1996-2000 Honda Civic - Honda-Tech.com
- Help! My trunk is leaking - Honda-Tech.com
- How to seal a leaking trunk - Honda-Tech.com
- Leak in Honda Civic trunk - YouTube.com
- How to fix a leaking trunk - YouTube.com