Honda Civic: How to Replace Your Window Molding
If your Civic's window molding is worn out, then maybe it is time to replace. This guide will help you through the process of replacing the window molding of your car.
This article applies to the Honda Civic (1992-2000).
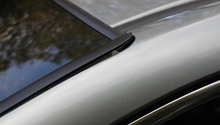
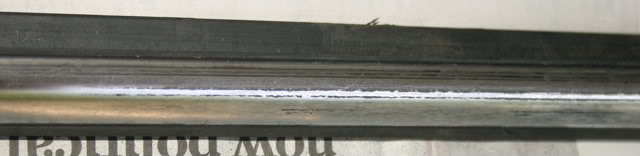
It is not uncommon for window molding to rot and crack over time. If significant wear and tear occurs, the window could loosen, causing further damage. Also, rain could seep into your Honda Civic and cause damage to your car's interior panels or carpeting. Using just a few simple tools, you can safely and easily replace the old, worn, cracked window molding in your car. You'll need to remove the door panel and window glass before getting started.

Materials Needed
- New molding
- Two flat head screwdrivers
- Phillips screwdriver
- Ratchet and socket set
- Knife
- Steel wool
- Razor (optional)
- Paint and primer
Step 1 – Remove the window molding clips
If you have not already done so, start by removing the door panel and glass.
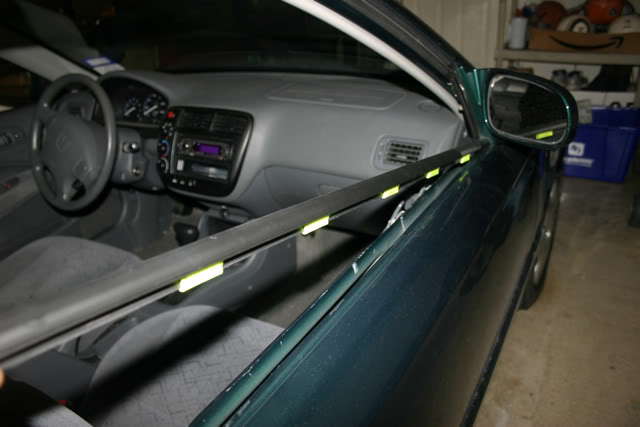
You will see five yellow clips (each with two vertical tabs) holding the molding in place. Use two flat head screwdrivers to pry up the clips one by one, and take care not to damage or crack any of the tabs. Start from the center clip (#3) and work your way out. Hold one flat head screwdriver horizontal to the clip, while you slip the other screwdriver between one of the tabs and the molding. Gently pry the molding up, and you should hear a click. Then with the screwdriver, push the tab downward to release it from the window molding.

Figure 1. Remove the door panel and window first. 
Figure 2. Correctly position each flat head screwdriver. 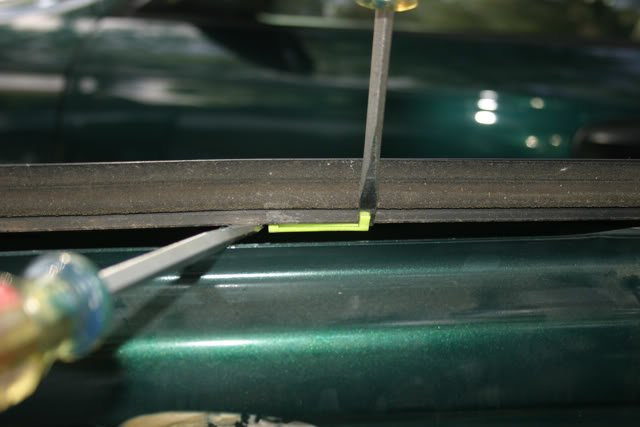
Figure 3. The released tab should be behind the molding.
Step 2 – Lift out the old molding
Once all five clips have been released, the molding can now be removed from the door panel. Simply lift the molding from the latch side, starting from the side closest to the side view mirror. All five clips should still be attached to the molding when removed. Then slide the clips out through one end of the molding.

Step 3 – Prep the molding
If do you not plan to restore the old molding, move on to Step 5.
With the steel wool, scrape off the old and brittle rubber coating from the old molding. If necessary, use a razor blade to remove more stubborn and rough areas. Smooth down the entire surface of the window molding down to a shine, but be sure not to damage or remove the rubber edges of the molding, which help seal the window.
Step 4 – Prime and paint the molding
Set the molding down onto old newspaper or cardboard. Apply two even coats of primer. Wait at least two minutes before applying the second coat. Then let the primer fully dry (at least 30 minutes), and spray the molding with at least three coats of paint. Let the paint dry for at least eight hours or overnight.

Figure 6. Apply two coats of primer to the molding. 
Figure 7. Allow the paint to dry completely before re-installing.
Step 5 – Install the new molding
Slide the clips back onto the molding, and make sure they are spaced evenly. Insert the molding onto the window slit, starting with the side closest to the side view mirror. As you move down toward the rear of the door panel, push down on each clip until you hear it click. Then, re-install the window and door panel.
Related Discussion
- DIY Glass Molding Remove and Paint - Honda-Tech.com