A performance exhaust can increase your car's power, and give it an impressive sound. The steps below will take you through installing a performance exhaust.
This article applies to the Honda Civic (1992-2000).
If you hear a long growl tearing through the streets, it's likely a Honda with a performance exhaust. Not only can a performance exhaust give the Honda a more aggressive sound, but it can provide a touch more horsepower, while giving the tailpipe a sportier look. Installing one is a fairly inexpensive modification that can be done on your own. Follow this guide to make your Civic sound like a contender.
Materials Needed
Replacement exhaust
Car jack and jack stands
Socket wrench with 8 mm and 10 mm sockets
Open ended wrench set
WD-40 or penetrating oil
Copper gasket seal spray
Goggles
Copper spray paint (optional)
Pro Tips
Wear goggles as a precaution because dirt and debris will be falling on you as you work.
Because the muffler and exhaust pipes are unbolted, have a friend catch the pipes to avoid dropping them.
Step 1 – Lift the car
Jack the car up. Then set it on four jack stands. If the bolts on the exhaust system are rusted, you will need to spray WD-40 (or another penetrating oil) on them.
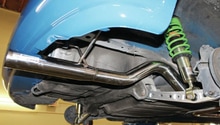
Remove the two bolts attaching the muffler to the exhaust. As you loosen the nut with a socket wrench, you will need to hold the bolt still with an open ended wrench. After removing both bolts, slide the rubber exhaust hangers off the metal hooks. If it is rusted in place, bend the hanger to get it loose.
Figure 2. Attached rubber hanger.
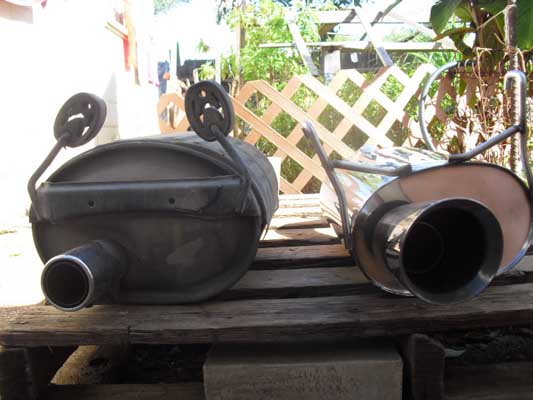
Figure 3. Old muffler versus a new muffler.
Step 3 – Remove the old exhaust
Undo the three bolts connected to the catalytic converter, and then slide off the rubber hangers from the middle exhaust pipe.
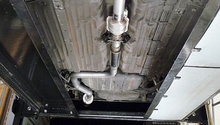
Figure 4. Middle exhaust pipe.
Step 4 – Install the new exhaust
Before you install the new exhaust, attach the gaskets to both ends of the middle exhaust pipe, and then slide on the rubber hangers. Connect the middle exhaust pipe to the catalytic converter. Then tighten the bolts until the gasket is sealed. You will need to do the same for the muffler. Put the rubber hangers back onto the metal hooks. Go back to tighten the bolts once more to ensure they're secure.
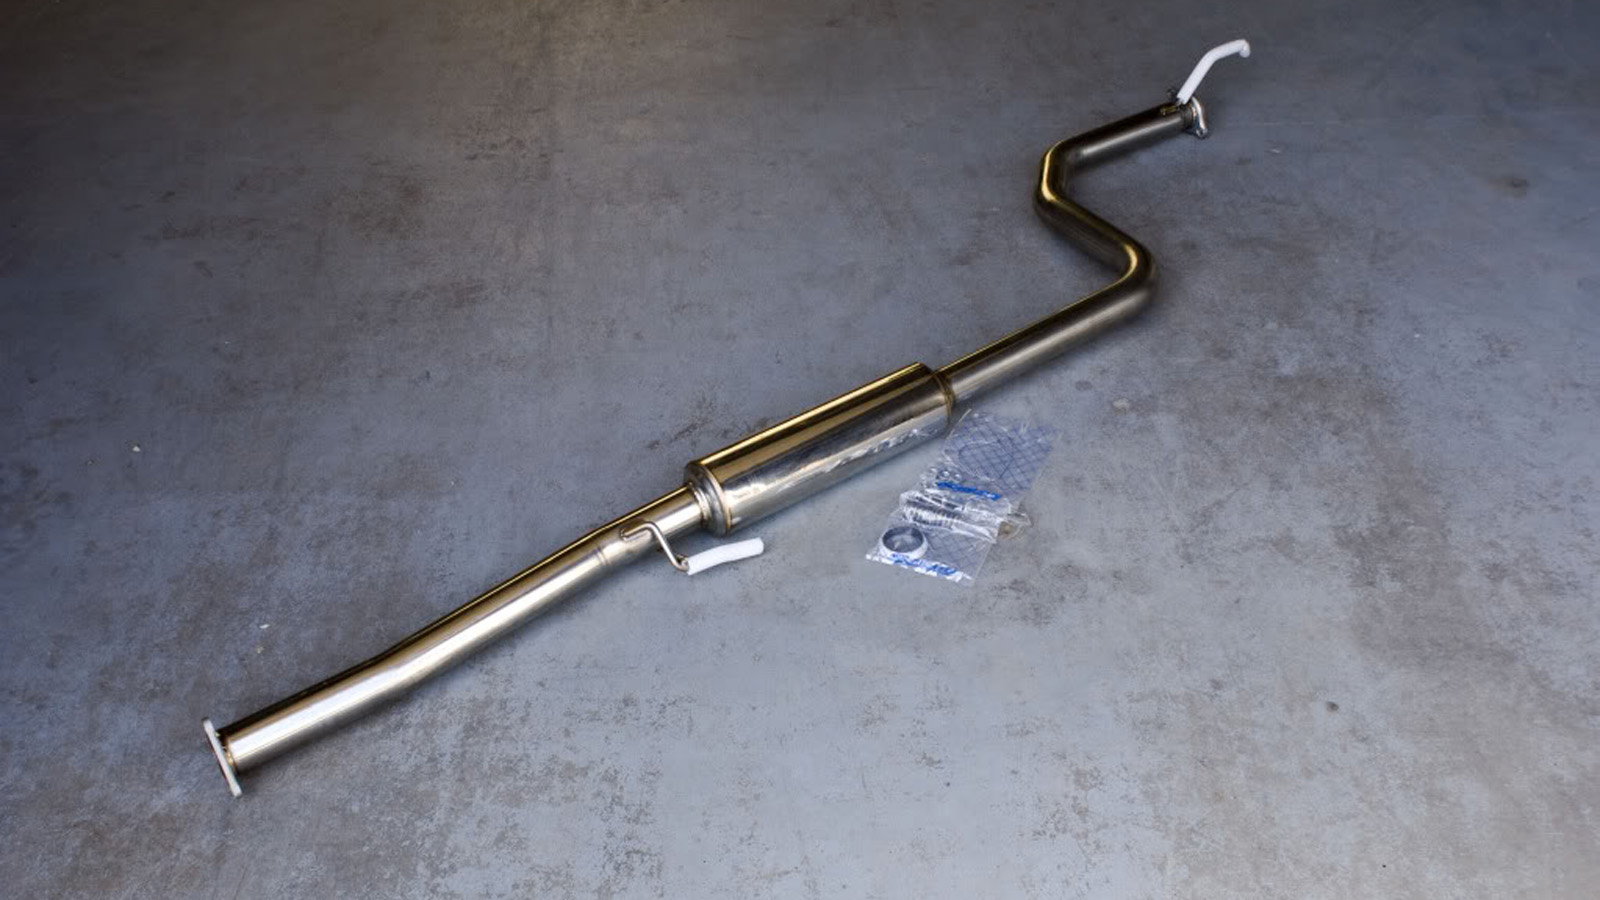
Figure 5. Performance exhaust and muffler.
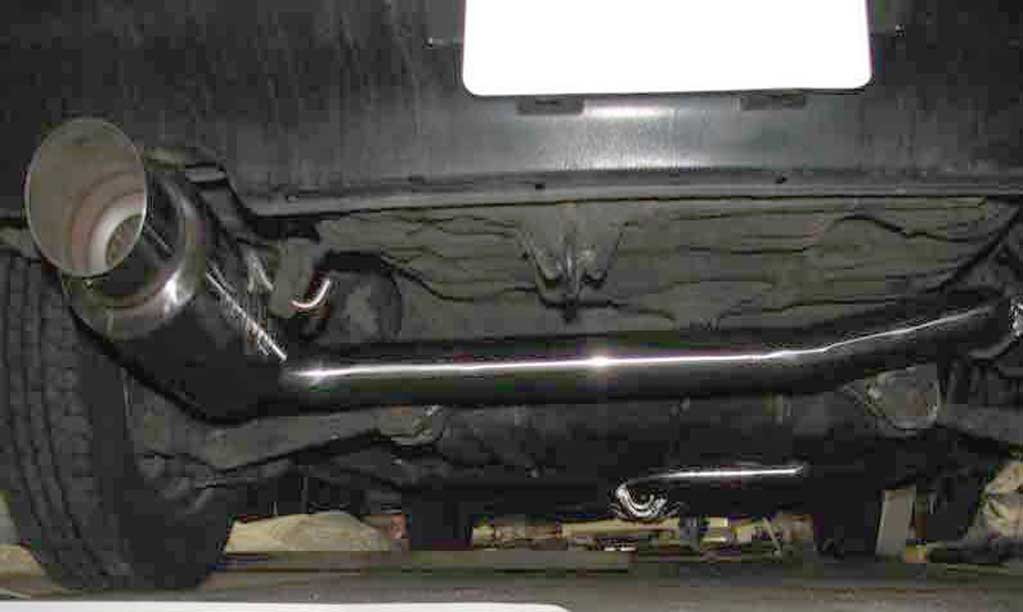
Figure 6. Larger tailpipe than the original.
Pro Tip
Spray the gaskets with a copper spray paint for an extra layer of protection. It's not absolutely necessary, but it'll help ensure the exhaust fumes won't leak from the pipes.
Step 5 – Test Drive
After you've finished installing, test drive the car. You may decide to add a silencer to the muffler if it's louder than you would like it to be.
Related Video: Honda Civic Catback Exhaust Install
How to Replace Your Cat-back
Stock exhausts are boring, but you are not. Find out what it takes to replace your cat-back.
This article applies to the Honda Accord (1990-2002).
Honda enthusiasts replace their ...
How to Replace Your Header
Need to remove that exhaust manifold? Our header DIY is the solution.
This article applies to the Honda Accord (1990-2002).
The original equipment exhaust manifold on your Honda requires ...
Exhaust System Reviews
Honda-Tech, Bosal, Thermal R&D, Redshiftmotorsports, CARiD, Horsepower Freaks, Redline360
Are you in the market for an exhaust upgrade? Check this review on four classic exhaust upgrades for ...
Honda Accord: Exhaust System Reviews
Shopping for a new exhaust system for your Honda Accord? Be sure and check out this rundown on the four most popular brands of exhaust systems out there right now and help you ...
Exhaust Modifications
If you want to tap into some extra horsepower, an exhaust modification may be the best way to go.
This article applies to the Honda Accord (1990-2002).
The exhaust is a system of pipes ...
Exhaust Modifications
If you want to enhance your Civic's performance with an exhaust upgrade, check out this article.
This article applies to the Honda Civic (1992-2000).
Outside of working on the engine, the ...