Honda Civic: How to Replace Your Alternator
If it wasn't for the alternator, most of the comfort features inside your Civic wouldn't work. This article will help you install a new one, and keep your Civic functioning as it should.
This article applies to the Honda Civic/Del Sol (1992-2000).
Your alternator plays a vital role in making sure you get from point A to point B. It does that by providing your car with electrical power while it's running, as well as replenishing the battery with energy. If you are experiencing the following problems while the car is running, it may be time to replace the alternator:
- Electrical components like the radio won't function properly or at all.
- Dash lights and dash components are dim or don't turn on at all.
- Headlights are dim or don't work.
- Cigarette lighter adapters like the cell phone charger doesn't work.
Replacing your alternator does not require any specialty tools. It can be a lengthy job, and also requires a lot of work inside the engine bay. So if you don't feel comfortable being underneath the car, then it is recommended having this done at a repair shop.

Materials Needed
- Jack and jack stands
- 10 mm wrench
- Ratcheting wrench
Step 1 – Prep the car
Locate the appropriate spot underneath the car to jack up your Civic. Set the car on jack stands, and proceed to disconnect the car battery. Disconnect the negative (black) terminal first, and then the positive (red).

(Related Article: How to Jack Up Your Civic - Honda-Tech.com)
Step 2 – Remove bolts and clips
Removing the alternator involves undoing a lot of bolts, brackets, and clips. Follow the list and pictures below to successfully free up the alternator.
- Unclip the green 4P connector that supplies the alternator coil with power.
- Remove the B terminal by removing the bolt located to the right of the 4P connector.
- Loosen the adjusting bolt located above the belt.
- Loosen the upper bracket support.
- Remove splash shield underneath the car to access alternator from below if necessary.
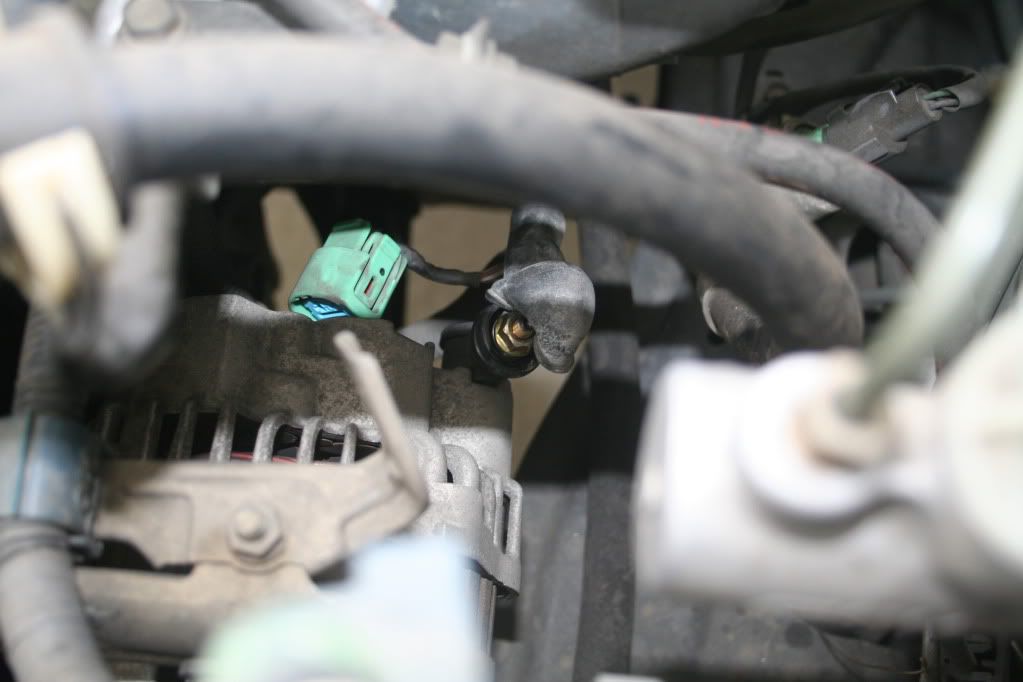
Figure 2. Unclip the green 4P connector. 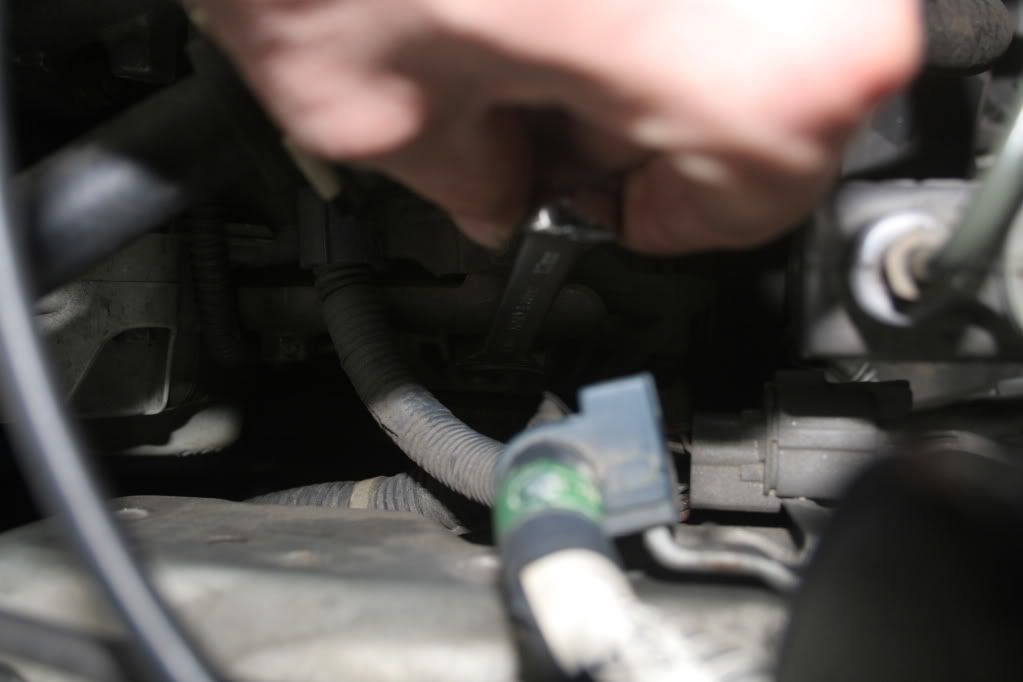
Figure 3. Remove the alternator adjusting bolt.
Step 3 – Remove the alternator
- Remove the large "through" bolt located on the lower support bracket.
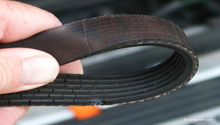
- Remove the belt from the pulley.
- Remove the two bolts holding the lower support bracket (where the "through" bolt was located).
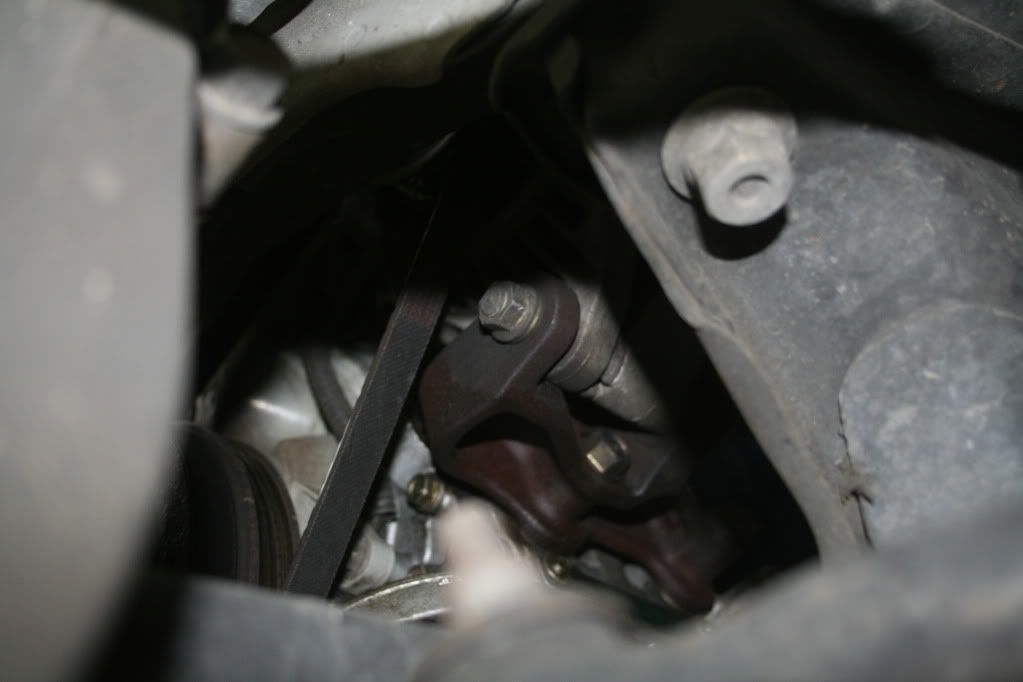
Figure 4. Remove the large "through" bolt. 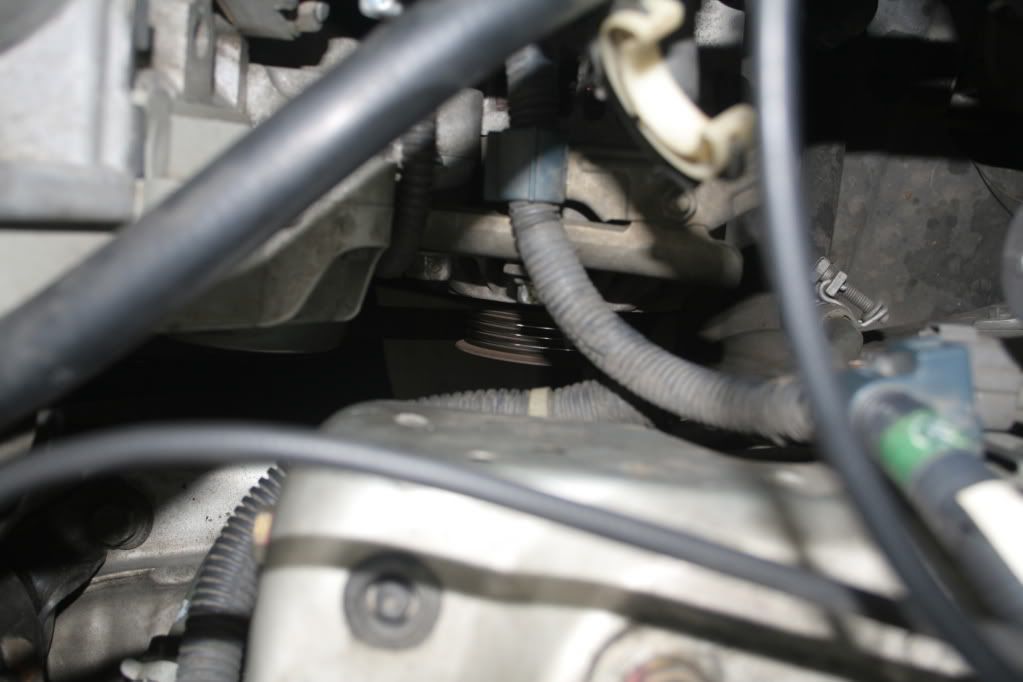
Figure 5. Remove alternator belt from the pulley. 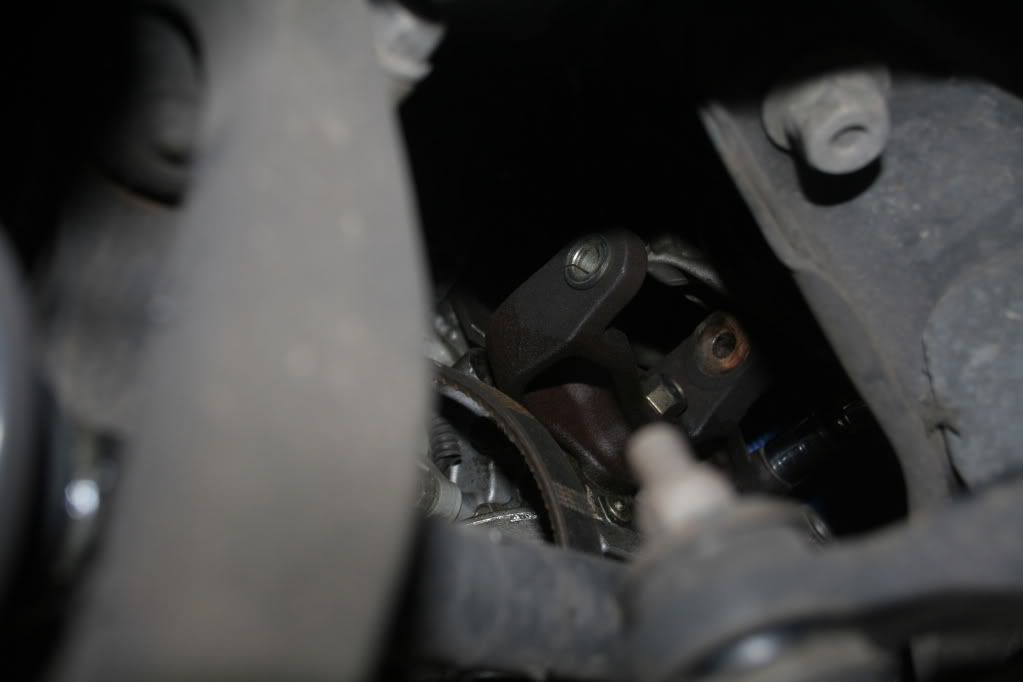
Figure 6. Remove the bolts holding the support bracket in place.
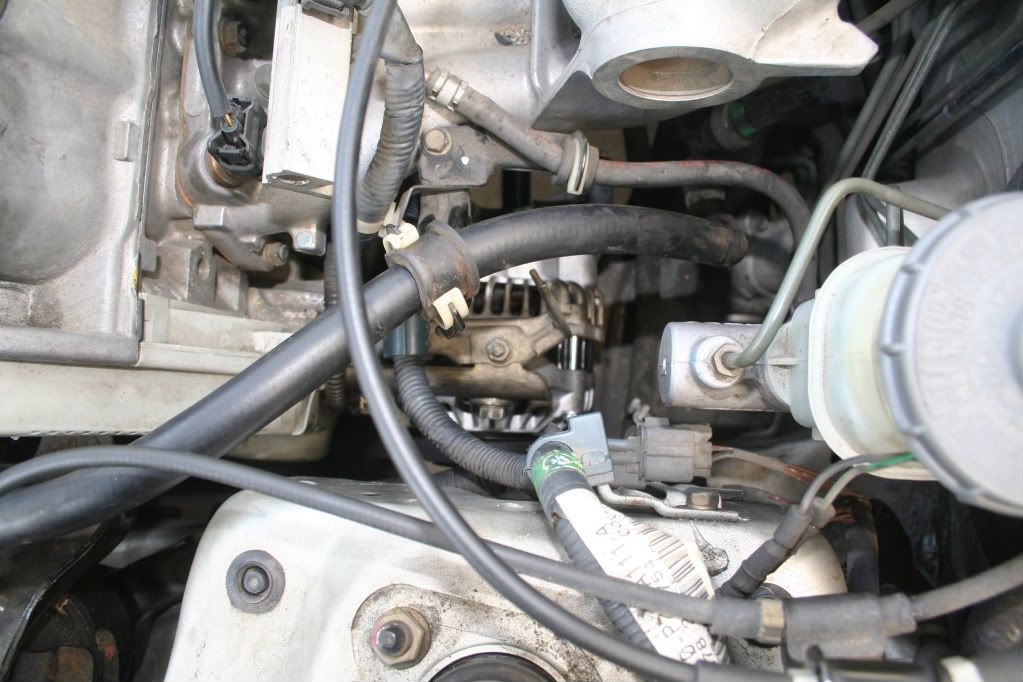
- Remove the blue wiring harness located on the lower support bracket.
- Unclip the green wiring harness.
- Wiggle the alternator out from underneath the car.

Figure 7. Unplug the blue wiring harness. 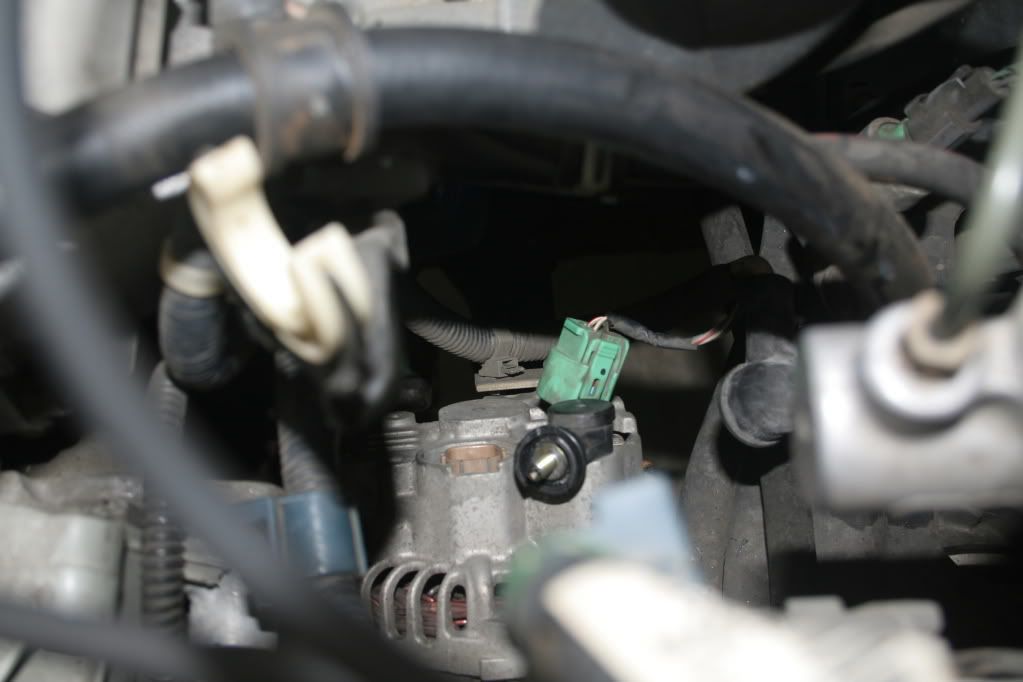
Figure 8. Unplug green wiring harness. 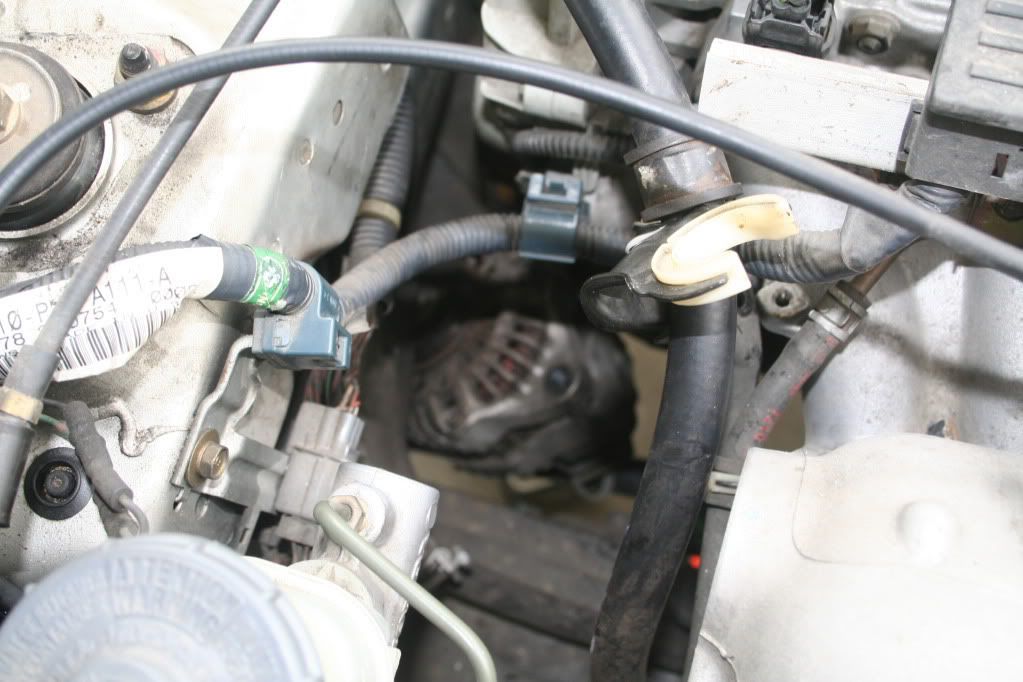
Figure 9. Wiggle alternator out.
Step 4 – Install new alternator
Wiggle in the new alternator from the wheel well. Now, don't forget to set the belt back on the pulley. If you don't, you'll have to undo everything and start from step one.
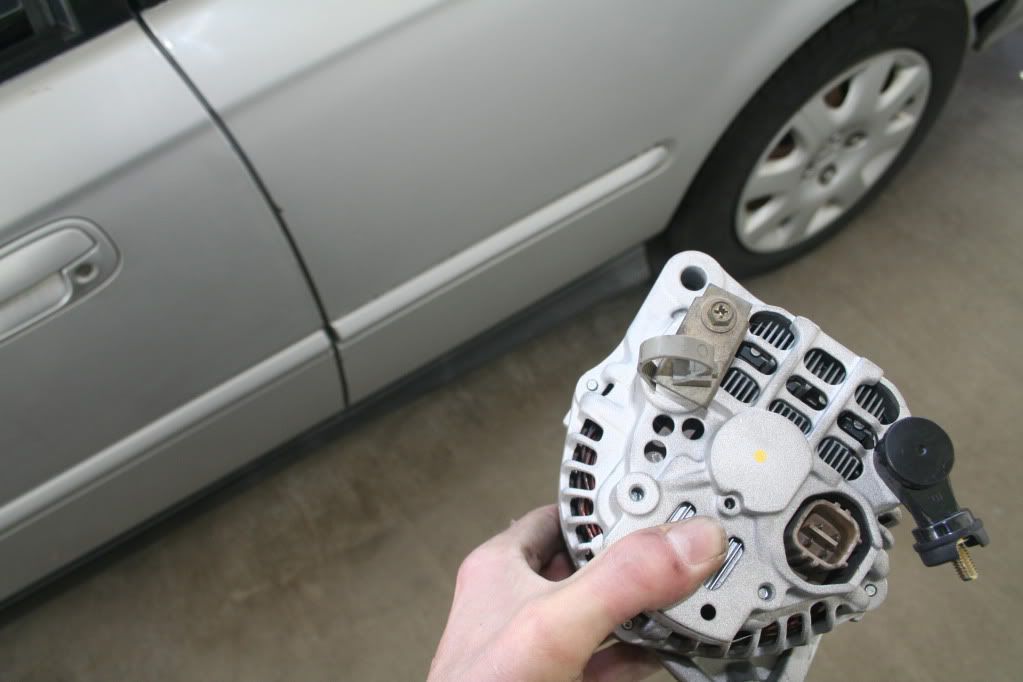
Figure 10. New alternator. 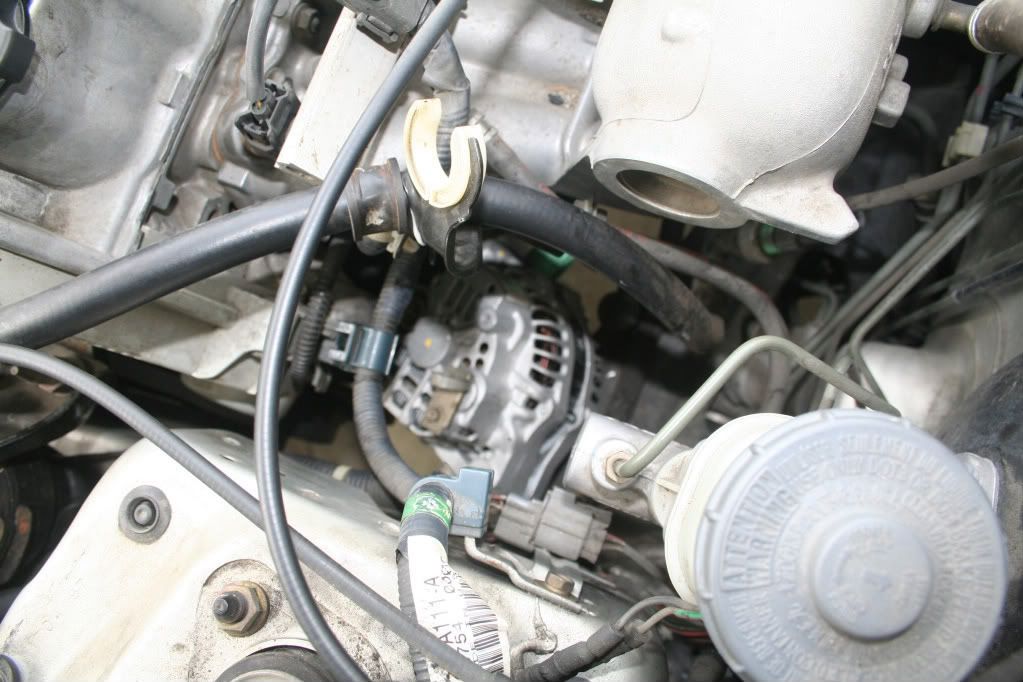
Figure 11. Carefully wiggle the alternator back into place.
Step 5 – Redo bolts and clips
Re-installation is in reverse order.
- Plug the green wiring harness back in.
- Plug the blue wiring harness back in.
- Bolt the support bracket back in.
- Reinsert and tighten the "through" bolt.
- Reattach the support bracket.
- Reattach the adjusting bolt.
- Clip back in the green 4P connector.
- Reconnect the battery. Negative (black) first and positive (red) second.
- Remove the jack stands and lower the car back.
- Finally, start the car to test the alternator.
Featured Video: How to Replace Alternator in Civic
Related Discussions
- Advice on a Dying Alternator- Honda-Tech.com
- How Alternators Work - HowStuffWorks.com