Honda Civic: How to Replace Climate Control Bezel
Maybe you want to install a new radio, or maybe your car was broken into and your radio was stolen. No matter the reason, removing and replacing the climate control bezel is fairly simple, regardless of your experience with DIY car projects.
This article applies to the Honda Civic (1992-2000).
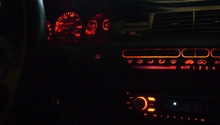
The climate control bezel, positioned in the center of the dashboard, is the console where your radio is as well as where a couple of your A/C and heat vents are. Some units have extra compartments for loose change or other small items. Your cigarette lighter is in the climate control bezel as well. While removing it is a bit more complicated than simply pulling off the bezel, it is a simple project you can complete in under an hour. Keep in mind that most auto parts stores likely don't stock this, so expect to wait a bit between ordering and installing it.

Materials Needed
- Phillips screwdriver
- Small and medium-sized flat head screwdrivers
- Magnet pen
Step 1 – Prepare to replace climate control bezel
Disconnect battery, and then remove center consoles. This will help you more easily maneuver inside your car. If you have a flat armrest or no armrest, there are six screws to remove, half on each side. If you have any other type of armrest, there are eight screws, half on each side. If your car has a manual transmission, remove the shifter as well. The bolts and screws for the shifter can easily be accessed with the center console removed.

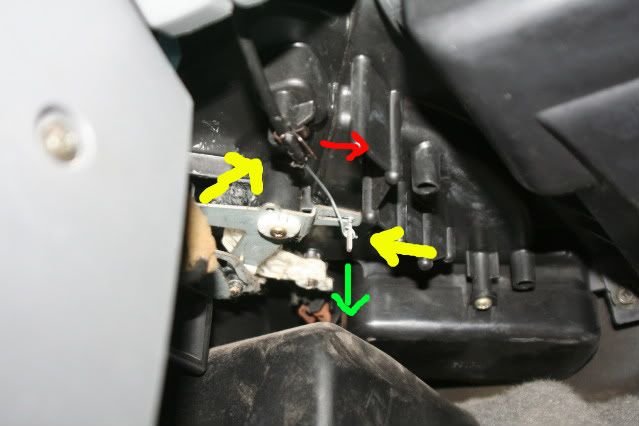
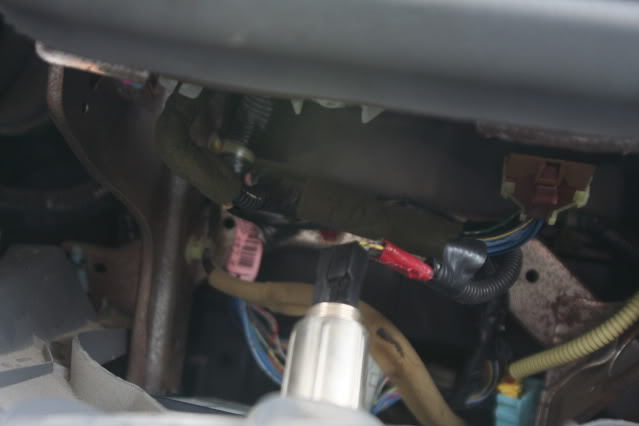
Step 2 – Remove the slider cable
Remove the slider cable, which is attached to a clip and a pole. Slide the loop off of the pole, and then pull the cable off of the clip.
Step 3 – Remove the knee bolster
Remove the three screws holding the knee bolster in place. Then, pull bolster off. You may need to tug a little to get it off.
Step 4 – Remove the cigarette lighter panel
Use a Phillips screwdriver to remove the six screws holding the cigarette lighter panel in place. There is one screw in each bottom and two screws on the bottom.
Step 5 – Unplug the cigarette lighter connector
Open the glove box about halfway. This lets you more easily access and remove its side panel. Gently remove the panel to decrease or eliminate your risk of accidentally damaging or breaking any wires. Unplug the cigarette lighter connector, and then fully remove the panel.
Step 6 – Remove hazard and defrost switches
Use small flat head screwdriver to remove the hazard and defrost switches. Set them aside. Use the Phillips screwdriver to loosen the screw inside the hazard and defrost switch compartments. Once you’ve loosened the screws enough to remove them, use the magnet pen to do so. This decreases your risk of accidentally dropping and losing the screws.
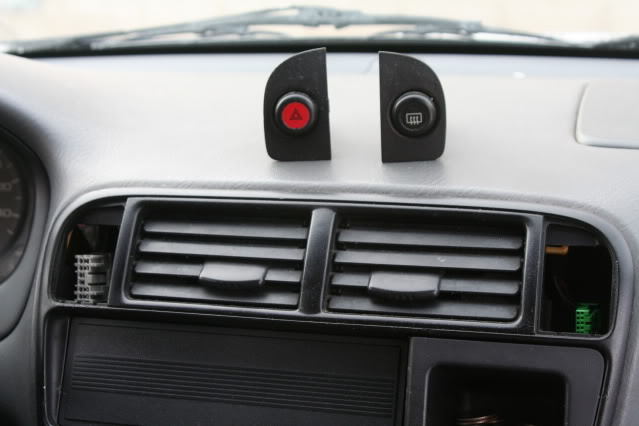
Figure 5. Remove hazard and defrost switches and set them aside. 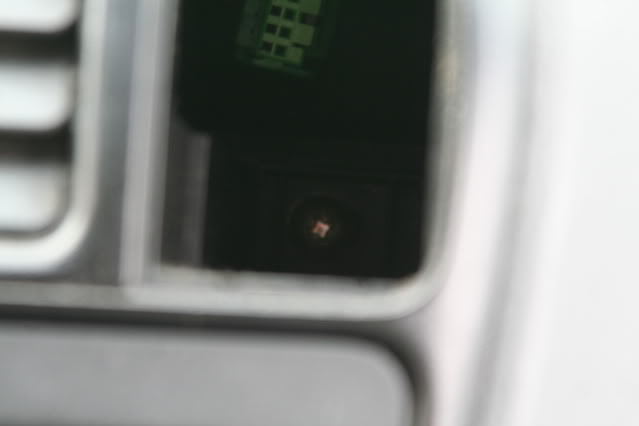
Figure 6. Unscrew the single screw inside each compartment, and then use magnet pen to remove the screws.
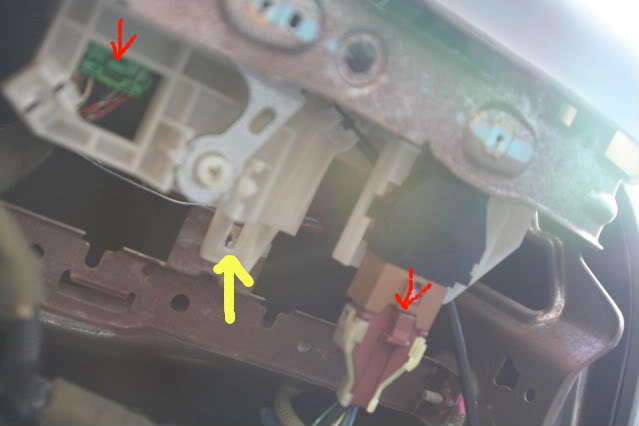
Step 7 – Prepare to remove slider box
Use a Phillips screwdriver to remove the single screw holding the casing in place. This screw is under the climate control section of your dashboard. Use a medium flat head screwdriver to pry up and remove the two connectors. Look for the connectors that have several wires coming out of them. Push the panel from behind to give you better access to your radio and slider box.
Step 8 – Disconnect radio
To remove the bezel, you must first disconnect your radio. If your radio is stock, be sure you have the code for after you re-install it. This code should be in your owner’s manual. To remove hardwired aftermarket radios, disconnect its wire harness. If yours doesn’t have a wire harness, you may need to cut the wires. Remove casing. If it doesn’t easily pull off, then you likely forgot to disconnect or remove one of the connections. Go back through Steps 1-7, and try again to remove the bezel.
Step 9 – Remove slider box
Remove slider box by unscrewing the four screws holding it in place. There are two screws on each side.
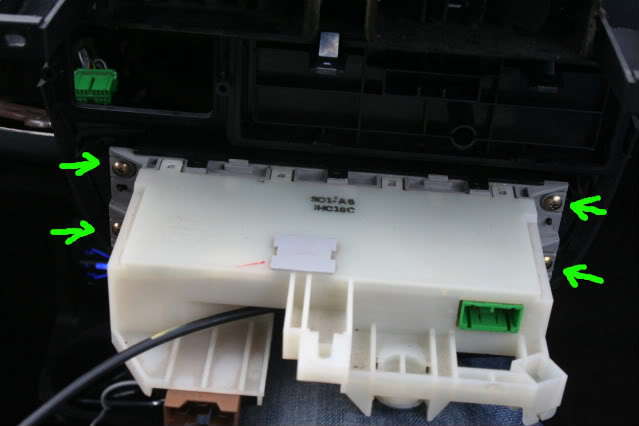
Pro Tip
If you’re completing this project to replace blown bulbs, at this point you can remove the bulbs by hand. These blue bulbs are size #24. Replace bulbs, and then you can pop the casing back in place.
Step 10 – Reassemble climate control bezel
Replace slider box and screw it into place. Reconnect radio and, under the climate controls section of the dashboard, replace the two connections and screw the casing into place. Replace hazard and defrost switches. Before you do, remember to reinsert the screw in each compartment. To help prevent you from losing the screws, use the magnet pen to position the screws in place, and then carefully tighten them. Plug in the cigarette lighter connector and replace the cigarette lighter panel. Replace the knee bolster and center consoles. Reconnect the slider cable. Slide it over to the pole and loop it back in place, and then clip the cable in place. Make sure to set it to full-hot position, so that you get full-hot when you turn controls all the way to the right and full-cold when you turn controls all the way to the left. Remember to reconnect battery when you've finished.
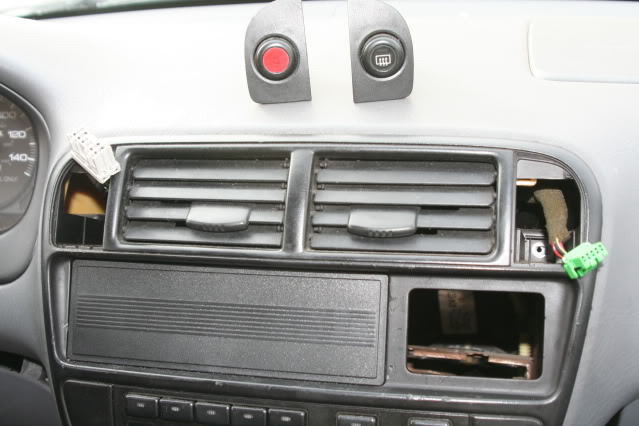
Figure 9. Replace bezel. 
Figure 10. Use magnet pen to position screw inside the hazard and defrost compartments, tighten the screw, and then put the hazard and defrost controls in place. 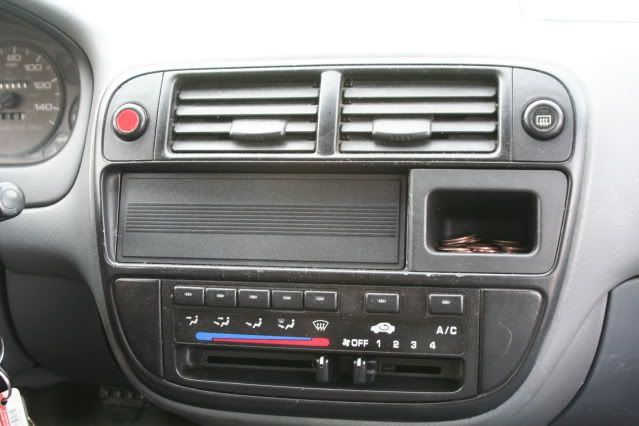
Figure 11. To finish the re-installation, replace center console and slide the slider cable in place.
Featured Video: Replacing '96 Honda Civic Climate Controls
Related Discussion and Video
- DIY Replacement of Climate Controls and Bezel in 1996-1998 Civics - Honda-Tech.com
- How To Remove Shifter Console in a Honda Civic - YouTube.com