Heated seats are a dream in stormy, cold weather. Relatively few Honda Civics have them installed, but it is possible to turn your stock seats into warmer ones. Read on to learn how.
This article applies to the Honda Civic (1992-2000).
For 5th and 6th generation Honda Civics, heated seats were not a standard for some and not an option for others. If you're looking to retrofit your OEM seats with heated ones, follow the directions below. The process does involve major knowledge of automotive wiring, so this DIY job may take up a lot of your time. But if you live in a cold, frigid region of the world, then maybe you will want to tackle this project.
Materials Needed
Metric socket set and ratchet
Phillips and flat head screwdrivers
Needle nose pliers or wire cutters
Plastic cable ties
Mitsuba RC-2201 relay
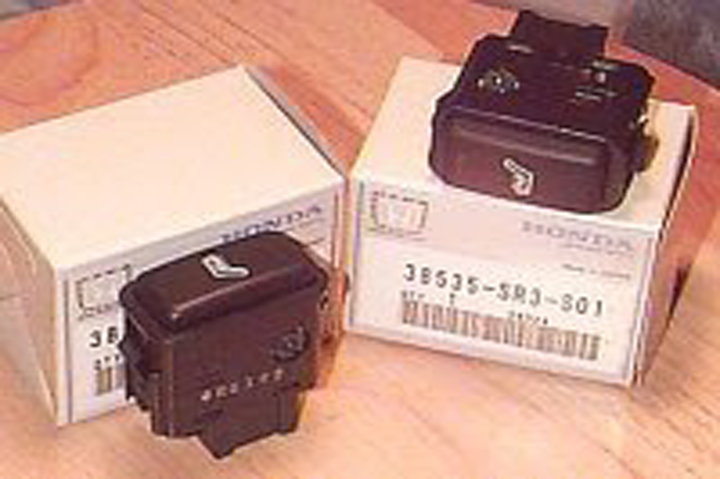
OEM heated seat switches from 1992-1995 Honda Civic
OEM main wire harness from 1992-1995 Honda Civic
Step 1 – Dismantle the seat
Disconnect the negative terminal (black) of the battery, and make sure the ignition switch is in the "OFF" position.
Slide the seat back completely, and remove the two caps from the seat rails with a flat head screwdriver.
Then, slide the seat forward to remove two 14mm bolts with a socket and ratchet.
Each seat cover is held on to the seat frames by hog rings. These can be removed with needle nose pliers or wire cutters.
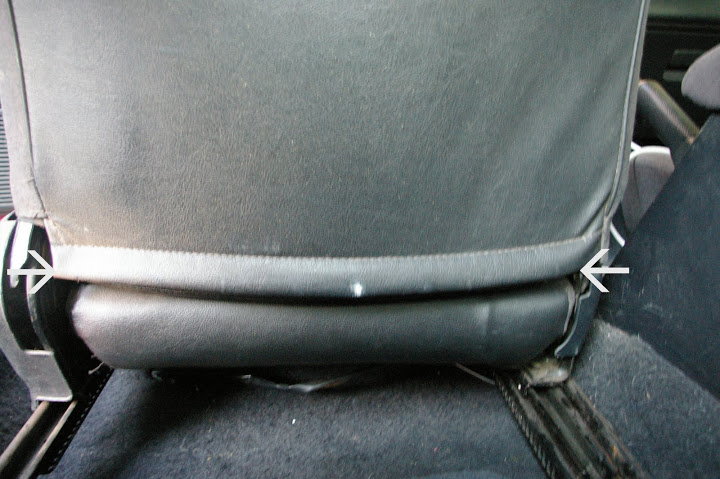
Remove two hog rings located on the lower back section of the seat.
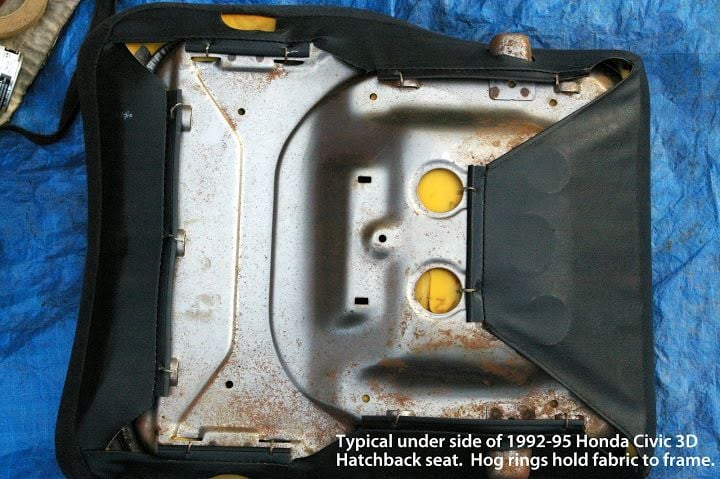
Then, remove the 13 hog rings underneath the seat to access the foam padding.
Figure 1. Two hog rings located on the lower back of the seat (marked by white arrows).
Figure 2. Remove 13 hog rings underneath the seat.
Step 2 – Install the heating elements
Gently pull back the seat cover from underneath the seat frame to expose the top of the foam seat cushion. There are two hog rings across the middle of the cushion, which are still attached to the seat cover.
With your pliers or wire cutters, remove both hog rings.
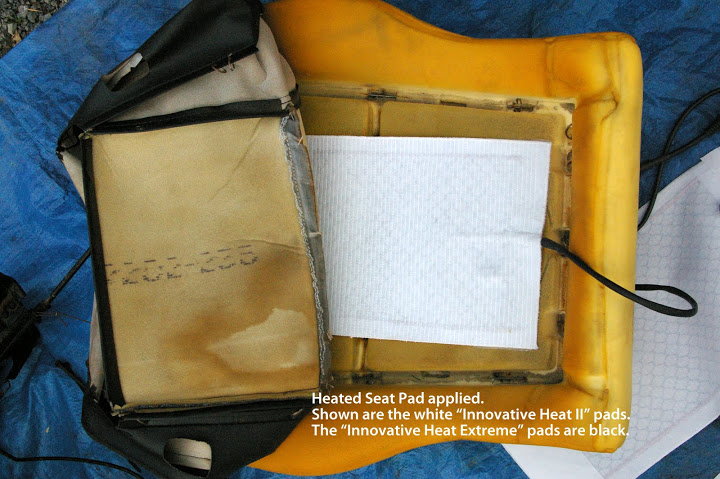
Tuck the heater pad between the top of the seat cushion and the seat cover. Make sure there are no creases in the heater pad before re-installing the seat cover.
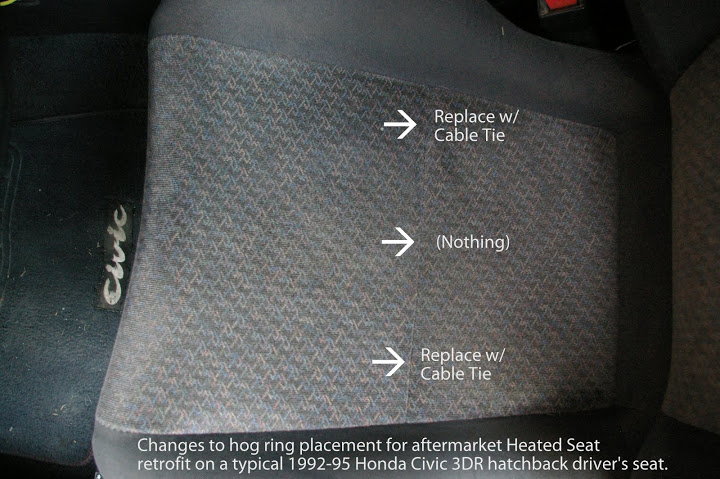
Use plastic cable ties to fasten the sides of the seat cover to the seat cushion.
Then, pull the seat cover back underneath the seat, and secure it with cable ties.
Figure 3. Insert heated seat pad on top of the foam.
Figure 4. Use cable ties in place of the hog rings.
Pro Tip
Make sure there are no creases in the heater pad. Creases will cause the pad to short out, fry up, or malfunction. If this happens, you will need to either repair or replace the heating pad.
Step 3 – Wire the heated seats
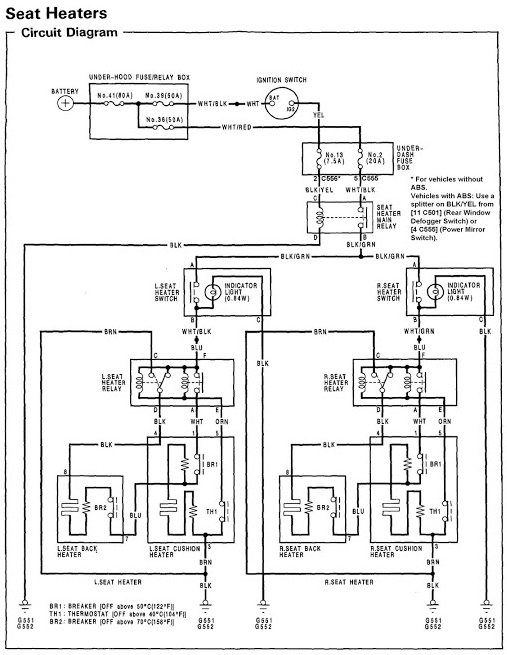
Mount the heated seat relay to the under-dash fuse box. Then, follow the circuit diagram below to properly wire the heater pads to the fuse box. Here are the proper wire connections from the main harness of the donor Civic:
White/Black: runs from fuse #20 (20 A) to the heated seat main relay mounted on the under-dash fuse box.
White/Green: runs power from the heated seat switch to the heated seat pads.
Black/Yellow: runs from fuse #13 (7.5 A) to the heated seat relay mounted on the under-dash fuse box.
Black/Green: runs from the main relay to the heated seat switch in the center console.
Black: grounds the heated seat pad and the switch.
Figure 5. Proper wiring diagram for heated seats and switches.
Step 4 – Route the wires
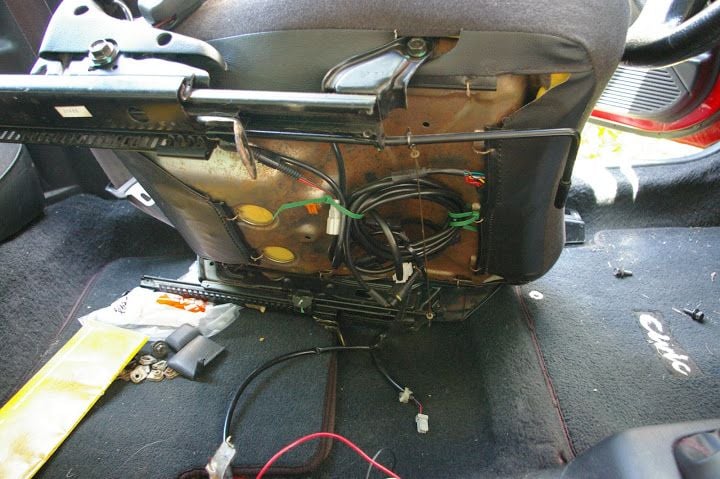
Coil, tuck, and cable tie all extra wires as neatly as possible under the seats.
Remove the center console cover, and pop out the two switch covers.
Route the ground wires as well as the 4-pin connectors to underneath the center console, and out through the switch slots.
Figure 6. Coil wire harnesses underneath the seat.
Figure 7. Snake wire harnesses to the center console.
Step 5 – Install the seats and switches
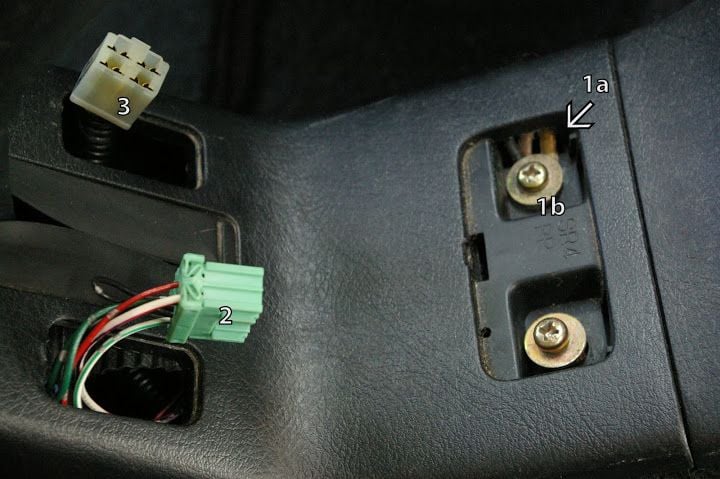
Connect the ground wires to the Phillips screws on the center console.
Connect the OEM heated seat switches to the 4-pin connectors.
Insert the heated seat switches into their proper slots of the center console, and make sure they are secure.
Reconnect the negative (black) battery terminal.
Turn on the ignition to start the car.
Press the heated seat switches.
The switch will illuminate, and the seats should begin to warm up.
Figure 8. Connect switches, and ground the heating elements.
Figure 9. Insert heating switches into the center console.
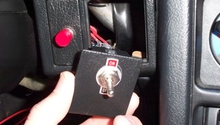
How to Install a Kill Switch
3lo
Keep your car safe by installing a kill switch. This guide will show you how.
This article applies to the Honda Accord (1990-2002), and Civic (1992-2000).
The Honda Accord and Civic ...
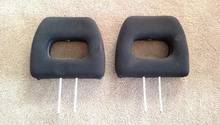
How to Install Rear Seat Backrests
SeVeNisOnE
Dislike the beige? Swap in cleaner-looking black seatbacks for a sportier look.
This article applies to the Honda Civic (1992-2000).
You'll need a bit of patience and ...
How to Install Power Mirrors
Power up your rear view mirrors! This helpful article will show you how.
This article applies to the Honda Civic (1992-2000).
This how-to article will demonstrate how to convert your ...
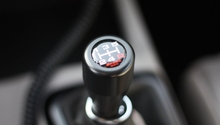
How to Swap Automatic for 5-Speed Manual
s.cali alan
Find out what it takes to turn your automatic Honda Accord into a 5-speed manual.
This article applies to the Honda Accord (1990-2002).
So you have a really ...
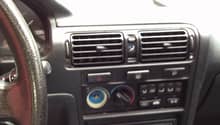
Why are My Air Vents Stuck?
You can diagnose and resolve common issues involving a an air vent that is stuck in one mode.
This article applies to the Honda Accord (1990-2002).
Stuck air vents tend to indicate a ...
How to Paint Interior
Interior lookin' pretty scruffy?
This article applies to the Honda Civic (1992-2000).
Painting the interior of your Honda Civic is the easy part. However, taking the panels out to paint them ...